Re: Scratch Built Delivery Ship 3011AD, The Nylon Gag MK.1
Morning Everyone
Thanks for stopping by to Mask-Fest 2013,
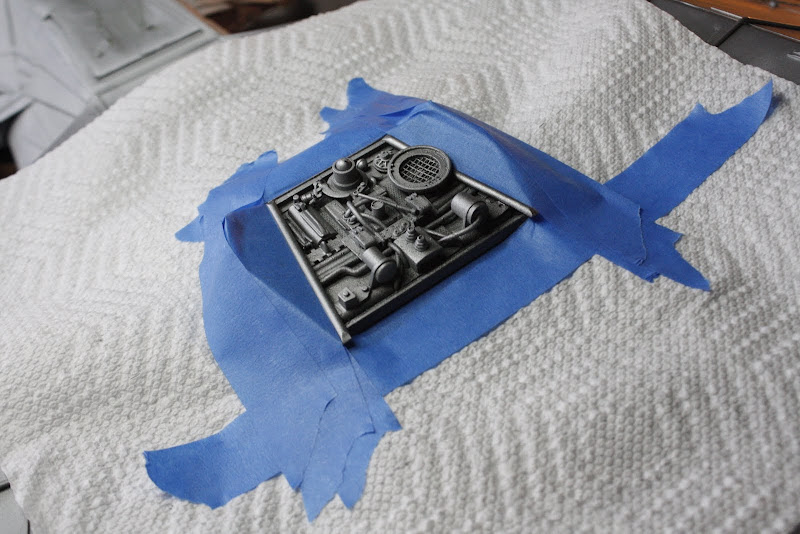
I'm seriously regretting not buying shares in a masking tape company at this point. :facepalm
I don't know how many rolls I've used, all I know is I've bought three in the last 4 weeks.
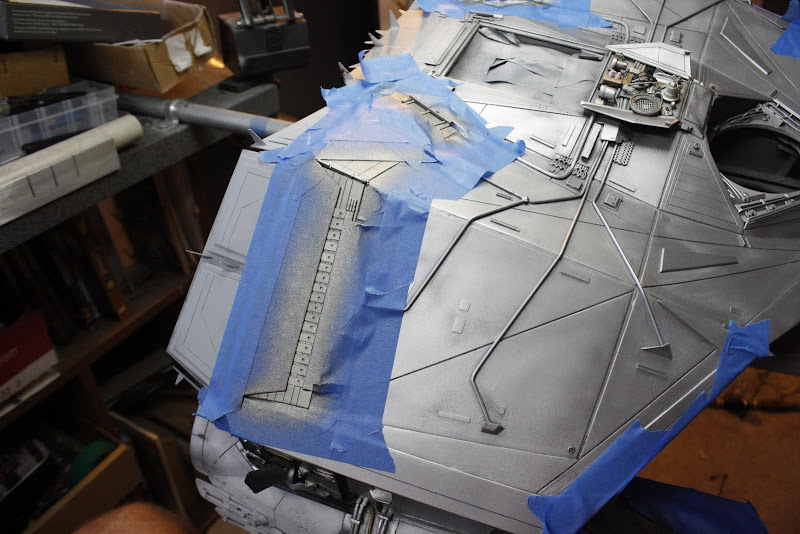
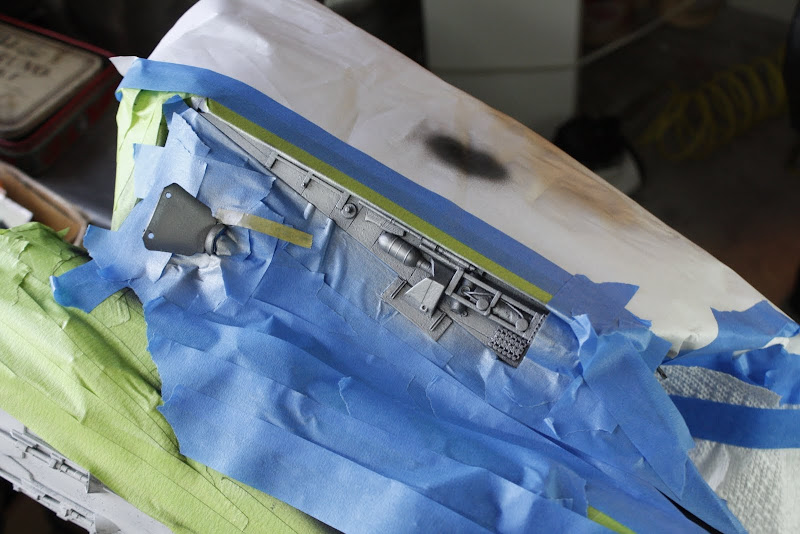
On with the mask..........I mean painting.
Because I'm heavy handed and rubbish at painting I managed to obliterate my pre-shading.
So, i decided to change my plans and just build up 'metalised' panel details on the outer engine support then go in with a brush to pick out smaller details.
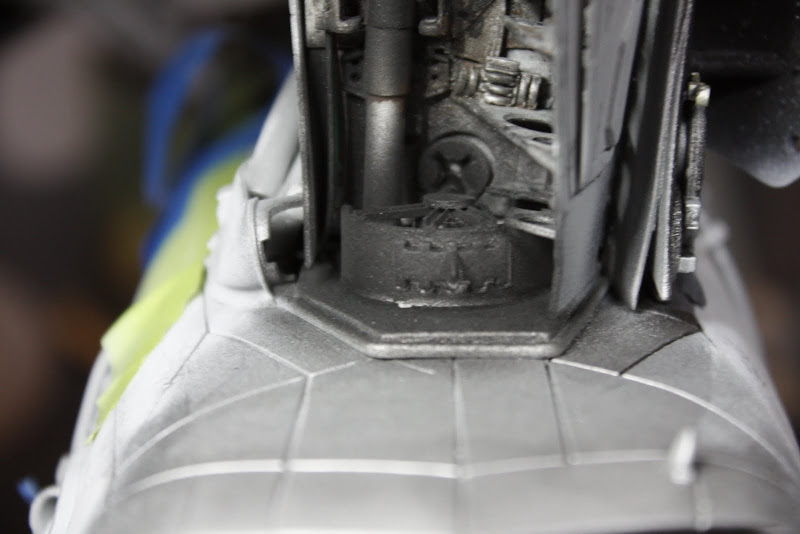
Titanium silver
Pre-shade,
Now you see it.

Now you don't
Flat aluminium
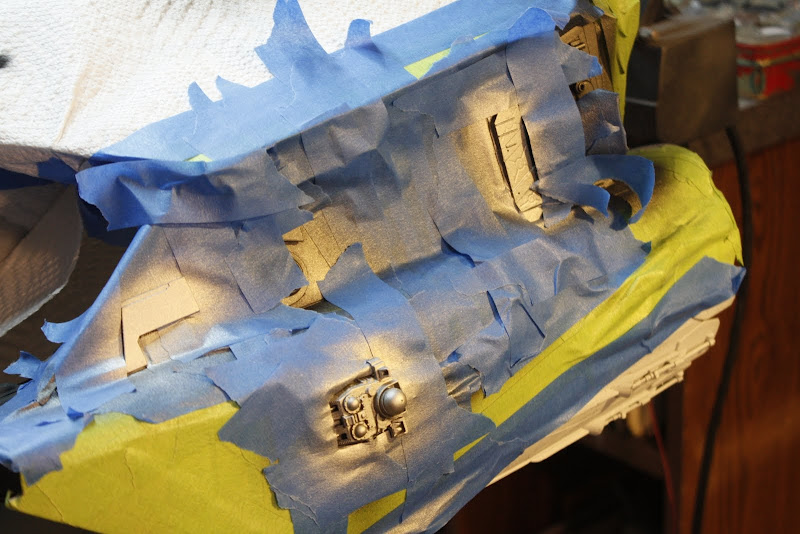
Crome silver
Also did a gun metal pass but didn't take a picture
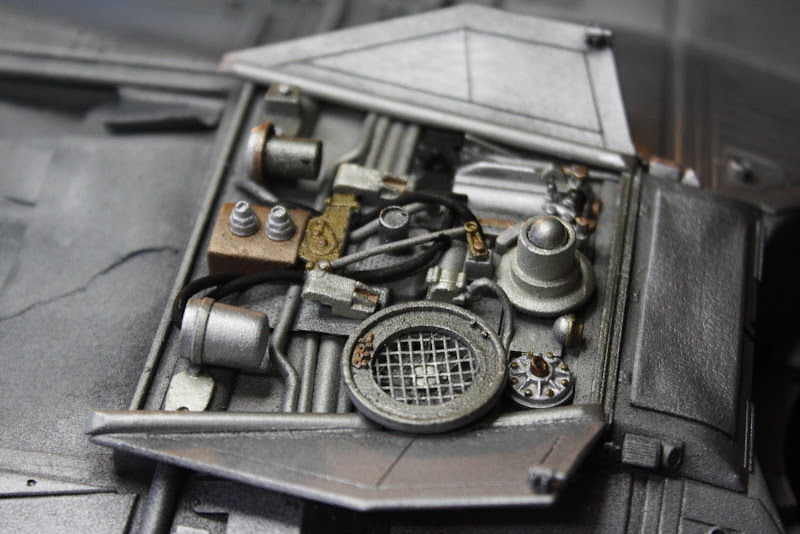
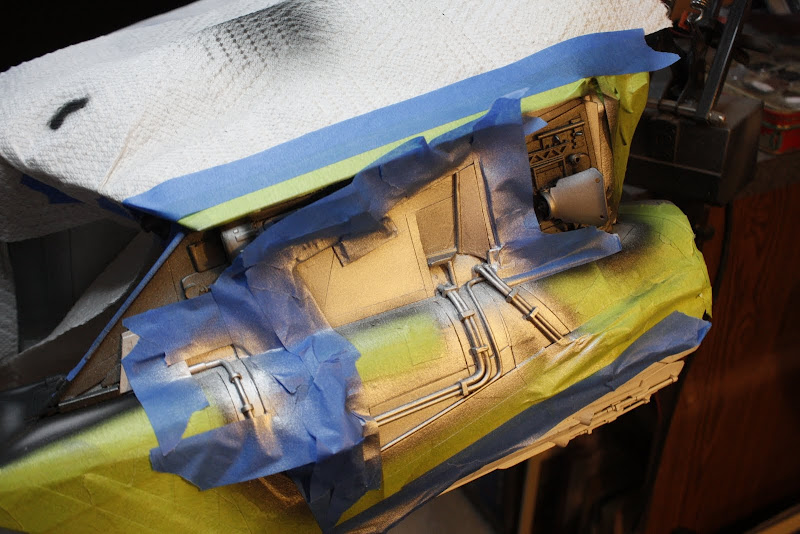
I then i brushed steel, bright brass and gold to pick out various details.
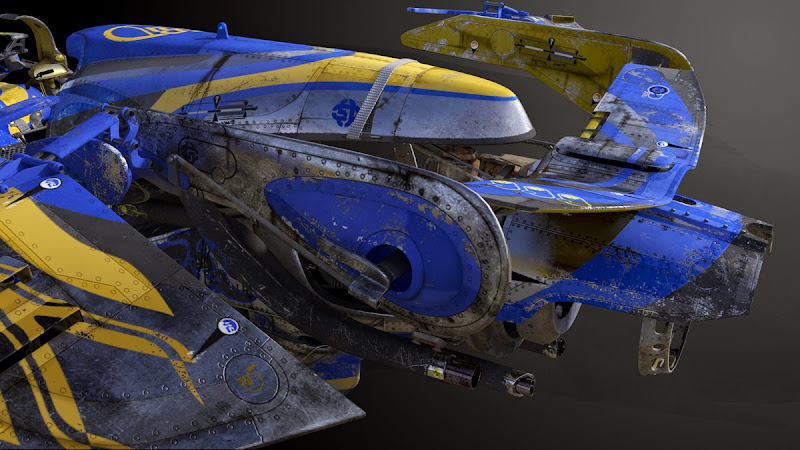
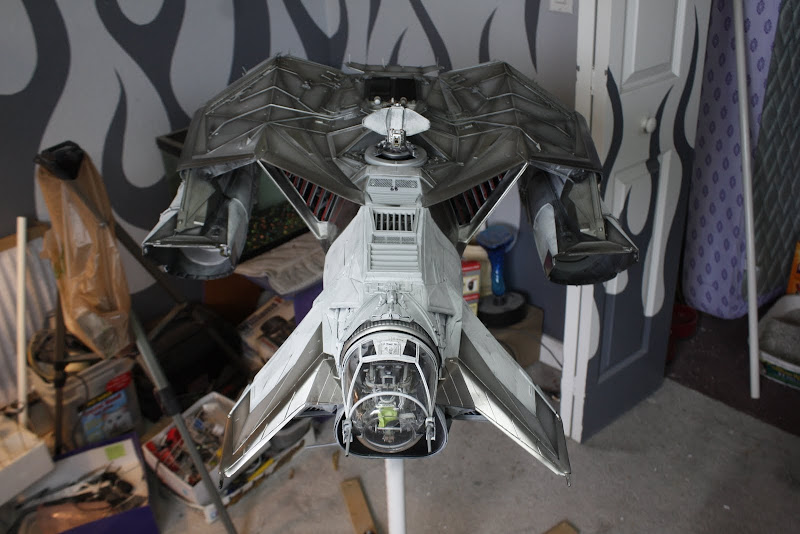
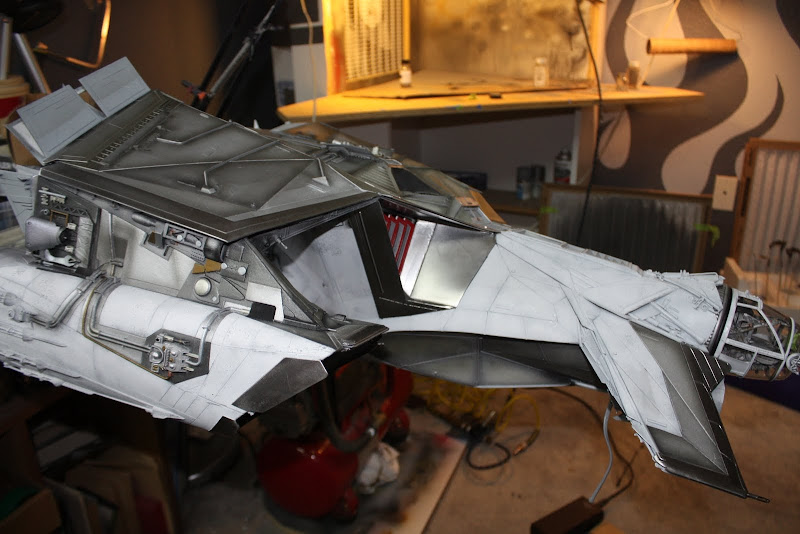
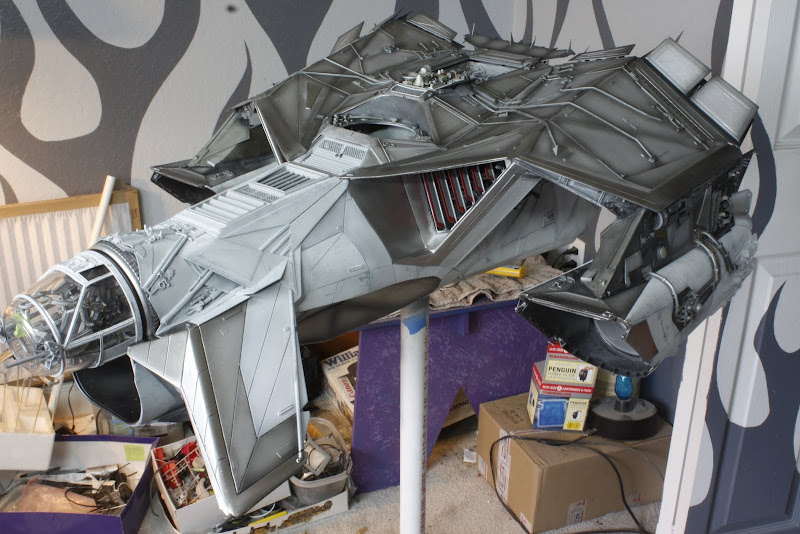
I removed all the masking and was left with this.
A good base for the weathering but not 100% sure i like it. :unsure


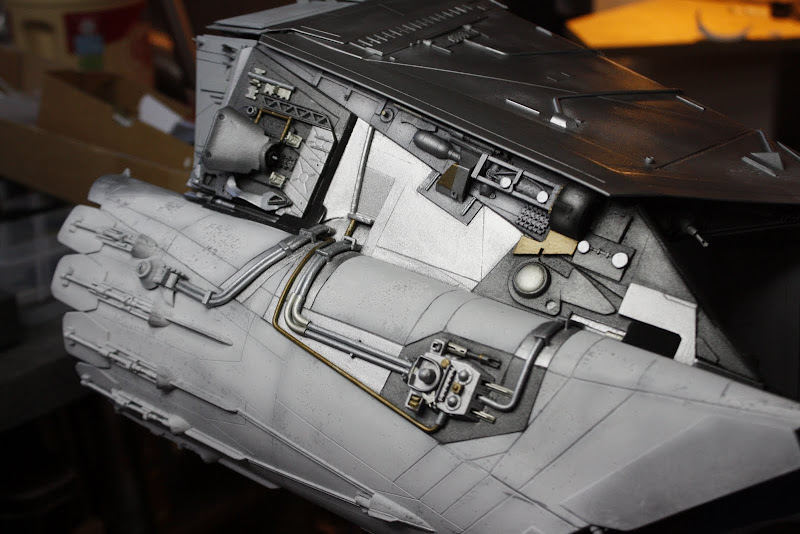
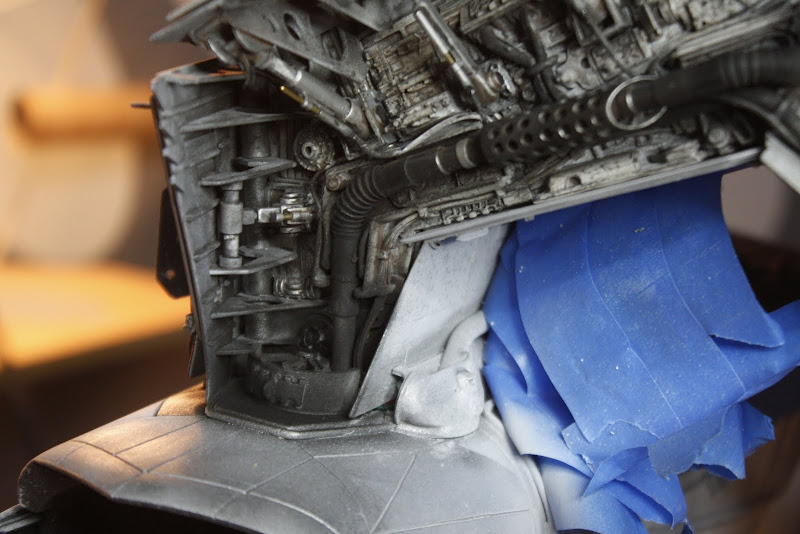
The leading edge panel on both the main wings and front wings will be done with alclad chrome, also a few of the leading edge panels on the engine fairing will also be alclad.
I think the contrast will look cool between the chipped grey and the raw metal panels finish and the bright polished leading edge on top of that there will be a 2 coloured pattern on the upper wing surfaces, as i mentioned, the design of which is still undecided.
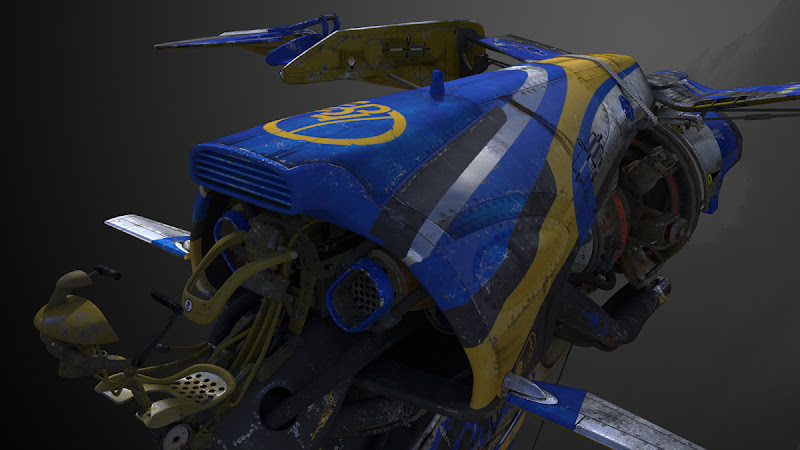
What do you guys think, do you think i should overspray the sides with more chipped grey or leave it as is?
I do like that its a bit different and not your average space ship grey, but does it look 'wrong' to you guys?
Let me know what you think because I am on the fence a bit with this and would appreciate some input.
That's all for now folks
Till next time, take care
Gag out.
(heavy Weight Masking Champion of the World)
Morning Everyone
Thanks for stopping by to Mask-Fest 2013,
I'm seriously regretting not buying shares in a masking tape company at this point. :facepalm
I don't know how many rolls I've used, all I know is I've bought three in the last 4 weeks.
On with the mask..........I mean painting.
Because I'm heavy handed and rubbish at painting I managed to obliterate my pre-shading.
So, i decided to change my plans and just build up 'metalised' panel details on the outer engine support then go in with a brush to pick out smaller details.
Titanium silver
Pre-shade,
Now you see it.
Now you don't
Flat aluminium
Crome silver
Also did a gun metal pass but didn't take a picture
I then i brushed steel, bright brass and gold to pick out various details.
I removed all the masking and was left with this.
A good base for the weathering but not 100% sure i like it. :unsure
The leading edge panel on both the main wings and front wings will be done with alclad chrome, also a few of the leading edge panels on the engine fairing will also be alclad.
I think the contrast will look cool between the chipped grey and the raw metal panels finish and the bright polished leading edge on top of that there will be a 2 coloured pattern on the upper wing surfaces, as i mentioned, the design of which is still undecided.
What do you guys think, do you think i should overspray the sides with more chipped grey or leave it as is?
I do like that its a bit different and not your average space ship grey, but does it look 'wrong' to you guys?
Let me know what you think because I am on the fence a bit with this and would appreciate some input.
That's all for now folks
Till next time, take care
Gag out.
(heavy Weight Masking Champion of the World)