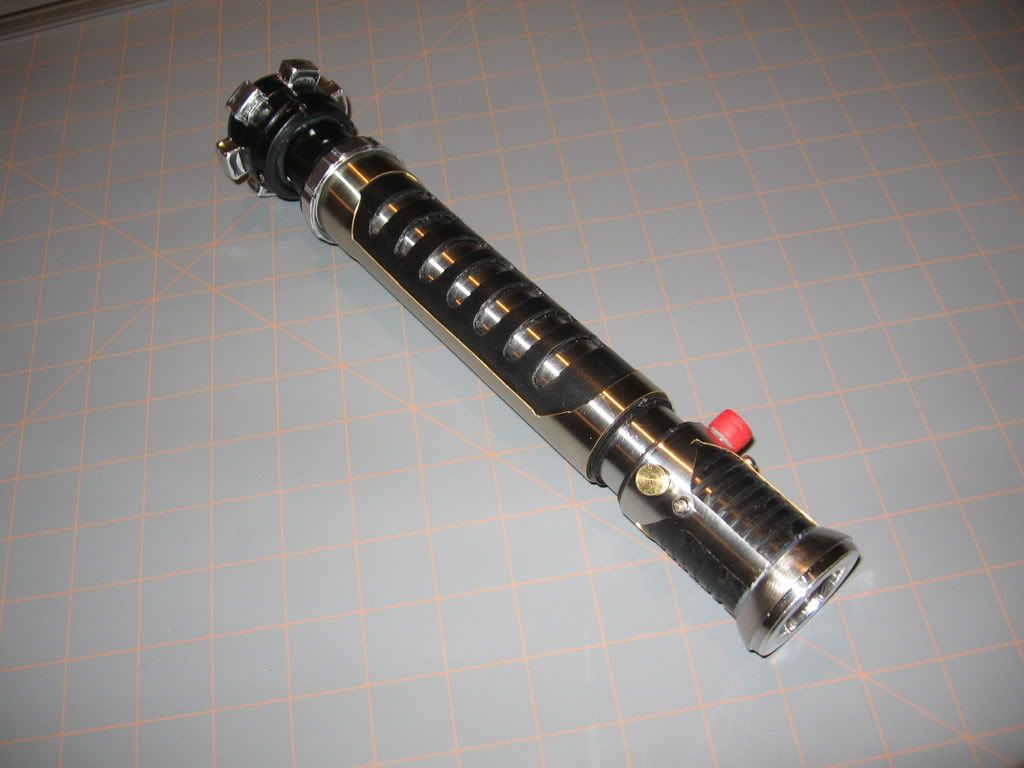
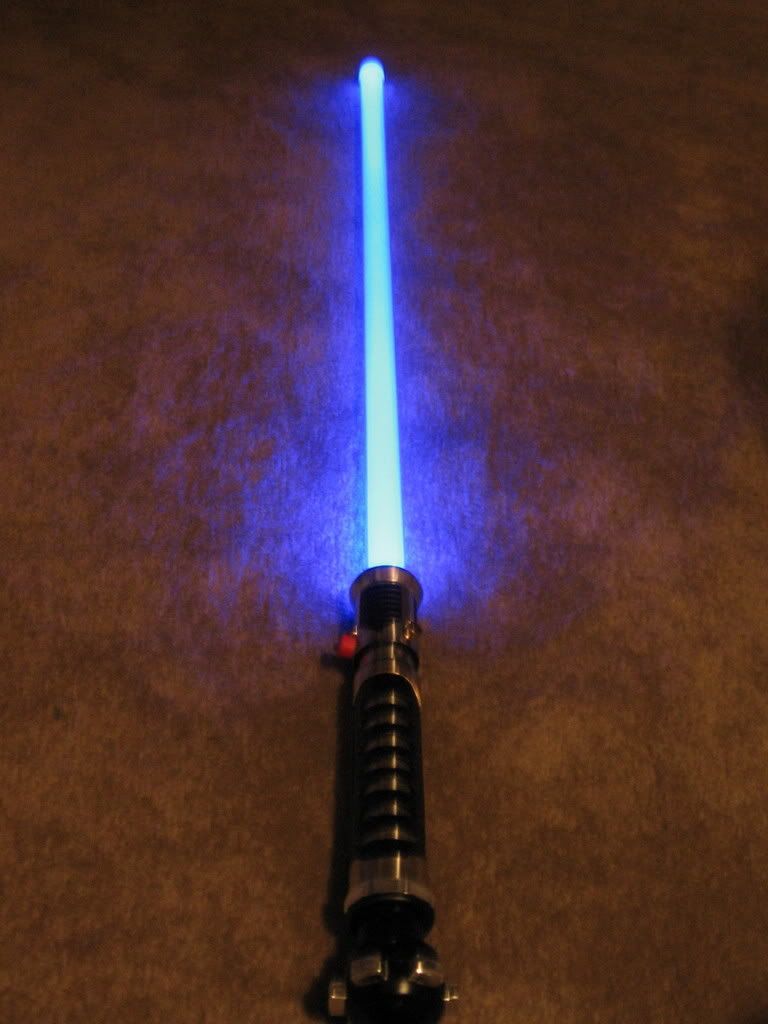
ROTJ Luke lightsaber hilt hardware style .

StarBirdengine

New Member
Hi Im new here and I was hopeing someone could help my out find some sort of tutorial for make the ROTJ Luke hilt. Ive done a tons of searches but I cannot find anything other than the one that requires heavy machinery .


Could someone point me in the right direction?

I know there used to be a guy on here called playsckool2000 or something like that. I could not find his tutorial ! I really curious what he used for the emitter.


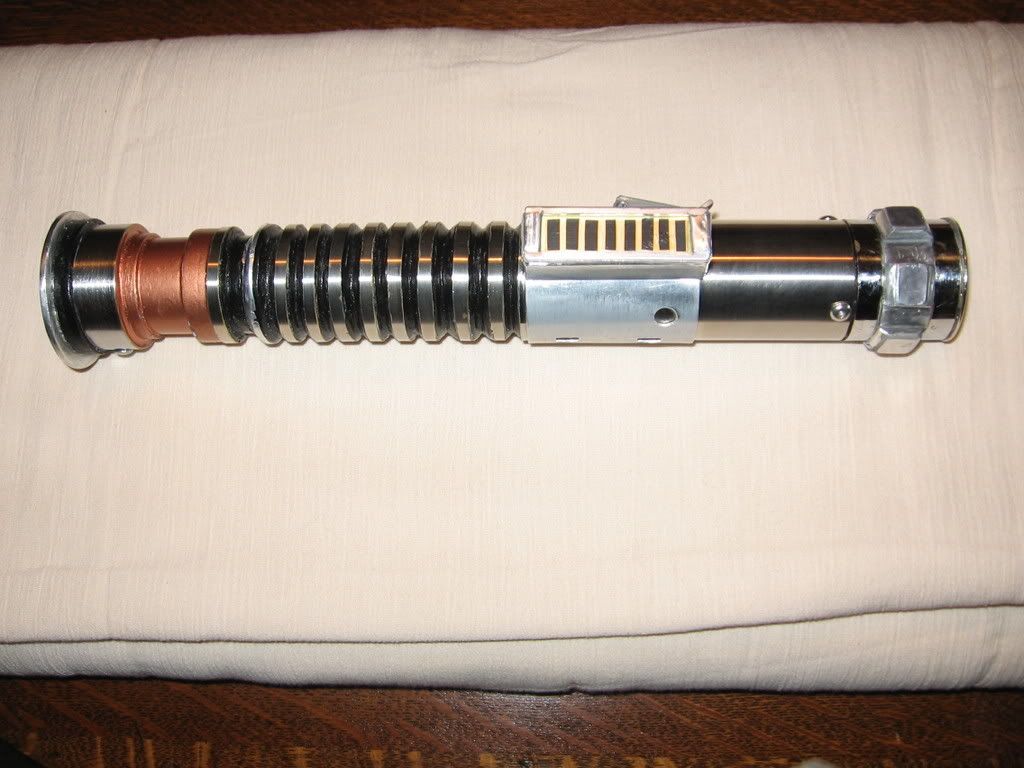
IMG_2007.jpg this is what I have so far
 
Last edited:
Playskool2000.. That is a name that I haven't heard in a long time... He used to post builds back in 2003 and I found his builds to be really inspirational, but I don't remember that he built a Luke ROTJ saber. There are many others on the forum that have made "hardware" Luke ROTJ sabers though.

I think that he and a few others in the US got their aluminium stock from onlinemetals.com.
I got my small quantities of tubes, bars and profiles from the scrap bin (leftovers) at a local metals store. I was lucky to get aluminium tubes in sizes that fit together ... although with a little nudging.

There is no easy way to build a Luke ROTJ lightsaber emitter. I would build the bulk of it from alu pipes. I would make the emitter plate of thick sheet metal by filing a roughly cut part flush against a glued-on steel washer.
One of my first custom sabers had an emitter built from a small speaker flange and a tea-light ... but it is not very authentic.

There is a useful blueprint of the lightsaber here. It is reasonably, if not very accurate.
 
Last edited:
Thank you for your comment liking the quote! :)

Back to the hardware store to look for the emitter. IM gonna start looking for some washers that are the right size

I would like to see these other builds ppl have done on the forums tho.
once I figure my way around the forums
 
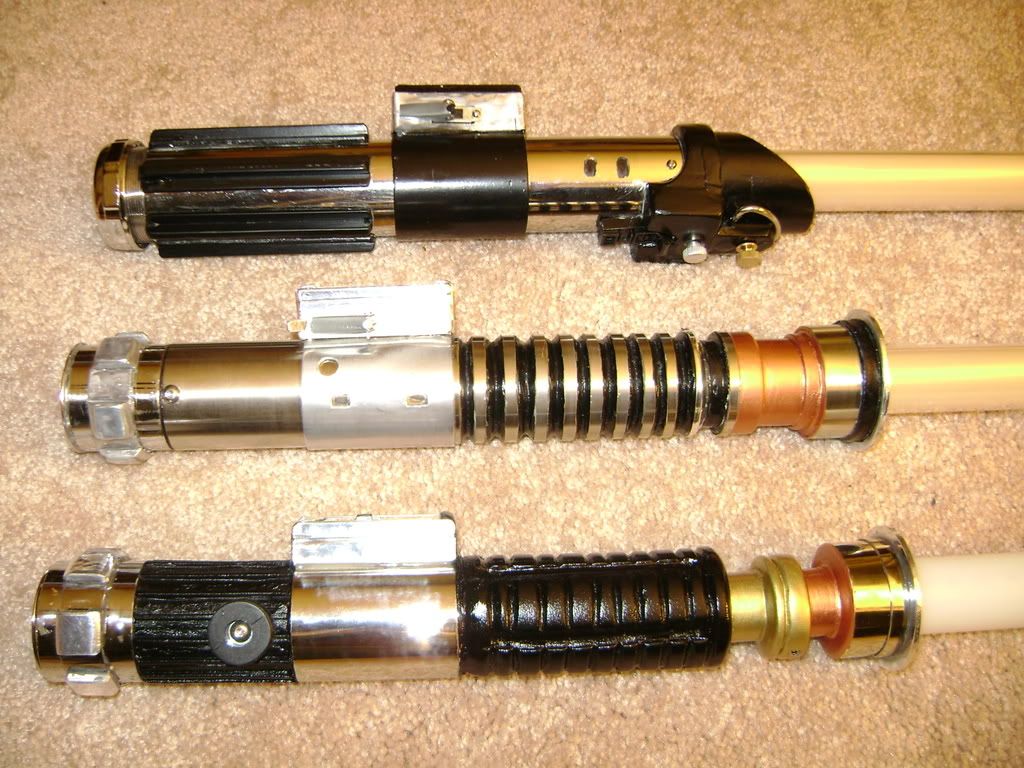
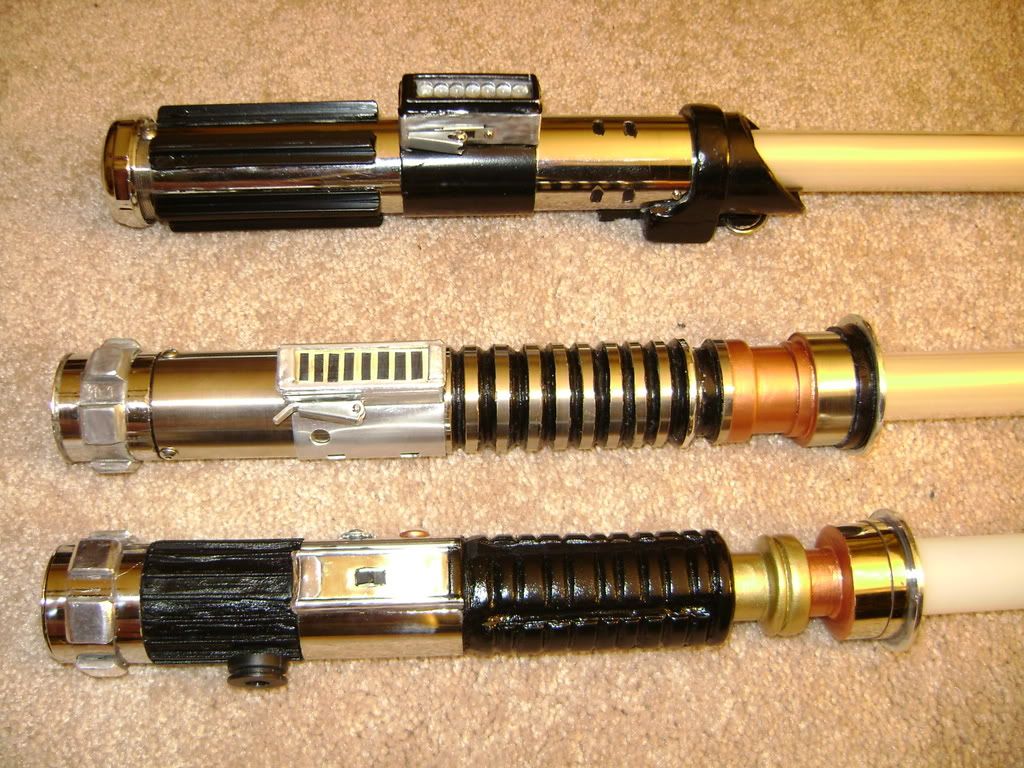
Here are some shots of my hardware versions of the V3 Luke ROTJ Saber, Vader Saber, and Obi-Wan ROTS Saber. I used PVC pipe, aluminum tubing and chrome sink tube and tons and tons of epoxy.


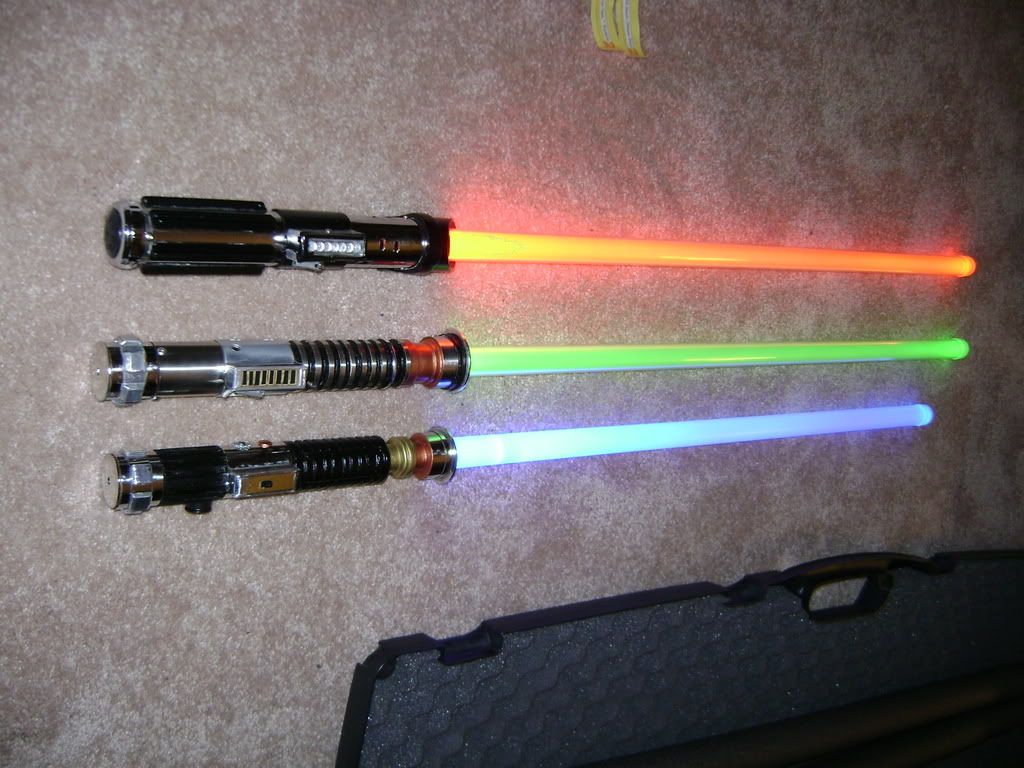
I forgot to add that they were all Luxeon LED lightsabers with MR or Hyperdyne Labs sound.


Here is a Obi-Wan TPM Hardware saber that my friend and I build for his collection:


My advice is to peruse your local hardware store and just look around. You don't have to be wealthy to come up with some really cool looking props. Just some patience, and imagination. I look forward to seeing what you come up with!
 
Here are some shots of my hardware versions of the V3 Luke ROTJ Saber, Vader Saber, and Obi-Wan ROTS Saber. I used PVC pipe, aluminum tubing and chrome sink tube and tons and tons of epoxy. [url]http://i151.photobucket.com/albums/s133/Nathan122/saber5.jpg[/URL][url]http://i151.photobucket.com/albums/s133/Nathan122/DSC00799.jpg[/URL]

[url]http://i151.photobucket.com/albums/s133/Nathan122/DSC00798.jpg[/URL]

I forgot to add that they were all Luxeon LED lightsabers with MR or Hyperdyne Labs sound.

[url]http://i151.photobucket.com/albums/s133/Nathan122/DSC00797.jpg[/URL]

Here is a Obi-Wan TPM Hardware saber that my friend and I build for his collection:

[url]http://i151.photobucket.com/albums/s133/Nathan122/Obi2.jpg[/URL]
[url]http://i151.photobucket.com/albums/s133/Nathan122/obi9.jpg[/URL]

My advice is to peruse your local hardware store and just look around. You don't have to be wealthy to come up with some really cool looking props. Just some patience, and imagination. I look forward to seeing what you come up with!
Awesome work
 
Let's see, accuracy wise this is a TOUGH saber to replicate from scratch. Your best bet would be ribbed tubing for the grip section...of the right diameter and size. Pool hose is sometimes big enough (count the grips on the original, measure the length of the section for size) hmmm...try looking at thin walled PVC and chrome pipe extensions beneath the sink drain aisle, you can cut thin sections of pipe and stack them together to make an emitter. Windvane too... You always want to have a core in hardware sabers that runs the entire length. With these the neck would most likely run through giving you structure, and you'd fill in the space between it and the lower body when you need to... Not sure about the pommel cubes I'll have to think on that one..
 
Not to contradict you, but... To my knowledge pool hose typically has an inside diameter of 1 1/2", giving it an outside diameter of over 1 3/4", which is too big. Ideally you would want a corrugated hose with an inside diameter of about 1" (but I haven't found any yet). The next best thing is sump pump drain hose, which gives you an outside diameter of just a hair over 1 1/2" and slips snugly over a 1 1/4" plumbing extension pipe (for internal support).
 
Last edited:
Oh, if you do use corrugated hose, don't drive yourself crazy trying to paint the rings of the forward grip silver. Instead, do what I did... Use automotive pin striping tape. It's easy and won't wear from handling (well, not like paint, anyway).
 
OK this is a picture of what I got "shopping" last night. Any one out there see any potential in what I found? Love to hear your thoughts please. IMG_9398.JPG
 
Ah ha that's much of what I saw too. I have been back to the store house again tonight. This is going to be a one of a kind build as the stockage is getting very low sadly. Does any one have any tips on painting plastic pipe. I'm thinking key it all with sand paper and then a base coat and subsequent top coats to finnish?
Michael how did you do to draw those boxes around please? Cheers.
For plastic I would sand it and then use primer filler (works wonders) and then like you said paint layers.
for the picture I just downloaded the picture an pulled into paint, figured it would be easier than words lol:)
 
body.JPGemmiter.JPGpommel.JPGBlade Adjust.JPG
So here it is. After far too long I finished my first lightsaber. Ok so here is the run down. All the parts on it were found lying around in a former turkey egg processing unit long since abandoned. The whole thought behind this build was cheap i.e. free or as close to free as possible. My SO is not into the idea of my build so time on it was snatched as and when I could. So thoughts please, I know now there are elements that I could have done better given time and a budget but that's life. I had the basic idea of how to make the pieces fit but the design kept evolving right up until last night when I set the glue. I wanted a simple design as I could not see an easy way to mount any of the fancy switches so I went with only one know to activate the lightsaber and that is on the very bottom of the pommel. The pommel is very heavy and could be used in combat as a hammer. The belt clip opposite the activation knob is the spoon from a smoke grenade which believe it or not was lying around with the other parts. The blade adjustment is achieved by pulling up on the rear of the em miter housing and instructions are printed there in basic. As I was taking the pictures I thought about the overall look of it. I was reminded of the drawings of the stormtrooper with a lightsaber. Perhaps this was issued by the empire? I'd love to hear your thoughts good and bad I know it's not perfect but I'm pleased with it. Thank you all and keep up your own great works.
 
Back
Top