trekriffic
Sr Member
Re: Romulan Bird-Of-Prey from TOS
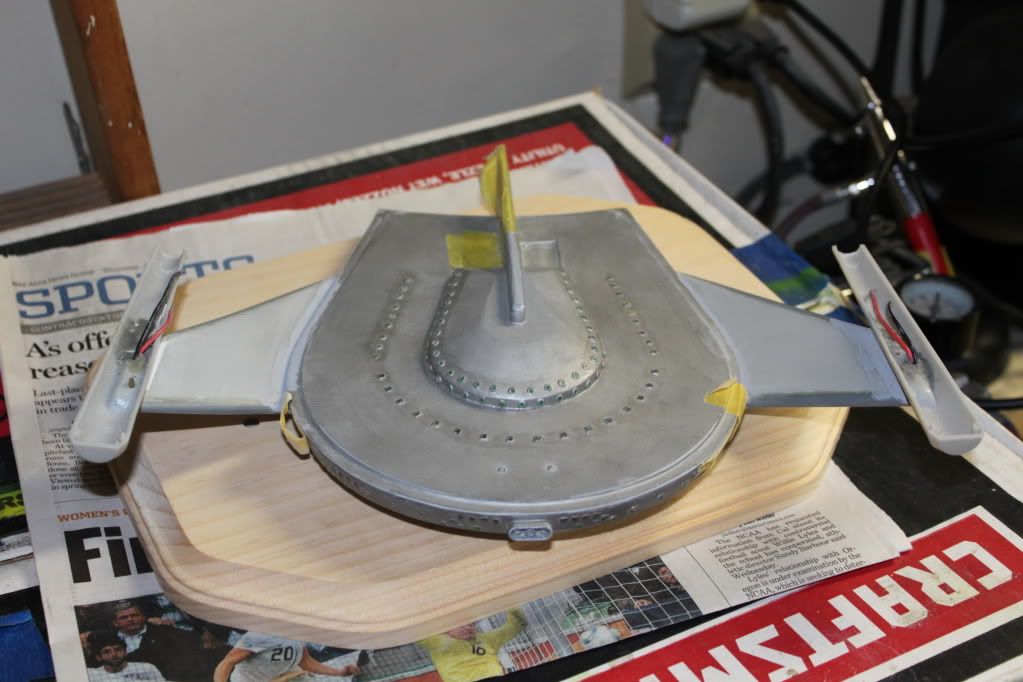
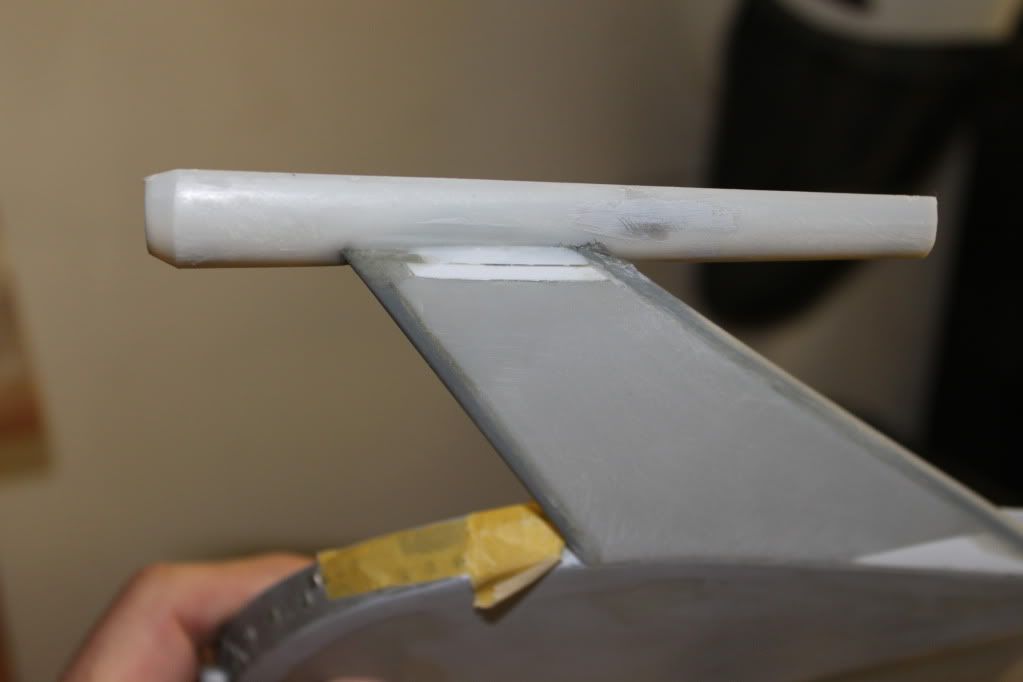
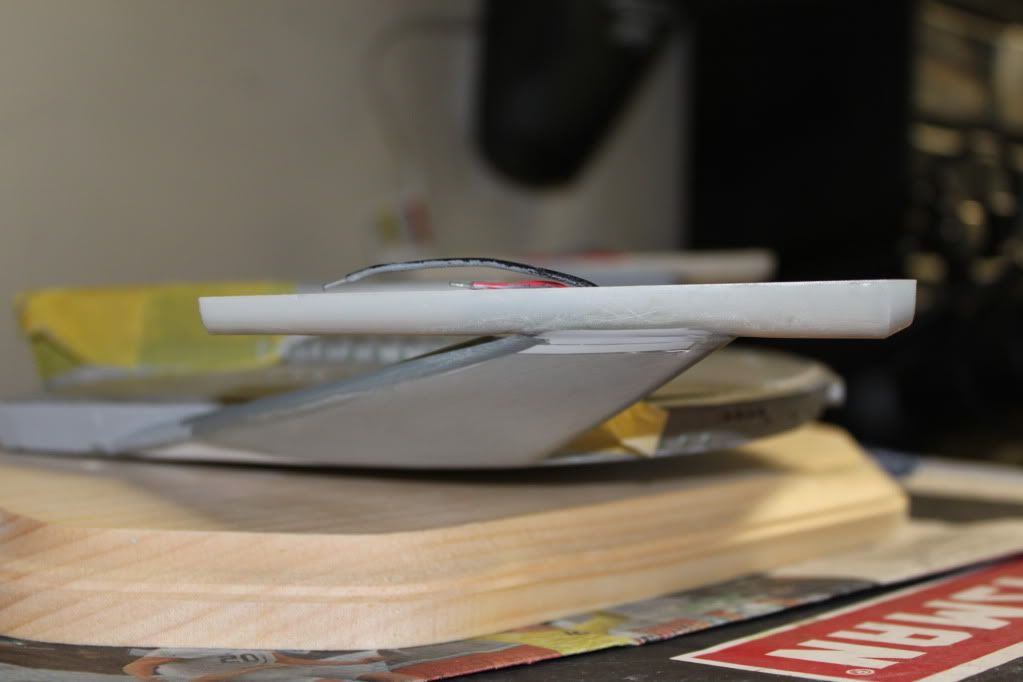
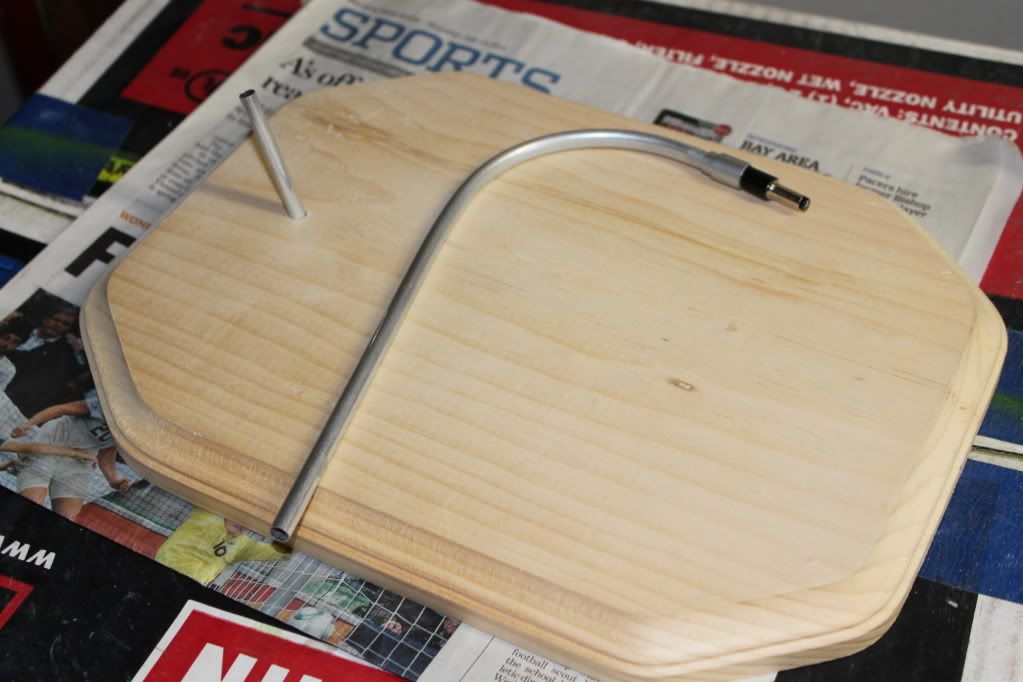
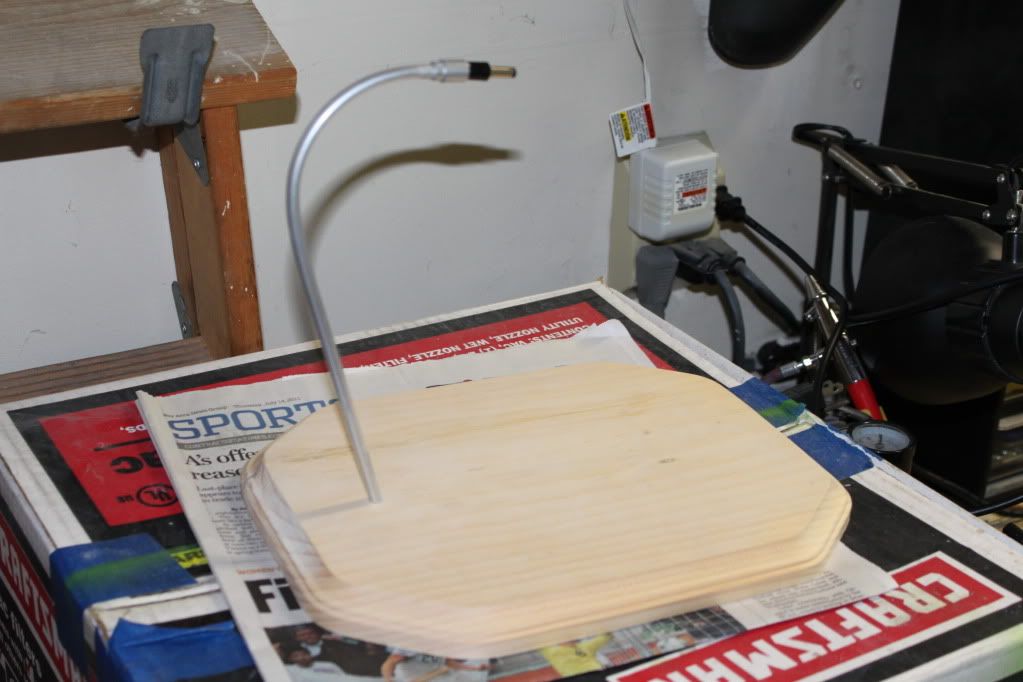
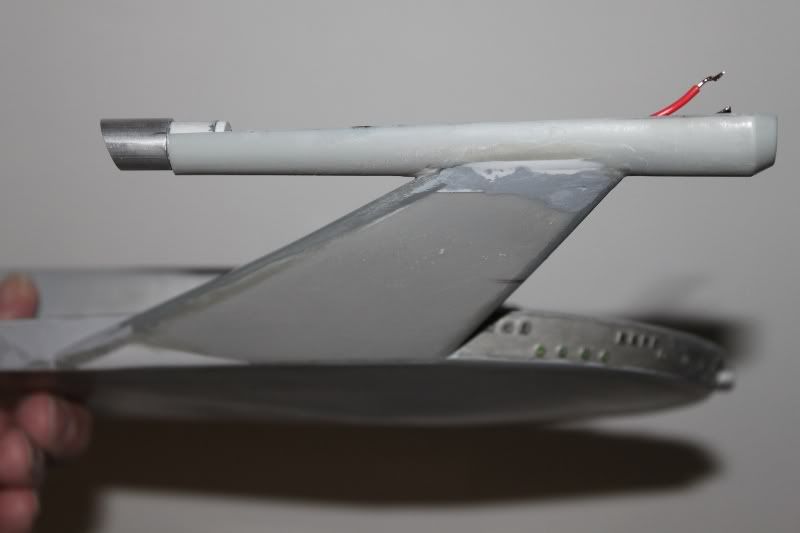
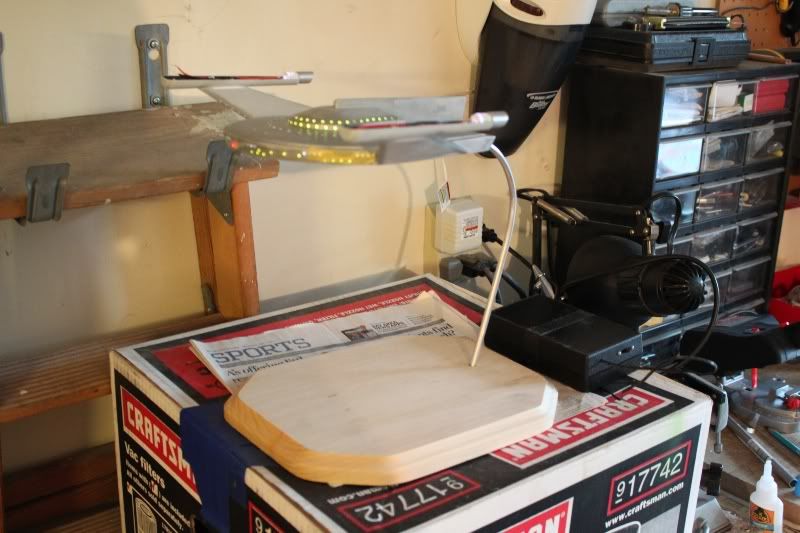
Updates from last night's progress...
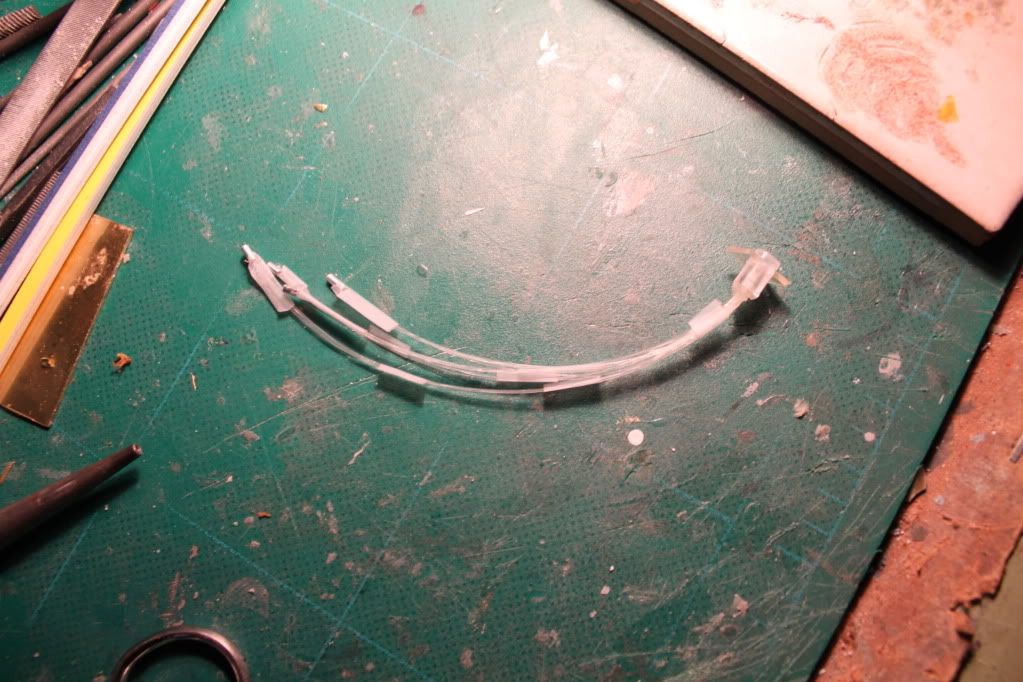
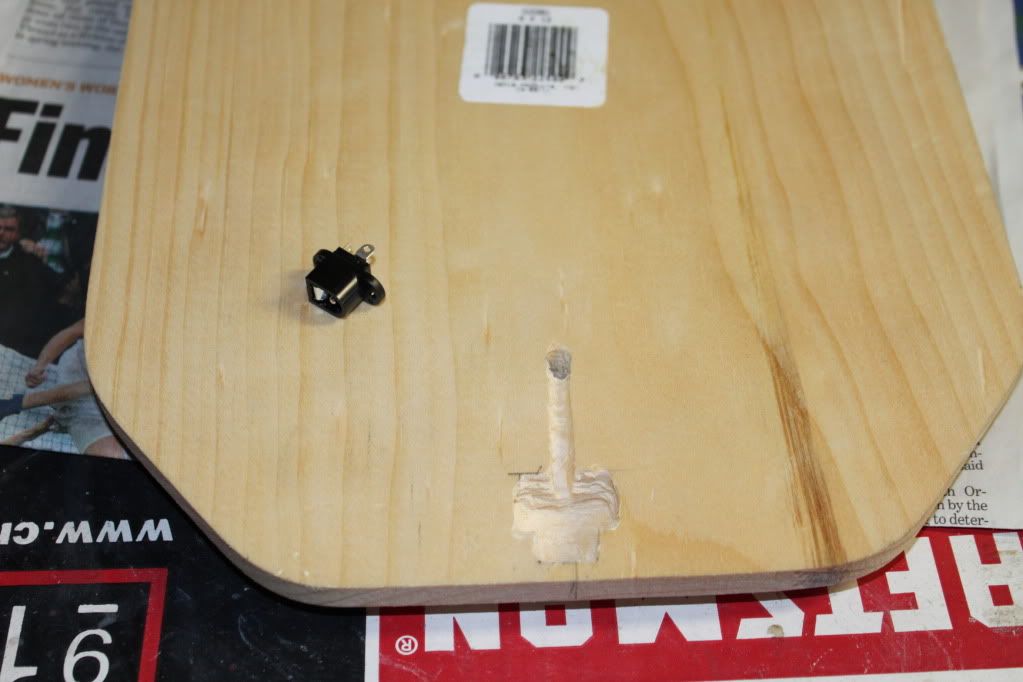
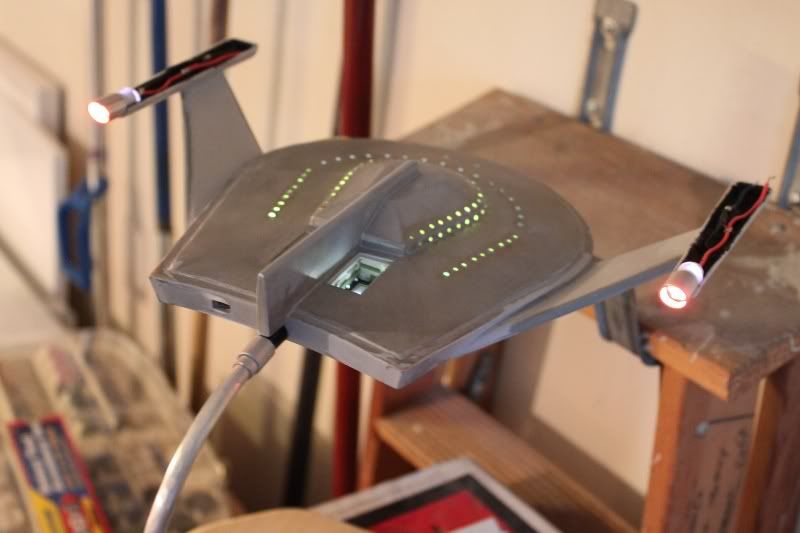
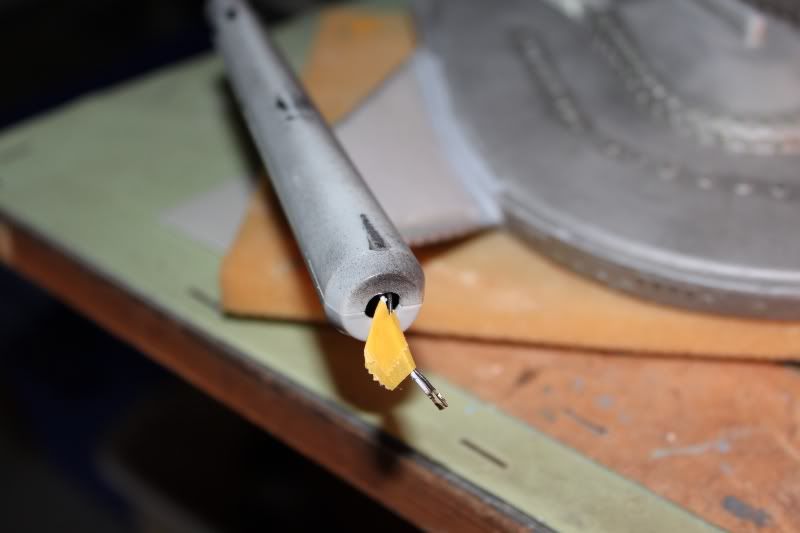
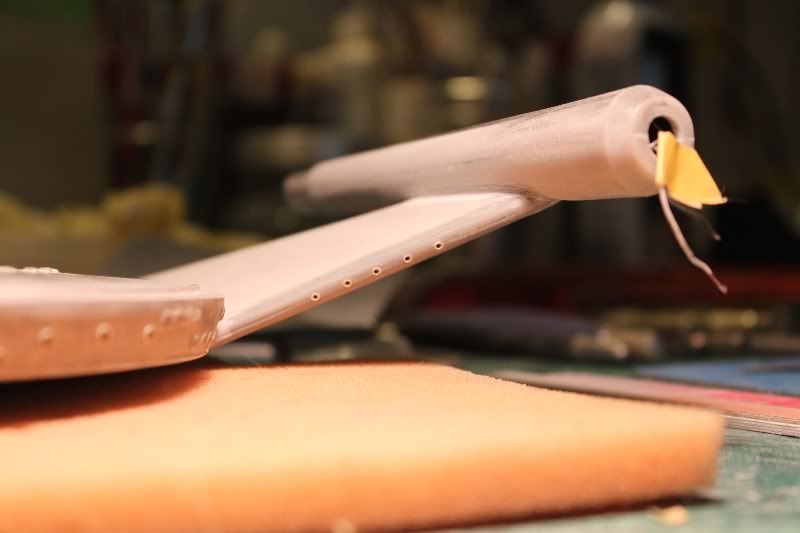
Magnets glued into bottom of hangar bay with CA.
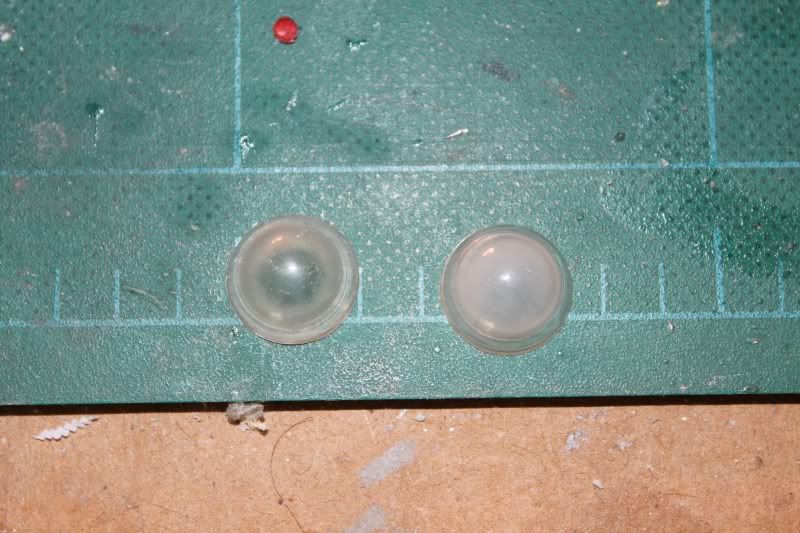
These should work well with the pinheads that constitute the front landing pads on the Talon.
The plastic spacer in the middle held them apart while the glue dried.
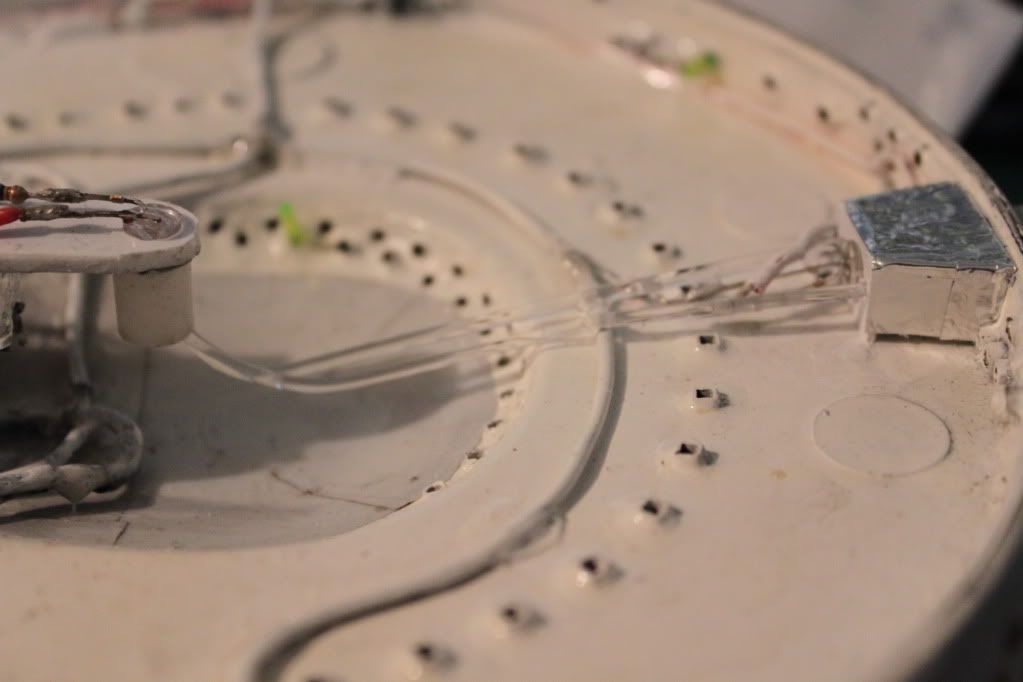
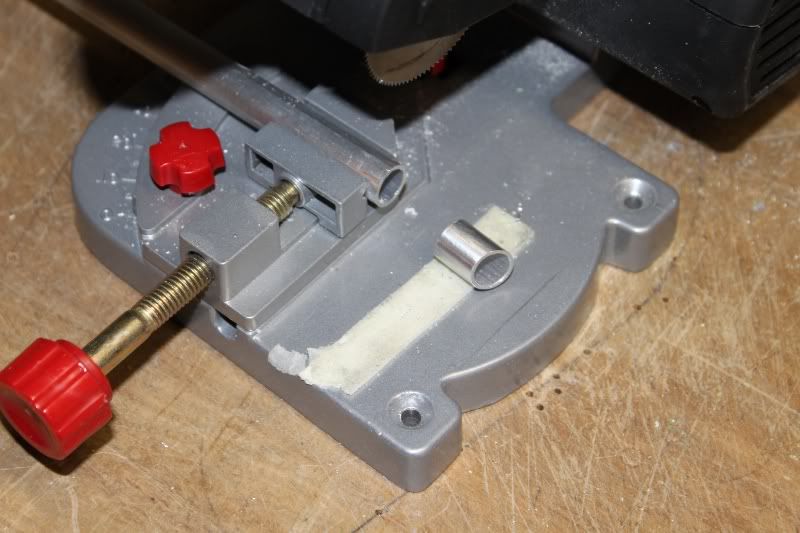
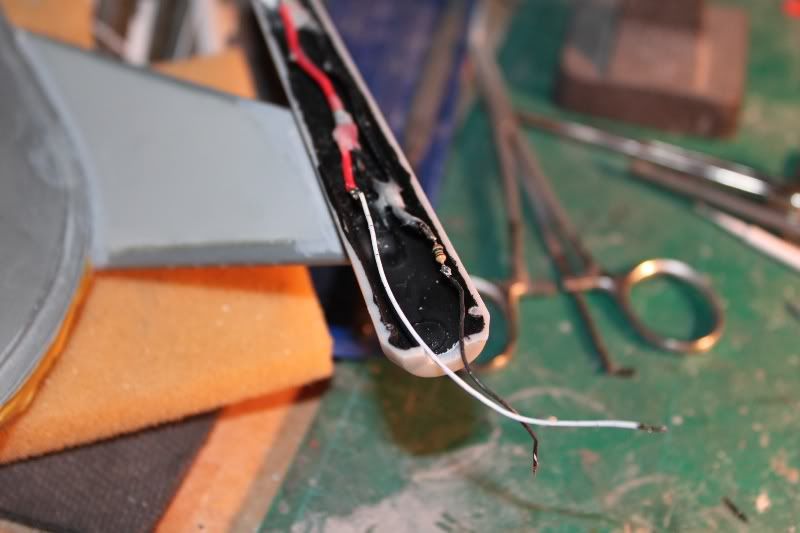
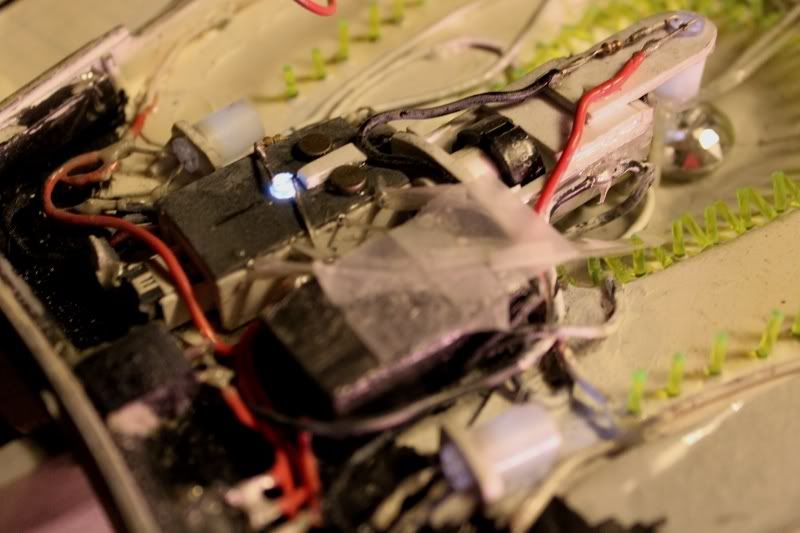
Looks like a plumber's nightmare doesn't it? :eek
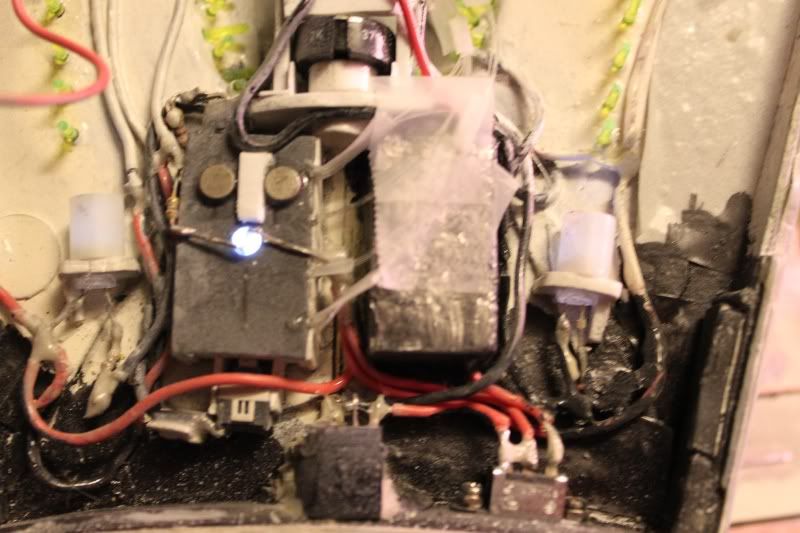
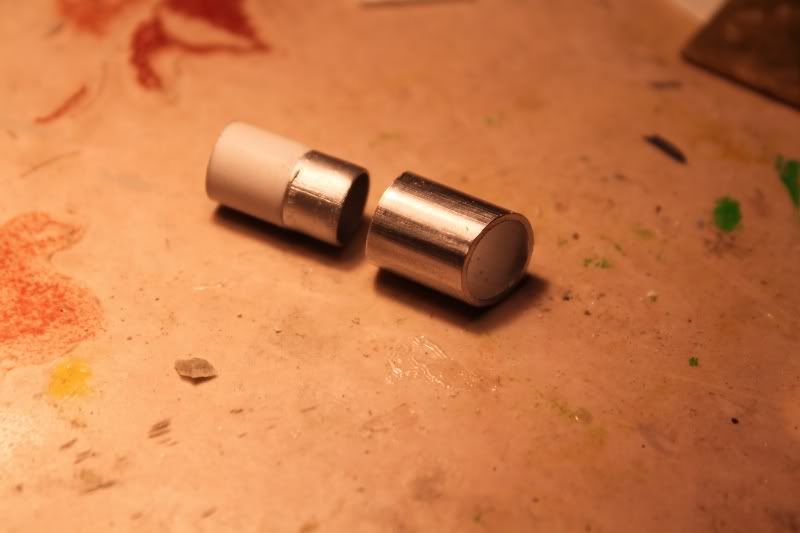
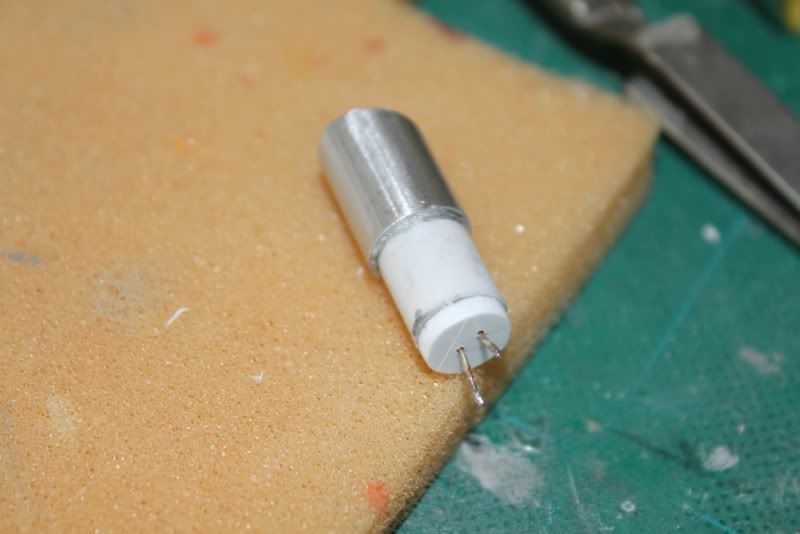
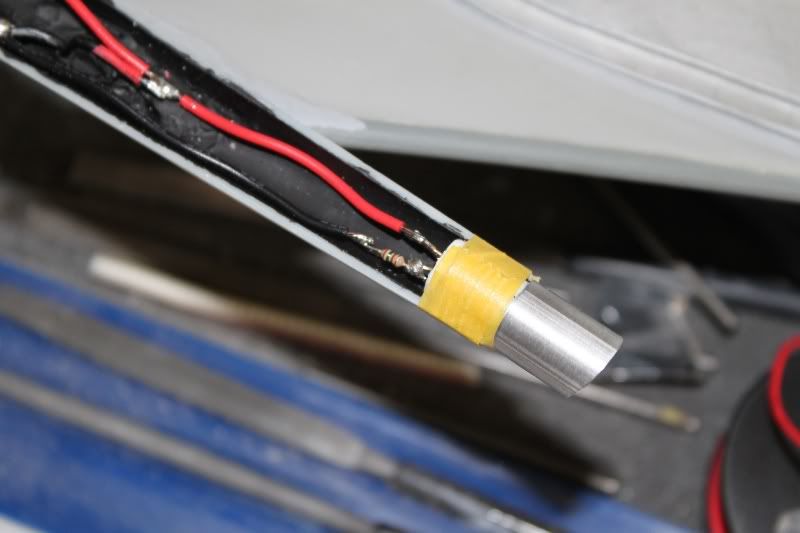
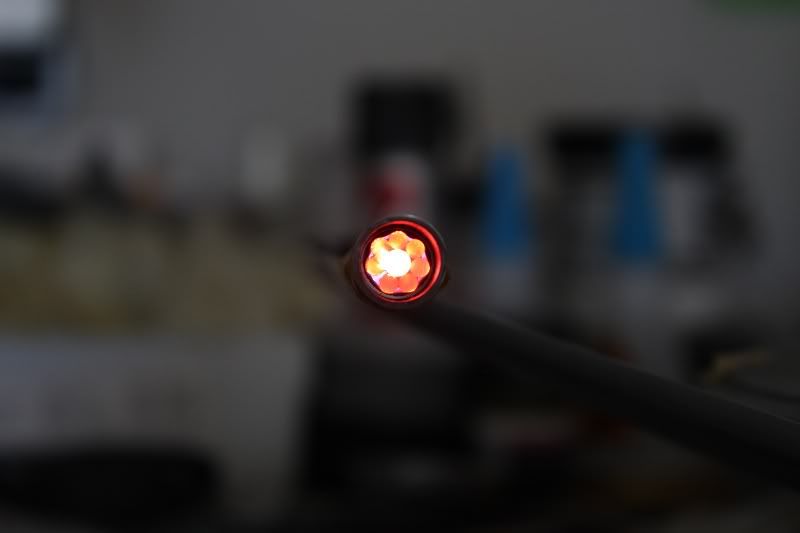
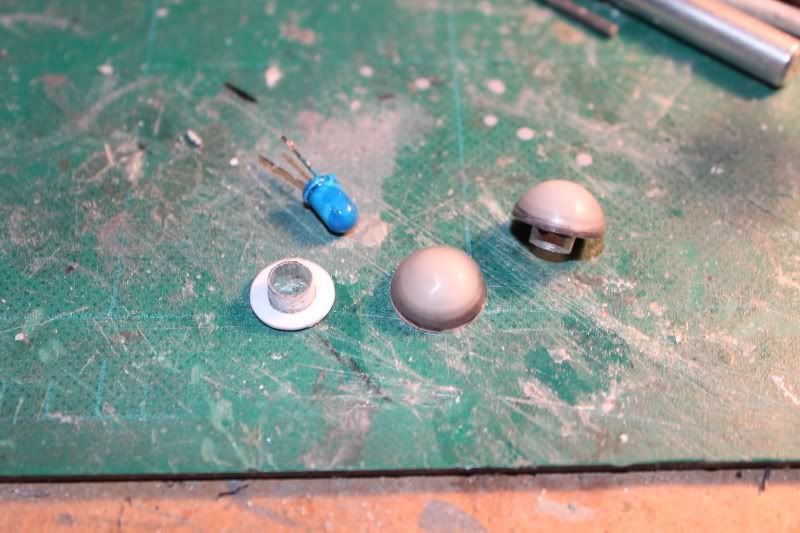
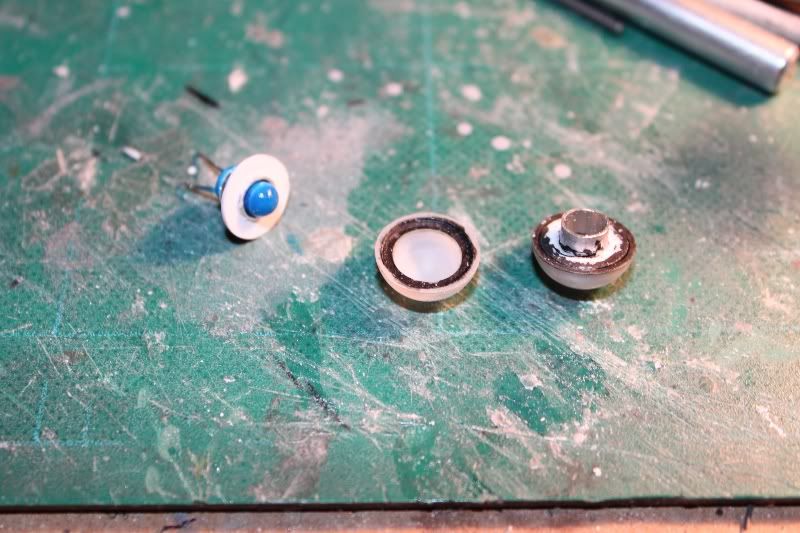
Here you can see the fiber bundles for the spotlights connecting to the light source in the center...
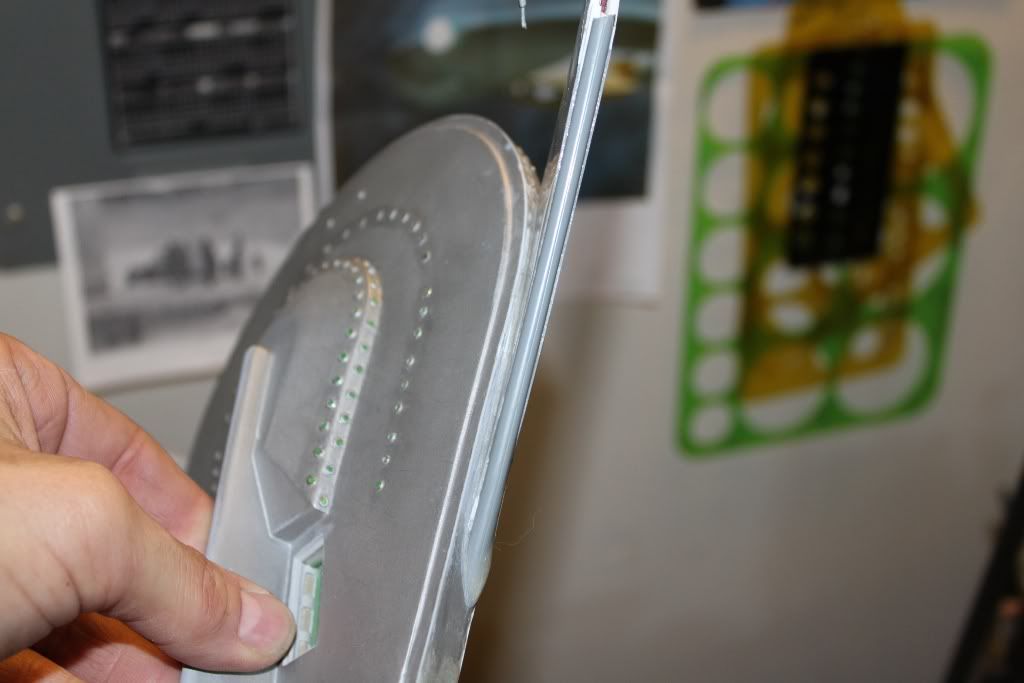
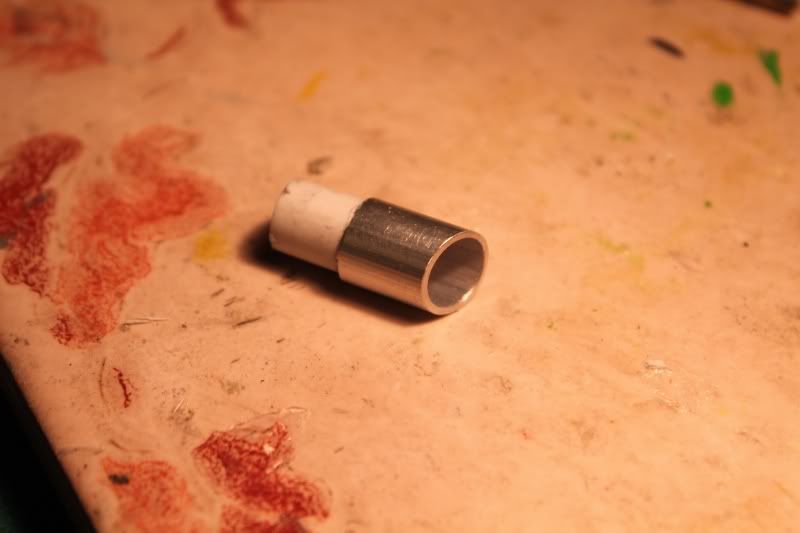
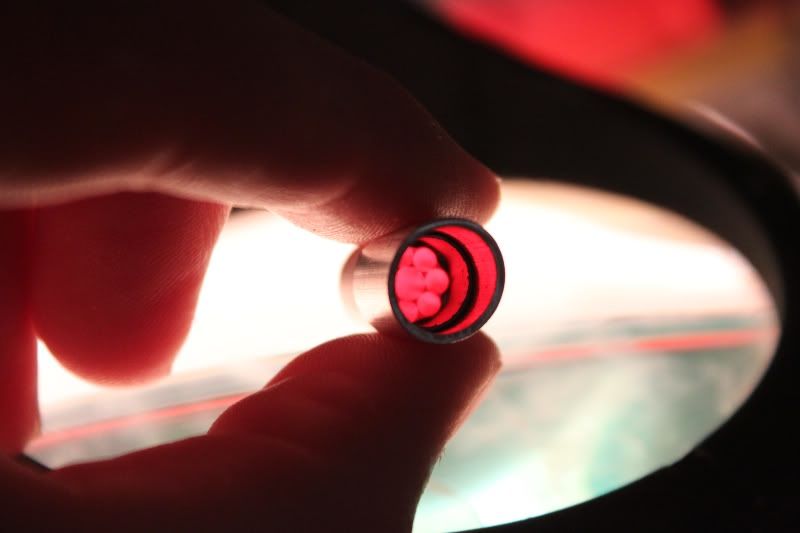
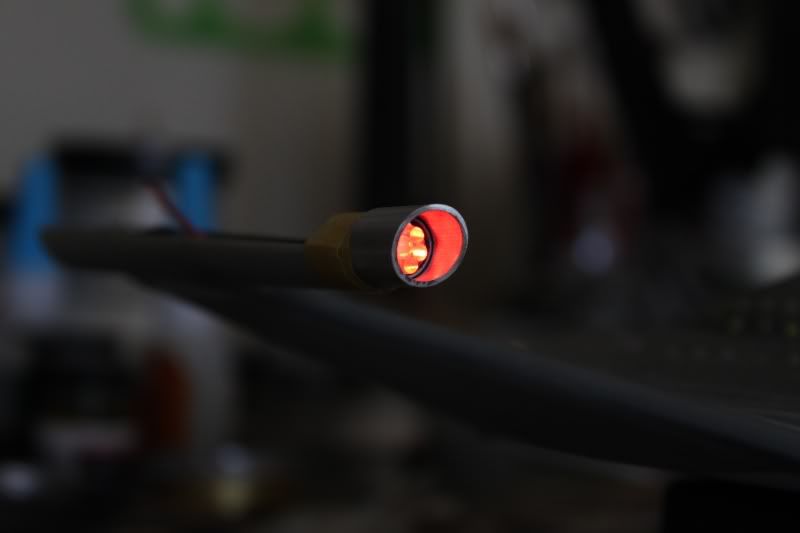
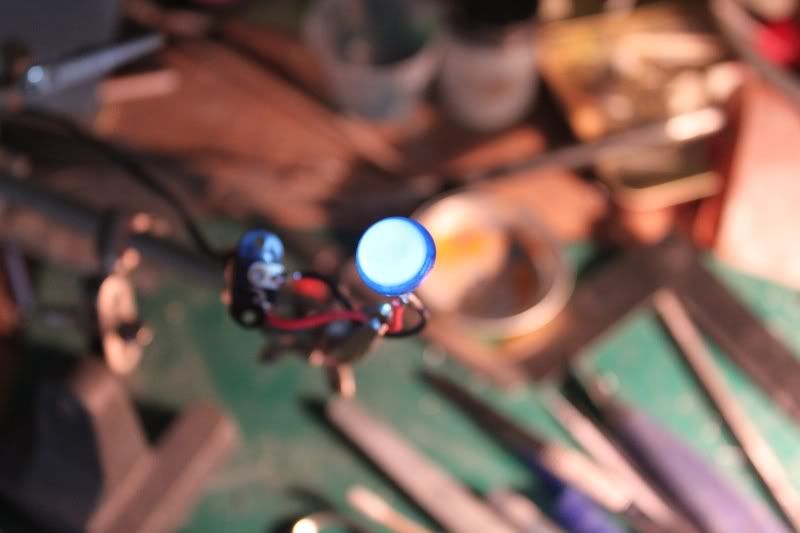
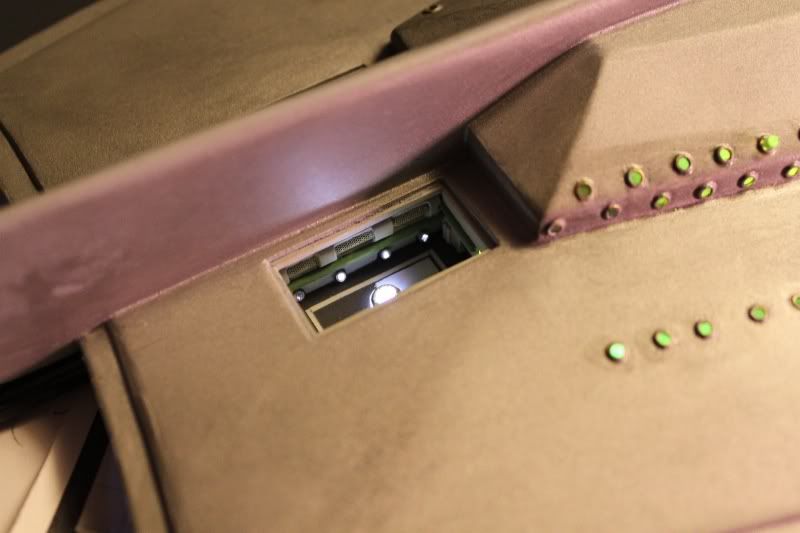
The spotlights in the bay...hmmmm... looks like one of my green sensor rods is sticking out from its bezel in the cupola.
Have to poke it back down and add a drop of glue to fix that...
That's it for now.
Thanks for reading! :cool
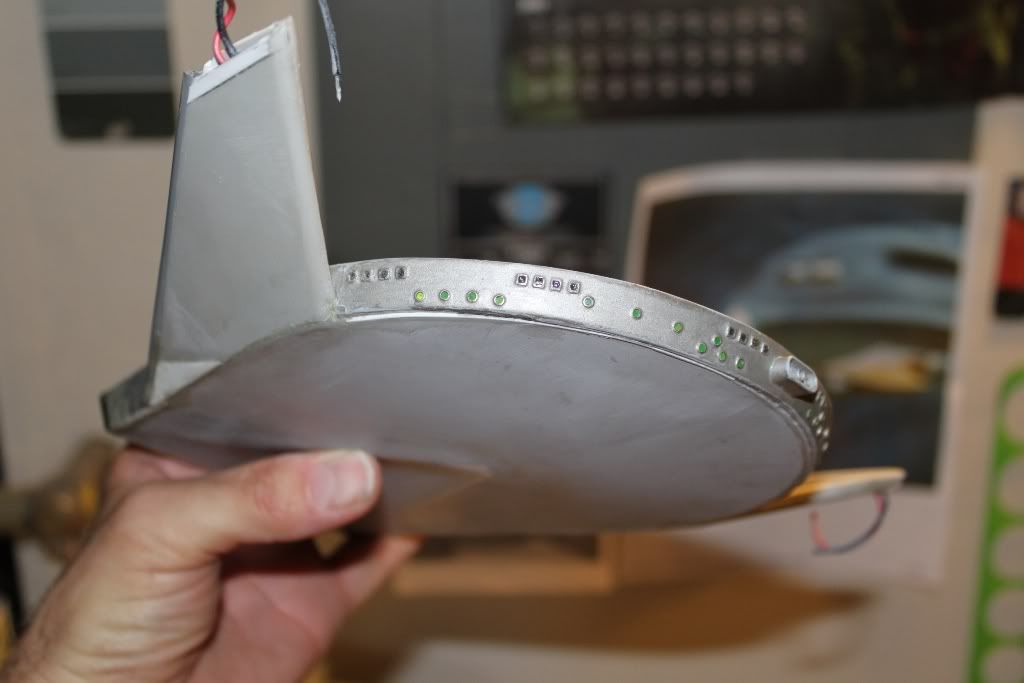
Updates from last night's progress...
Magnets glued into bottom of hangar bay with CA.
These should work well with the pinheads that constitute the front landing pads on the Talon.
The plastic spacer in the middle held them apart while the glue dried.
Looks like a plumber's nightmare doesn't it? :eek
Here you can see the fiber bundles for the spotlights connecting to the light source in the center...
The spotlights in the bay...hmmmm... looks like one of my green sensor rods is sticking out from its bezel in the cupola.
Have to poke it back down and add a drop of glue to fix that...
That's it for now.
Thanks for reading! :cool
")