trekriffic
Sr Member
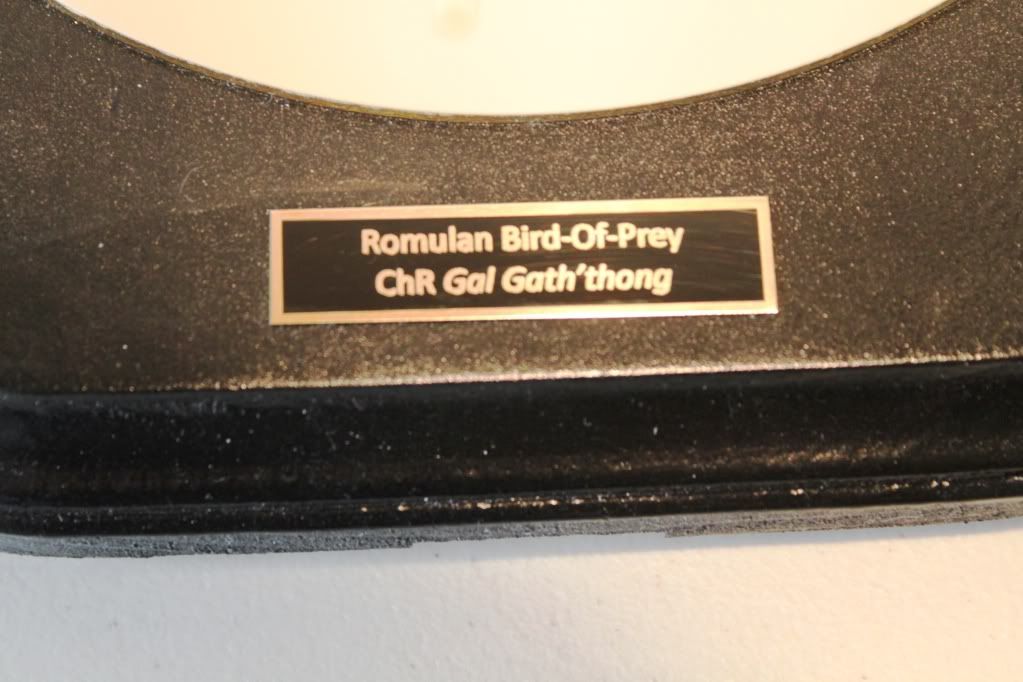
Re: Romulan Bird-Of-Prey from TOS
Here are some pics I just took a few minutes ago...
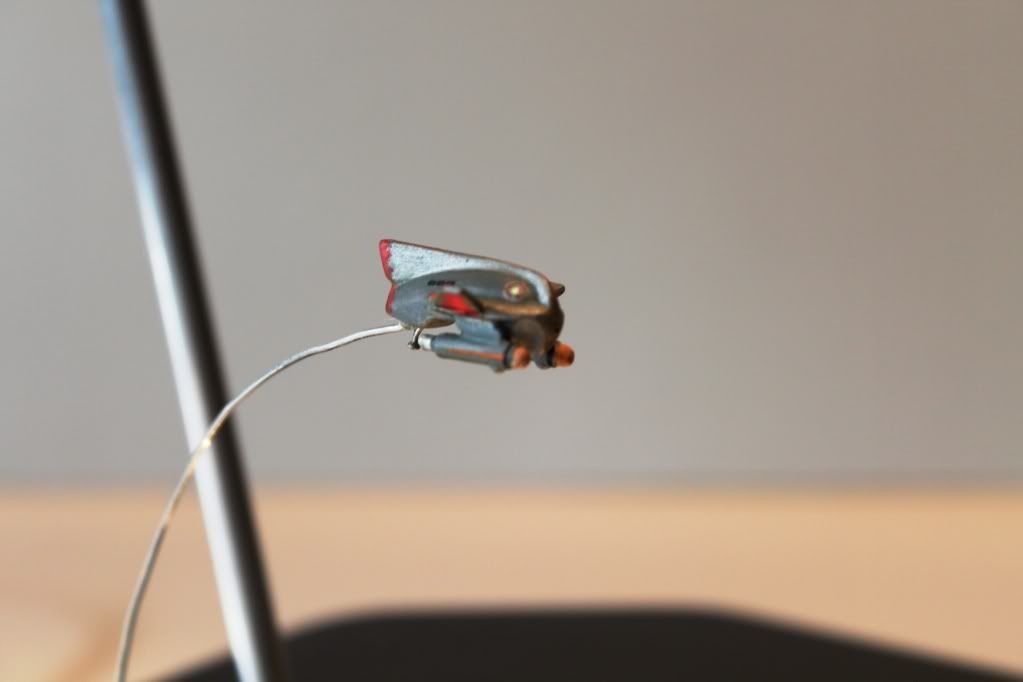
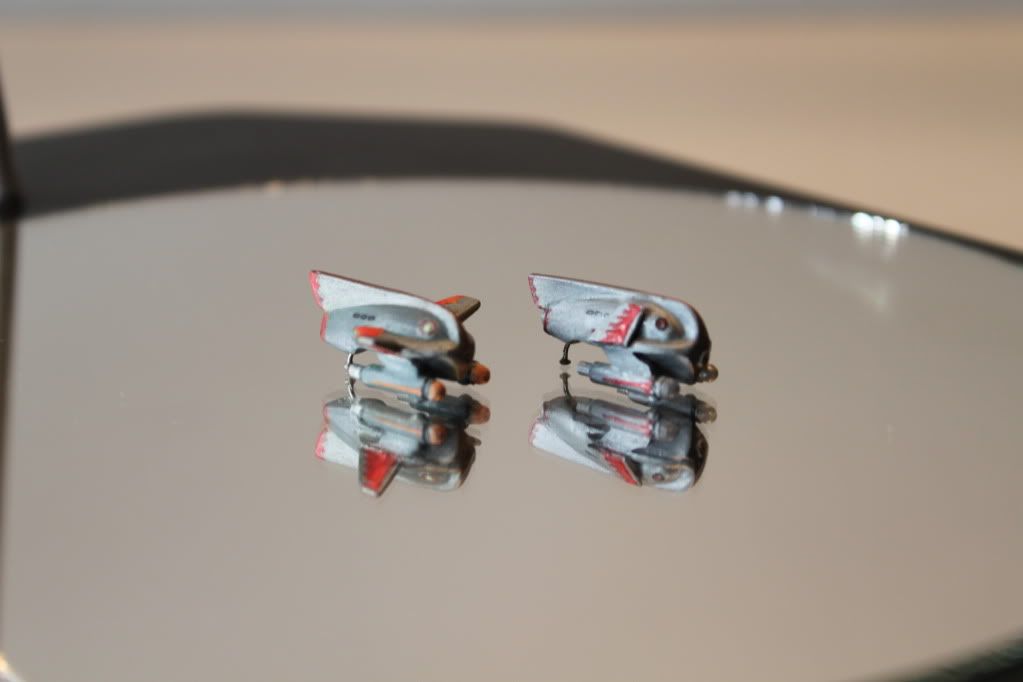
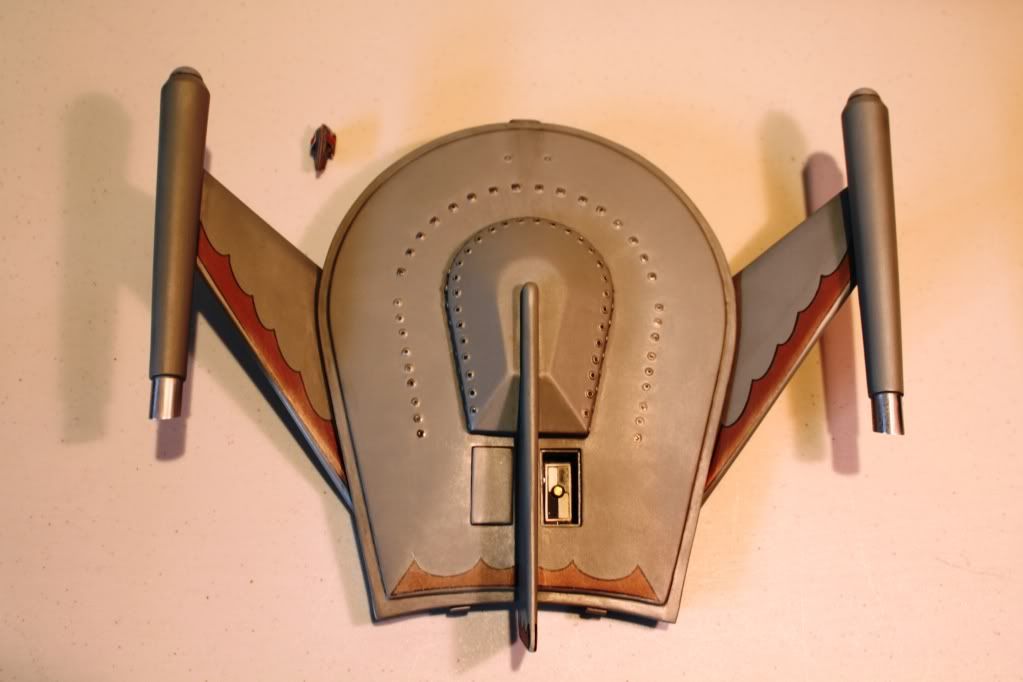
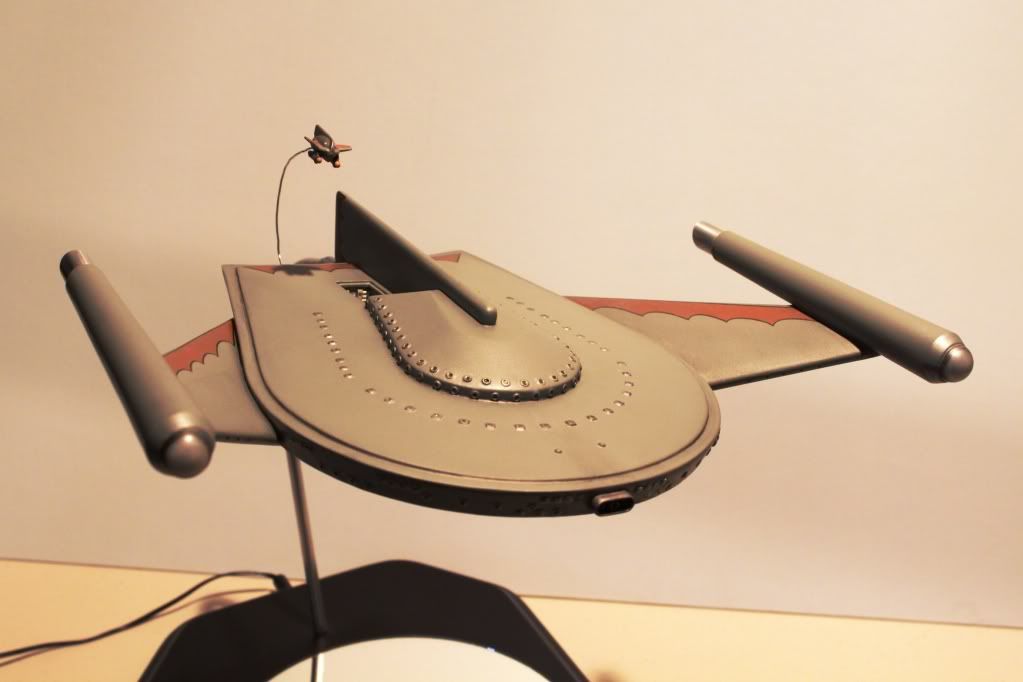
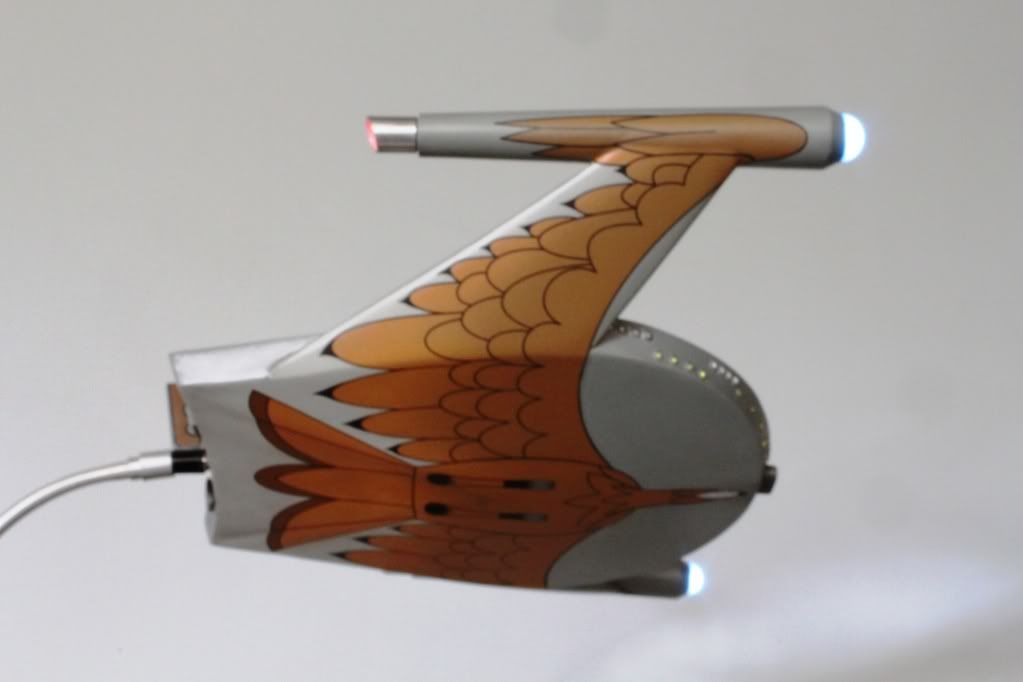
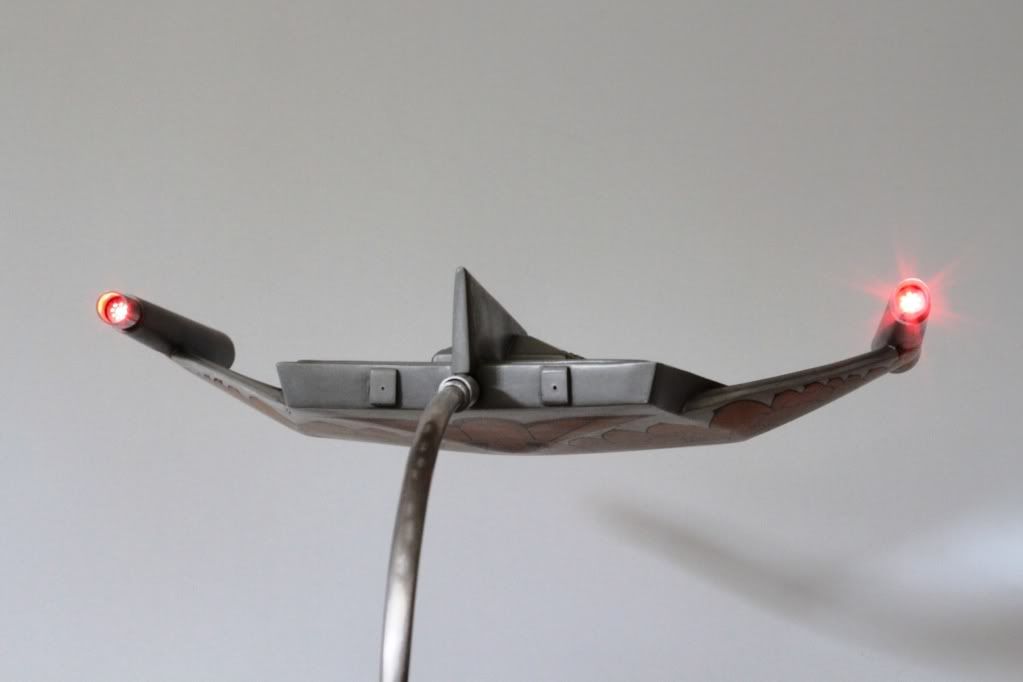
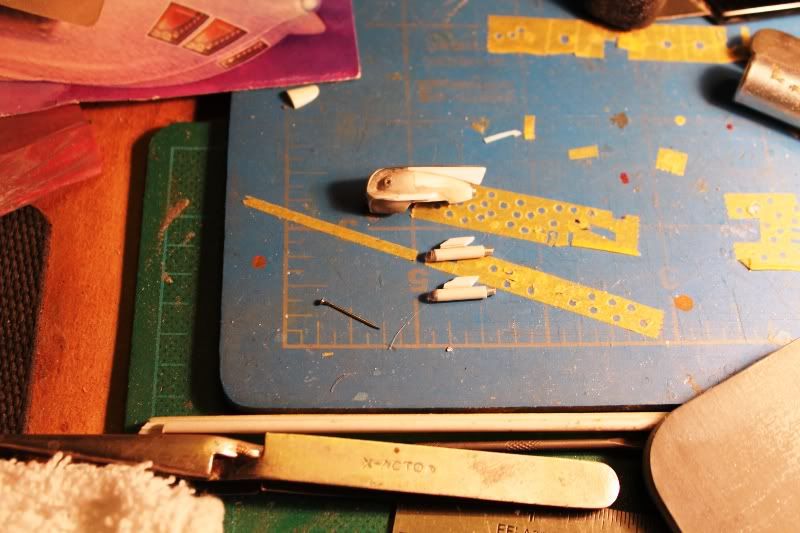
Parts for a second Talon. Still have to make the wings.
Figure on another few hours of work to finish it.
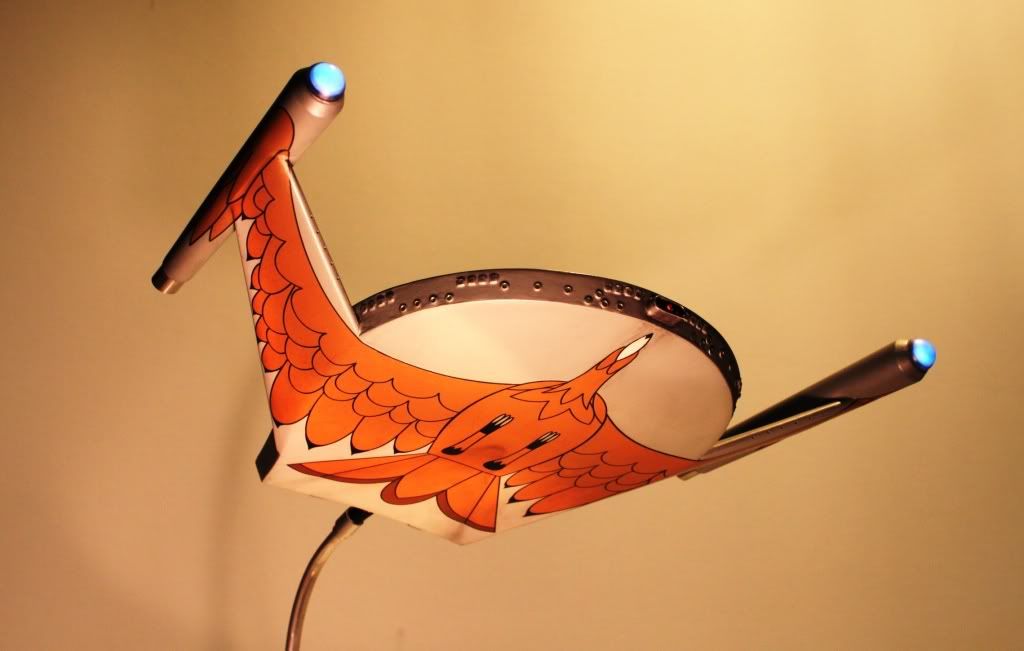
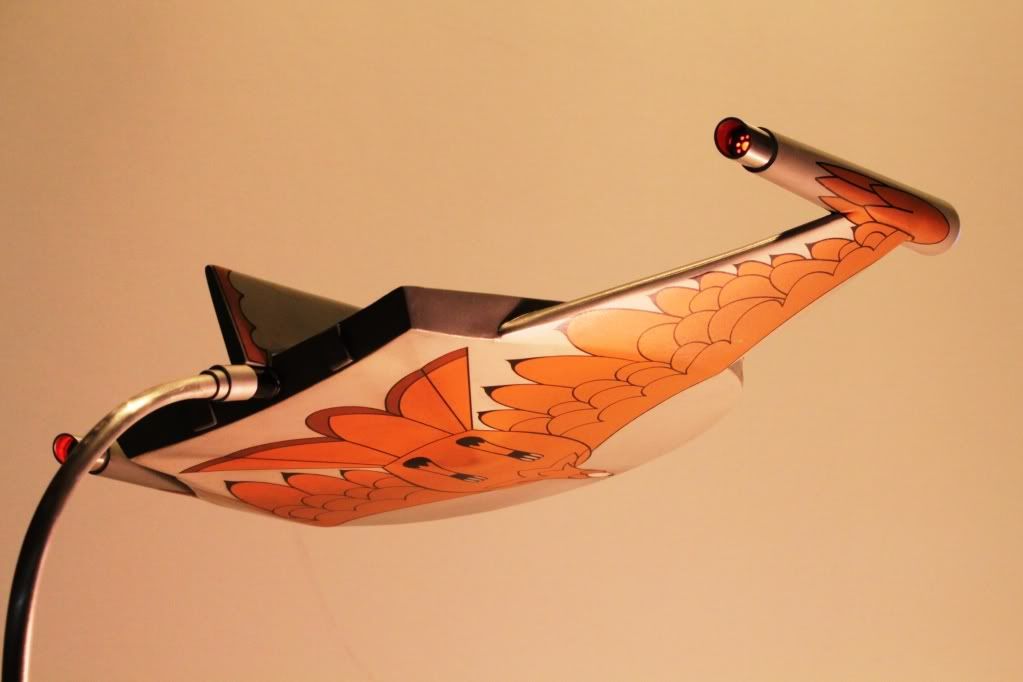
This one will have folded wings to fit inside the hangar bay.
The first Talon has wings in the open position for flight so it won't fit in the bay.
I figure, with two bays, why not have two fighters eh?
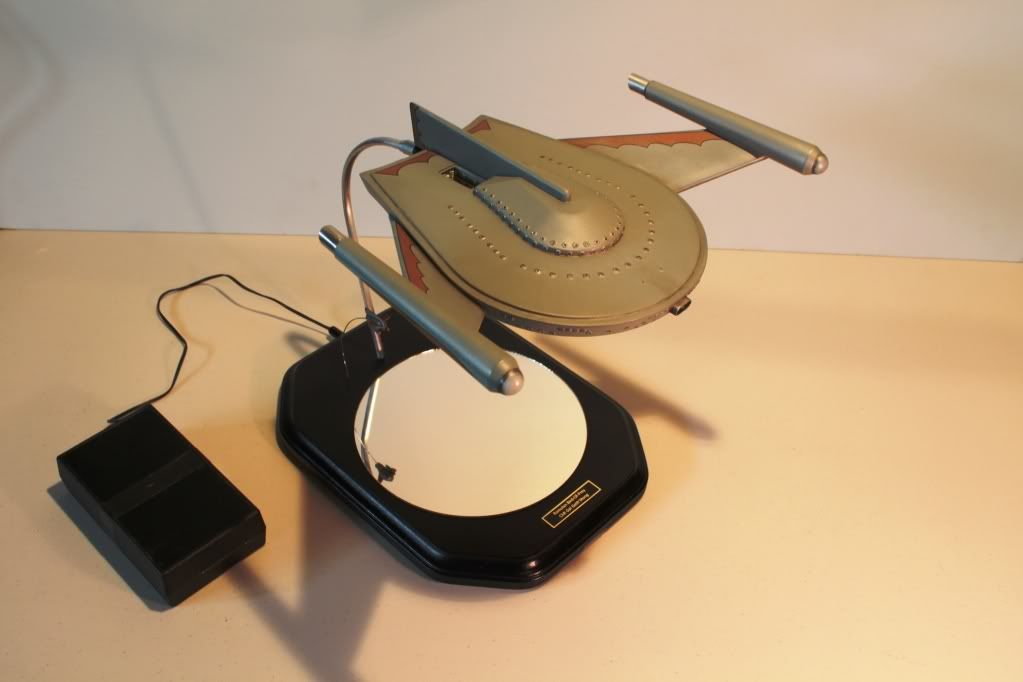
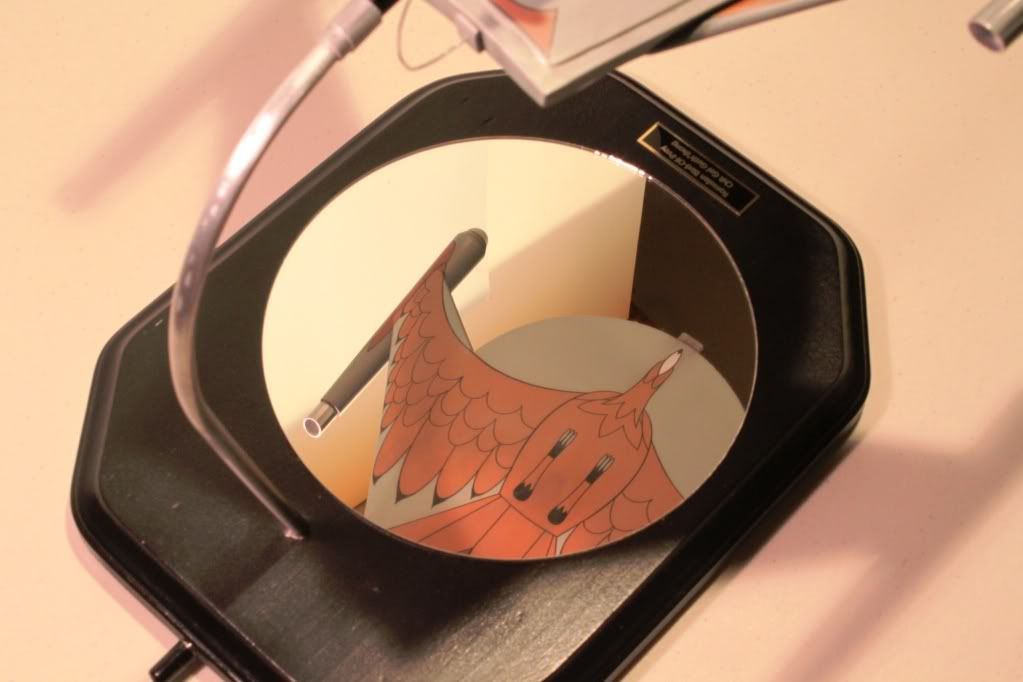
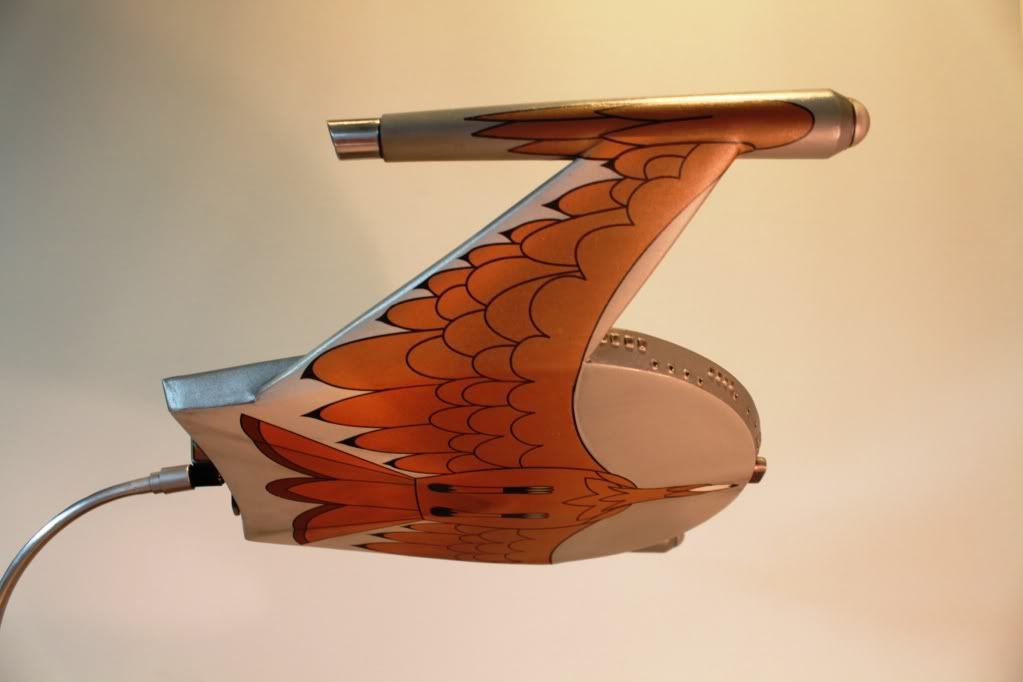
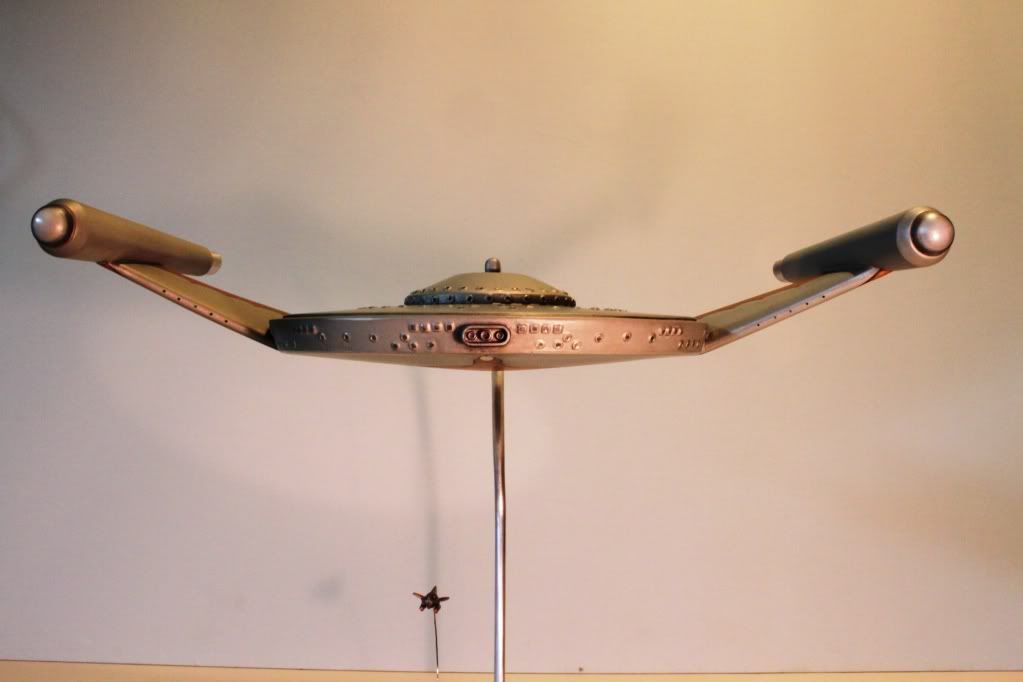
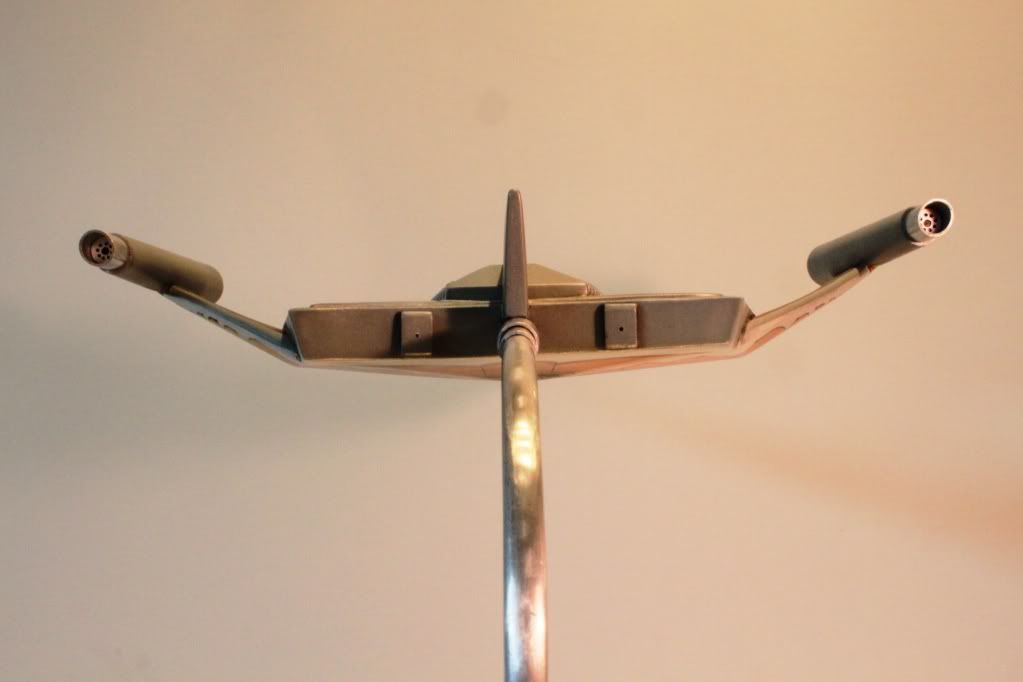
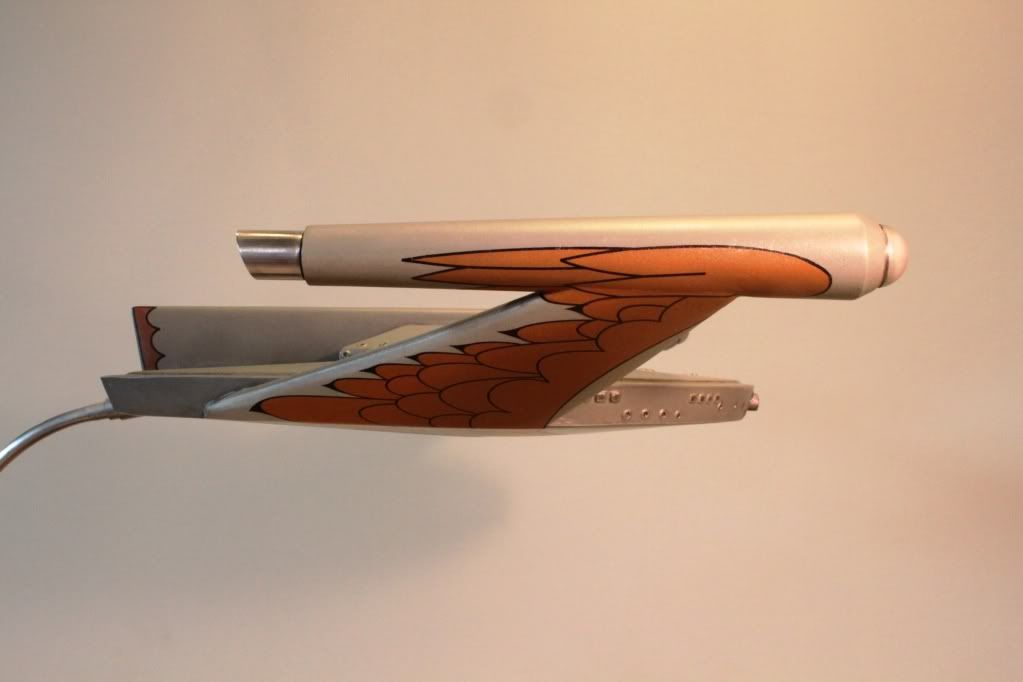
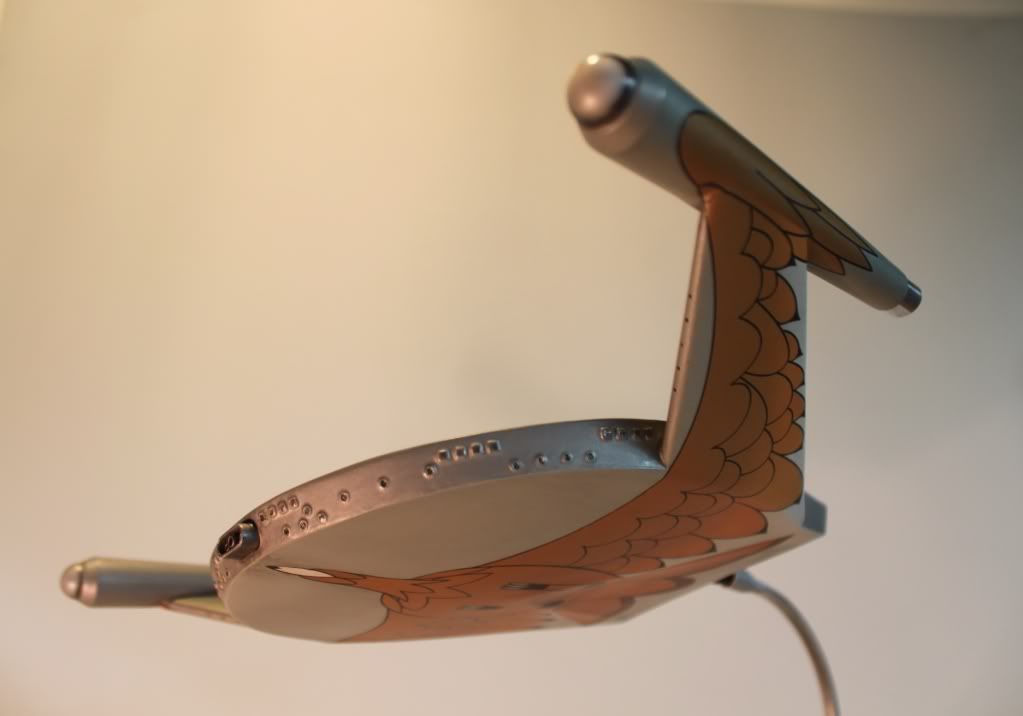
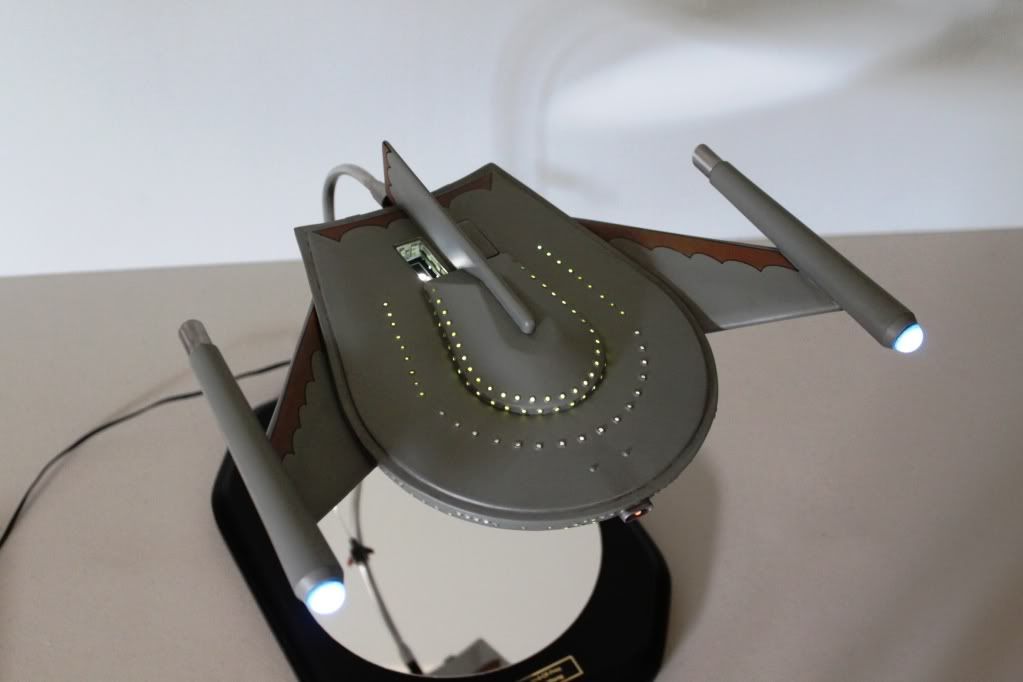
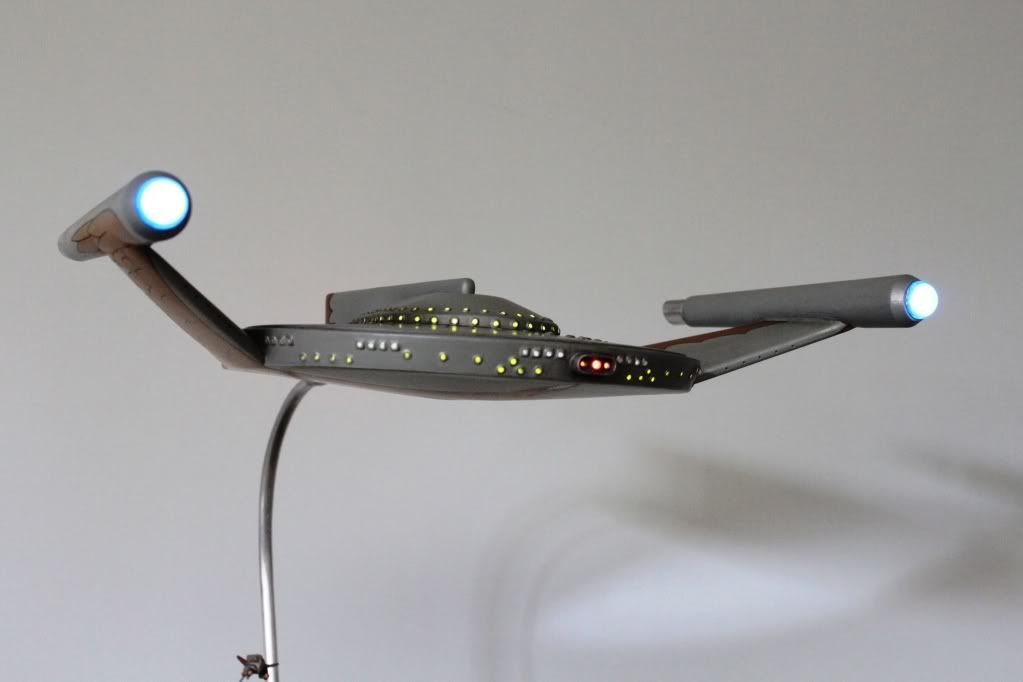
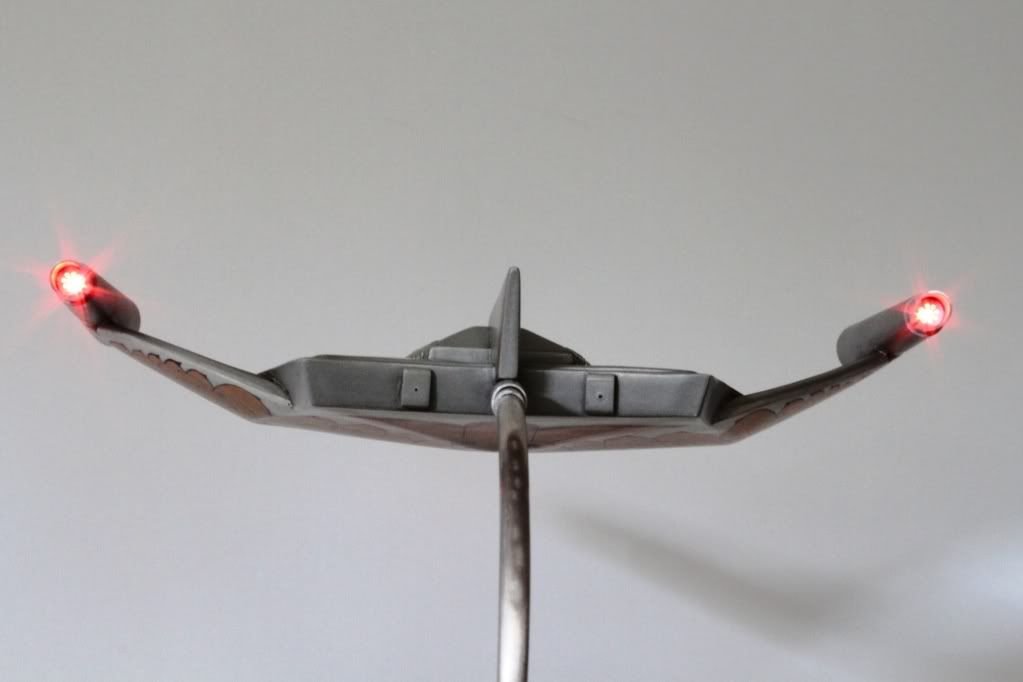
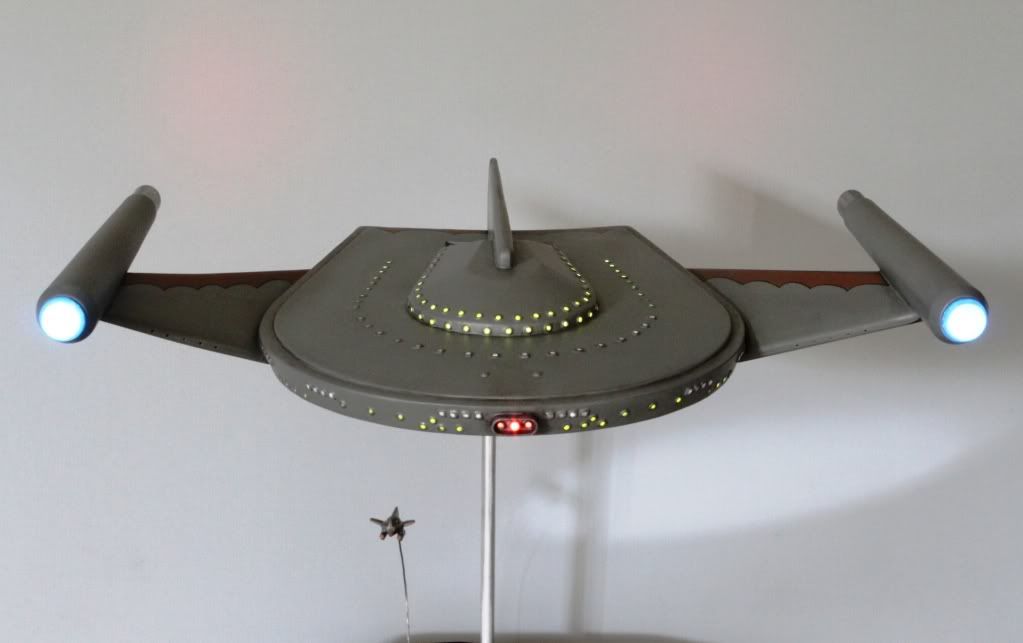
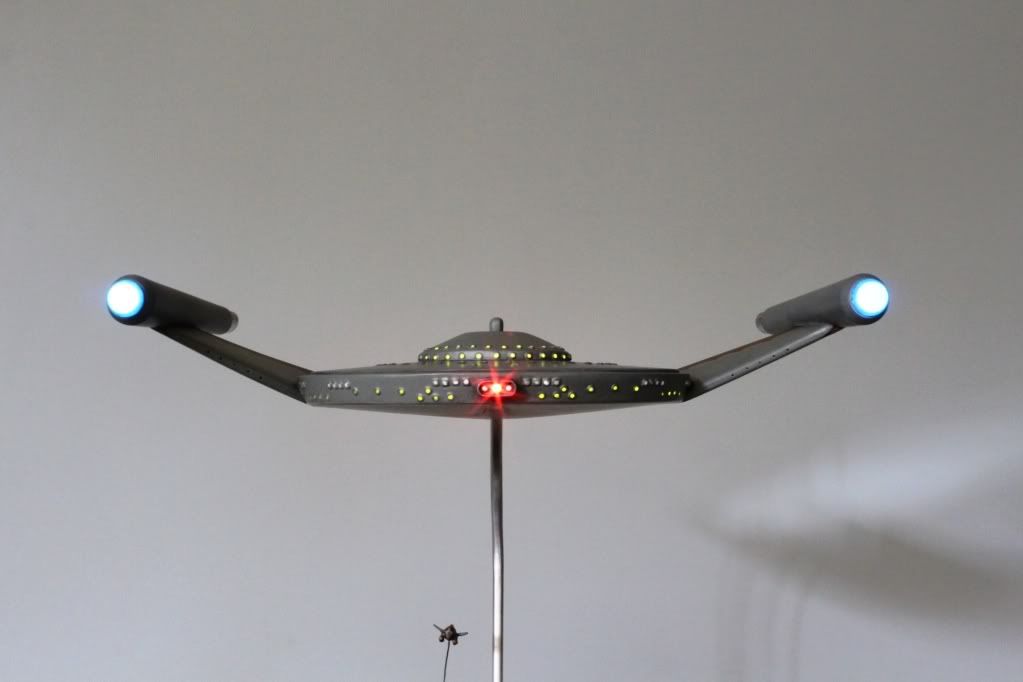
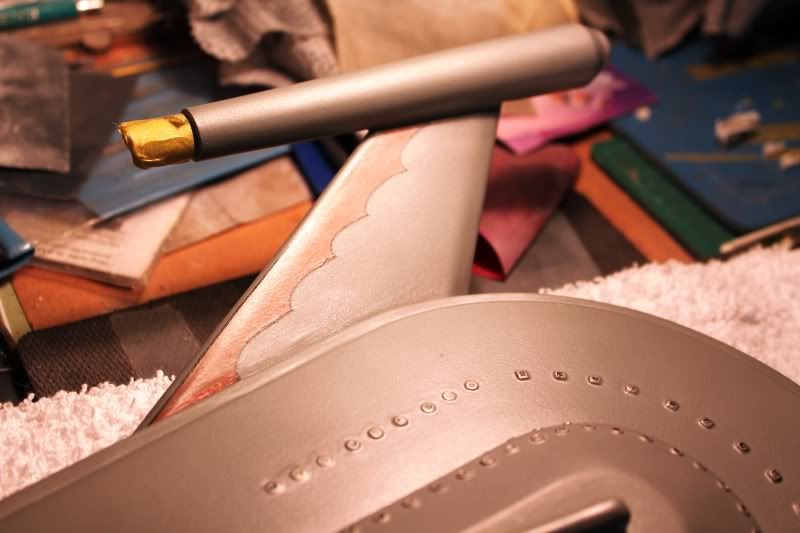
Pics of the upper hull after giving her a good rubdown with Tamiya silver pastel chalk.
Basically I'd wet my fingertip and dip it in the chalk then rub it over the Dullcoted hull.
Then I went back over it with a strip of tee shirt rubbing it until most of the chalk was removed.
This left enough chalk behind to give it a nice metallic sheen...
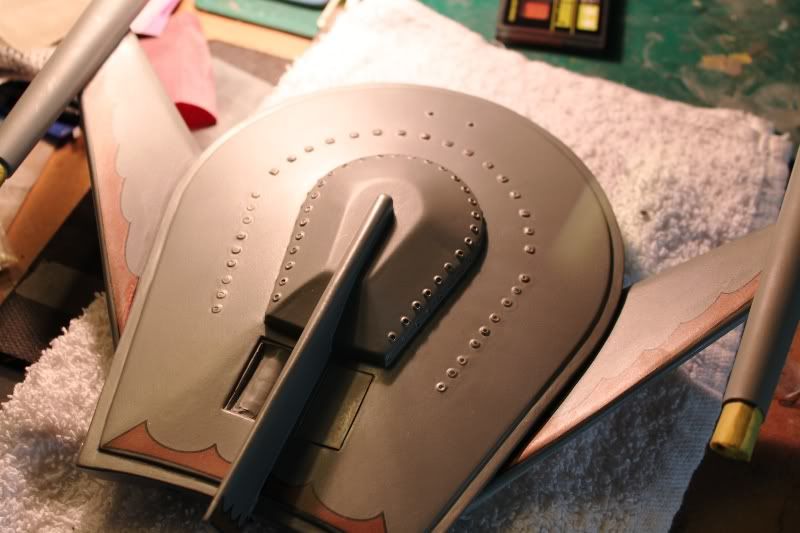
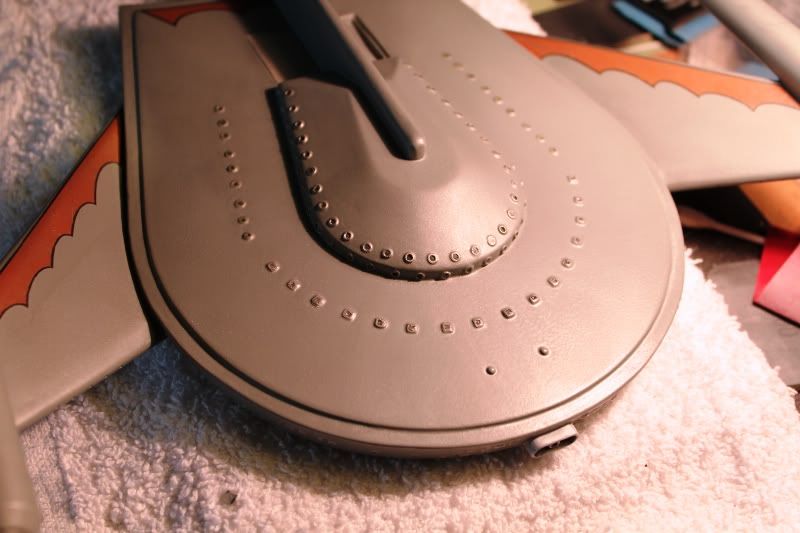
Next I'll do the underside. Then I'll seal it and add some weathering with black pastel chalk.
Maybe a little light scorching here and there but not too much of that as this is supposed to be a relatively new ship.
Still, I figure those Neutral Zone outposts must have had some small patrol ships on station so she might have taken a few hits on her mission of terror before her fateful encounter with the Enterprise.
Here are some pics I just took a few minutes ago...
Parts for a second Talon. Still have to make the wings.
Figure on another few hours of work to finish it.
This one will have folded wings to fit inside the hangar bay.
The first Talon has wings in the open position for flight so it won't fit in the bay.
I figure, with two bays, why not have two fighters eh?
Pics of the upper hull after giving her a good rubdown with Tamiya silver pastel chalk.
Basically I'd wet my fingertip and dip it in the chalk then rub it over the Dullcoted hull.
Then I went back over it with a strip of tee shirt rubbing it until most of the chalk was removed.
This left enough chalk behind to give it a nice metallic sheen...
Next I'll do the underside. Then I'll seal it and add some weathering with black pastel chalk.
Maybe a little light scorching here and there but not too much of that as this is supposed to be a relatively new ship.
Still, I figure those Neutral Zone outposts must have had some small patrol ships on station so she might have taken a few hits on her mission of terror before her fateful encounter with the Enterprise.