Re: Romulan Bird-Of-Prey from TOS
Okay, one more post and I'm calling it a night...
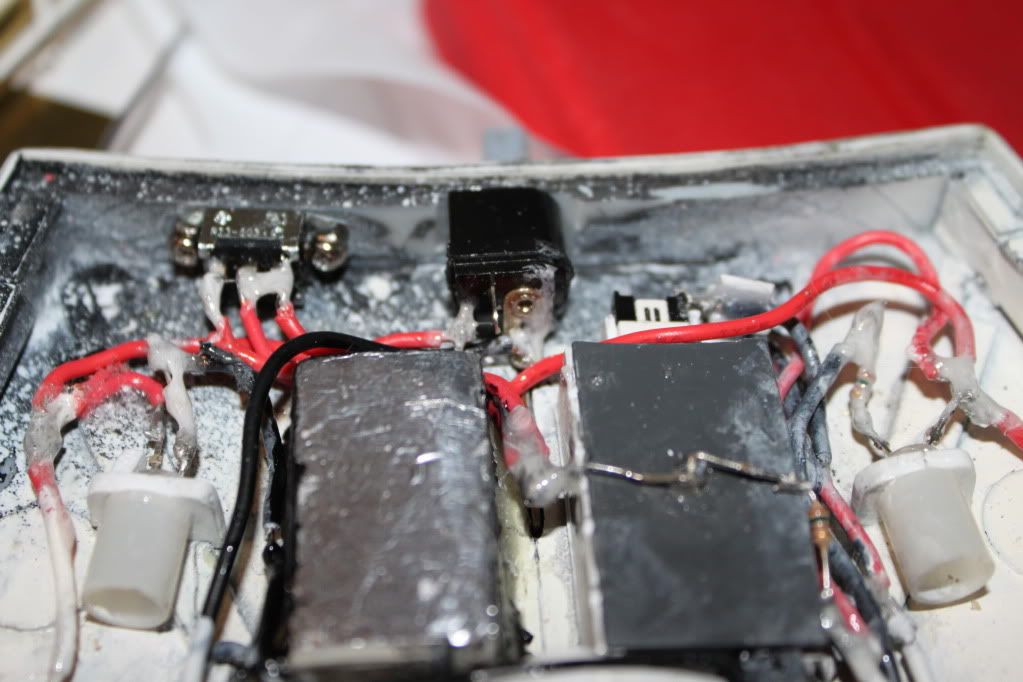
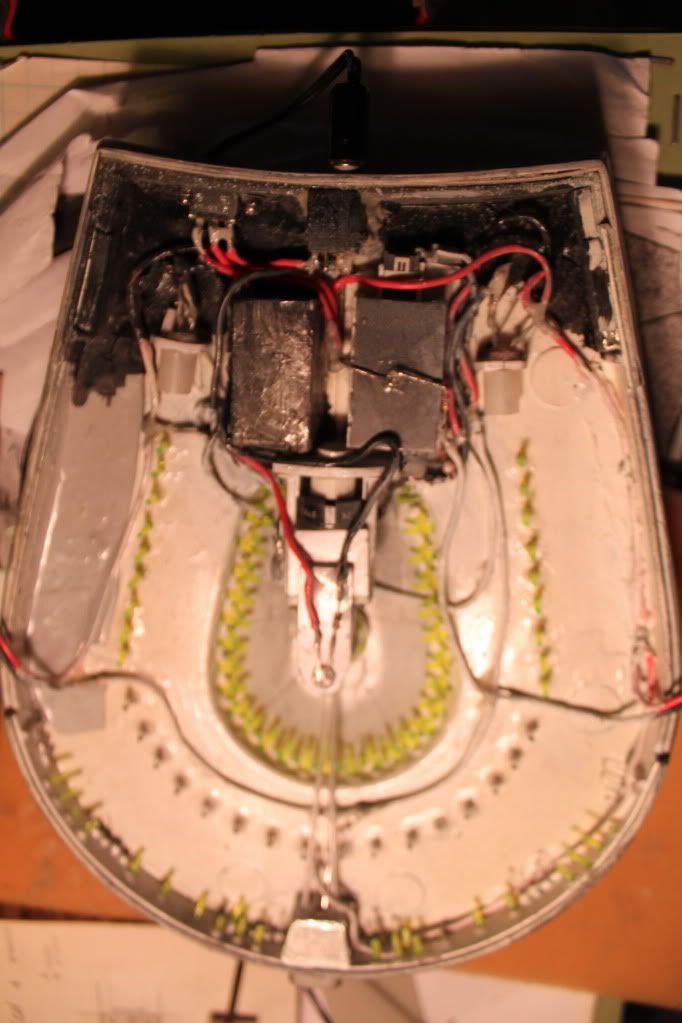
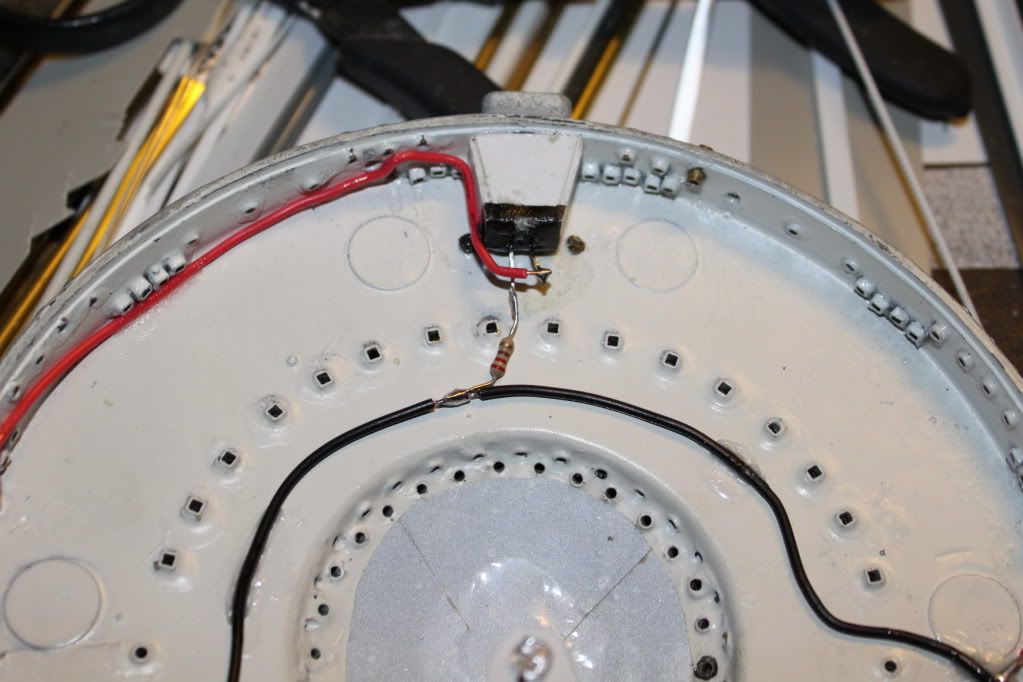
The wiring scheme started out this way with a battery box wired to a pushbutton switch activated by a piston inside the disposal chute with leads wired to the 3 main window illuminating LEDs then tied into a rheostat switch that turned with the disposal chute allowing me to activate the warp engines and plasma torp emitter separately. Whew! That was a long sentence to get out.
Finally, the green hangar bay light would be on a separate circuit off the main branch.
Here's a pic of that setup:
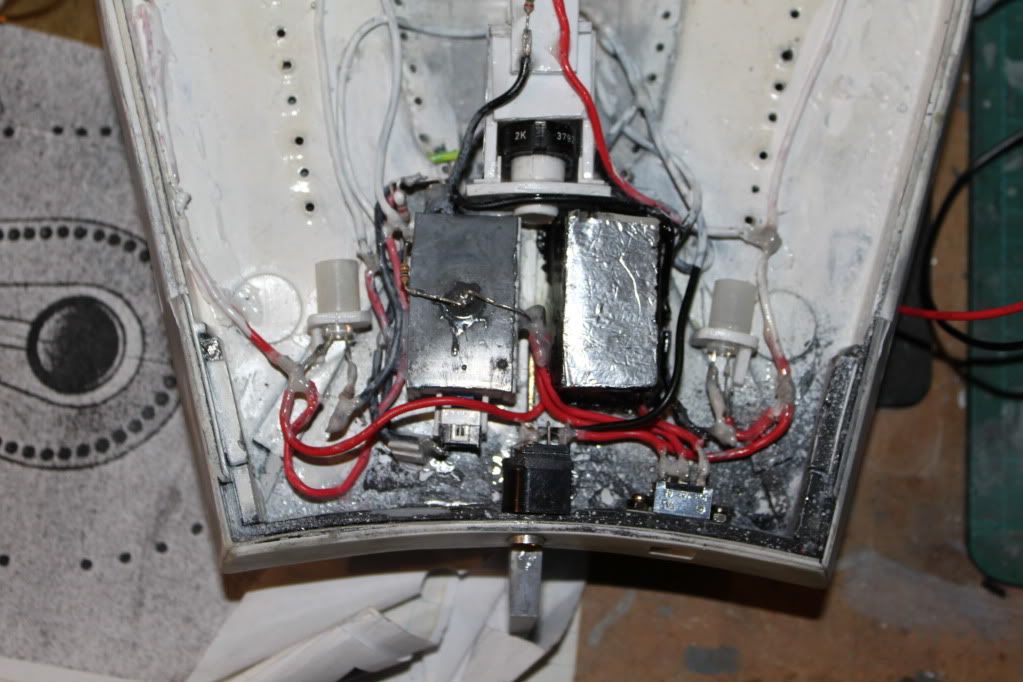
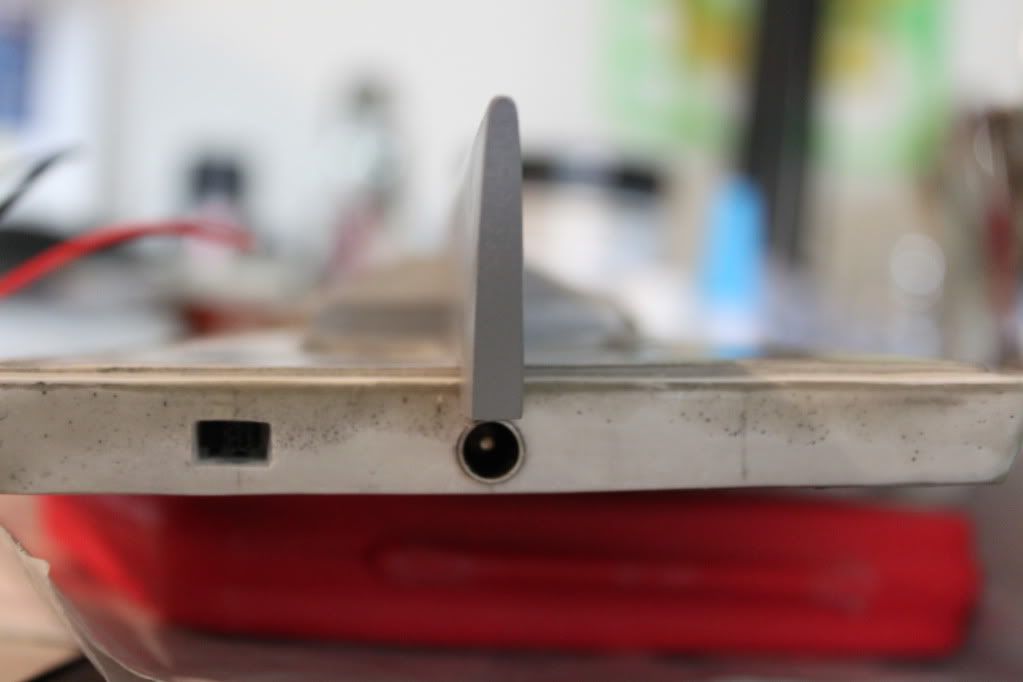
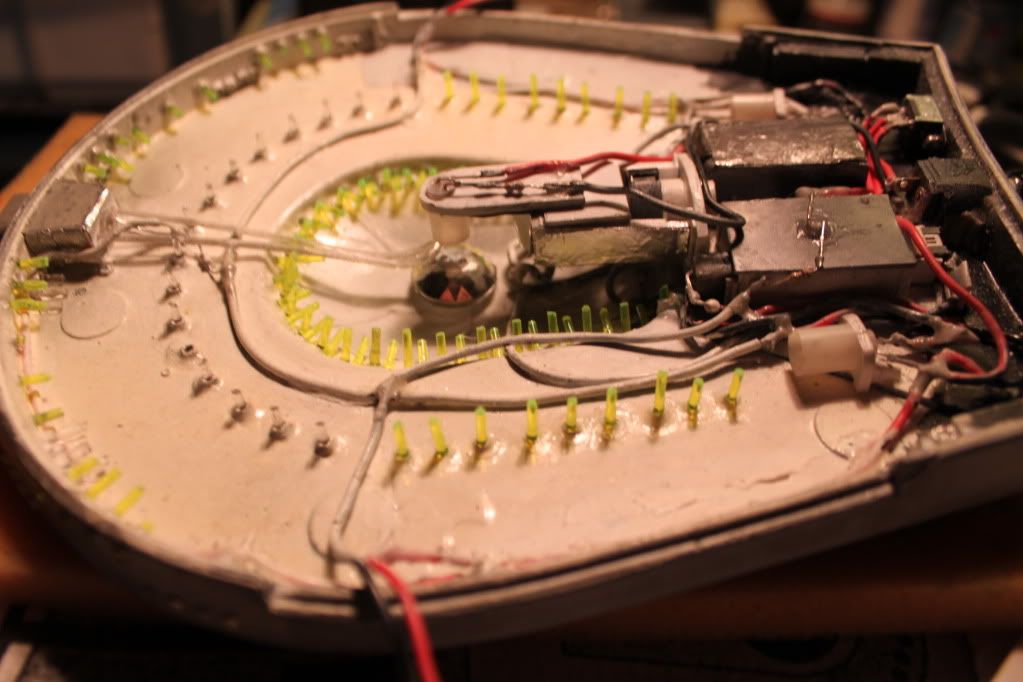
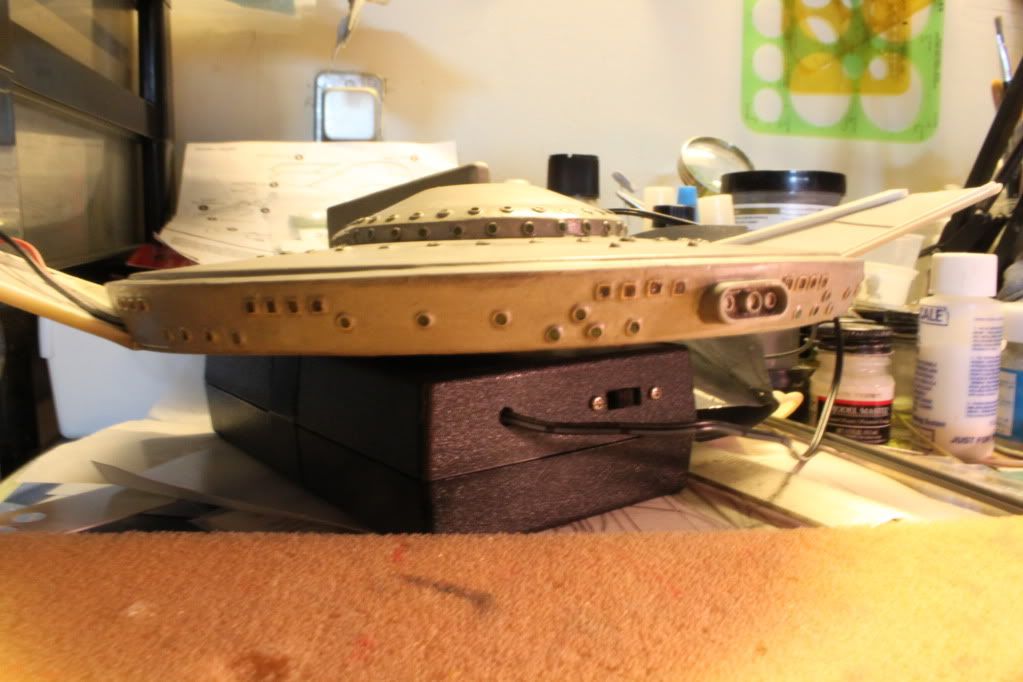
I soon discovered to my chagrin that, although the batteries had enough capacity to power the 3 main LEDs, the moment I activated the hangar bay light the power draw was just too much for my button batteries and all LEDs quickly dimmed. I also was disappointed to find that my rheostat switch didn't work at all- no matter which way I turned it all the ights lit up that were tied into those leads. So I was faced with the prospect of having to abandon my internal battery idea when one of the members over on HobbyTalk gave me the idea of installing an STDP slide switch and DC power jack so I could still use the internals for a limited time with the windows lit and switch to a separate circuit wired to an external power source to power all the LEDs for extended periods. After doing a few tests with an external battery box, size K plug and jack, and a slide switch I just happened to have in my electronic parts box, I determined it would work! This of course meant revamping my whole wiring scheme whcih took me about 4-5 hours to complete. It didn't help that I'd glued many of the wires in place with CA!
Ditching the disposal chute and pushbutton switch were not as painful as one might think since the rheostat switch didn't work and the slide switch basically took the place of the main pushbutton switch.
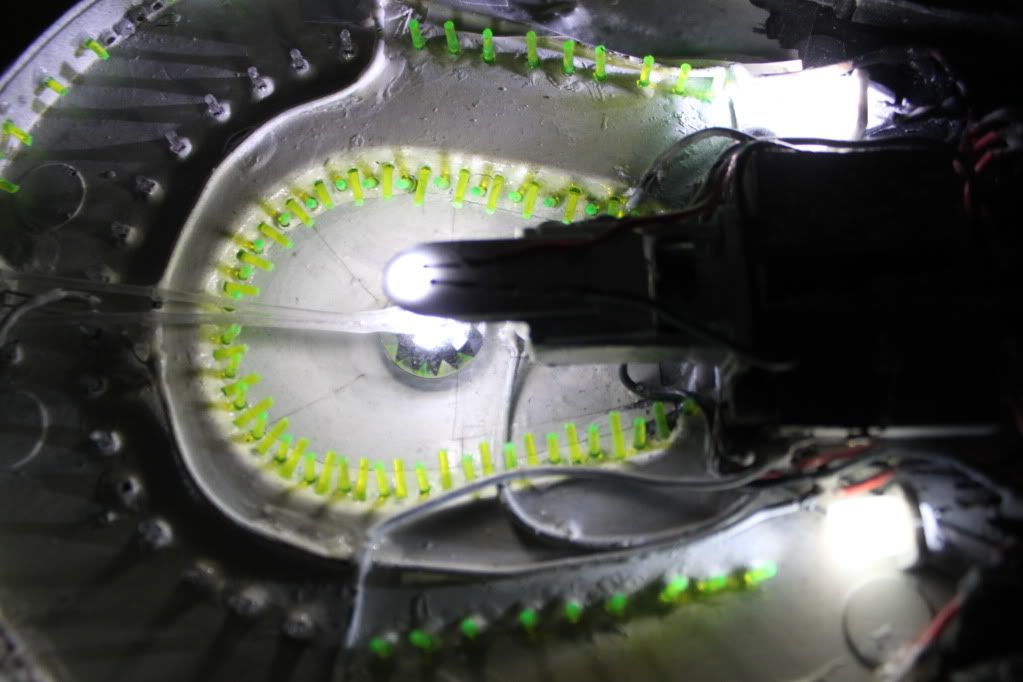
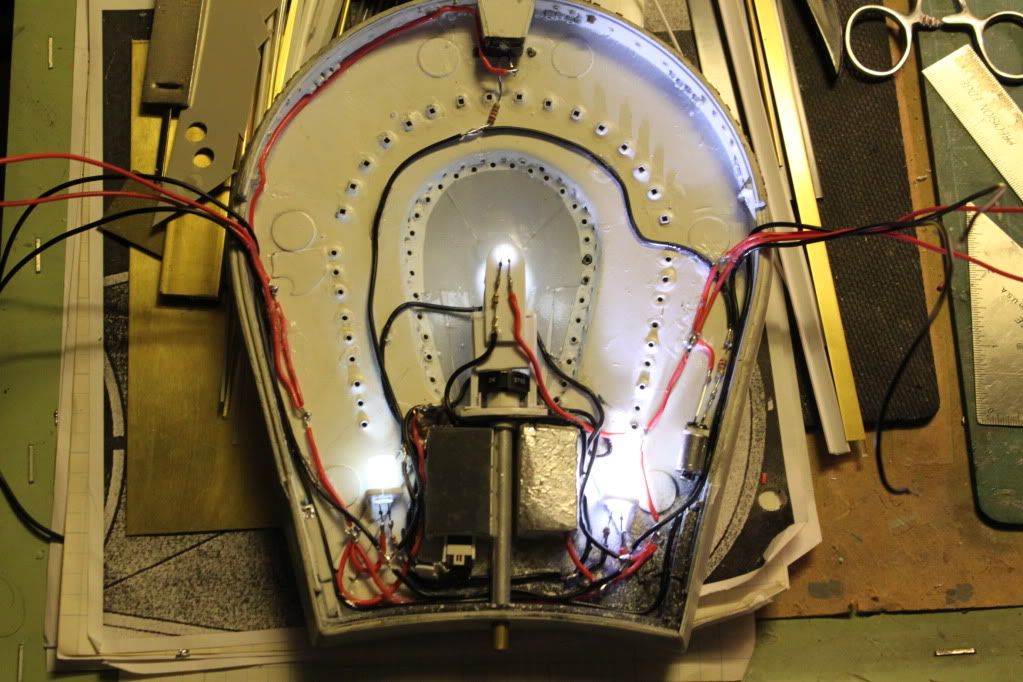
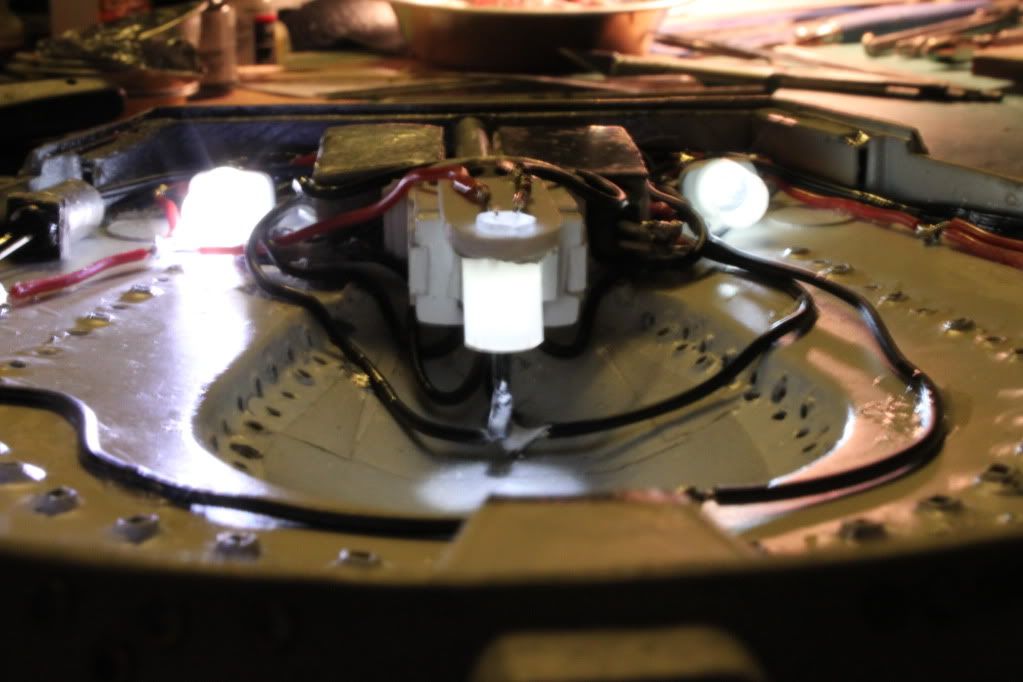
Here's what I came up with. My wiring expert over on HobbyTalk said this has a very organic look to it and I can definitely see the resemblance to intestines. Perfect for a bird-of-prey he said LOL:
This new setup works perfectly! Now I have the best of both worls! The slide switch will be covered by a hatch which will either be hinged or removeable. There will be a matching faux hatch on the other side of the chute.
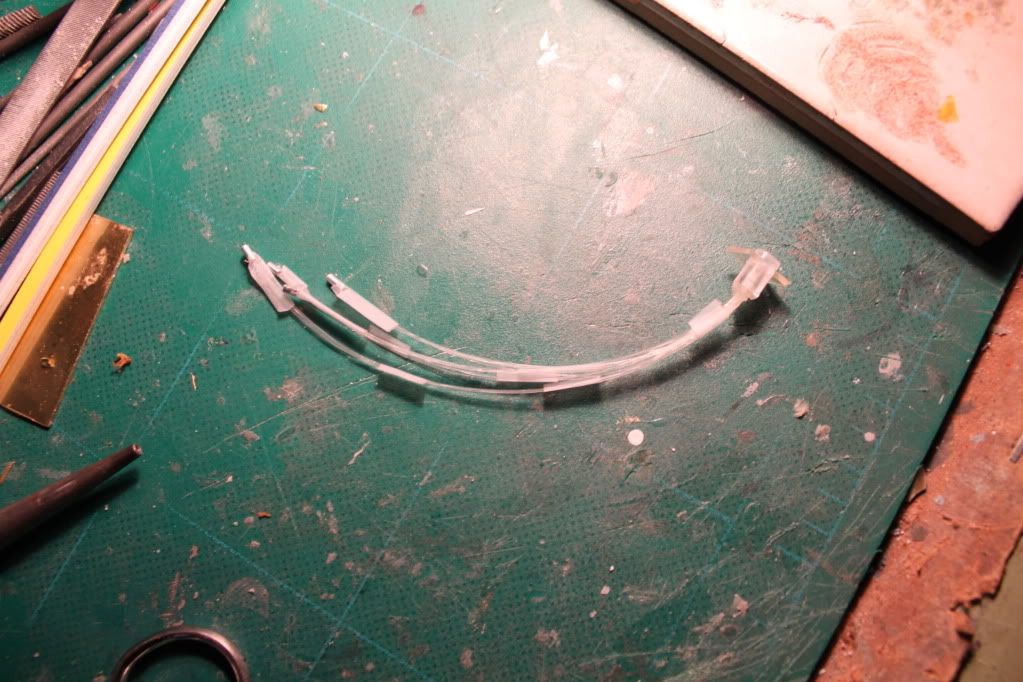
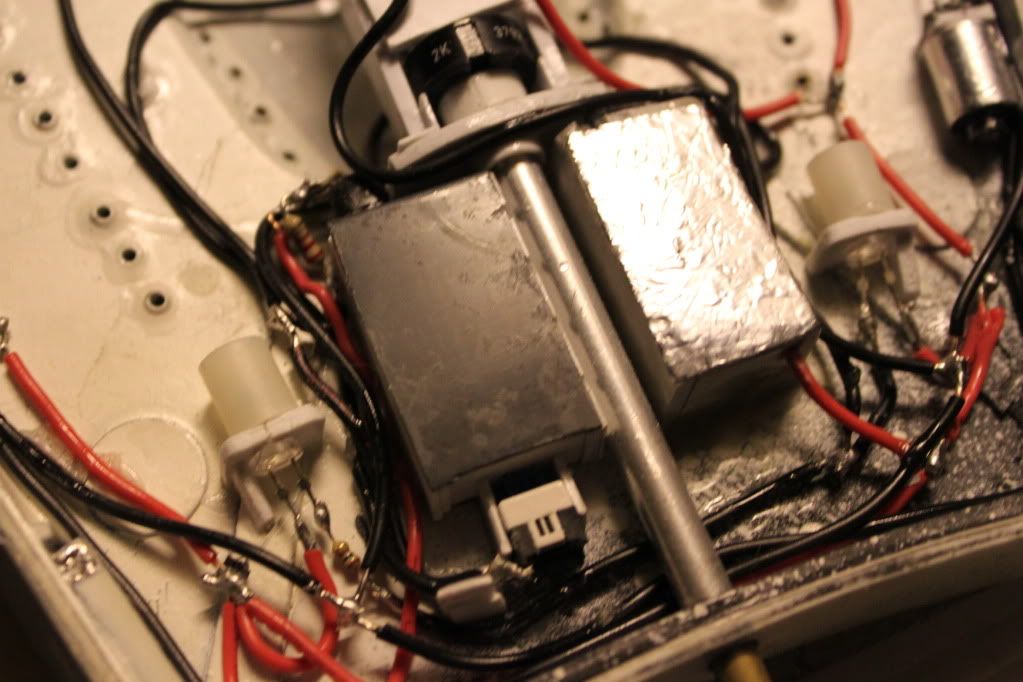
I also rewired the plasma emitter since the red LED I had installed previously just didn't glow bright enough:
Acrylic light tubes run from the central white LED to the box containing an ultrabright white LED which works off the pushbutton switch in the hangar bay:
The light tubes illuminate the two smaller lights on either side of the main emitter. These function as plasma additive injectors in the Romulan universe.
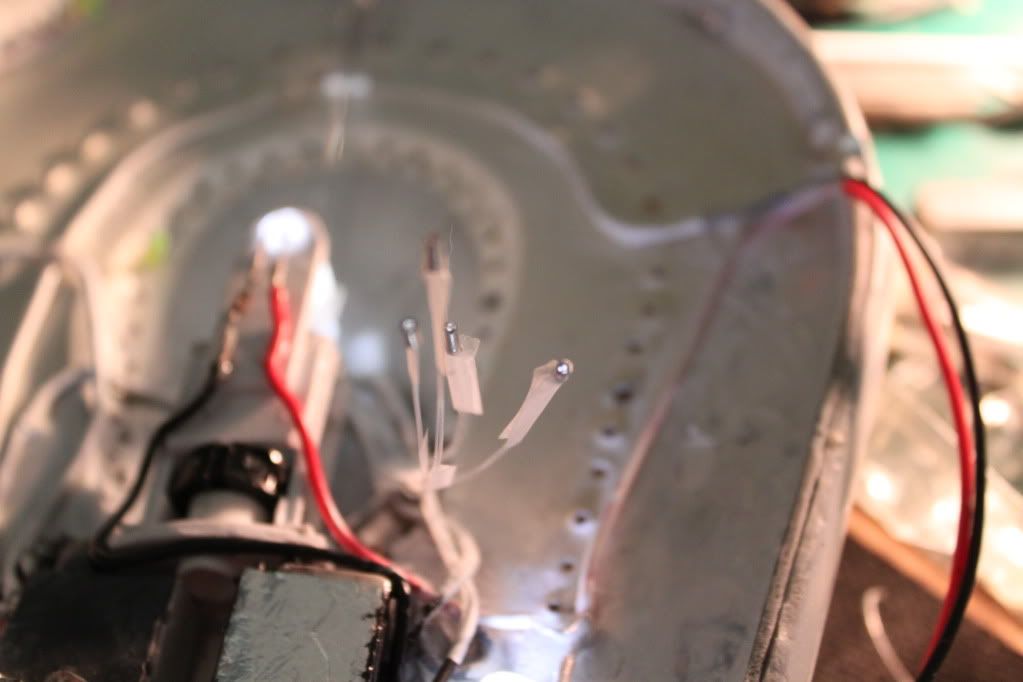
Here's a before pic with the red LED...
Not very bright right?
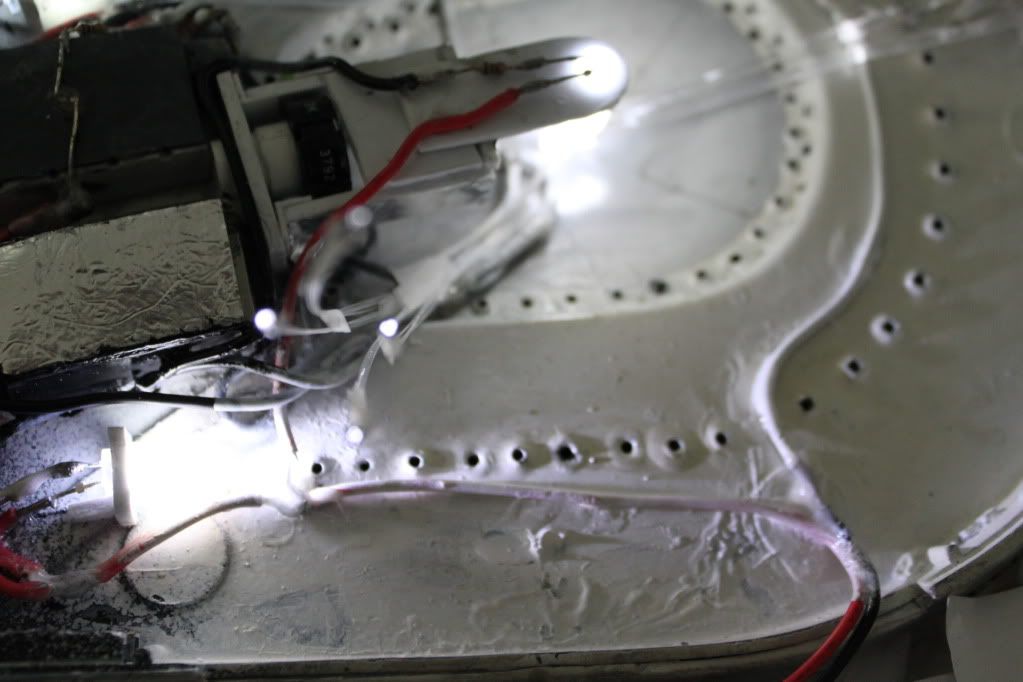
Here's a pic with the white LED:
Much better IMO.
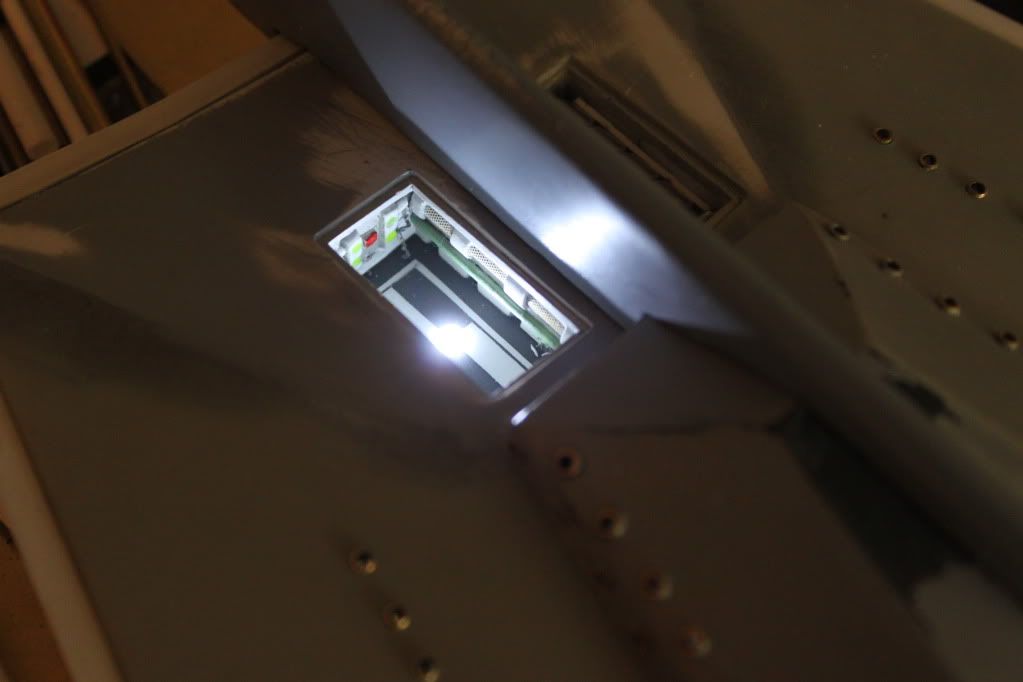
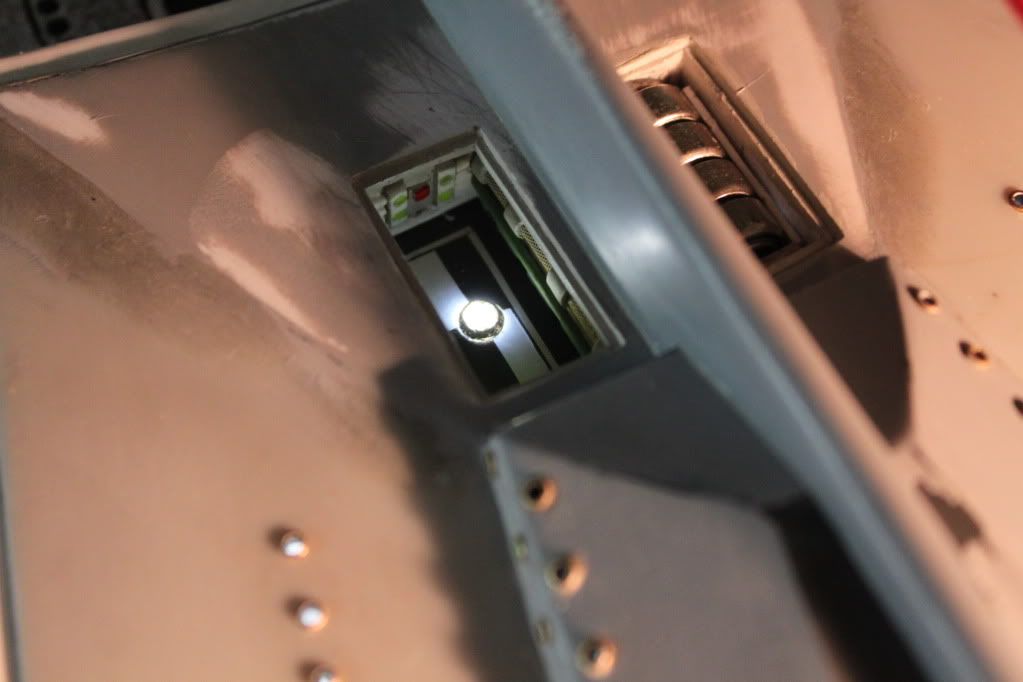
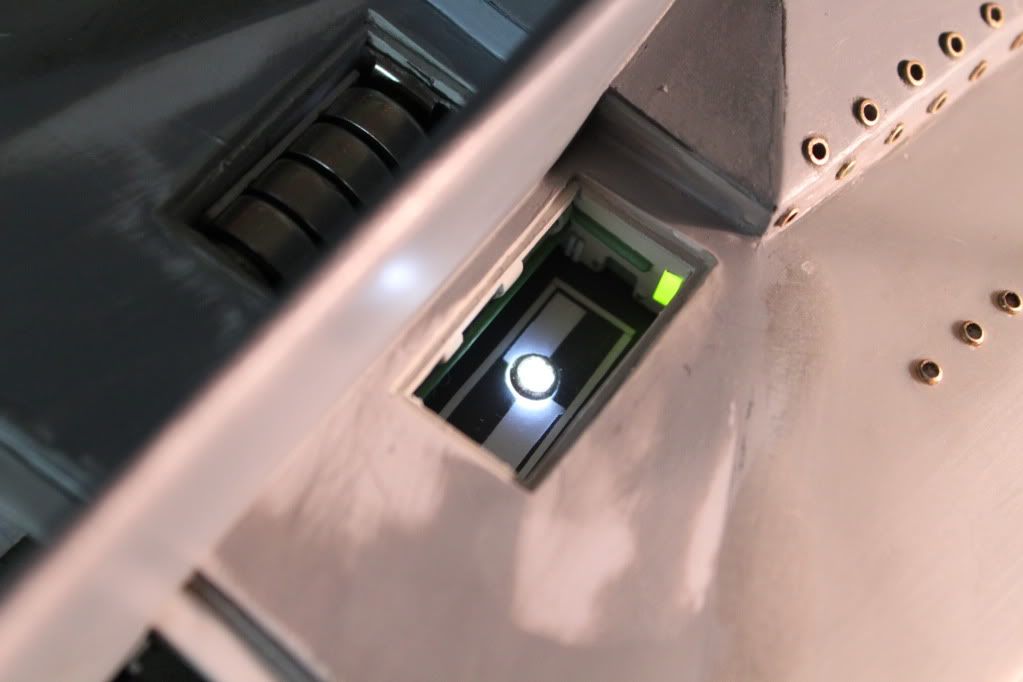
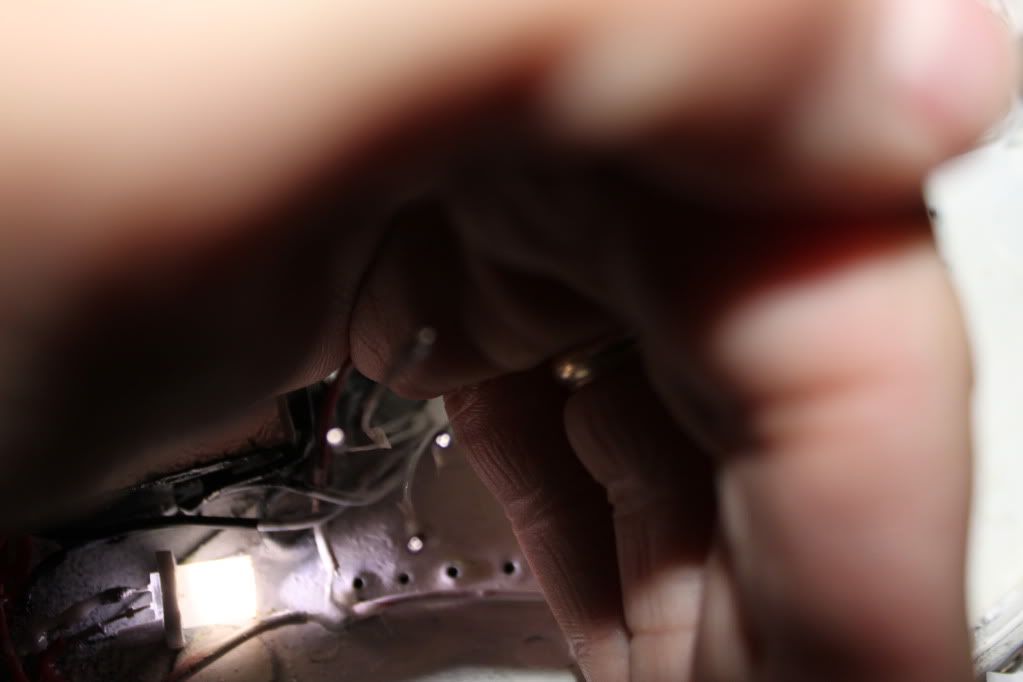
The last thing I did was to install a small 1.5mm white LED into the floor of the hangar bay to give it more illumination. Here is how it looked after I filed the tip of the LED flat and installed it. It operates on the same circuit as the green LED in the front wall:
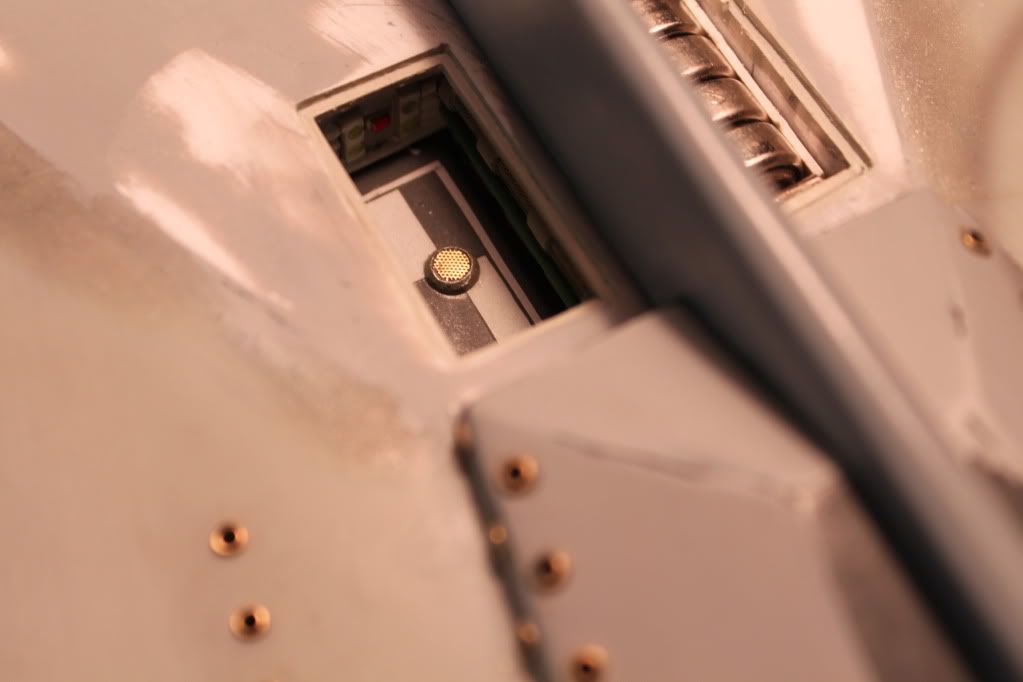
Really bright huh? In fact, it was too bright! It totally washed out the glow from the green LED so... I made a modification to dim the brightness. I painted the LED with fluorescent white acrylic paint then I cut a small piece of fine mesh photo-etch screen and glued it to the top of the LED with Krystal Klear. I made a collar out of a set of rocket nozzles I got from the Starshio Modeler store years ago and drilled it out to fit around the circumference and... Presto! I now have a tractor beam emitter!
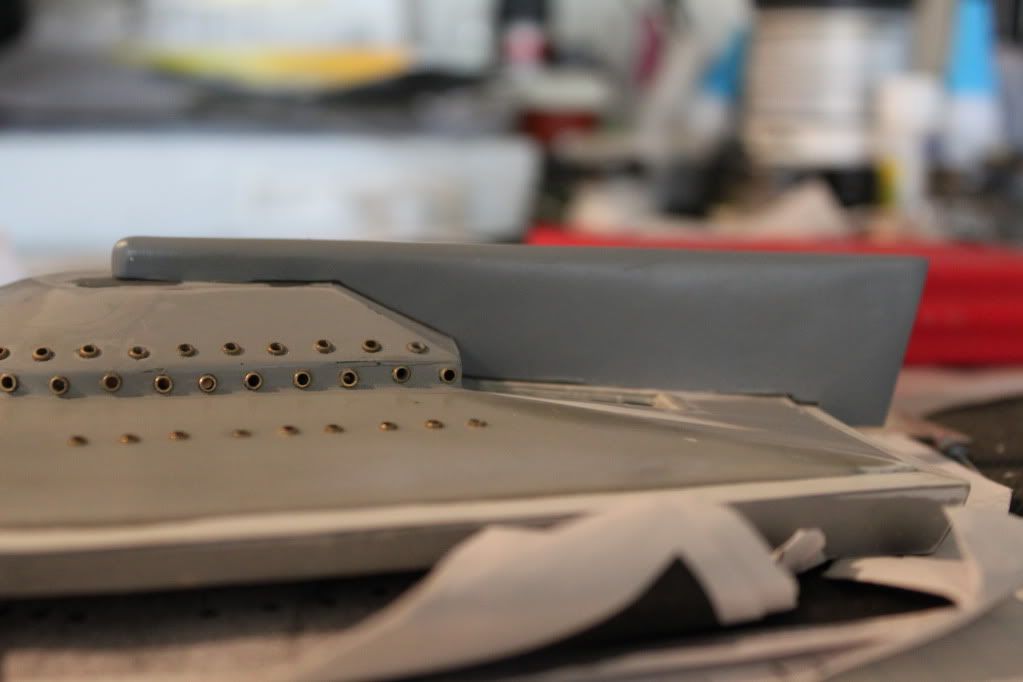
The last thing I did last night was to putty the tailfin which I had glued to the hull with Gorilla Super glue:
There! Now you are all up to date on my current project!
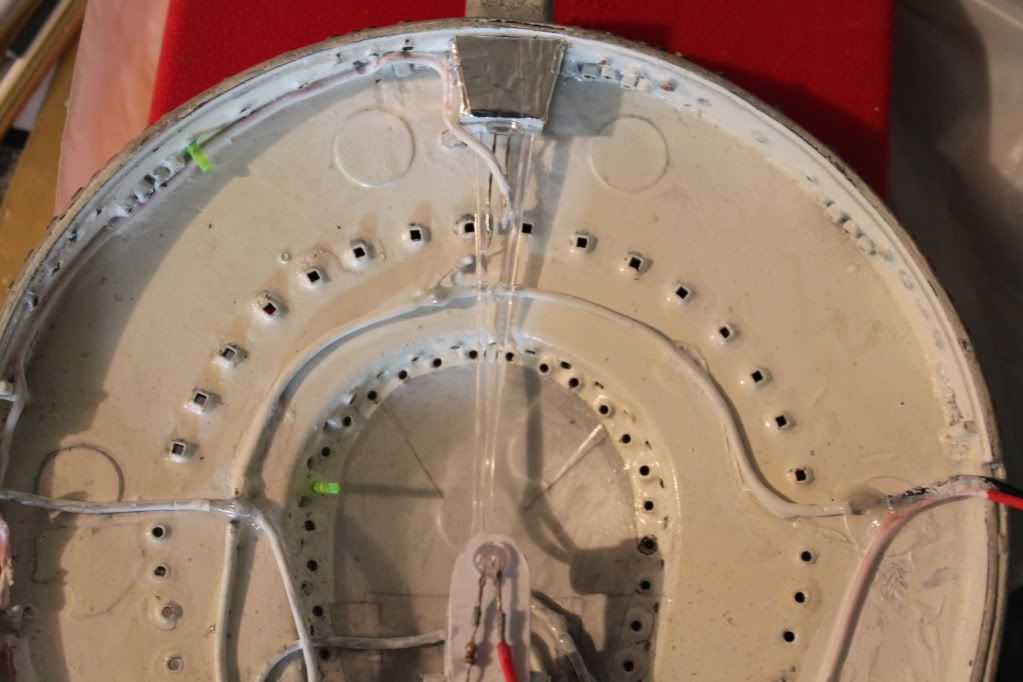
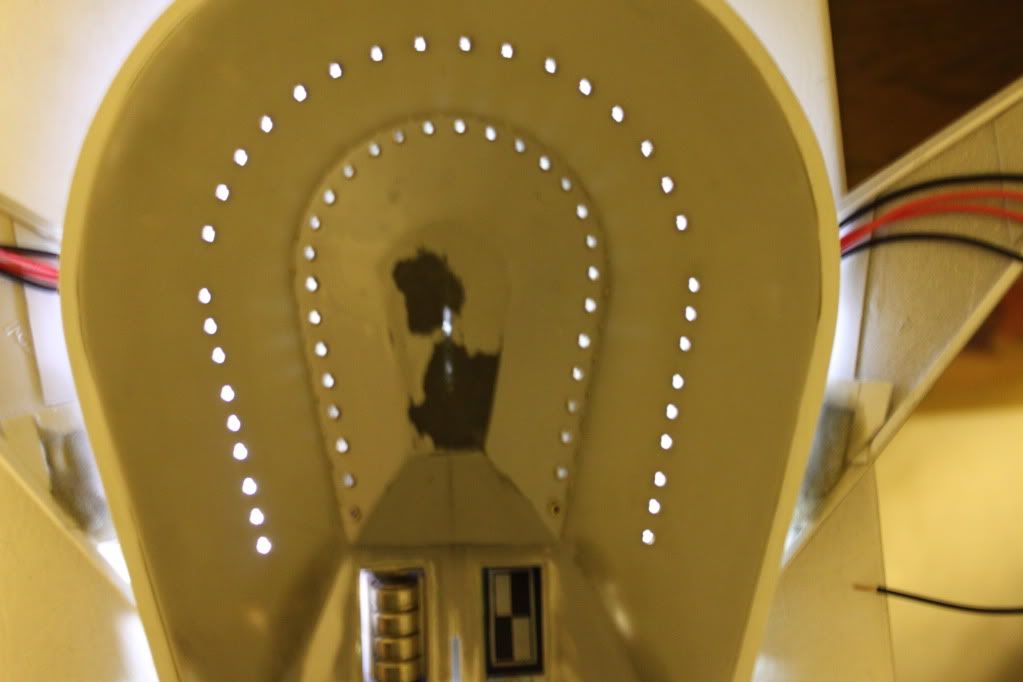
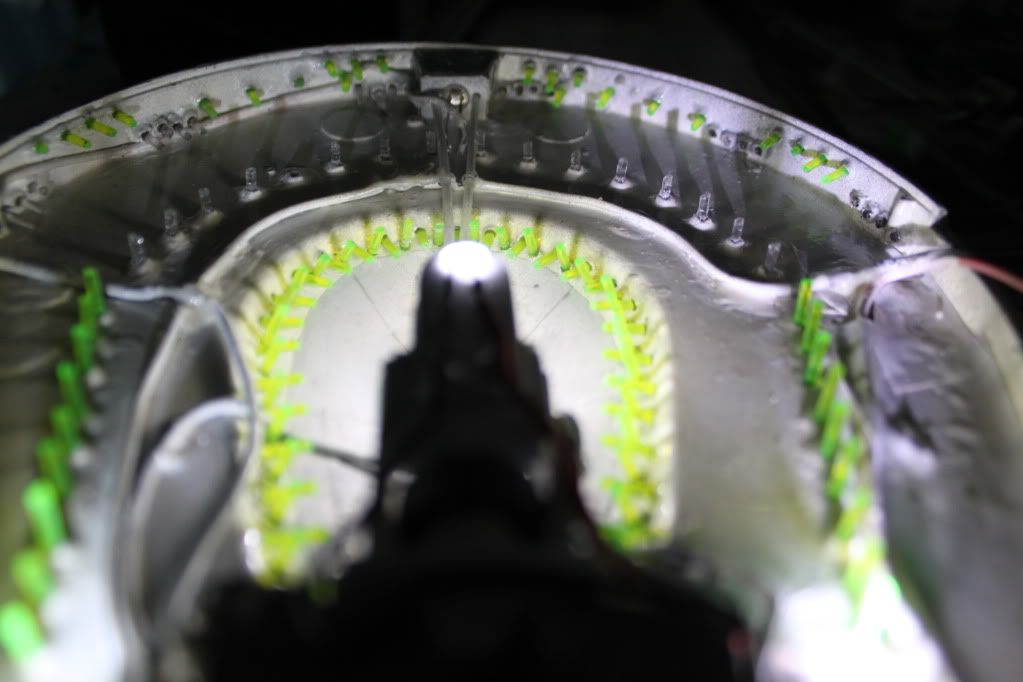
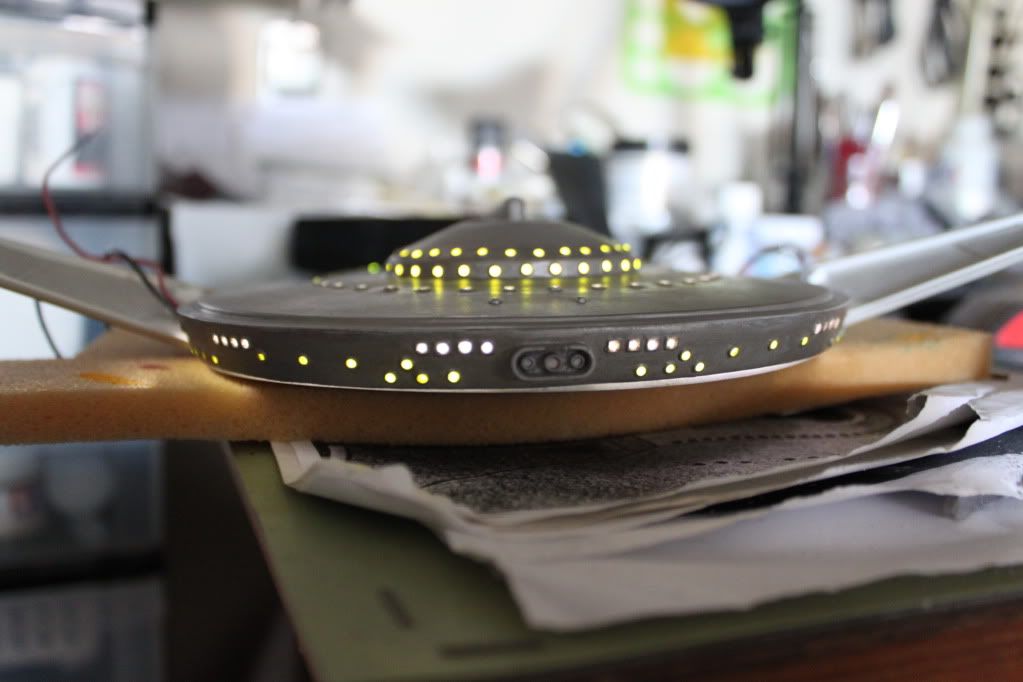
And, in case anyone was wondering, there's plenty of light from the 3 LEDs to illuminate the windows.
Here's a test pic with the lower hull in place, the light really bounces around off the gloss white interior of the lower hull:
Next up...
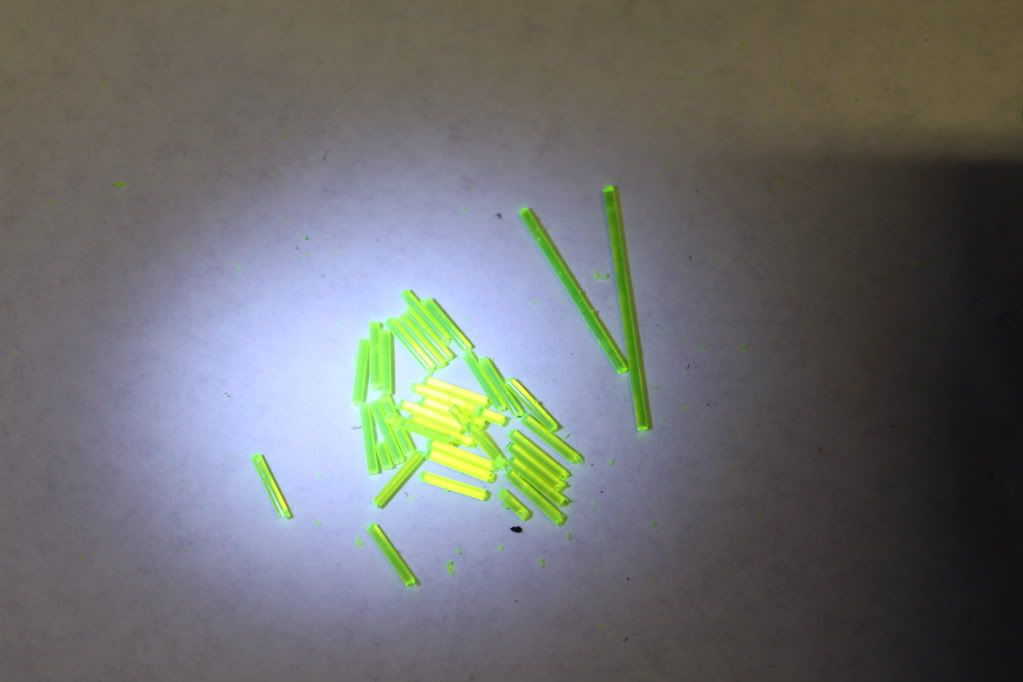
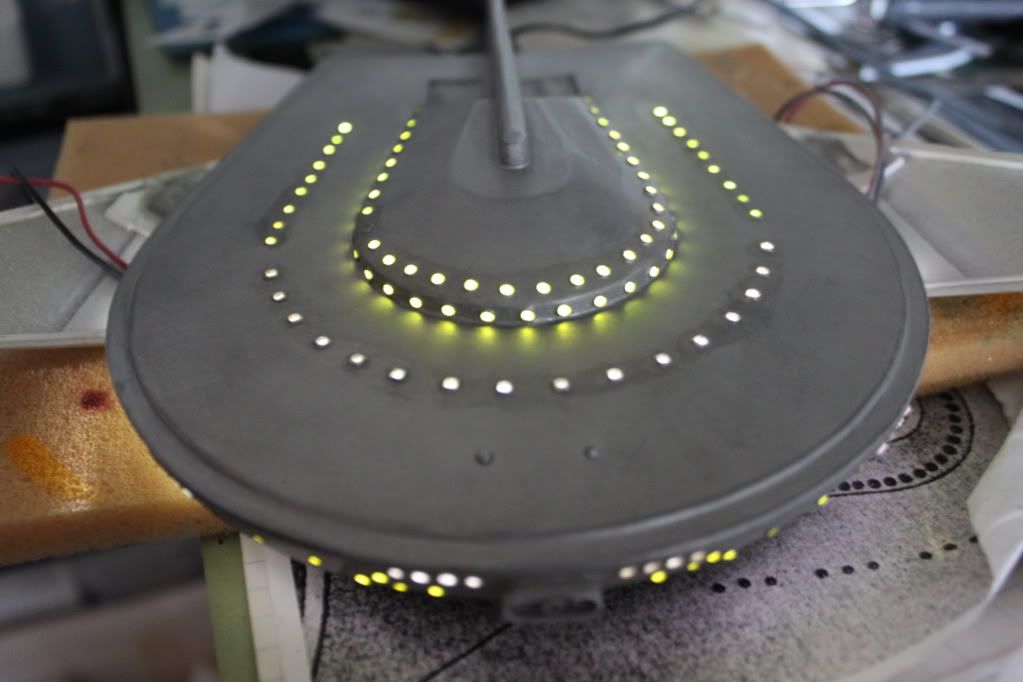
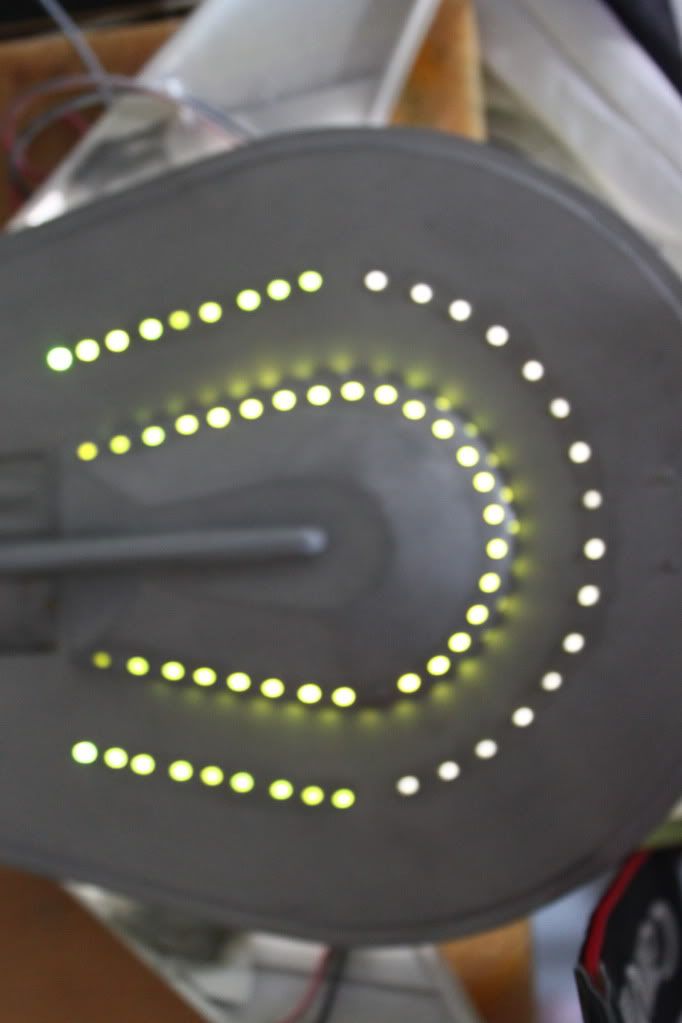
Cleanup and priming of the upper hull then I start installing the acrylic rod in the windows and sensor ports. Yellow acrylic for the round sensors and clear for the square windows. The yellow glows green when lit which looks pretty awesome IIDSSM!
Thanks for reading along! :cool