Rulebreaker
Member
Revell Imperial Shuttle Retrofit
whats the key of this modification?
* a diffrent approach than jusdrewit - Correcting the Revell and Jazware's Micro Galaxy Squadron Imperial Shuttle proportions
* and some practice for a 1/48 build
i watched the original patented blueprints and printed a paper in 1/100, so the length is exactly 200mm long(makes it 1/100 alias 20m)

1 The Hull
seems right length, but the engine block need to be extended by 9,3mm
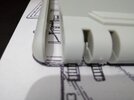
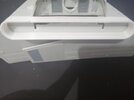
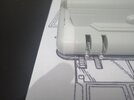
from the front plate i cut off the plates, so the "jet intakes" look correct
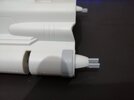
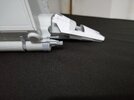
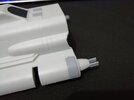
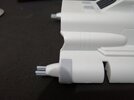
also the geometrie should be filed rounder
the hull above the "jet intake" is straight, but should be beveld/slanted a little - will do later
the height "a" is correct
the height "b" is correct
only the the "pivoting half pipe" C should be a little higher(3mm)
i bend the rear plate straight and glued it to the back
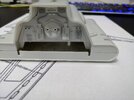
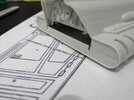
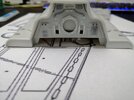
the gun ball should be cout out and replaced with a straigt one
the details should be perpenducular to the hull instead of angled/beveld
the topest hull part should be slightly shorter around 3mm
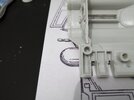
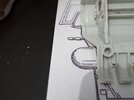
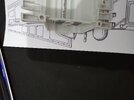
but the angle should only be altered by 1°, so i rather keep it like that(lets see how it looks after removeing material from top)
i added a trapezodial sheet and supporting it from the bottom, its cut from the rear of a clothes peg/pin (picture missing)
2 The Head
the cockpit armor plate sits to low and has a wrong angle jusdrewit has good picture in his thread bout it
a dry fit allready looks promising

from the blueprint i have drawn a correction paper and glued with ductape to the head
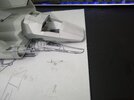
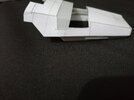
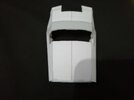
then i cut out the wrong glass
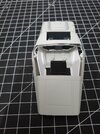
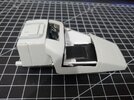
then i tried to cut one plate out of thin styrene and glued on, the hardest part is, to cut the sheet and bend it into the correct shape
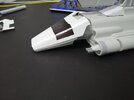
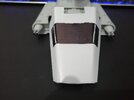
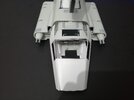
i had to split it
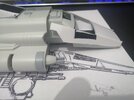

next i can do corrections
3 The Neck
is mounted to the hull by 3 pegs going into 3 holes, but its very hard, so i removed the middle one, now its much better to add or remove it
the top of the neck should be cut off by around 1 or 2 mm
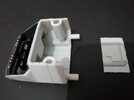
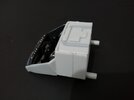
the neck should then sit around 2mm higher
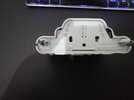
i have shorten the neck, and removed a lot of the oem part, then i added a longer black styrene plate, made it stronger on the inside
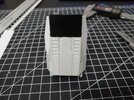
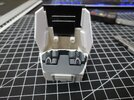
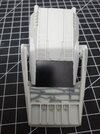
added walls to the side
4 vertical stabilizer
the part with the cooling shades should have a longer bevel/slant
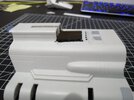
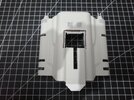
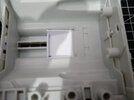
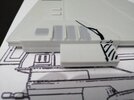
should be corrected with next update (pictures missing)
5 guns
the rear guns should be longer
the main guns should be replaced by something round
the light pivoting guns should be replaced with something thinner
6 wings
so when looking at the picture, it seems the wings are to long, but actually, the rotating things are 5mm to much forward.
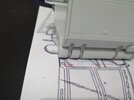
the whole "pivoting half pipe" should be redone but i can live with it(currently)
i noticed, that the rotating point is not concentric to the "pivoting half pipe" - it sits to much inward, so the wings can't properly move down
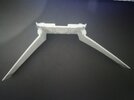
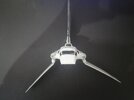
so i modified one side, see the diffrence?
the last weeks have been hot around 35°C every day, to hot to do anything, today it cooled down to 19 so i thoughed lets do something
still some work to do
whats the key of this modification?
* a diffrent approach than jusdrewit - Correcting the Revell and Jazware's Micro Galaxy Squadron Imperial Shuttle proportions
* and some practice for a 1/48 build
i watched the original patented blueprints and printed a paper in 1/100, so the length is exactly 200mm long(makes it 1/100 alias 20m)
1 The Hull
seems right length, but the engine block need to be extended by 9,3mm


from the front plate i cut off the plates, so the "jet intakes" look correct


also the geometrie should be filed rounder
the hull above the "jet intake" is straight, but should be beveld/slanted a little - will do later
the height "a" is correct
the height "b" is correct
only the the "pivoting half pipe" C should be a little higher(3mm)
i bend the rear plate straight and glued it to the back


the gun ball should be cout out and replaced with a straigt one
the details should be perpenducular to the hull instead of angled/beveld
the topest hull part should be slightly shorter around 3mm


but the angle should only be altered by 1°, so i rather keep it like that(lets see how it looks after removeing material from top)
i added a trapezodial sheet and supporting it from the bottom, its cut from the rear of a clothes peg/pin (picture missing)
2 The Head
the cockpit armor plate sits to low and has a wrong angle jusdrewit has good picture in his thread bout it
a dry fit allready looks promising

from the blueprint i have drawn a correction paper and glued with ductape to the head


then i cut out the wrong glass


then i tried to cut one plate out of thin styrene and glued on, the hardest part is, to cut the sheet and bend it into the correct shape


i had to split it


next i can do corrections
3 The Neck
is mounted to the hull by 3 pegs going into 3 holes, but its very hard, so i removed the middle one, now its much better to add or remove it
the top of the neck should be cut off by around 1 or 2 mm


the neck should then sit around 2mm higher

i have shorten the neck, and removed a lot of the oem part, then i added a longer black styrene plate, made it stronger on the inside


added walls to the side
4 vertical stabilizer
the part with the cooling shades should have a longer bevel/slant


should be corrected with next update (pictures missing)
5 guns
the rear guns should be longer
the main guns should be replaced by something round
the light pivoting guns should be replaced with something thinner
6 wings
so when looking at the picture, it seems the wings are to long, but actually, the rotating things are 5mm to much forward.

the whole "pivoting half pipe" should be redone but i can live with it(currently)
i noticed, that the rotating point is not concentric to the "pivoting half pipe" - it sits to much inward, so the wings can't properly move down


so i modified one side, see the diffrence?
the last weeks have been hot around 35°C every day, to hot to do anything, today it cooled down to 19 so i thoughed lets do something
still some work to do
Last edited:
