Painting a Toy Gun?

KillingJoke92

New Member
I recently bought an orange toy gun with the thought that it was an appropriate size to look realistic on camera, the only problem is, obviously, that it is orange. I went into Home Depot expecting to come out with paint to make it look realistic, but I have minimal knowledge on the subject. What paint or technique should i use to make it look like a real gun on camera?
 
Funny you should mention it. This was quick and easy:

show-us-your-rpfs-replica-prop-firearms-revolver1.jpg-56153d1307925287


I first washed it with soap and water; dried it thoroughly; hit it with adhesion promoter spray; sprayed on a coat of flat black; sprayed on a coat of silver; masked and sprayed the grips; used a brush to "wash" the whole thing with black acrylic, then used a cloth to dab off the excess; then sprayed the whole thing with matte clear acrylic. (Also, Rub-n-Buff on the grip emblem.)

Did I say it was simple? It was, really. And my kid loves it.
 
I use Rustoleum Universal flat black for the primer/base coat. It sticks to plastics that other do not without adhesion promoter. The spray can top is distictive shape from all the other styles and brands. This paint lays on thick and resist running which is important if you are as ham-handed and impatient as I am when painting.


Step 1: Take toy gun and use about 300 grit sandpaper to remove any logos, copyrights, etc., and also sand any seams you don't want.

Step 2: Then wash with soap and water as MFP 2020 suggested.

Step 3: When completely dry, and the spray can has been shaken thourghly, apply a light coat (just enough to add some color). Wait 15 minutes, apply more paint, 15 more minutes, more paint. Make sure to change angles (the relative position of spray can to gun) and rotate the gun to get complete coverage.

Step 4: Wait 24 hours, flip the gun over and repete Step 3. Wait 24 hours.

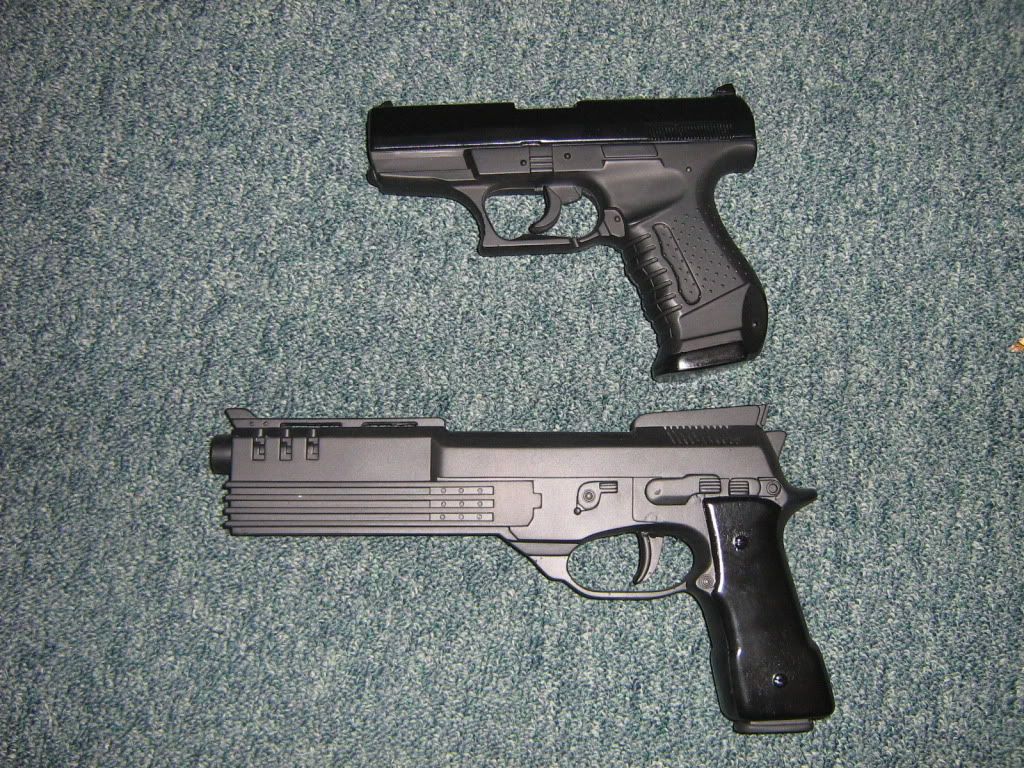
You should now have a flat black toy gun. At this point you can do washes and weathering until you get the look you want.

Good luck and let us see how it turns out. :thumbsup
 
You should also sand between each coat of primer and paint using wet sandpaper increasing the grit as you go to each layer ending with 1500 or even 2000 on the final coat. This is something that I think many people overlook when painting and it makes a big difference.
 
Like Mara Jade's Father said, lot's of sanding between coats of primer and paint. Got these at the local party store on sale. Both were camo painted.

IMG_1984.jpg
 
It really depends on the type of realism that you are going for and the amount of time that you want to invest in painting your toy gun.

If you are looking for the quick and dirty route then you can probably make do with simply sanding down any logos/seams on the gun with a coarse gran sandpaper or I would personally recommend a small file for the start of particularly obtrusive mark. You can then, like neilo posted, hit the gun with a layer of spray-on primer then transition to the gunmetal color of your choice (also spray). Use Painter's Tape to mask off areas you intend to leave as is, if you want to a two-color scheme.

More complex methods of painting require a little more hand-brushing, but can give you a really superb look. One of my favorite examples is in this paper model build of Hellboy's Good Samaritan. Scroll down to the paint work, it's classy!

UHU02's Hellboy Samaritan build - PaperModelers.com

-Arcko

P.S. Don't forget a layer or two of Krylon Clear Coat or some other matte finish. This will prevent the paint from coming off in your actor's hands after a long, sweaty day of shooting.
 
This thread is more than 12 years old.

Your message may be considered spam for the following reasons:

  1. This thread hasn't been active in some time. A new post in this thread might not contribute constructively to this discussion after so long.
If you wish to reply despite these issues, check the box below before replying.
Be aware that malicious compliance may result in more severe penalties.
Back
Top