Monster hunter - Barioth

Progress time.

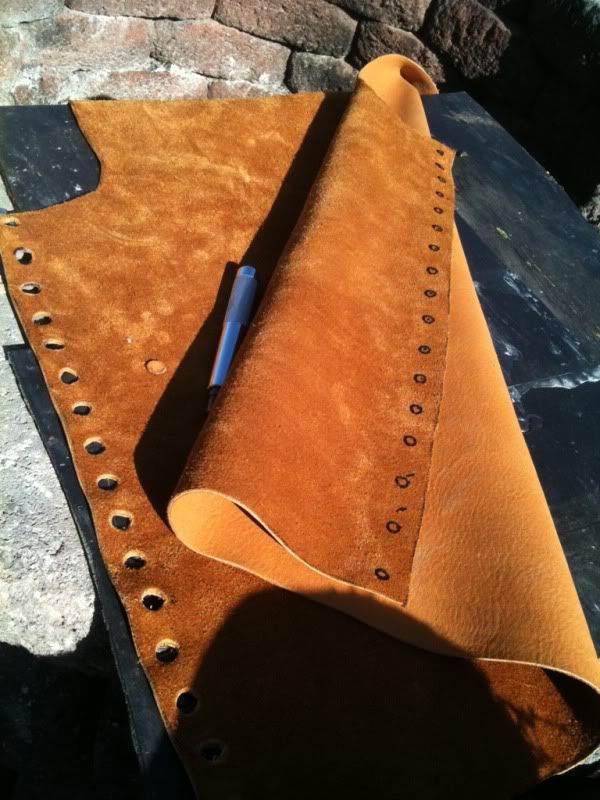
got a sheet at a thrift store and used one of my generic body patterns for designing the armored vest, helps me scale everything, build a pattern and get it all looking good
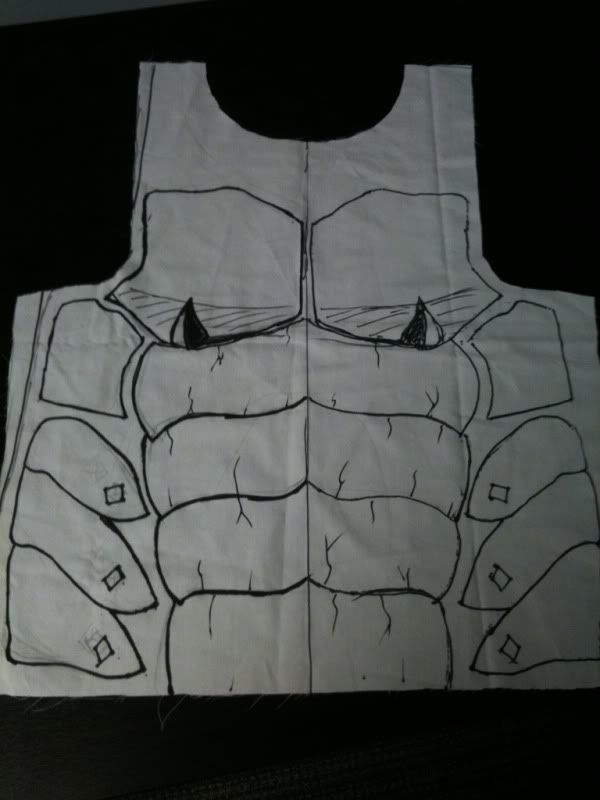
fdc63cfe.jpg

transfer the outline onto a shoulder of cowskin, deer tanned leather, cut it out.
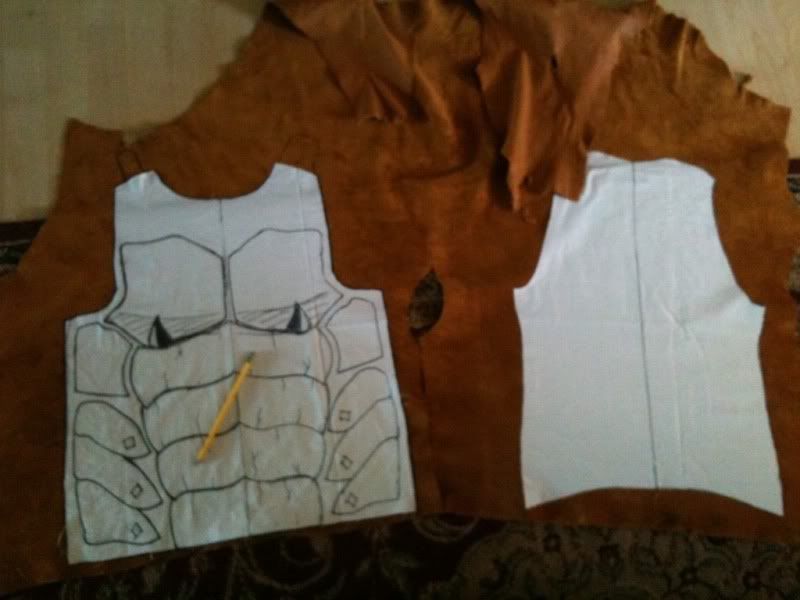
e1fcb06b.jpg


hammer some holes in it
38ada581.jpg


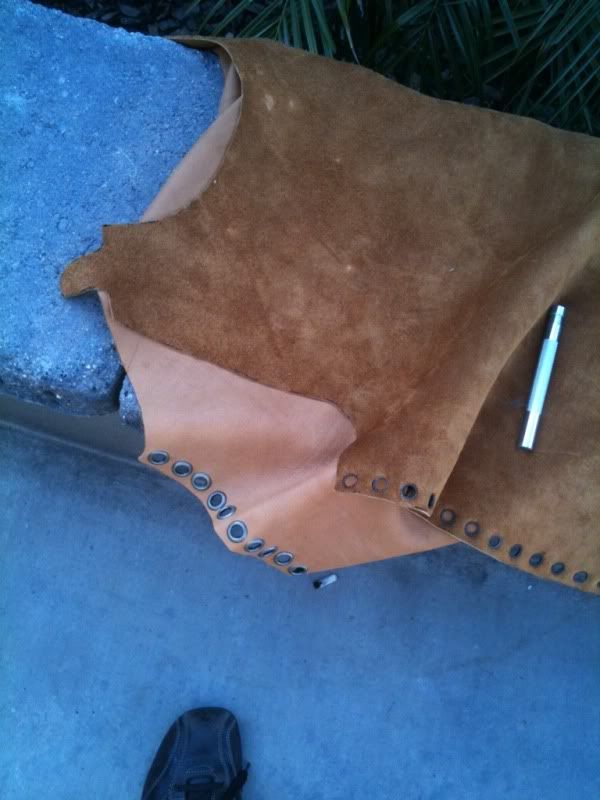
stamp some eyelets
027b349c.jpg


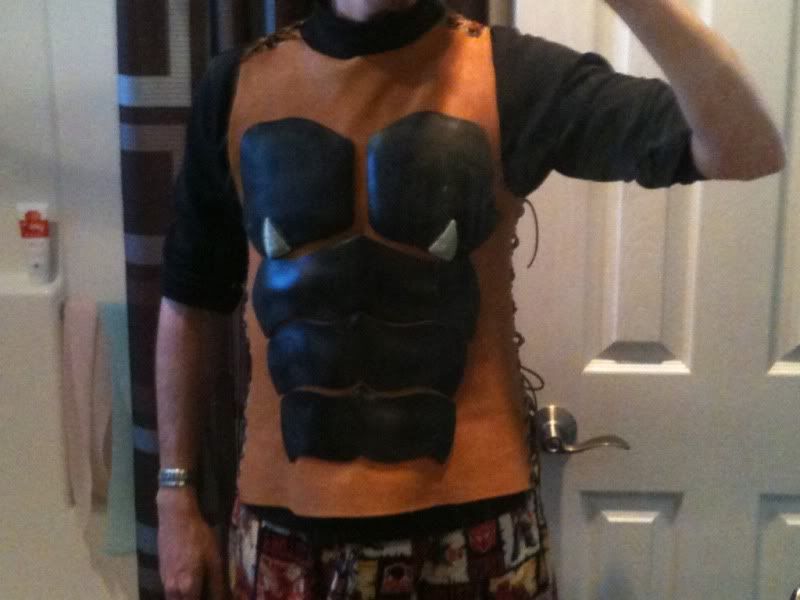
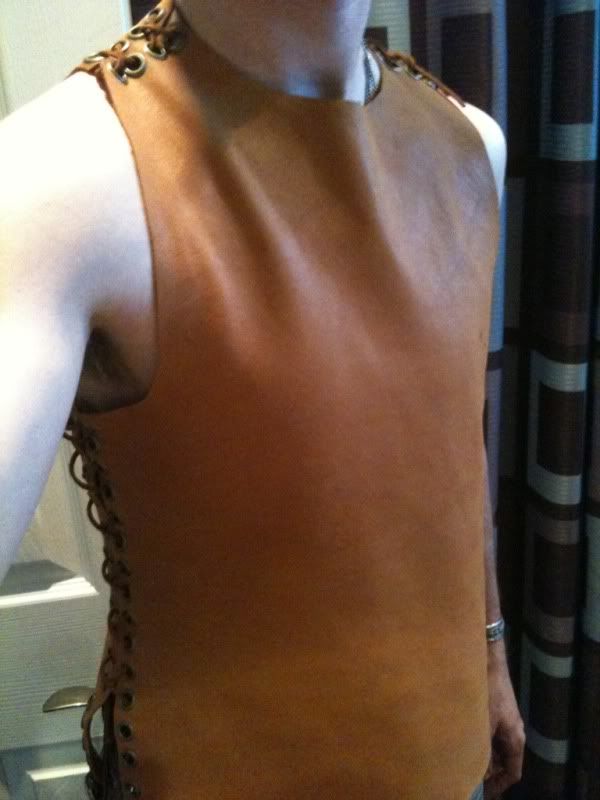
lace it up, and presto! one vest.. now i need to start building the armor plates and work out how to attach them onto the leather.

i'm a little disappointed i needed to change the design slightly, but because of the leather being pretty supple, i could not really attach comfortable but strong leather straps on the shoulders without leaving it rather abrasive.. so i put lacing on the shoulders instead of buckle straps.
ee58861a.jpg


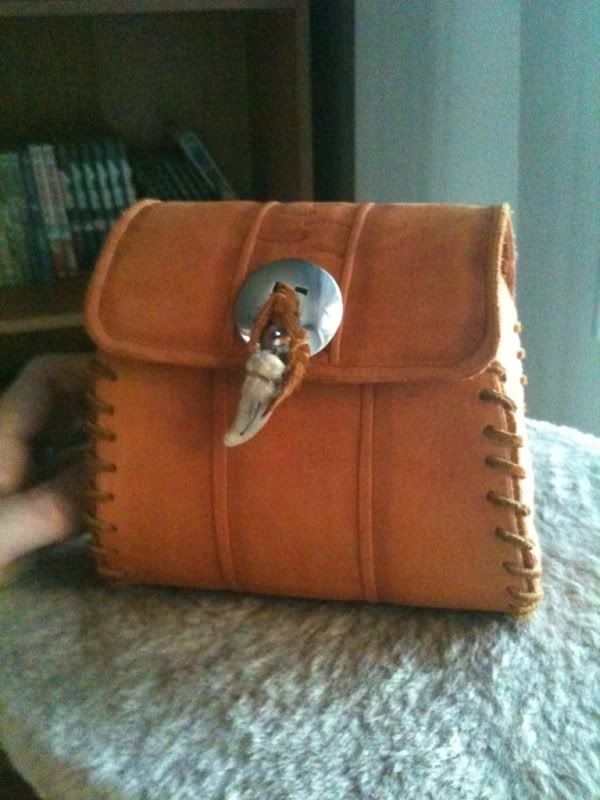
i also attached a magnetic clasp to the leather pouch, so now it actually closes.
and added the silver shield and monster tooth.
78e301b8.jpg
 
some nice progress when i haven't been working at my real job.
20e41ccf.jpg


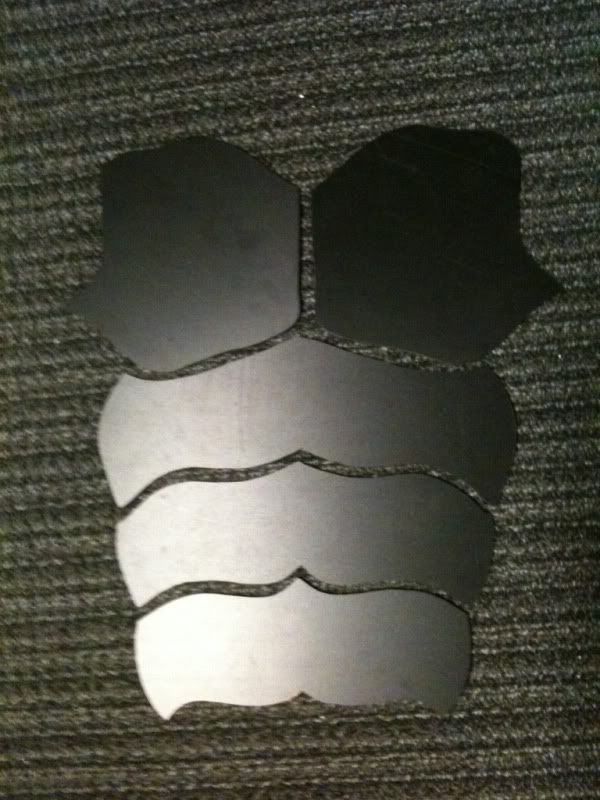
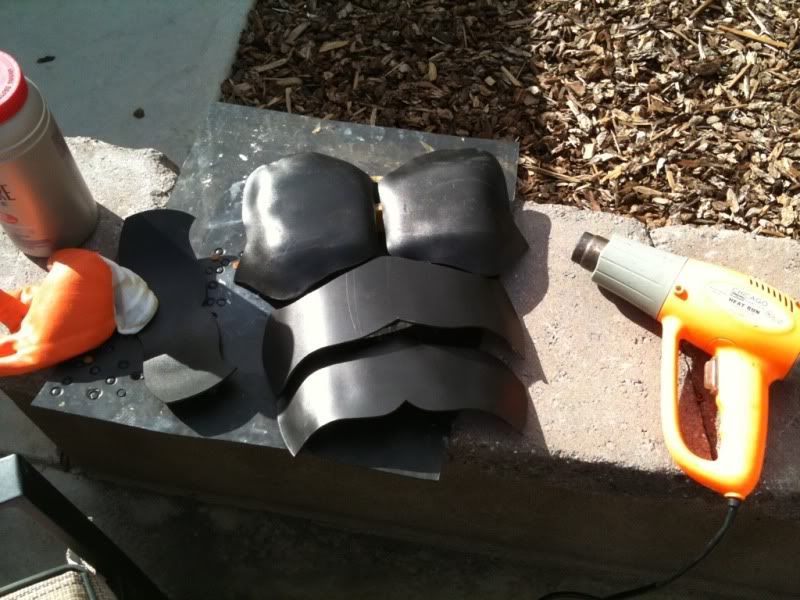
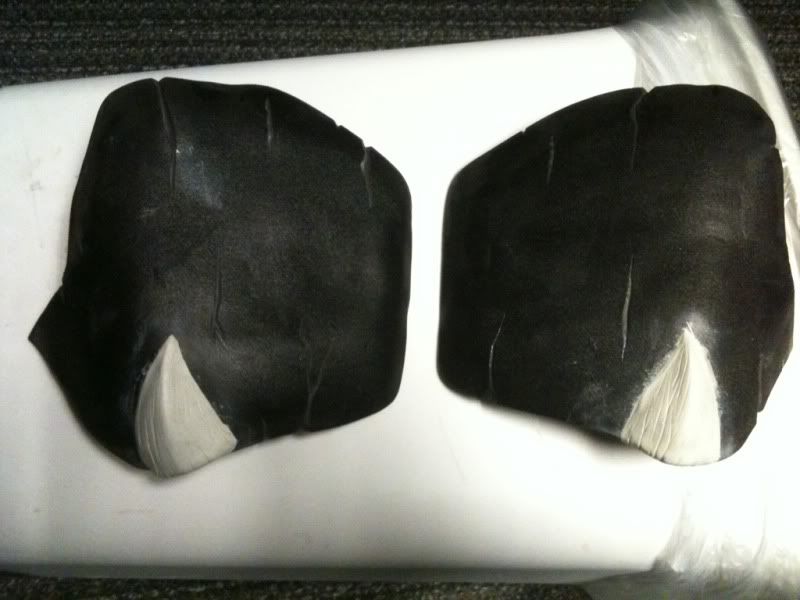
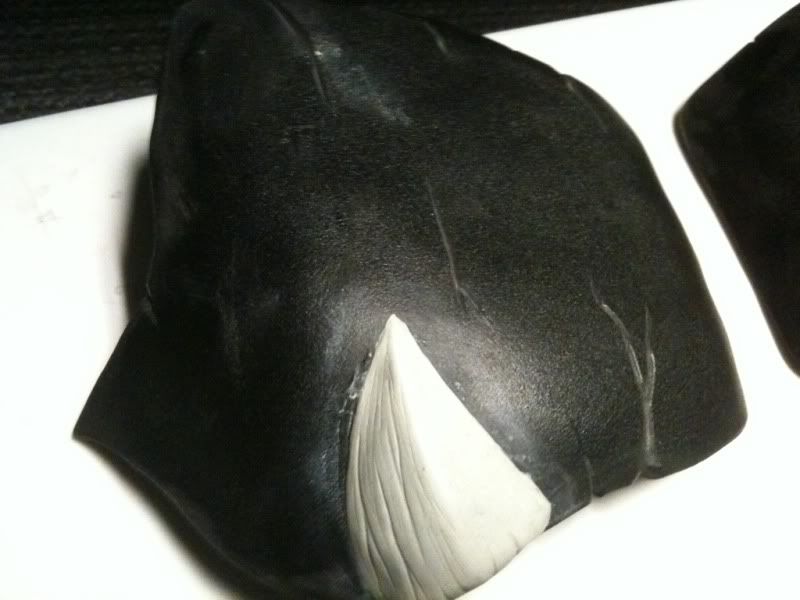
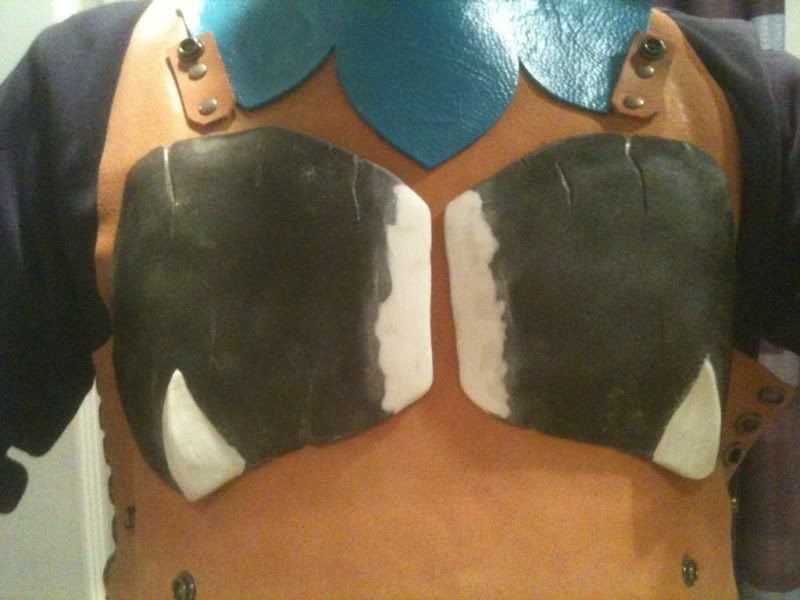
these pectoral plates have taken me hours to shape, i think im near 4-5 hours just on the careful adjusting to make them appropriately shaped, and symmetrical to a point.
9e5d7495.jpg

pieces attached on with tape,
some of the plates are uneven, or too flat, but it's coming together!
5182bdcf.jpg

was happy enough to move to the detailing step for the pectoral plates, i'm really proud of them now.
db846541.jpg

e099ab7c.jpg


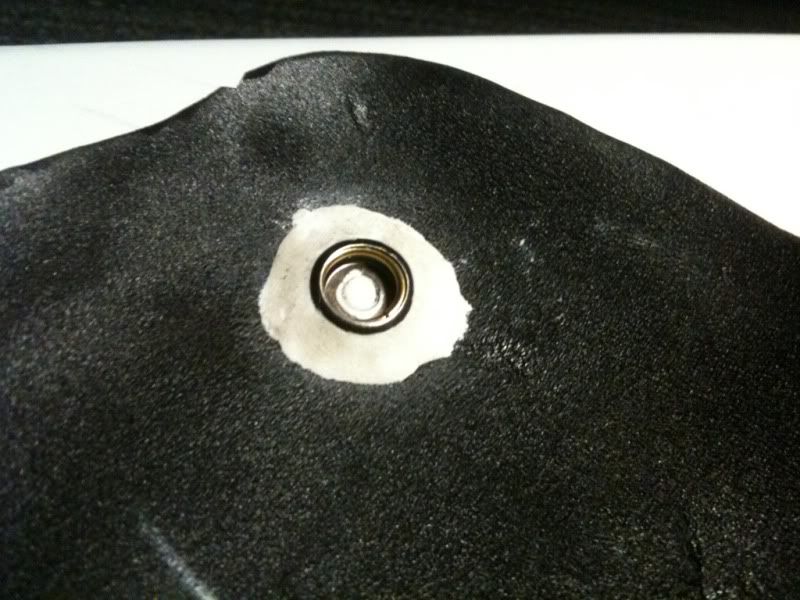
i've got some snaps hammered into the leather, at least two so far, and i will see where the next ones are going from there.
i can just back the snap half that goes onto the plastic with apoxie and it will set really easily.
e8e88184.jpg
 
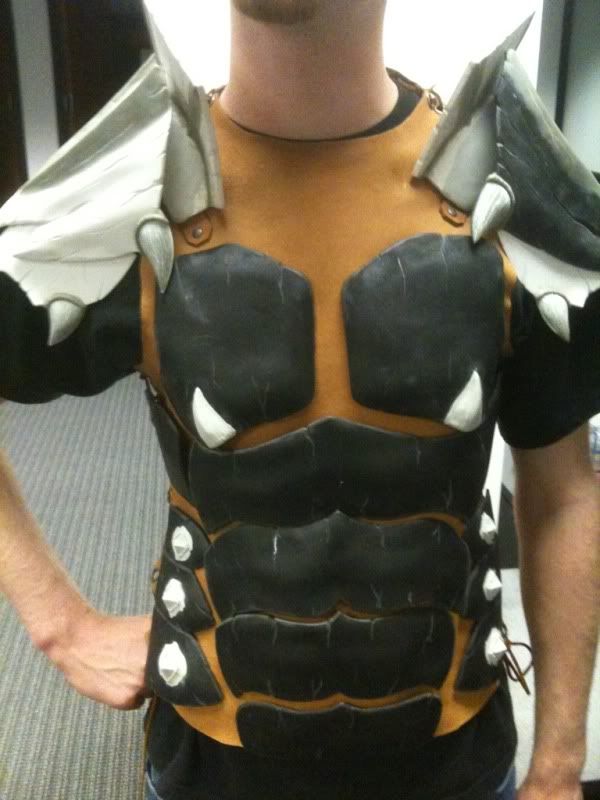
Good Lord that's impressive! If I had any criticism it would be that the abs are fairly undynamic when you compare them to the rest of the work you've done. In the illustration the ab armor has a neat little "tooth" in the corners that adds a nice detail to the armor. Doesnt kill the work, which is amazing, just an observation.
 
Good Lord that's impressive! If I had any criticism it would be that the abs are fairly undynamic when you compare them to the rest of the work you've done. In the illustration the ab armor has a neat little "tooth" in the corners that adds a nice detail to the armor. Doesnt kill the work, which is amazing, just an observation.

a fair comment tbh, i appreciate it.
that said, i am trying to avoid overlapping plates for the abs, my ranger armor i made has a pretty stiff torso, and im trying to get some more comfortable flexibility in the armor, and the overlapping areas on an area with such high movement means for a lot of wearing of the paint.

that and the fanart i included in my first post is kind of inaccurate, the artist took a lot of liberties, the original armor is rather low resolution and its open to interpretation if the slight downward darker V shapes on the abs are just markings, overlapping teeth, or grooves in the plates :/
 
Well, it in no way takes away from it. Those vambraces are sick! I love the horn work. I have seen floral blocks in the Dollar stores around here and I've been wondering what I could use them for.
 
been really preoccupied with actually building, to keep posting images, so my apologies about that, i'm feeling the crunch time.

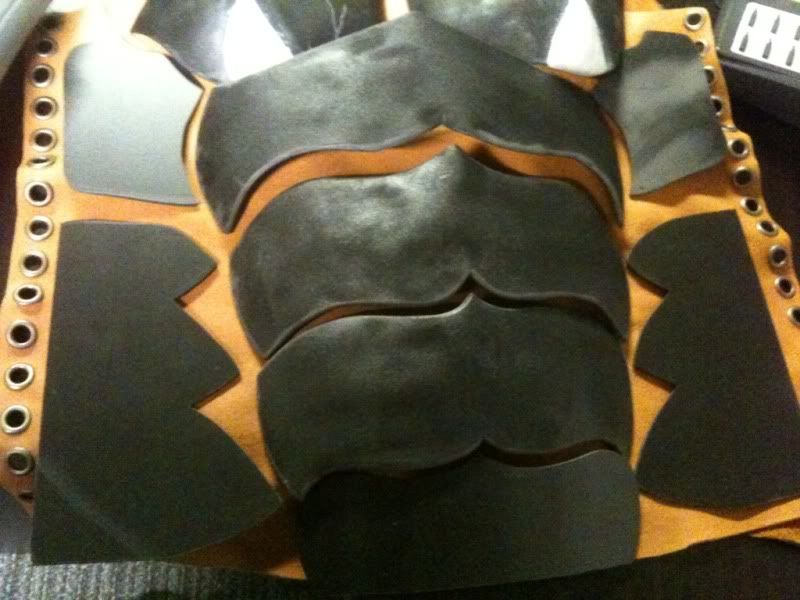
all the front plates of armor have been cut, and i started shaping them,
dab190bd.jpg


the kidney armor pieces were kind of tricky to get right, since i needed to have the bone 'nubs' line up properly, it took me a few tries to make something i felt looked good, some of the other attempts were varying in success.. and most just experimentation.
556b1d32.jpg


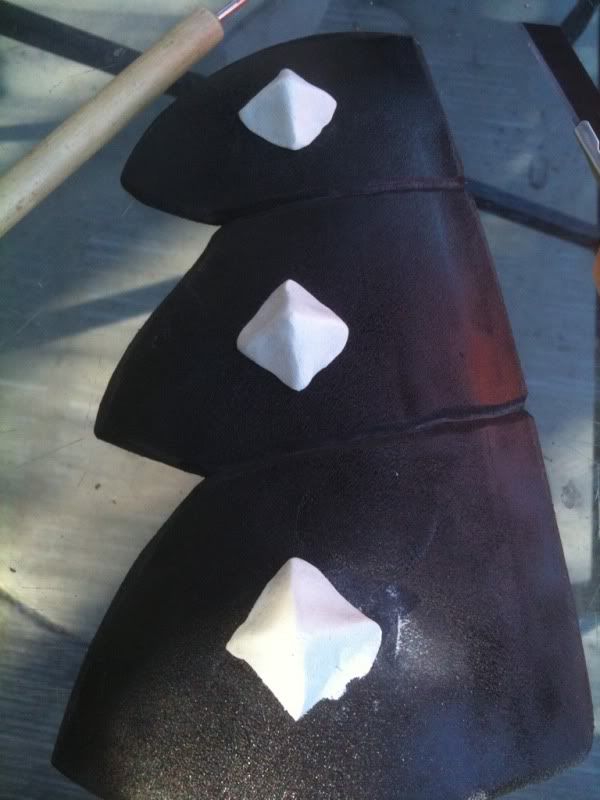
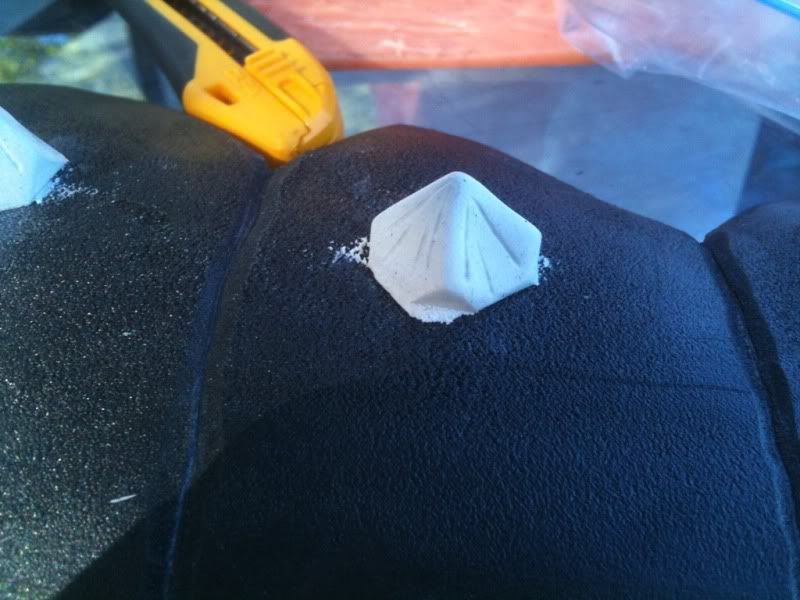
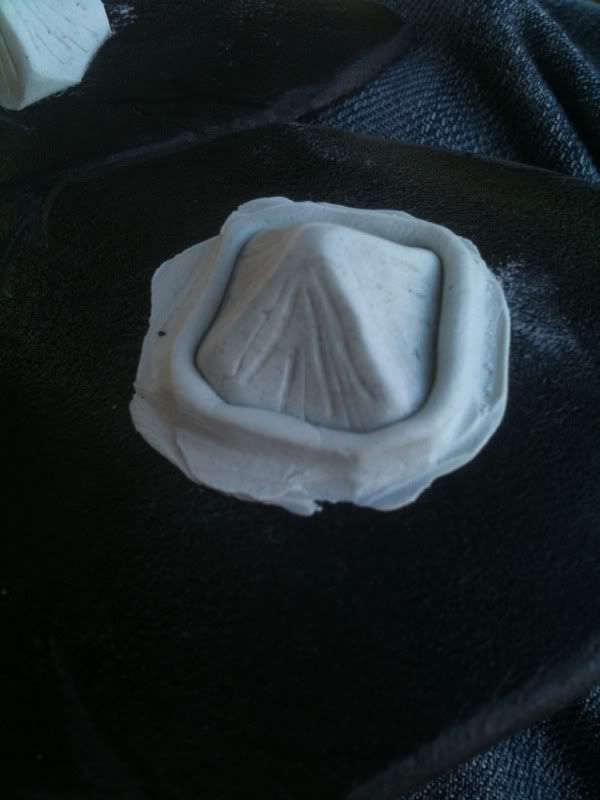
speaking of the nubs, this is how i throw them together.
a1631fee.jpg

04675925.jpg

e83fa1e9.jpg

then i just smooth them down and add the grooves on the lip.

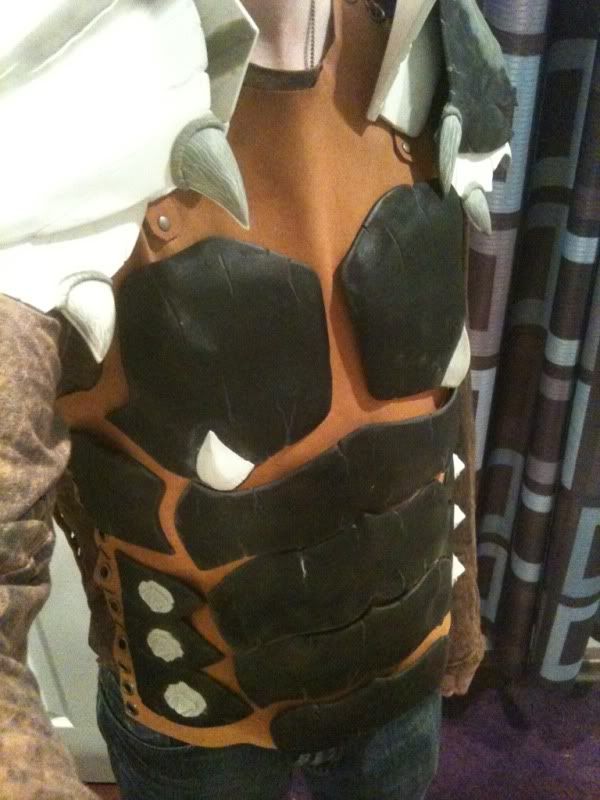
so all these armor plates are attached by snaps, i was originally going to have the shoulders buckle in, like on the art, but in the end, that would have pulled and streched at the leather too much, so i went for a more practical route to keep my costume in better condition.
thicker leather (same grade as i used for my belt pouches) with the snaps attached and then riveted into the leather on several points.
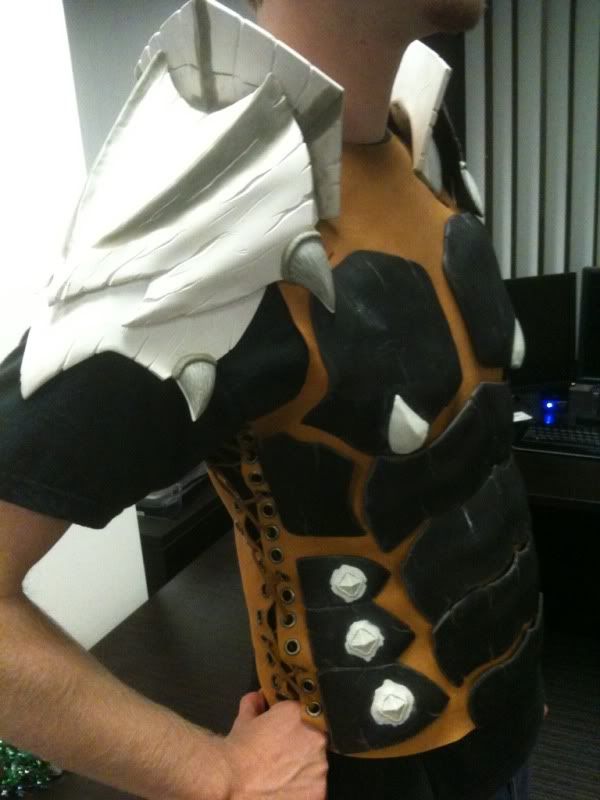
it comes together pretty well,

5beee8f2.jpg


this is a fast attempt to lace up the sides on a friend of mine who has a similar build, i skipped i think 2 out of every 3 eyelets, and it worked out really well,
though when i actually wear the armor myself i'll be lacing it fully.


431eaae8.jpg


obviously, not lacing up the armor makes it look pretty baggy and odd, as demonstrated
2ac1279b.jpg


the pec armor was a little spaced apart, so under some strong armed advisement of friends ;), i extended them inwards a bit,
1907ea7a.jpg


i've also been working on adding straps to the bracers, and rigging the bicep armor onto the bracers as a sort of extra long armored glove.
i'll show pics once what i'm trying to accomplish, has been achieved, otherwise it may just be a duff plan.
 
grey and green, yeah, right now its all Sintra and Apoxie, the reason for the differing colors is because i had some left overs of the 'natural' color before i started using the white color putty

Long, long time fan of the Monster Hunter games and it's unique armor/weapon designs. Your build really looks fantastic and it's pretty amazing to see what you do with the sintra which I've never really worked with myself. I was curious as to what thickness sintra you typically use on project such as this.

I also wanted to thank you for being so thorough in documenting your builds, its pretty amazing to see how a flat sheet gets turned into something as complex as the arm/shoulder and leg/shin armor. I really enjoyed your NCR build and this is build is shaping up to be nothing short of perfection.

i usually use 1/8th, though the neck guards on the shoulders are 1/4th.
and thanks for the kind words! i really hope people try these techniques with their own monster hunter costumes in the future.. if another one comes out in the US that is *grumble grumble*


so, progress!
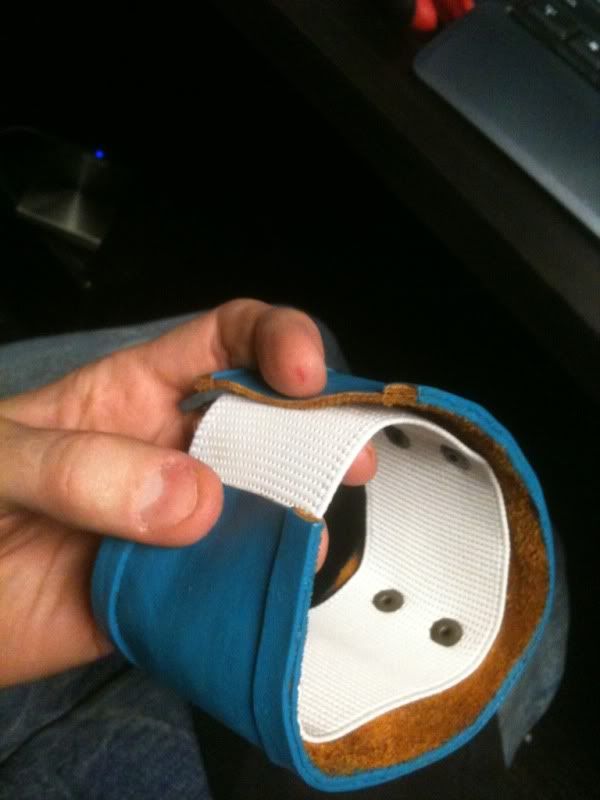
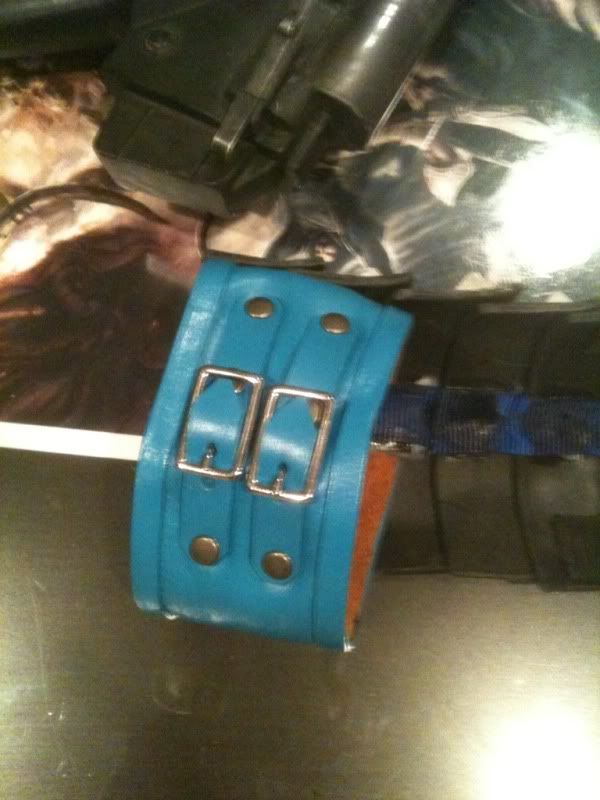
i'm working on the arm bands that appear to hold up the bicep armor.. of course thats not too practical, so i'm more using the arm armor to hold up the band instead!
i'll need leather, and some elastic, and then rivets!

d9cf09f3.jpg

some fake buckles, and it really looks much better, i even punched some holes in the sintra and riveted the leather to it!
(word for the wise, sintra should not be cold when you work with it, if its COLD it shatters.
i give it a real quick blast from a heat gun before i try to hammer a hole in it)
6cfaa843.jpg

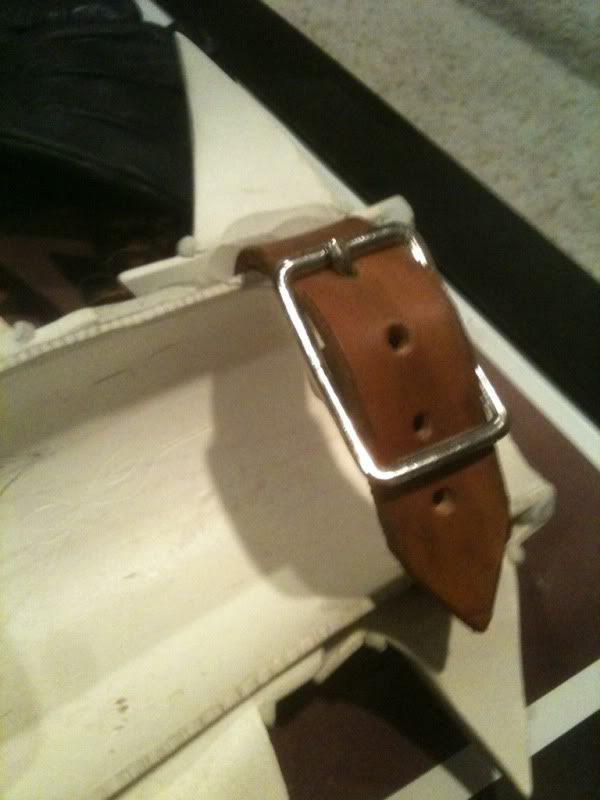
i had to rivet leather straps to the forearm armor as well, so i heated around the horns i sculpted, and bent them back, hammered rivets in, and then heated and bent the sintra back again.

you can use leather dye, stain, inks or even just rubbing some acrylic paint into leather to make it seem more aged, which is what i done here.
a1788f96.jpg

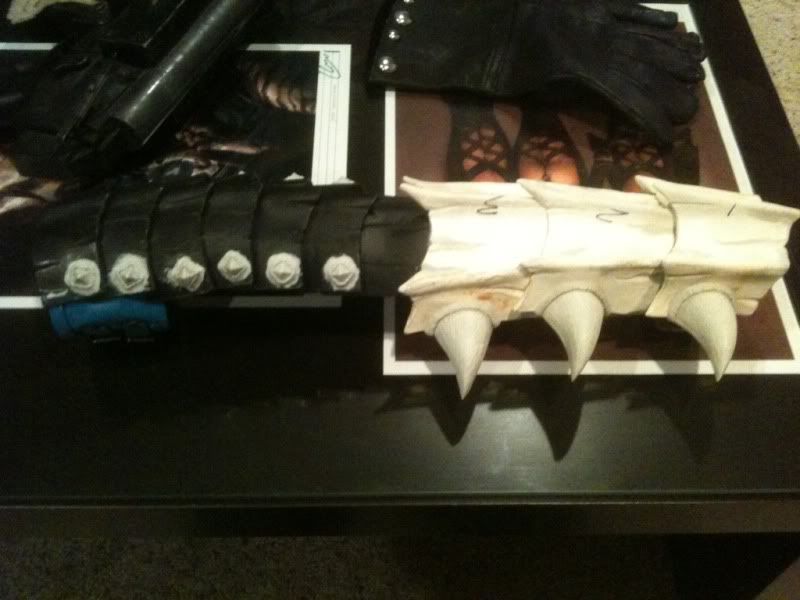
one of the two finished (apart from painting) arm armor pieces. you'll note i added two more plates to each, and extended the forearm plate at the back with a piece of black sintra as well.
i also used elastic to connect the last two or three plates rather than nylon strapping, to give it more flexibility (suggested to me by MandaBear!)
b8479377.jpg


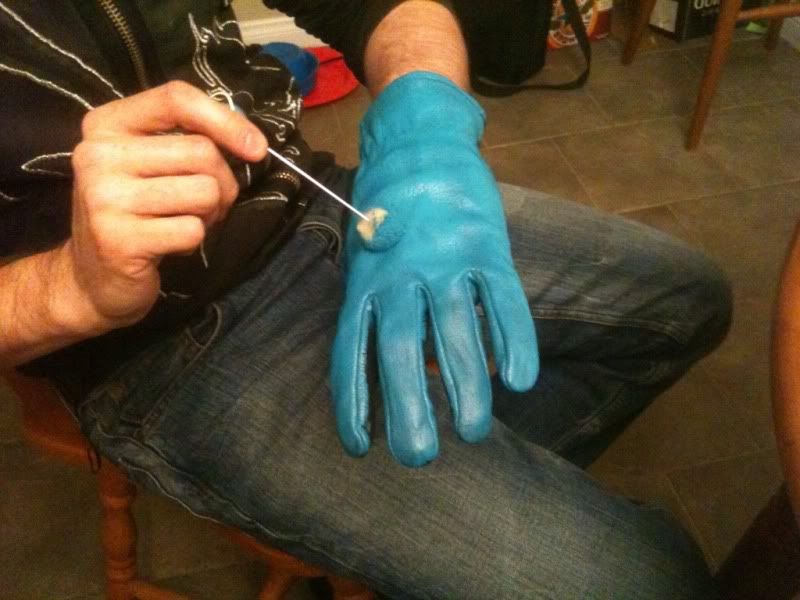
the turquoise/teal paint ive been using worked fantastic on these black deer skin gloves i had laying around.
i've been stressing about how to find turquoise gloves, but i guess the fact that the leather paint i used worked so well as to perfectly block out the black leather underneath, that wont be an issue anymore.

a32e6a31.jpg


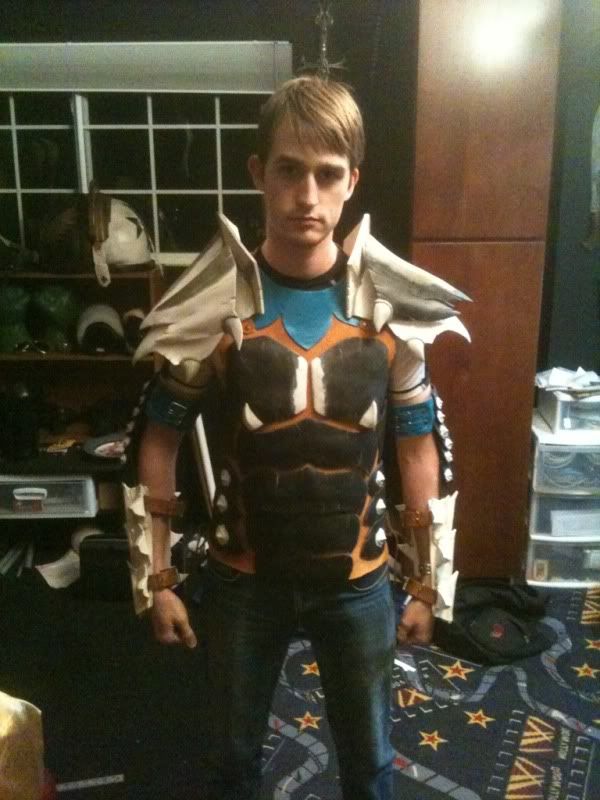
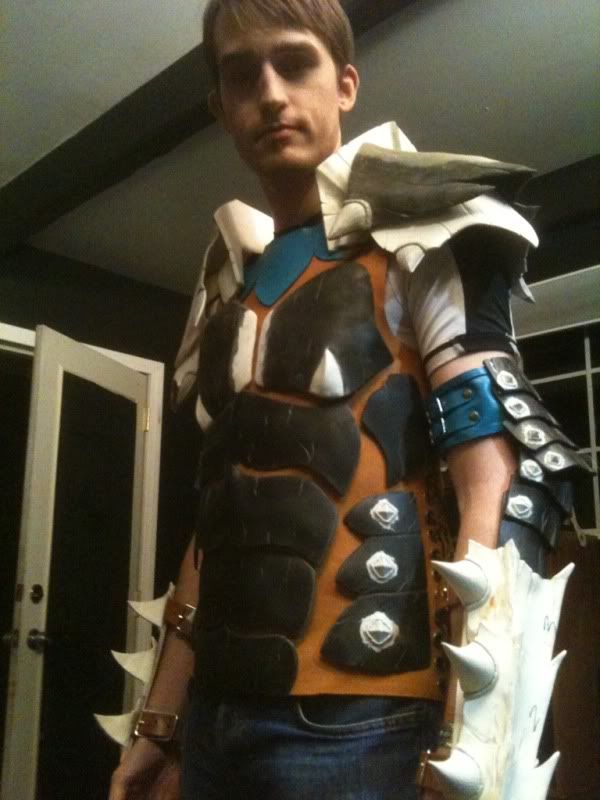
the armor is really coming together, it still needs paint, and many many details, but i'm hopeful i can get it all done.
on a side note, the Barioth is a gigantic arctic sabertooth wyvern..
the armor emphasizes agility and flexibility, which i have to say, for the most part, this is making out to be some very comfortable armor thus far..
what i find amusing is i'm considering making a second undersuit to wear for the costume that involves covering my upper arms with some kind of fabric, because if its warm.. i can wear it normally.. but if its cold? ugh.. i will freeze my skinny ass off :/
171040ae.jpg

8be7b1ae.jpg
 
been hermitting a bit, sorry,
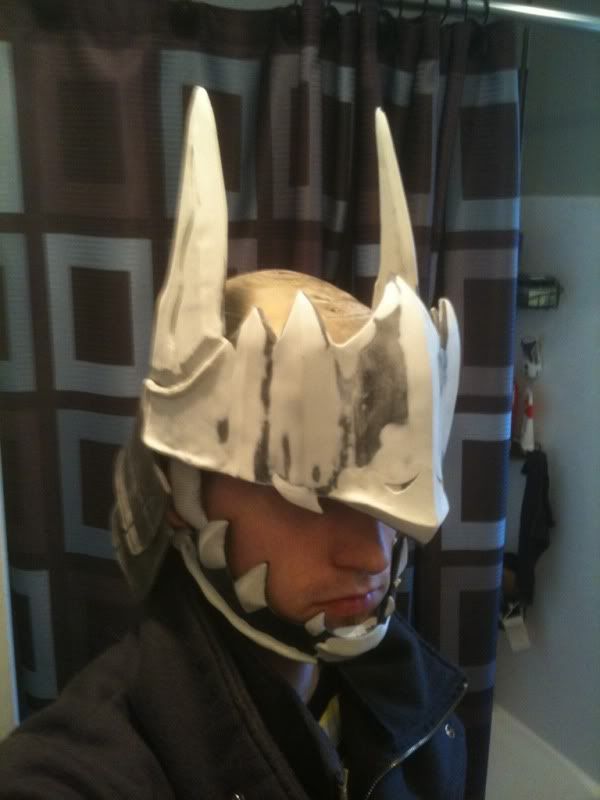
work on the helmet,
looks kinda crappy, but this is step one.
ec4764cd.jpg

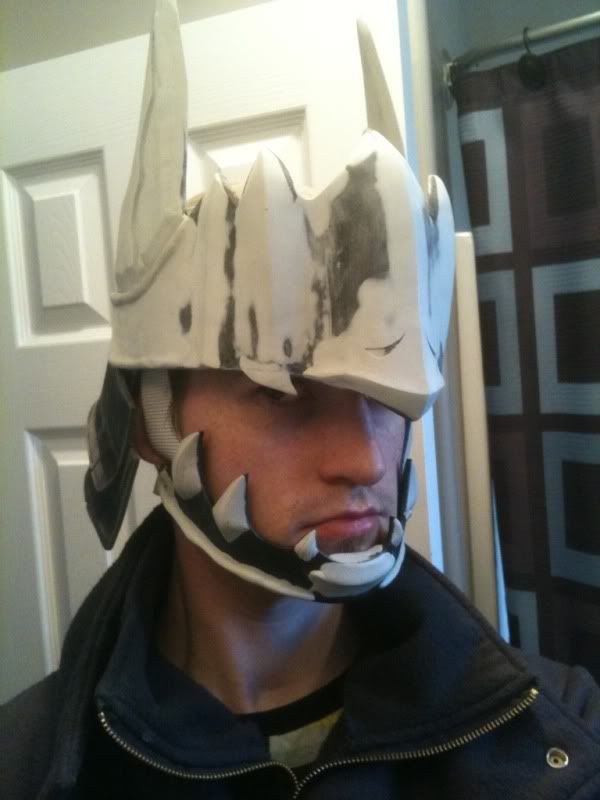
and this is roughly step 16..
481b3b6f.jpg


9dd600c6.jpg


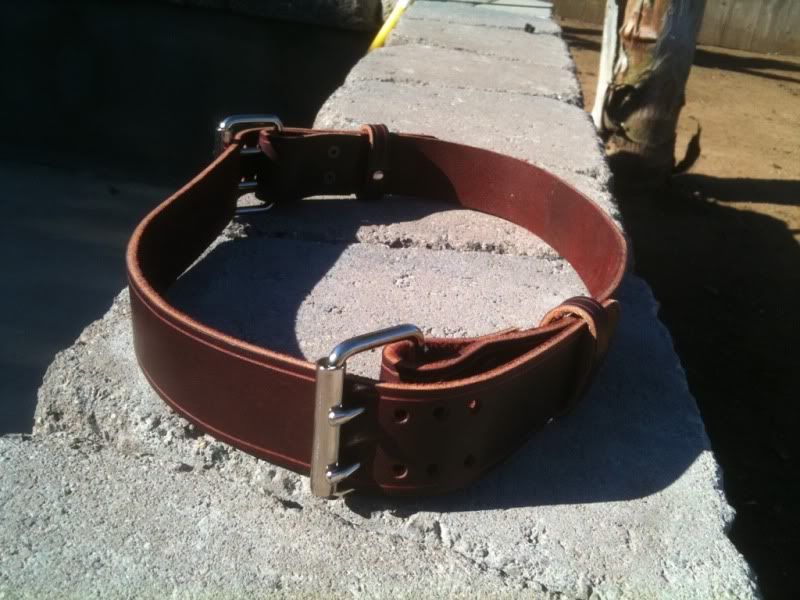
done some leather working, to produce this double buckle belt..
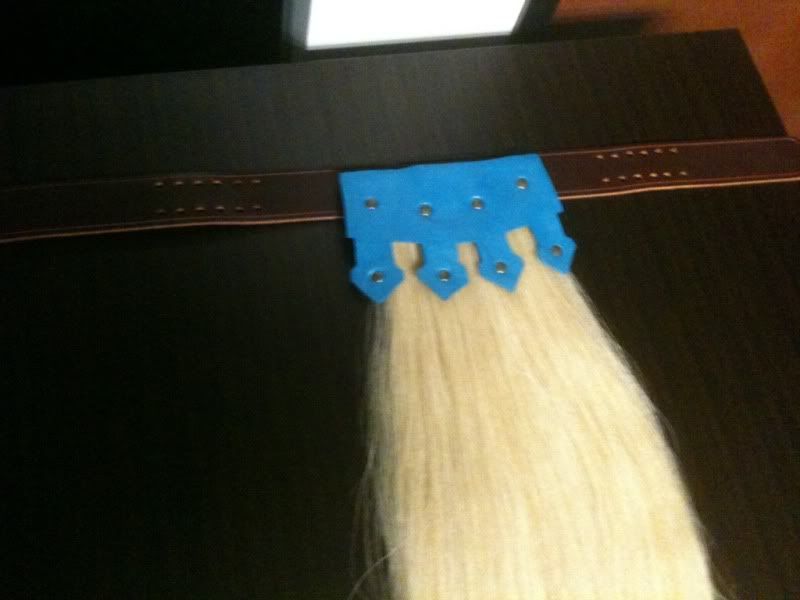
this will have horse hair and belt pouches attached.
62296f13.jpg

a later shot of the front, the hair still needs to be cut and styled
0ddaf155.jpg


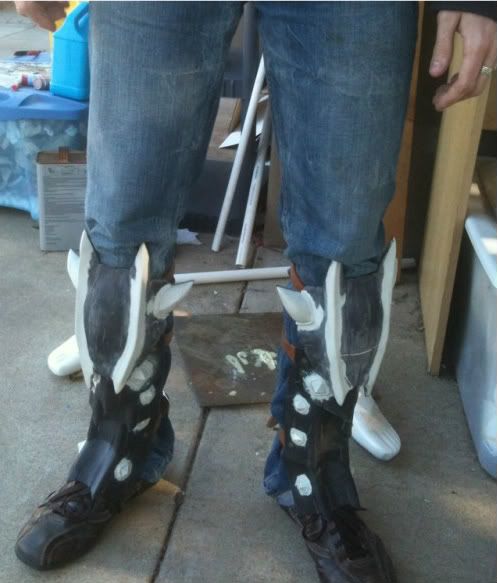
leg armor got leather straps attached to make it wearable.
985dc968.jpg


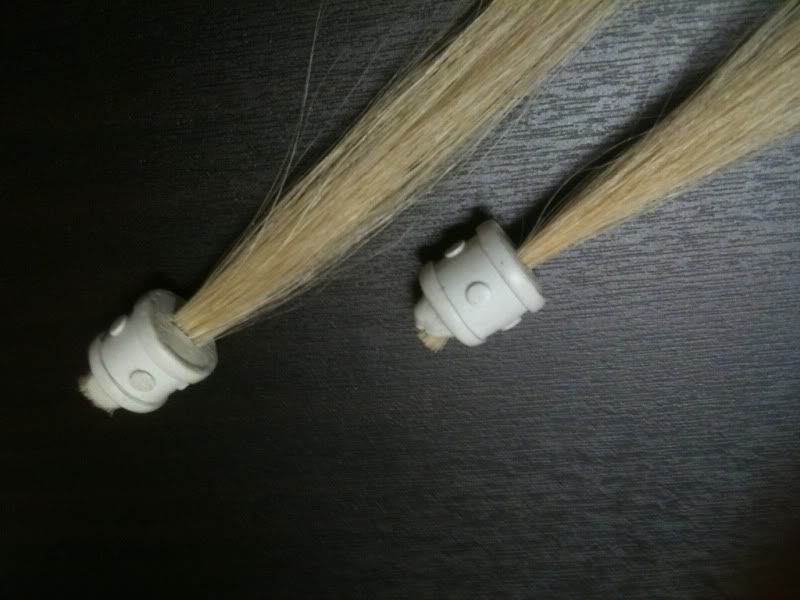
i have to attach these sort of.. sideburn like tassels to the helmet, so i cut a thin strip of metal and used plyers to crimp it around some hair, razor cut it abunch to mix up the lengths and such, and then put some apoxie in several stages around the top, and these will be later apoxied to the helmet,
7deed6e4.jpg

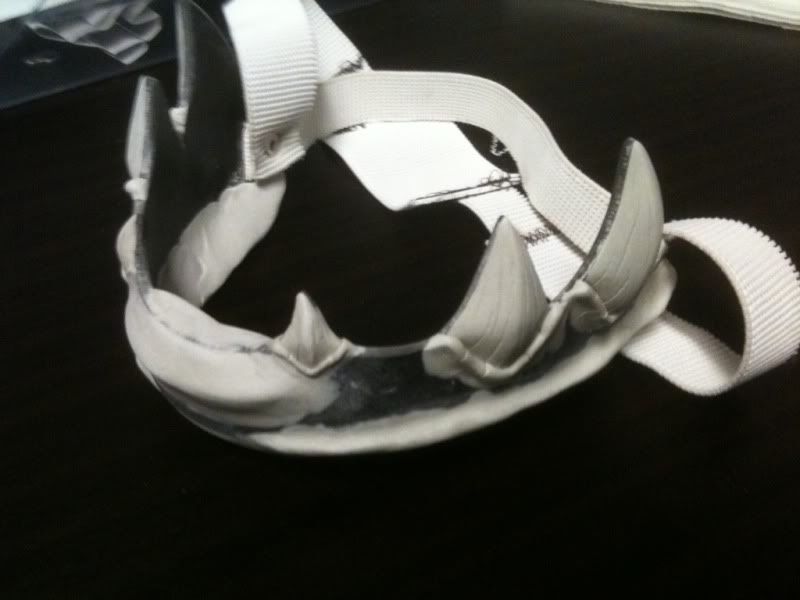
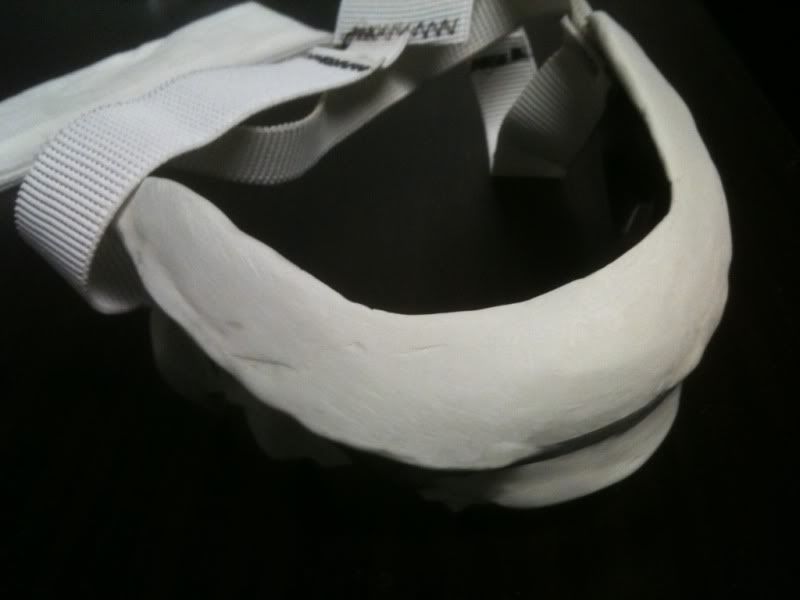
the elastic is a quick rig to test lengths, but this is the work on the jaw bone that i wear with the helmet, works pretty well, but it needed some more coverage under my own jaw,
2843ddb6.jpg

so thats what this is
dc19e1d6.jpg


i've also cut some deeper groves into the large crown teeth, and serrated them a little to be closer to the art for the monster they belonged to.
 
Looks like things are really starting to come together. I have to admit seeing your work encouraged me to pick up a few volumes of the Hunter's Encyclopedias for reference. I'm still in the process of settling into my new house and trying to get a basement workshop finished but I definitely will be looking to undertake a Monster Hunter project in the future.

I spent a good deal of time playing Tri online (250+ hours?) and although Barioth was a cool cat (literally) I think I spent most of my time running around in Gobul, Agnaktor, and Jhen Moran while trying to work on an Alatreon set, which I never did complete.
 
getting real close to needing this all finished,
it's rather exciting.
and pretty tough.
but its coming together.
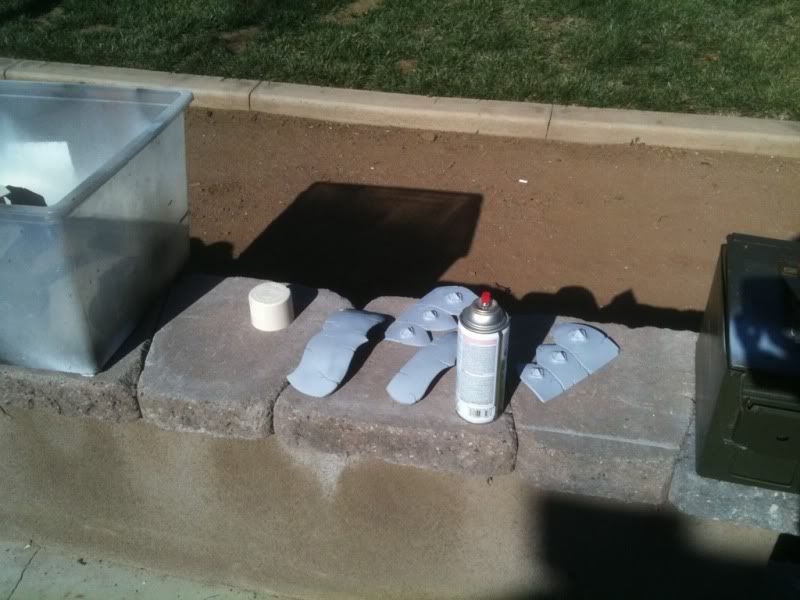
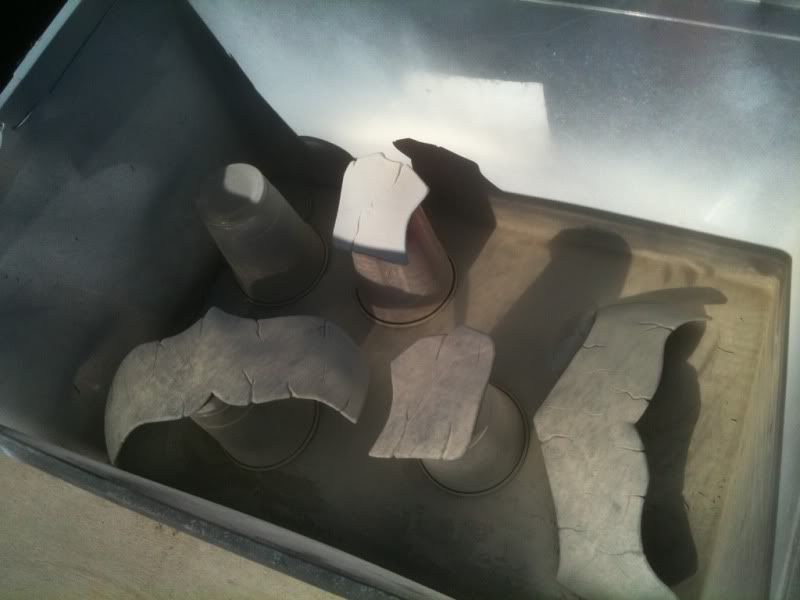
so first up, priming time!
2a5a19a3.jpg

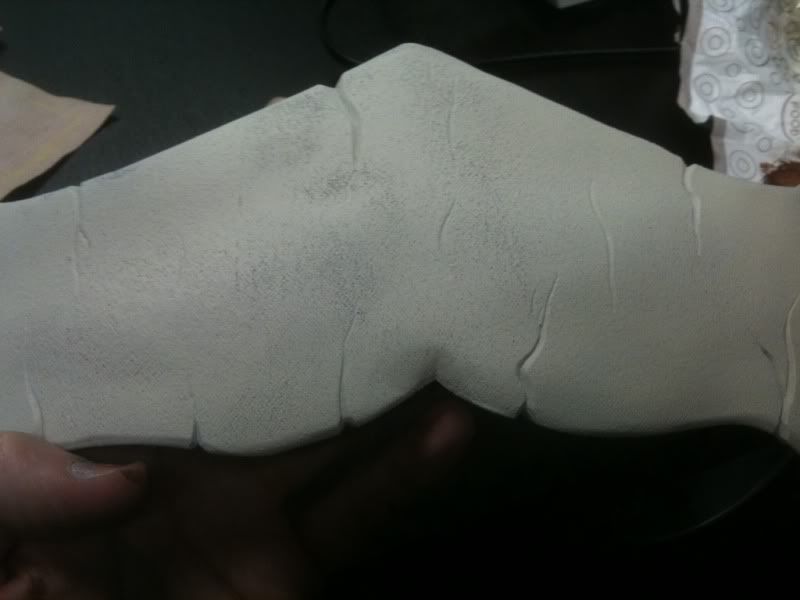
fist, in grey, as above, why? because i have a mix of white and black plastic pieces,
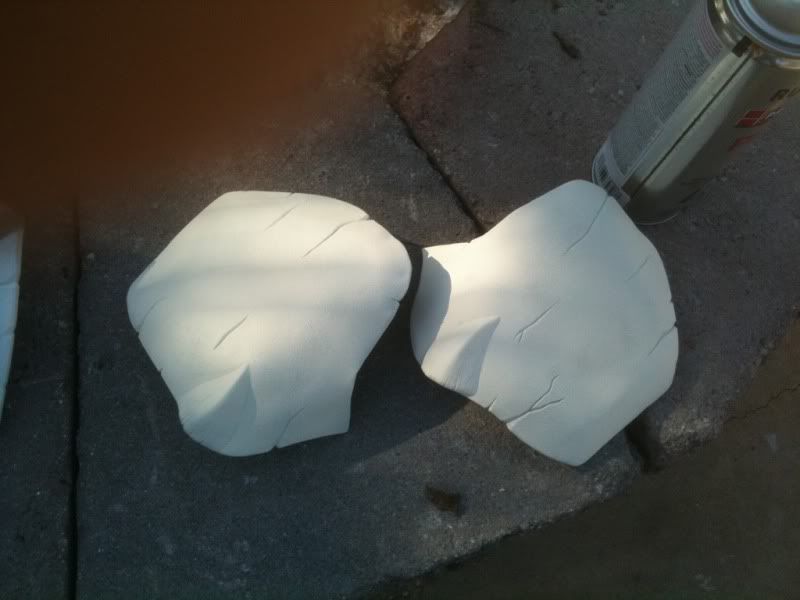
this means a neutral color to bring the pieces to an even ground is going to be smart when i.. give it an off white color as the 'base' color.
1d8624fc.jpg

got a great shot of my thumb here...
and thats one of the pectoral plates, with its off white base color.
f0e8e917.jpg


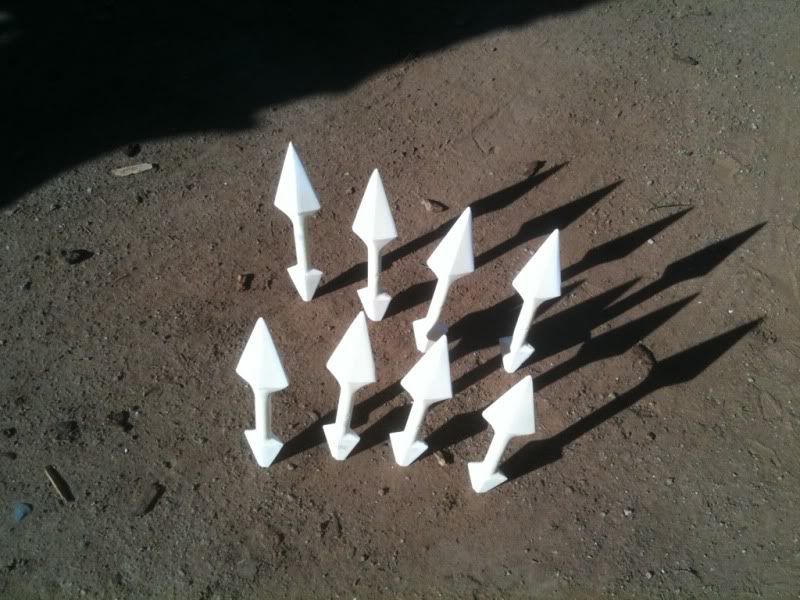
the build involves 8 double ended kunai dagger things, so i made one, chopped it into little pieces, watered it every day for a week, and grew some more!
i actually just made a mold, and then cast up 8 of the puppies.
one of them is rather sticky.. so i may recast it..

fe0752d7.jpg

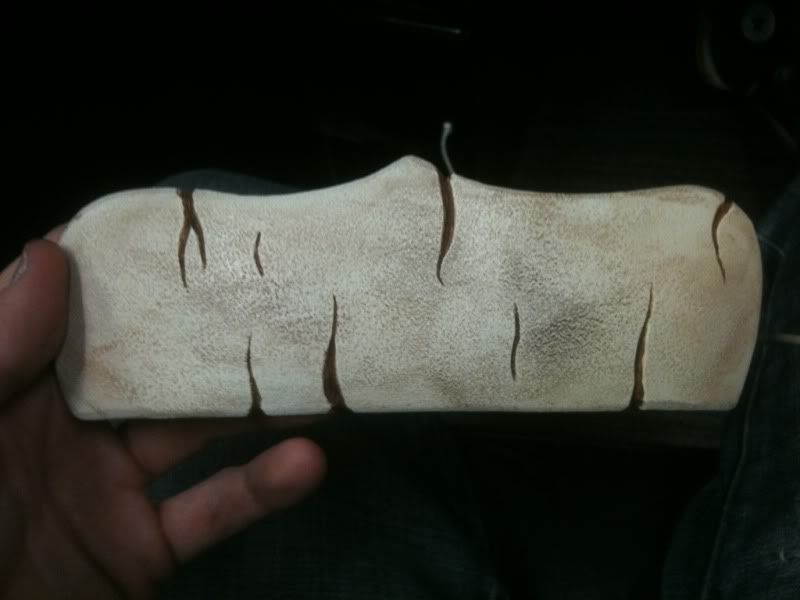
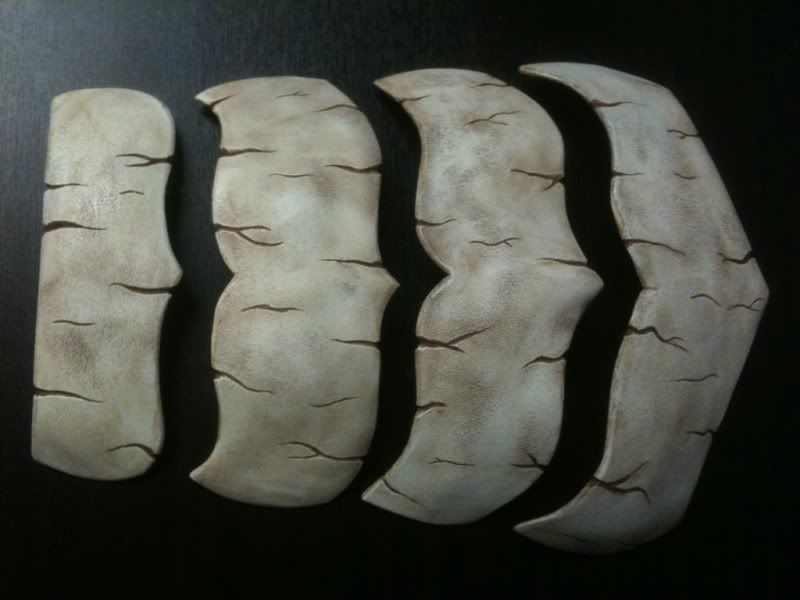
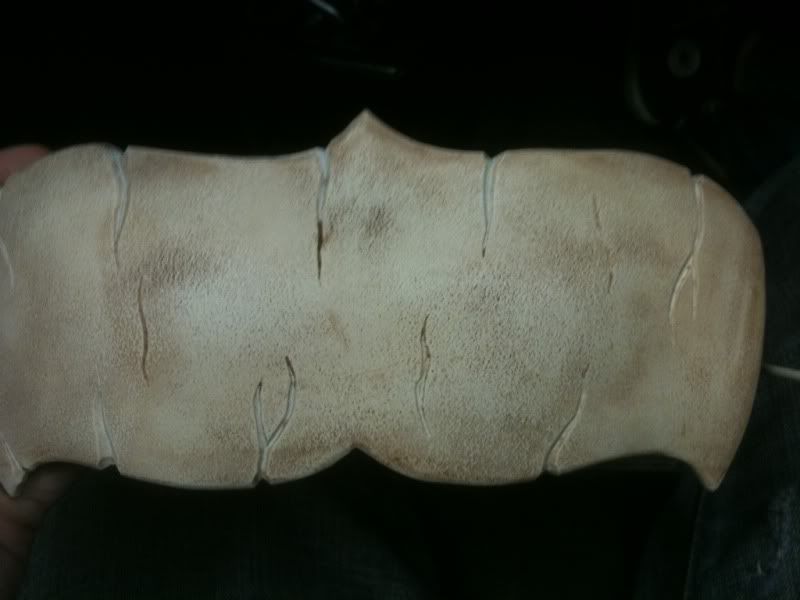
so, onto my bone paint job, first, we have the off white piece
be9b5ba5.jpg

then rub in some brown acrylics,
forethought here was my overheating of the plastic to give it that rough porous texture, so this is where it can really be used.
92620513.jpg

then finish up with detailing any cracks i carved, with a paintbrush
7664e7e7.jpg

got a few pieces done, thus far.. i'm considering more detail some how.. but unsure of what to do.. it already looks pretty good i think.. anymore and i risk the double edged sword of adding too much detail.
9cccc91e.jpg


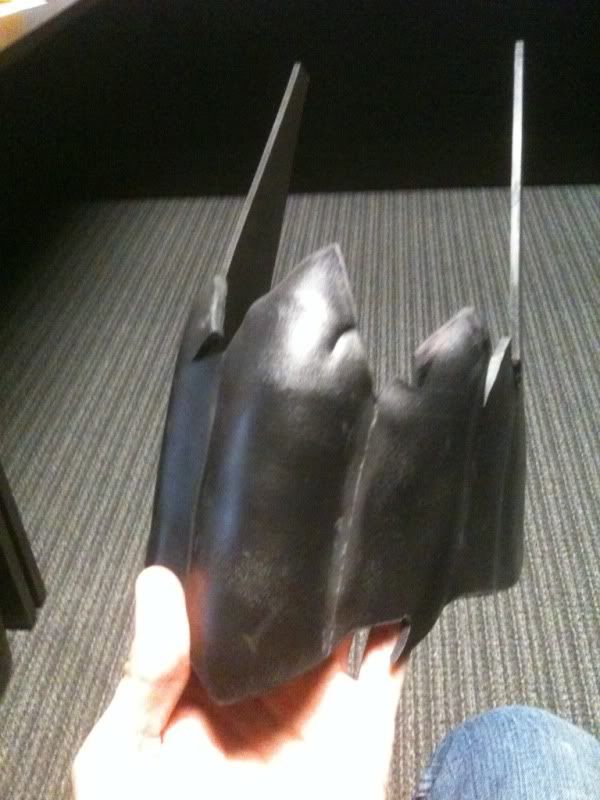
i looked over the pieces ive done, and i realized i was missing the gorget, so about an hour spent on it, i hammered out a pretty good one to use, just needs paints.
19cd9773.jpg


i also painted up the jawbone that i wear on my chin for the armor,
i was not sure how this would work, since the other pieces ive done thus far were quite textured, this was rather smooth, lacking the porous texture, but the same technique worked out great in the end.
0700d4f4.jpg
 
Back
Top