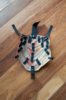
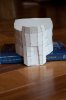
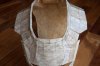
Pepped the chest and back. I had to redo them because after I upscaled the cod, the abs and the ribs wouldn't fit inside the chest/back. Sigh.
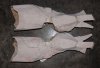
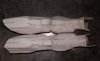
Do the cod first with these builds...
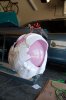
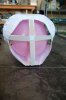
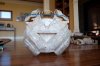
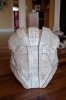
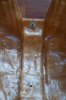
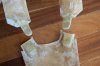
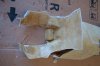
Before I resined the whole thing as a unit, I resined just the sides where the 2 pieces join and after my 3 coats of resin cured, I put foil between the sides and used binder clips to hold them together (If you do this, you have to make sure you don't get sloppy with the resin on the outside or inside, otherwise the clips won't stay in place. Next I connected the pieces at the top/front using four strips of cardstock to keep the top of the chest and the shoulder straps aligned. Then I built some supports for the bottom to help the whole thing keep it's shape. I used a huge balloon I had at home and inflated it inside...figured it was latex so the resin wouldn't stick to it and it would help keep the pieces from collapsing while it was resined. Worked great!
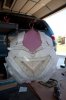
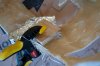
Removed the bottom supports when I fiberglassed because I couldn't get inside otherwise. The 3 coats of plain resin were sufficient and it kept it's shape while I glassed it. I did do the glassing in stages. Chest, cure. Back (except shoulder straps), cure. Shoulder straps, cure. Then did my second layer the same way. I did glass the inside strips I added to the shoulders as well since I was planning on using them to help keep the pieces connected.
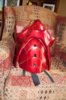
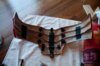
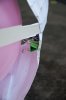
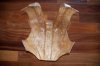
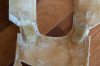
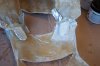
The chest and back are partially connected right now. I bent a hinge to fit the shape of the pieces where I was connecting them, and used JB quick weld to attach the hinges to the shoulders. Let it cure, then worked on connecting the sides. After that cured, I used some Apoxie Sculpt to mold under the hinges on the chest and the hinges are now clamped down while the Apoxie Sculpt cures. Putting the Apoxie underneath will give me a more secure attach point I think since there won't be any gaps between the hinge and chest. Tomorrow I'll unclamp and laying glass over the hinges to attache them more securely.
I know the chest and back aren't supposed to be attached in the front/top, but I'm going for easy, and the hinges won't be that noticeable I think if they are painted red or black. I removed 2 of the top extra card stock I did something similar to what I did on my codpiece to connect the sides where the chest and back join. Mongo magnets set in Apoxie Sculpt and overhanging lips built up to hold the other magnets so the magnets can be slid apart to separate the two pieces. Since the magnets are only keeping the pieces closed and not actually holding them up, it should work pretty well. My head is small enough it will fit inbetween the shoulder "straps," I just needed to be able to open it up and get my arms in...
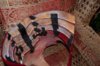
Video of my progress on chest/back so far
https://www.youtube.com/watch?v=u4TtD0sh8LE
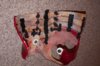
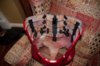
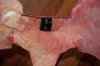
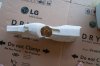
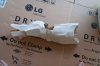
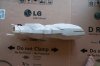
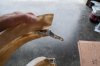
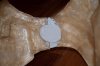
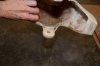
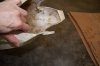
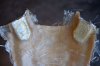
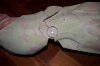
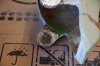
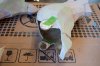
Totally forgot about the neck piece. So I pepped and glassed it the other day. I know some folks just use foam, but I wanted to try it as a pepped piece. I'm not sure how those who've pepped it connect it. I think I can just kind of flex the open back part enough to get it on, then perhaps use velcro or magnets for that detail piece in the back. Since I don't need to flex it very much in order to get it on, I don't think the bondo/paint will crack. It's a small piece so if it doesn't work out doing it that way...no biggie...BUT, will definitely have to put some thin foam on the inside for comfort.
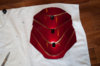
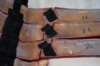
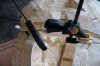
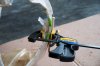
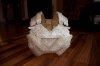
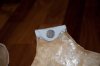
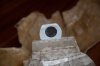
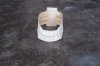
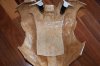
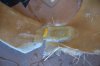
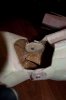
Also got the neck brace connected. Had to do a do over with the snaps, I didn't allow room for the snap connections and the pieces weren't joining right, so I had to take the snaps off move them forward--off of the underhanging portion I made with Apoxie Sculpt (I love that stuff!) and reinforced with fiberglass.
") . Nice Job!!!Keep calm and finish the suit
. Nice Job!!!Keep calm and finish the suit