Making Your Own Toy

franz bolo

Sr Member
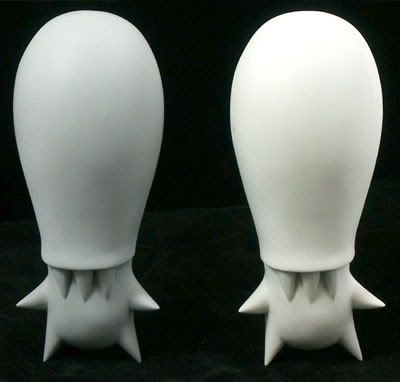
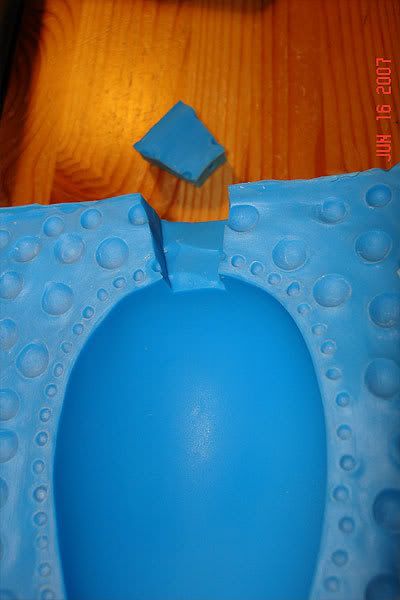
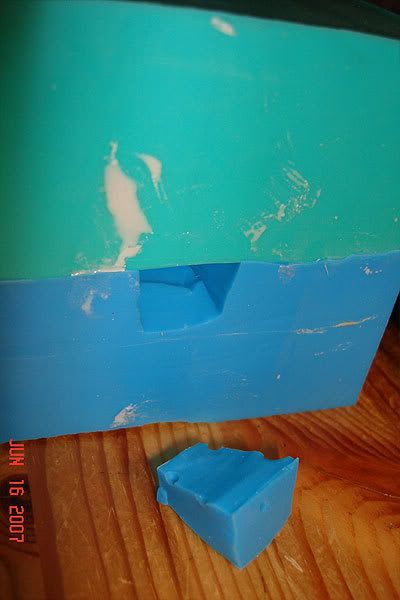
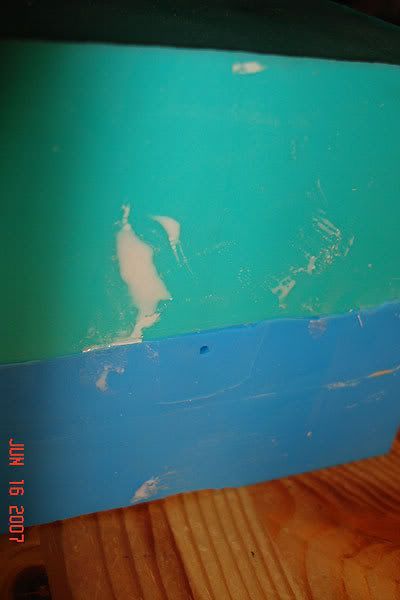
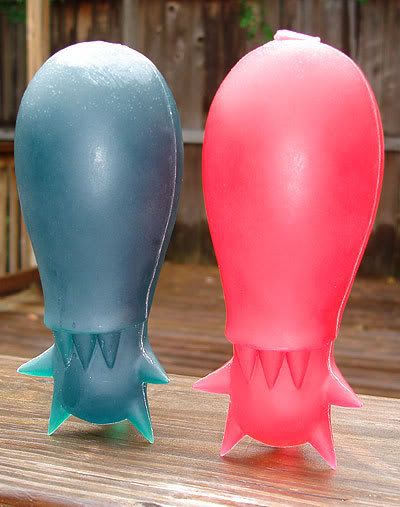
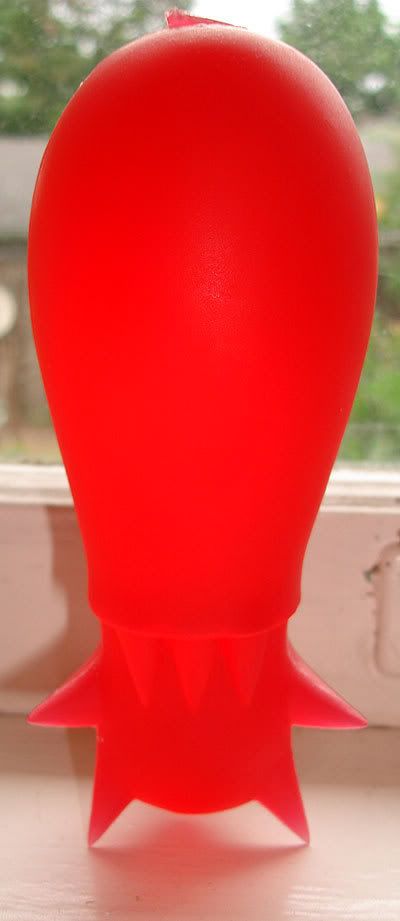
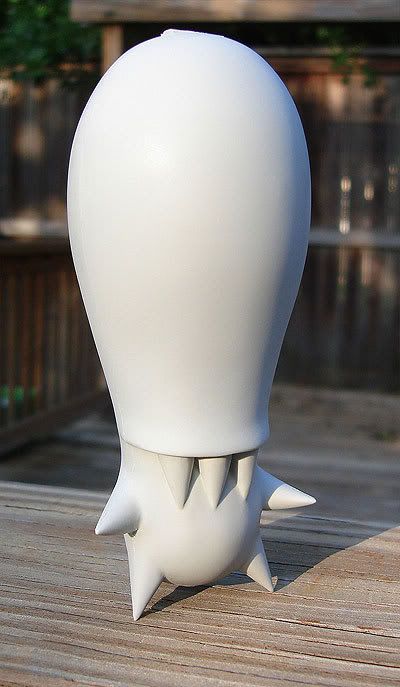
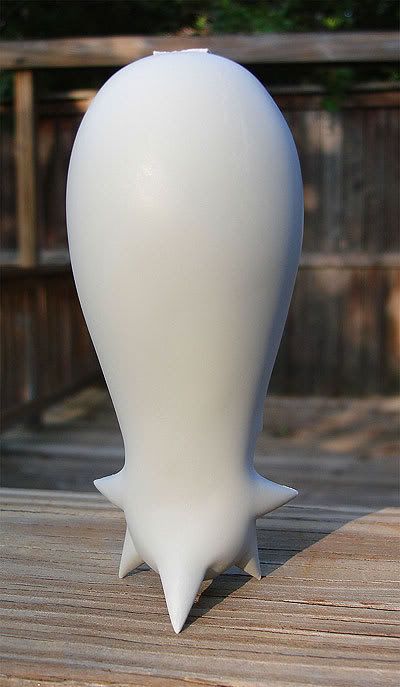
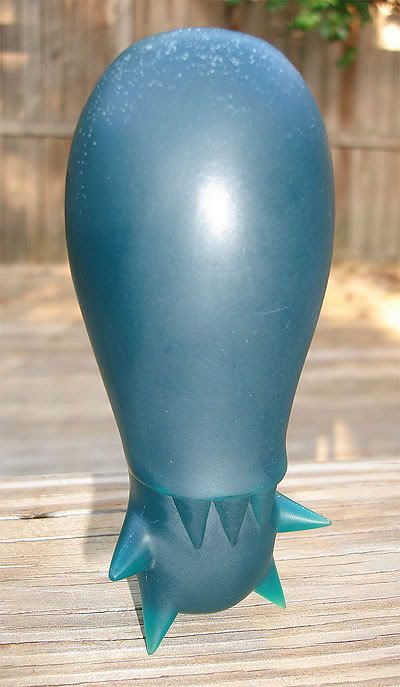
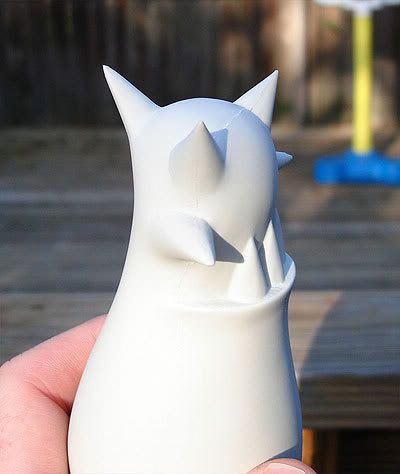
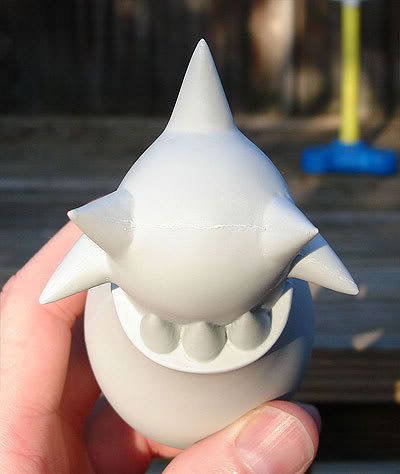
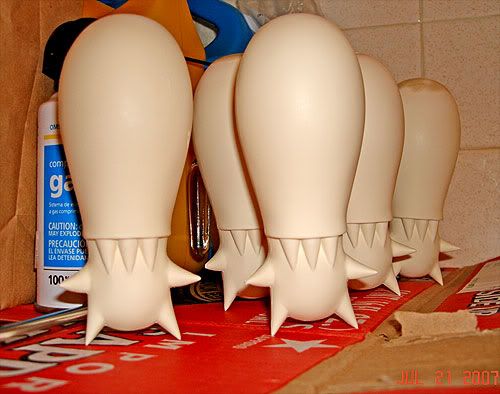
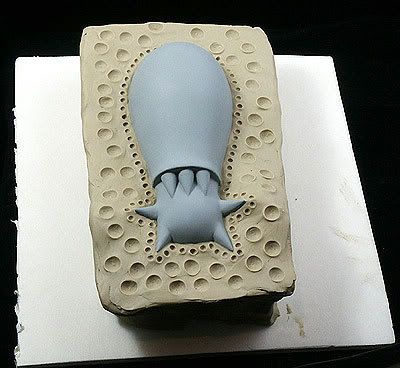
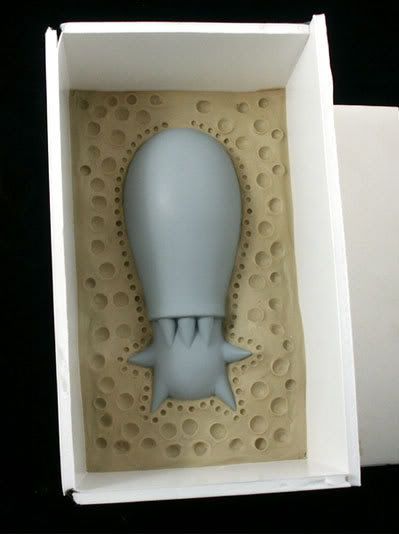
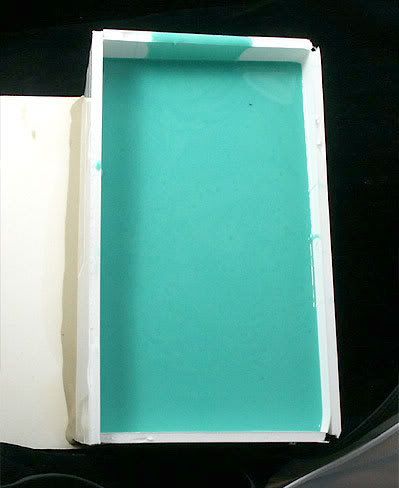
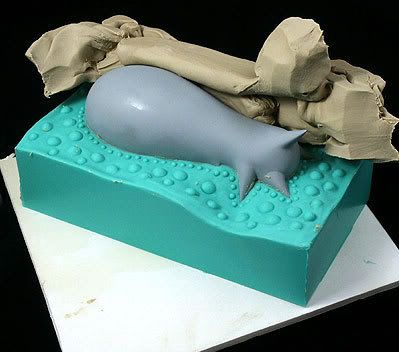
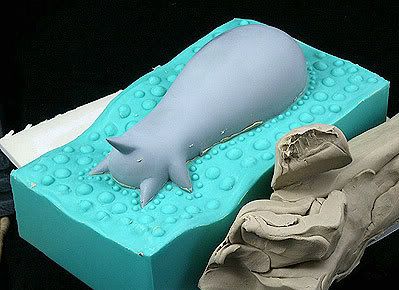
So the sculpt was done, now comes the mold making. Here are some progress pics.

I will end up doing them solid resin but my friend has a rotocast machine and I want to try it out.

mold00.jpg

mold01.jpg

mold02.jpg

mold03.jpg

mold04.jpg


-FB->
 
Last edited:
I believe it was Walco GP25.

Got the second side done! It de-molded fine with no damage to the sculpt.
You notice the other half is blue. We used a quick cure catalyst so I could try to prep for casting later today.

mold05.jpg

mold06.jpg


FB
 
Oooo! DIY vinyls. :D

Now you have to do them in three hundred different colors, each with a fat cigarette hanging out of its mouth, and a price tag of $60 each. :lol

- k
 
Oooo! DIY vinyls. :D

Now you have to do them in three hundred different colors, each with a fat cigarette hanging out of its mouth, and a price tag of $60 each. :lol

- k

Then I'd have to change my name to Frank Kozik!! :lol

BTW, here is the first rotocast. The original sculpt is on the left.

mold07.jpg


Yes, that's my avatar. Here are the initial drawings I made.
turnaround2ta5.jpg

spinsmdt2.gif


-J->
 
Last edited:
so where is the pour spot o_O

Here is the pour spout. I cut it after the mold was cured. That way you get a super tight fit. When it was rotocast, I put the plug in. There is a small hole drilled in the plug so that some of the heat can vent.

Apparently the resin gets hot and expands. The hot air would bulge the mold if it couldn't escape. The heat and a little resin goes out the hole.

You have to put a little zip lock bag around the plug when you rotocast it so it will catch the resin. If not, the resin will fly around the room.

mold11.jpg

mold10.jpg

mold12.jpg

mold13.jpg


FB
 
Awesome! Can't wait to see your paint-ups! The rotocast turned out great... :thumbsup
 
The problem with the rotocast one is that the resin must have kicked while it was near the front because the toy won't stand up!

Here are the 2 colored ones using the tinted amber resin (smooth-cast 325). The second pic is back lit from outside and really shows the color off. These have not been cleaned up yet. There's a small line where the molds comes together but it can be sanded off pretty easy.

mold09.jpg

mold08.jpg


FB
 
FB,
From your drawing, are they 5 inches tall??
Nice work!!:thumbsup
ATL

Thanks, that's the size.

Here's a few more pics. The gray one hasn't been cleaned up yet. I wet sanded the green one a little. There was a lot of small air bubbles in the green one for some reason.

sm01.jpg

sm02.jpg

sm03.jpg

sm04.jpg

sm05.jpg


FB
 
Thanks.

Here's a small update. I got a gallon of resin in and started to cast these today.

I ran into some problems with air bubbles. I had the same problem on the colored ones. I had to sand and fill parts of them. Once there painted, you won't be able to see it but the clean-up was pretty time intensive.

072107.jpg


FB
 
Oh, when you said 'make your own toy'.........and I saw that thing......well......I was thinking something totally different.

Yeah, that's prety cool.
 
mold05.jpg


All those protrusions ad indentations just to make sure the 2 halfs line up right? I usually only see 4 to 8 on any mold... :confused
 
Yes, you can make however many you want I guess. Once the halves are together, it doesn't budge!!

FB


The series of tiny ones close the edges of the item being cast are very smart as that's where you're likely to get mismatching seams.

Great looking castings even with the bubbles, do you have any finished yet?
 
Back
Top