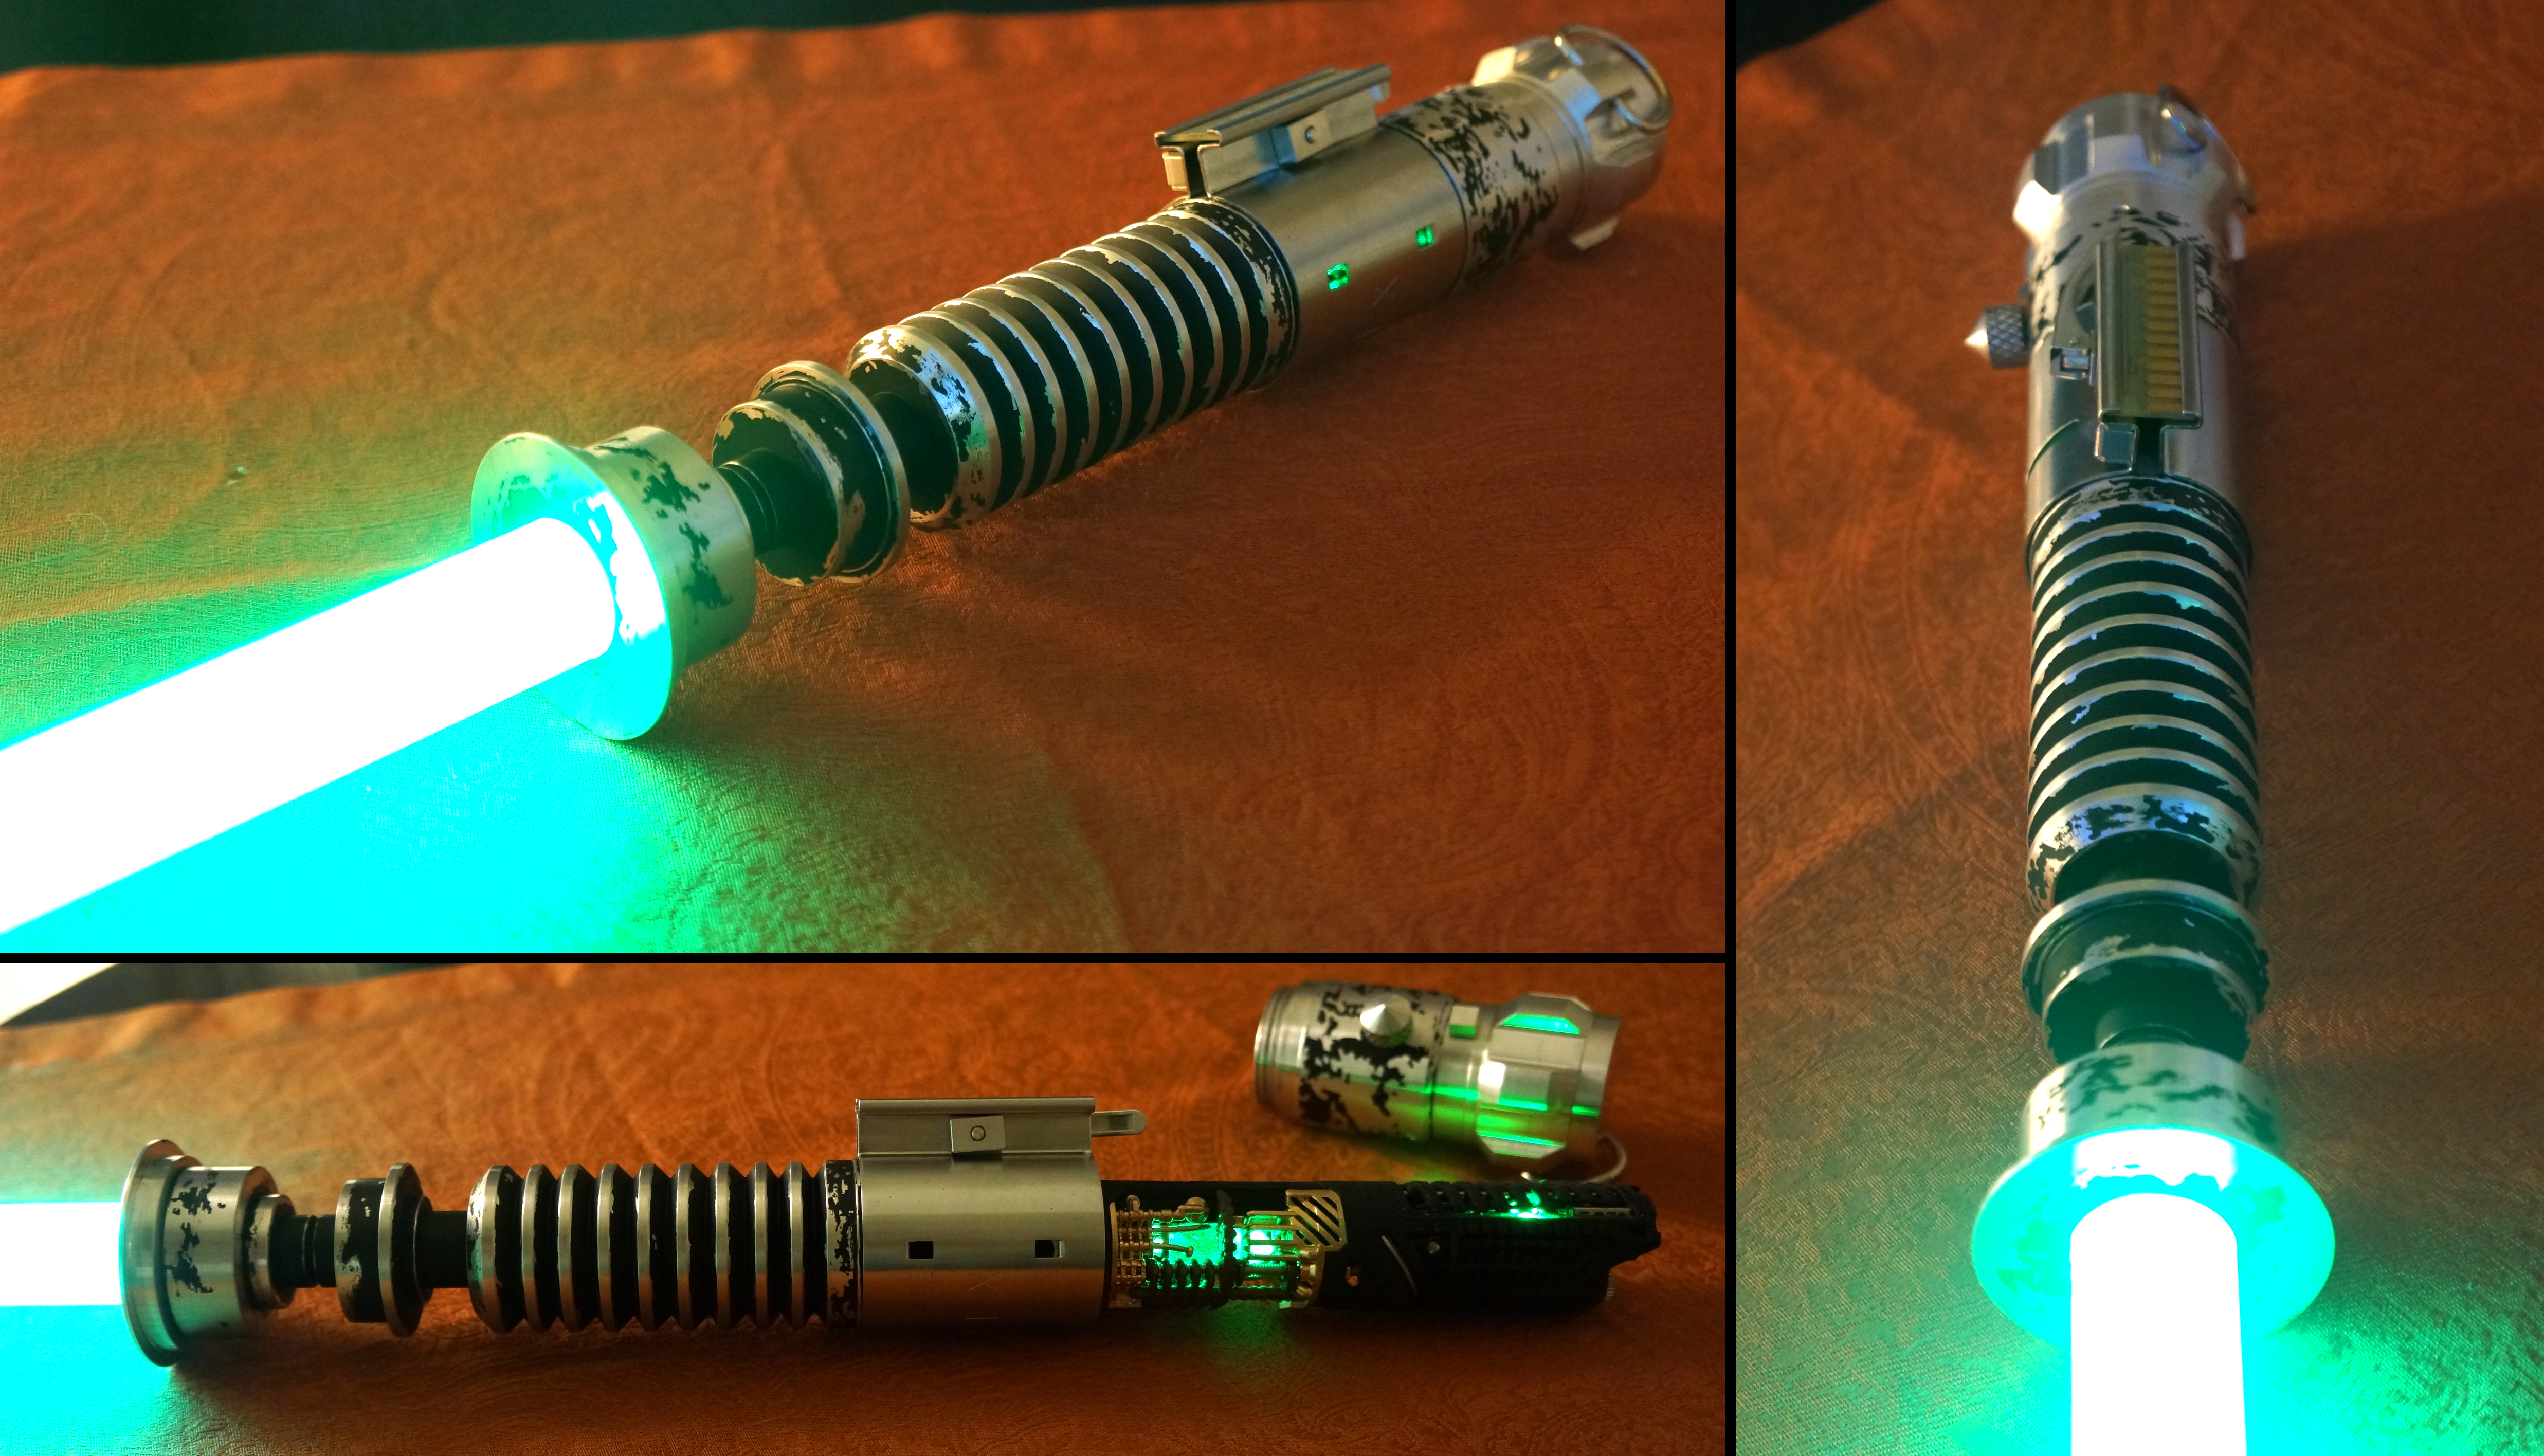
Makes me wonder how many postal workers are packing sabers hahaha :lol. Seriously, that stinks, thoughSo, uh, I've just been made aware by two members what I sent some screws and tape to that their screws were deliberately removed in the mail by the USPS. So, uh, heads up to anyone else sending these things out. Also, I may or may not be on someone's watch list, now.:unsure
You are using an out of date browser. It may not display this or other websites correctly.
You should upgrade or use an alternative browser.
You should upgrade or use an alternative browser.
Luke ROTJ V2 lightsaber
- Thread starter ob1al
- Start date
russellsch
Master Member
So, uh, I've just been made aware by two members what I sent some screws and tape to that their screws were deliberately removed in the mail by the USPS. So, uh, heads up to anyone else sending these things out. Also, I may or may not be on someone's watch list, now.:unsure
The mystery chunk I received from you arrived in perfect condition. Granted, that was before I called for marching on DC & using Jedi mind tricks on all the weak minded fools there :lol.
Just curious, but what is the agreed upon procedure for the tabs on the clamp? File all the way down? Bend over? I've go a vintage one that I want to be absolutely sure that whatever I do is right. Thanks!
i filed mine down to fit the saber correctly
D3adrock
Well-Known Member
Flush? With a flat file or did you use some type of curved file to avoid messing up the clamp?i filed mine down to fit the saber correctly
Flush? With a flat file or did you use some type of curved file to avoid messing up the clamp?
i used a half moon file filed from the inside, and then a "rat tail" file to sharpen the squares back up from the outside
D3adrock
Well-Known Member
A triangular rat tail file or a round rat tail file?i used a half moon file filed from the inside, and then a "rat tail" file to sharpen the squares back up from the outside
A triangular rat tail file or a round rat tail file?
triangle, its very fine that way i can make the corners sharp again, the half moon file kinda got the bottom of the square little messy. to be honest no one would really tell, it took me maybe 2/3 swipes to de-burr the square.
D3adrock
Well-Known Member
Haha that's fantastic (you gotta be specific, this info could save someone's life someday!). This is super helpful since i'm about as picky as you can get and I know that on mine at least It would have deeply bothered me. I'm super lucky since I work in a woodshop I have access to all the files I need!triangle, its very fine that way i can make the corners sharp again, the half moon file kinda got the bottom of the square little messy. to be honest no one would really tell, it took me maybe 2/3 swipes to de-burr the square.
Did yours fit snugly or did you need tape to keep it from moving around?
Haha that's fantastic (you gotta be specific, this info could save someone's life someday!). This is super helpful since i'm about as picky as you can get and I know that on mine at least It would have deeply bothered me. I'm super lucky since I work in a woodshop I have access to all the files I need!
i bought a cheap 8 dollar set from walmart, but then upgraded to a nice 20 dollar set from lowes, full size files, the walmart ones are tiny and i broke one. now they are just used for plastics and resin filing lol
Actually I was surprised to find sand paper ate away the graflex tabs much faster. Like....a sanding drum and a dremel and it only took me five minutes.
I also used little files to sharpen up the square holes afterwards. I don't have a specific shape because I used square and triangular and flat files, anything that had a flat side!
I also used little files to sharpen up the square holes afterwards. I don't have a specific shape because I used square and triangular and flat files, anything that had a flat side!
Just curious, but what is the agreed upon procedure for the tabs on the clamp? File all the way down? Bend over? I've go a vintage one that I want to be absolutely sure that whatever I do is right. Thanks!
I used a Dremel w/ sanding drum on a low speed and just carefully took the tab down to where it was flush.
Zombie_61
Master Member
Actually I was surprised to find sand paper ate away the graflex tabs much faster. Like....a sanding drum and a dremel and it only took me five minutes...
Although I've only used replica clamps, this is what I did. Lower speed, light pressure, caution, and after a few minutes you're done.I used a Dremel w/ sanding drum on a low speed and just carefully took the tab down to where it was flush.
D3adrock
Well-Known Member
I used a Dremel w/ sanding drum on a low speed and just carefully took the tab down to where it was flush.
Nice and surgical, I like that. One of these days I need to get myself a dremel. They're just so darn useful but it's a pain for me getting power tools.Although I've only used replica clamps, this is what I did. Lower speed, light pressure, caution, and after a few minutes you're done.
I visited some family friends over the weekend with two dorky and rather eccentric girls under ten. I brought my V2. They wanted to see a real lightsaber prop and this one needed some weathering.
They managed to pull the emitter head right off. I don't know how. The allen screws were still in the nipple and the rod wasn't scratched :lol
I just screwed it back on with some allen wrenches, but I swear it rattles a bit more
They managed to pull the emitter head right off. I don't know how. The allen screws were still in the nipple and the rod wasn't scratched :lol
I just screwed it back on with some allen wrenches, but I swear it rattles a bit more
JaxAndTheMoon
Sr Member
Hi!
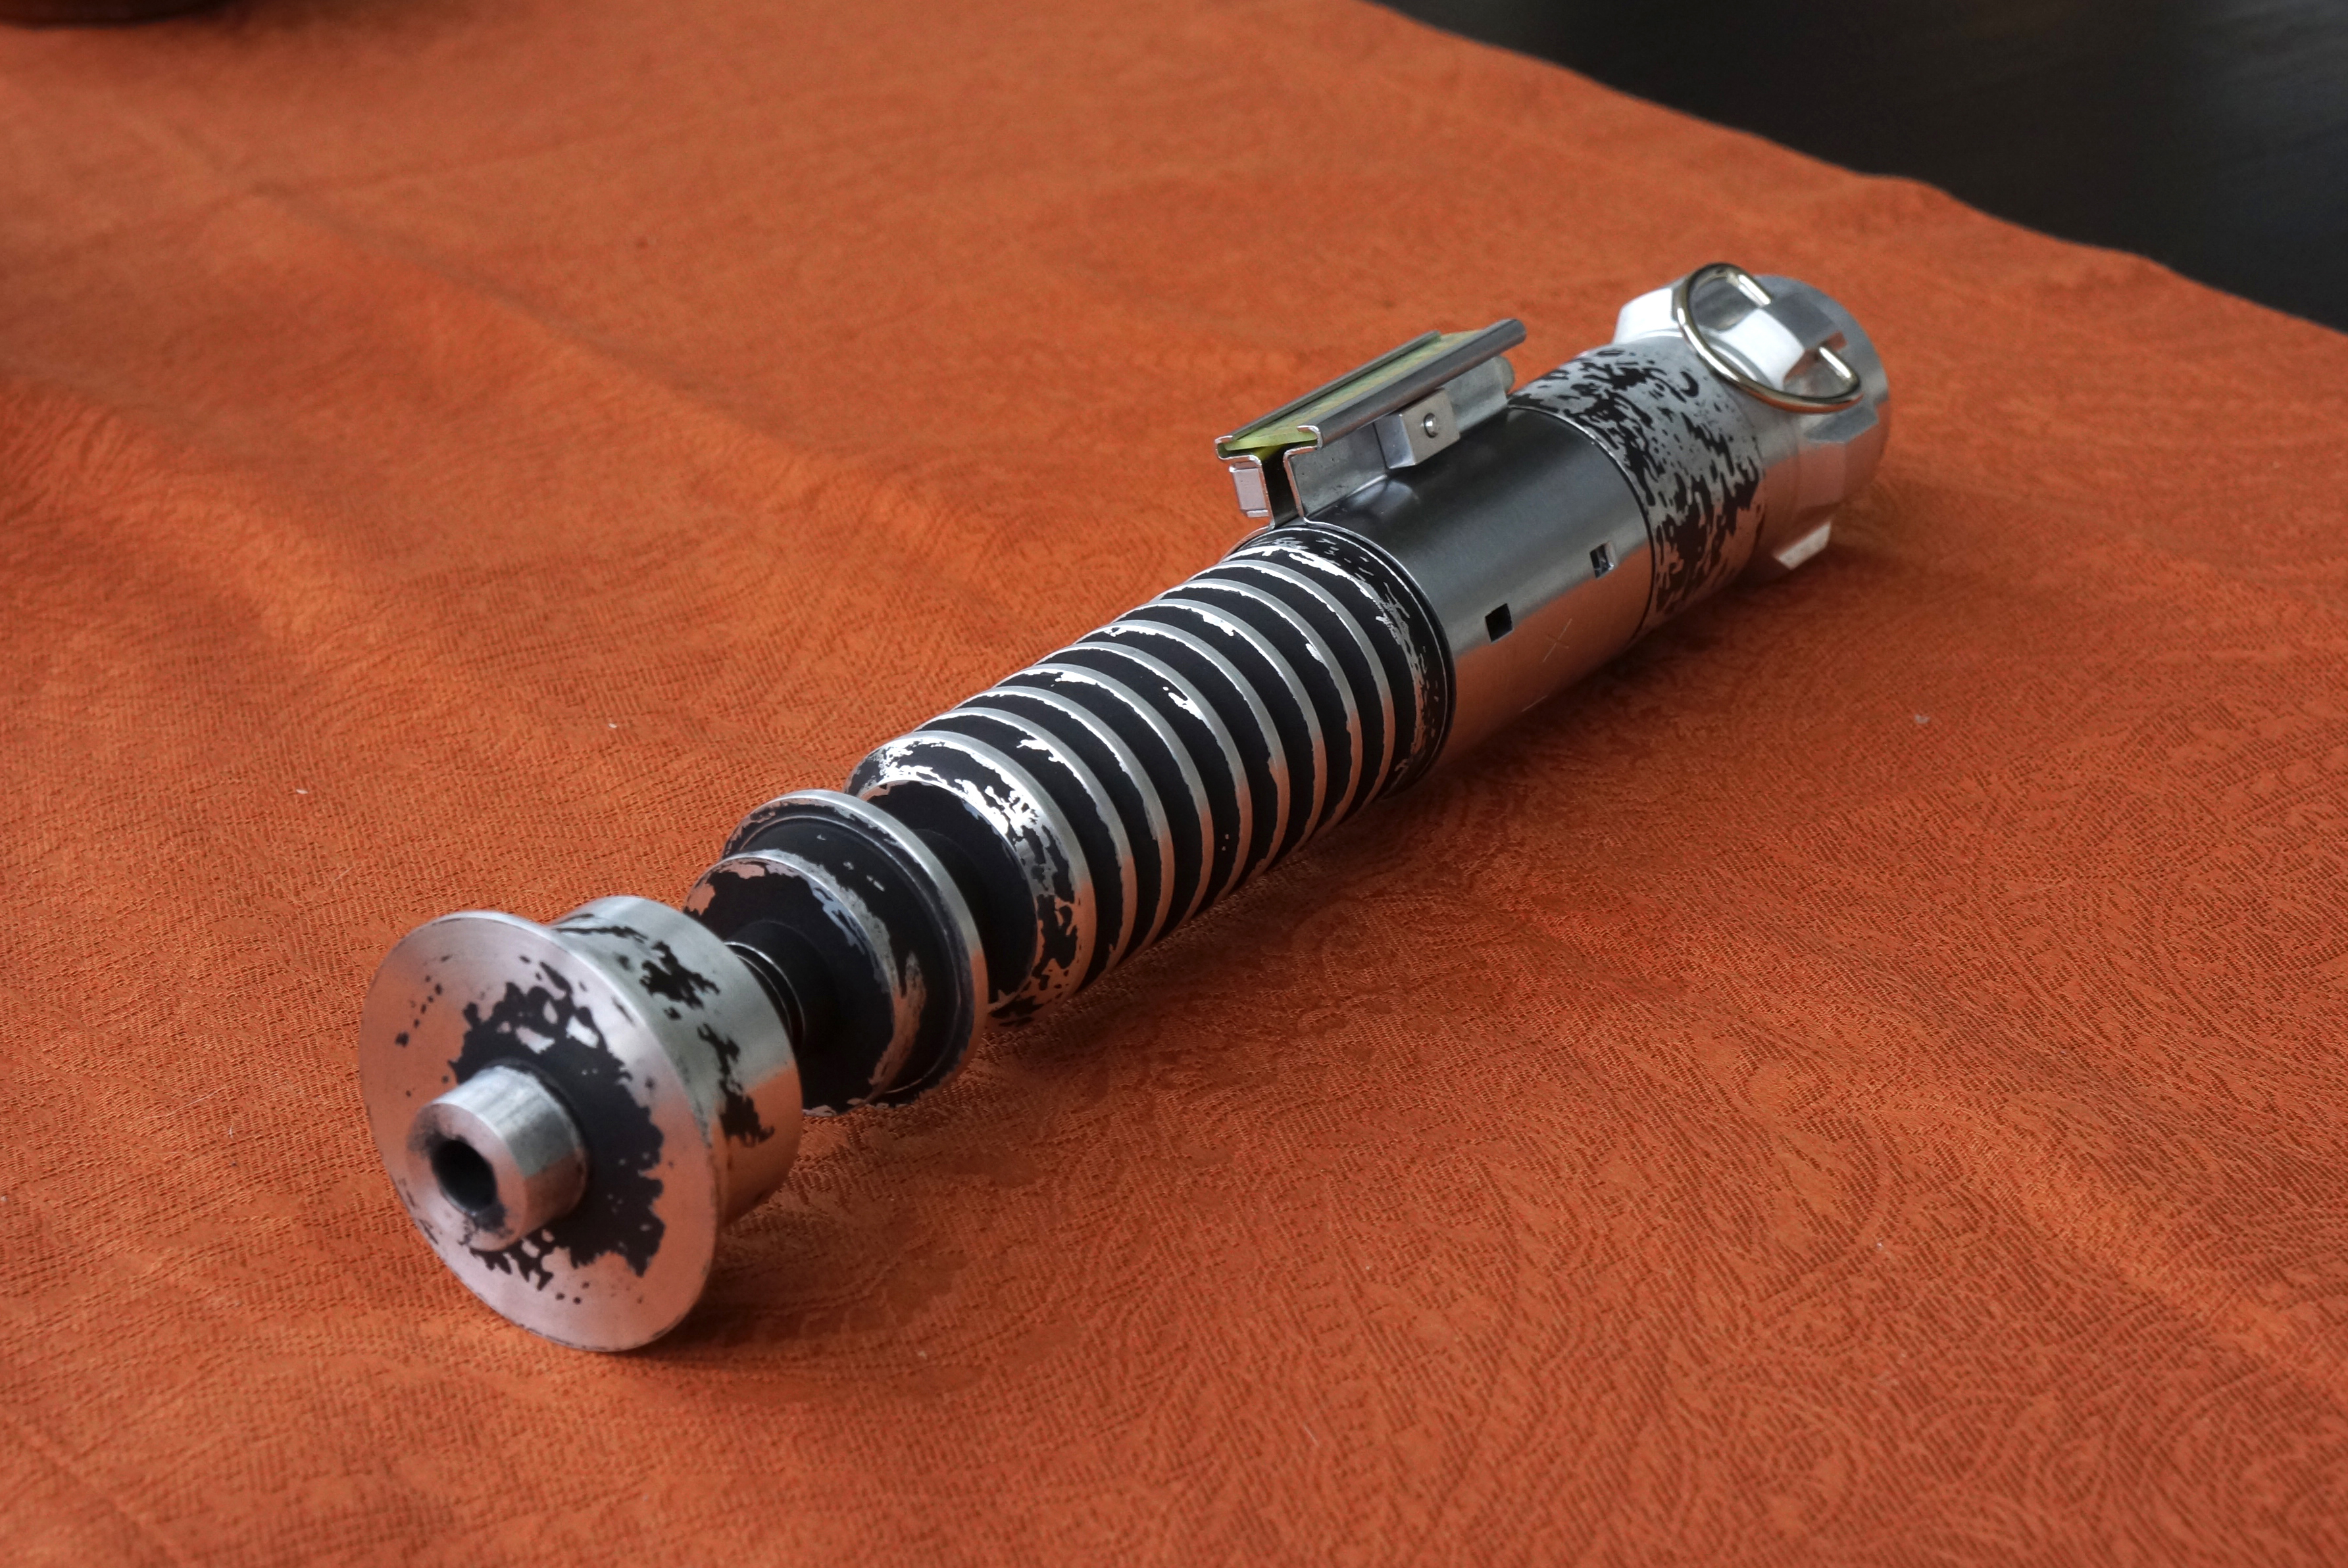
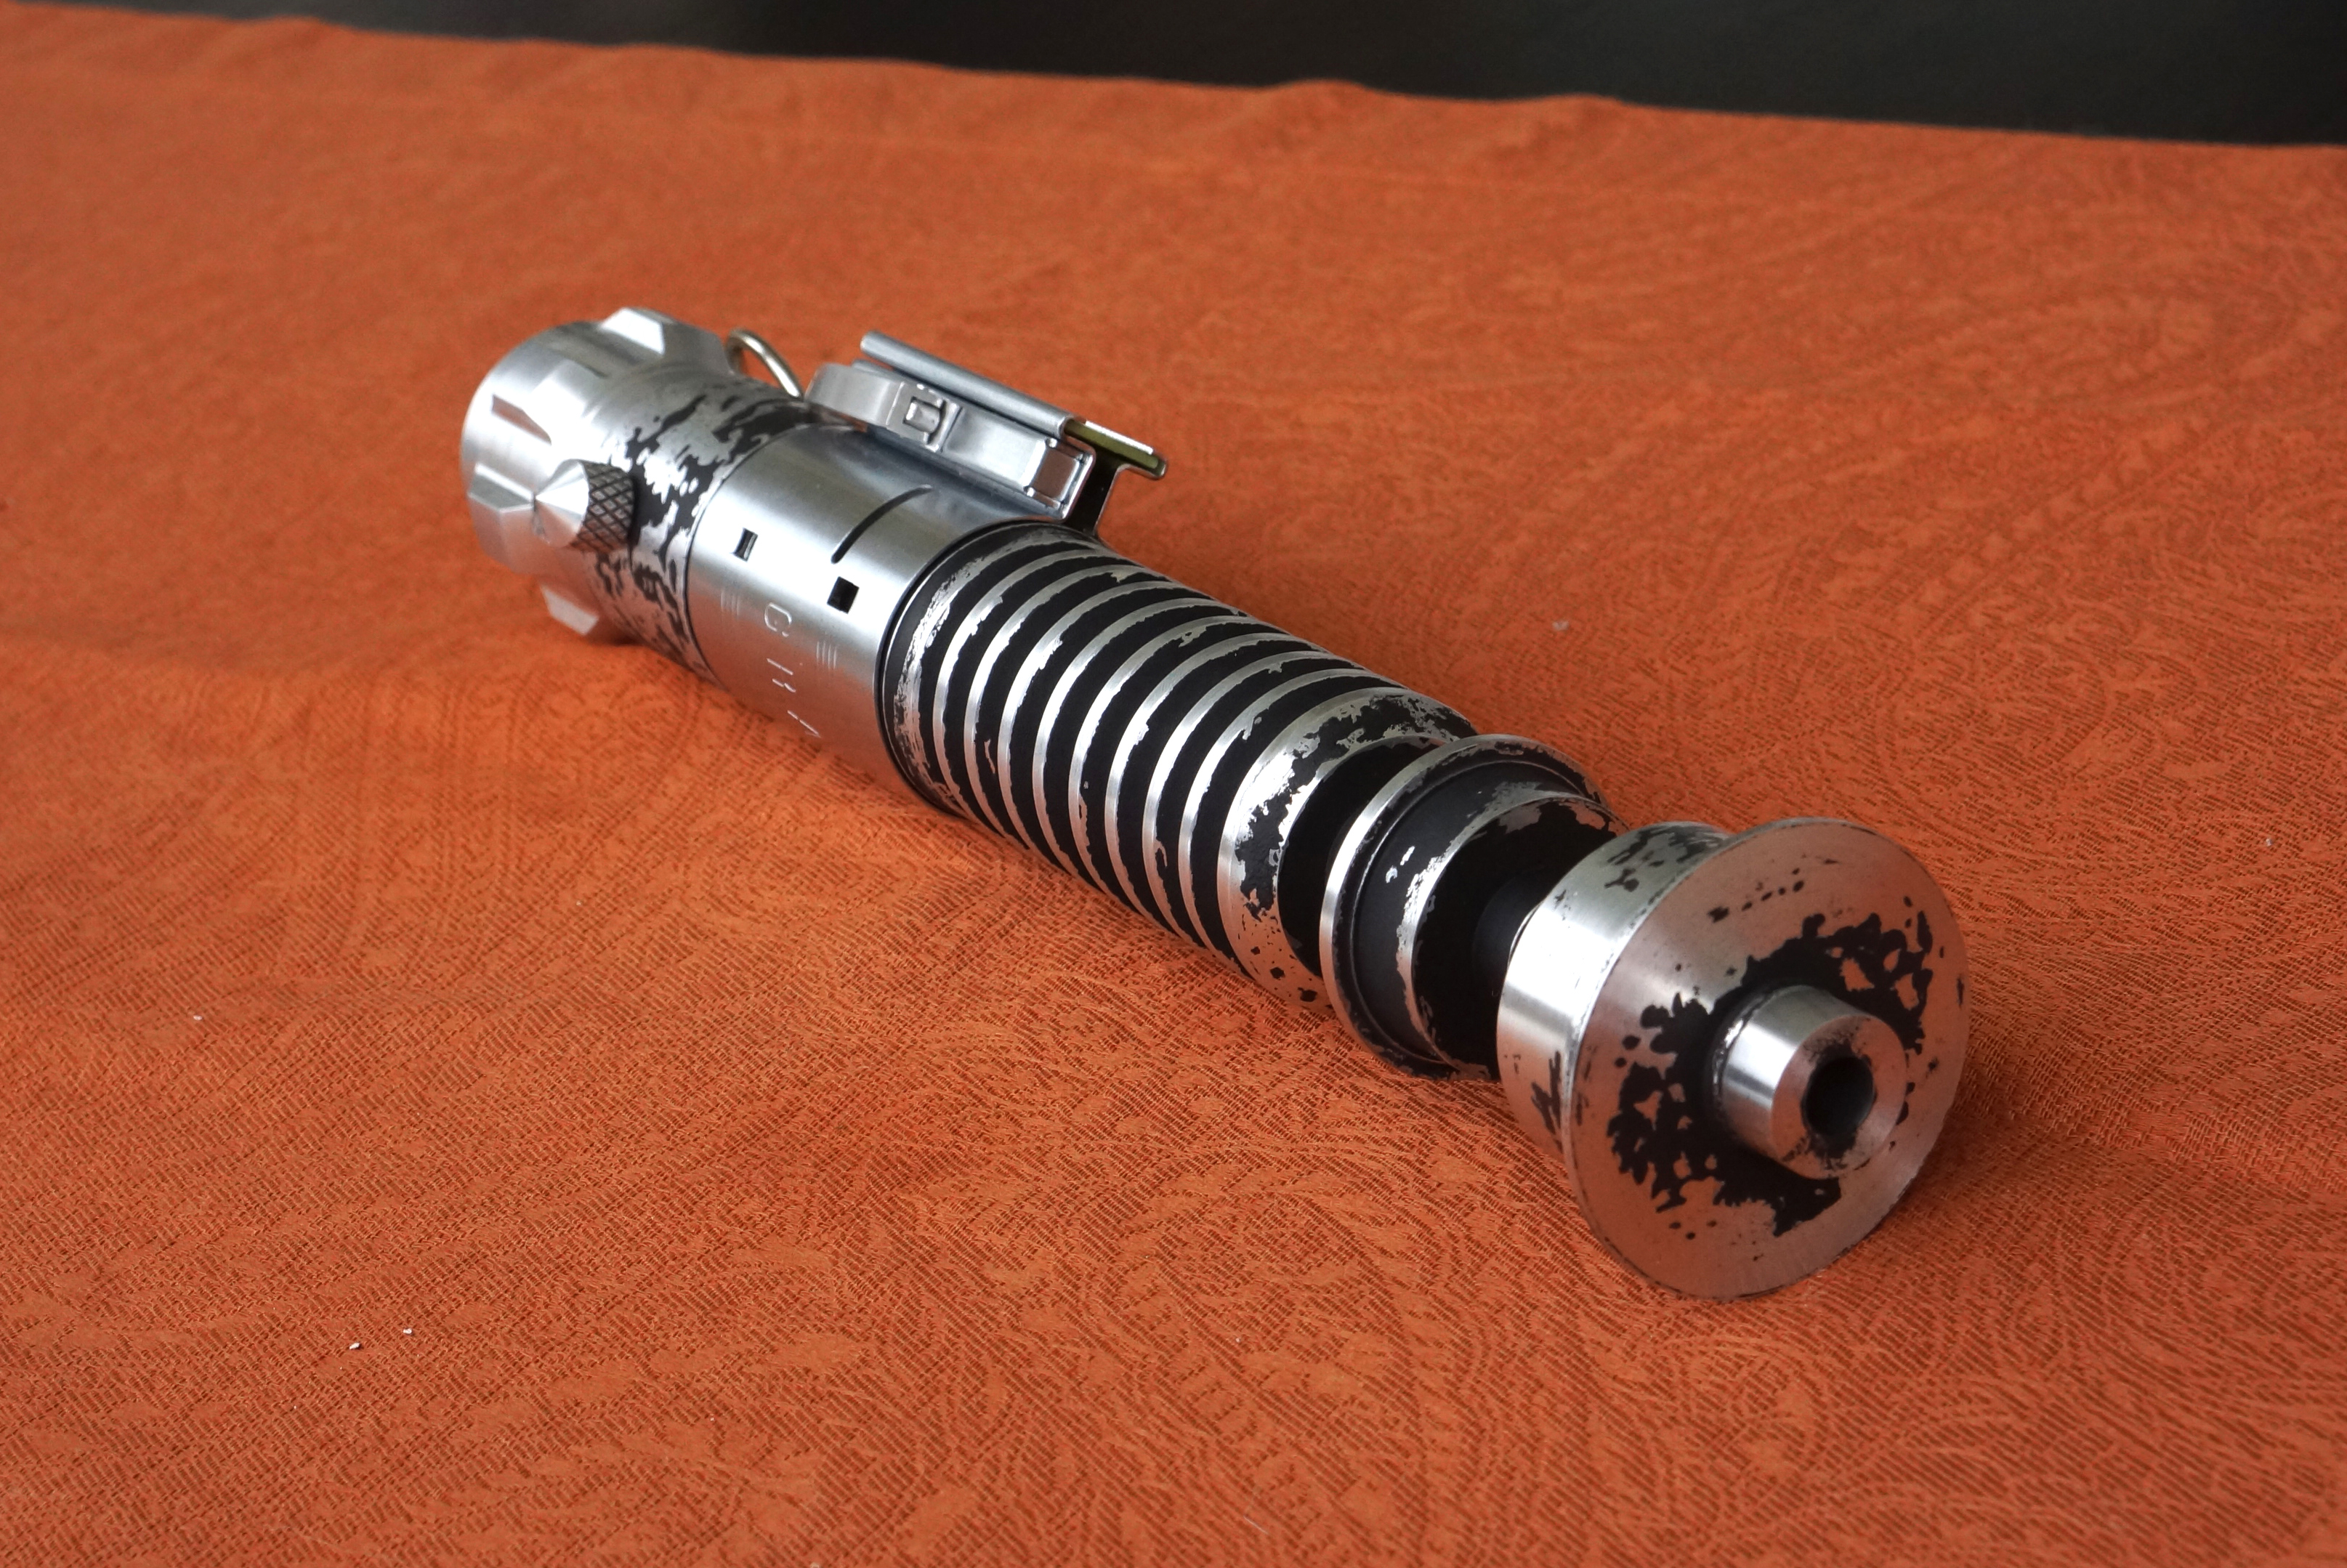
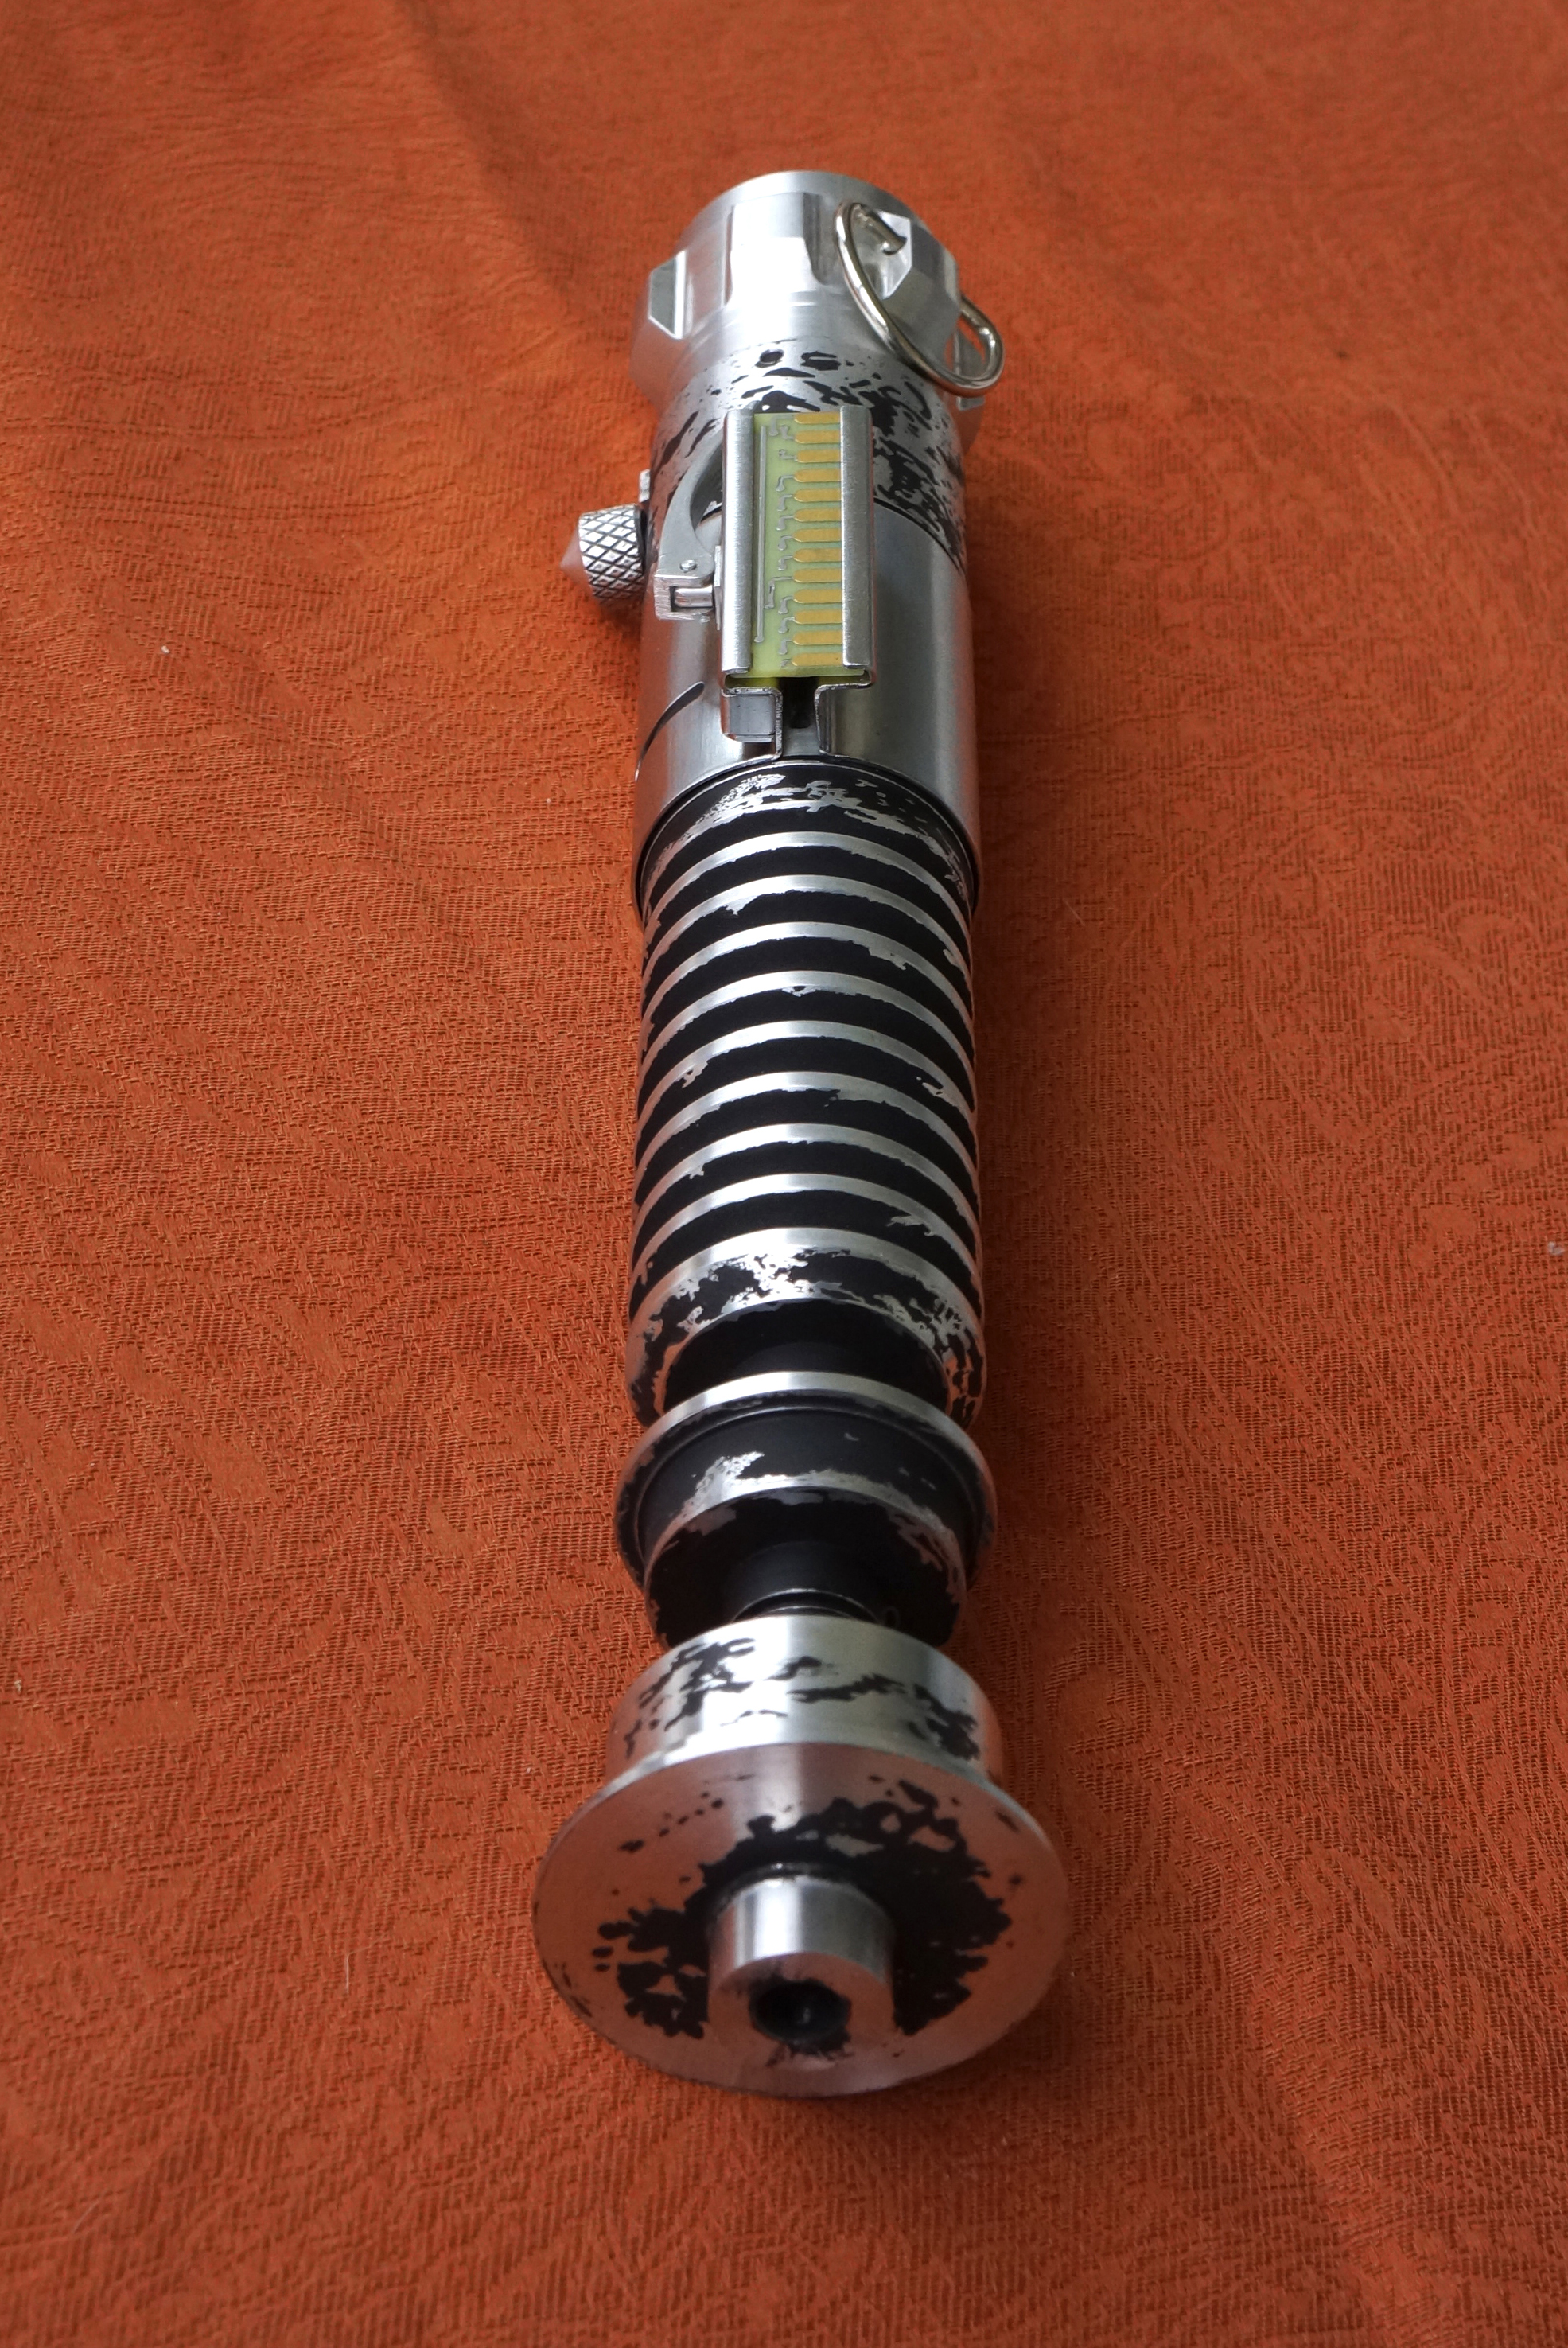
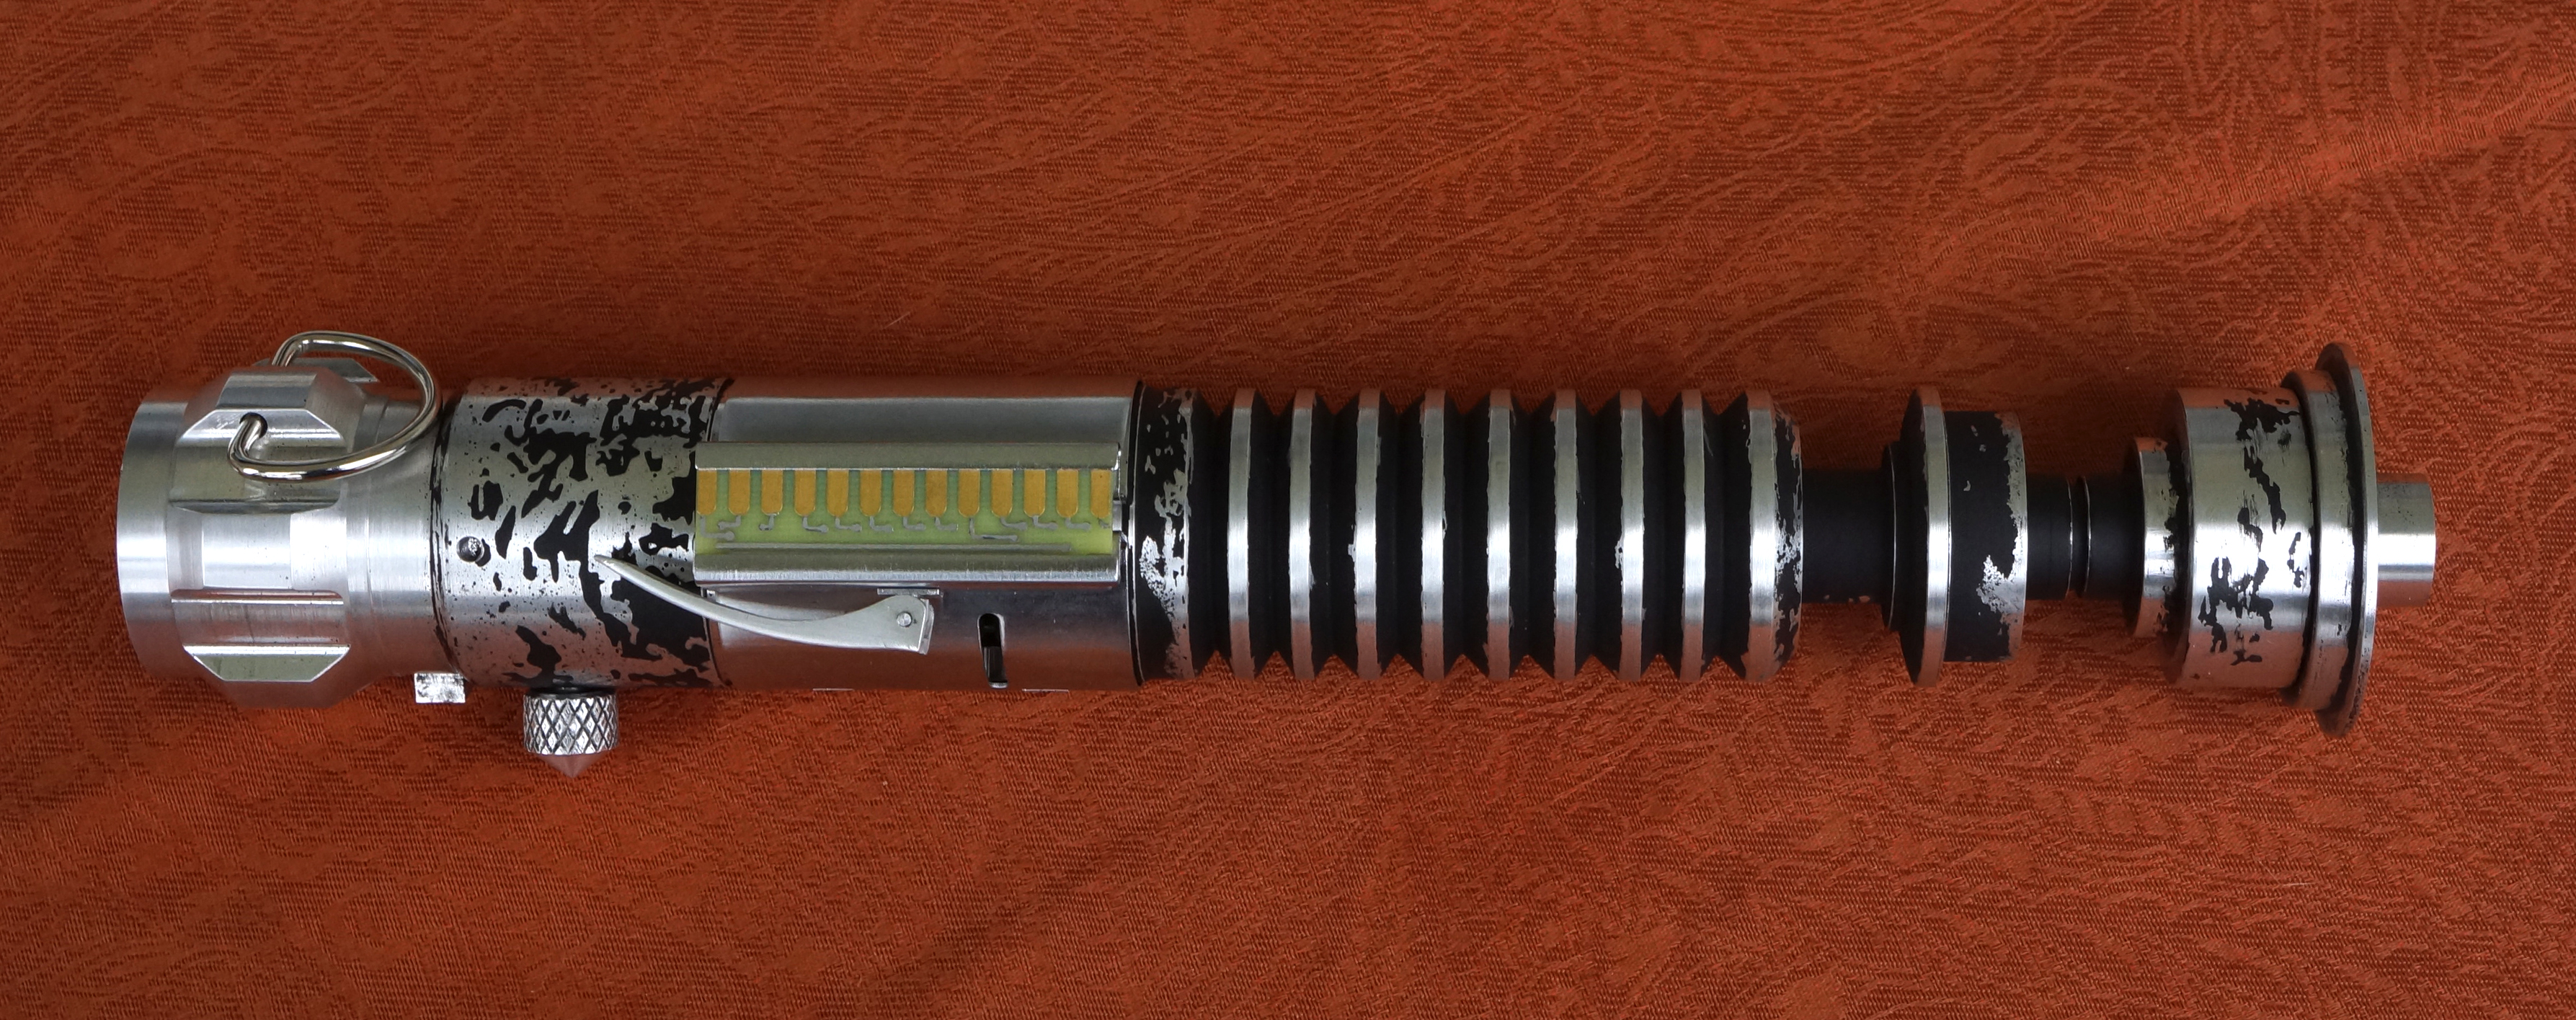
Here are pictures of my Solo´s Hold V2 lightsaber painted by me.
I would like to than GOTH 3Designs for the built and Solo for this great hilt.
https://farm2.staticflickr.com/1717/25210807361_6eecd567d6_o.jpg1 by inigou, en Flickr
https://farm2.staticflickr.com/1584/24936256419_26a063ddd9_o.jpg2 by inigou, en Flickr
https://farm2.staticflickr.com/1529/25277686396_77617bf879_o.jpg3 by inigou, en Flickr
https://farm2.staticflickr.com/1567/24936255589_c560edd537_o.jpg4 by inigou, en Flickr
https://farm2.staticflickr.com/1690/25277685446_05c2b531f4_o.jpglight by inigou, en Flickr
Nice build man, that looks good. The V2 still continues to be one of my favorite lightsabers!
I'll throw this here just for fun!
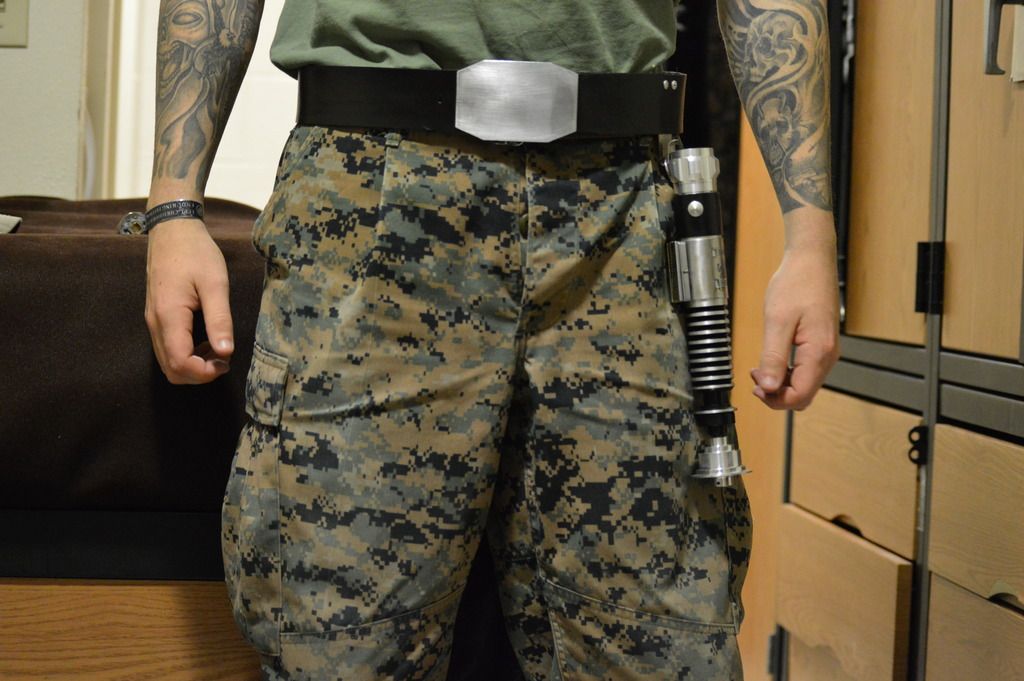
Inigou
Well-Known Member
Nice build man, that looks good. The V2 still continues to be one of my favorite lightsabers!
I'll throw this here just for fun!
http://i781.photobucket.com/albums/yy98/JaxAndTheMoon/DSC_0055_zpsvanmziu8.jpg
Thanks! Yes, for me is THE LIGHTSABER
Wow Inigou
, that is perfect! Did you do all the weathering by hand? or did you use Trooper's stencil?
If you don't mind me asking, what is the best kind of spray paint to use? I have one of these as well that I'm working on
Thank you! I used the stencils at the booster section and the top emiter but i added more weathering by hand in those parts adding more dents and dirt because looked too clean for me.
The rest were made by hand. The paint i used is an epoxy black primer. Is the only paint i found that sticks perfectly over bare aluminium once cured. Is not an easy paint to work with when it cures as it doest chip off so try to work fast before is hardens.
You can also use duracoat as i think is a similar formula. Unfortunately i can find it here in spain.
For weathering, I used primarly tooth pics, some wood sculpting tools to "chip off" the paint, and small brushes, stencil brushes and foam to add dirt and cotton swabs with acetone to clean excess. No metal tools to avoid surface scratching. Hope it helps
Lichtbringer
Master Member
The paint i used is an epoxy black primer. Is the only paint i found that sticks perfectly over bare aluminium once cured. Is not an easy paint to work with when it cures as it doest chip off so try to work fast before is hardens
More info would be appreciated. What brand it is?
Similar threads
- Replies
- 9
- Views
- 1,172
- Replies
- 13
- Views
- 1,958
- Replies
- 3
- Views
- 1,857

