Re: Looper Blunderbuss - WIP pics begin on Page 3
Well I did something the other week, I ordered a Yhm-5005 and I'm arrived yesterday! I didn't realise alot of things! A few of the lines in the film make a good point! Anything over 15 foot and you would struggle!
Can't wait to get my hands on your finished version!
Thank you, sir! And good luck with your build! I'll tell you, if more people were into making their own guns, I would've offered solid resin parts.
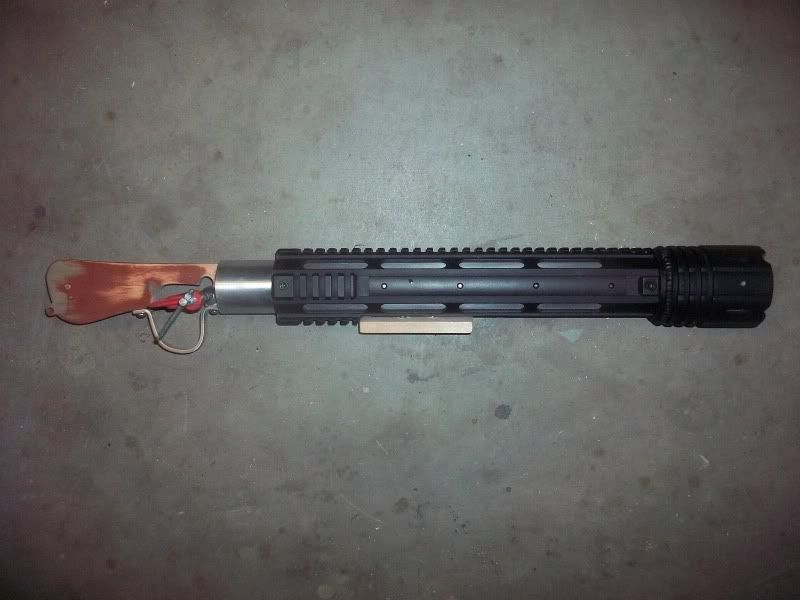
Time for a quick pic update of this morning's work before I head off to Palm Springs:
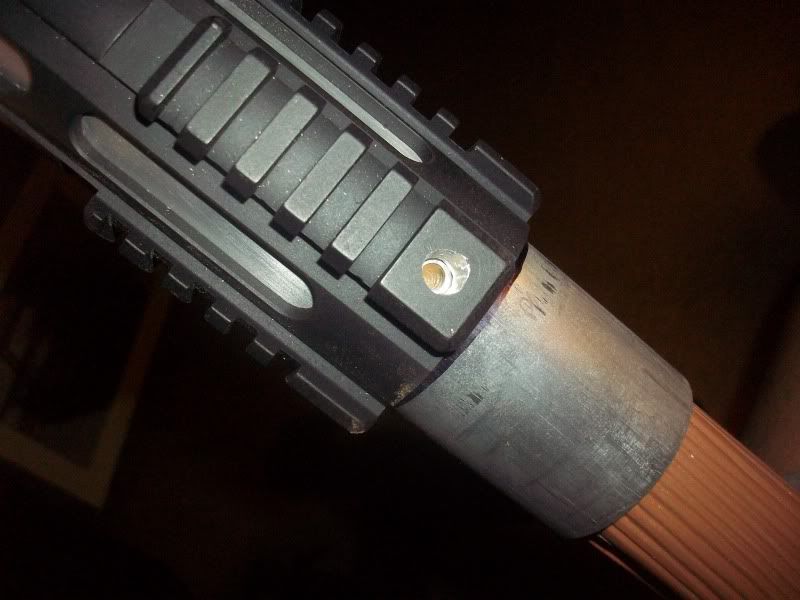
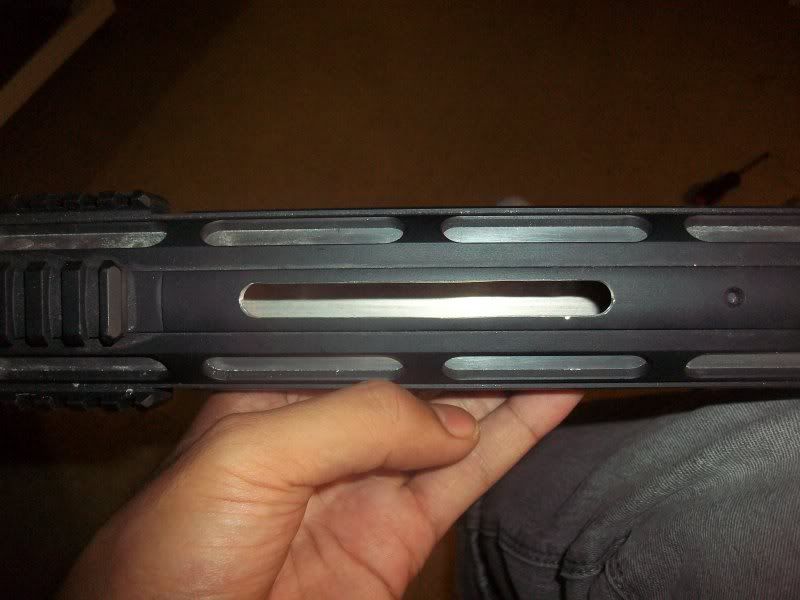
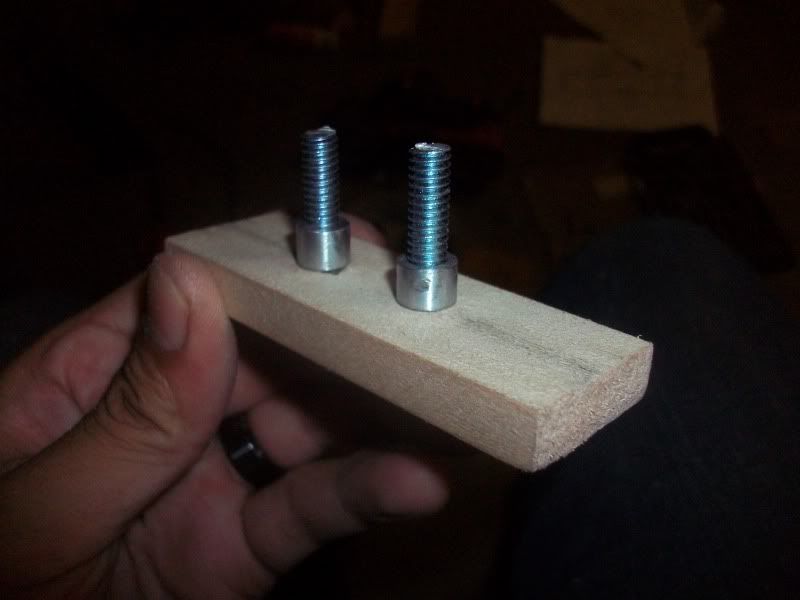
A shot of my new and improved slide base. It's more accurate, stronger, and slides more efficiently than the last.
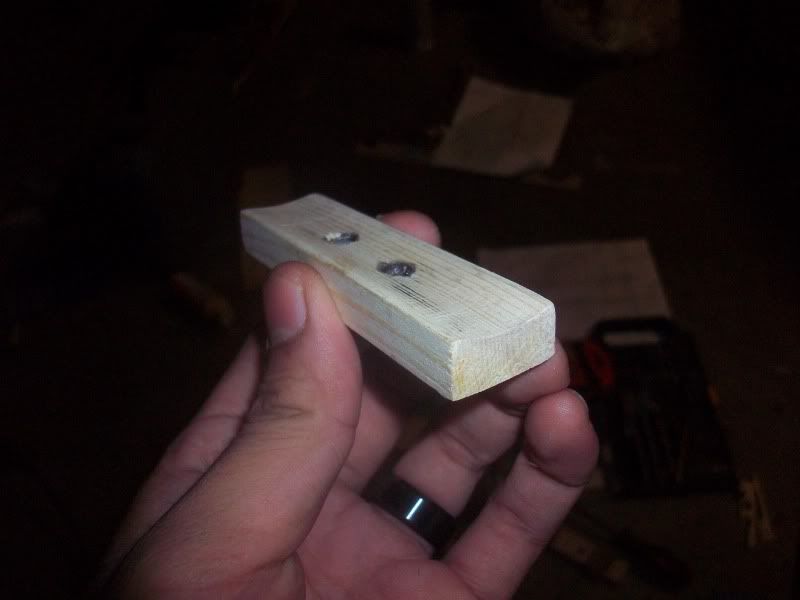
Shaved down to the correct height.
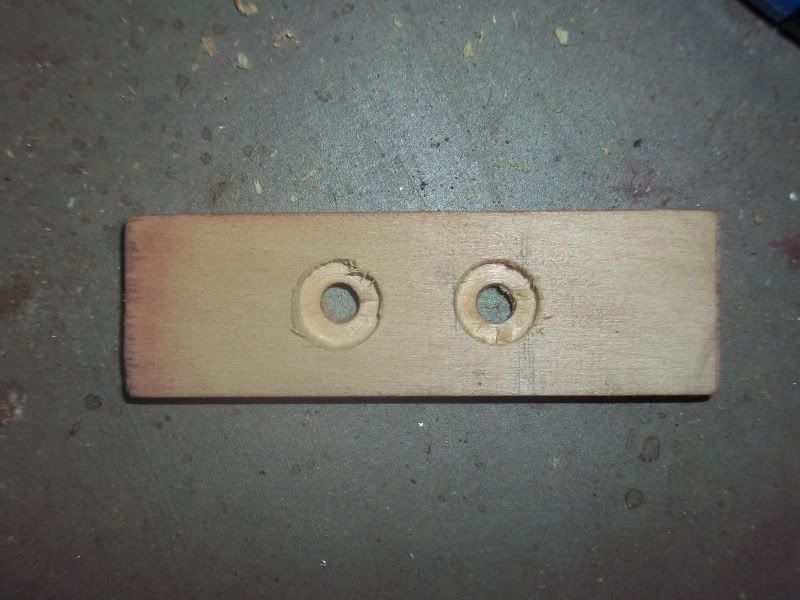
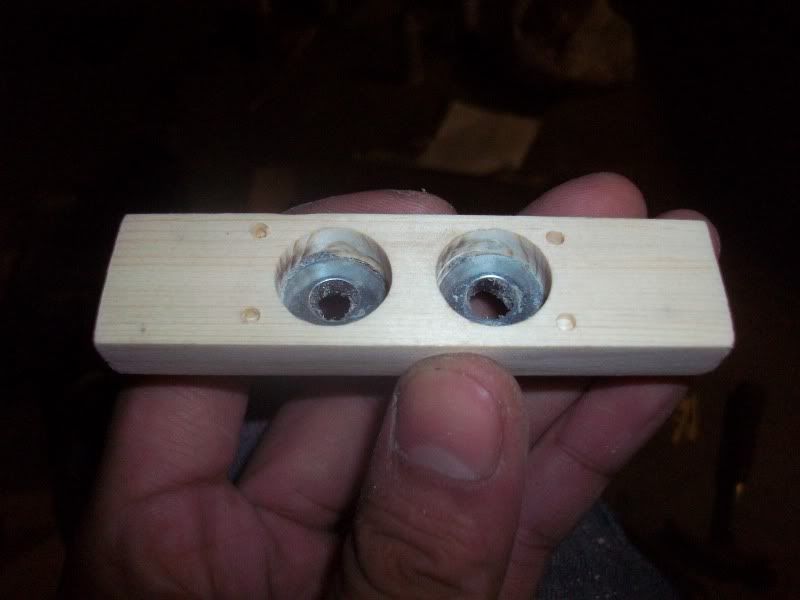
I drilled the holes a bit too deep so I reinforced them with a couple washers and some JB Weld. Nice and strong.
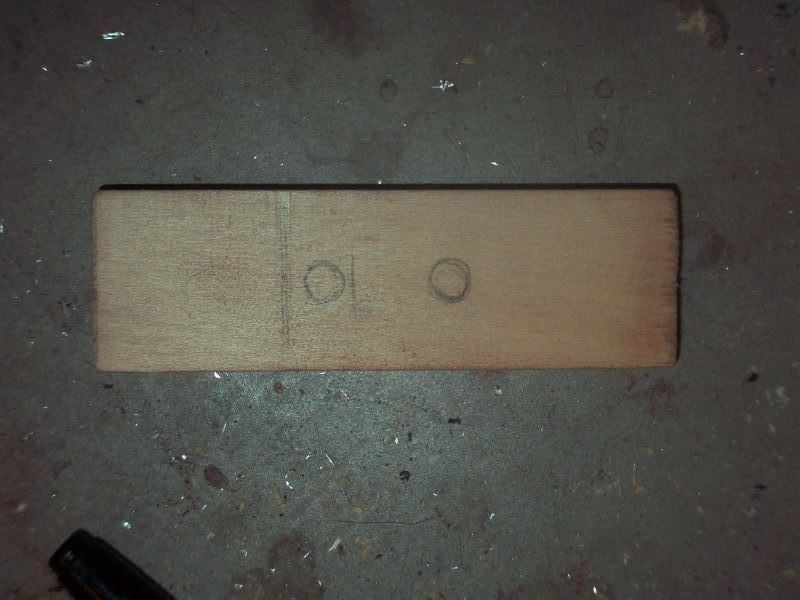
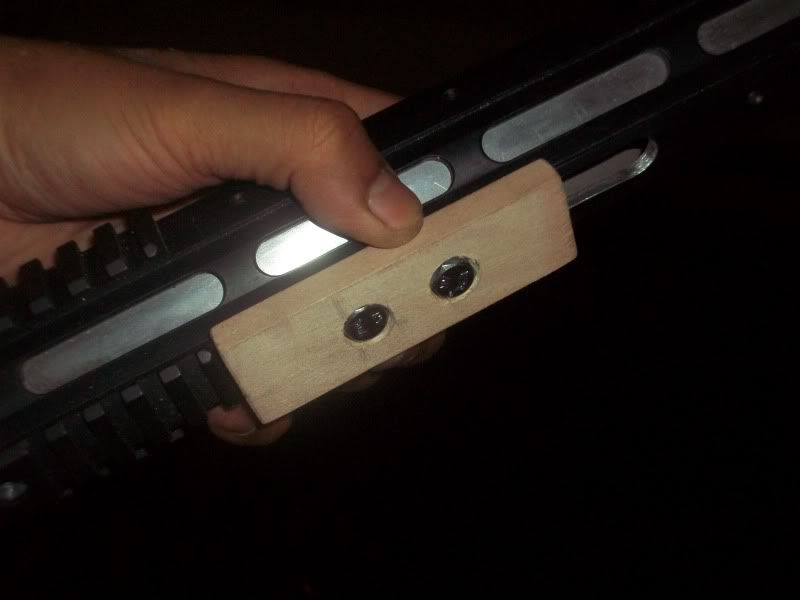
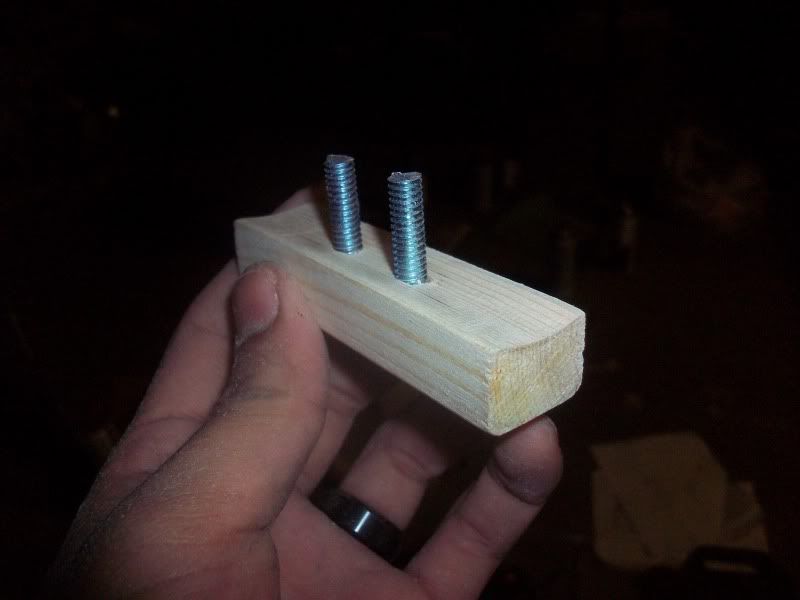
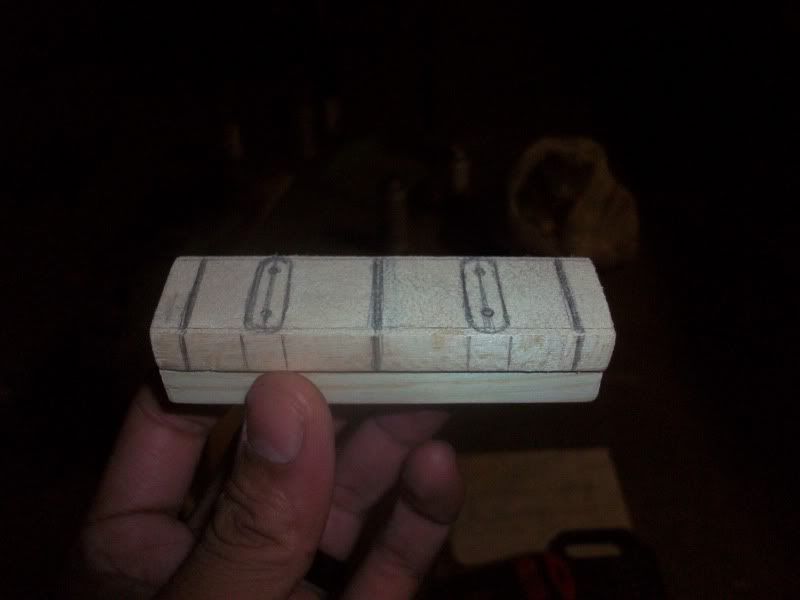
The start of the slide's grip: 3/8" basswood cut to size. I marked off the general positioning of the detailing so I could drill mounting holes into the slide's base, but these markings were just roughly drawn in for quick reference.
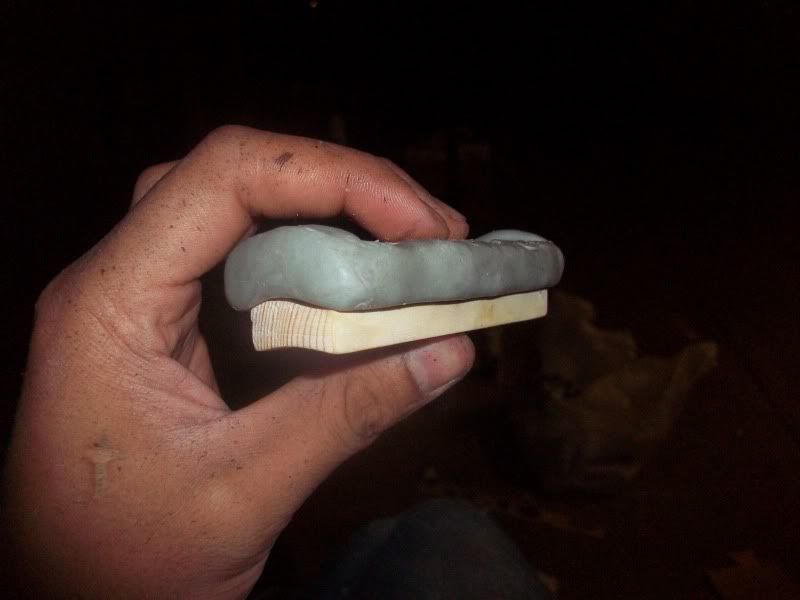
I began building up the slide grip with Apoxie Sculpt, including a slight lip that hangs over the slide base on all four sides. The slide grip was designed so I could disassemble the slide for maintenance and molding, and the slide will be held together by four small cap nuts. Later today, I'll lay in more Apoxie Sculpt to build up the top of grip, work on the other parts as the clay cures, and then once it's all hard, I'll sand it to shape and sculpt/carve the top details, including the final mounting holes.
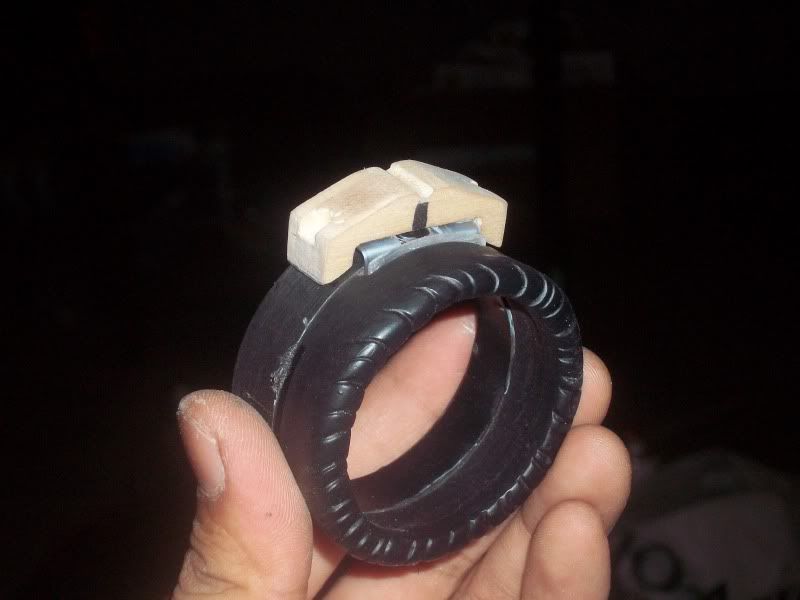
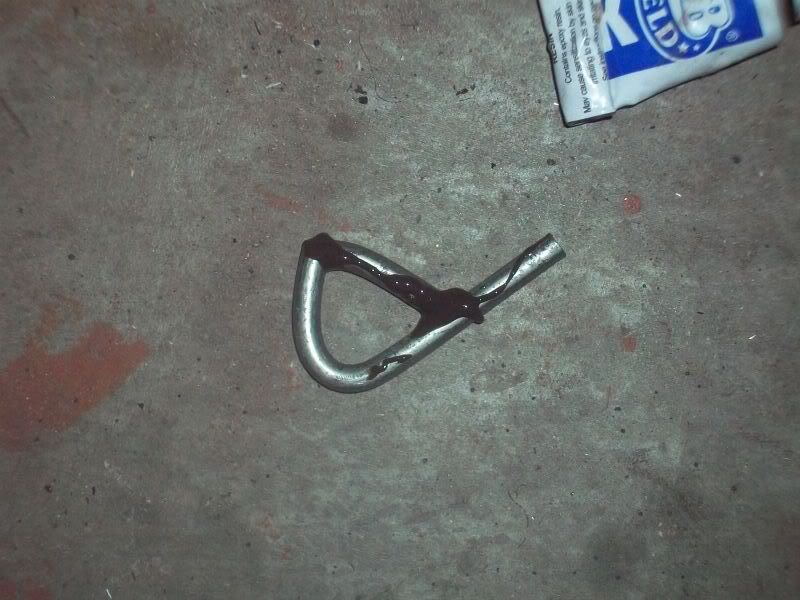
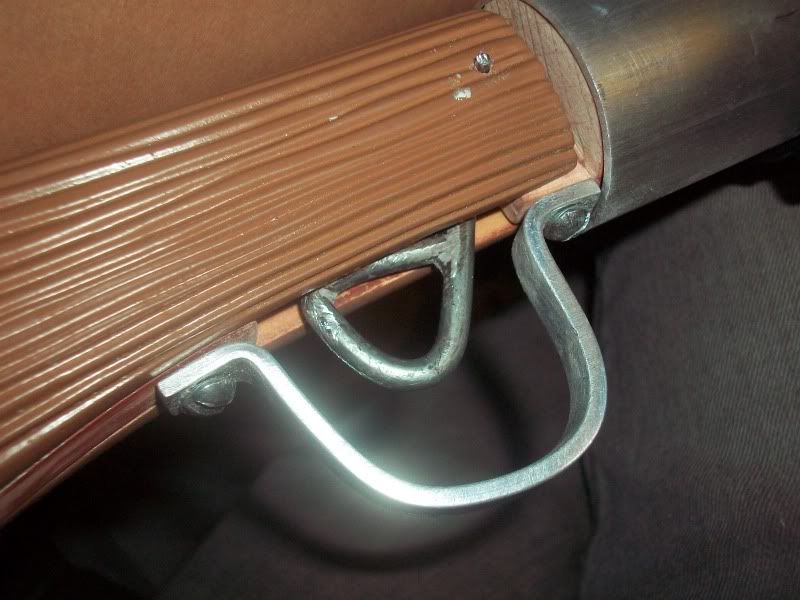
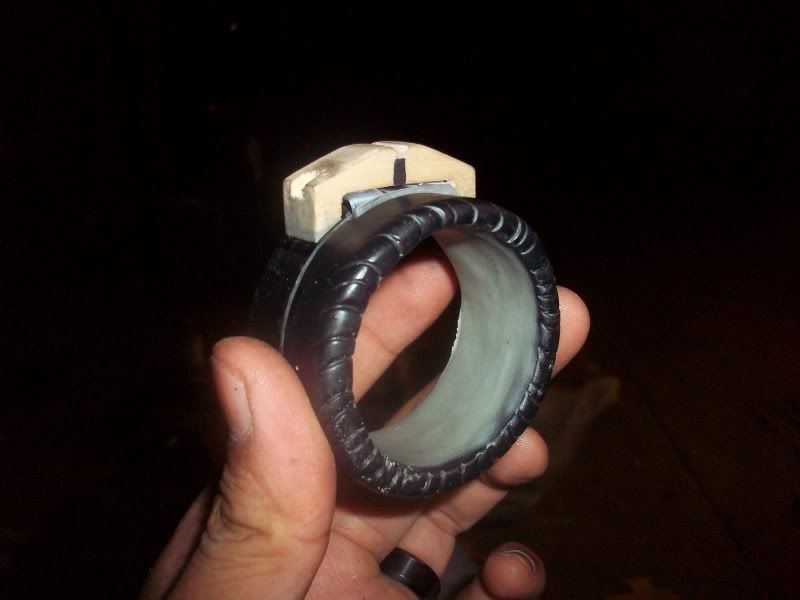
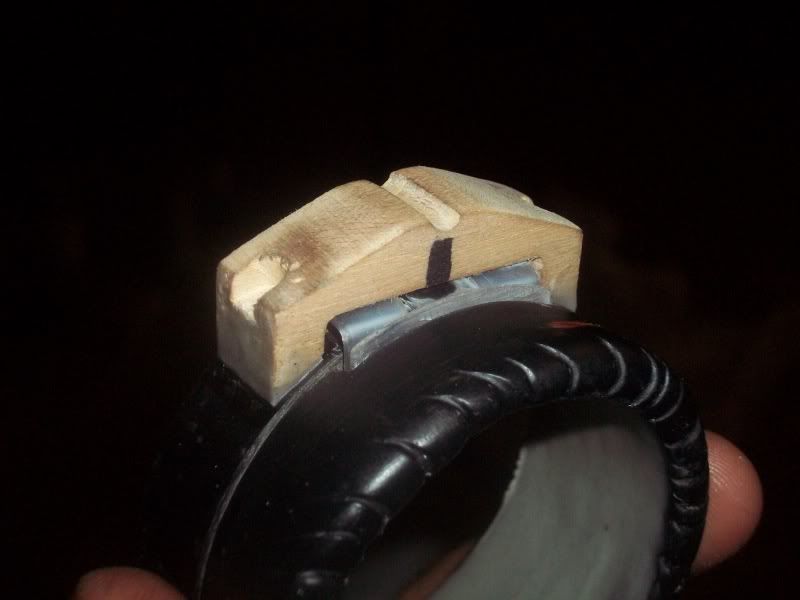
I put in a TON of work on the rear endcap, and it's now 80% done. It was very refreshing to work with PVC and plastic again after nearly a week of wood and metal. First, I cut a slot in the third ring of the rear endcap to necessitate the latch that (I'm guessing) allows the hero to break open. Then, the second and third rings were super-glued together. The latch was cut it out of thin plastic that I salvaged from a discarded Duracell battery display. The pieces' edges were sanded smooth were super-glued into place. The sight was JB Welded onto the second ring...but it still needs minor detailing (teeny tiny screws on either side).
I filled the inside of the two rings with a layer of Apoxie Sculpt so it could fit snugly over the aluminum tubing. In retrospect, I should've used the same technique in order to get the FRONT endcap to fit onto the tubing, but c'est la vie.
I used a triangular file to scribe a line between the second and third ring so they wouldn't look simply glued together. I also carved in detailing on the bottom of the second ring to act as the square joint visible on the actual prop. Though my gun won't break-open, I wanted to make sure it would look as if it could. I also used Apoxie Sculpt to fill in the gaps between the sight and the second ring.
I still need to affix these two rings to the other half of the rear endcap, but all fabrication work on the rear endcap is DONE.
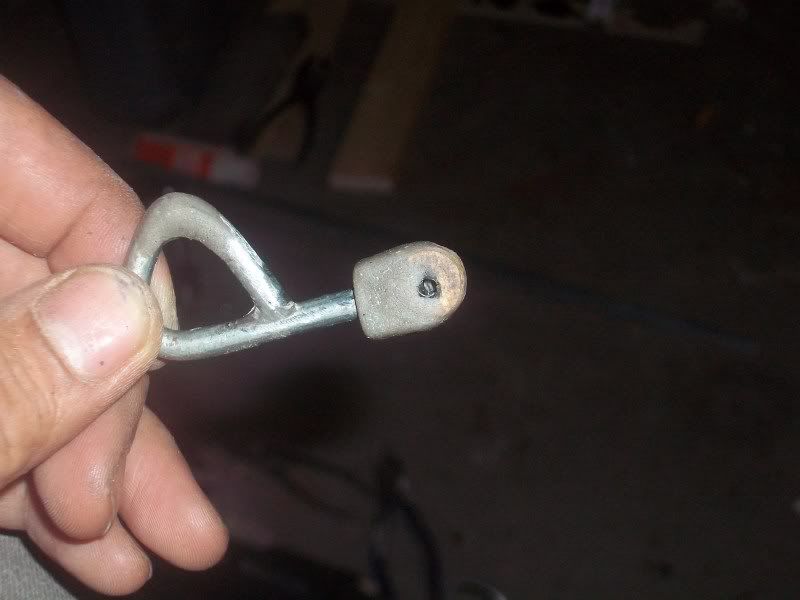
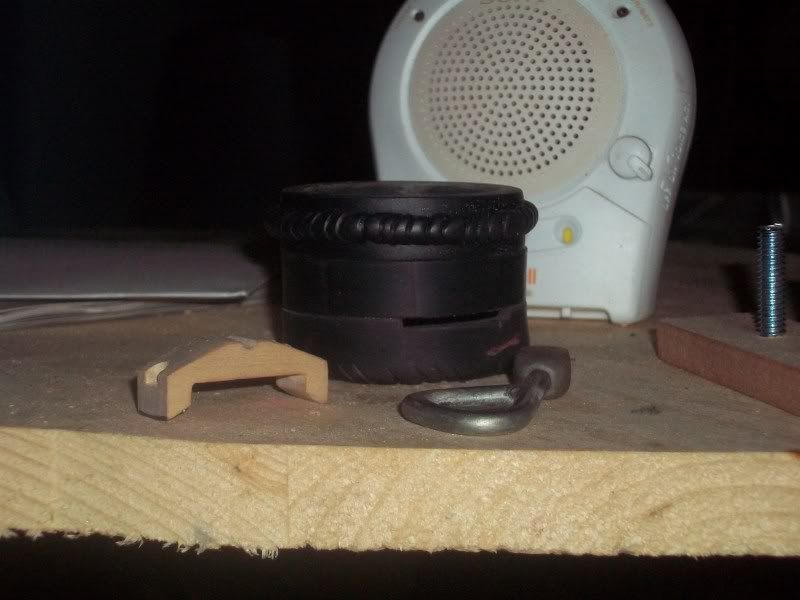
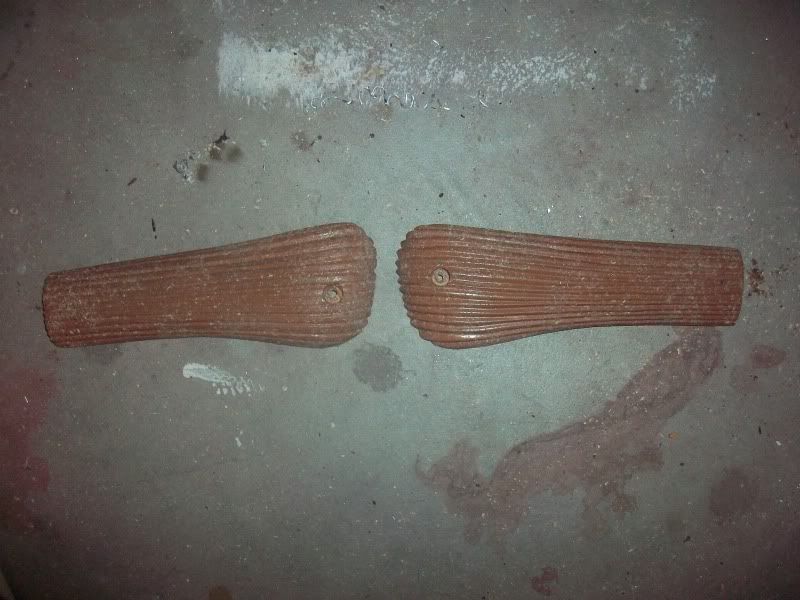
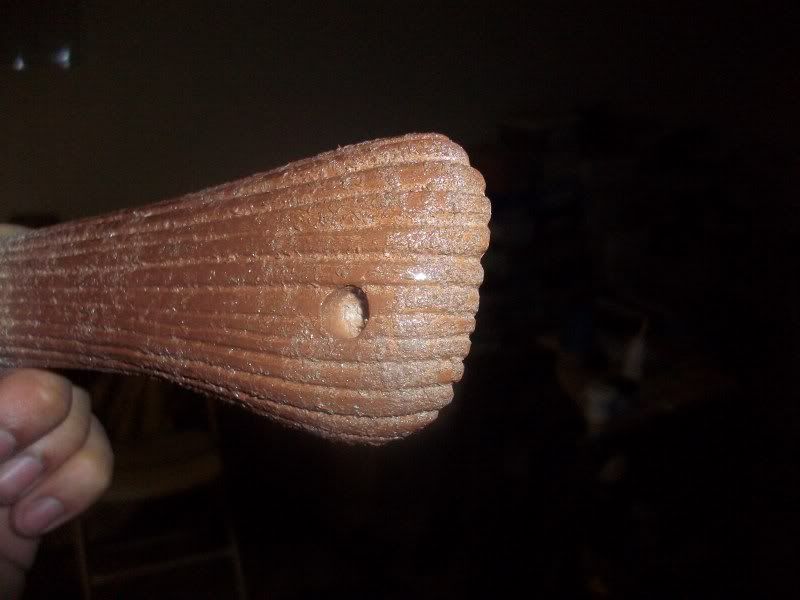
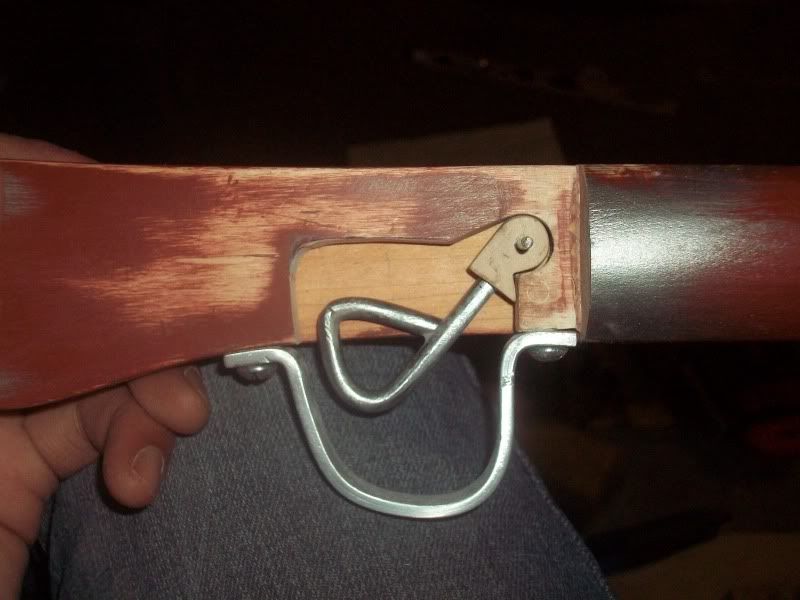
And finally, here's a shot of my re-engineered trigger system. I totally carved off the old trigger mount and carved out a new one. On this one, I made sure to include a notch that would keep the trigger from falling too low. The gripframe was also considerably altered. I sanded out the recess a bit more so the trigger could have more pull. Later on, I recut the recess for the spring and affixed a little steel nub on the top of the trigger that the spring could catch on to (instead of flipping out the opening with a single trigger pull like last time). I also rough sculpted the grips' "plugs." They'll be cut down to to size and sanded smooth later.
So last night was essentially clean-up work for past mistakes, but the I feel I made huge strides. When I get back from my best friend's wedding rehearsal, I'll put in a few more hours of work before bedtime.
Thanks, everyone!
-Jonaas