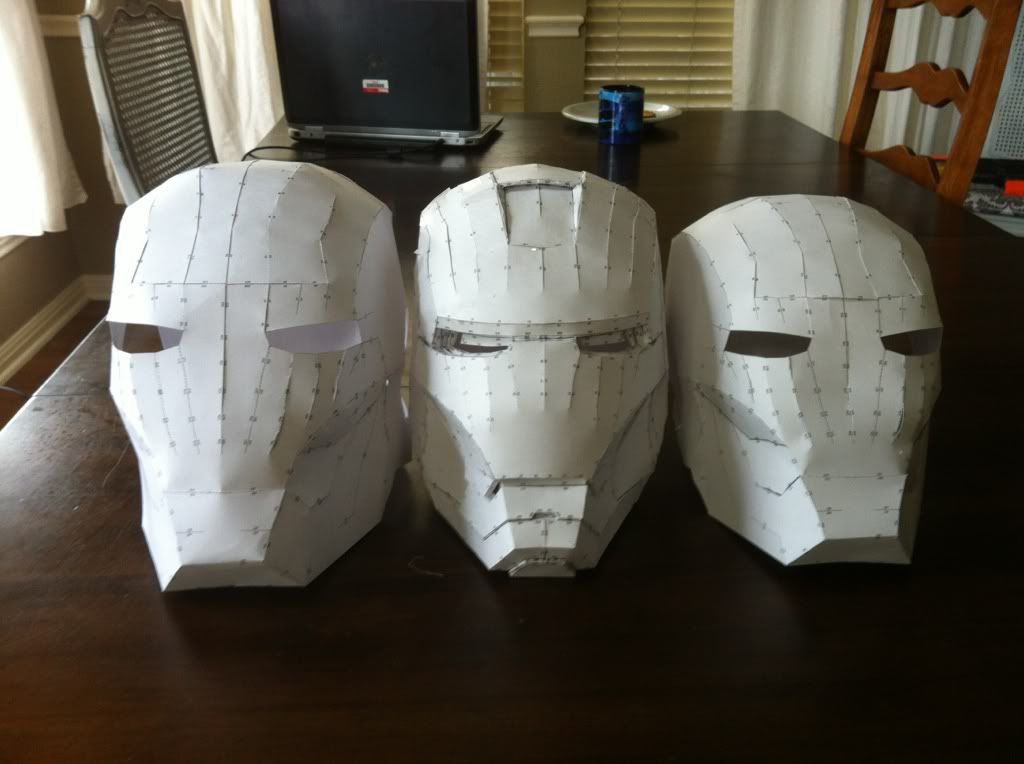
Re: Iron Man Mark VI Build........Yep another one!
So I havent updated this in a while I wanted to wait till I a lot to show. I've just about got both legs paint ready. Before I bondoed the legs I first glued the thigh and the shin together. I had to make a few cuts and use the heat gun to make them fit together perfect.
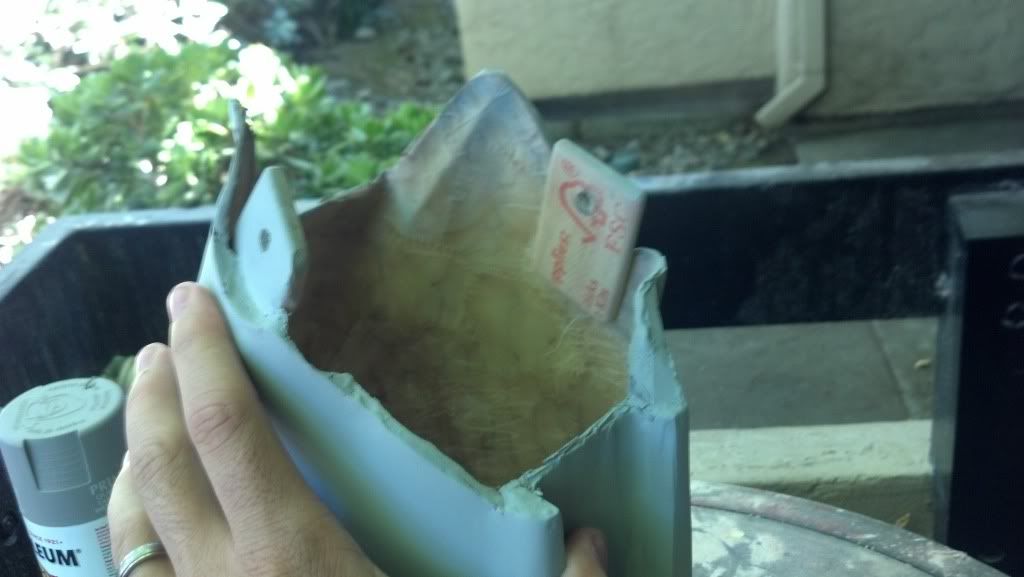
Sorry the picture is bad, I forgot to take a picture of this step and this is the only one you can kinda see it in.
After that I bondoed the leg all as one. Here is a pic of it being sanded.
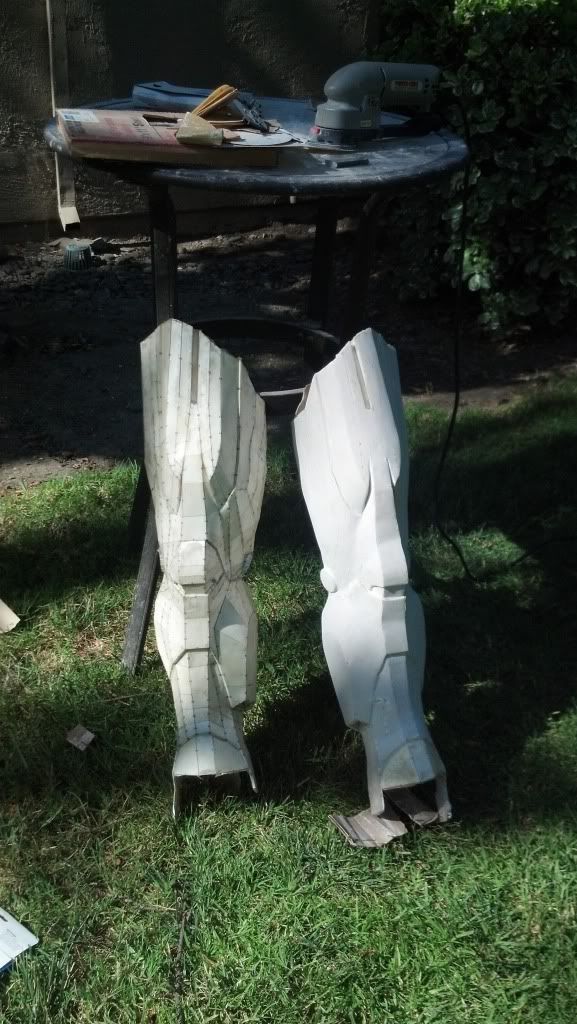
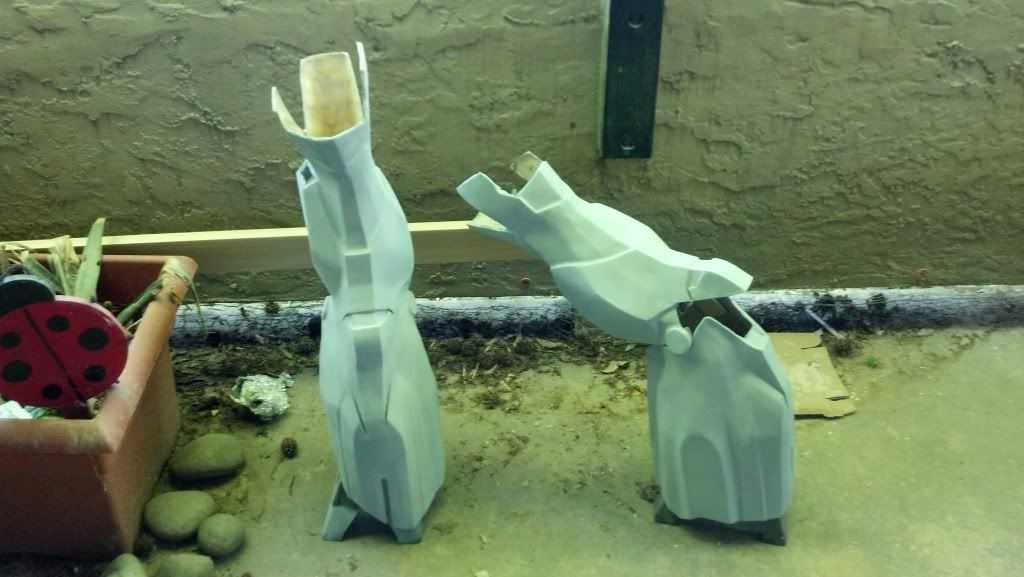
After it was all sanded and primed I cut the thigh and shin apart. The reason I glued them together was to get a nice and perfect seam for the shin and thigh. Here is a pic right before I cut them apart. And the other leg with the first coat of bondo.
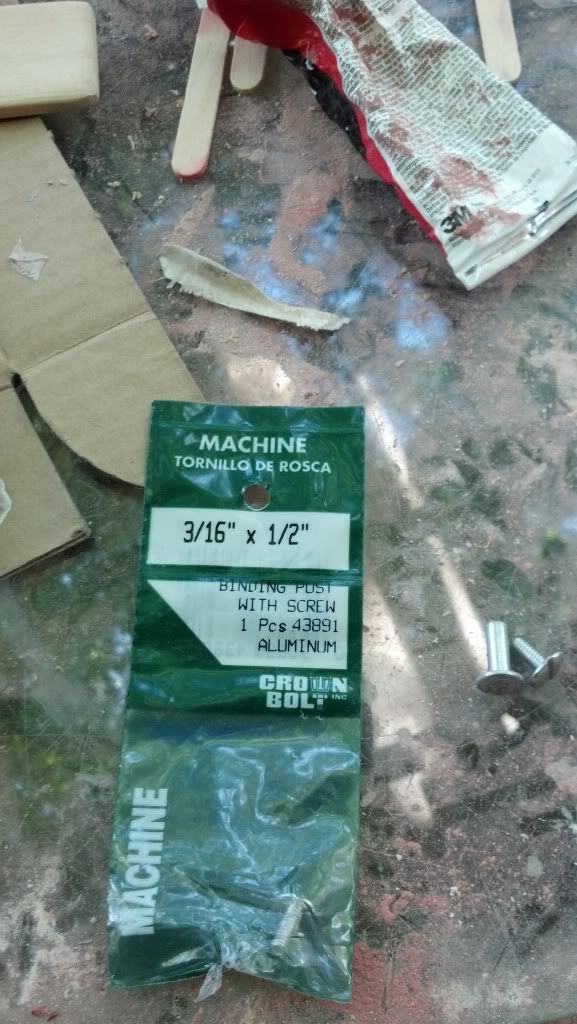
So was thinking how I was going to make them hinge together and here is what I came up with. I came up with a pretty much free hinge system, only cost me about $4. I got the thick paint stir stick from Home Depot and used a hole saw to cut out 2 disks just a bit smaller then the joints on the shin. Then I cut 2 tabs to connect to the disks.
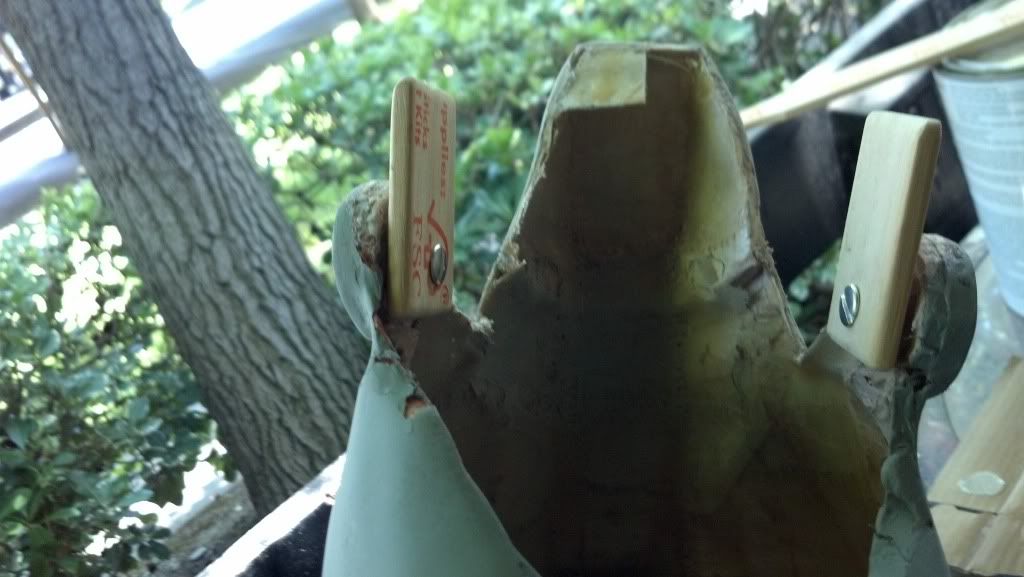
I got binding posts and drilled the holes in the disks and tabs. I then inserted one end of the binding post in the disk and bondoed it in the shin joint. Here are the binding posts I used.
Then I attached the tabs and measured how far it went in the thigh. Here is a pic of them attached.
and here is a pic of the tabs attached to the thigh.
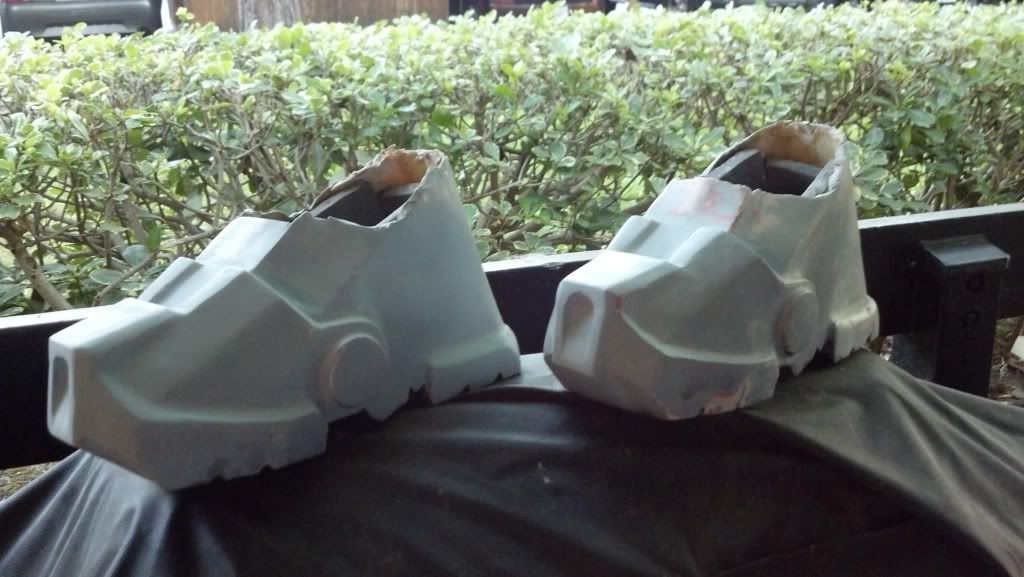
I had to cut out some of the shin to get better range of motion. I'm able to just about sit down correctly, I have to have my leg extended a little but I figured this wont be a problem as I dont think I can sit on the cod piece with out pinching myself or having it break.
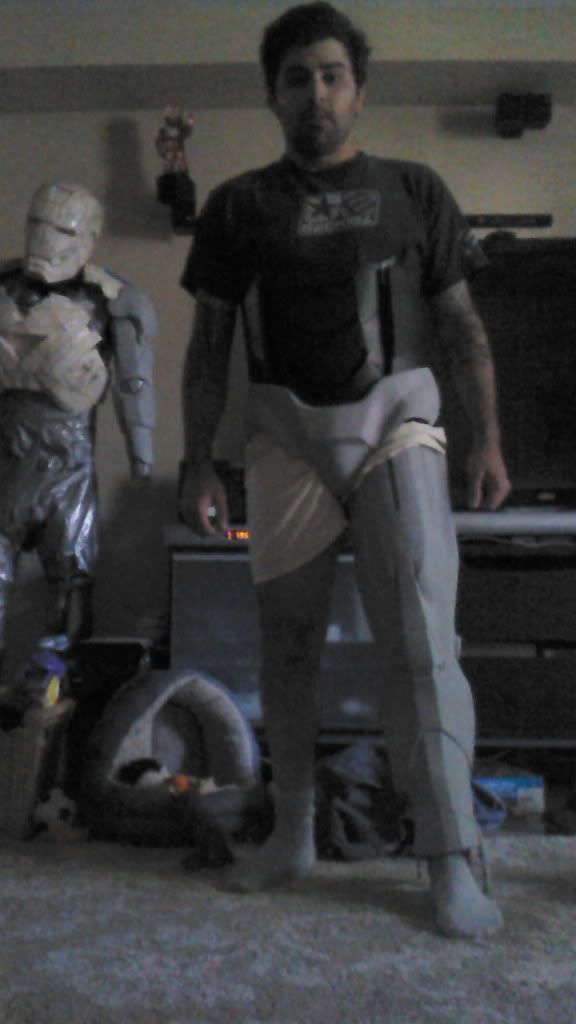
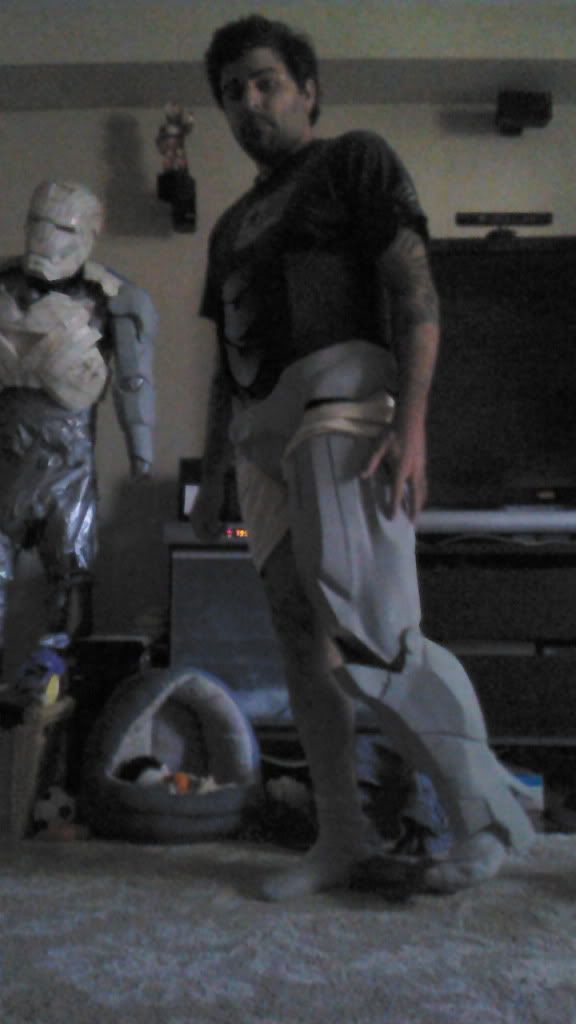
Here are a few pics of me wearing the leg. I had to set up the timer on the camera so they didnt come out that great.
The second picture is not a good representation of the range of motion of the leg. So here is a better one, this also shows the other leg just about ready to be cut apart.
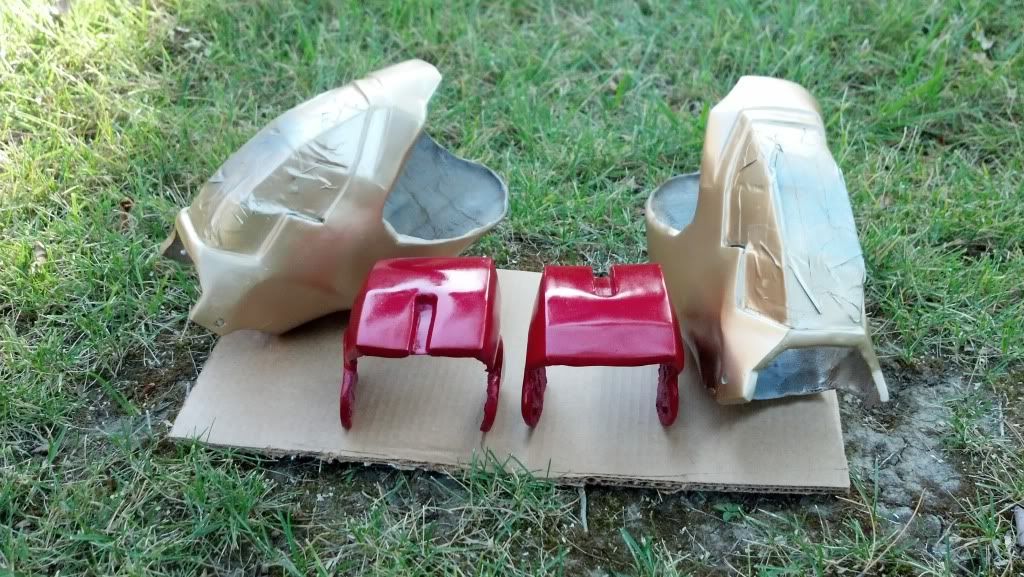
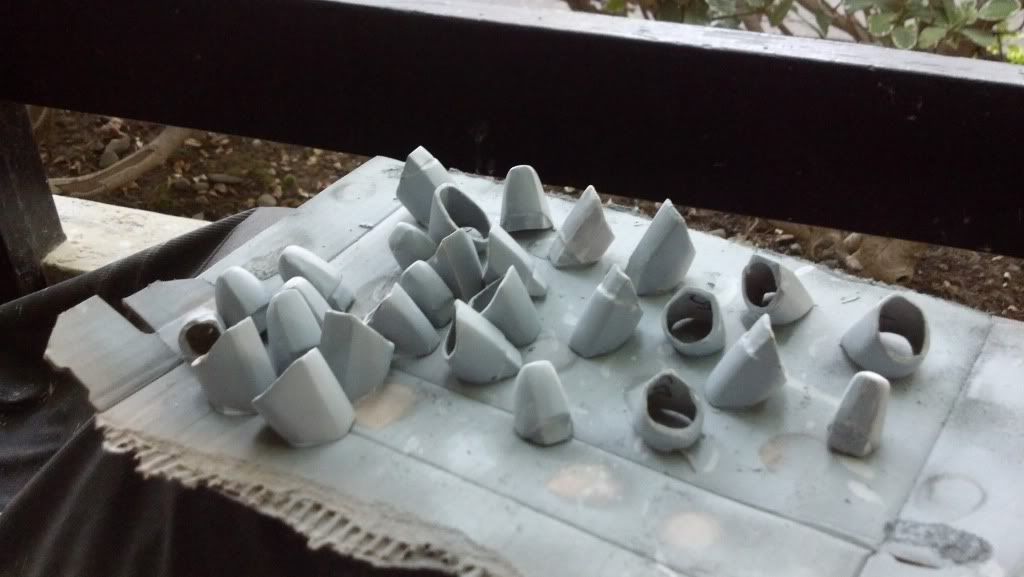
And to finish up the update I have a few parts painted! I havent fully decided if I'm going to weather them yet. What do you guys think about weathering?
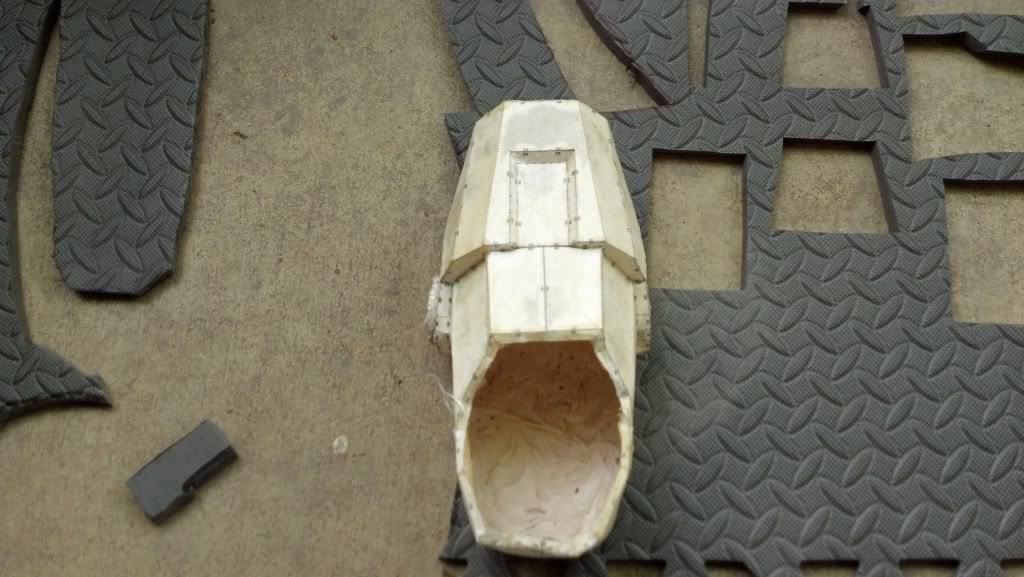
So thats it for now, Ill posy more when I get more painted. I just have the legs, chest, back, fingers, hand and helm then the lights and I'm done! aggh, every time list it out it seems like so much =) but im getting there slowly but surely!
")