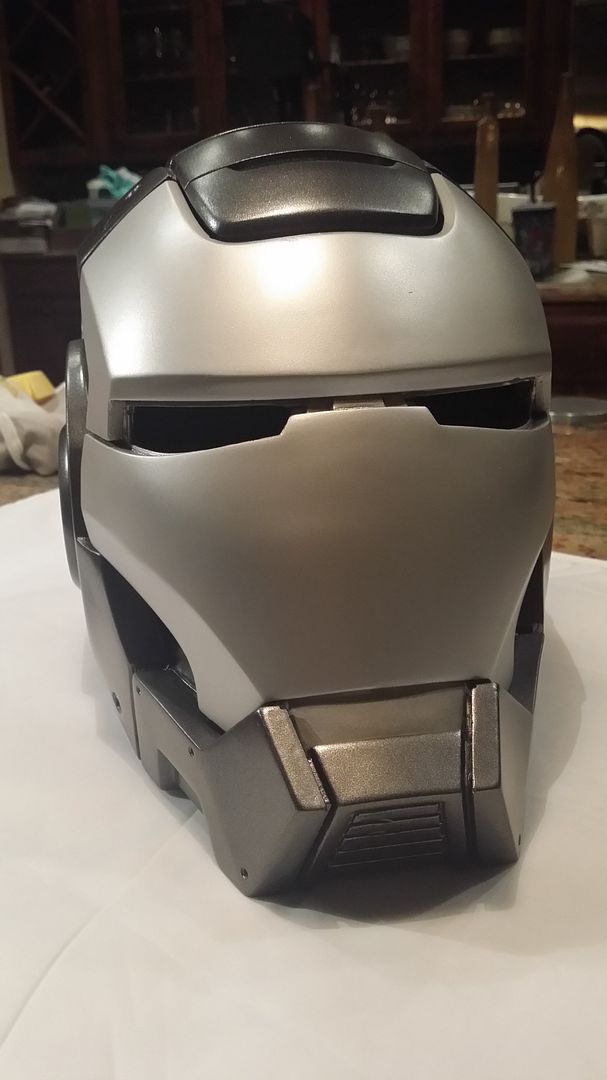
Are your eye inserts curved, did you heat bend acrylic or something? I want to light up the eyes in mine (of course), but since there isn't a faceplate I can remove, I want to be able to make sure I can definitely see out of it while wearing it (when or if I ever make a Godkiller armor...).
It's a dirty trick. The only Ironman helmets I've actually managed to light up yet are a couple of my MkIII helmets.
For the others, I actually just stuck a couple of scraps of thin white styrene in the holes as placeholders for now. When I get around to lighting it up, I'll be heating up and forming some bits of acrylic to fit, leaving gaps at the bottom edge for visibility. That's how I did it with the MkIII. Visibility isn't great, but at least you won't walk into walls.
It's still a good idea to have someone close at hand to keep you from bumping into things though:

And soldering is a bit challenging:

So there's that.
![IMG_1311 [].JPG](https://therpf-f28a.kxcdn.com/forums/data/attachments/202/202034-5f547c26f0ef782fd74b8622a3cc28d6.jpg "IMG_1311 [].JPG")