robn1 Master Member Nov 29, 2011 #61 TheValeyard said: The phaser looks amazing so far. Can't wait for more! Definitely subscribing to this one. Click to expand... Thanks!
TheValeyard said: The phaser looks amazing so far. Can't wait for more! Definitely subscribing to this one. Click to expand... Thanks!
WeaponReplica New Member Nov 29, 2011 #62 Wow, that's looking amazing. The talent lurking around these forums is blowing my mind.
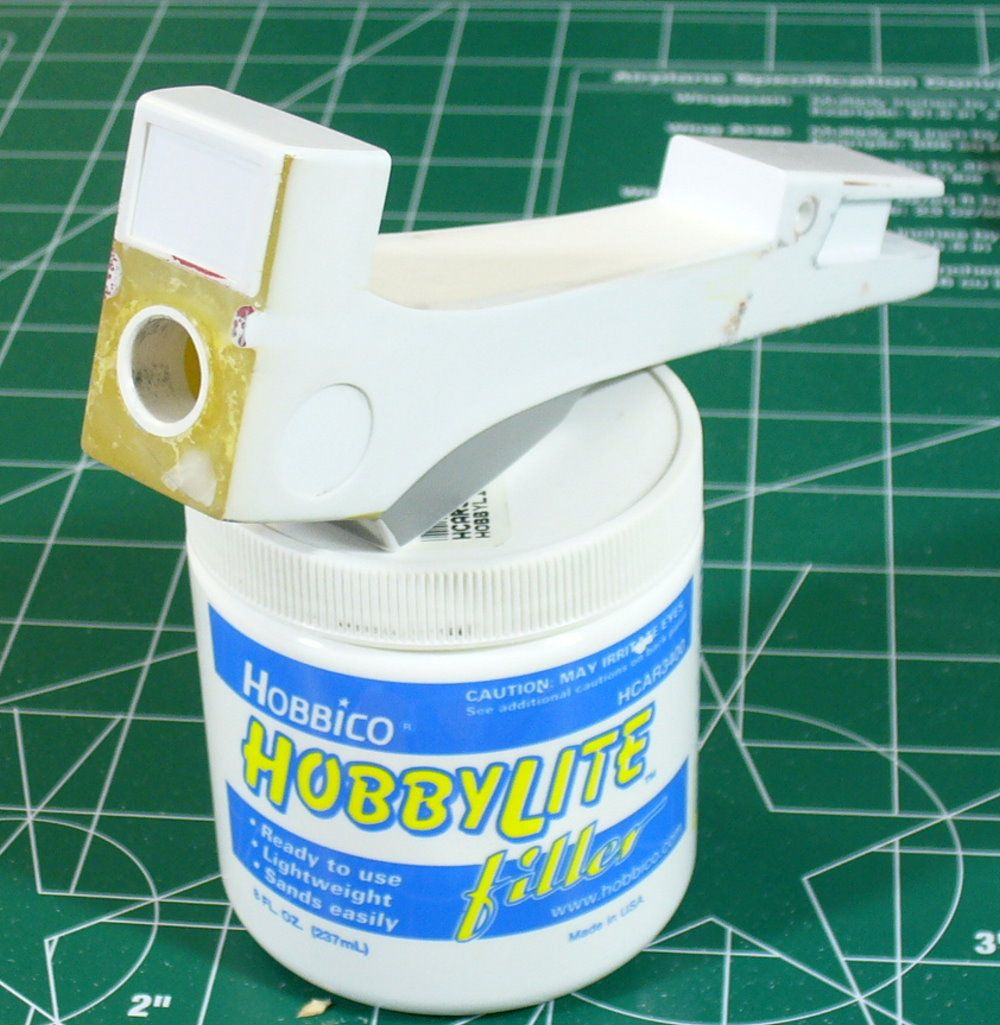
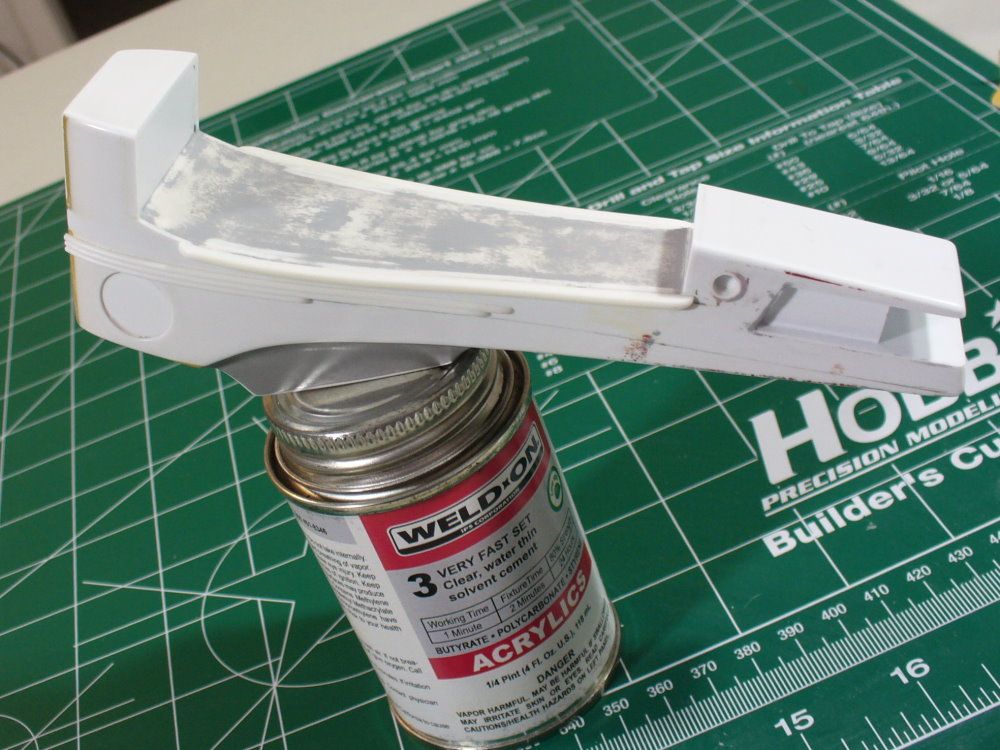
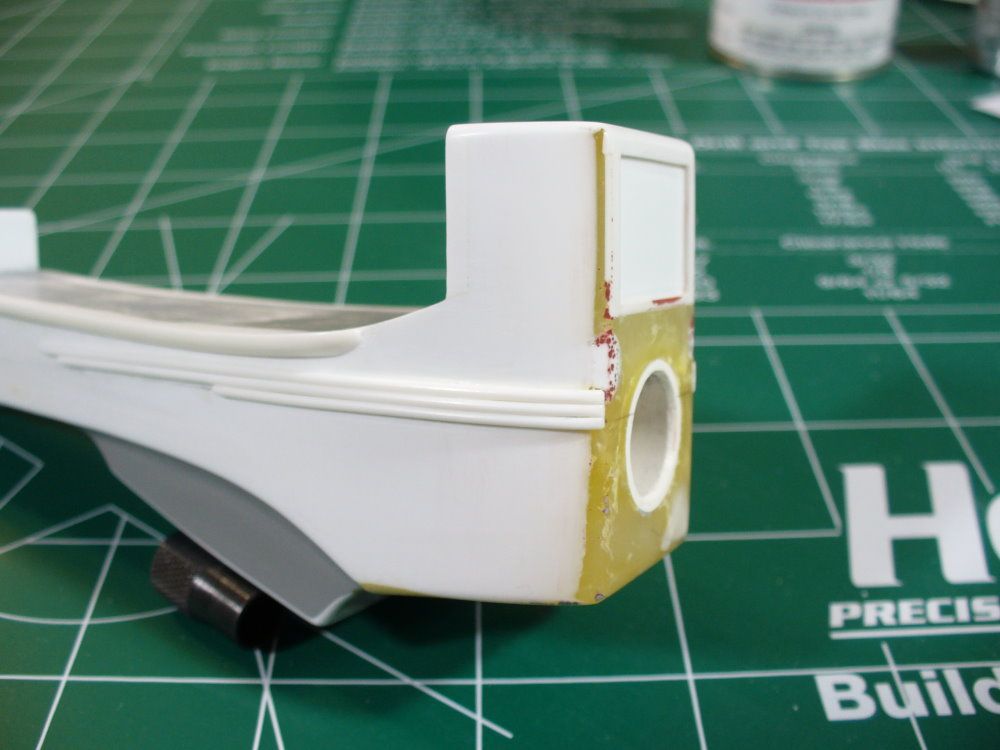
robn1 Master Member Dec 5, 2011 #64 Not much of an update, I've been filling in the openings in the P2. I used styrene for most of it, and filler for the P1 area.
Not much of an update, I've been filling in the openings in the P2. I used styrene for most of it, and filler for the P1 area.
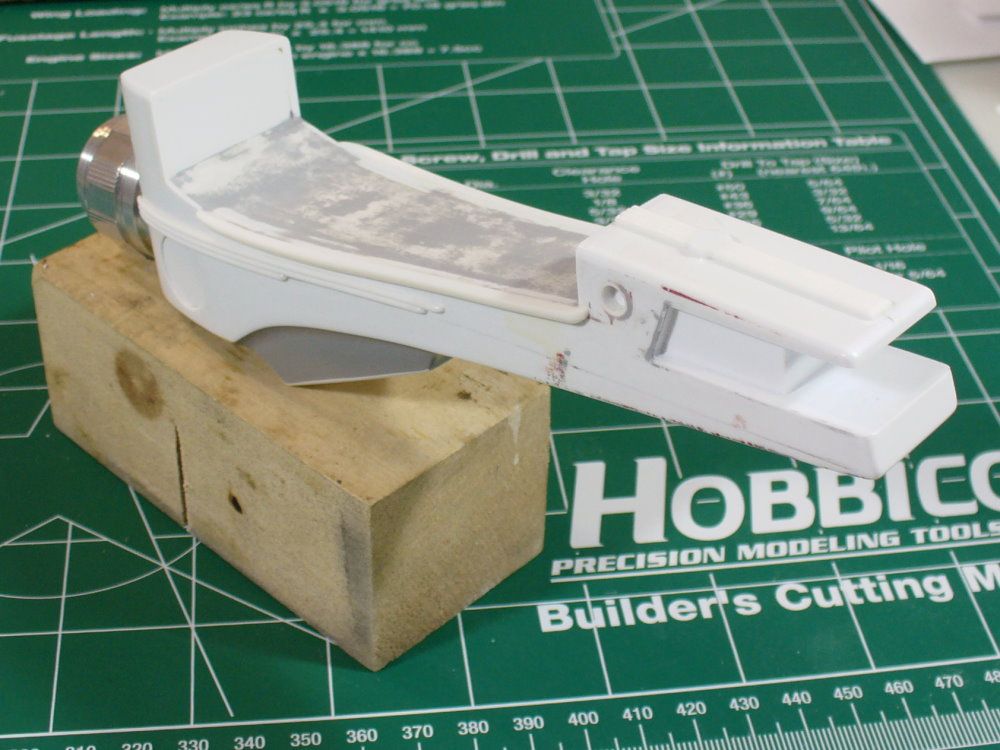
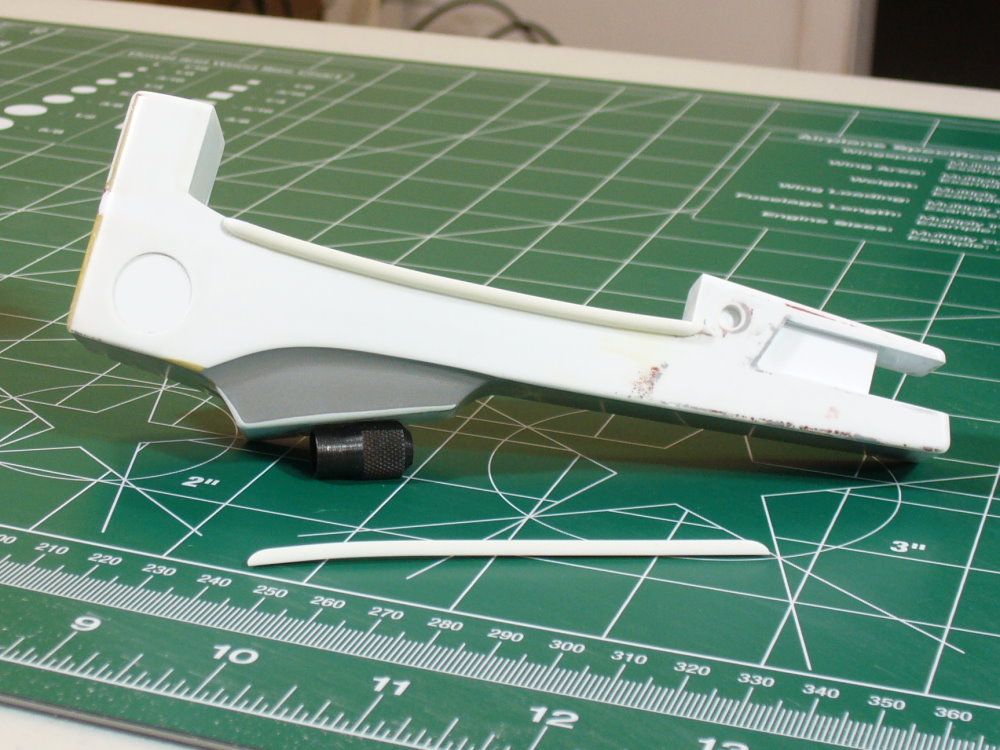
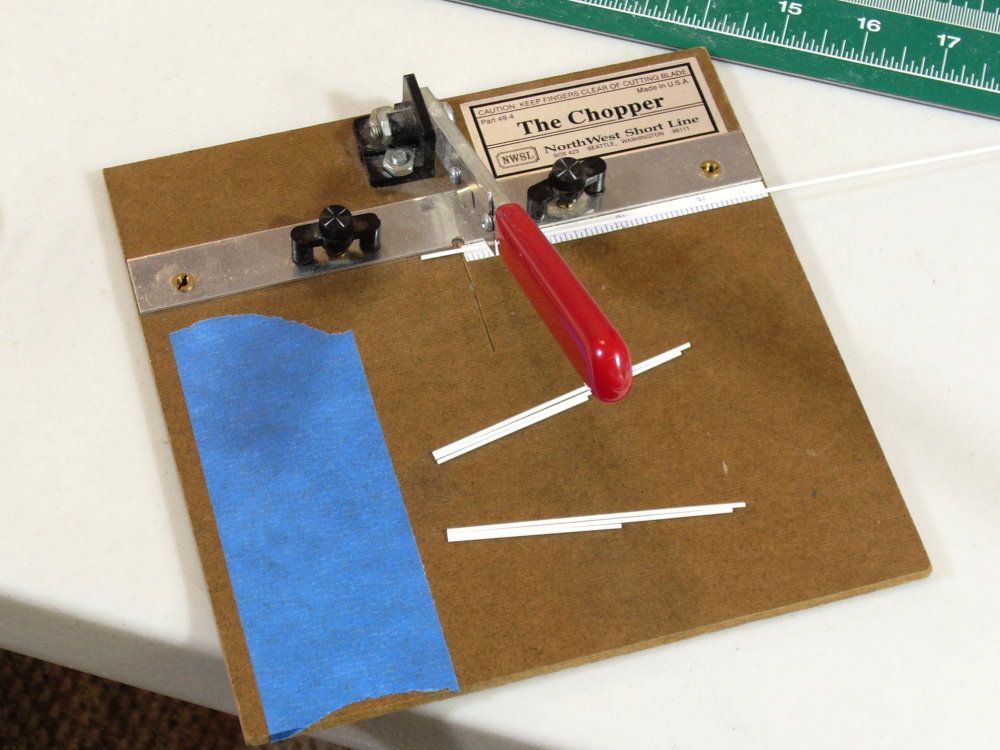
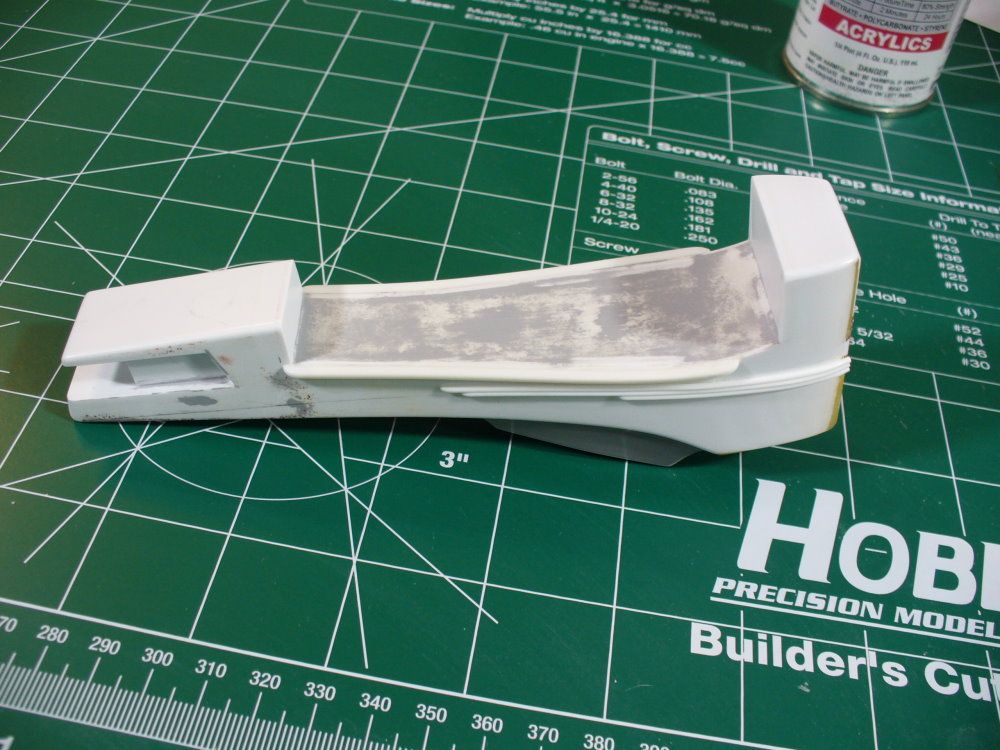
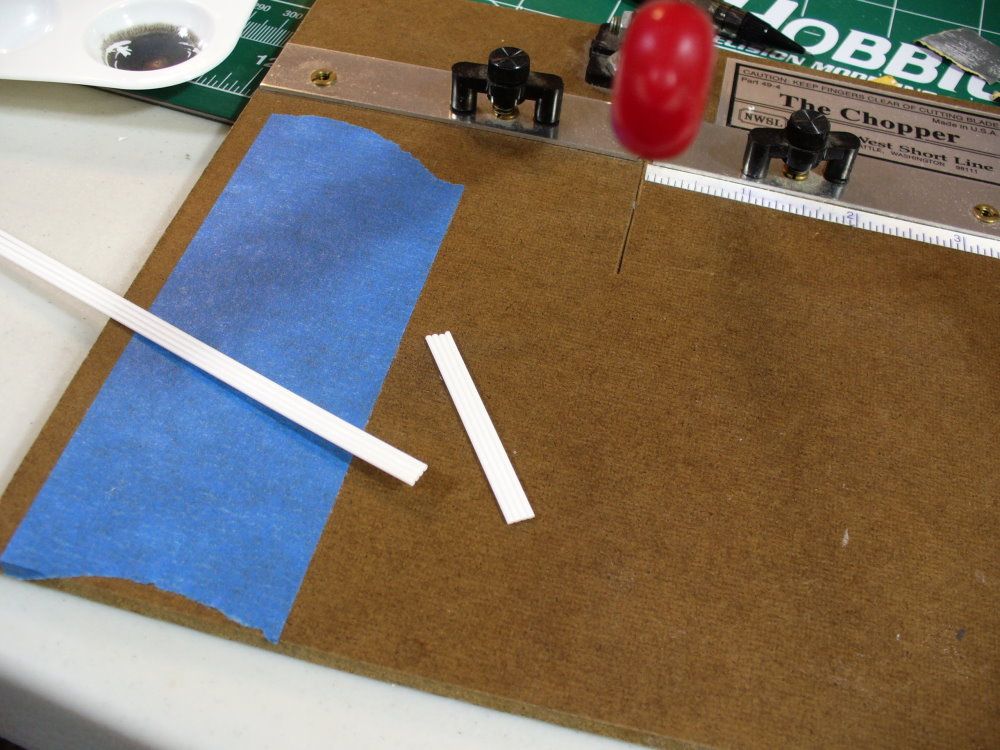
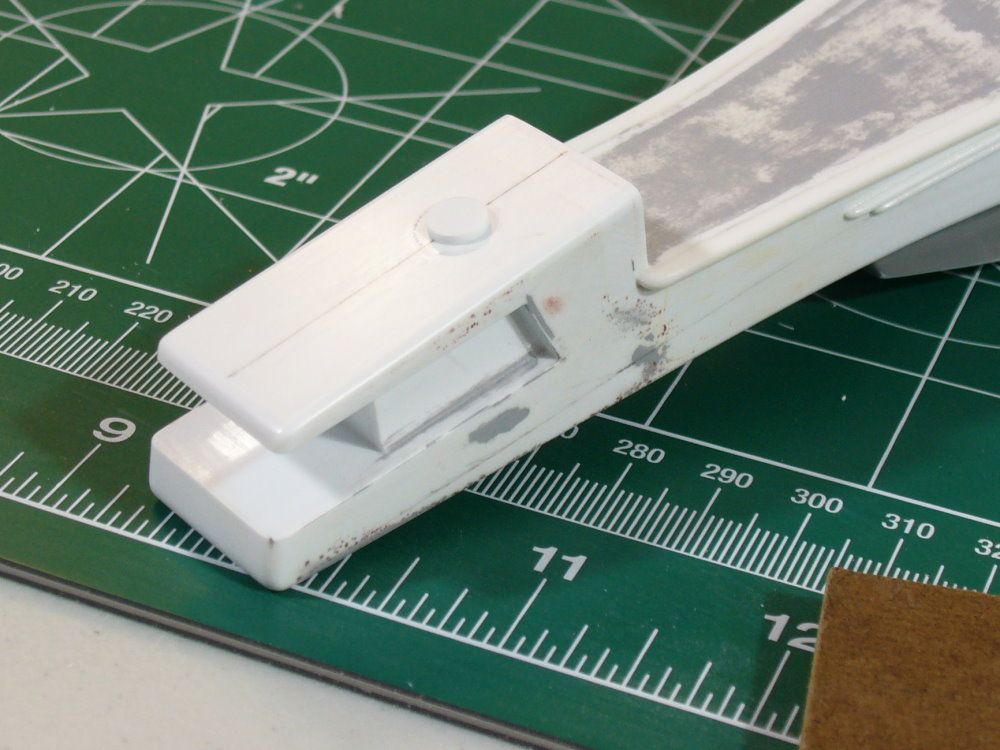
robn1 Master Member Dec 8, 2011 #65 I've tweaked the P2 as much as I can, so I added the side details. I made the P1 ledge from .1in quarter round styrene. The three detail strips are 3/64in styrene rods. I cut them to length. TO THE CHOPPA! I sanded the ends to round them over. Then marked a line on the P2 side. The bottom strip was applied right on the line. The fronts of the rods need to be rounded, and the ledges need to be shortened a bit at the front, but here they are finished. The front view really looks like crap :lol but it is smooth.
I've tweaked the P2 as much as I can, so I added the side details. I made the P1 ledge from .1in quarter round styrene. The three detail strips are 3/64in styrene rods. I cut them to length. TO THE CHOPPA! I sanded the ends to round them over. Then marked a line on the P2 side. The bottom strip was applied right on the line. The fronts of the rods need to be rounded, and the ledges need to be shortened a bit at the front, but here they are finished. The front view really looks like crap :lol but it is smooth.
Plane Crazy Well-Known Member RPF PREMIUM MEMBER Dec 8, 2011 #68 :thumbsup This is epic! Looking great! :thumbsup
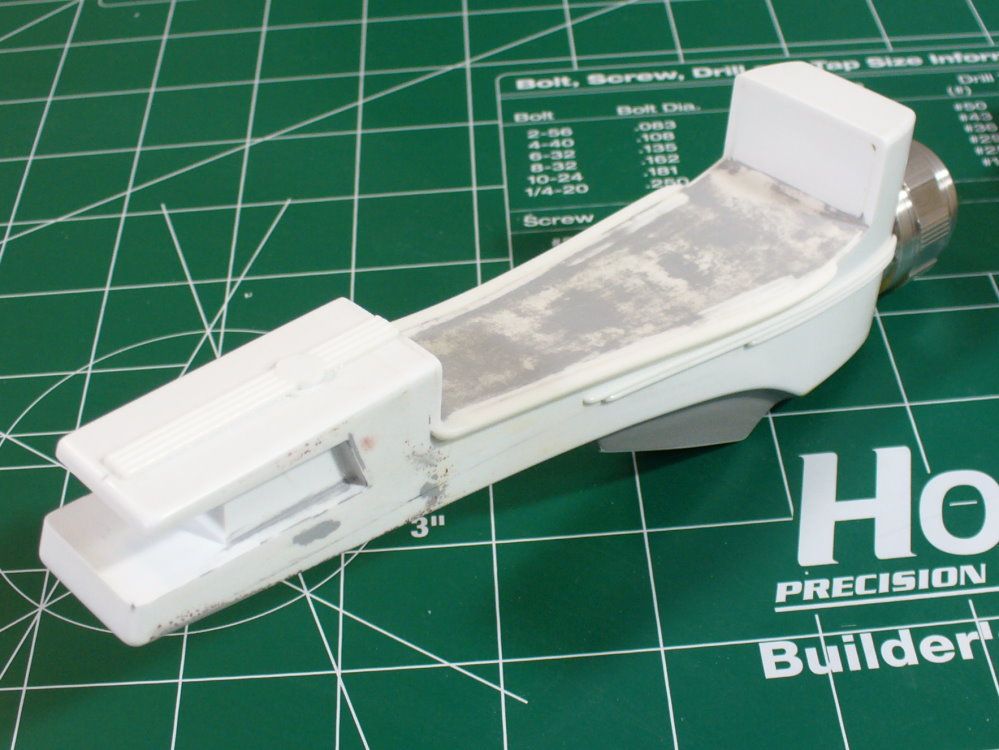
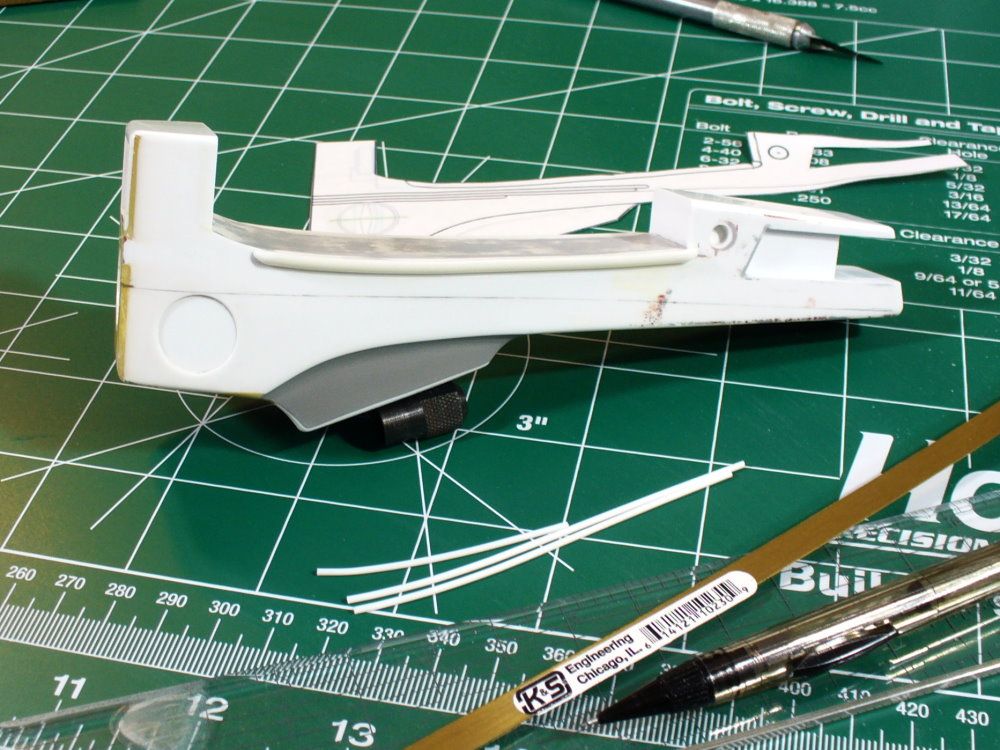
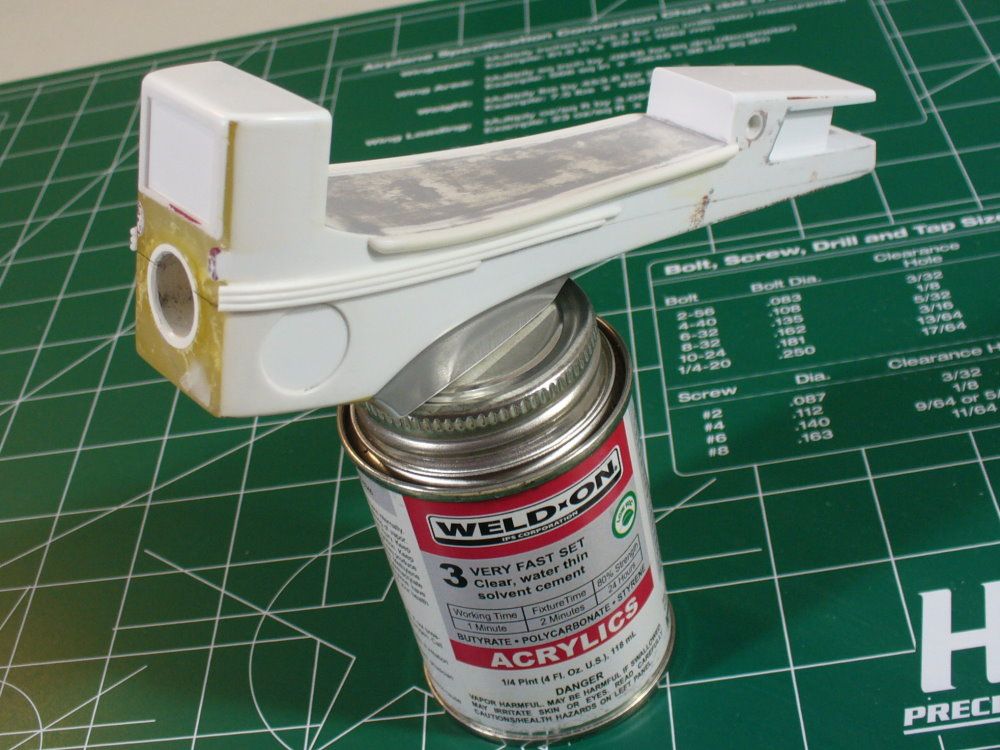
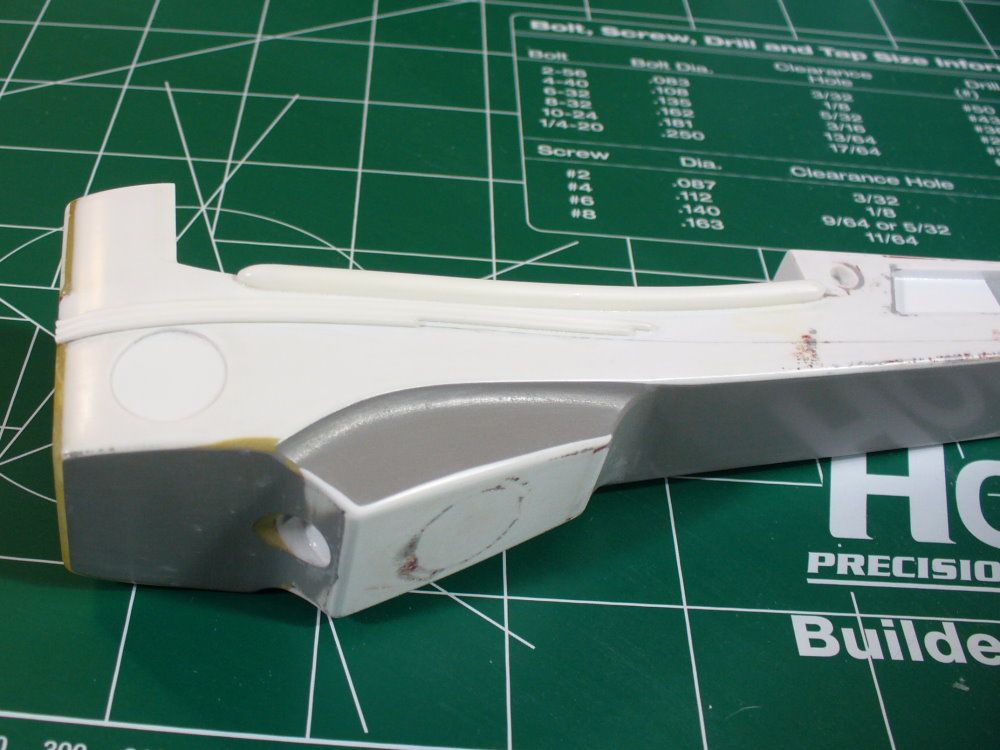
robn1 Master Member Dec 8, 2011 #71 I cleaned up the fronts of the detail strips, and cut about 1/8in from the P1 ledges. For the top rear strips, I decided it would be easier to put them on as a complete piece. So I first glued the strips together. I marked a guide line on the master, and added a disc to provide a drill guide for the ten turn. I'm taking a break while the glue sets, so I can shape the strips. More in a little bit.
I cleaned up the fronts of the detail strips, and cut about 1/8in from the P1 ledges. For the top rear strips, I decided it would be easier to put them on as a complete piece. So I first glued the strips together. I marked a guide line on the master, and added a disc to provide a drill guide for the ten turn. I'm taking a break while the glue sets, so I can shape the strips. More in a little bit.
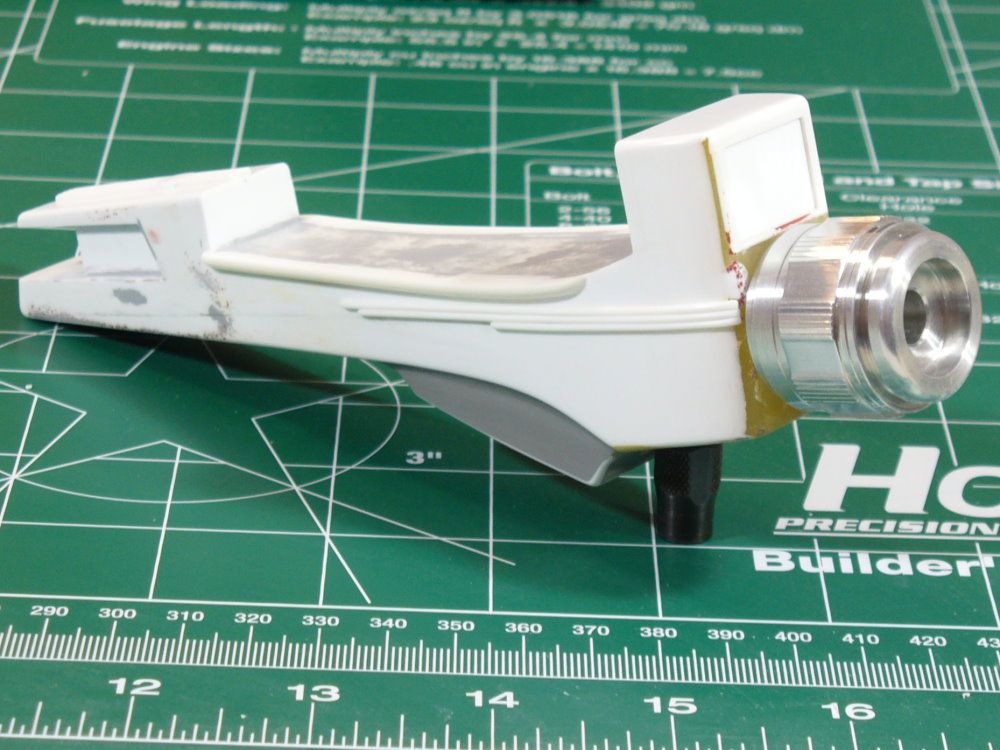
robn1 Master Member Dec 9, 2011 #72 I got the top rear details done. Later today I'll through some primer on it.
robn1 Master Member Dec 9, 2011 #73 First primer coat. A few holes to fill, but looks good. I masked the details so the primer wouldn't fill them in. I'll remove the mask for the last primer coat.
First primer coat. A few holes to fill, but looks good. I masked the details so the primer wouldn't fill them in. I'll remove the mask for the last primer coat.
Tremas Master Member Dec 9, 2011 #79 That is beautiful. I've shown a pic to my wife, and she couldn't believe that it was styrene! She then asked, "Why can't *you* do that?"
That is beautiful. I've shown a pic to my wife, and she couldn't believe that it was styrene! She then asked, "Why can't *you* do that?"
")