robn1
Master Member
...I did the same exact thing as you some years ago...
You did? Heck boy, post some pics!
...I did the same exact thing as you some years ago...
")
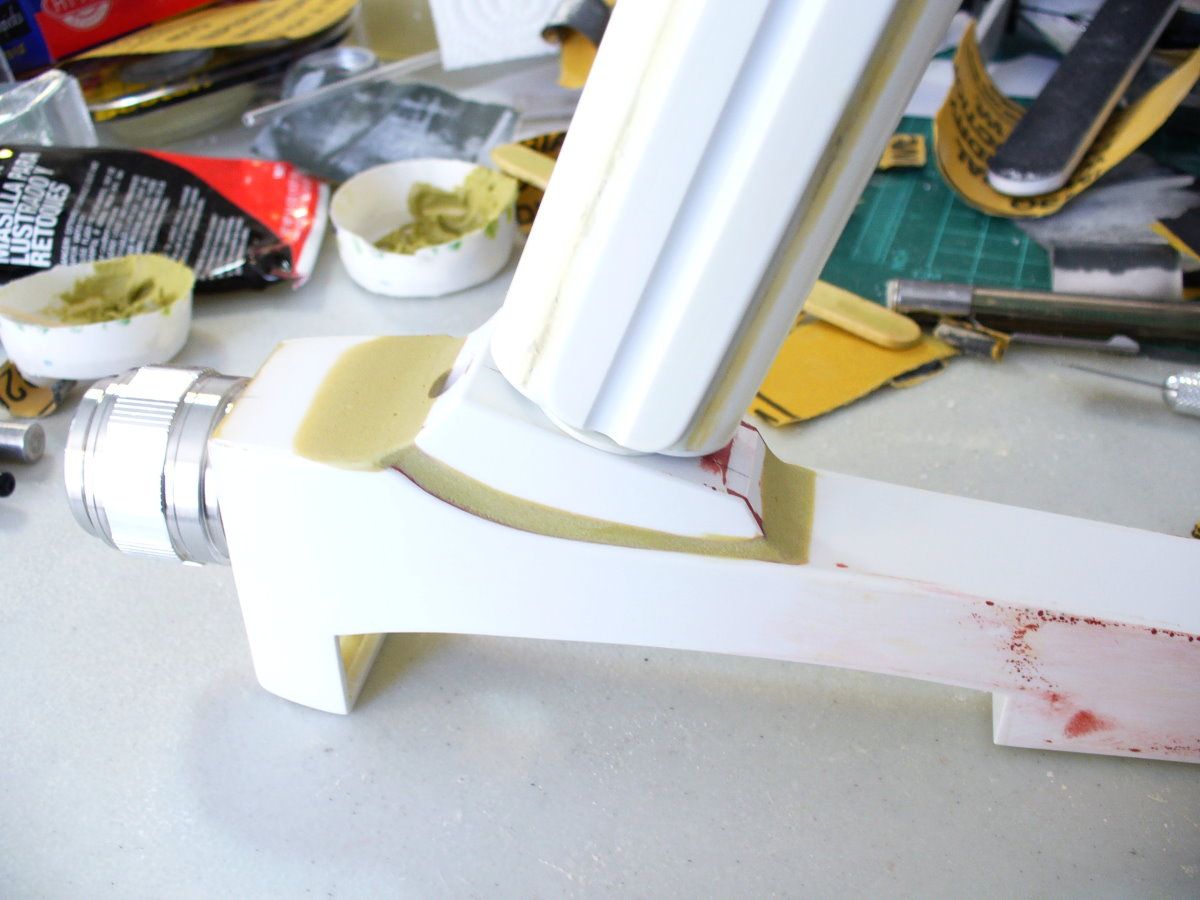
...Would you mind elaborating a bit more on the "Bondo Gold" you're using? Looks like some nice putty, and I'm looking for something between Apoxie Sculpt and Bondo to do some filling work with...


 thumbsupthumbsupthumbsupthumbsupthumbsup:thumbsup
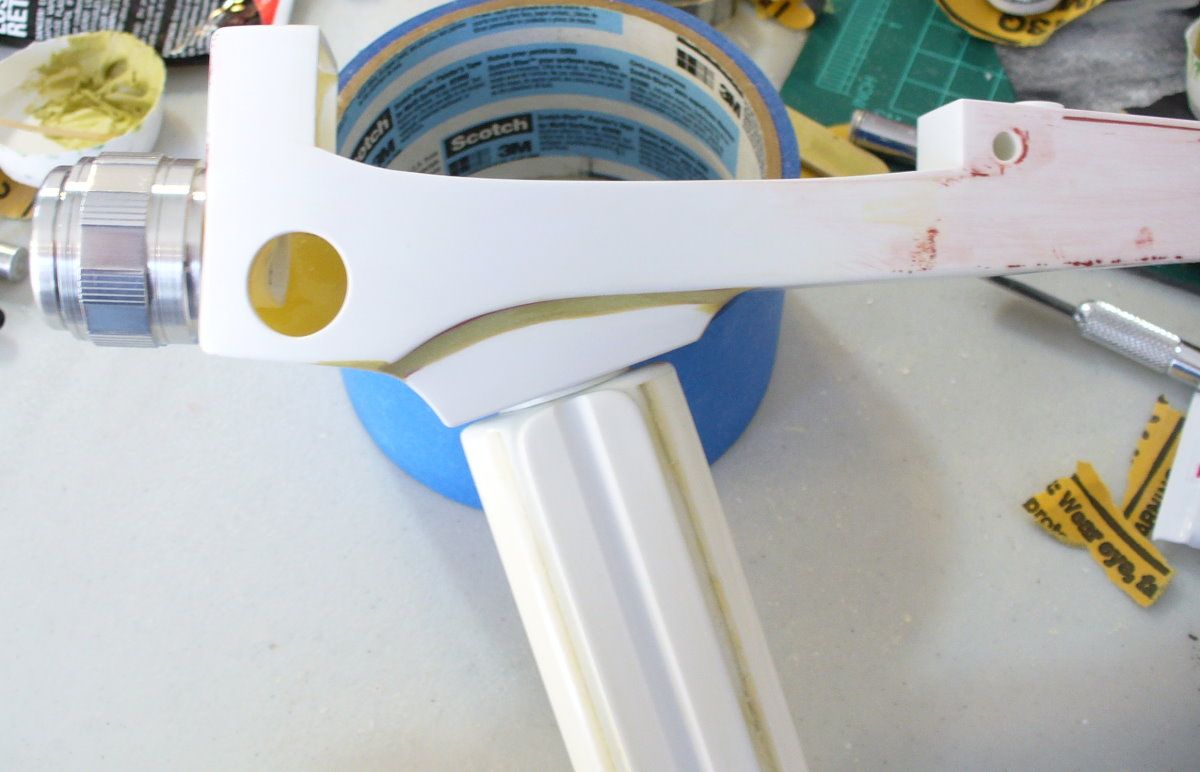
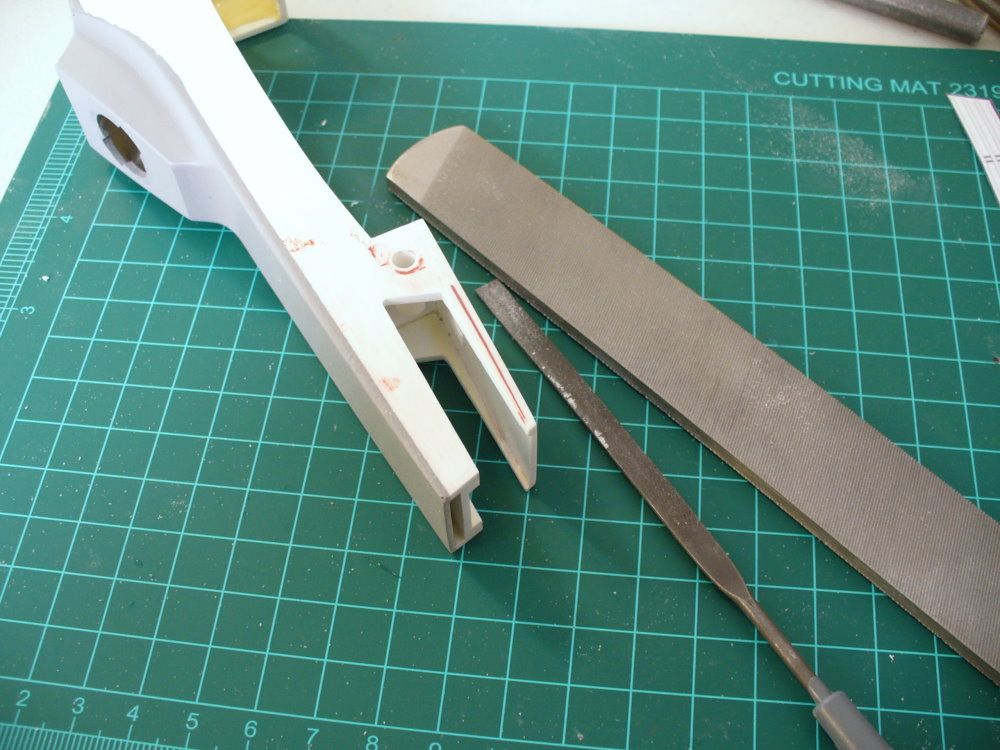
I continued scribing with my panel cutter.