Superpunkduck
New Member
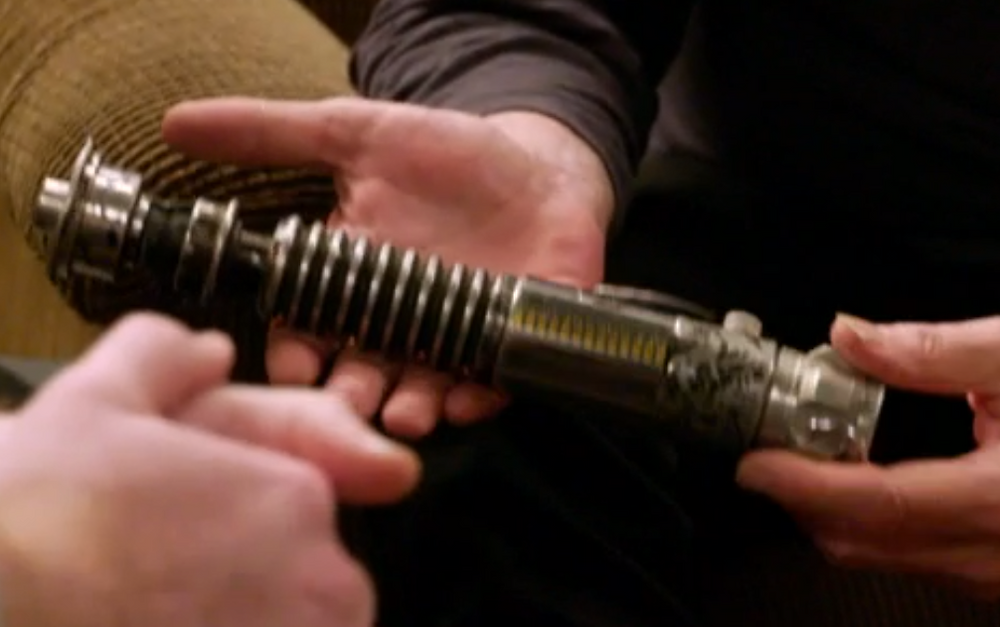
I recently got my hands on a Starkiller/Halliwax DS2V2. I'm looking for some help with the emitter before I start heating this up and doing irreparable damage do it.
Forgive me if this information is already in another post... I've scoured the Halliwax V2 Build Guide and a few other threads... and spent hours googling... i just cant seem to find the answer.
1. The Halliwax Build Guide shows 5 Emitter Dents... But i cant seem to find how these should be clocked relative to the grub screws and rod notch... I really dont want to mess this up... everything else is somewhat reversible if i make a mistake... but this could ruin it if i don't do it right. Heres my ****** attempt of a diagram of what I was able to conjure up from the Mark Hamill Video.... How far off am I?

2. How do you recommend adding the "Scorch Mark" on the emitter? Is it just paint? Weathering powder? Aluminum Black?
3. After Painting the ring section, how to do you recommend clearing the paint off of the rings? Should they be masked ahead of time? Sanded? Wiped when wet?
Thanks in advance for any Advice... And once again I apologize if this info is already out there... I find it incredibly difficult to get parse through all the old threads.
Forgive me if this information is already in another post... I've scoured the Halliwax V2 Build Guide and a few other threads... and spent hours googling... i just cant seem to find the answer.
1. The Halliwax Build Guide shows 5 Emitter Dents... But i cant seem to find how these should be clocked relative to the grub screws and rod notch... I really dont want to mess this up... everything else is somewhat reversible if i make a mistake... but this could ruin it if i don't do it right. Heres my ****** attempt of a diagram of what I was able to conjure up from the Mark Hamill Video.... How far off am I?
2. How do you recommend adding the "Scorch Mark" on the emitter? Is it just paint? Weathering powder? Aluminum Black?
3. After Painting the ring section, how to do you recommend clearing the paint off of the rings? Should they be masked ahead of time? Sanded? Wiped when wet?
Thanks in advance for any Advice... And once again I apologize if this info is already out there... I find it incredibly difficult to get parse through all the old threads.