Felgacarb
Sr Member
I was overcome with the uncontrollable urge to build another phaser this weekend.
The Star Trek V & VI assault phaser is one I've long had a love/hate relationship with. It has many really exciting features, but also some odd proportions that never looked quite 'phaser-y' enough to me. Frankly, sticking the grip right in the middle, with an extended magazine is fine if you're designing an Uzi or a Mac-10, but you're compromising one of the most iconic aspects of the phaser silhouette.
Since I have a pretty nice solid resin version of this prop already, I've decided to make a new, modified version- one that keeps my favorite parts while trying to make it look more like a proper phaser (to me!) It will also be a solid, static prop.
I resisted the urge to start by cutting up an airsoft Beretta 92 and instead went with the solid wood approach- (With various completely random parts kit-bashed on where appropriate.)
So, here goes: The initial grip relocation sketch: (With resin version.)

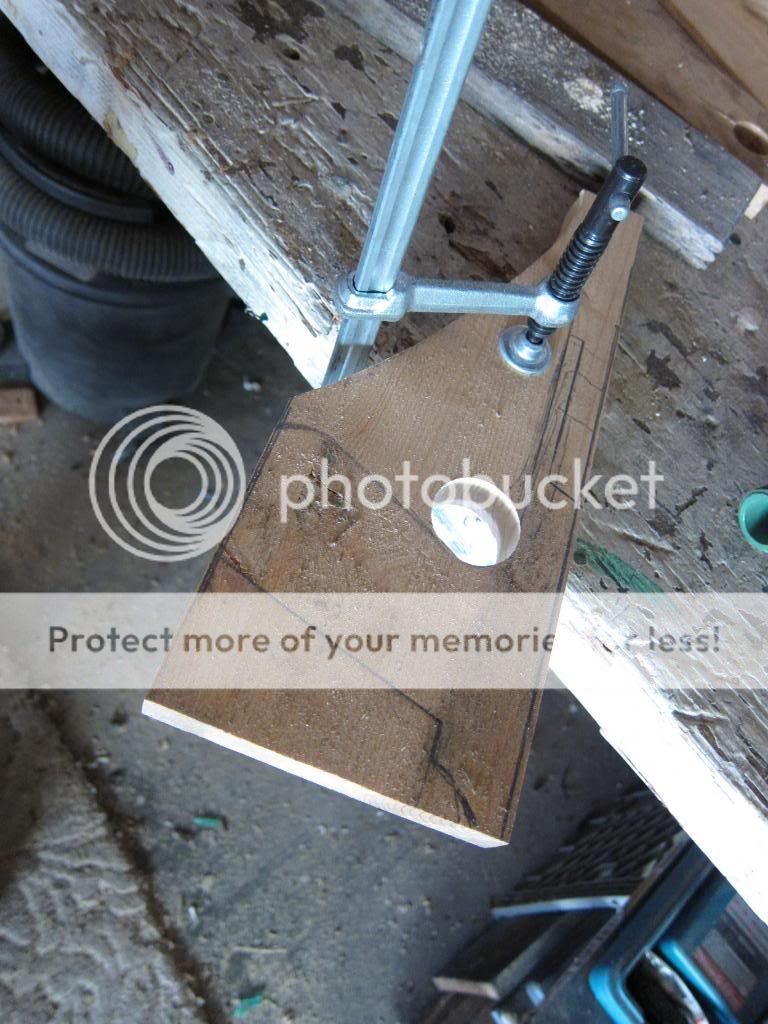
Begin sawdust creation process!
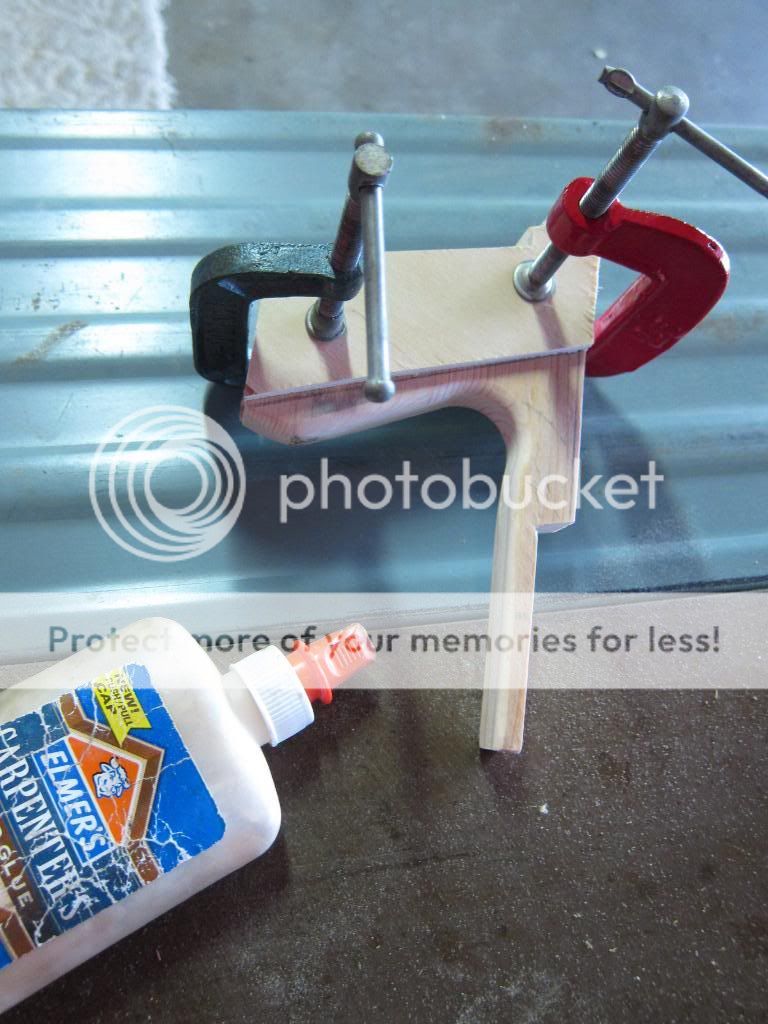
These will become the emitter nozzle. Somehow. All I can say for sure is that a lot of glue will be involved.

I love my Proxxon 'Dremel'

No MDF here.
No CNC woodmill here, either! (How I wish I had access to such tools...)

Starting to look like something:

Here's a feature I'm actually replicating!

Still one of my favorite wood shaping methods- the inverted belt sander.

Slightly closer...

Right- you've just spent over an hour making this solid, detailed top part, so why not saw it in half... at an angle of precisely 27 degrees....

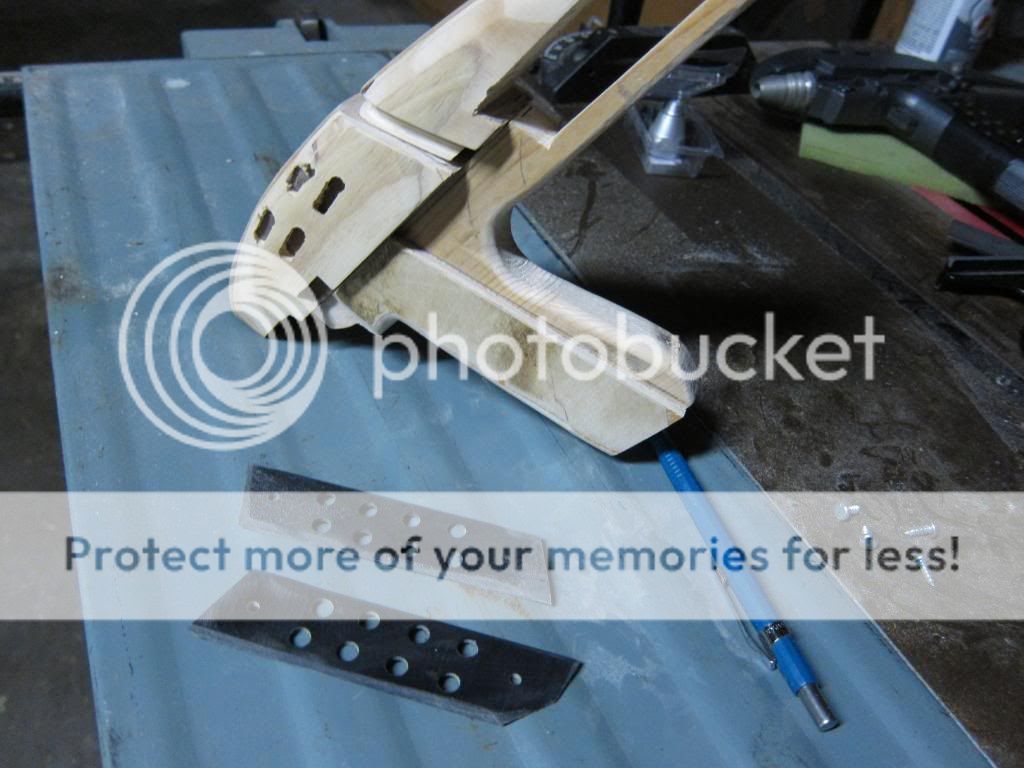
A little bit of plastic for the grip detail:
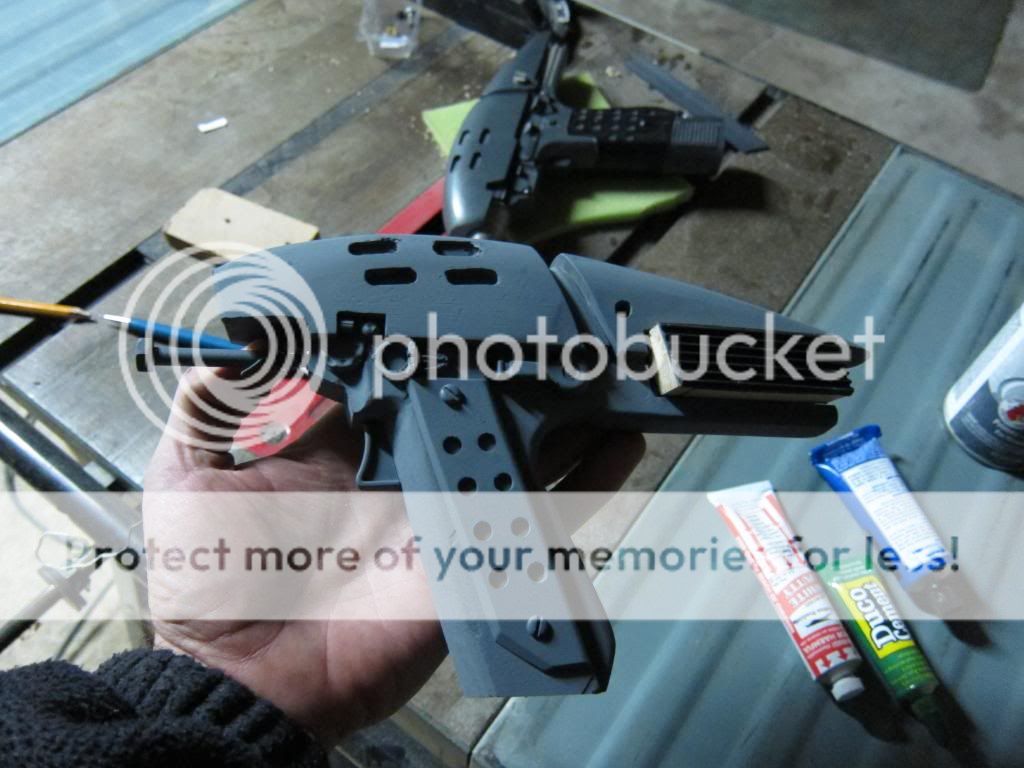
The first coat of primer, to see where we're at-

The end of the day:
That was all Sunday- I'm guessing I'm near 50% done. There remains an awful lot of sanding and filling before I can get serious with the paint and assembly.
Thanks for looking! With me luck....
The Star Trek V & VI assault phaser is one I've long had a love/hate relationship with. It has many really exciting features, but also some odd proportions that never looked quite 'phaser-y' enough to me. Frankly, sticking the grip right in the middle, with an extended magazine is fine if you're designing an Uzi or a Mac-10, but you're compromising one of the most iconic aspects of the phaser silhouette.
Since I have a pretty nice solid resin version of this prop already, I've decided to make a new, modified version- one that keeps my favorite parts while trying to make it look more like a proper phaser (to me!) It will also be a solid, static prop.
I resisted the urge to start by cutting up an airsoft Beretta 92 and instead went with the solid wood approach- (With various completely random parts kit-bashed on where appropriate.)
So, here goes: The initial grip relocation sketch: (With resin version.)
Begin sawdust creation process!
These will become the emitter nozzle. Somehow. All I can say for sure is that a lot of glue will be involved.
I love my Proxxon 'Dremel'
No MDF here.
No CNC woodmill here, either! (How I wish I had access to such tools...)
Starting to look like something:
Here's a feature I'm actually replicating!
Still one of my favorite wood shaping methods- the inverted belt sander.
Slightly closer...
Right- you've just spent over an hour making this solid, detailed top part, so why not saw it in half... at an angle of precisely 27 degrees....
A little bit of plastic for the grip detail:
The first coat of primer, to see where we're at-
The end of the day:
That was all Sunday- I'm guessing I'm near 50% done. There remains an awful lot of sanding and filling before I can get serious with the paint and assembly.
Thanks for looking! With me luck....
Last edited:
")


