MAKE BELIEVE
Master Member
Great job on the shield.
")
Thank you Pascalvery good improvement Fab - the color of the wood shows the main progress from my view
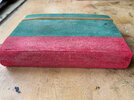
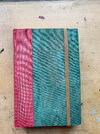
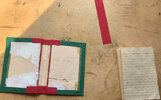
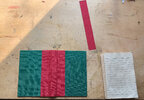
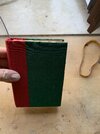
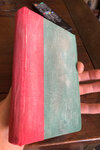
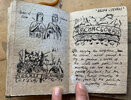
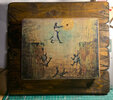
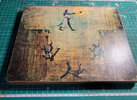
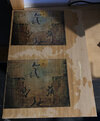
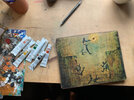
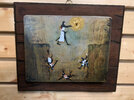
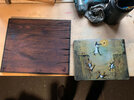
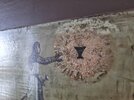
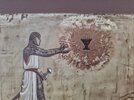
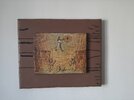
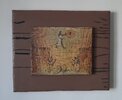
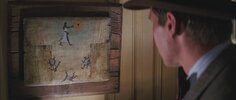
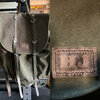
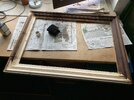
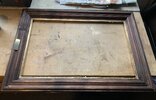
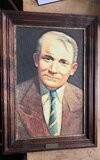
Yes the back looks much better and natural now. And the painting itself looks more alive as well (Even though it doesn‘t really in the movie ) and I really like it like this on the wall. I‘m not fully done yet, but for now I‘m happy.That texturing is just marvellous, wish I had a piece with this much depth in my collection.Quite some time ago I made the Leap of Faith Painting by transfering a printout with waterslide decalfoil on a piece of wood and sealing it after with clear varnish. But I was never truly happy with it nor the wooden back. So I finally modified it.
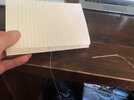
I painted on top of the foil serveral layers of oilcolors until everything was overpainted. After it was fully dried up I hit it with airbrush (white akrylic color).
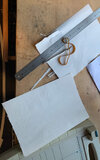
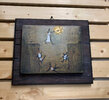
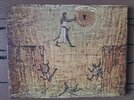
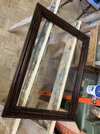
The wooden back is now one stained piece, edges sanded and aged with a chisel and a screwdriver. The glow is goldleaf and golden edding.
Thank you so much Dylan.That texturing is just marvellous, wish I had a piece with this much depth in my collection.
Great work as always Fab
Maybe one day we can talk about it when I got more time.looks very wellQuite some time ago I made the Leap of Faith Painting by transfering a printout with waterslide decalfoil on a piece of wood and sealing it after with clear varnish. But I was never truly happy with it nor the wooden back. So I finally modified it.
I painted on top of the foil serveral layers of oilcolors until everything was overpainted. After it was fully dried up I hit it with airbrush (white akrylic color).
The wooden back is now one stained piece, edges sanded and aged with a chisel and a screwdriver. The glow is goldleaf and golden edding.
Good job . Just doing my thing.The second one is what I was looking for : thanks a lot, highly appreciated. I guess/hope this will help others.Thank you sir. Well I didn't really advertise it
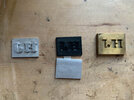
What light do you mean?
bulb: Vintage RED lined Beehive lens dash gauge panel light Hot Rod 5/8". NOS DIALCO 1 | eBay
ballonlight (example):
Hope this helps.
You mean the balloon light uses a regular 3 volts LED?You are welcome. I replaced the white LED with a blinking red one. It is pretty easy with this lights. So it actually behaves like in the movie.
Yes, exactly. And the ones I used you can replace the led without soldering. But even if it's not that hard to do.You mean the balloon light uses a regular 3 volts LED?
Thank youGreat job on the shield.