Hello everyone.
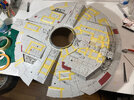
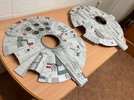
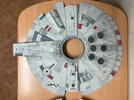
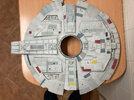
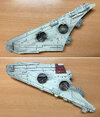
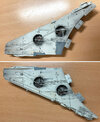
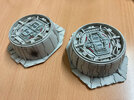
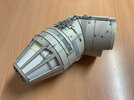
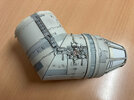
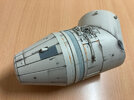
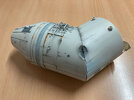
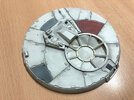
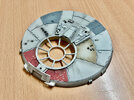
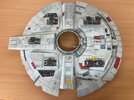
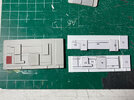
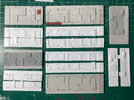
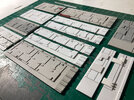
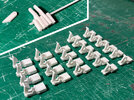
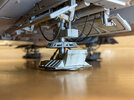
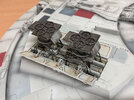
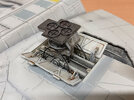
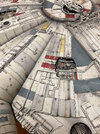
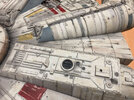
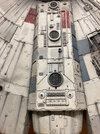
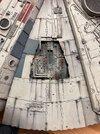
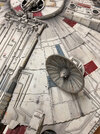
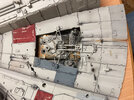
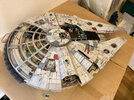
Since my last post, I have been very busy with the paint finish. Trying to copy as accurately as possible each and every one of the different aging effects that I have been able to document from the original model.
Most of these effects have been done using Tamiya's XF-24 Dark Gray. I have also used X-19 Smoke to tint and darken some areas and, of course, some rust tones as well.
For the rust effects I have used different techniques and paints, depending on the area and the effect to be replicated. Mainly oil colors, pastel colors and weathering pencils from AK Interactive.
I have only used the color black for the deepest parts of the impacts spread over the fuselage. I will post more and better photos when it is finished.
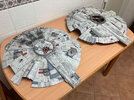
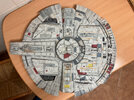
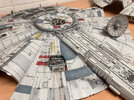
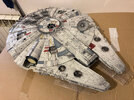
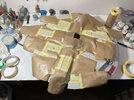
As for the strokes, I must say that the technique suggested by Steve Dymszo on YouTube was not enough for me. There are really fine strokes that I don't see myself being able to reproduce using just a mask. In most cases I have used masks on both sides of the stroke. Once that line was made, and if I considered it necessary, I would remove the masks and make soft passes with the freehand airbrush to slightly blur the line.
I always made the famous “splotches” after painting the stroke, using very low pressure with the airbrush and getting it very close to the surface of the model. In addition, I always tried to spray the paint with the airbrush very inclined and pointing in the direction of the stroke to avoid round effects.
This is my experience with these stroke effects and I am quite satisfied with the result.
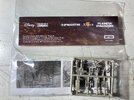
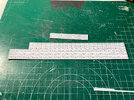
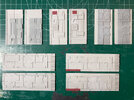
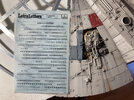
I have not made the small parallel lines throughout the ship with a fine marker. Fortunately, I have quite a number of old "LetraLetters” transfer letter sheets. Many of you may not know what this is. And it is that it is a tool that was used in graphic design before the arrival of computers and the digital world. Letters and symbols are transferred from the sheet to the surface by rubbing over them with a rounded tip. To make these parallel marks I have used many capital letters "I" and lowercase "L". In this way, the finish looks much more “professional” than using a marker.
Once most of the painting work was finished, I went to check the fit of both halves of the fuselage and, as I already supposed, I found several points in which the parts that I added to the interior of the ship hindered that fit. I was forced to do some reshaping to fix those issues, but luckily they are all in areas that won't be visible once the model is complete. So I didn't worry too much about giving them a good finish.
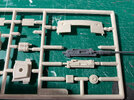
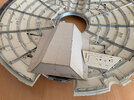
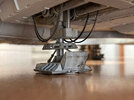
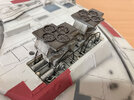
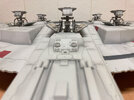
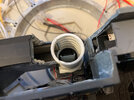
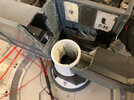
The small corridor that joins the two gun turrets I did as I had planned, using a piece of flexible tube. Since the corrugations in the tube were too small and too close together, I alternately filled those corrugations with Milliput putty. Thus, I achieved a look much more similar to the pads that the real corridor has.
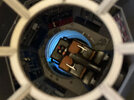
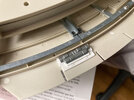
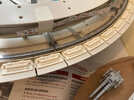
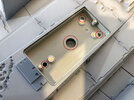
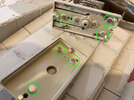
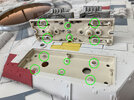
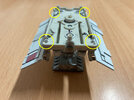
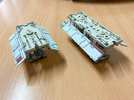
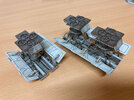
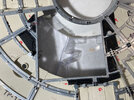
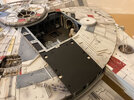
I also saw that the area that opens to see the interior leaves nine holes through which internal areas that are outside the walls of the interior cellar can be seen. I didn't like the effect those holes had. In addition, the light from the LEDs that illuminate the model filtered through them. So I decided to cover them using black polystirene from Evergreen. I cut the necessary pieces in such a way that they would fit perfectly in those gaps. Then I glued some flaps on the inside that helped me glue all those pieces at the same level of depth with respect to the metal frame. Although polystirene is black in color, plastic always looks like plastic, so I painted them with black primer from AK Interactive. I also painted the interior panel above the battery box with the same product, since it is also exposed when the model is opened to see the interior. I think that area now has a much more "elegant" look.
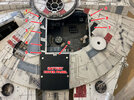
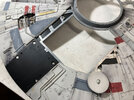
I have made sure that all the lights, both those that come with the model and those that I have added, work well with a 9V / 2A transformer.
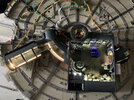
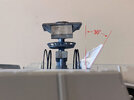
I have joined the upper helmet and the jaws with cyanoacrylate, but I was not quite confident in that union. The weight of the jaws causes them to rock up and down a bit. And I was afraid that would end up causing those pieces to come unstuck. Those who designed this model should have devised a stronger joint.
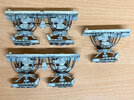
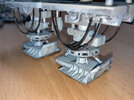
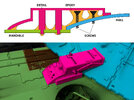
I have tried to solve it by taking advantage of the two largest details that are glued between both surfaces to reinforce that union, so that it helps to hold the jaws more firmly. I have threaded two screws in the upper hull, so that they are inside the detail, occupying a good part of the interior space and, taking advantage of that now smaller space, I have put a good amount of two-component epoxy glue to create a very solid block.
It's not the perfect solution, but I trust it will do the job well.
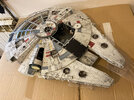
Now I am with the last details to finish the assembly. When it's complete I'll apply a good coat of matt varnish to protect the entire paint job.
I'm pretty happy with how it looks right now, but to try and make my model look even more like the original, I'm going to do some testing to apply the splatter effects. If I do not achieve a convincing result, I can eliminate these effects thanks to the protective layer of varnish.
Greetings.
Rafa

