Moska
Sr Member
Hi guys.
This is my progress since my last post:
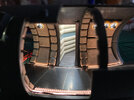
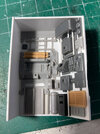
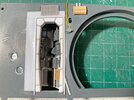
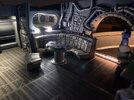
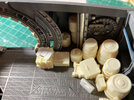
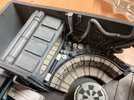
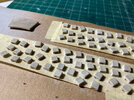
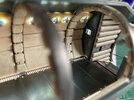
I have aged all the padding in the kit. The technique has been to use a piece of foam to stain them, dabbing them with Vallejo acrylics in various shades of tan and gray. Once the paint was dry, I dabbed again with a foam moistened with alcohol to blur and correct the stains. To finish and protect the work, I applied a layer of Marabú matte spray varnish.
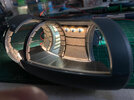
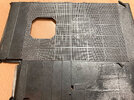
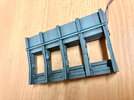
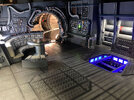
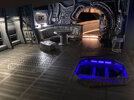
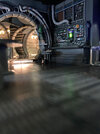
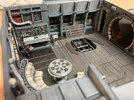
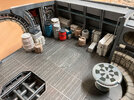
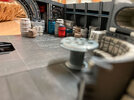
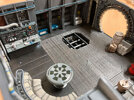
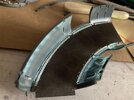
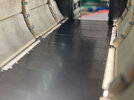
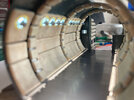
For the flooring in the hallways I went back to using black vinyl cut at the sign shop. I first glued the vinyl onto clear Evergreen plastic, then ran fine sandpaper and fine steel wool all over the vinyl until I got a smooth matte finish. Next, I painted the vinyl using AK Interactive's True Metal Iron and, without waiting for the paint to dry, I rubbed all the paint with a cotton ball until it was almost completely removed. The result is much better than what I had imagined. The vinyl takes on a totally realistic iron plate look. To finish, with the tip of an awl I peel off the vinyl from all the openings through which the light has to pass.
I cut the sides of the floor pieces that come in the kit and glued my new floors on them.
For lighting, I glued white vinyl to the bottom of the floors, and self-adhesive aluminum to the bottom walls of the tubes. I used warm white led strips glued to the bottom of the floor pieces.
I use 12V LED strips, but feed them 9V to dim their brightness and hopefully to ensure their durability.
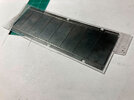
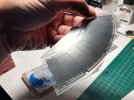
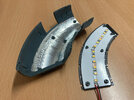
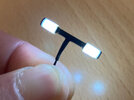
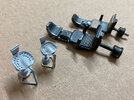
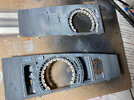
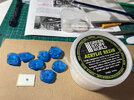
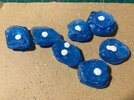
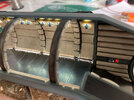
For the wall sconces I also used black vinyl glued on clear from Evergreen. I cut the plastic circles and made a hole in the center of each applique. For the centerpiece of the sconces I used my mini lathe. I made a small piece of plastic to which I glued some strips of plastic. With that "master" I made several quick molds of Blue Stuff and made several copies using acrylic resin. Then I glued a piece of resin in the center of each of the appliques. To finish, I painted the appliqués a medium gray color and peel off the vinyl from the areas that should be transparent.
I made the holes to light the sconces in both the gray tube and the pads. The appliques have a diameter of 5 mm, so I made the holes of the padding 4.5 mm to be able to glue the appliques.
For lighting, I used cool white 12V LED strips. Since the distance between the LEDs on the strip does not match the distance between the sconces, I cut the LEDs and the resistors. On black Evergreen polystyrene I glued each LED at the appropriate distances for each case. And I used the same logic that the LED strip uses: groups of 3 LEDs connected in series with its corresponding resistance for each group and, in turn, the groups connected in parallel to the power supply.
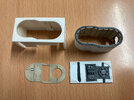
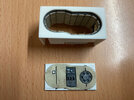
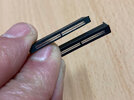
To finish, I made a small black polystyrene box for each set of LEDs, so that each one would adapt to the outer curves of the tubes where it was going to be placed.
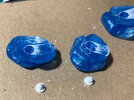
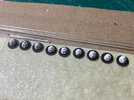
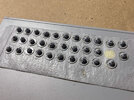
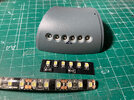
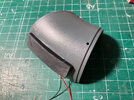
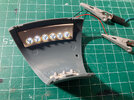
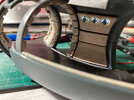
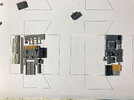
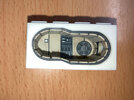
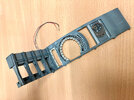
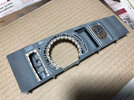
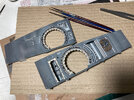
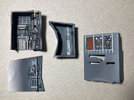
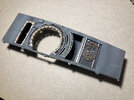
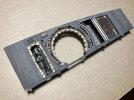
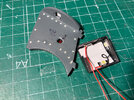
I also did the small instrument panels for the straight aisle. I used again black polystyrene in which I made the main openings for the illuminated areas. Then I glued printed white decals and made the holes to put pieces of fiber optic. Also in these cases I used LEDs extracted from a strip and I also made black polystyrene boxes to avoid light leaks.
Thanks for watching.
Rafa
This is my progress since my last post:
I have aged all the padding in the kit. The technique has been to use a piece of foam to stain them, dabbing them with Vallejo acrylics in various shades of tan and gray. Once the paint was dry, I dabbed again with a foam moistened with alcohol to blur and correct the stains. To finish and protect the work, I applied a layer of Marabú matte spray varnish.

For the flooring in the hallways I went back to using black vinyl cut at the sign shop. I first glued the vinyl onto clear Evergreen plastic, then ran fine sandpaper and fine steel wool all over the vinyl until I got a smooth matte finish. Next, I painted the vinyl using AK Interactive's True Metal Iron and, without waiting for the paint to dry, I rubbed all the paint with a cotton ball until it was almost completely removed. The result is much better than what I had imagined. The vinyl takes on a totally realistic iron plate look. To finish, with the tip of an awl I peel off the vinyl from all the openings through which the light has to pass.
I cut the sides of the floor pieces that come in the kit and glued my new floors on them.
For lighting, I glued white vinyl to the bottom of the floors, and self-adhesive aluminum to the bottom walls of the tubes. I used warm white led strips glued to the bottom of the floor pieces.
I use 12V LED strips, but feed them 9V to dim their brightness and hopefully to ensure their durability.


For the wall sconces I also used black vinyl glued on clear from Evergreen. I cut the plastic circles and made a hole in the center of each applique. For the centerpiece of the sconces I used my mini lathe. I made a small piece of plastic to which I glued some strips of plastic. With that "master" I made several quick molds of Blue Stuff and made several copies using acrylic resin. Then I glued a piece of resin in the center of each of the appliques. To finish, I painted the appliqués a medium gray color and peel off the vinyl from the areas that should be transparent.
I made the holes to light the sconces in both the gray tube and the pads. The appliques have a diameter of 5 mm, so I made the holes of the padding 4.5 mm to be able to glue the appliques.
For lighting, I used cool white 12V LED strips. Since the distance between the LEDs on the strip does not match the distance between the sconces, I cut the LEDs and the resistors. On black Evergreen polystyrene I glued each LED at the appropriate distances for each case. And I used the same logic that the LED strip uses: groups of 3 LEDs connected in series with its corresponding resistance for each group and, in turn, the groups connected in parallel to the power supply.
To finish, I made a small black polystyrene box for each set of LEDs, so that each one would adapt to the outer curves of the tubes where it was going to be placed.


I also did the small instrument panels for the straight aisle. I used again black polystyrene in which I made the main openings for the illuminated areas. Then I glued printed white decals and made the holes to put pieces of fiber optic. Also in these cases I used LEDs extracted from a strip and I also made black polystyrene boxes to avoid light leaks.


Thanks for watching.
Rafa
Last edited:

