SteveNeill
Sr Member
Thanks so much!
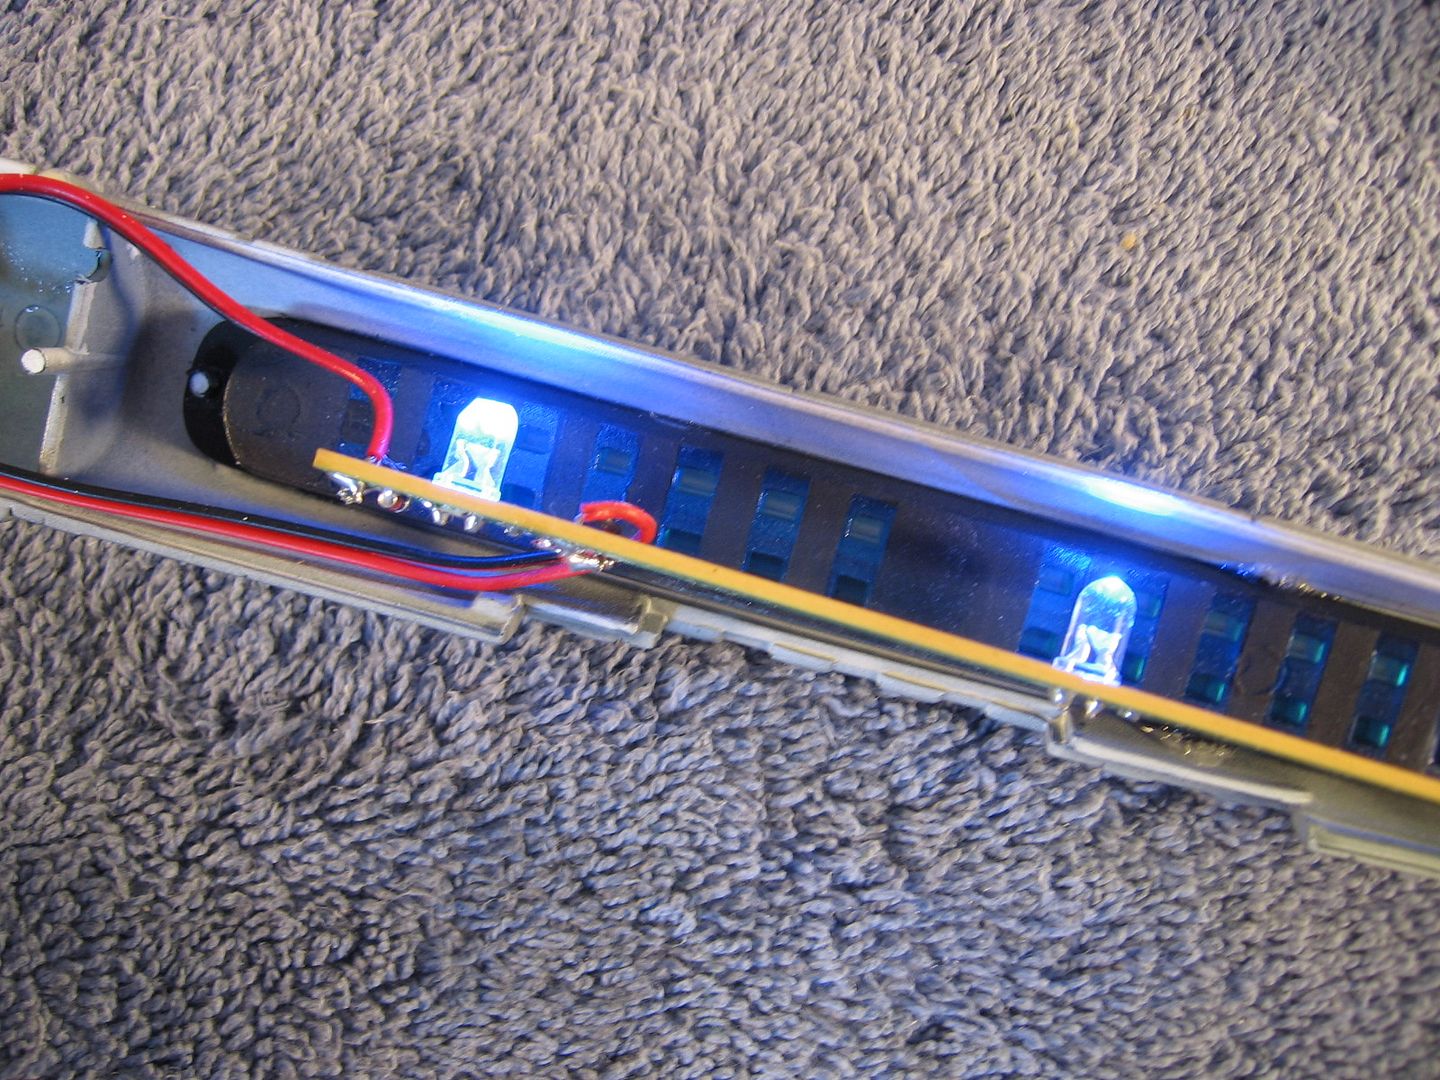
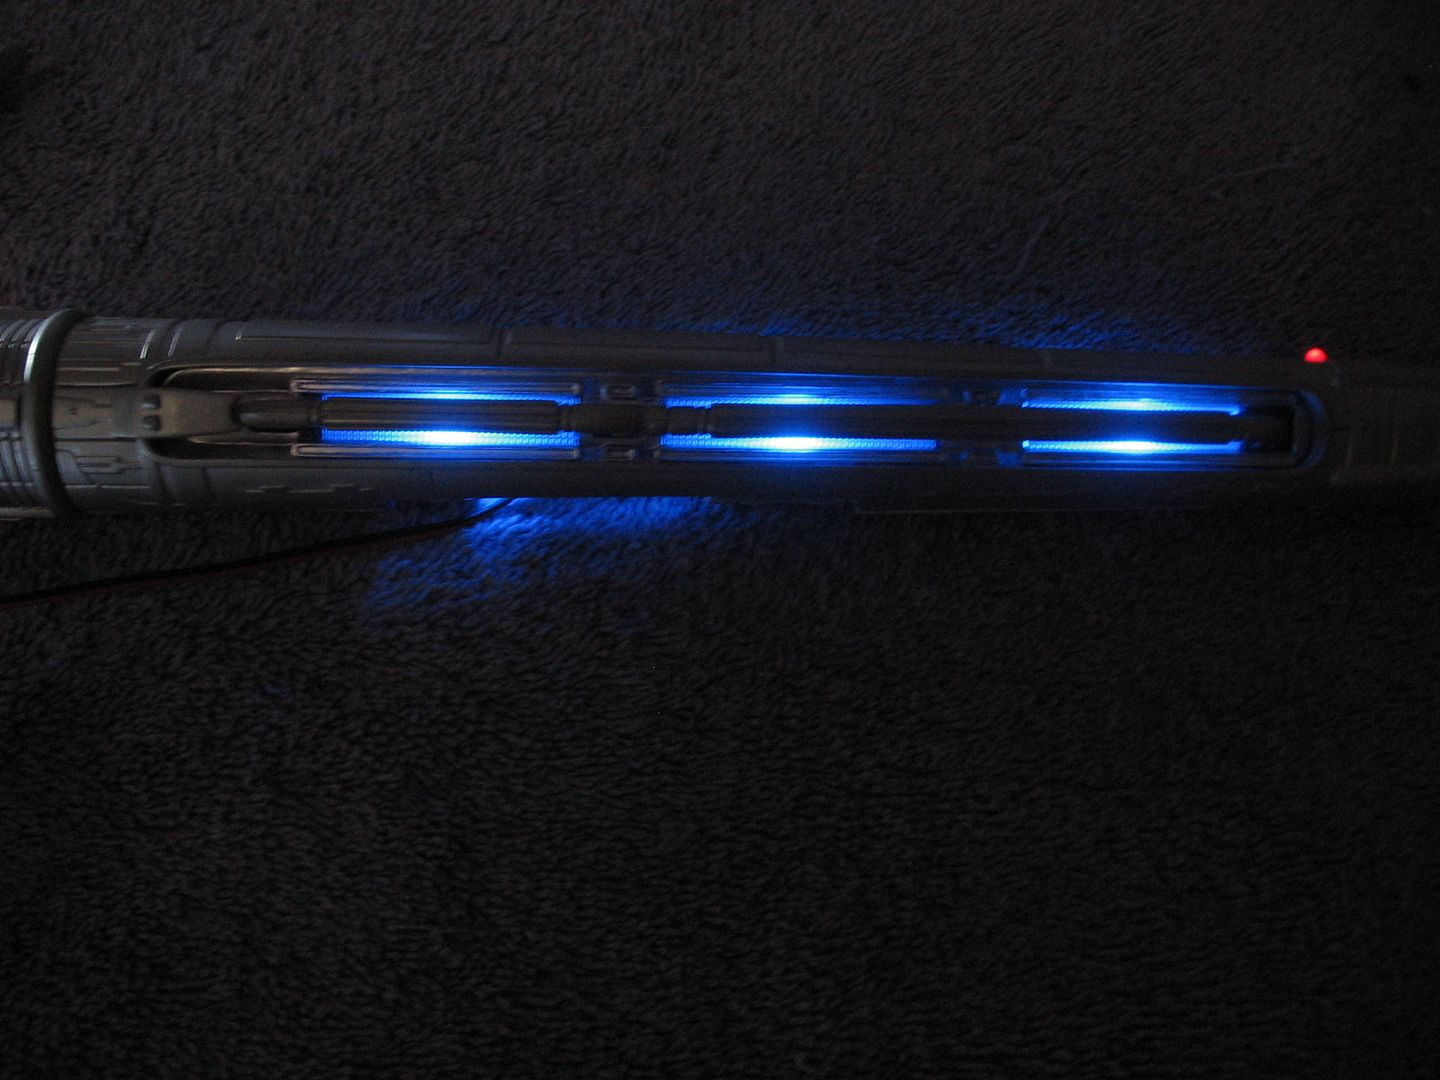
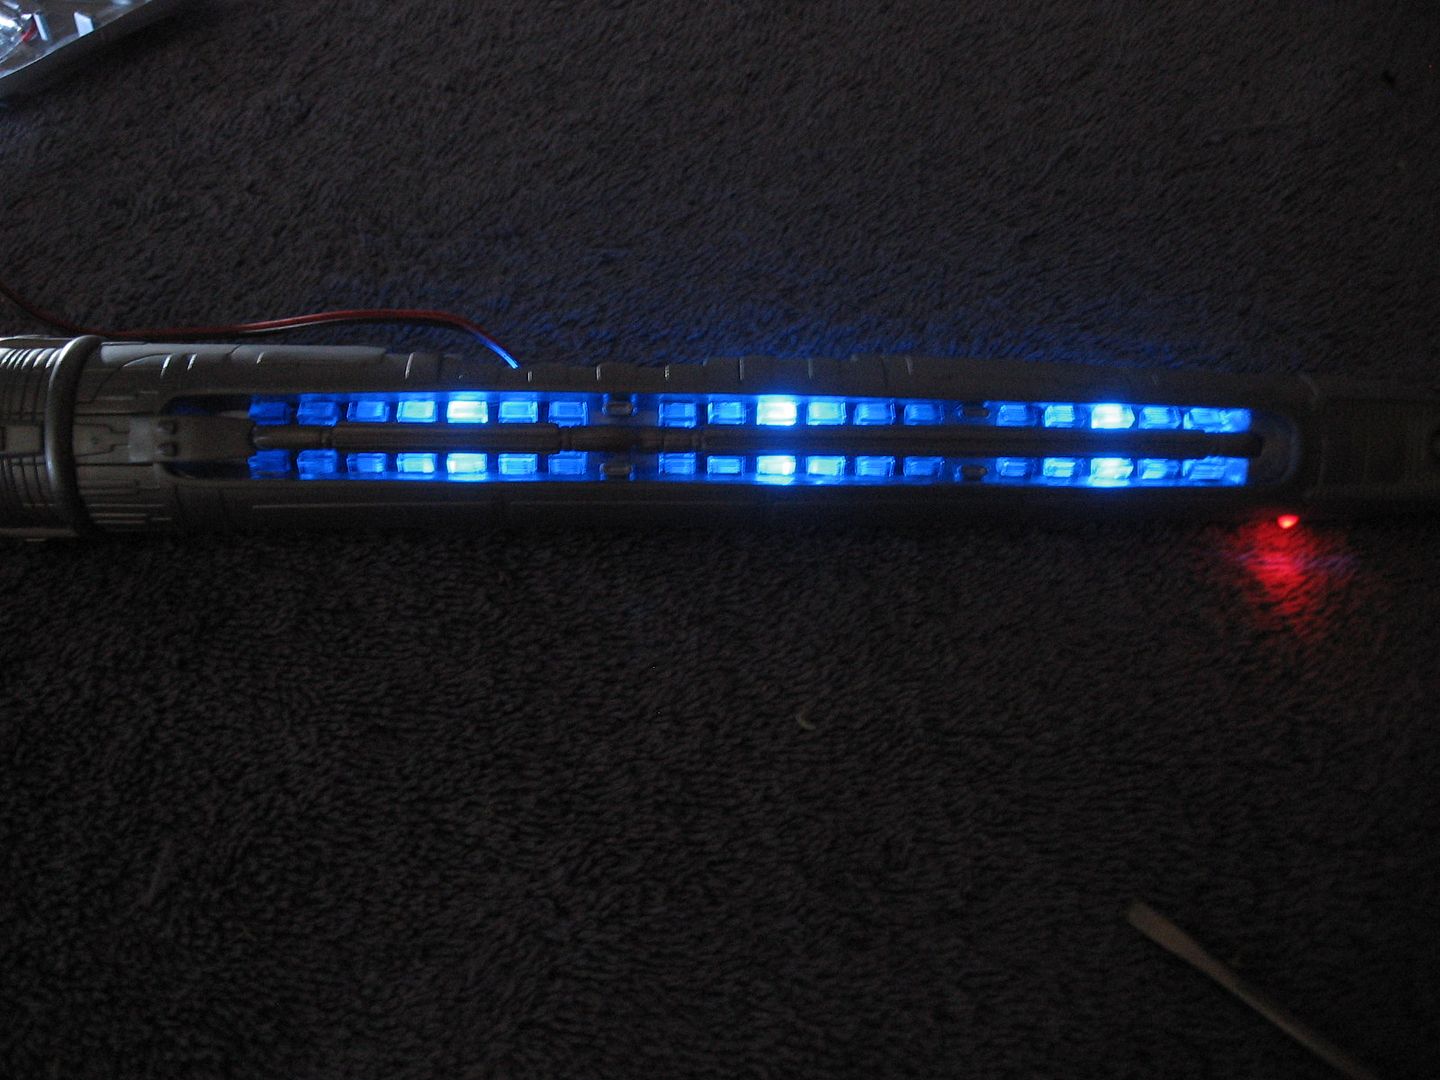
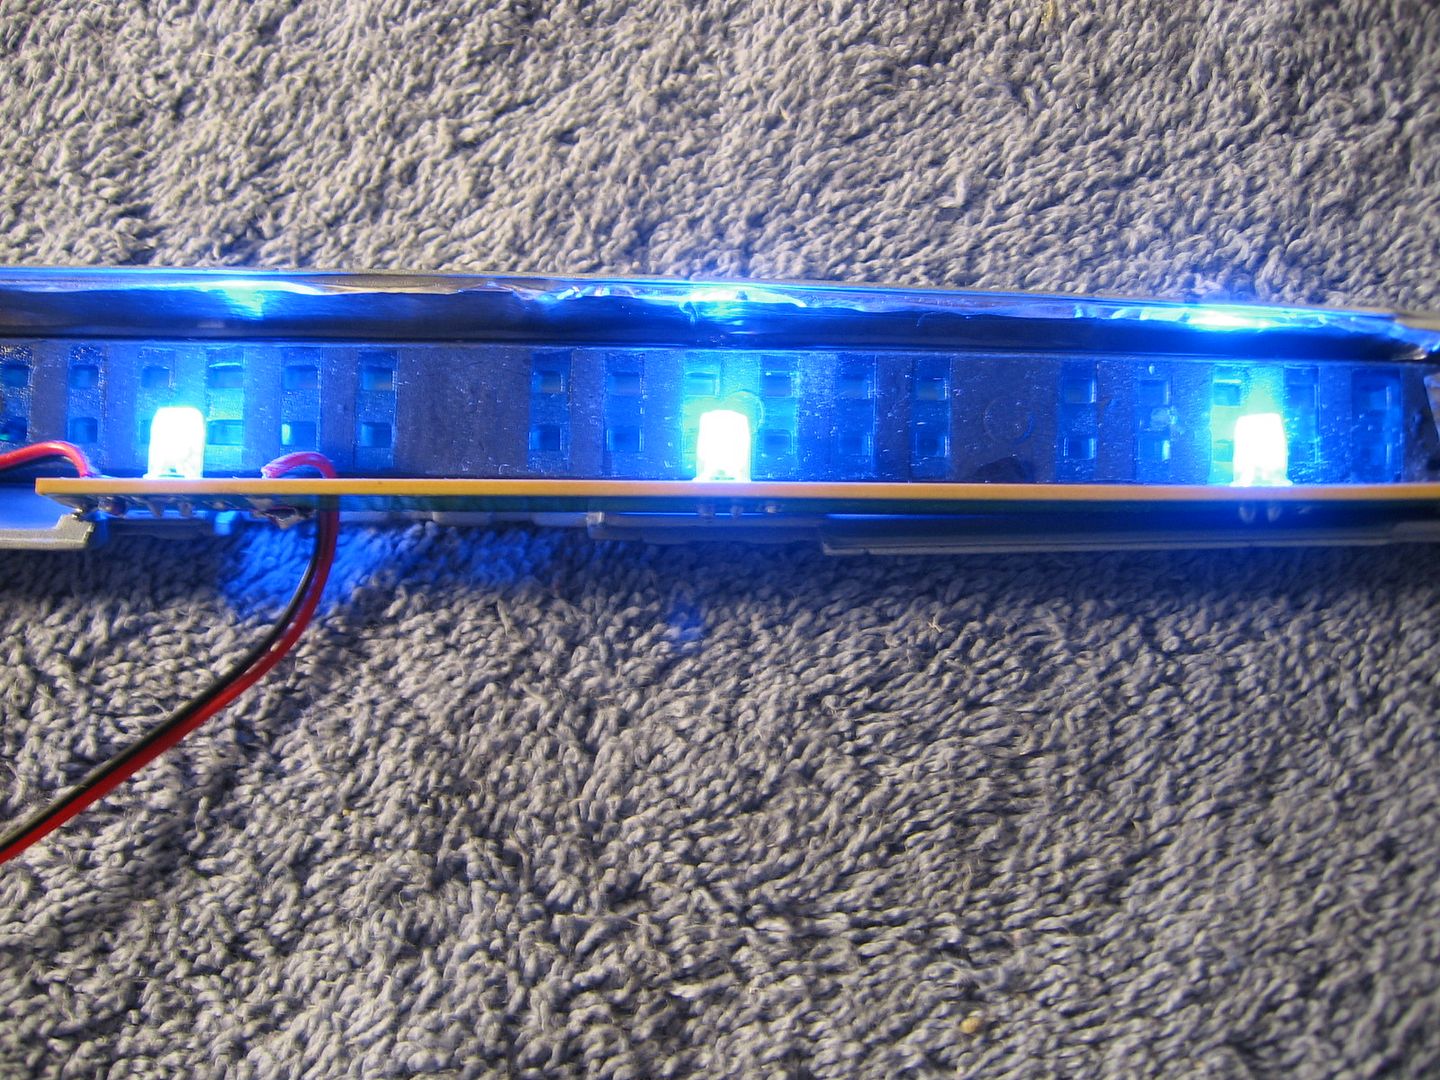
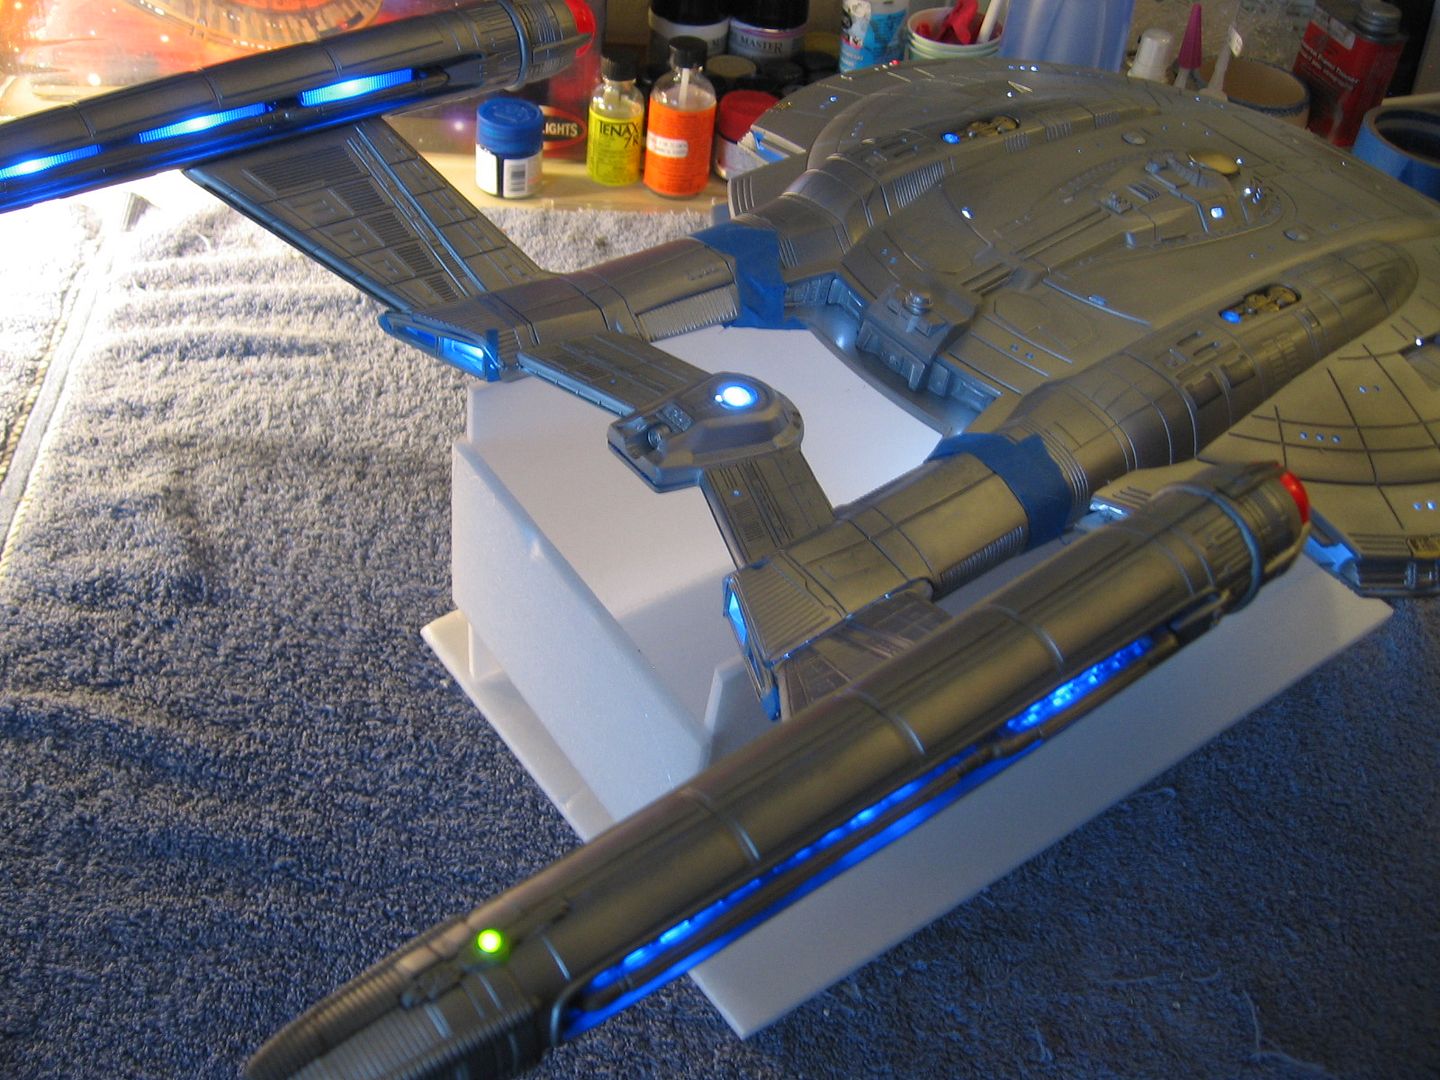
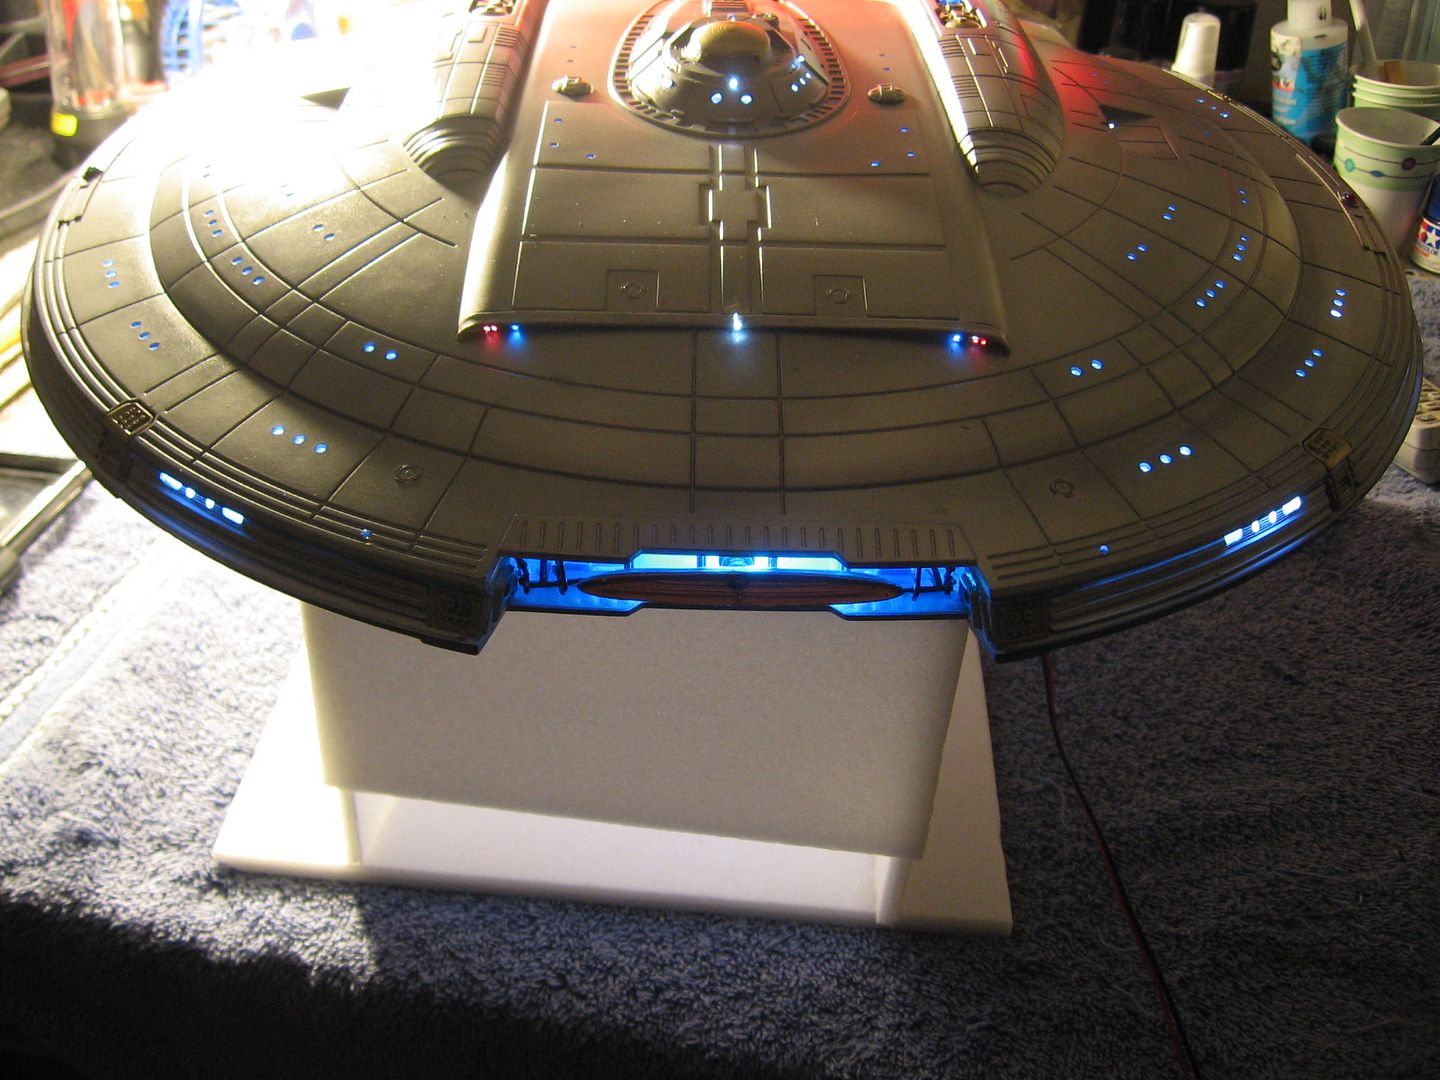
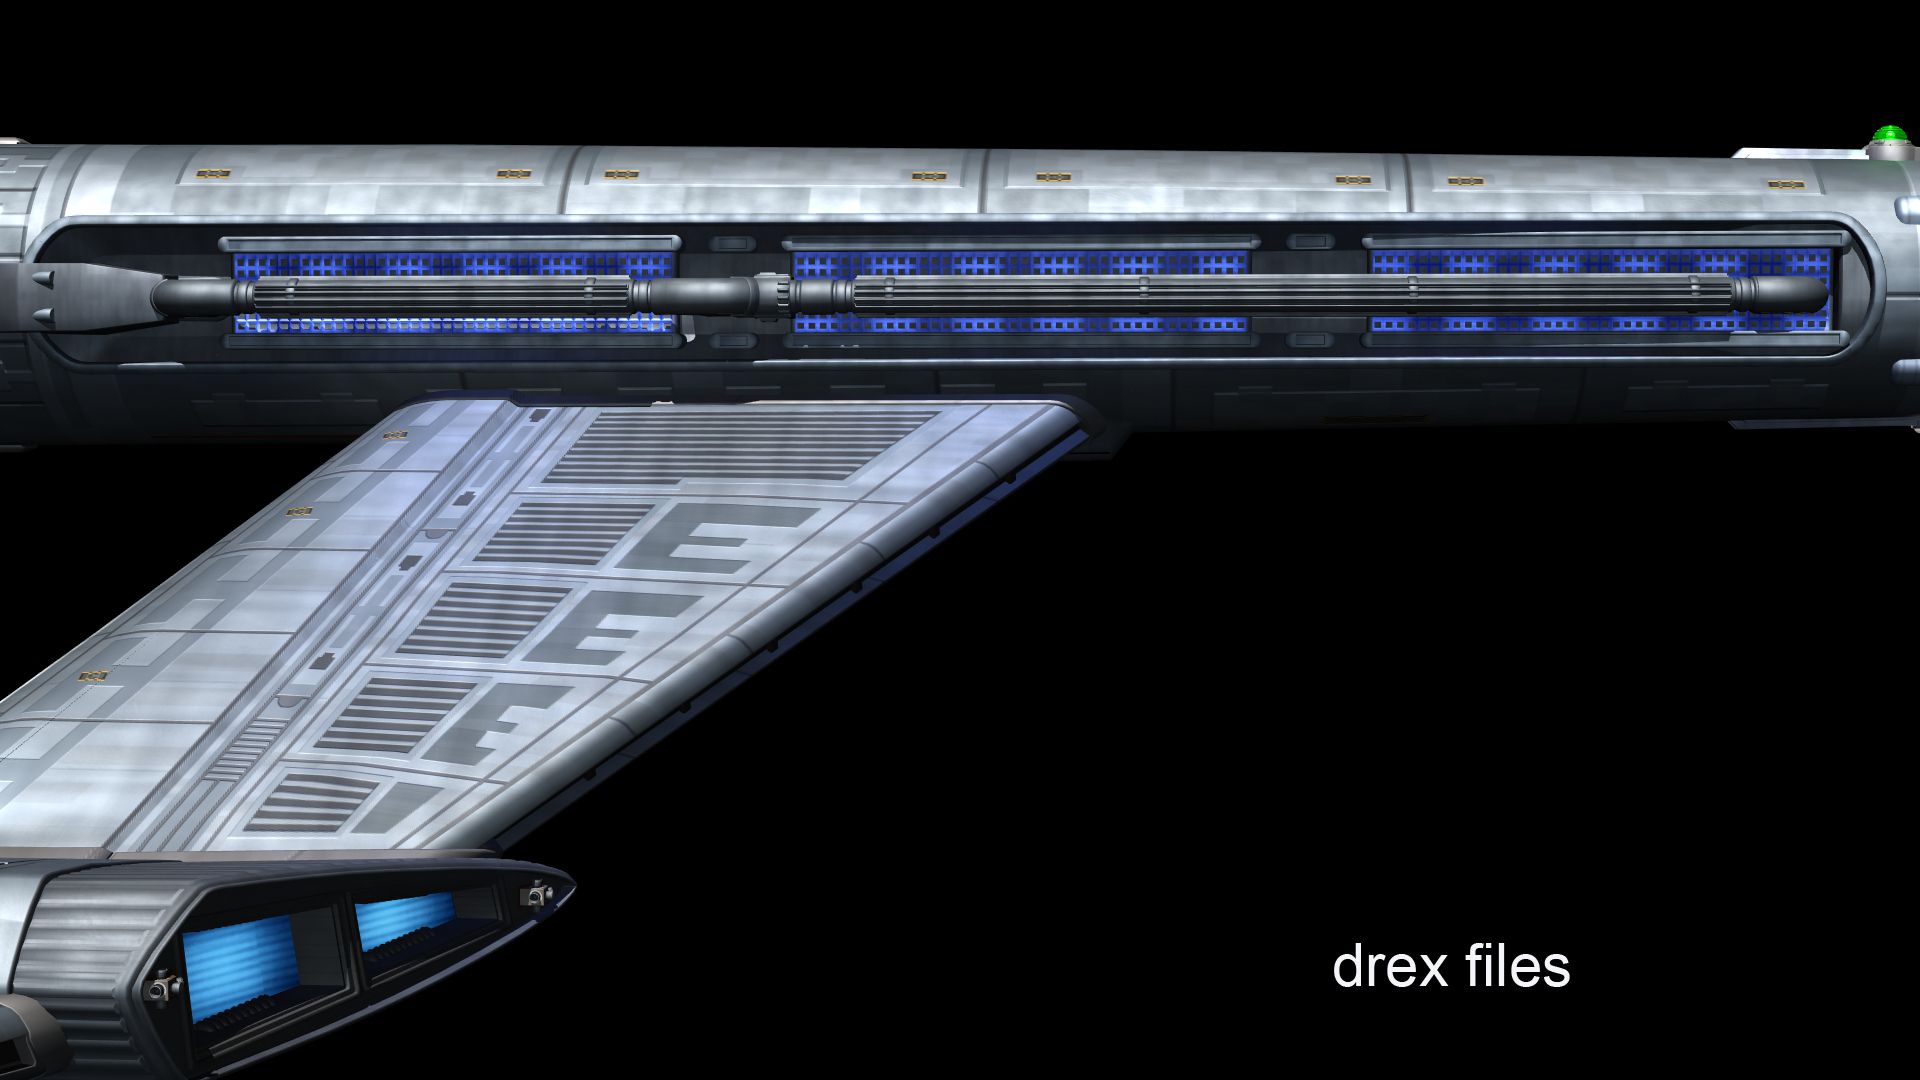
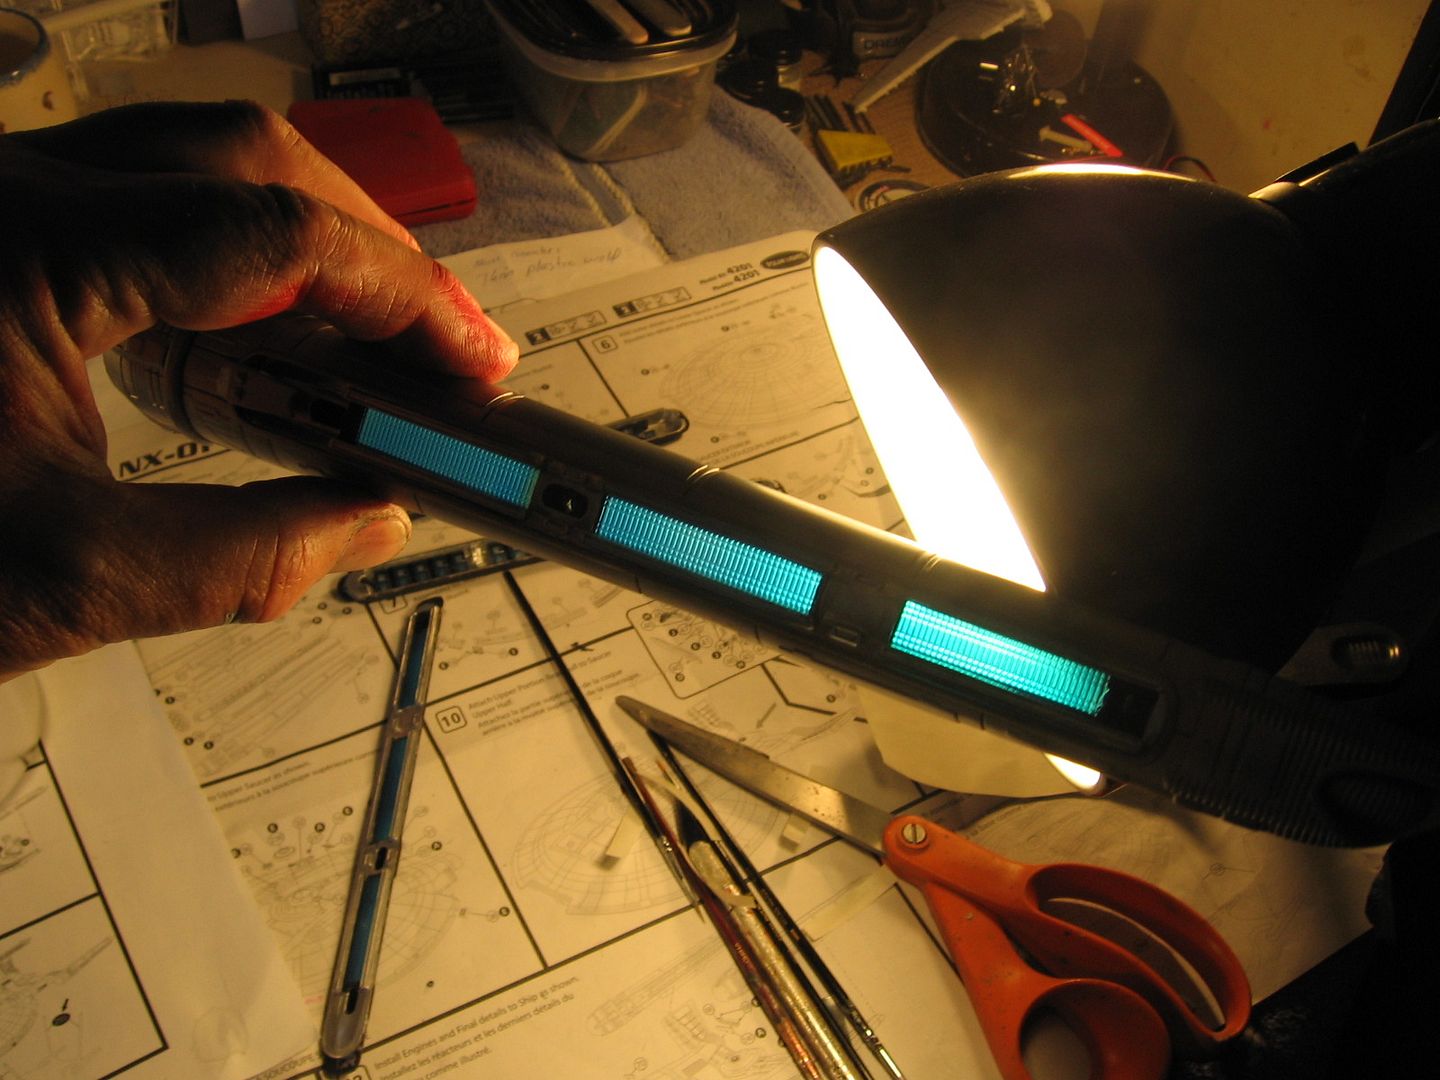
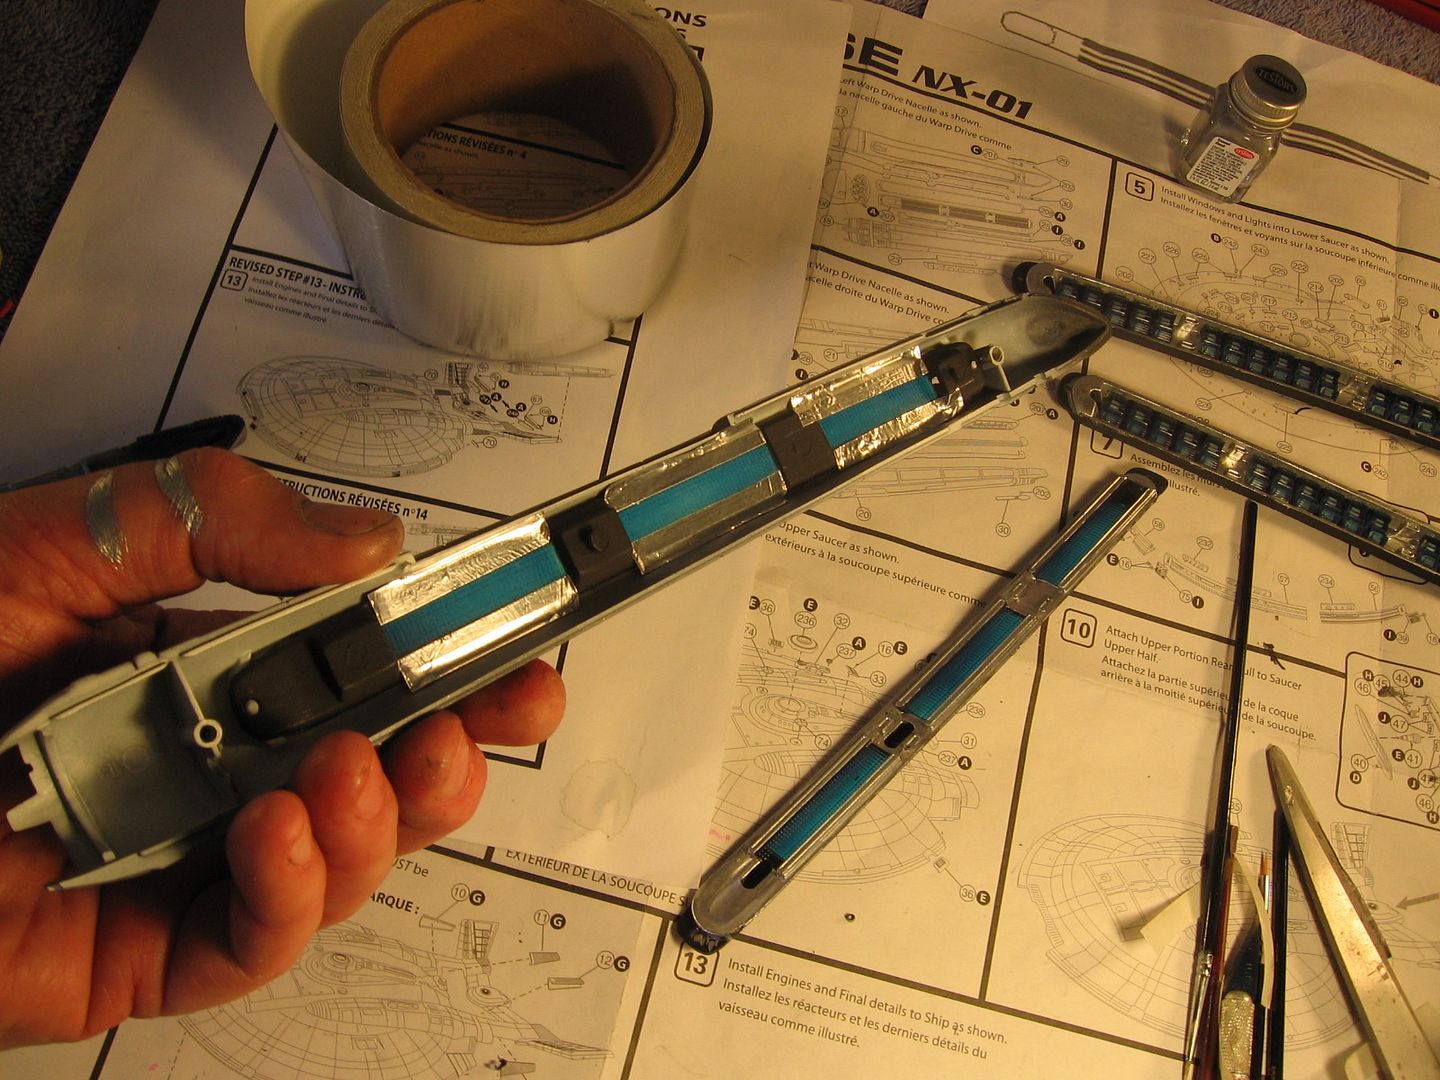
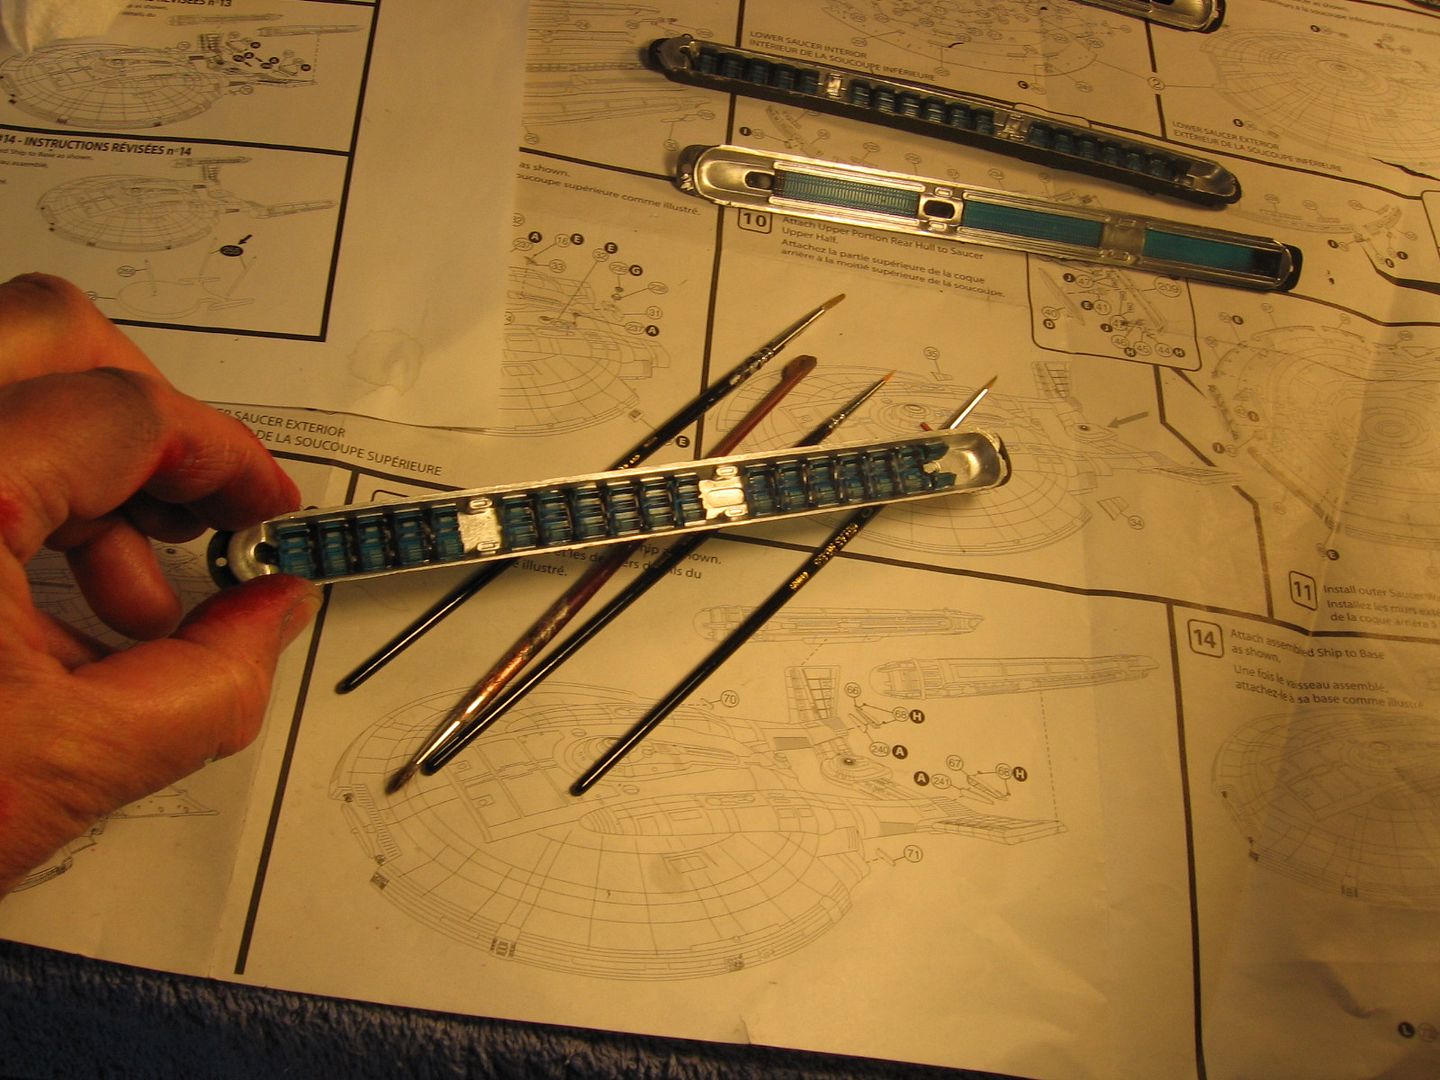
Moving onto the the nacelles today I had a lot of questions about the inboard and out board nacelle lighting. As it turns out (and I though this was the case) the blue areas are broken into sections with silver between them. Something you don't see many modelers catch in there builds.
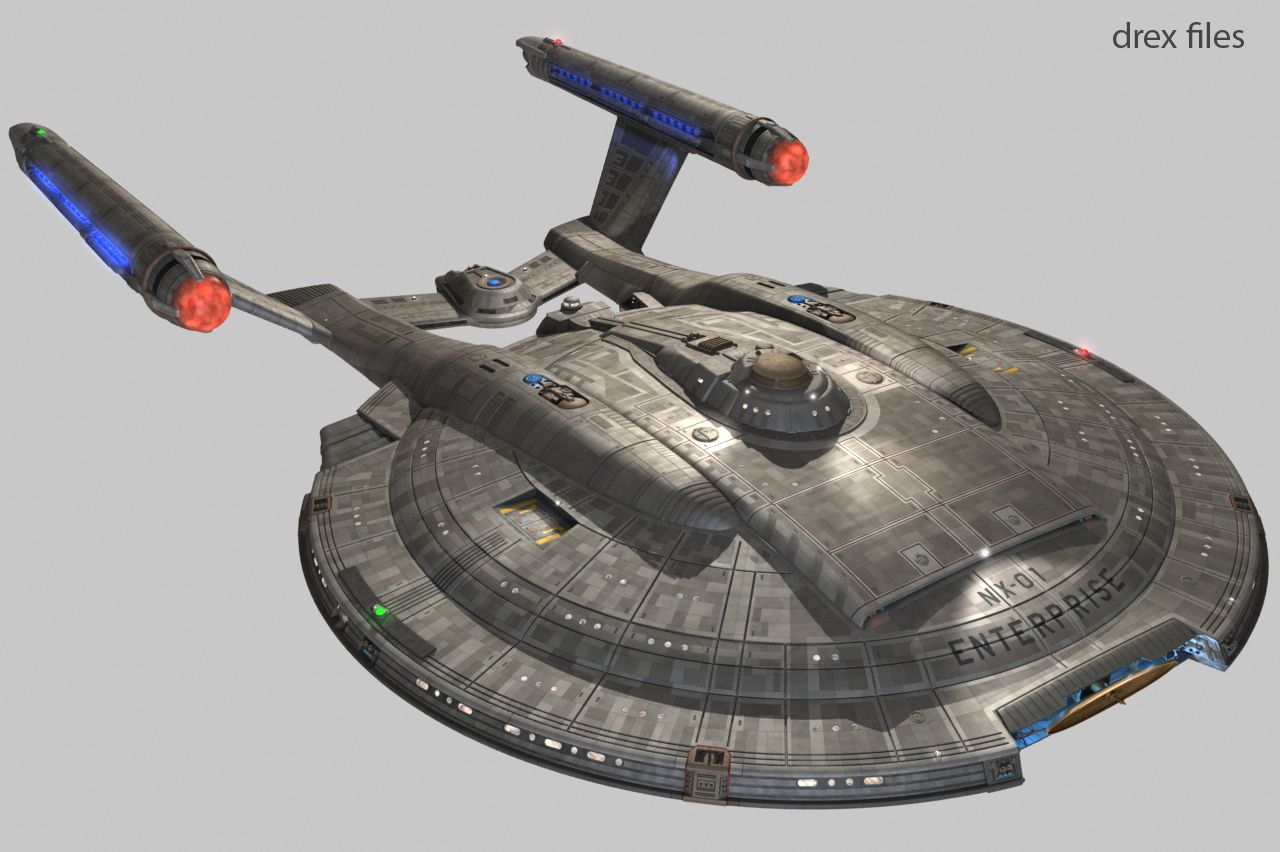
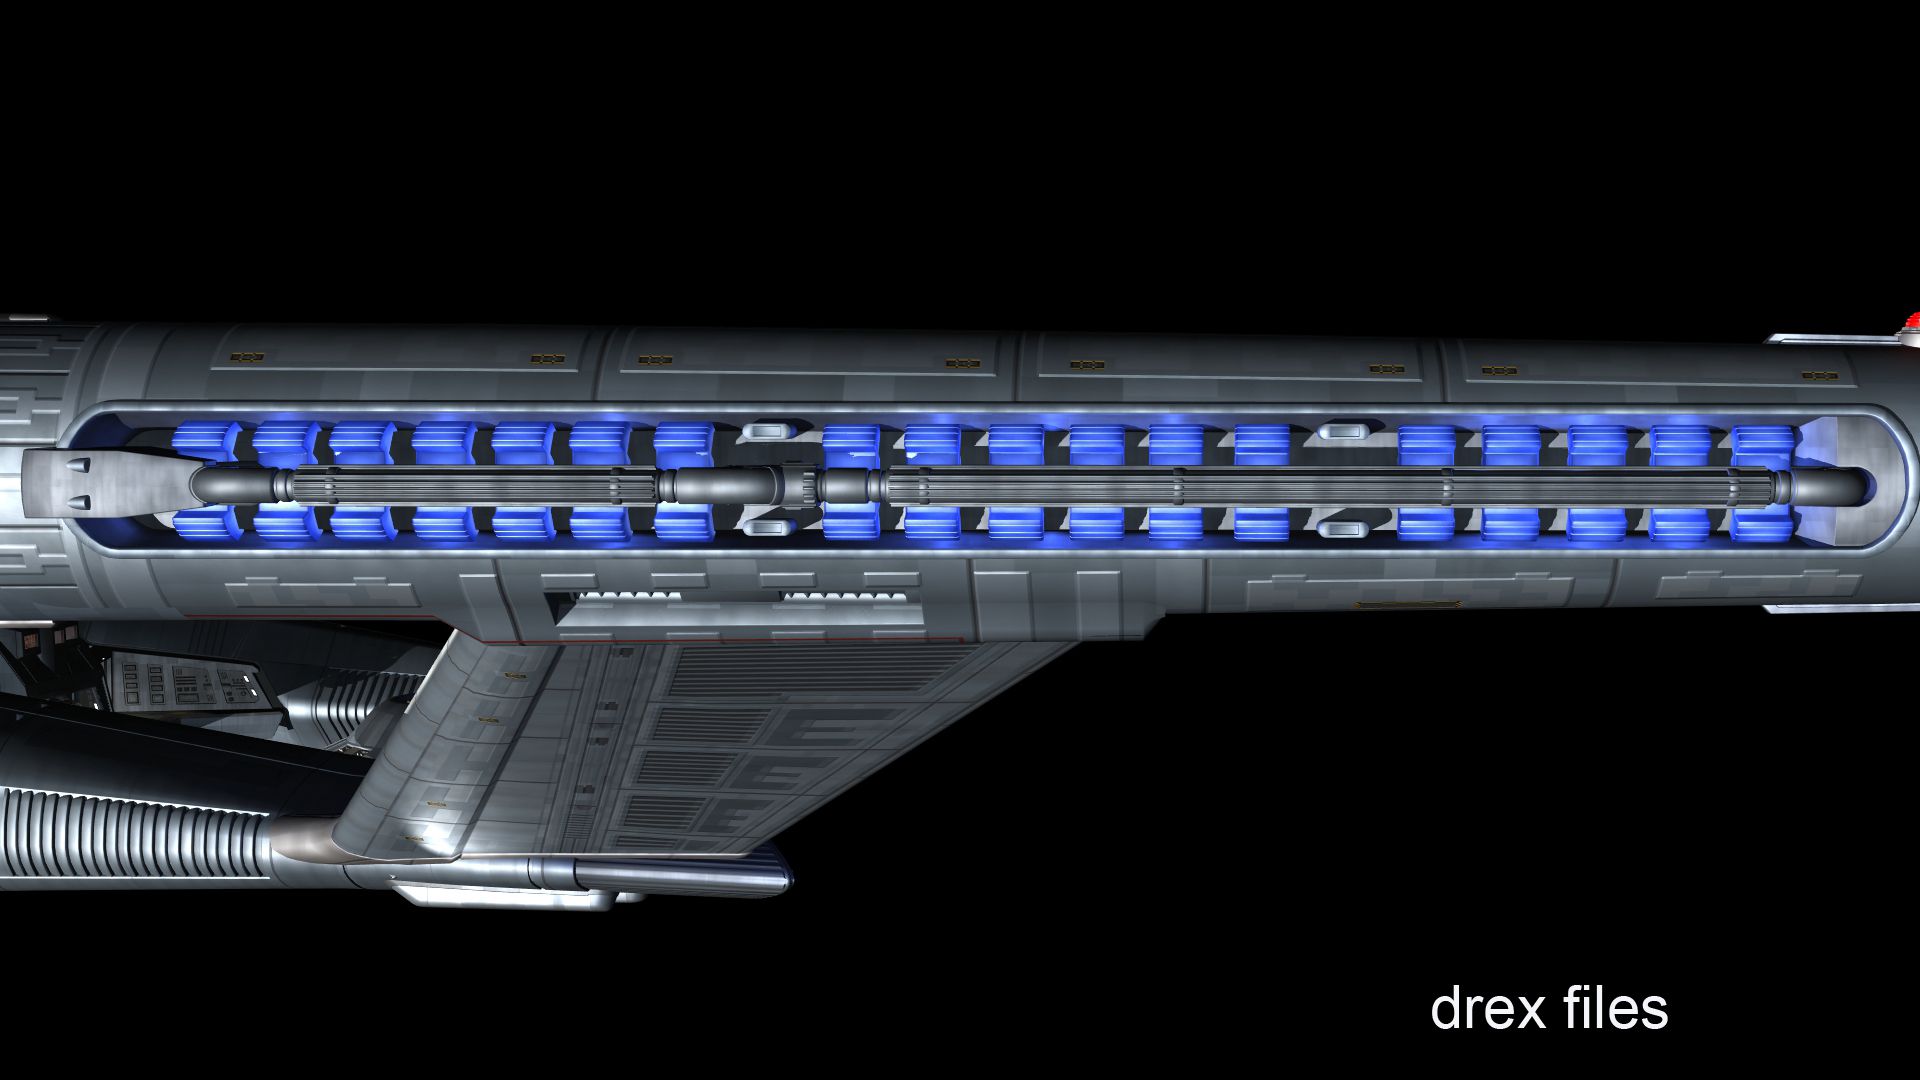
So I asked Doug today and he put the actually CGI model he made for the show in Lightwave and rendered off some super close ups of these panels. This created more work but a better more accurate model as well.
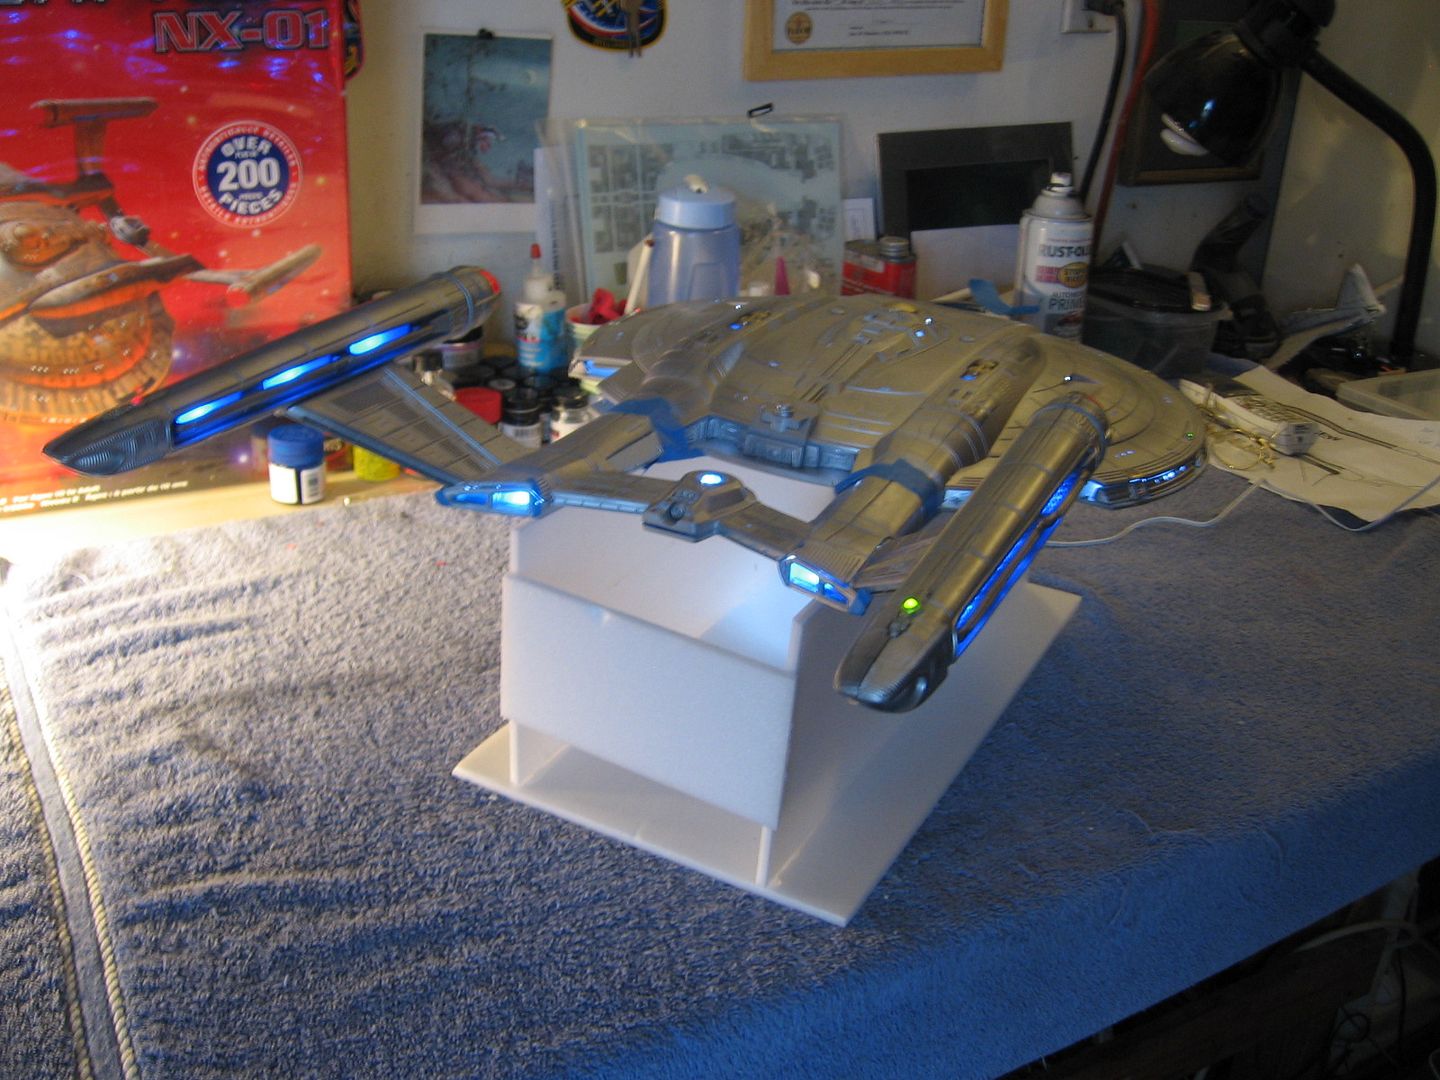
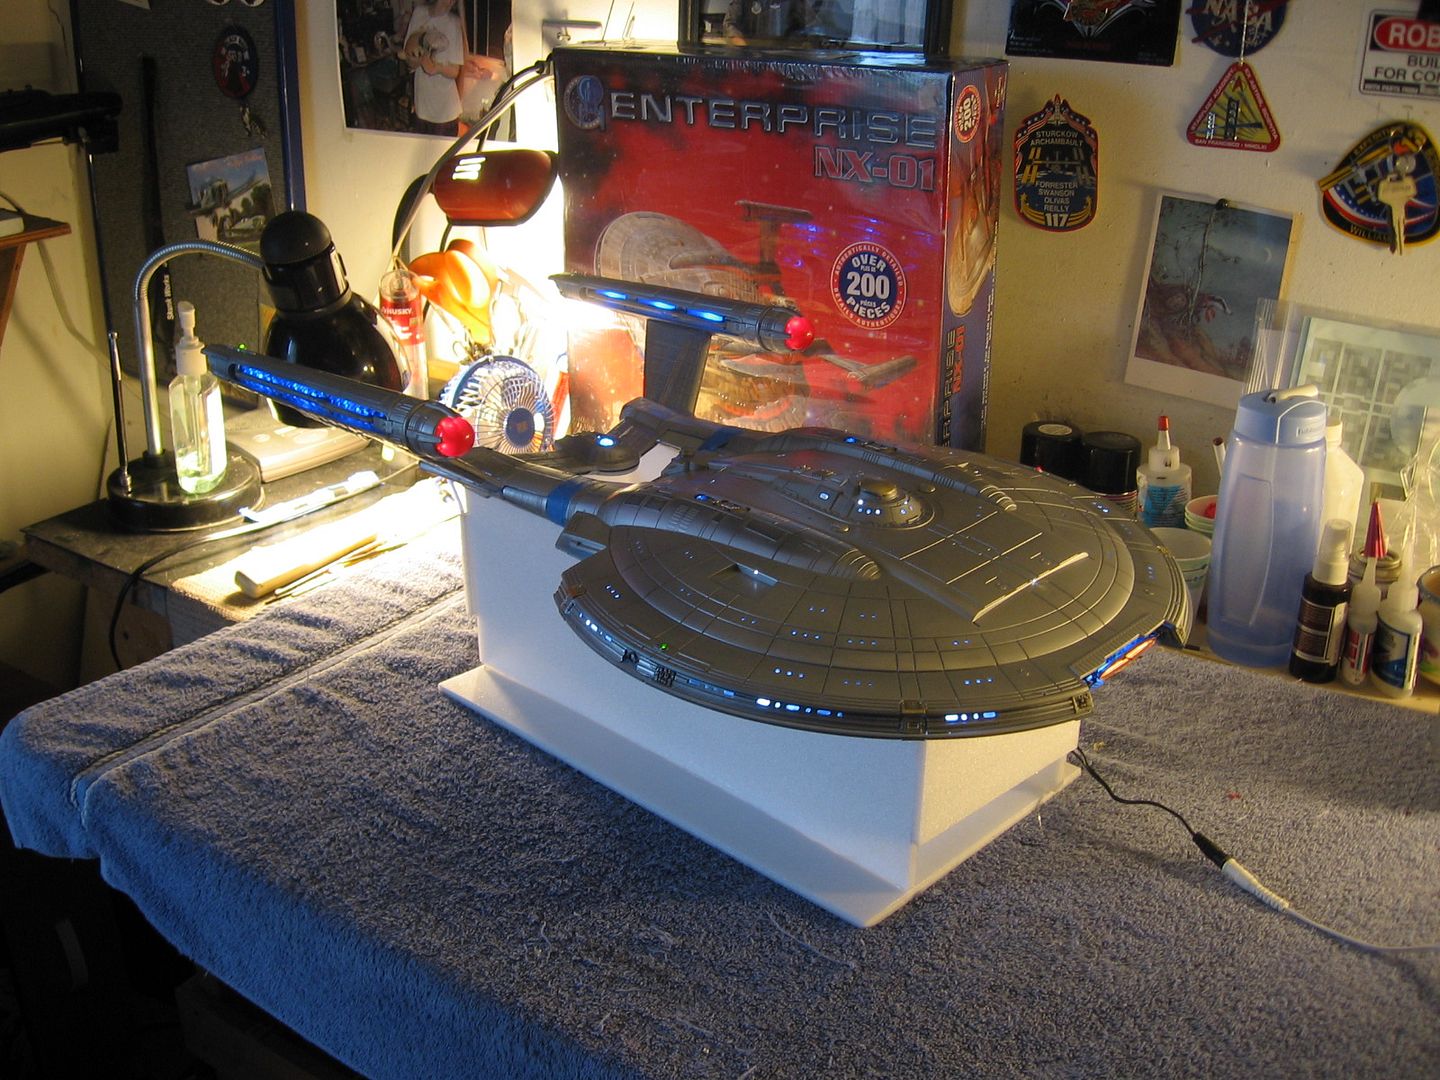
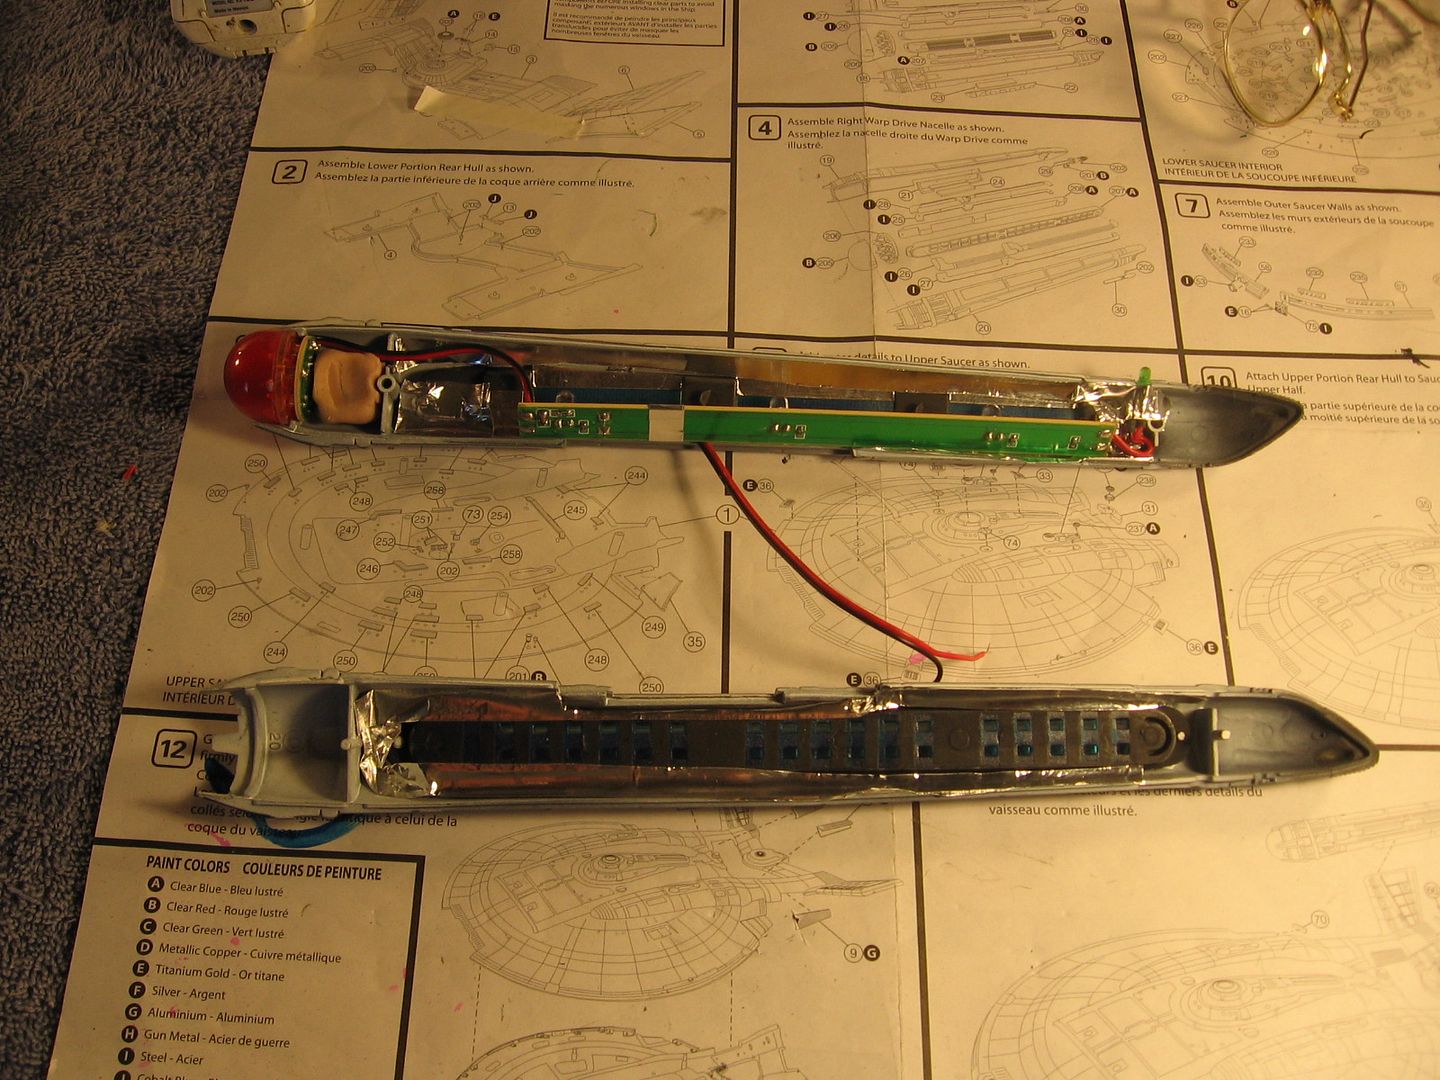
So I cut up some strips of blue painters tape and masked off the sections and sprayed the back sides flat black to block the light and on the outside I'll have to do that by hand. I'll be lucky to get this done today. But tomorrow I can put the nacelles together and light them up.
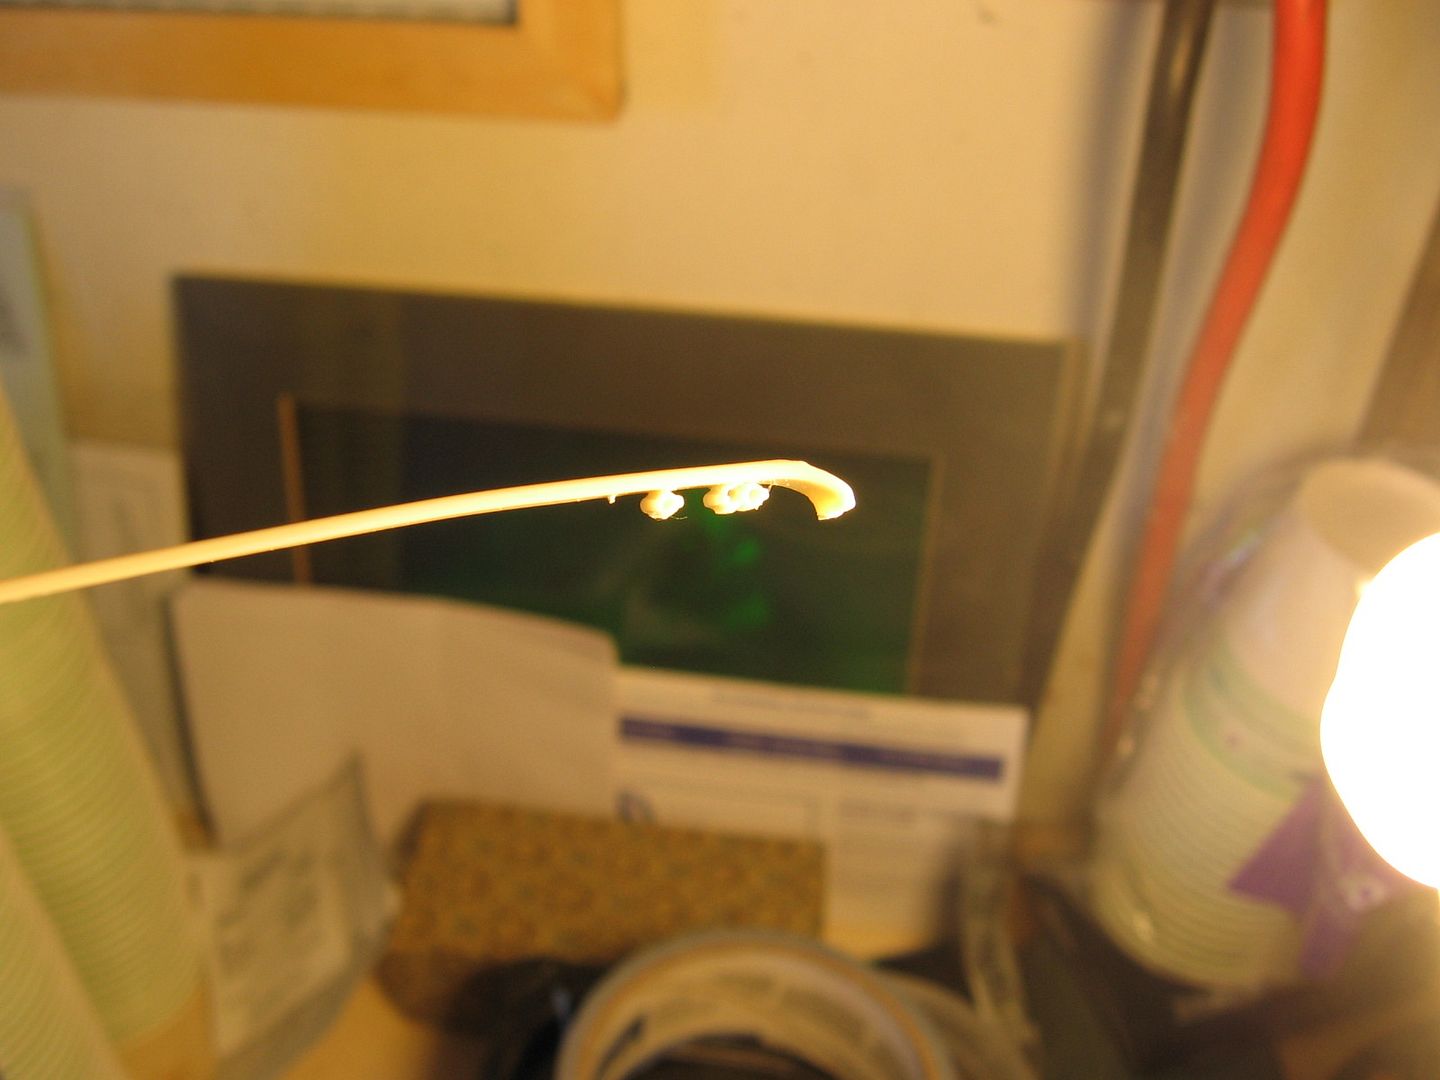
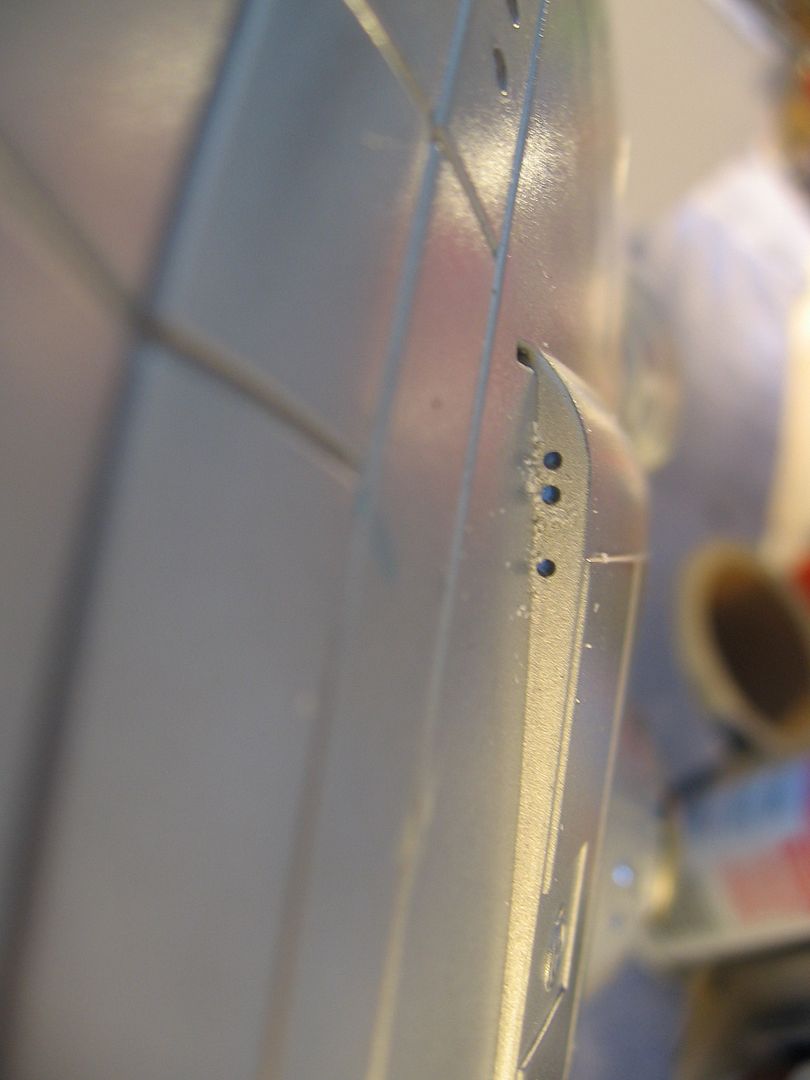
I also found out the registry light position was in the wrong spot on the model. so I filled it in and moved it to the correct location hoping a little of the fiber optic light will light up the registry.
Steve
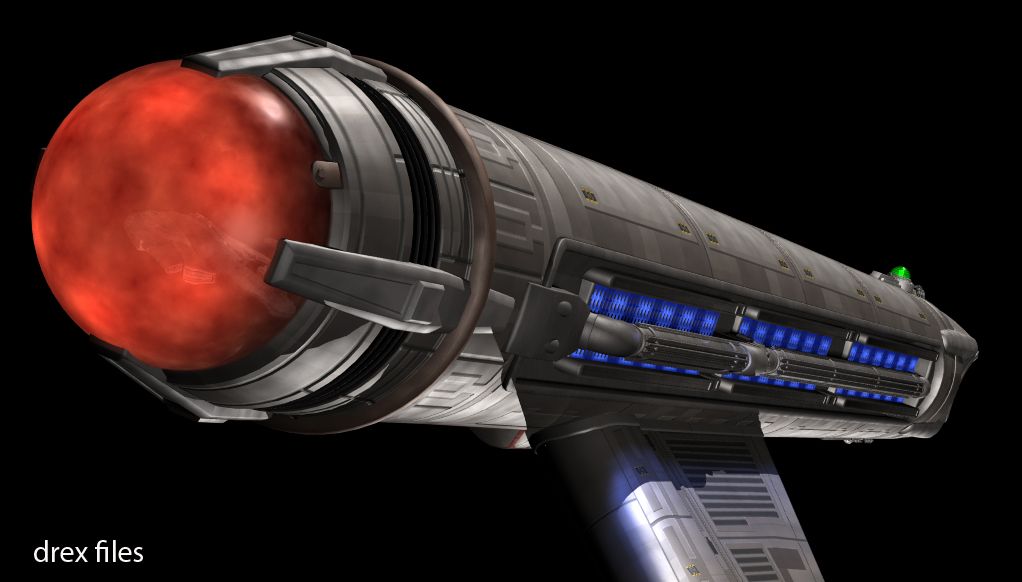
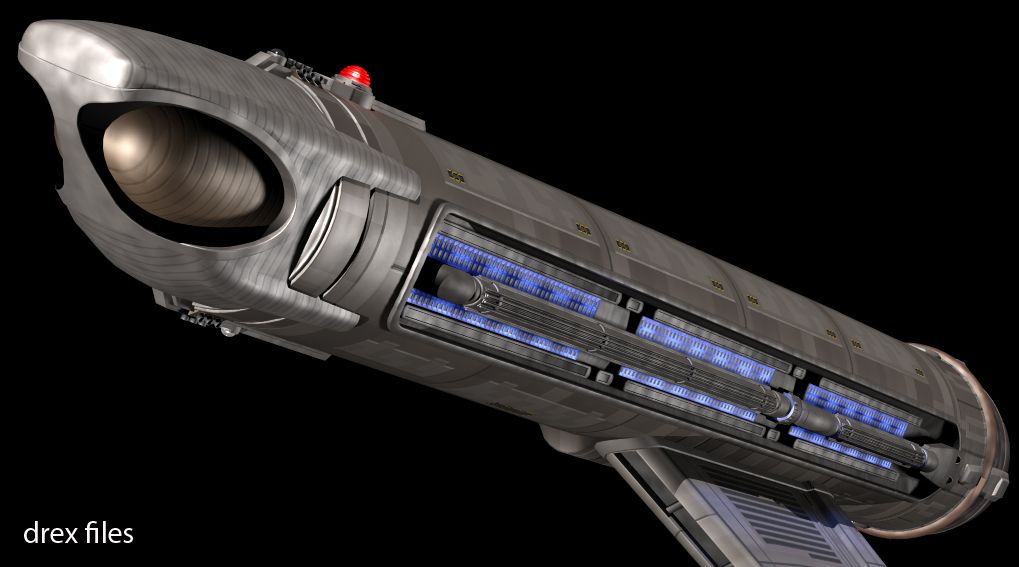
These are new renders Doug did for me today never seen before. Enjoy. These are the real deal.
And here's some more video:
http://www.youtube.com/watch?v=TcZBdlM-cxY
Moving onto the the nacelles today I had a lot of questions about the inboard and out board nacelle lighting. As it turns out (and I though this was the case) the blue areas are broken into sections with silver between them. Something you don't see many modelers catch in there builds.
So I asked Doug today and he put the actually CGI model he made for the show in Lightwave and rendered off some super close ups of these panels. This created more work but a better more accurate model as well.
So I cut up some strips of blue painters tape and masked off the sections and sprayed the back sides flat black to block the light and on the outside I'll have to do that by hand. I'll be lucky to get this done today. But tomorrow I can put the nacelles together and light them up.
I also found out the registry light position was in the wrong spot on the model. so I filled it in and moved it to the correct location hoping a little of the fiber optic light will light up the registry.
Steve
These are new renders Doug did for me today never seen before. Enjoy. These are the real deal.
And here's some more video:
http://www.youtube.com/watch?v=TcZBdlM-cxY
Last edited: