Boba Fett's Slave I Build (by Fine Molds)

masterjedi322

Master Member
RPF PREMIUM MEMBER
The goal of this project is to construct a 1/72 scale model of Boba Fett’s ship, Slave I, as seen in The Empire Strikes Back. This particular model is made by a company called Fine Molds. Over the last few years, they’ve made a great line of Star Wars models. I picked up mine from a great site, Hobby Link Japan.

This is the first time in probably fifteen years that I’ve built an actual model (i.e. not a prop kit) so I’n sure I’ve got a lot to learn when it comes to construction, but mostly painting and weathering.

So stay tuned. This promises to get interesting.

I will also be documenting this build on my website at seanpallas.com!
20110129-023402.jpg
 
watching with interest
I bought the Jango version (back when that was the only version available) to paint up Boba style
It's still in the box LOL
 
Yeah, I did the exact same thing. I'm actually trying to sell the Jango version as they're now sold out.

And HLJ still has the Boba version in-stock. ;)

Sean
 
Yeah, I did the exact same thing. I'm actually trying to sell the Jango version as they're now sold out.

And HLJ still has the Boba version in-stock. ;)

Sean

hmmm...
Unfortunately, i gave away the decal sheet inside as I wasn't going to use it.
looks like I'm stuck with Stoopid Jango.
:lol
 
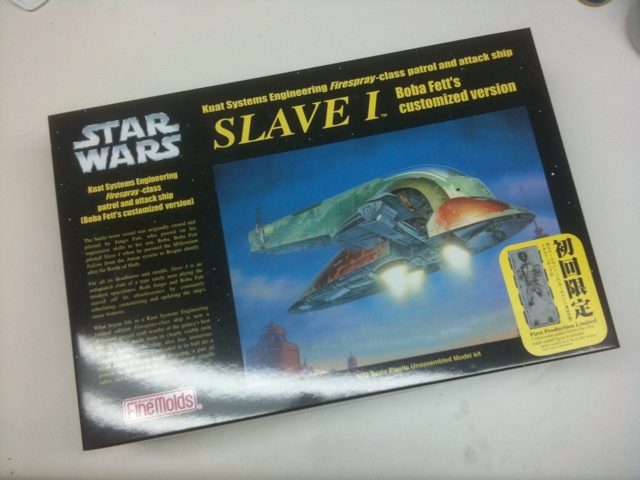
So while things have been pretty busy, I managed to steal a few minutes at my workbench today. I didn’t get a whole lot accomplished, but I did manage to unpack the model and take a quick inventory.

Overall, the model looks great. All the pieces are very crisp and finely detailed. The instructions, while written in Japanese, have excellent exploded drawings, clearly illustrating the model’s assembly. Also included is a large color print, which details the painting scheme and provides a comprehensive list of the various colors needed. ‘Looks like I’m going to need to pick up some supplies!

image3.jpeg

image-2.jpeg


Sean
 
Cool! Can you please take measurements? I've been meaning to get one, but not sure on size. In inches please? : )
 
I built up the Jango Fett version several years ago. It was one of the most fun kits I've built in a long time. I imagine this version will be equally cool.
 
Thanks! I'm really looking forward to building a model as opposed to a prop!

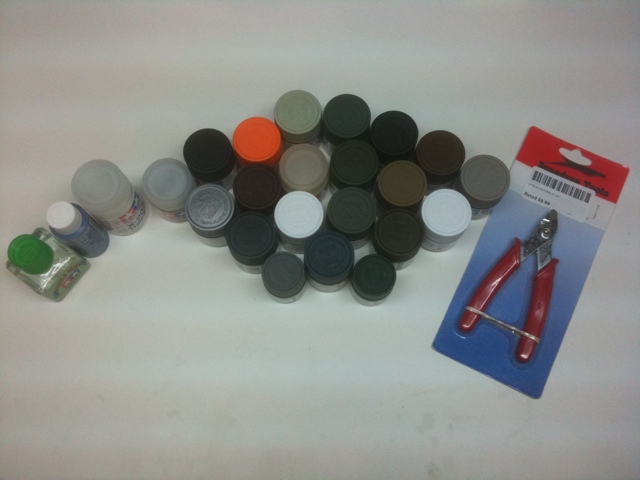
I paid a visit to my local hobby shop, Z&Z Hobbies, to pick up some supplies for the build. First and foremost, I needed paint! For the majority of props I’ve built, I tend to stick with automotive or household paints, but this model is going to require something better fit for small scale. Luckily, the incredibly detailed painting guide that comes with the model includes a comprehensive list of all the colors needed, along with equivalents of Gunze-Sangyo, Humbrol, and Tamiya paint codes. As I’ve worked with Tamiya in the past, I decided to go that route. All in all, I picked up about twenty bottles of acrylic paint, plus some clear coats and thinner.

I also scored a new sprue cutter, a bottle of Tamiya adhesive, and some Maskol masking fluid, which I figure I’ll need to achieve the complex paint patterns.

Next up, I hope to be doing some building!
20110210-080723.jpg


Sean
 
This is the first time in probably fifteen years that I’ve built an actual model (i.e. not a prop kit) so I’n sure I’ve got a lot to learn when it comes to construction, but mostly painting and weathering.
If you want a real lesson, build the old MPC/AMT Slave 1 kit first. :D
 
This kit is joy to put together - construction is a snap. It's also divided into pieces that can be painted seperately. You might want to get some artist's masking fluid to help with the weathered effect all over the ship, especially on the right hand hemisphere... easier to fake that with a toothbrush flick, than try and duplicate every single splatter!

You've picked a great kit to start on your journey, I look forward to seeing what you can do!
 
I've seen people replicate the chipping with masking fluid and a torn makeup sponge. Way back when I did my MPC one I used water and sand to replicate it. It came out OK but in all honesty it was just practice for this one, and I never wound up picking it up
 
Agreed on using masking fluid. This kit is great. Only quality issue is the canopy glass that has a rather poor fit, at least by FM standards.
 
Thanks for the tips, Fellas! I picked up a bottle of masking fluid, which I intend to use for the more complex paint patterns. And, Nazgul, I'll watch out for the canopy. ;)

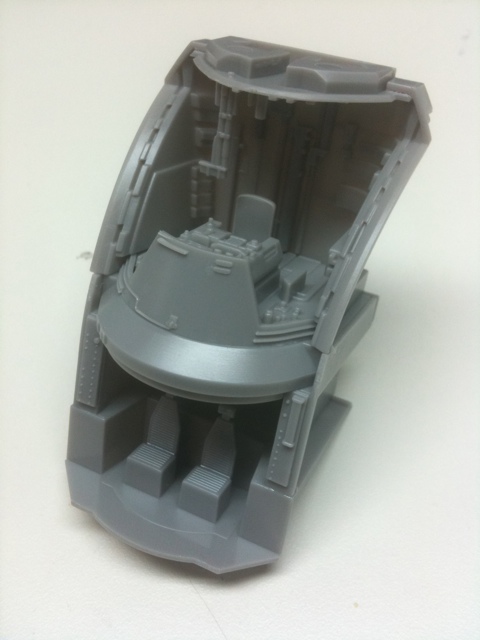
Today I finally put some stuff together! Following the instructions, the first assembly to put together is the cockpit. The assembly is composed of three subassemblies: the pilot’s console, the passenger seats below, and the surrounding bulkheads. The entire thing went together very quickly and easily. ‘Just snapped the parts off the sprue using my sprue cutters, filed down the excess material, and glued everything together using Tamiya thin cement, which worked really well.

I’ve decided to tackle all the assembling before I dive into painting. Next up are the wings!

20110212-061007.jpg


Sean
 
If you want a real lesson, build the old MPC/AMT Slave 1 kit first. :D

What a friggen nightmare of a buiild that was... I think I went thru two tubes of Testors putty to fill in all the seams and cracks because the two halves never did fit together properly. Did I mention I've got every single AMT/ERTL Star Wars kit ever made? Have built every single one at least twice!
 
Back
Top