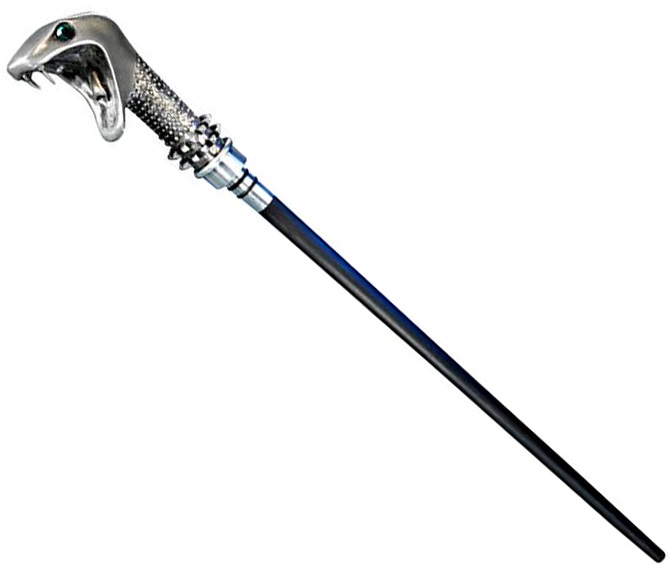
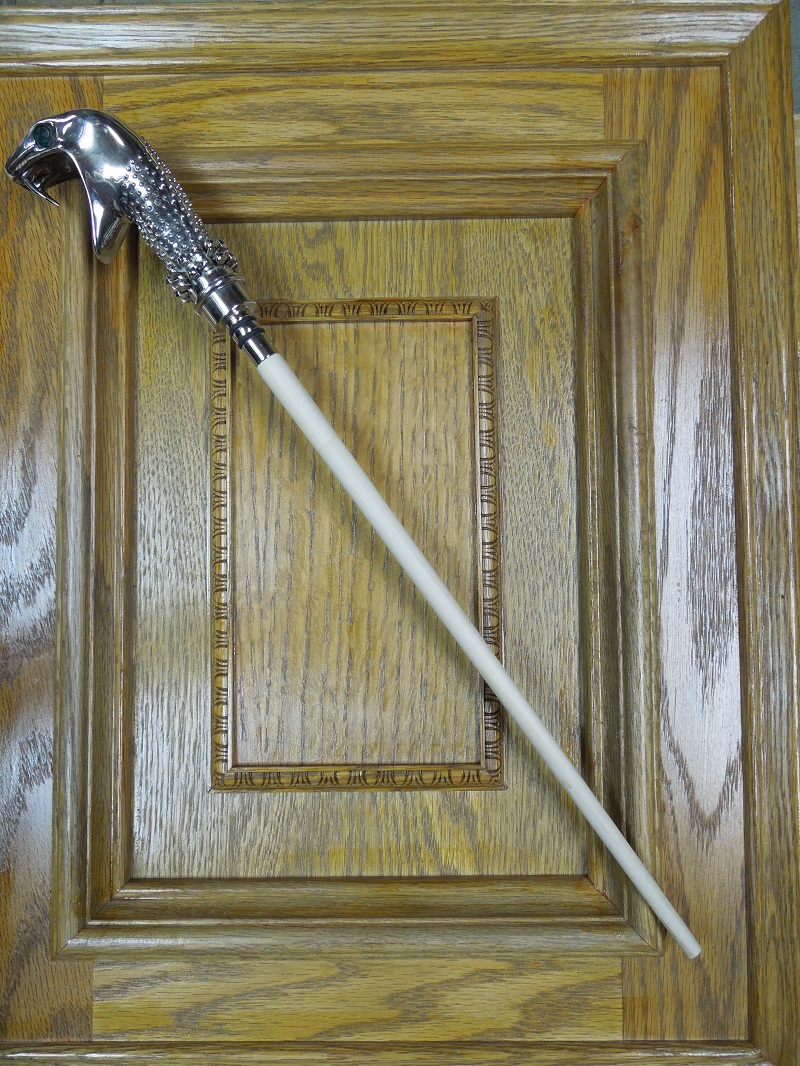
Most Harry Potter fans will recognize this wand. I added a green LED to one. It was pointed out to me that the only spell that the wand was used for was avada kedavra, which always seemed to have a green aura.
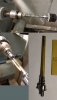
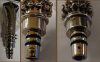
Turns out, the "collar" part threads into the snake part, so that was easy enough to disassemble. Since I needed to add a brass tube inside the shaft to hold the battery, I was not able to use the existing shaft, so it was cut off using a jewelers saw. I then drilled and tapped the collar with 9x0.5 mm tap, and threaded an appropriate sized brass tube with the associated die.
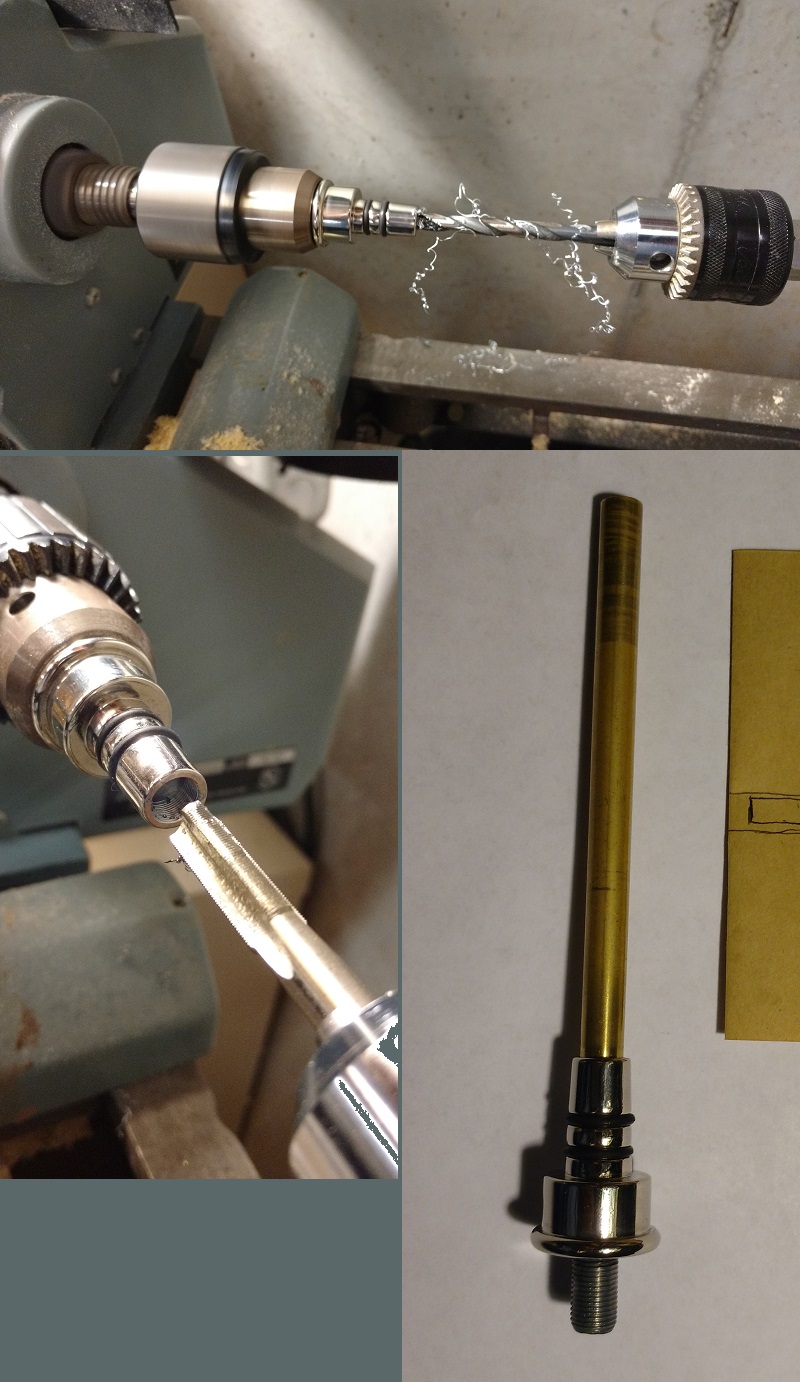
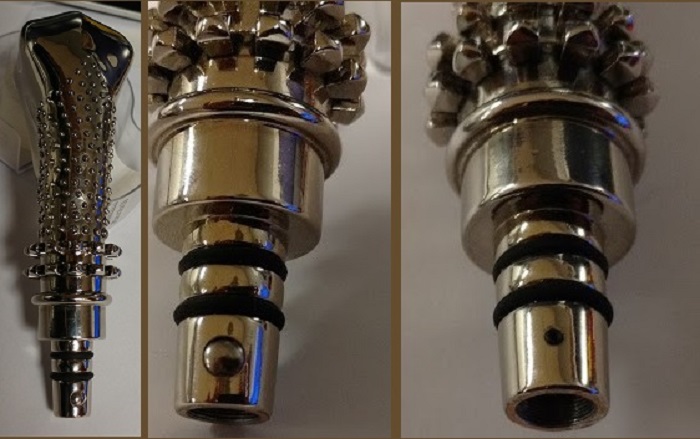
Also, in the collar a hole was drilled for a switch actuator button, and a small set screw to hold the tactile switch in place.
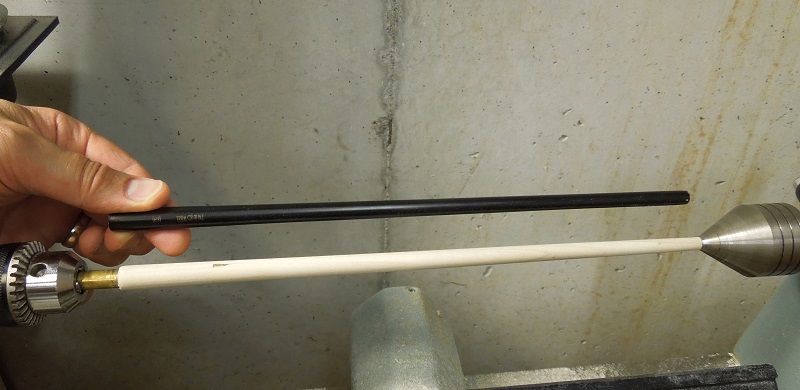
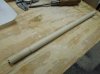
A short piece of 5/8" hardwood dowel was drilled out, and the brass tube was glued inside. This was then glued to an additional piece of dowel.

This dowel assembly was then chucked in a lathe, and turned in a long taper, to make the new shaft.
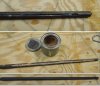
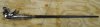
Test fit!
I then used a dremel to cut a slot for the wires. The resistor and the LED were placed in the end and tested.
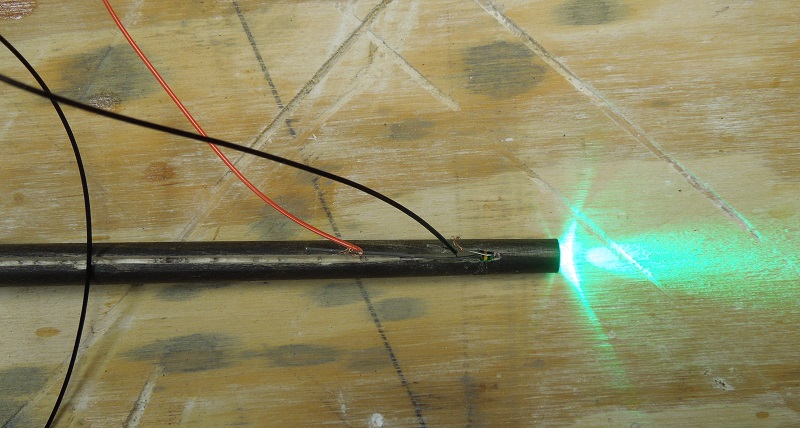
The wires, resistor and LED were then secured with epoxy. The slot was filled with wood filler, smoothed out and painted.

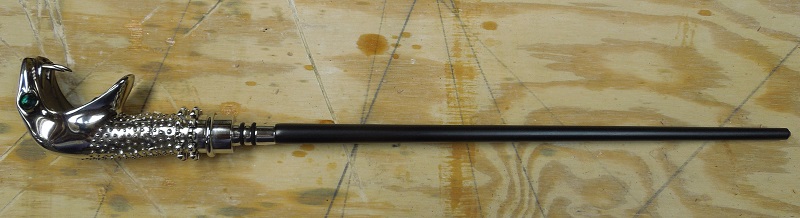
The finished wand. I buffed the paint and waxed it to give a fine sheen.
ATL
Turns out, the "collar" part threads into the snake part, so that was easy enough to disassemble. Since I needed to add a brass tube inside the shaft to hold the battery, I was not able to use the existing shaft, so it was cut off using a jewelers saw. I then drilled and tapped the collar with 9x0.5 mm tap, and threaded an appropriate sized brass tube with the associated die.
Also, in the collar a hole was drilled for a switch actuator button, and a small set screw to hold the tactile switch in place.
A short piece of 5/8" hardwood dowel was drilled out, and the brass tube was glued inside. This was then glued to an additional piece of dowel.
This dowel assembly was then chucked in a lathe, and turned in a long taper, to make the new shaft.
Test fit!
I then used a dremel to cut a slot for the wires. The resistor and the LED were placed in the end and tested.
The wires, resistor and LED were then secured with epoxy. The slot was filled with wood filler, smoothed out and painted.
The finished wand. I buffed the paint and waxed it to give a fine sheen.
ATL
Attachments
-
 1 Lucius_Malfoy_wand.jpg36.5 KB · Views: 1,196
 -
 2 wand machining.jpg950.7 KB · Views: 1,021
 -
 3 wils wand Button.jpg97.8 KB · Views: 1,234
 -
 4 brass tube in dowel.JPG158 KB · Views: 871
 -
 5 turned.JPG94.9 KB · Views: 1,009
 -
 6 test fit 1.JPG447.5 KB · Views: 1,294
 -
 7 slot and LED.JPG141 KB · Views: 841
 -
 8 fill and paint.JPG226.5 KB · Views: 796
 -
 9 done.JPG72.4 KB · Views: 901
")