kavjapan
Member
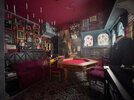
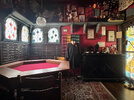
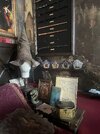
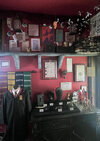
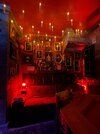
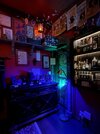
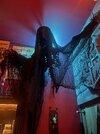
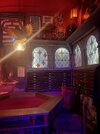
This post is for sharing a domino-effect of projects I just finished in my Harry Potter-themed game room. The WIP pics hit the attachment limit so I'll post room pics below.
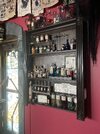
It started by getting some old apothecary bottles from a friend in London, coupled with a visit to the Harry Potter studio tour in Tokyo where I took a million shots of the potion bottle labels in order to create my own high-res templates. They're available here if anyone wants to use them: templates - Google Drive
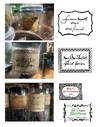
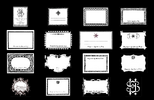
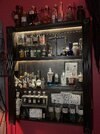
Added some LED strips and the new potions shelf was looking good.
But it meant moving a bunch of other props elsewhere. (Domino number two...)
I decided to move all the very-not-Harry Potter-like games off the top shelf and into the large cabinet. I put in a motion sensor for the lights which activates when you open the doors. (It makes me smile every time
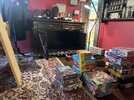
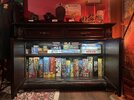
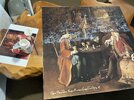
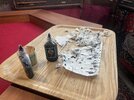
That opened up the whole top shelf for props and displays. A few new ones included a large painting made from a oversized print I touched up with Mod Podge Brushstroke - a really great way to fake a painting:
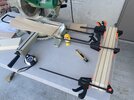
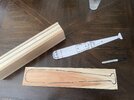
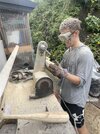
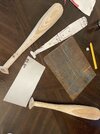
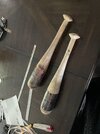
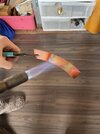
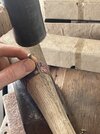
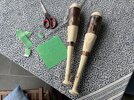
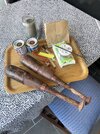
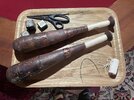
And a pair of beater bats. I won't go into too much detail, save to say that there's a good reason humans invented the lathe (which I did not have )
)
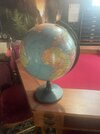
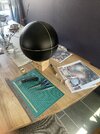
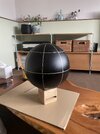
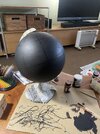
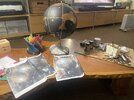
And an astronomy globe that caught my eye during the studio tour. Just a background prop, but killer vibe.
I sprayed an old globe black and laid on gold tape but it looked more like something from the holodeck than the wizarding world. So I changed to a hand-painted look (by... well, hand-painting it) which matched the original much closer.
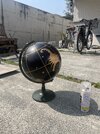
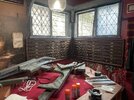
Anyway, the shelf was filling up nicely but it left a major gap around the windows. This next domino was a project that I'd been thinking of doing for a while. (If you're still reading this, then you're probably someone with several of the same.)
There were a few missteps with this one, mostly on account of the lighting being so different between day (when I worked on the project) and night (when I came in and said, "Oh man, now it looks like crap!").
I naively thought at first that I could get away with just sticking something on the existing windows that diffused the light. At night, it was ultra-reflective and quite distracting.
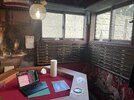
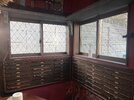
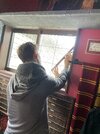
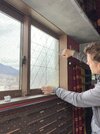
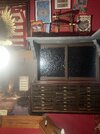
So I thought about painting the backside to absorb some of the light. But it looked so plasticky at night that I knew I'd need to actually make a "new" window.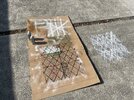
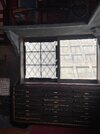
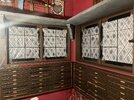
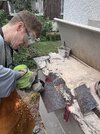
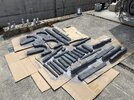
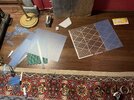
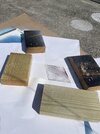
Started carving the "stonework," got a large sheet of polystyrene for the new windows, and found some perfectly shaped/sized bamboo strips (of all things!) for the leads. After all the pieces were painted I laid the strips piece by piece over the earlier tape-lines. Though very time-consuming, this gave a much better look, 3D leads as opposed to the earlier 2D tape.
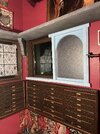
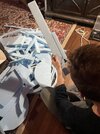
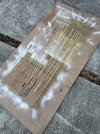
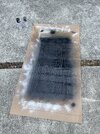
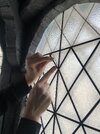
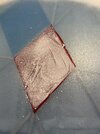
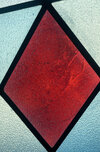
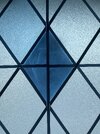
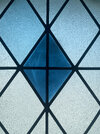
Then started work on the new window panes. I used another sheet of blue to add better color, then used light blue and Hogwarts house colors for a few of the diamonds. (I think they're called "quarries" in glassmaking.) Cellophane by itself is pretty uniform in color but I found you get a really nice effect if you spray the back at an extreme angle to create a high-contrast relief on the wrinkles and then some add splatters. This only works one-way but from the inside it really looks like glass:
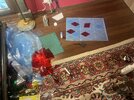
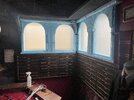
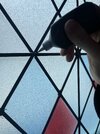
Later the cellophane kept peeling off in the sunlight, so I got another plastic sheet and sealed everything in. Then used a "liquid-glass" to fill in the gaps in the leads. The result was actually pretty good as you can see in the before/after pics:
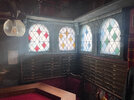
Windows complete!
Thanks for reading!
It started by getting some old apothecary bottles from a friend in London, coupled with a visit to the Harry Potter studio tour in Tokyo where I took a million shots of the potion bottle labels in order to create my own high-res templates. They're available here if anyone wants to use them: templates - Google Drive


Added some LED strips and the new potions shelf was looking good.
But it meant moving a bunch of other props elsewhere. (Domino number two...)
I decided to move all the very-not-Harry Potter-like games off the top shelf and into the large cabinet. I put in a motion sensor for the lights which activates when you open the doors. (It makes me smile every time


That opened up the whole top shelf for props and displays. A few new ones included a large painting made from a oversized print I touched up with Mod Podge Brushstroke - a really great way to fake a painting:

And a pair of beater bats. I won't go into too much detail, save to say that there's a good reason humans invented the lathe (which I did not have


And an astronomy globe that caught my eye during the studio tour. Just a background prop, but killer vibe.
I sprayed an old globe black and laid on gold tape but it looked more like something from the holodeck than the wizarding world. So I changed to a hand-painted look (by... well, hand-painting it) which matched the original much closer.


Anyway, the shelf was filling up nicely but it left a major gap around the windows. This next domino was a project that I'd been thinking of doing for a while. (If you're still reading this, then you're probably someone with several of the same.)
There were a few missteps with this one, mostly on account of the lighting being so different between day (when I worked on the project) and night (when I came in and said, "Oh man, now it looks like crap!").
I naively thought at first that I could get away with just sticking something on the existing windows that diffused the light. At night, it was ultra-reflective and quite distracting.


So I thought about painting the backside to absorb some of the light. But it looked so plasticky at night that I knew I'd need to actually make a "new" window.


Started carving the "stonework," got a large sheet of polystyrene for the new windows, and found some perfectly shaped/sized bamboo strips (of all things!) for the leads. After all the pieces were painted I laid the strips piece by piece over the earlier tape-lines. Though very time-consuming, this gave a much better look, 3D leads as opposed to the earlier 2D tape.


Then started work on the new window panes. I used another sheet of blue to add better color, then used light blue and Hogwarts house colors for a few of the diamonds. (I think they're called "quarries" in glassmaking.) Cellophane by itself is pretty uniform in color but I found you get a really nice effect if you spray the back at an extreme angle to create a high-contrast relief on the wrinkles and then some add splatters. This only works one-way but from the inside it really looks like glass:


Later the cellophane kept peeling off in the sunlight, so I got another plastic sheet and sealed everything in. Then used a "liquid-glass" to fill in the gaps in the leads. The result was actually pretty good as you can see in the before/after pics:


Windows complete!

Thanks for reading!

