Re: 1:1 Millennium Falcon Console Replica
Hi Gang,
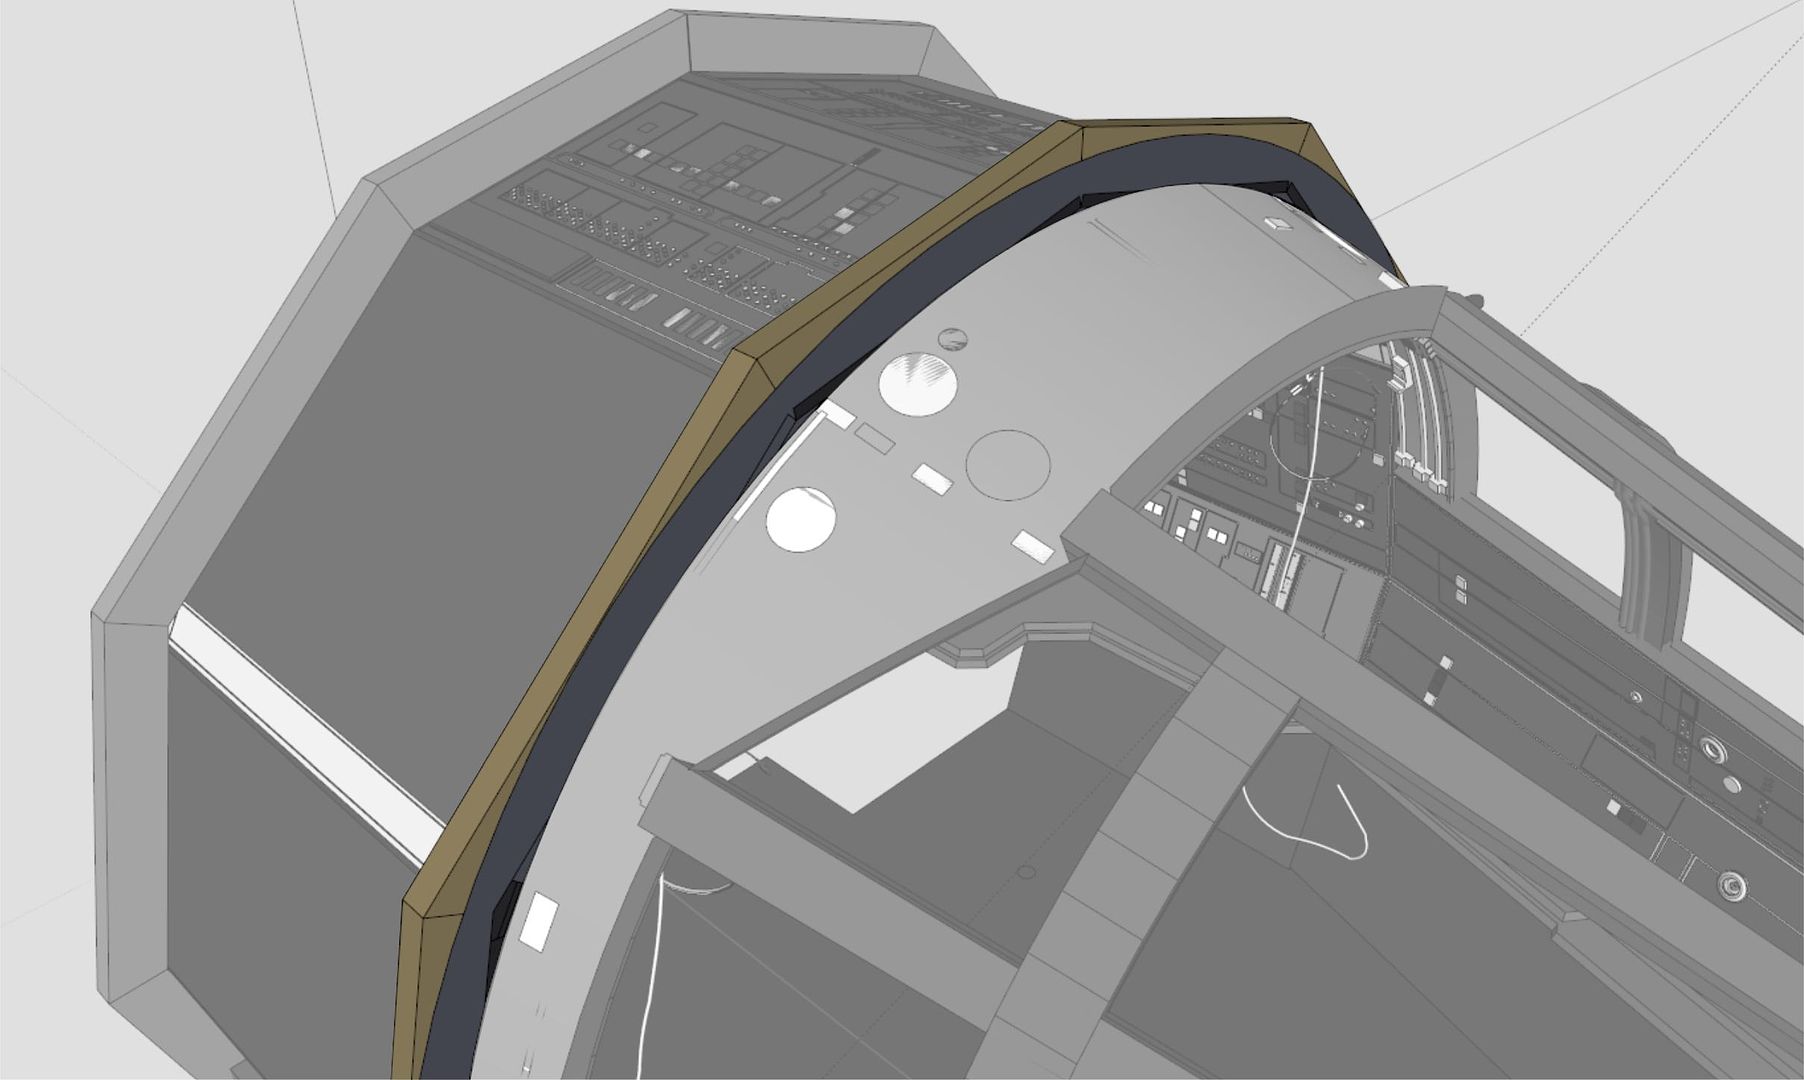
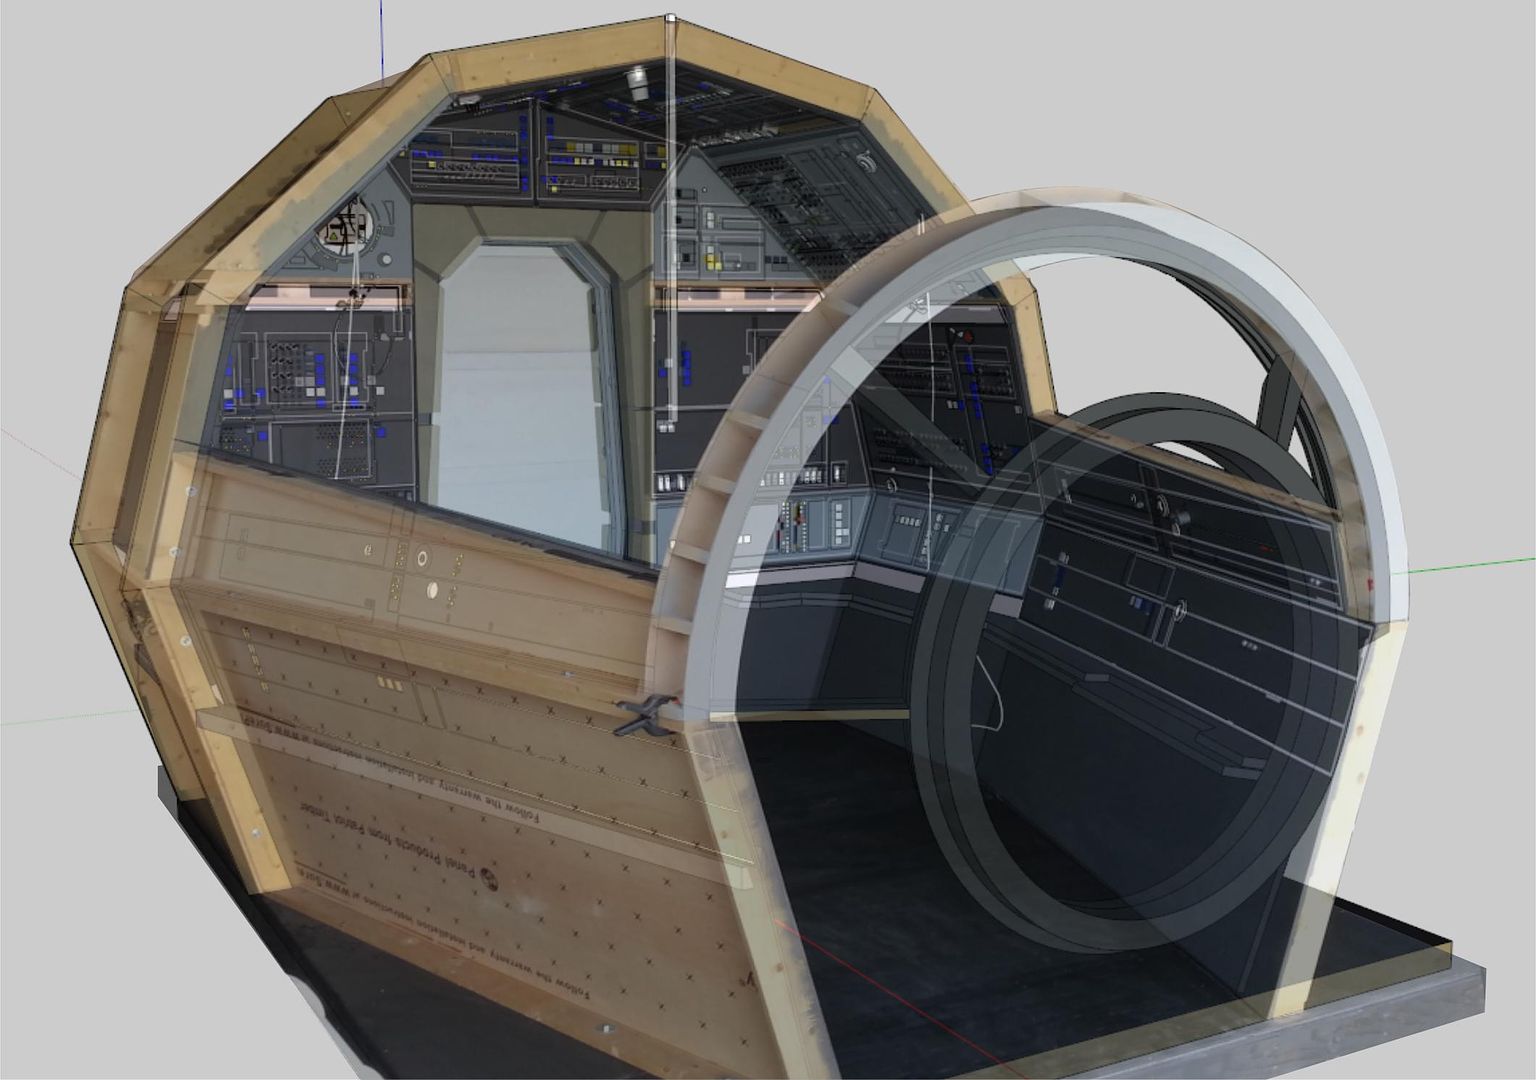
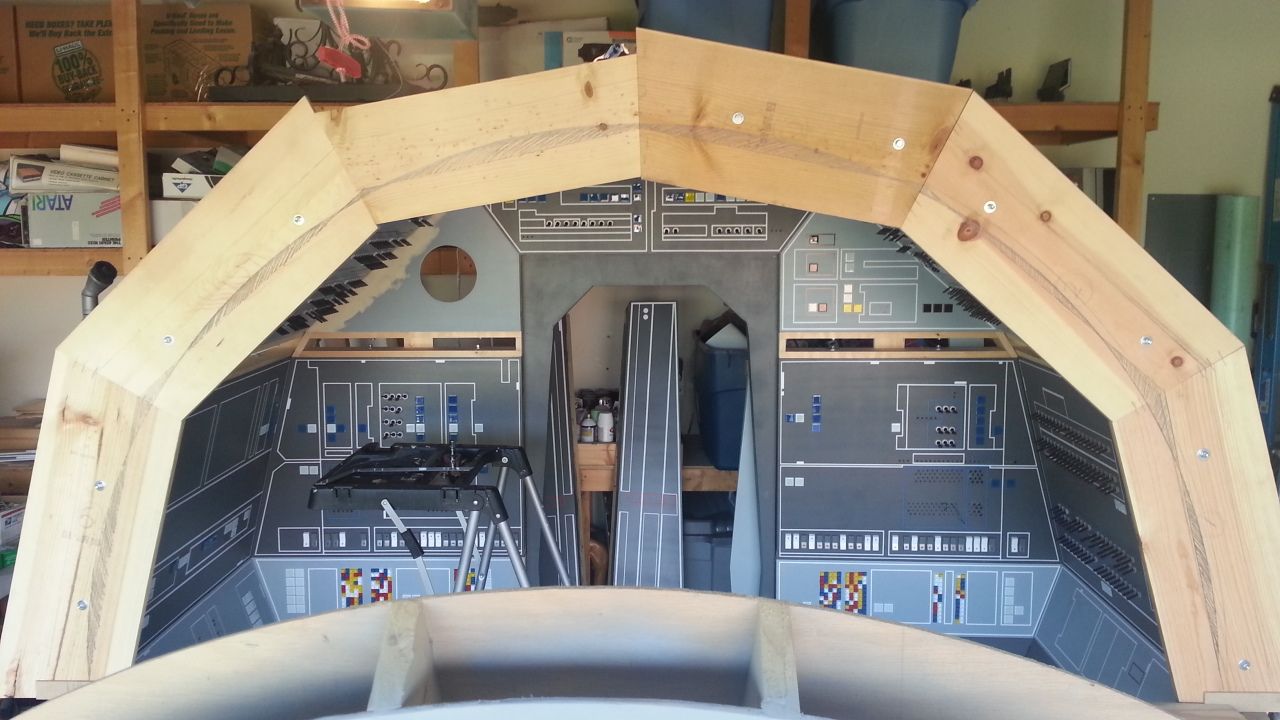
Well... I think I got it! I finished cutting and placing the back part of the canopy panels. I then drew an outline of the panel edges on the side facing the front. I then created a crude radius arm (I think that's what it's called) and was able to outline the inside diameter of the canopy. I will then use the same radius arm to create the outer edge of the canopy... Which is approx. 4 inches.
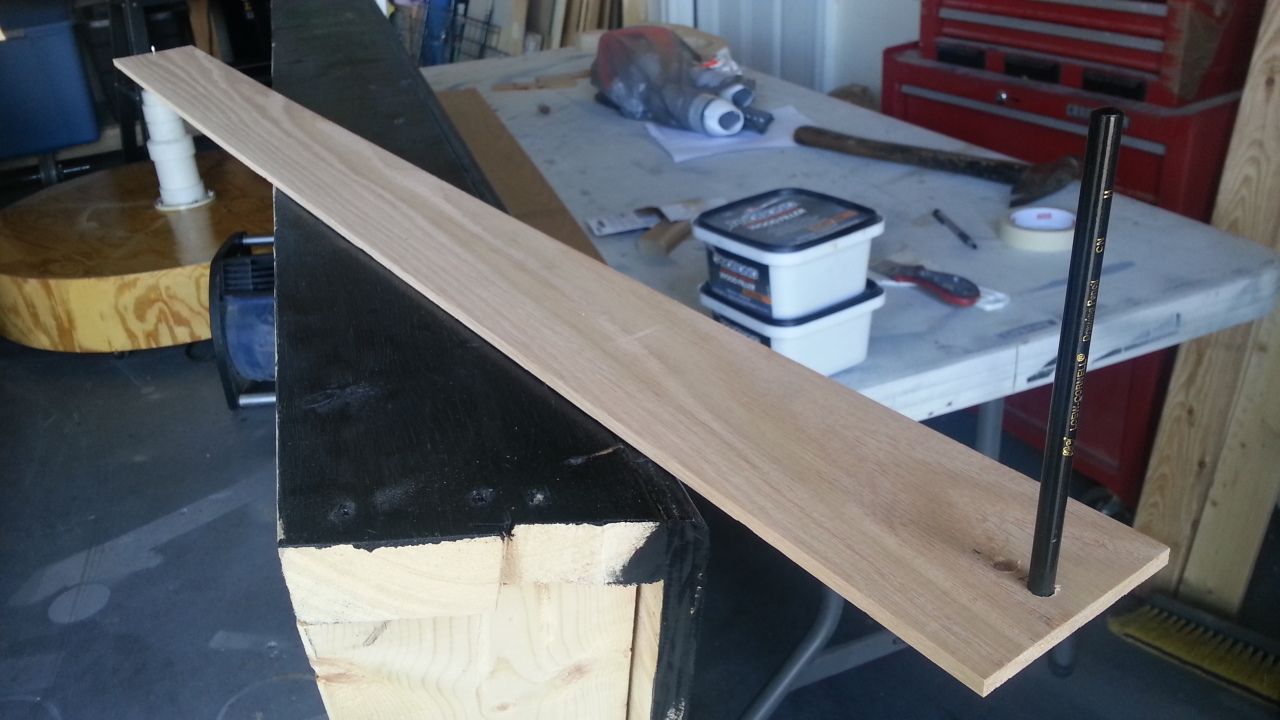
I then took a scrap piece of wood that was equal to a little more than half the width of the cockpit and drilled two holes - one for the pencil and the other for a tack. Using a larger scrap piece of wood, it extended across the width of the cockpit. I then found the center and tacked the arm in place. I then traced what I felt was the best possible diameter. I hope I was able to explain that...")
Arm
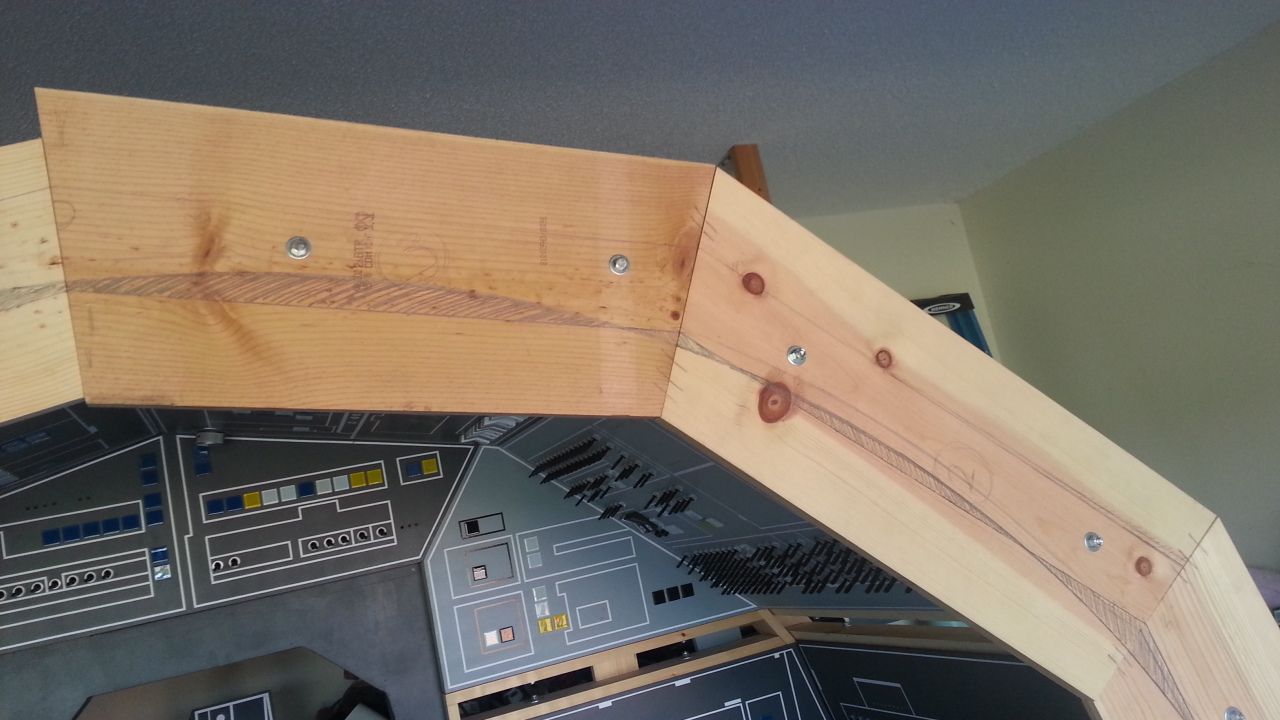
There are two sets of lines - straight edge panel lines and the diameter line
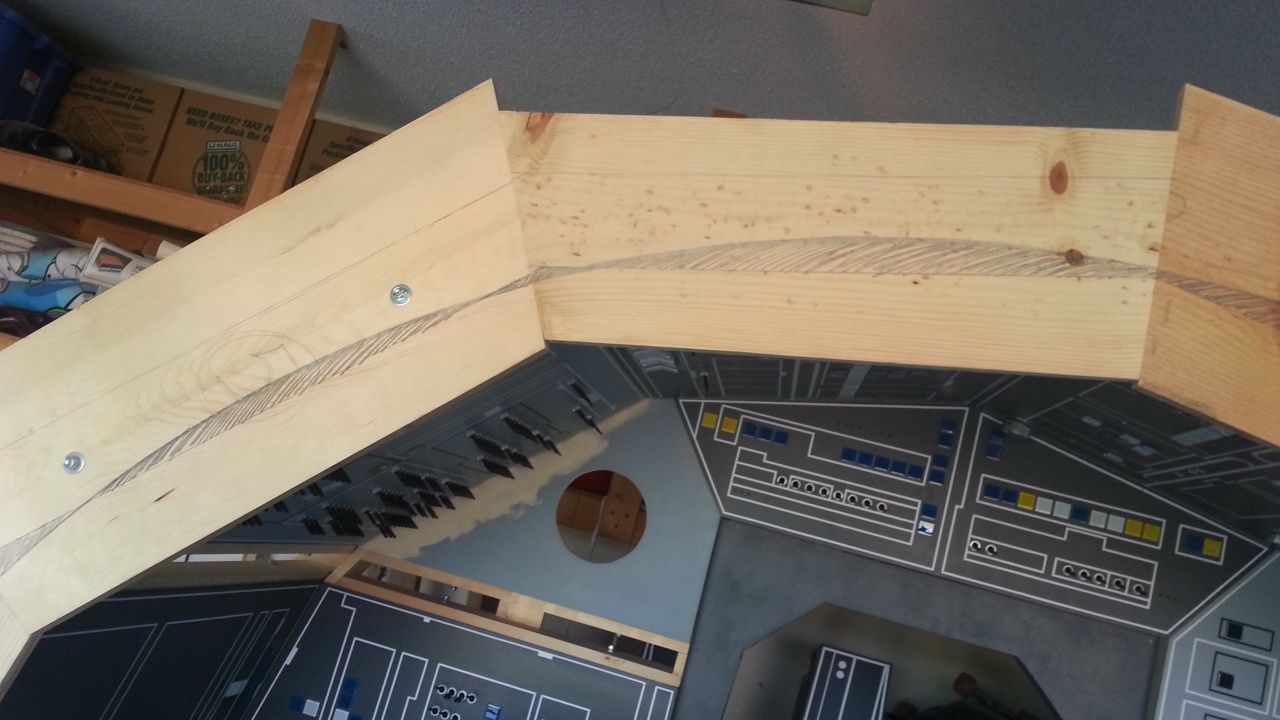
You can see the piece of wood extending across the width of the cockpit
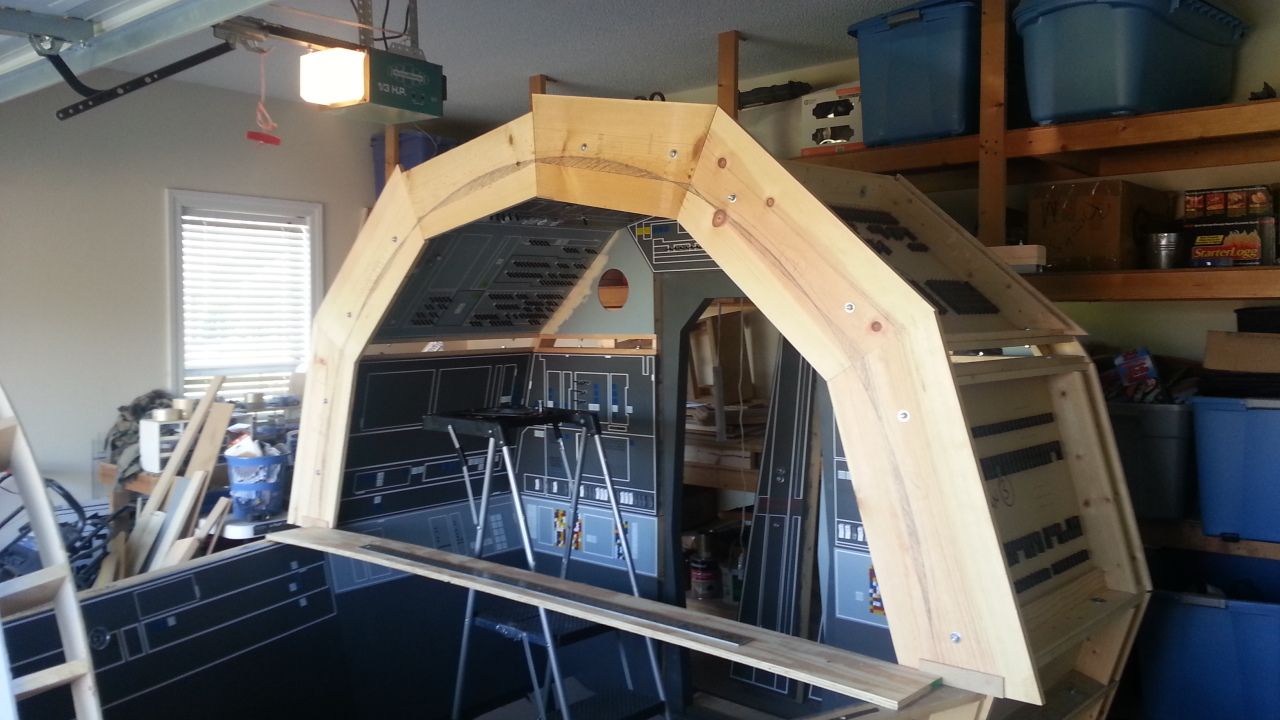
(UPDATE) These pics show the arm I created to find the canopy diameter
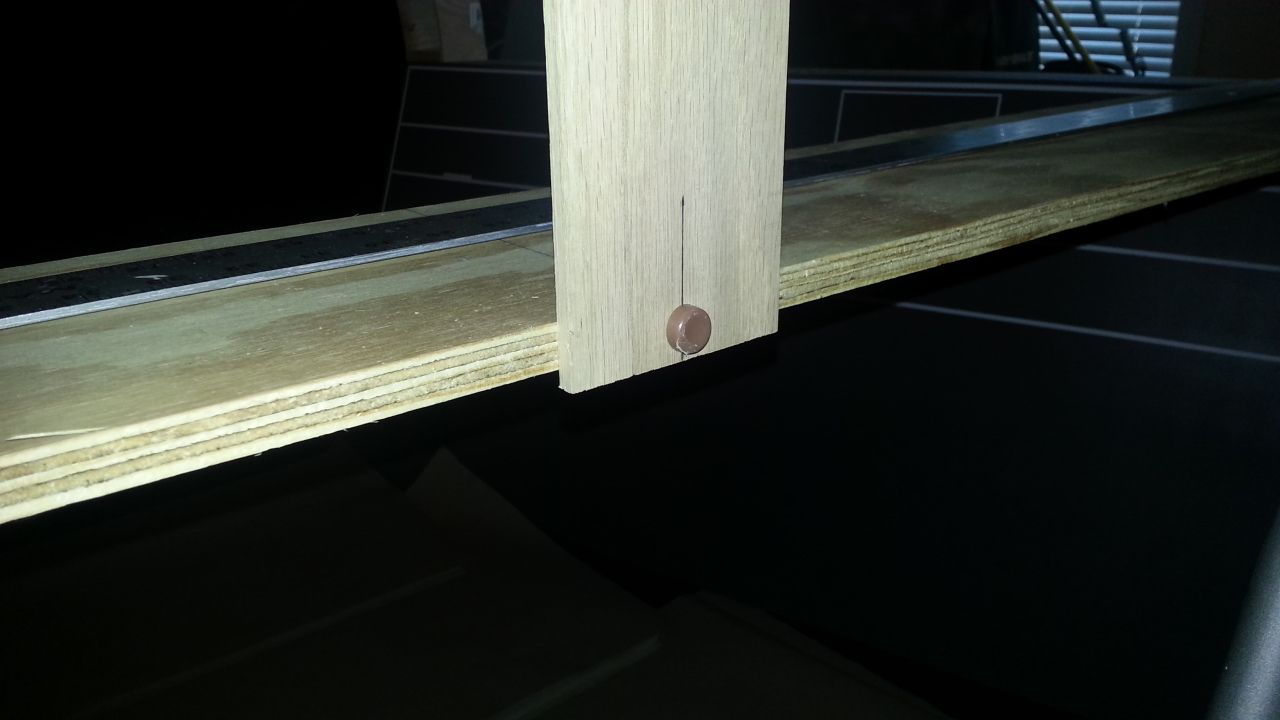
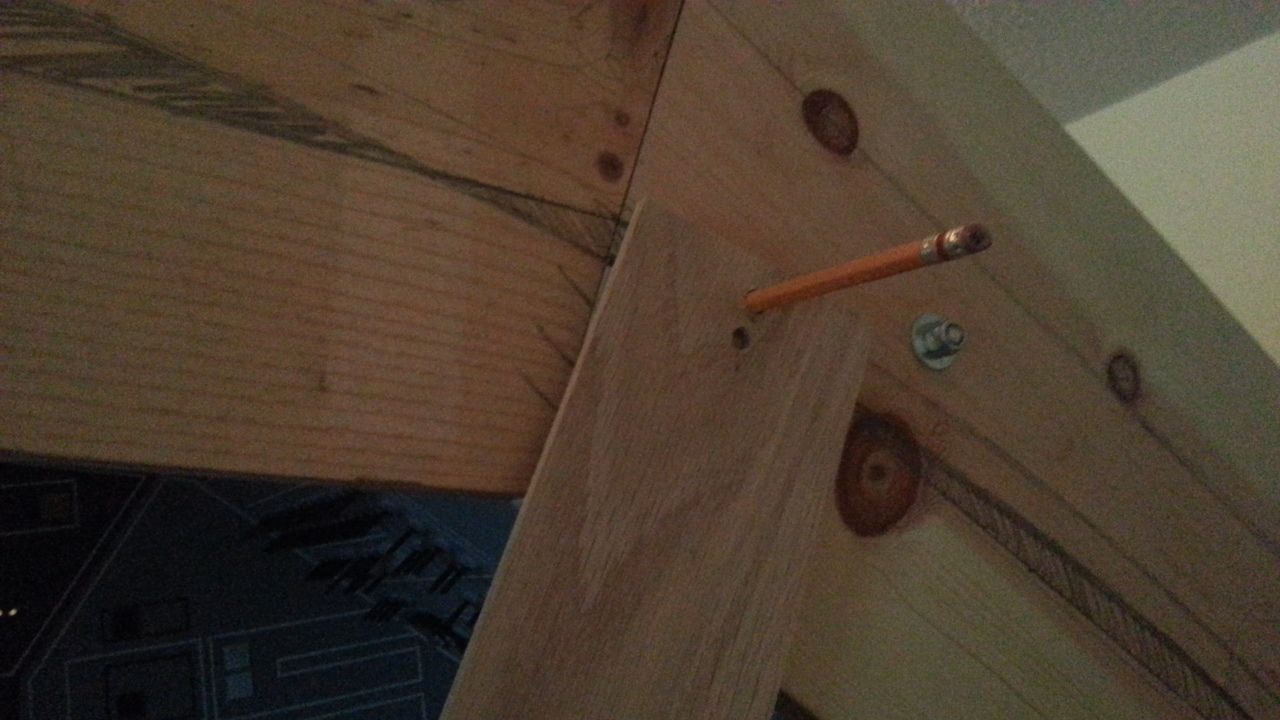
Lower part of the arm. This is considered the "Center" of the arm and will rotate around this point (I think I got that) lol
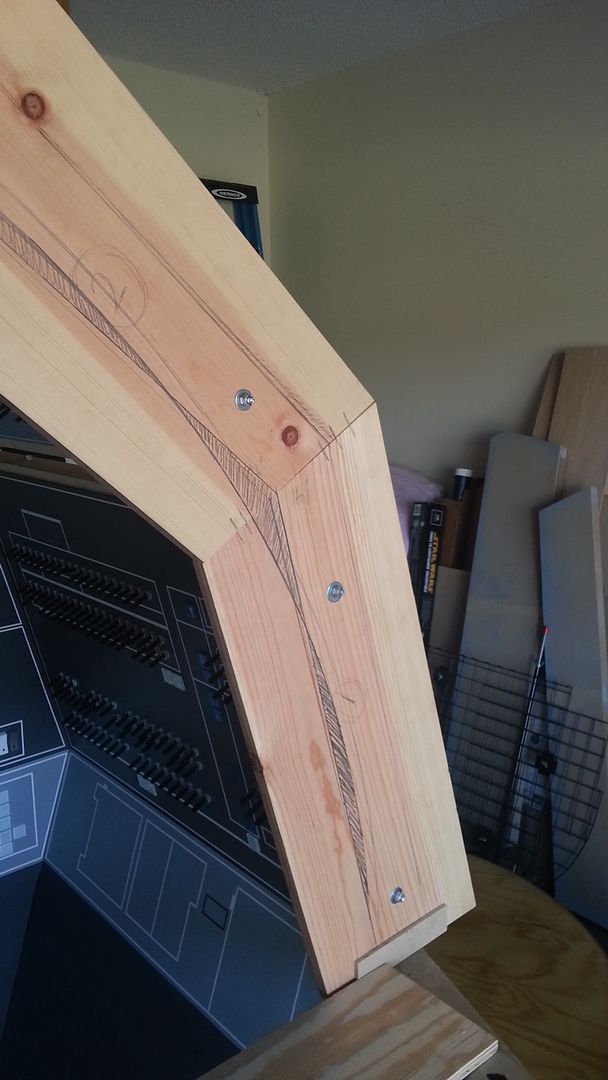
Away we go!

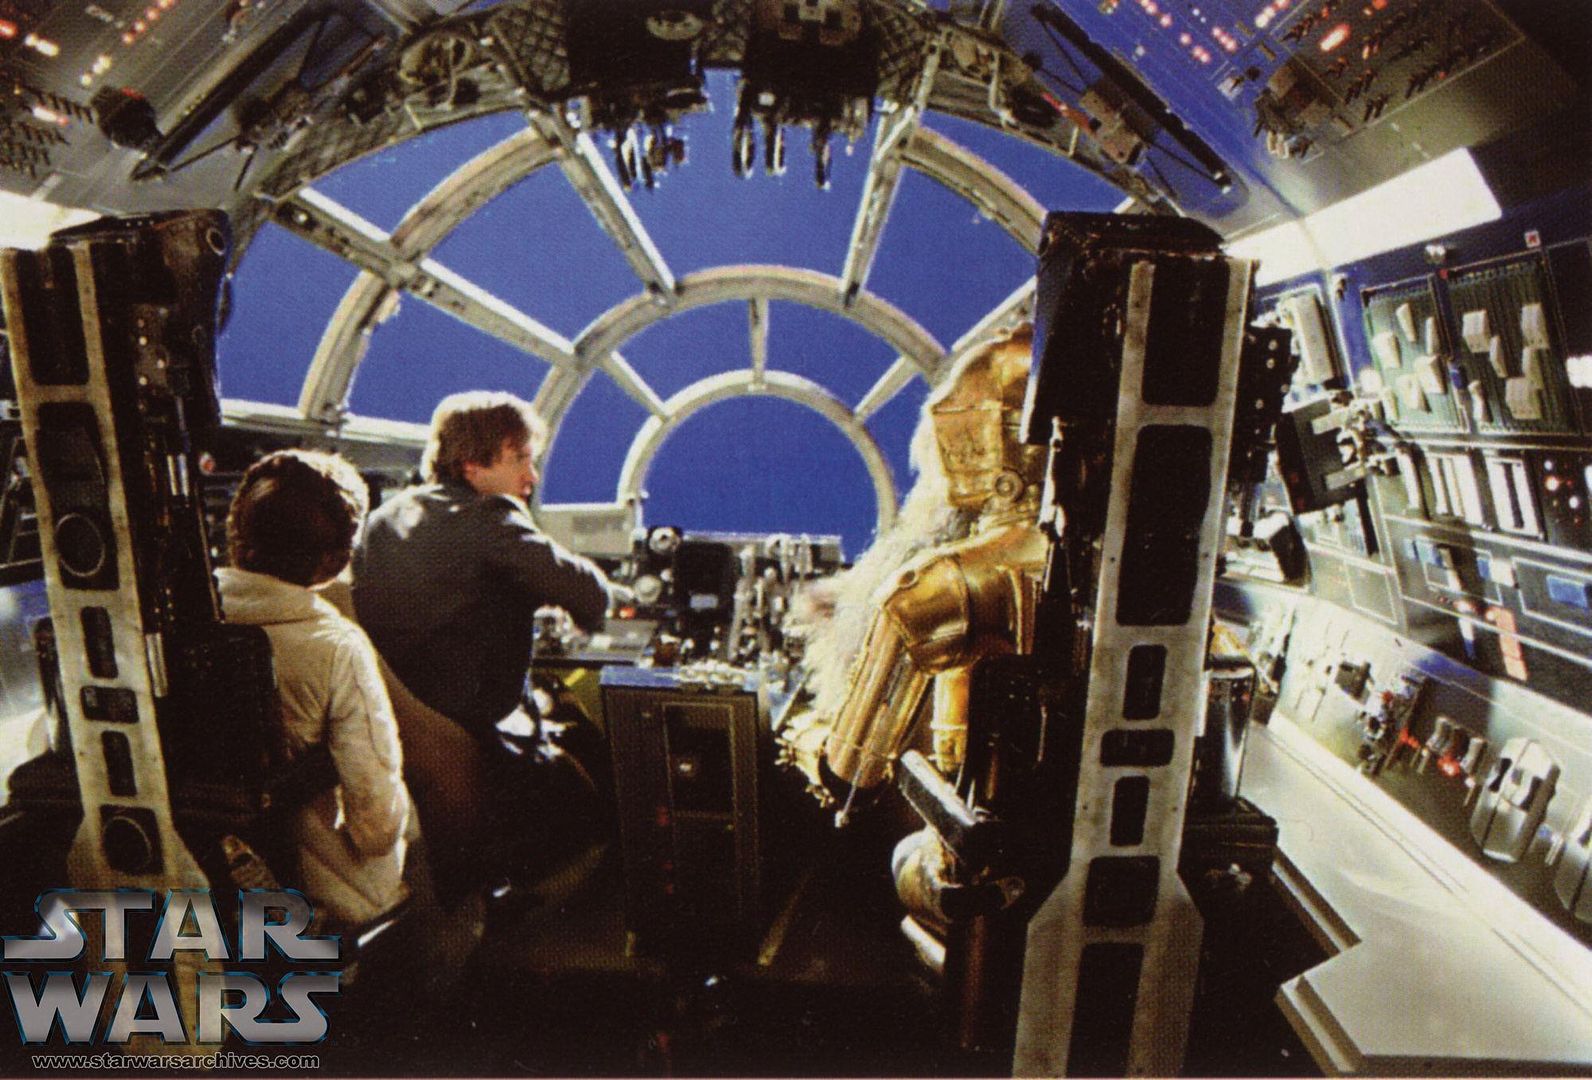
The dark area scribbled out shows where the canopy and panels will be exposed from either end. I think this is why the original designers used a thick moving cloth to hide the transition
In all, the exposed areas are not that bad
More to Follow!
Hi Gang,
Well... I think I got it! I finished cutting and placing the back part of the canopy panels. I then drew an outline of the panel edges on the side facing the front. I then created a crude radius arm (I think that's what it's called) and was able to outline the inside diameter of the canopy. I will then use the same radius arm to create the outer edge of the canopy... Which is approx. 4 inches.
I then took a scrap piece of wood that was equal to a little more than half the width of the cockpit and drilled two holes - one for the pencil and the other for a tack. Using a larger scrap piece of wood, it extended across the width of the cockpit. I then found the center and tacked the arm in place. I then traced what I felt was the best possible diameter. I hope I was able to explain that...
Arm
There are two sets of lines - straight edge panel lines and the diameter line
You can see the piece of wood extending across the width of the cockpit
(UPDATE) These pics show the arm I created to find the canopy diameter
Lower part of the arm. This is considered the "Center" of the arm and will rotate around this point (I think I got that) lol
Away we go!
The dark area scribbled out shows where the canopy and panels will be exposed from either end. I think this is why the original designers used a thick moving cloth to hide the transition
In all, the exposed areas are not that bad
More to Follow!
Last edited: