ROGUE ONE K-2SO Puppet Build

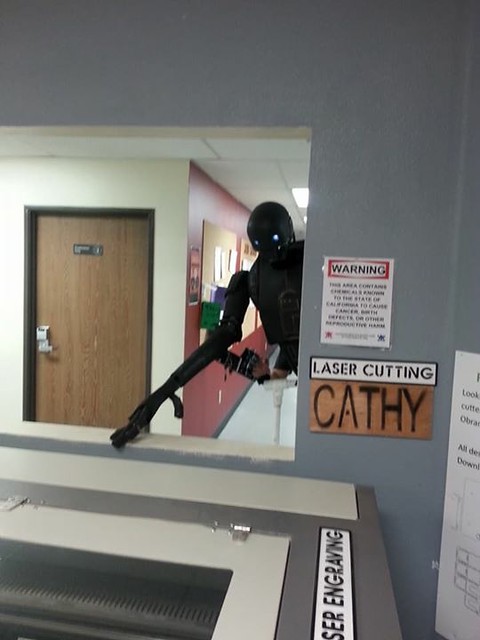
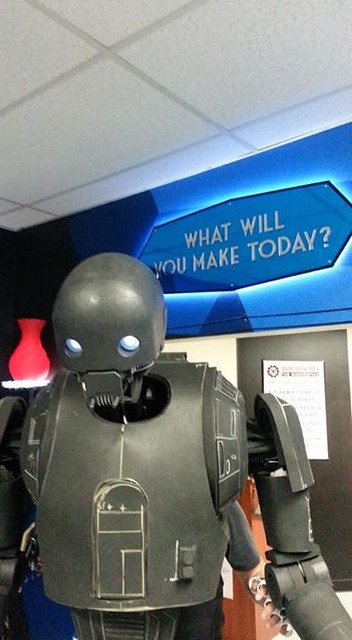
Ha! On this weeks episode of "Still Untitled" my K-2SO was brought up again in the last 5 minutes of the show. I still hope they have a good 20-30 minute talk about the RPF party but so far the snippets I've heard make me swell with pride. At SVCC there was an awesome paperboard K2 sculpture that had glowing eyes and a servo in the neck. Awesome work!

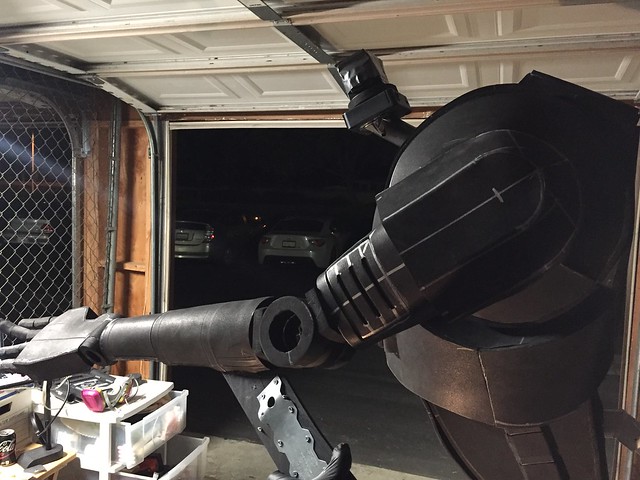
C2E2 was also this past weekend and my Instagram friend https://www.instagram.com/harteattackcosplay/ showed off his K-2SO puppet there. He did an amazing job with the joints and has his walk down! I think i'm still about 2-3 weeks out from finishing but the end is in sight.

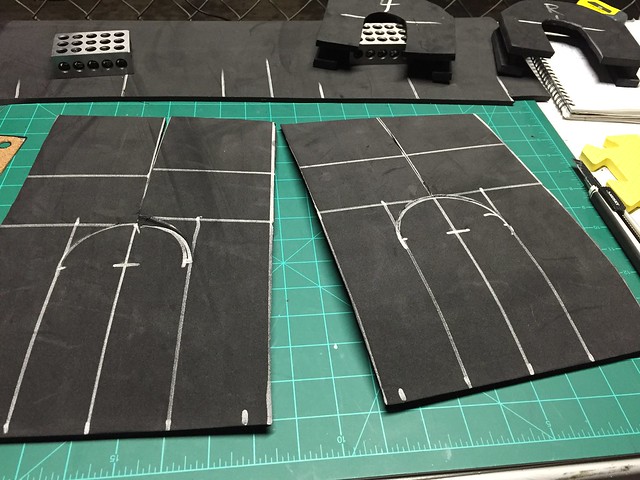
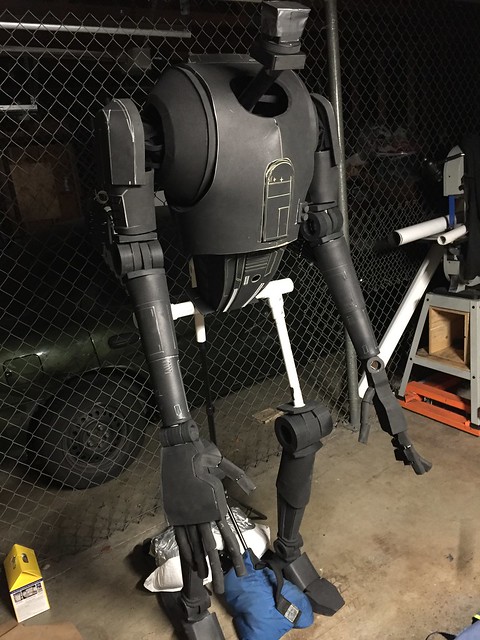
Tonight I did some little bits of work. Progress is progress.
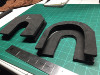
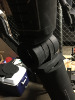
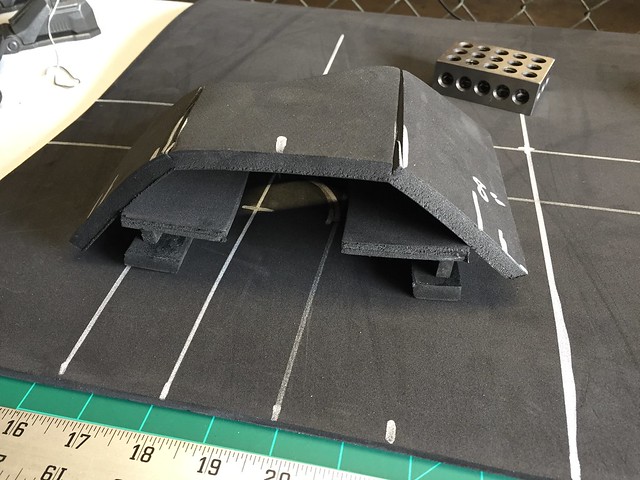
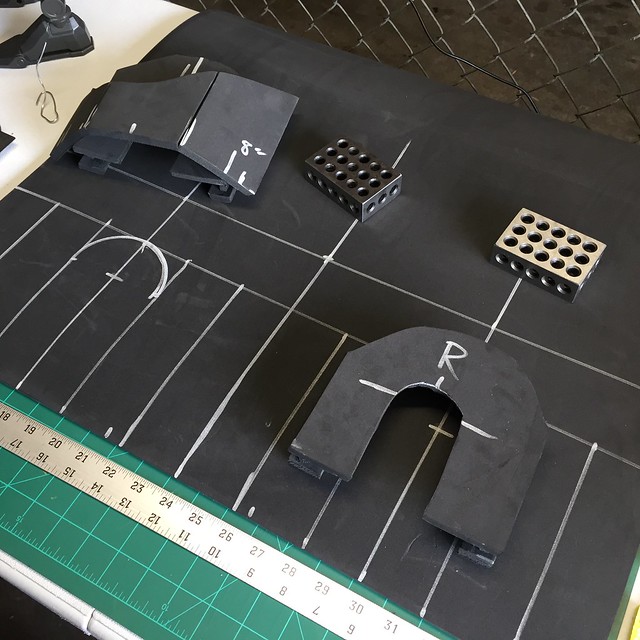
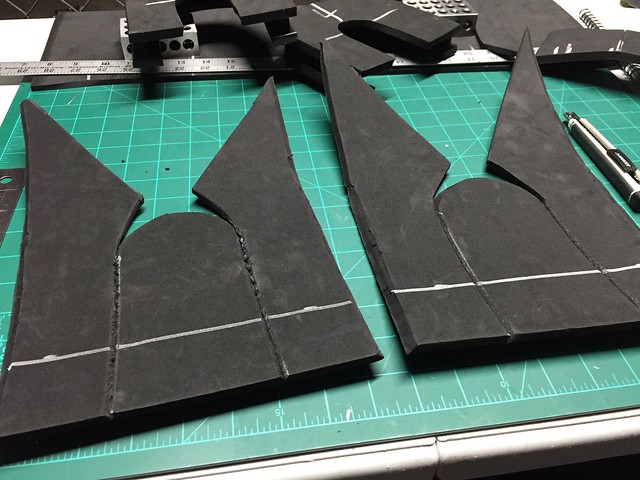
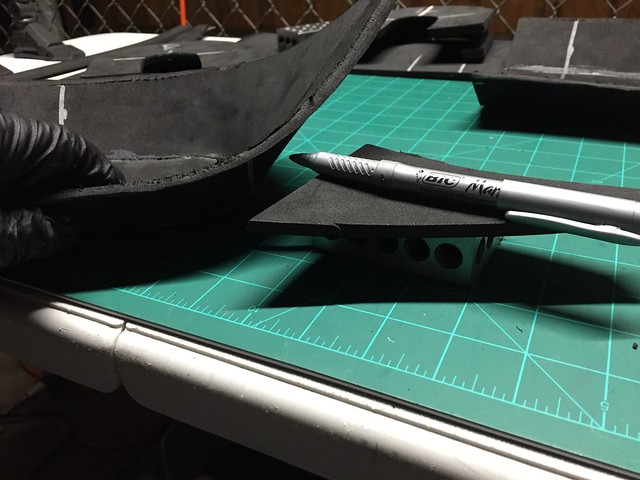
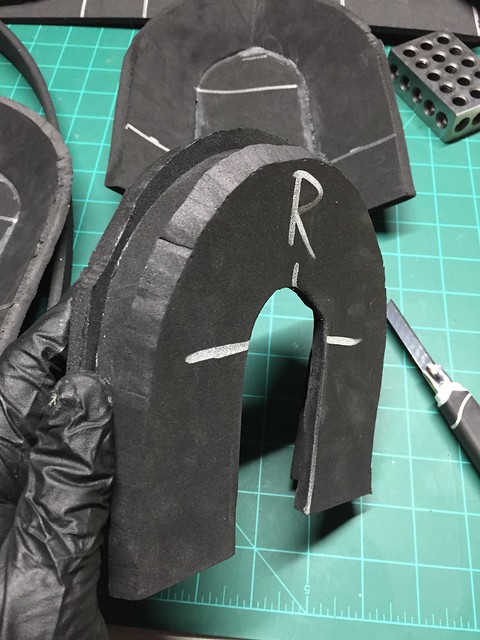
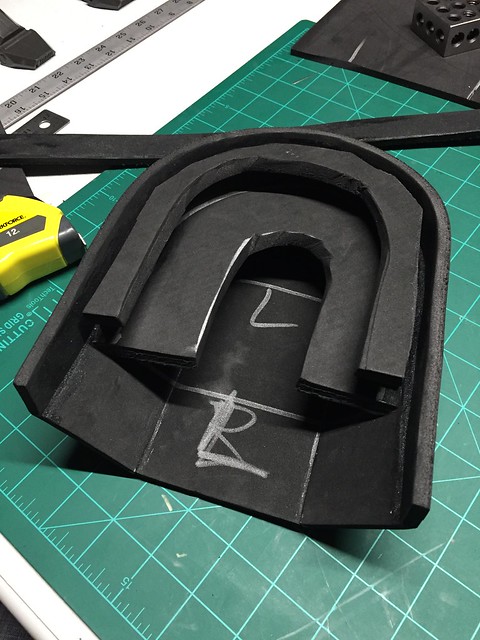
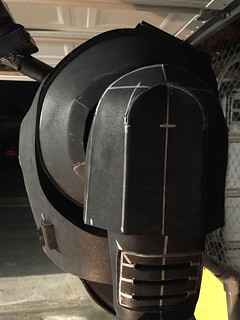
Rounded the horseshoe shoulder brackets. I think this will help fit them into the shoulder bell pieces. I plan on making those tomorrow night.
34147401341_4c5420e439_c.jpg


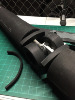
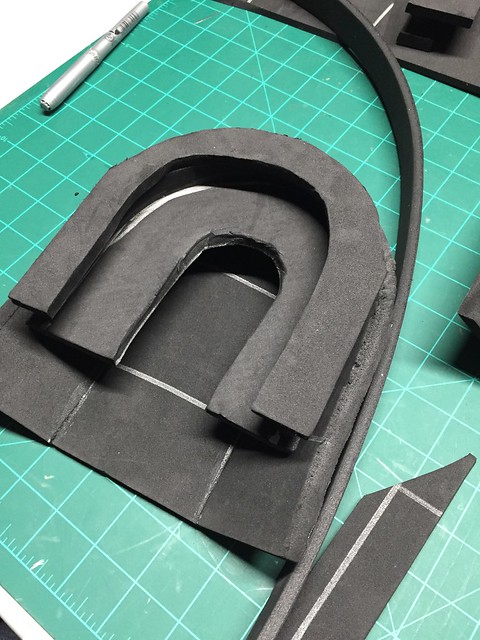
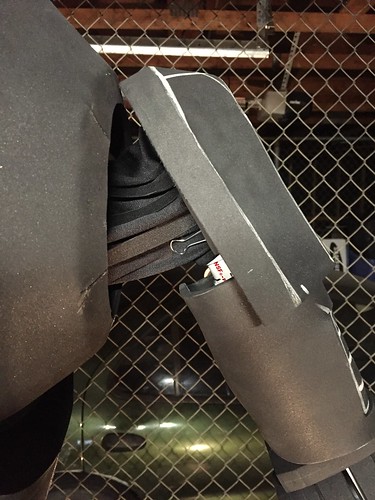
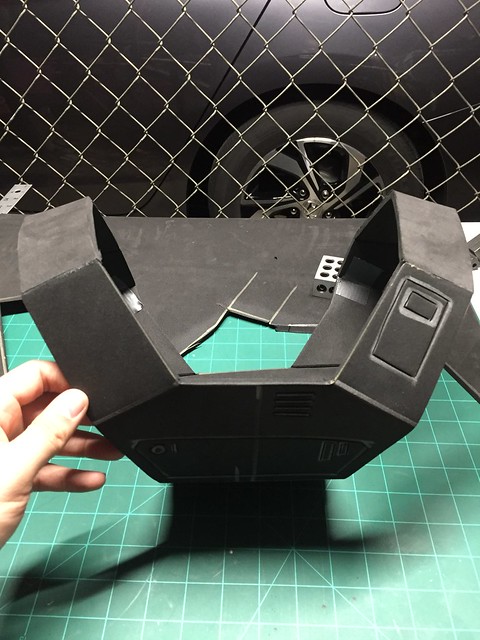
Finally finished the elbow joint inner pieces.
33894479760_fd010abb5c_c.jpg


This hides the joint. Though I'll need to touch up the inside with black before final paint.
33894479400_4f49f12d5d_c.jpg


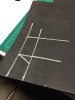
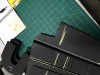
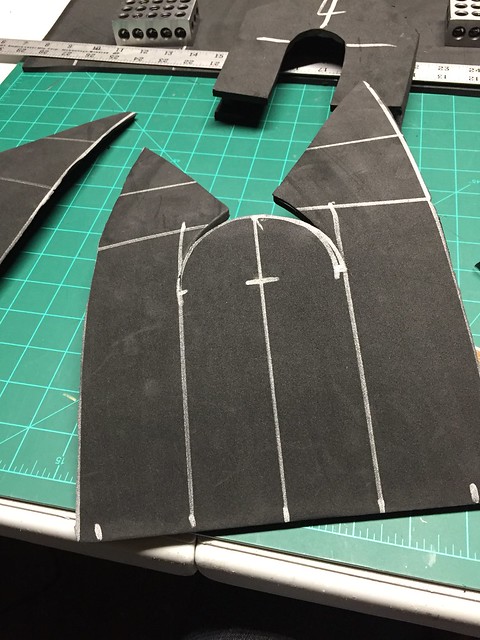
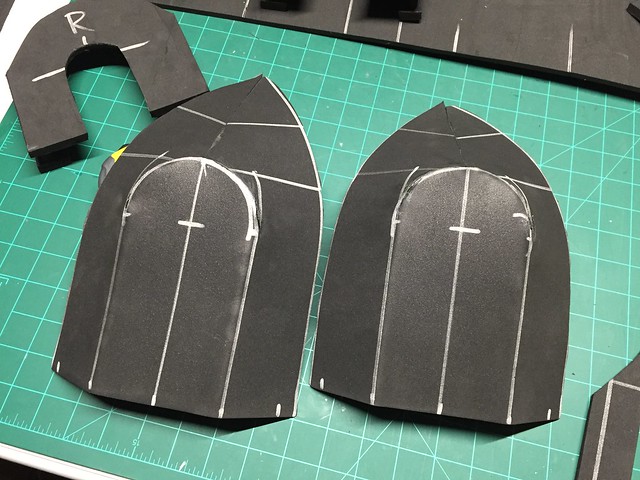
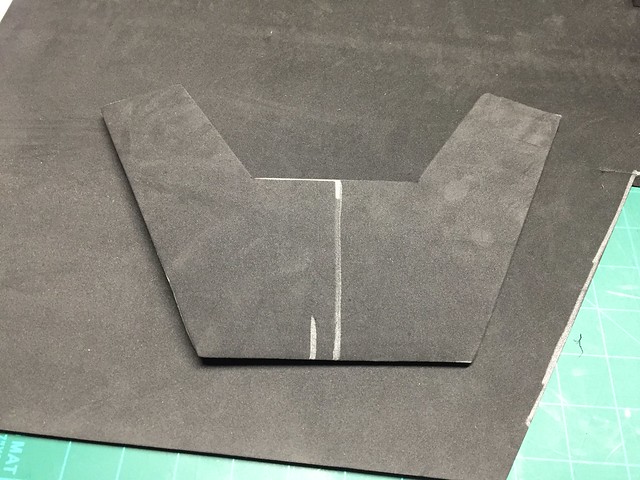
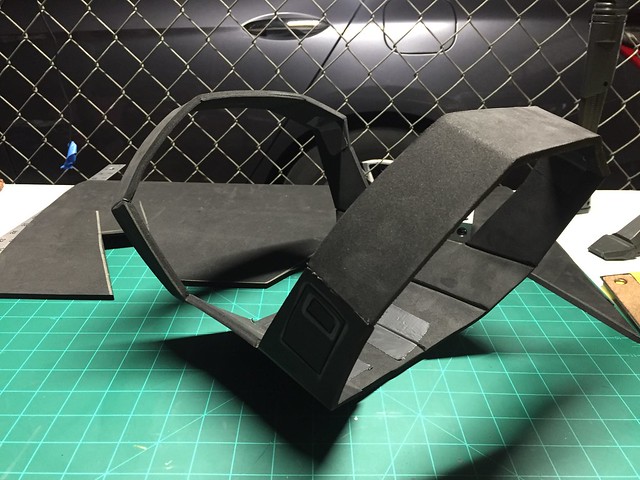
I decided to knock out the small 2 button box on the left side of the chest. (relative) I traced it out as 1" wide by 2" high.
33468343453_e136fc95ba_c.jpg


Cut out the edges on the back side and folded the piece together. Then changed tactics and trimmed the top and bottom to make them insert pieces.
34147400781_ed69c9719a_c.jpg


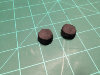
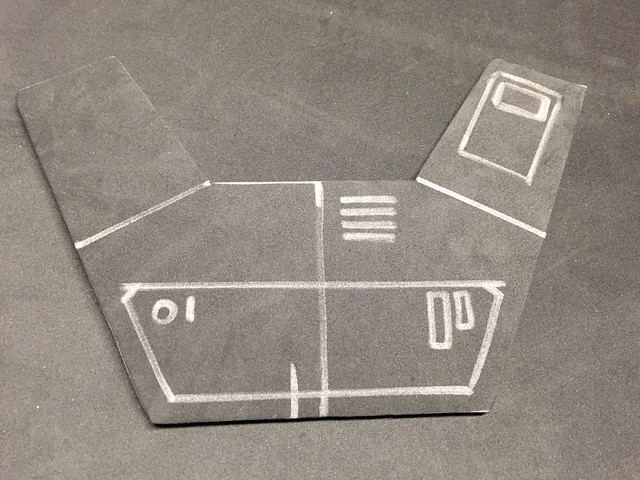
Carved out the two buttons. I might replace these later with plastic.
33436549794_c7c613eb6e_c.jpg


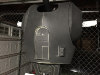
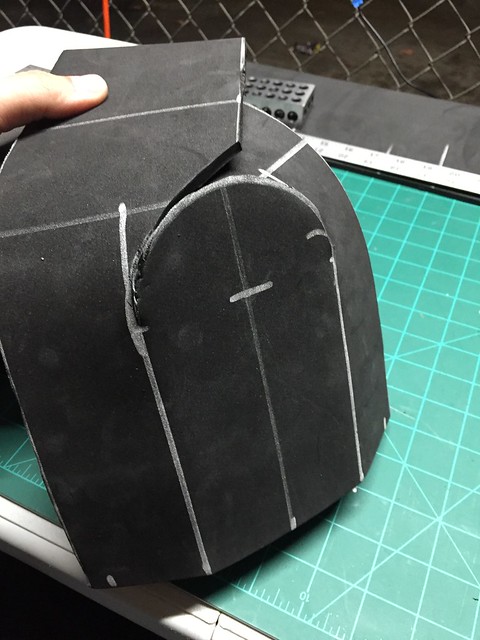
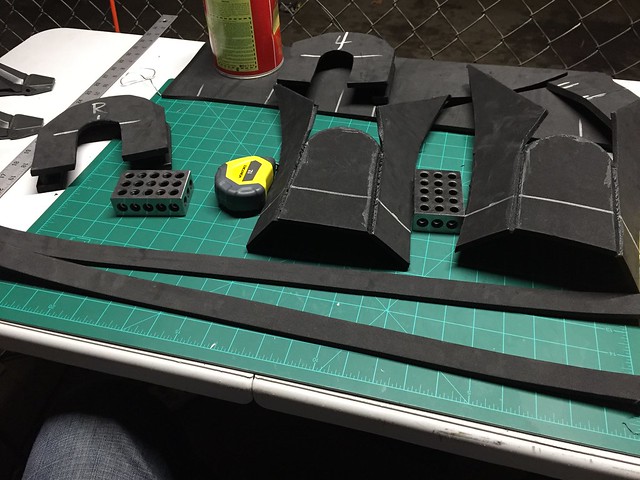
Coming along nicely. You can see my Stormtrooper armor bin in the background here.
33894479820_0ce5822d0b_c.jpg


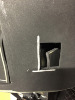
Cut out the 1" x 2" pocket. Had to remove some material behind it from the lower torso.
34147401321_5a101dc7d9_c.jpg


Also added a small notch to the top of the front abs plate.
33436549804_6b0fd5254e_c.jpg


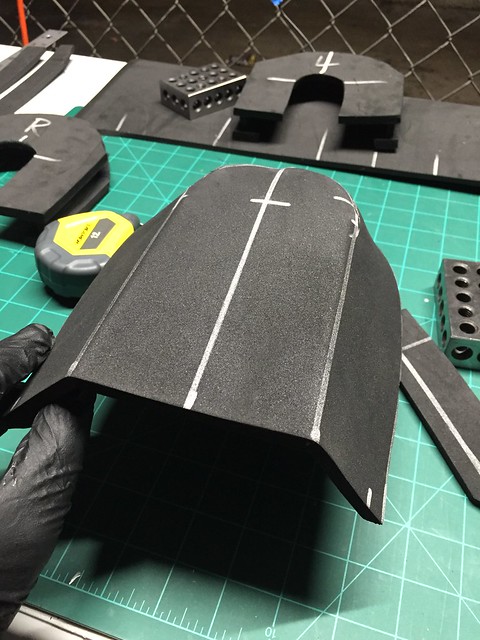
Now his torso is one step closer to being done.
34147400951_d57c2a6ff6_c.jpg


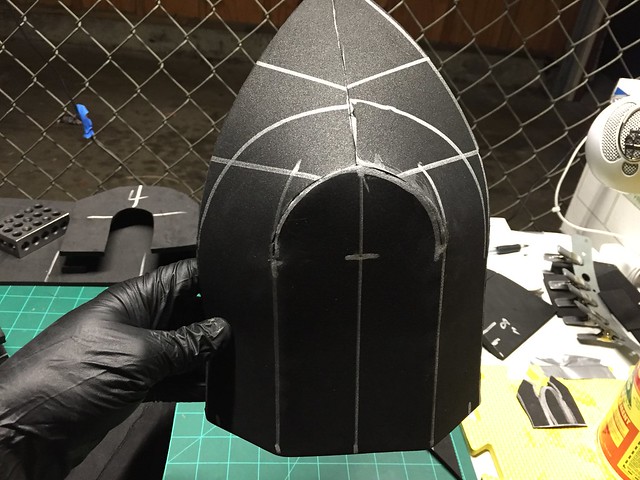
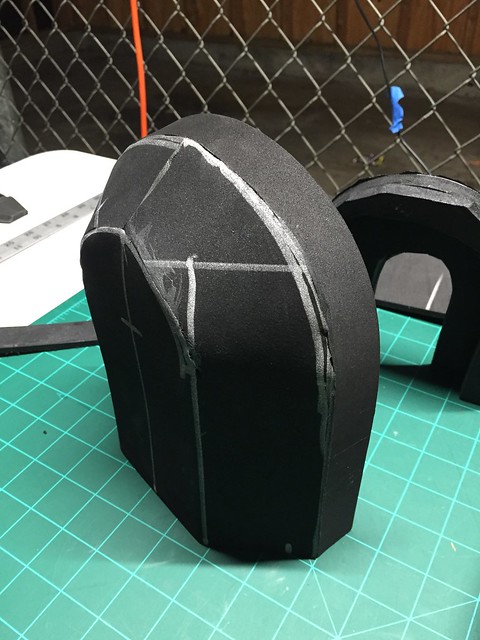
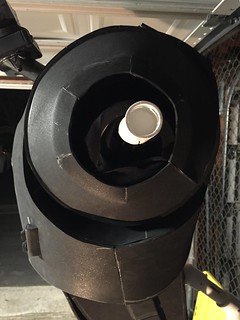
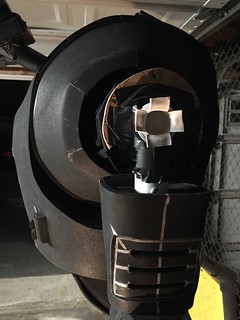
More work tomorrow night. I think i'll finish the shoulders then so the arms will be 100% done. I'll also finish the shoulder cone detail work and the neck cone.
Adam asavage talked about how he used an iPhone robo voice app to give his Totoro some sound. I downloaded an app called RoboVox which seems to do the trick. Just need to pick up a 1/4" split adaptor to output the sound to my aker and receive an input from my over the ear lav mic. Thanks for the idea Adam. I should be able to run the program on the iPad mini already installed in K2's back. This will pass through my voice to get it sounding even more like K-2SO. I don't think running the POV camera app in the foreground will interfere.

Also excited that the Tested.com interview has hit over 200k views in just one week!

More K2 tomorrow night, the end is in sight.
 

Attachments

  • 34147401341_4c5420e439_c.jpg
    34147401341_4c5420e439_c.jpg
    157 KB · Views: 75
  • 33894479760_fd010abb5c_c.jpg
    33894479760_fd010abb5c_c.jpg
    168.5 KB · Views: 68
  • 33468343453_e136fc95ba_c.jpg
    33468343453_e136fc95ba_c.jpg
    136.2 KB · Views: 75
  • 33894479400_4f49f12d5d_c.jpg
    33894479400_4f49f12d5d_c.jpg
    121.1 KB · Views: 68
  • 33894479820_0ce5822d0b_c.jpg
    33894479820_0ce5822d0b_c.jpg
    130.4 KB · Views: 72
  • 33436549794_c7c613eb6e_c.jpg
    33436549794_c7c613eb6e_c.jpg
    107.4 KB · Views: 79
  • 34147400781_ed69c9719a_c.jpg
    34147400781_ed69c9719a_c.jpg
    137.7 KB · Views: 73
  • 34147401321_5a101dc7d9_c.jpg
    34147401321_5a101dc7d9_c.jpg
    145.3 KB · Views: 86
  • 33436549804_6b0fd5254e_c.jpg
    33436549804_6b0fd5254e_c.jpg
    104.7 KB · Views: 77
  • 34147400951_d57c2a6ff6_c.jpg
    34147400951_d57c2a6ff6_c.jpg
    127.1 KB · Views: 82
Last edited by a moderator:
Worked during lunch today to template out the tow shoulder bells.


Figured out the angle they would bend at so I could be sure to add extra material on the sides.


Made an angle guide to keep everything straight as I cut.


Ready to start cutting


First beveled cut on the curved middle.


Arch part cut and a single line cut along the top. Now to fold.


Folded the bevel curve, then clamped together to make a cut through both pieces.


These top "horns" now will join in the center perfectly.


Are you sure this isn't a Batman cosplay? Carved out two channels on the back to aid in the folding.


All of the pieces are now glued and tacking up.


Glued the top edges together to make the curved shape.


These almost look cooler with the points at the top. Almost.


Propped up a sharpie to the hight of the side edges and traced the arc around the top.


That worked pretty well. Now I can continue the angled cut around the top.


It sits flat so I must be cutting straight.


Both sides cut. I have the edge at a 45* angle to join with a 1" strip around the edge.


Beveled the edges of the inside horseshoe to better fit into the shoulder bell.


Ready for more glue.


Added the 1" strip around the edge first.


Nice seam work. Will fill and seal later.


Spent a lot of time fitting this horseshoe into the shoulder bell. But got it centered and just right.


Progression of putting the arm on. First hook the slip ring over the shoulder joint. Next add the end plug and clamp the sleeve disk. Next add the shoulder bell with the horseshoe inside.


They look great from the side, feel a tad bit small but I can live with it. From the front they don't cover the bicep as much as I had thought but this also allows the shoulder to pivot out enough for more range of motion. A little bit of black in here and maybe some foam over the top of the bicep and we'll be good to go.


K2, Shake!


Again, they shoulder bells feel a tiny bit small, or the biceps feel a little big, but I can live with those dimensions. The range of motion is still there and his ARMS ARE DONE!


This weekend I'll be working on the pelvis and upper legs. The end is so close!
 
Hi Darren, a few days ago watched the Tested interview and those mirrors on the elbow really made an impression on me, i liked the effect. Today i went to my local kids museum and they have a well which is an ilusion, the well is really 1 meter deep with a mirror in the bottom but when you look into it it does not reflects your own imagen, so a guide told me that the reason for it is because at the top is a sheet of polarized acrilyc, so i thought you could apply this technique.
PozoEfectoExplora.jpg
 
Hi Darren, a few days ago watched the Tested interview and those mirrors on the elbow really made an impression on me, I liked the effect. Today I went to my local kids museum and they have a well which is an illusion, the well is really 1 meter deep with a mirror in the bottom but when you look into it, it does not reflect your own image, so a guide told me that the reason for it is because at the top is a sheet of polarized acrylic, so I thought you could apply this technique.
View attachment 724843


Hmm, I'll have to look into that technique. It seems like the well looks like it goes on forever in darkness. But for my technique, I want a reflected area so it appears to be hollow. I'll do some testing and see. Thanks for the link.
 
Hmm, I'll have to look into that technique. It seems like the well looks like it goes on forever in darkness. But for my technique, I want a reflected area so it appears to be hollow. I'll do some testing and see. Thanks for the link.

Yes indeed, it goes forever in darkness. I just noticed i wrote acrylic wrong, sorry i have dyslexic fingers.
 
Picked up 3 stencils for the shoulder Imperial Cogs. I plan to make an extra shoulder, put the white cog on it then paint a rebel fire bird over it. I can swap that shoulder out when I like.

33473594894_caa8bffb9c_z.jpg


Downloaded the RoboVox voice changer app that Adam Savage talked about. Also got a mic/speaker splitter for my iPhone But only the speaker part seems to work. It shifts over to the built in mic for the input. I'll still need to do some tests and get another cable. If someone knows the exact cable please let me know.
34325748295_875d63eaea_z.jpg


Reworking my puppet paddle connections. Got a left and right wrist brace. Was planning on putting rare earth magnets on the back but I don't think they will be strong enough.
34216753371_03b7879abf_z.jpg


I also want to eventually rework the neck servos to be controlled with small joystick similar to this.
33507038074_f6e7a3b3f8_z.jpg


My little helper always likes building K-2SO with me.
34196997722_1571fe72da_z.jpg


Took apart the back half of the hand linkages.
34196965632_d579cd377f_z.jpg


Drilled out the rivets on the PVC pieces. I'm keeping the piping and the hinges.
33544580053_9f5018fa87_z.jpg


Cut an extra piece of wood and extended the paddle about 3". This will support the arm brace.
33544579833_c5cae6037b_z.jpg


I've been R/D'n this problem for a long while. I think a solution is to make these loops of wire that can be sewn or attached at my fist knuckle joint on the glove. The glove will be cut open and attached to the paddle. This lets me use the leverage of the hinge but keep my flexibility.
34314229286_908333b4a2_z.jpg


I screwed the arm brace to the paddle with 3 screws and washers. Added a 6mm piece of foam over it for comfort.
34196965722_2b7c87c9c6_z.jpg


Started working on the shoulder details. Cut out two curves with my COMPASS! Yes! No more wire compasses for me.
33513234294_227aca0887_z.jpg


From the big fig and some screen shots I traced out the pattern he has on the shoulder cones. Fortunately it is mirrored on both sides.
34224550441_1985b1e366_z.jpg


The big fig details matched the screen caps.
34314228706_af3385e224_z.jpg


A lot of time tracing, then mirroring the pattern.
33971109250_8ee0cdb393_z.jpg


Scored and then heated all of the marks to create seams.
33544615363_4a10cd7008_z.jpg


Lots of labels while I work to keep all of the pieces straight. It's nice that everything will have a coat of paint over it.
34224578581_a5d49d26f1_z.jpg


Prepped the glue sites.
33513259334_da73493e11_z.jpg


Glued down. I left plenty of room for the yellow ring to be painted in the inner edge.
34224578571_8148e8cfaa_z.jpg


Not too bad.
33544615133_f401a6e2d4_z.jpg


The sides pretty much match. I could always claim some shoulder rotation if they didn't.
34314253906_d96bb38c8b_z.jpg

I really like taking the time to put these small details in.
More work tomorrow on some detail work.

Also I may be going to San Diego Comic-Con for the first time this year. I'll keep everyone posted but you can be sure that if I go, K2 goes.
I got to share my build with Egg Sisters Cosplay Kotoni , I love sharing about K2, especially with people who do such amazing foam work.

Everyone keep building, more updates tomorrow.
 
Last edited by a moderator:
Started work on the pelvis.


Might be a bit wide at the base but it seems to balance. Using the template I made when designing the abs.


Score marks expanded with the heat gun.


Trying to minimize foam use as I'm down to my last 1.7 sheets.


Heat expanded scores on the back plate. I want to make a pocket here I can store my phone etc while operating K2.


Tricky balancing building the piece and needing to fit it on the PVC before finishing the seams.


Now for the outer octagons and inner fill.


If you're in the LA area tomorrow (Tuesday 5/2) i'll be bringing K2 by the Vocademy Makerspace in the evening during their "Do It Together" Tuesday evenings. I'm going to inquire about some arduino help for the 2.0 neck servos.
vocademy-great-2017.jpg
 
May the 4th be with you. The other day I took K-2SO out to the Vocademy Makerspace.


This was the third walking test, taking him around the facility and outside.


Still need to finish his pelvis and upper legs but he held up very well. I've decided to keep the strapped in hand brace on my right puppet hand but go for the looser elastic loop on my left. This way I can get myself out of the hand holds if I need too without any assistance. But I seriously need to upgrade his stand, the weight is starting to bend the aluminum stand.


The captain says you are a friend.


K-2 checking out Cathy their giant laser cutter.


There were a lot of fun projects around.


Sign from Chuck.


They donated a computer fan which I will add in this large port. Having a little air blow out towards my face will help during those long troops.


K2, what will you make today?


Like many Star Wars fans I have a closet full of t-shirts. Today I bought my first rebel shirt.


More progress this weekend. Hope to have him submitted to the Rebel Legion by the 17th.
 
The iphone is very finicky with respect to input/output and voice modification. In my other life I am pursuing a TK project (Stormtrooper) and the for any of the aps that are used to modify or add to voices the kvconnection splitter is the go to hardware when connecting to an iphone. It costs a bit more but is a proven solution. Likely work for your application as well.

https://www.kvconnection.com/product-p/km-iphone-2trs-ecm.htm

Thanks for the tip. Ordered this connector. Should get here next week.
 
K2 took his last outing before completion. Down to my friends shop SoCal Games and Comics in Temecula. It was Free Comic book Day and K2 had to check out the Funko Pops.

34497321505_c3be25b7d9_z.jpg


I will buy this little friend, the captain sai..... well he is the captain.
33687381663_f3fa8e54d1_z.jpg


The light stand bent under K2's weight so he is held up in this picture by the comic display. Might need to get one of these Stormtrooper cutouts for a backdrop.
34112176260_b0f11cb72e_z.jpg


You are so tall K2.
34112174670_8bcf065d4a_z.jpg


Wow, if he looks this good in his unfinished state I can't wait to see him fully detail and weathered.
34179708750_c4069a87dd_z.jpg


A filmmaker friend of mine gave me a new light stand. This has a much thicker tube.
34403646222_dde7ba1989_z.jpg


The 1" pvc fit perfectly over the end with only a few mm on each side. I also shortened the connector pvc after the first 45 degree coupler. This moved his center of gravity closer to the stand pole.
33755130903_4629ca2536_z.jpg


Much more secure now. The pole only needs one sandbag and can take his weight with no bending or swaying.
34403646122_434c294d86_z.jpg


I'll be back in the shop tonight to take the next steps on his pelvis. Only 18 days until his premier at the Paul A Bain Library Star Wars Day in Rancho Cucamonga! It's our largest Star Wars event in the Inland Empire. On a bad note I twinged my back tonight playing with the younglings. Should heal up in the next 3 weeks but K2 puts most of his stress on the lower back so wishes for a speedy recovery.

Also scouted an AMAZING shoot location for a Rogue One photo shoot. It won't be until late June but trust me, these pictures are going to rock!
Here's a taste!
34495769455_5d12c97134_z.jpg


Also I cranked out a pink MSE-6 mouse droid for the 24 hour Bakersfield Relay for Life event! He joined some familiar characters in all pink.
34337046722_ba02d27a92_z.jpg
 
Last edited by a moderator:
This thread is more than 5 years old.

Your message may be considered spam for the following reasons:

  1. This thread hasn't been active in some time. A new post in this thread might not contribute constructively to this discussion after so long.
If you wish to reply despite these issues, check the box below before replying.
Be aware that malicious compliance may result in more severe penalties.
Back
Top