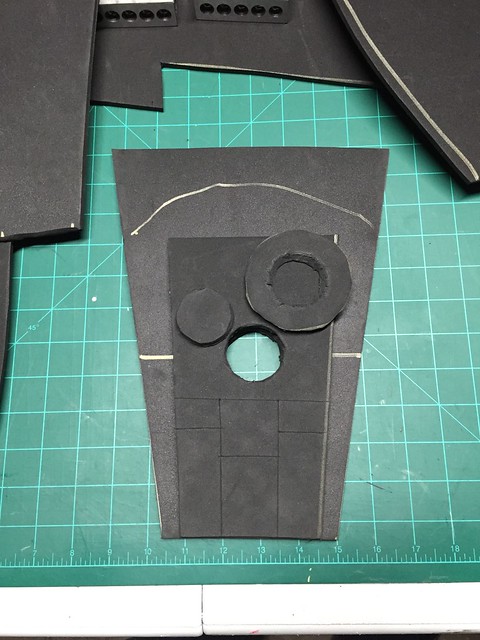
Getting into a good groove here. Focused on the details of the lower torso.
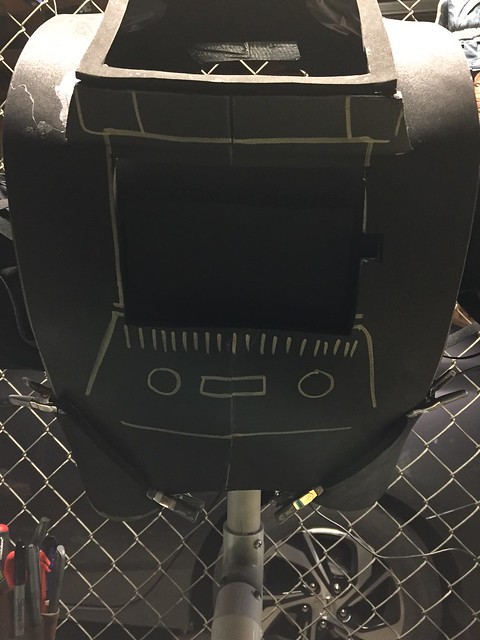
Layered the back panel. All scored seams were hit with the heat gun to make nice clean grooves.
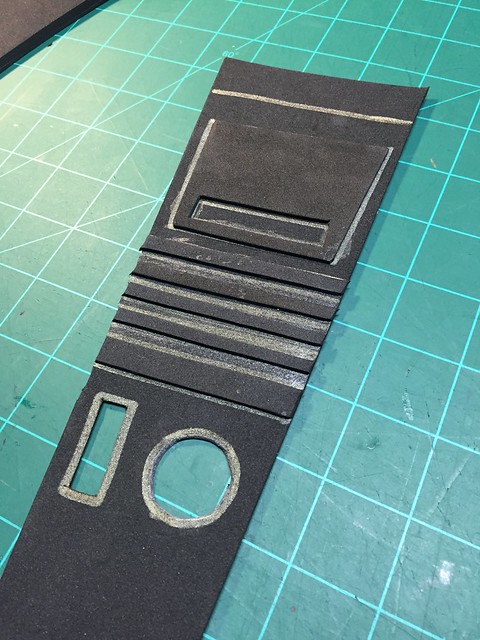
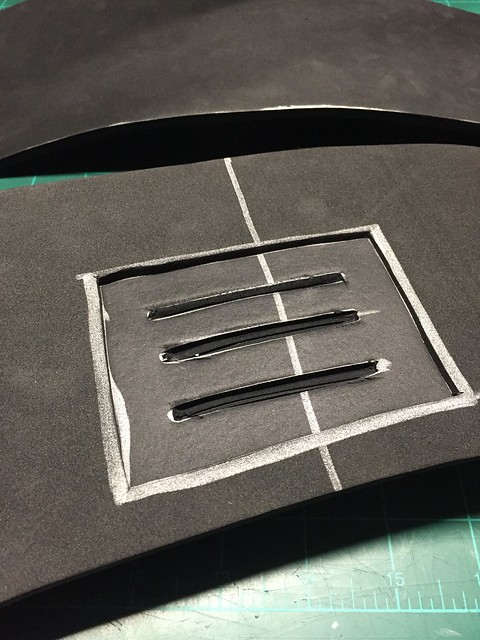
Added the edge details.
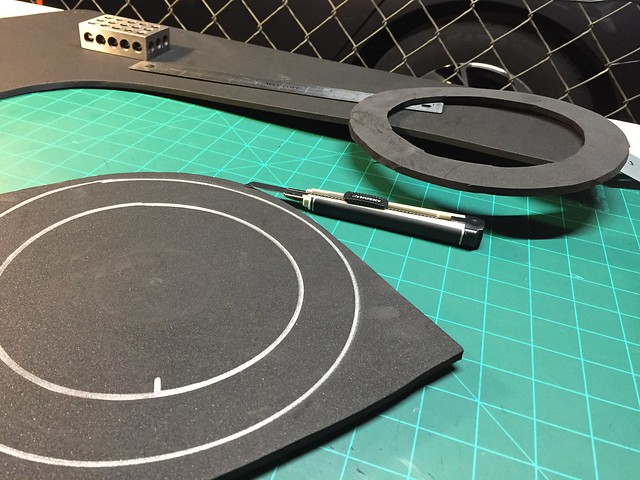
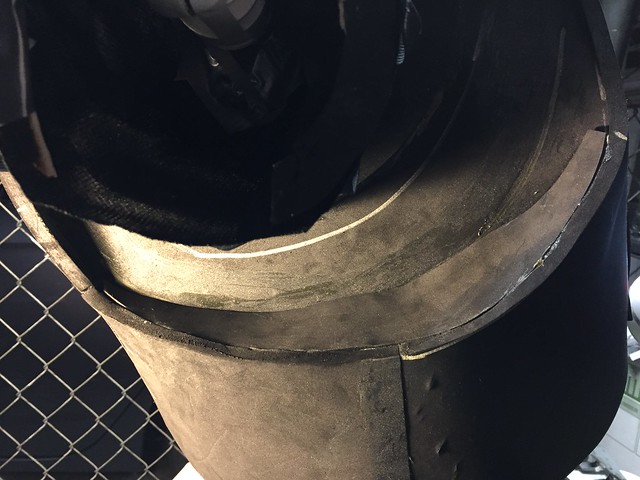
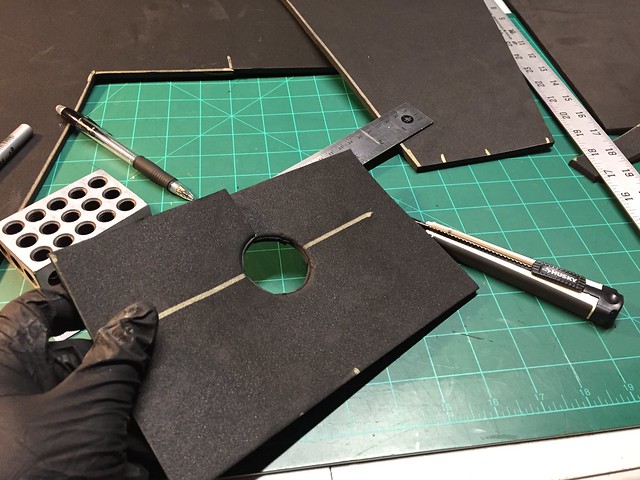
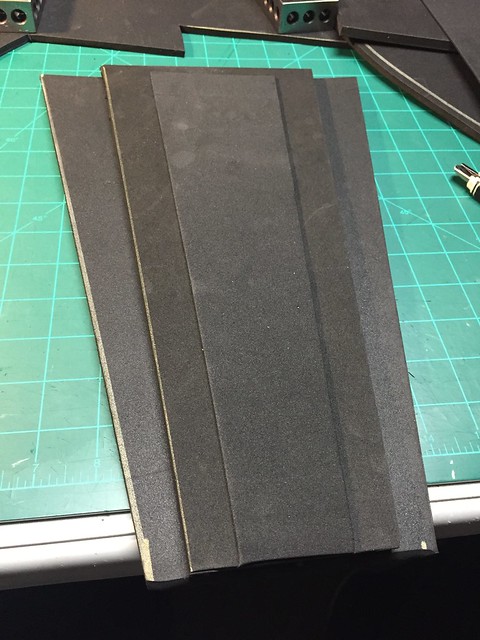
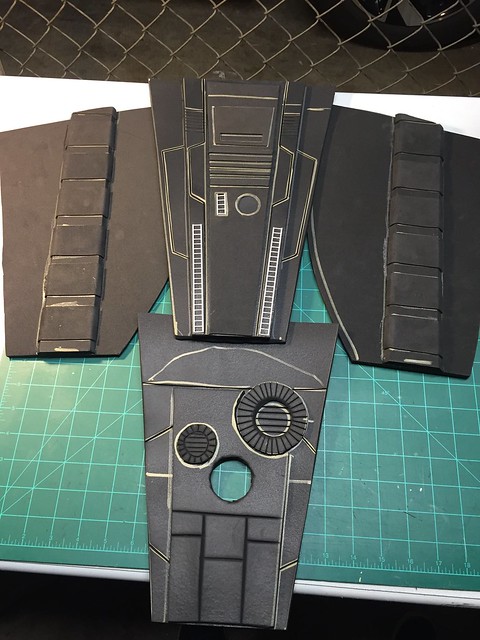
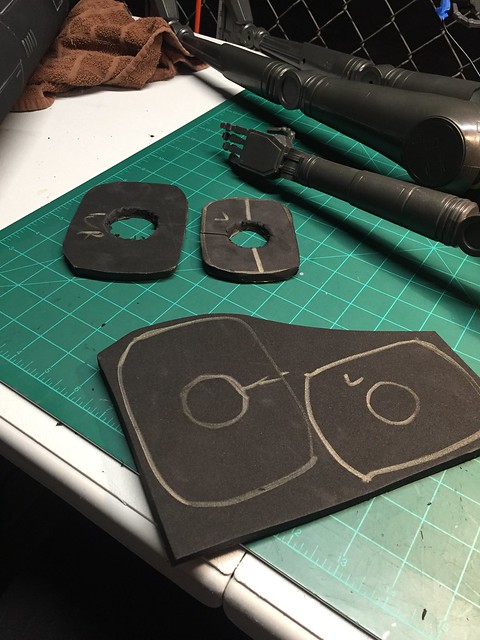
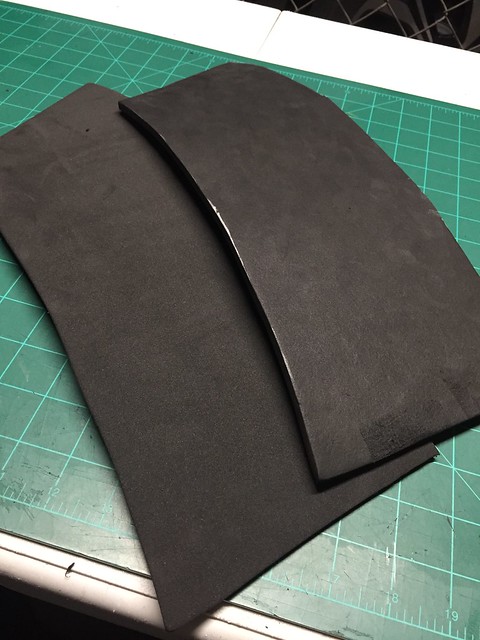
Starting on the side ribs. Hard to see on the toys but they are there.
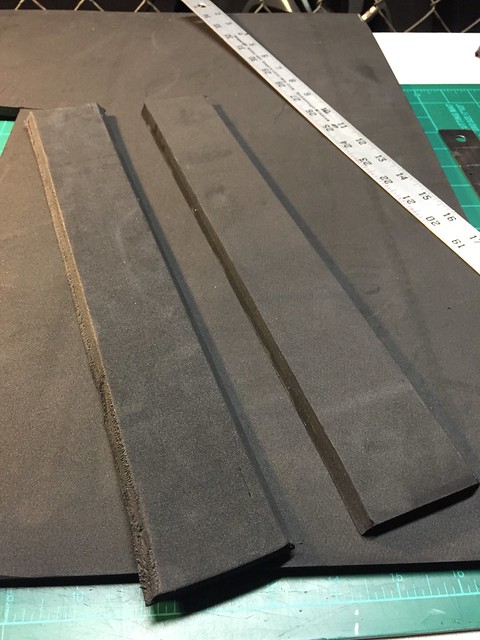
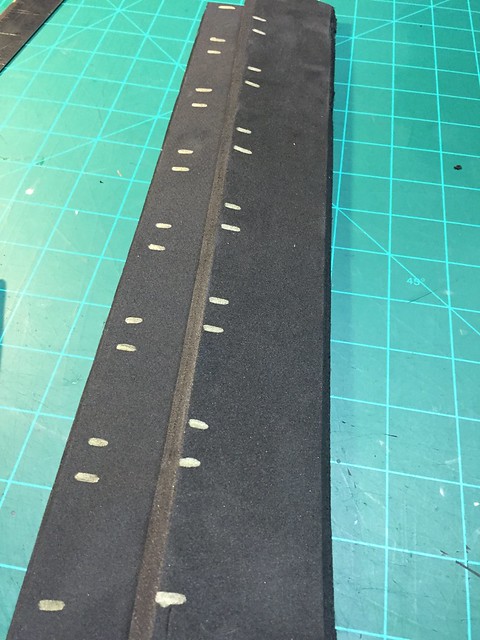
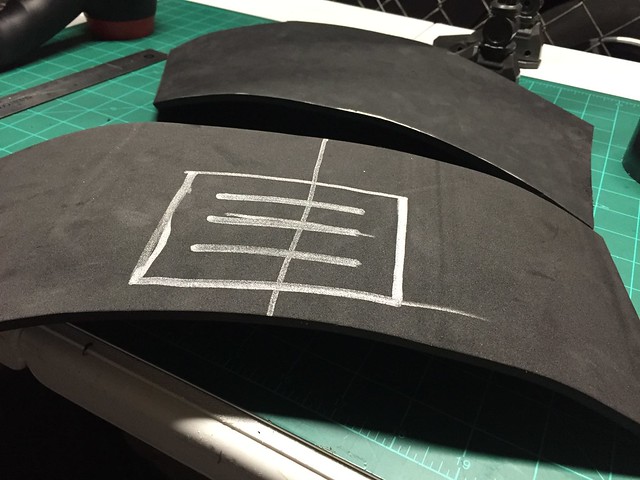
Marked off 1.5" spaces with .5" gaps.
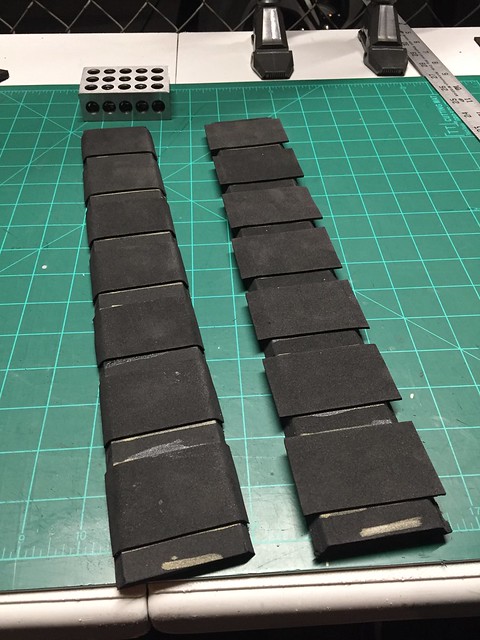
14 tiles ready to be glued.

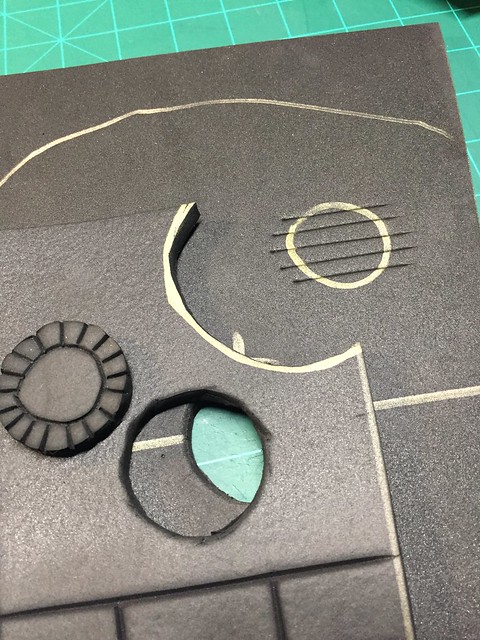
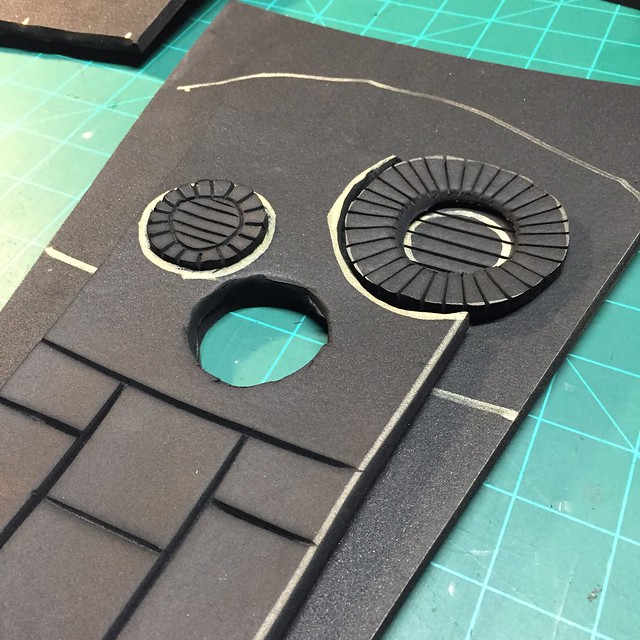
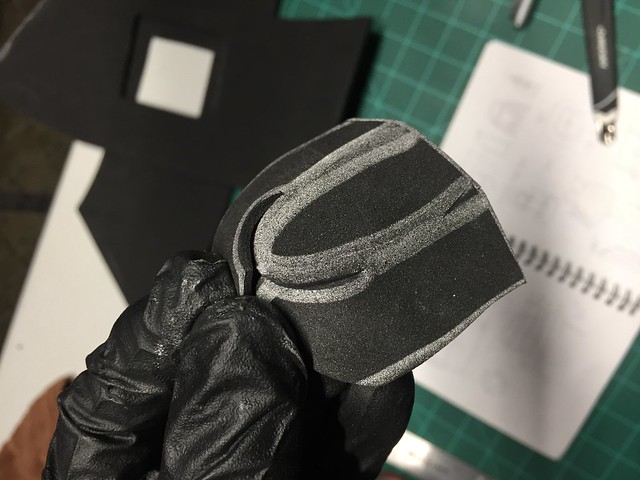
I love layering the 2mm foam over other foam to get these raised results.
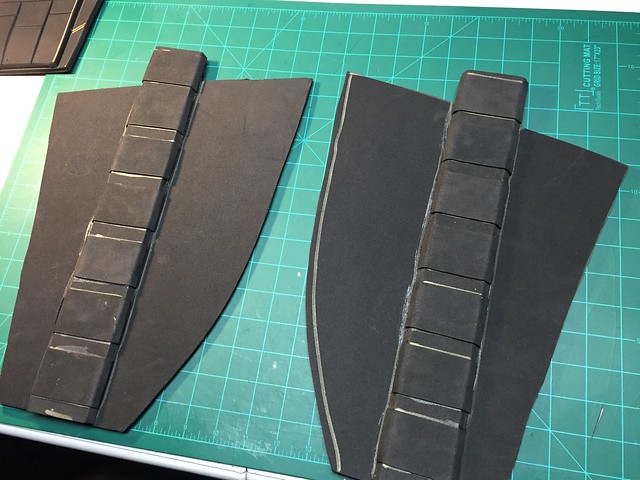
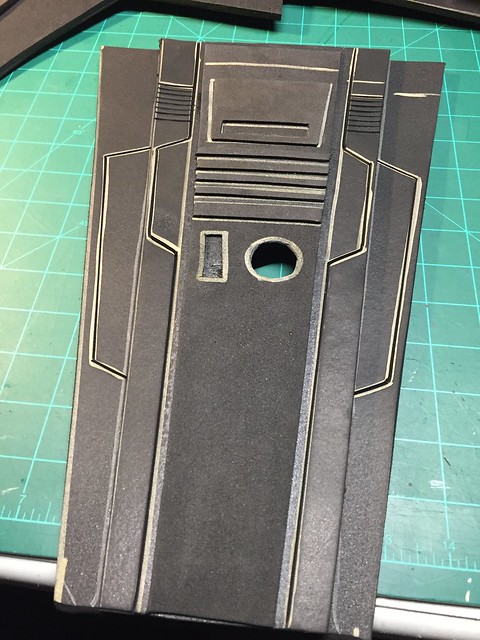
I'll trim the top some but these turned out great.
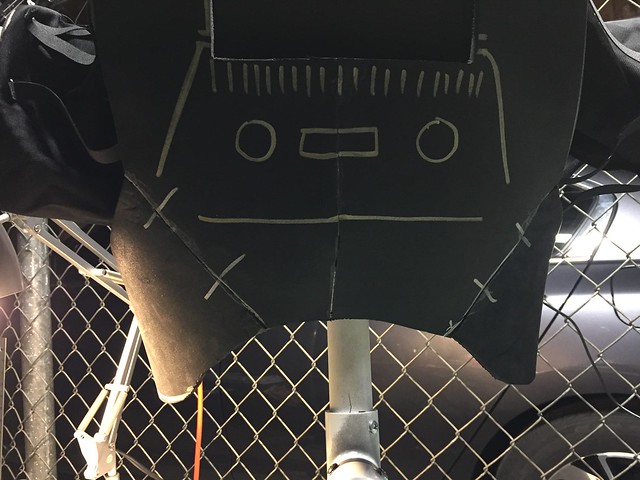
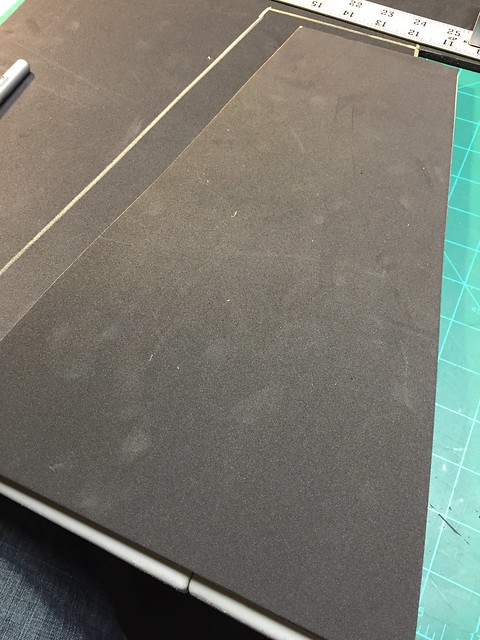
The front is 3 layers deep. 2x of 6mm foam and the top layer is 2mm.
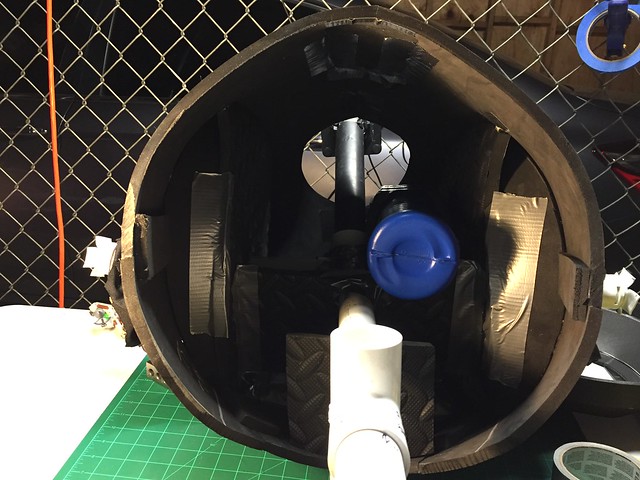
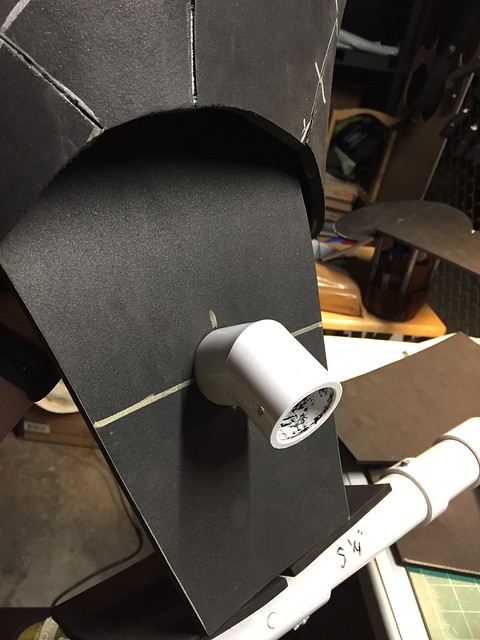
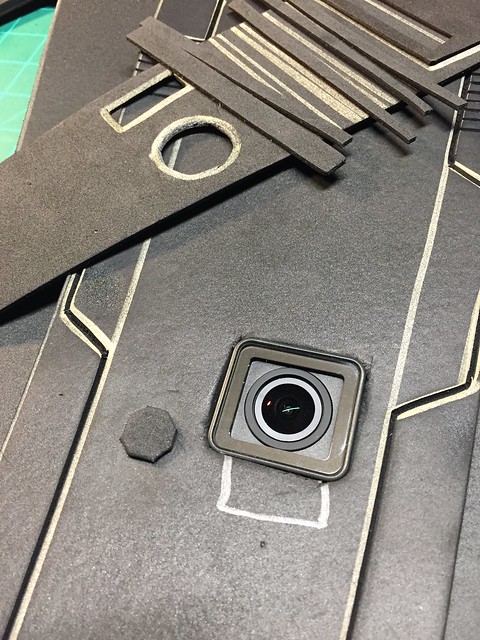
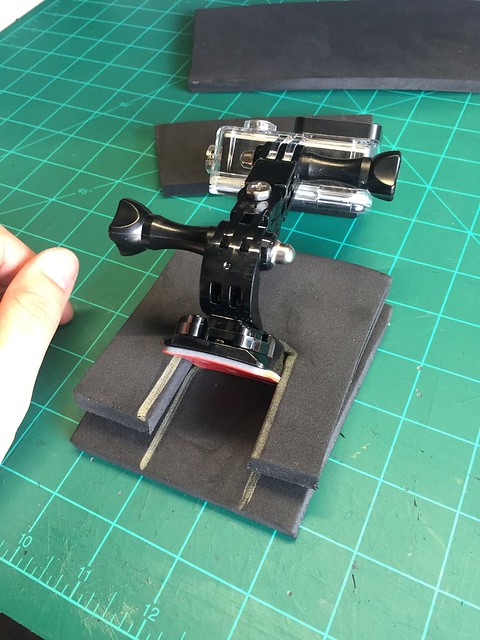
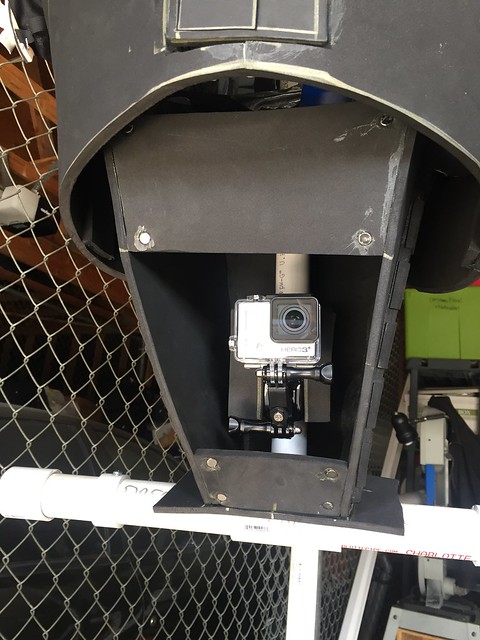
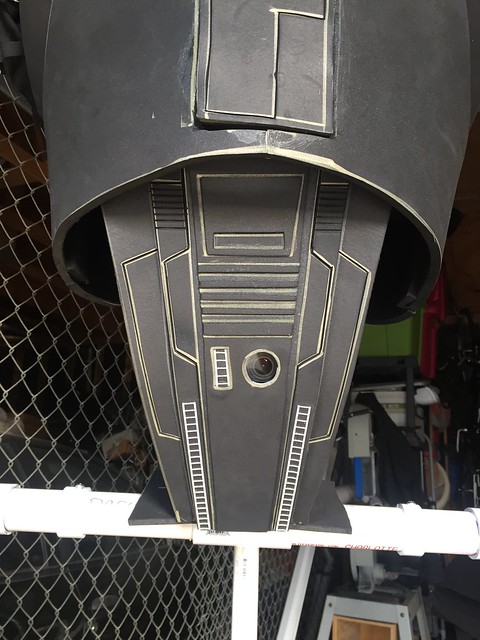
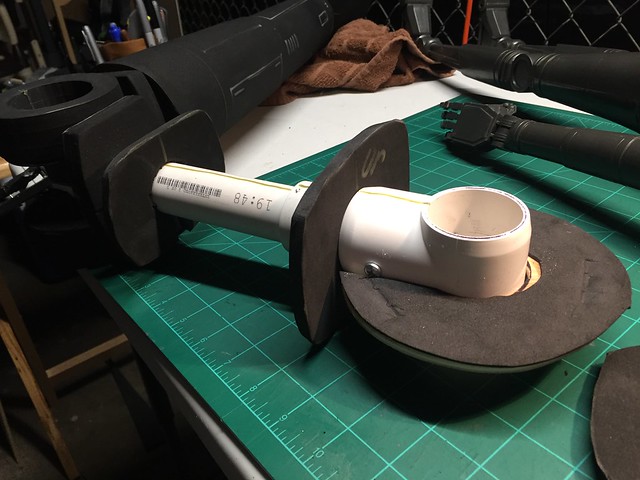
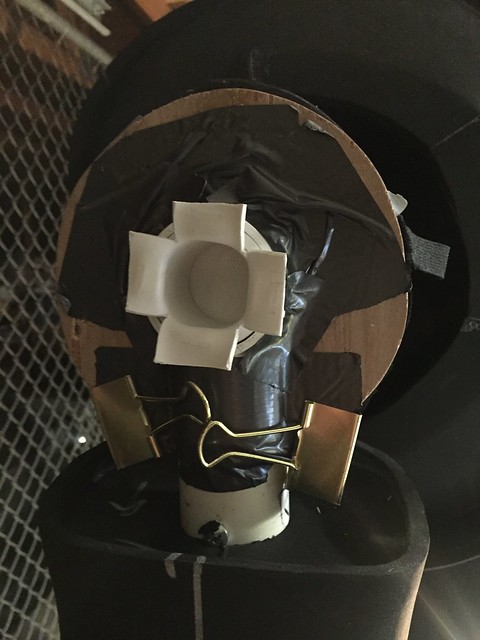
Lots of thought went into the GoPro mount. This will be a reaction camera that captures people's reactions to K2. I lined up the lens with the round port on the front. But also made a plug I can insert when not using the camera.
Layers of 2mm foam.

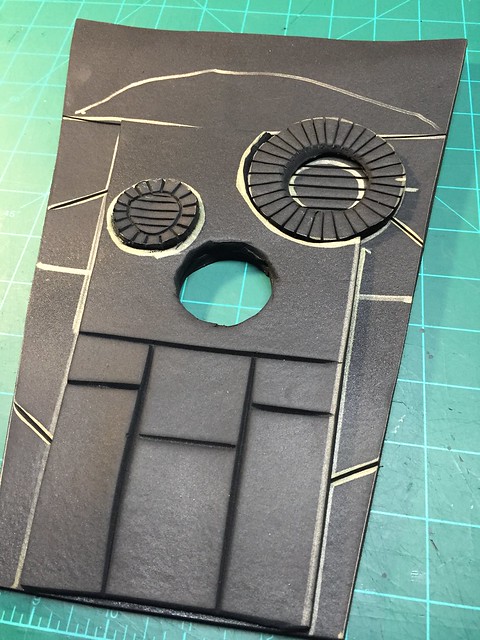
Trimmed.
All socre lines in place.
I bought these model railway ladders from a local hobby store when picking up the rc car struts specifically for this piece.

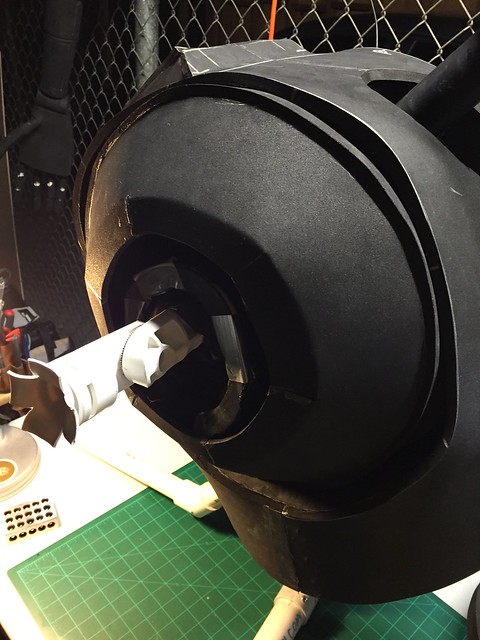
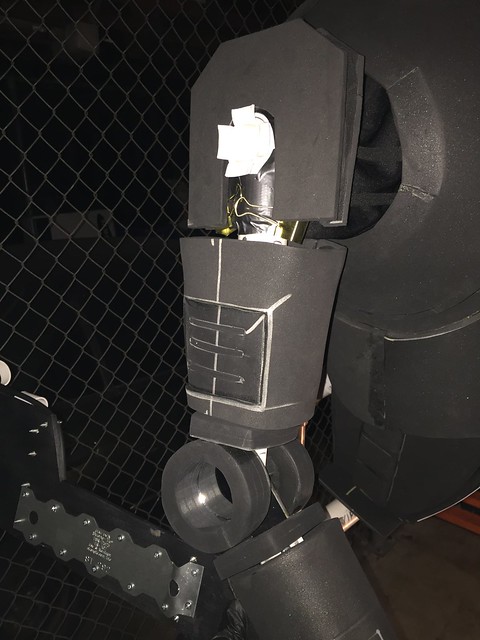
The backside is trimmed to fit the GoPro perfectly.
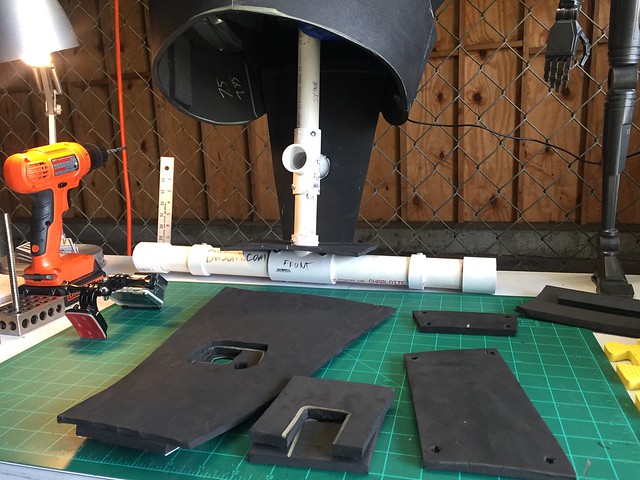
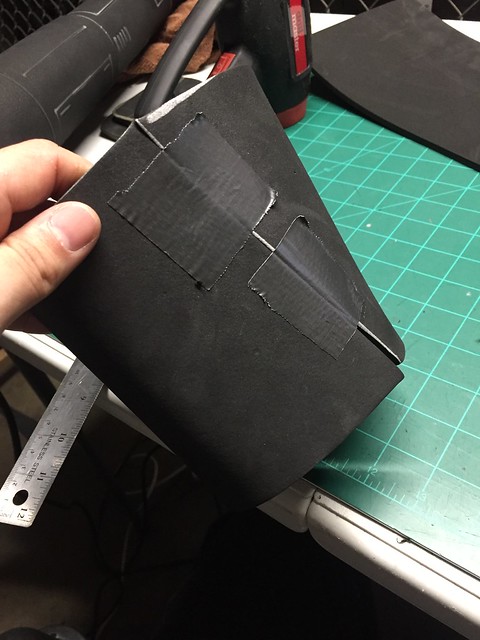
All 4 sides ready to be assembled.
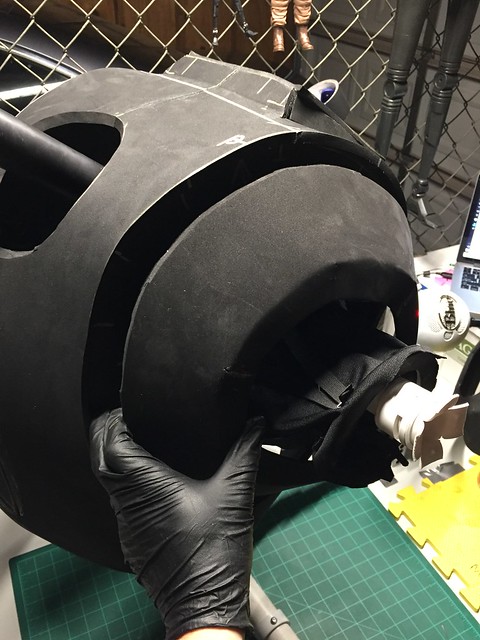
I taped them into place to determine how to keep access to the abs GoPro.
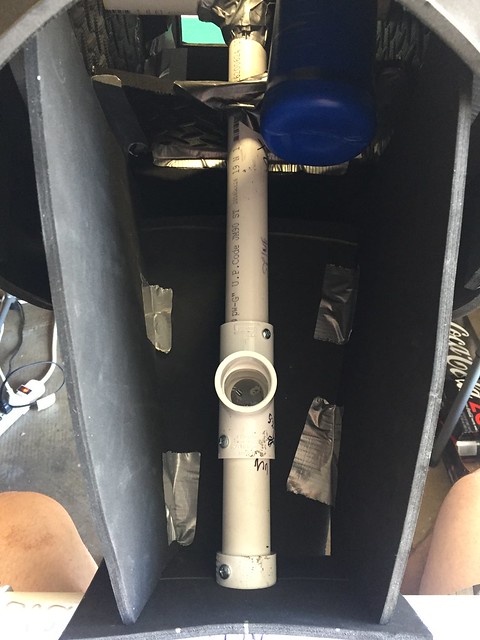
The back is almost solely held on by the mounting PVC.

Sides look good too.

Made up a layered mount that glues to the front of the 4way PVC coupler inside the abs.
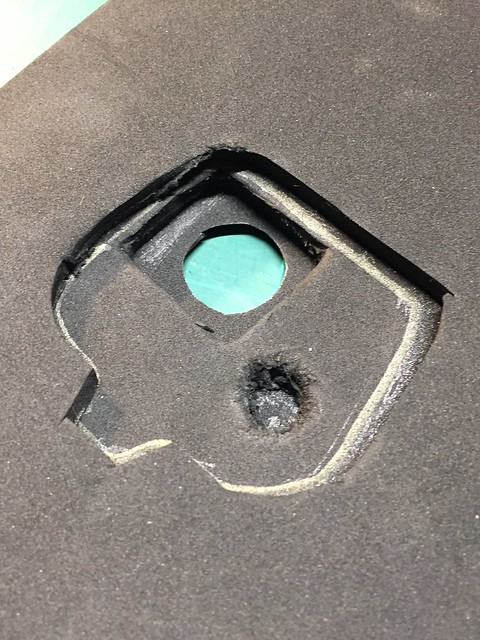
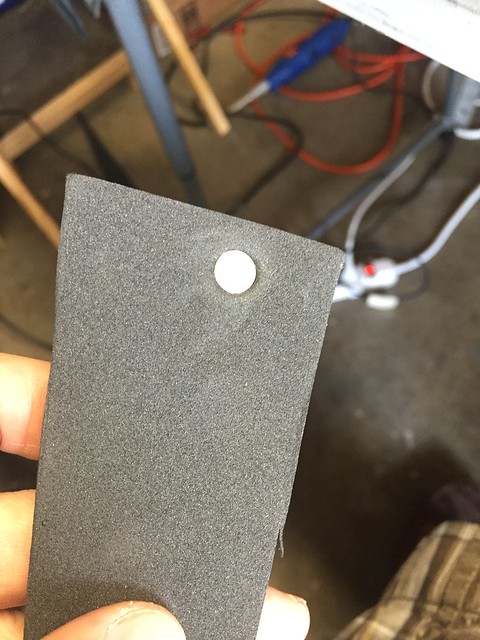
Tested countersinking small rare earth magnets into the front panel to hold it in place.
Everything is prepped for glue, waiting for it tack.
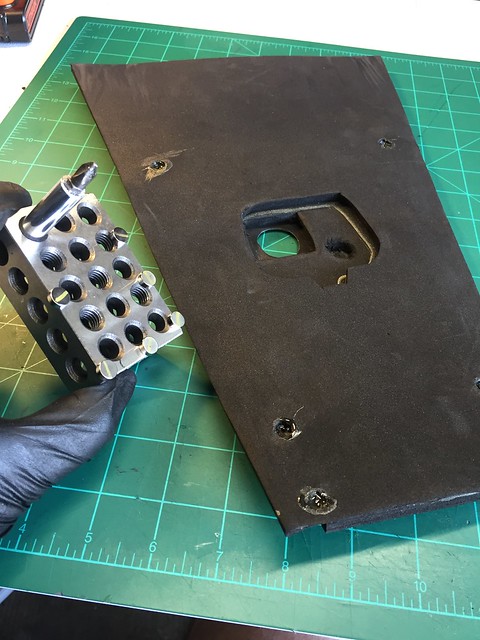
Front support panels mounted. 6 REM will hold the front panel in place, plus the friction of the top torso.
Marked the polarity on the second set of magnets. The last thing I want is two of them to be upside down and push instead of pull.
Just snaps right into place.
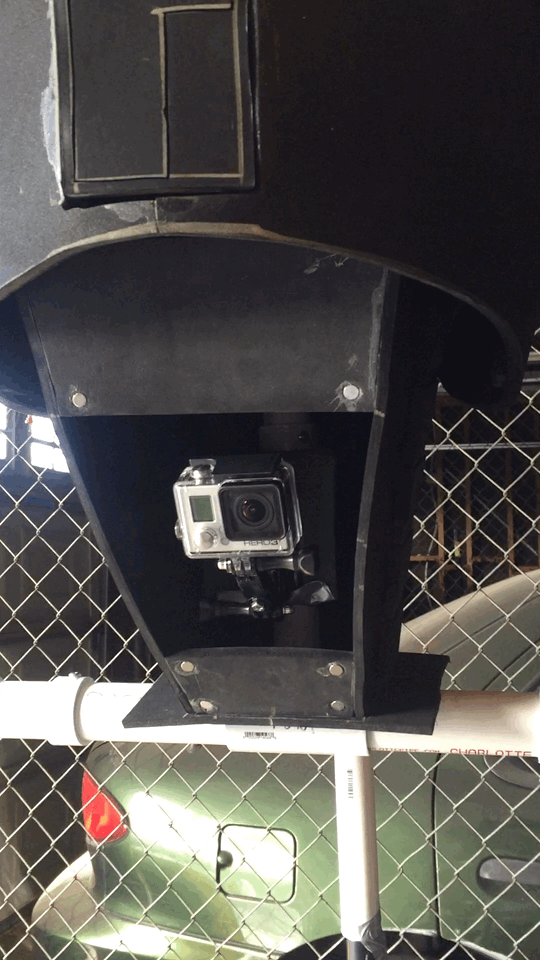
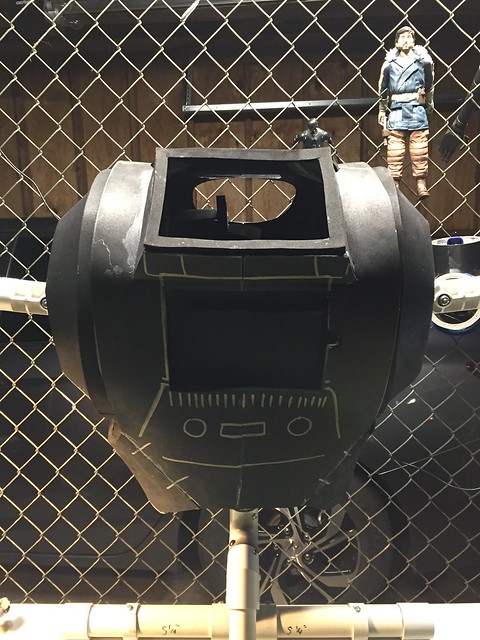
Now this is the ABS cam people! Not the crotch cam. that would be lower
")
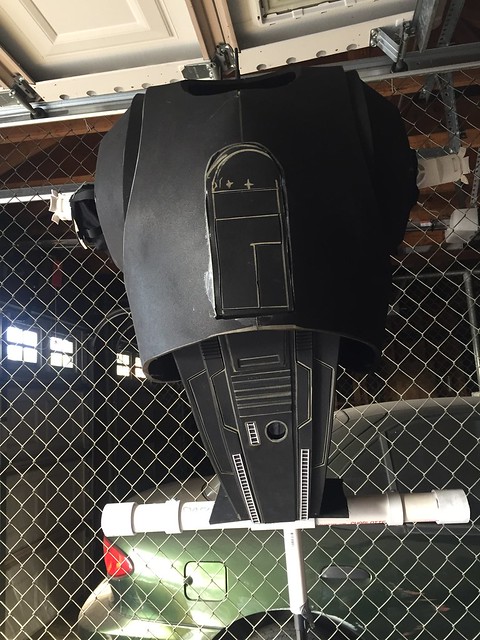
Really coming together.
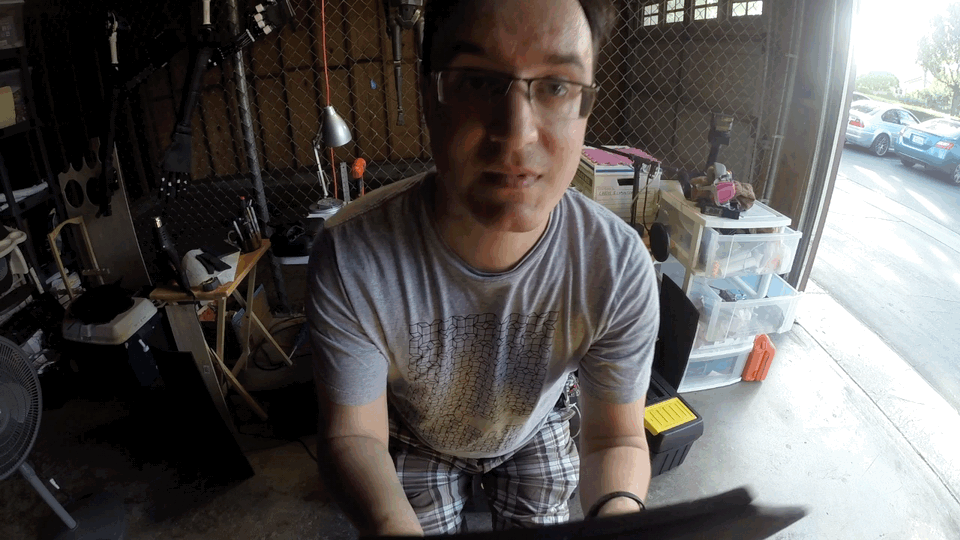
This is what the POV video looks like. Just a little blur on the edges but should pick up people great. Plus bounus it finds cute kids.
Nice profile too.

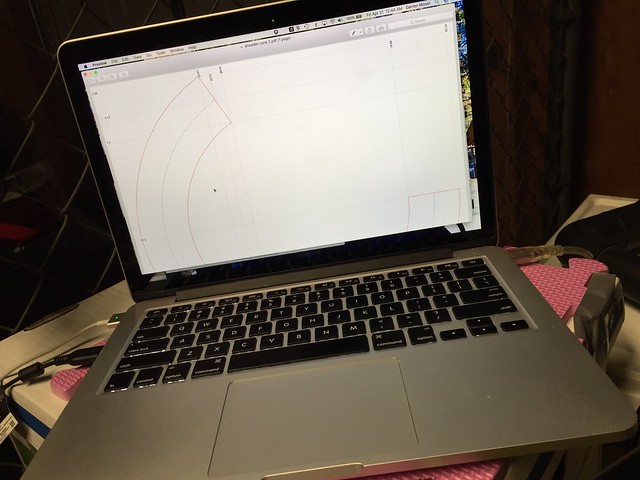
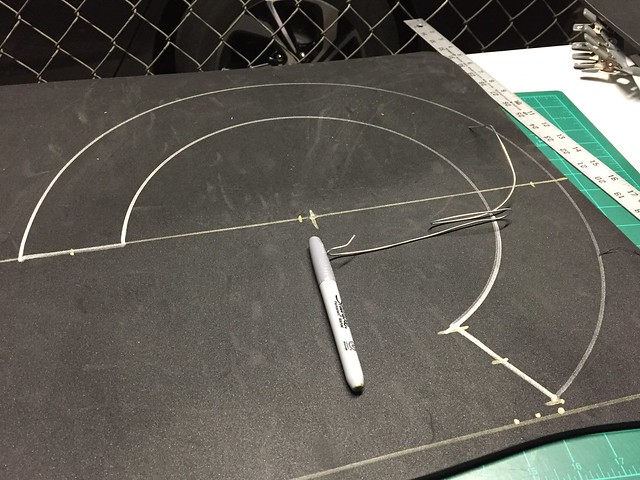
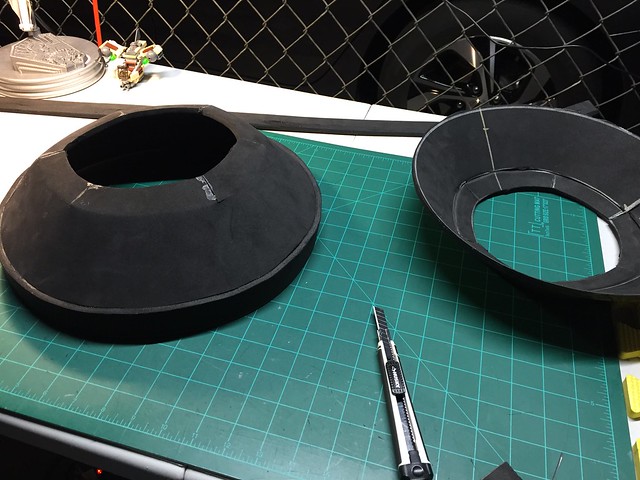
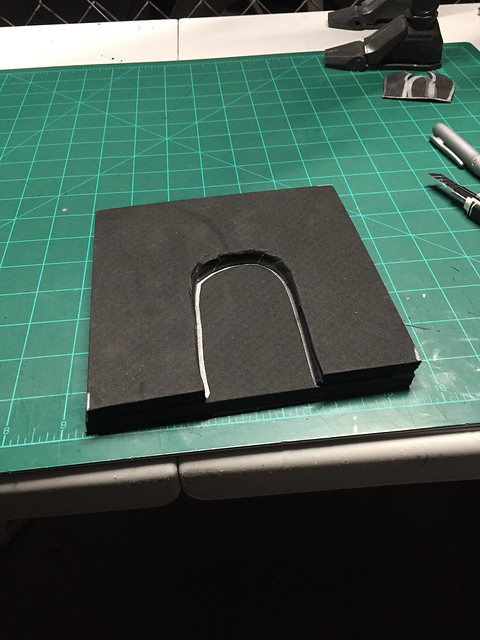
Started on the upper arms. Made a small mockup of the shoulder bell to test how the foam bends.
I think I can make it all in one piece.

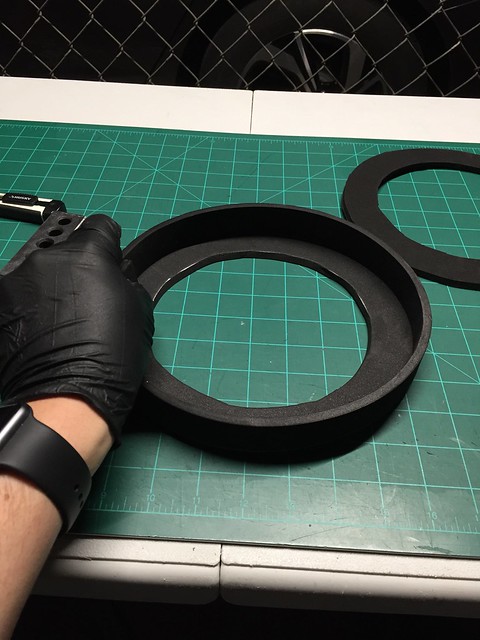
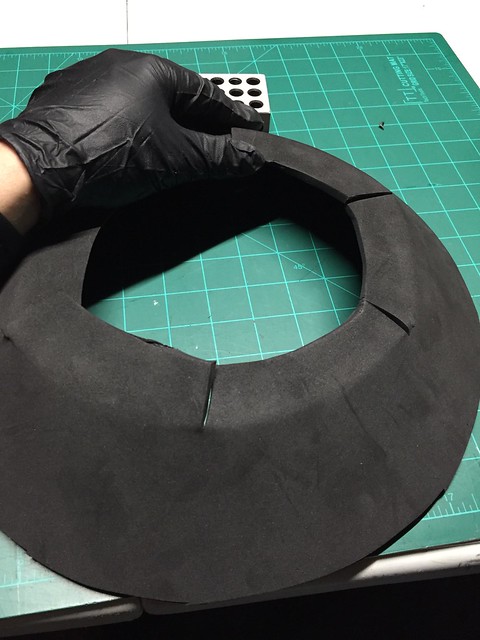
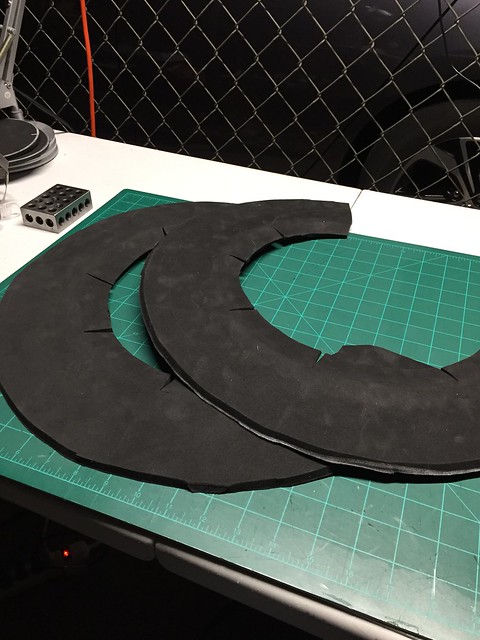
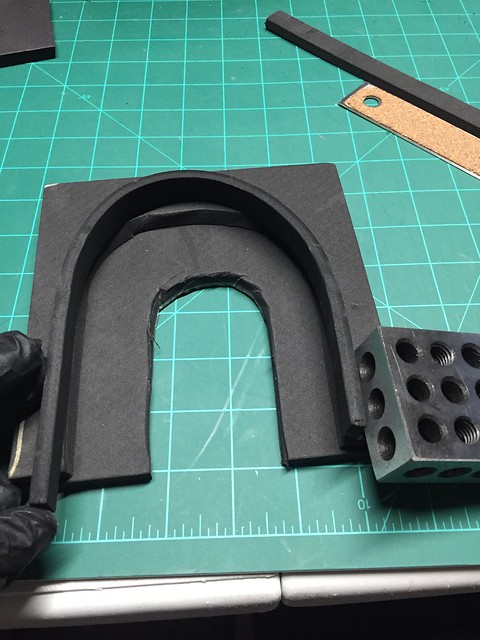
Cut the two bicep support rings.
This creates the slite cone shape of the bicep.
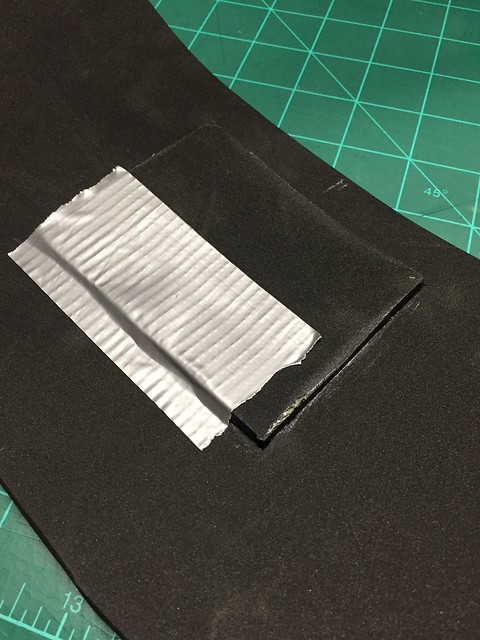
Didn't quite factor in the curve needed for the cone so some temp tape to get it lined up.
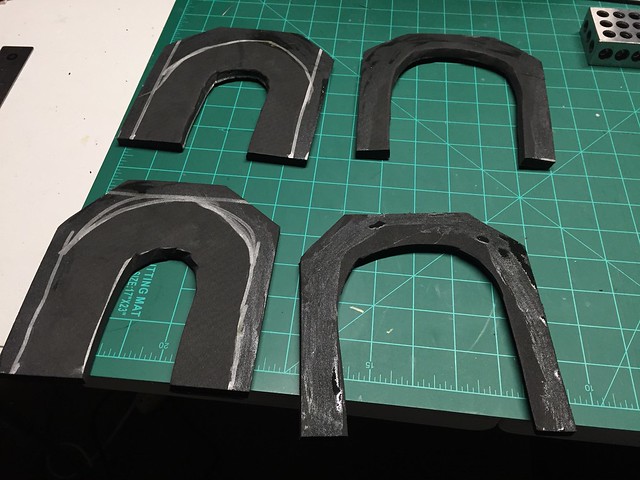
Always 2 there are. Always...
I've been eyeballing a lot more of this project as I get more comfortable with the foam.
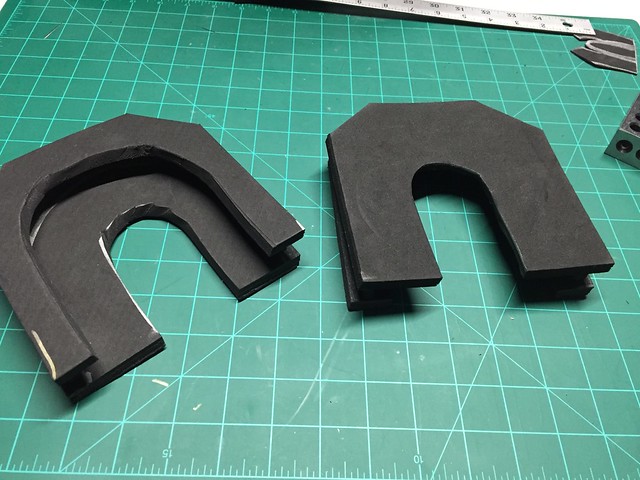
Countersunk the upper bicep plate in a little.
Glued on all edges but a little tape never hurt. Also with the bicep wrapped around and the stresses on the edges, I thought it was prudent.
Discs glued in.

Outer skin is on.

Looking nice.

Designing the clamp piece that will help hold the shoulder connection disk together and be the mount for the shoulder bell.
Simple foam spacer to sit on the wooden disk.
Glue glue glue.
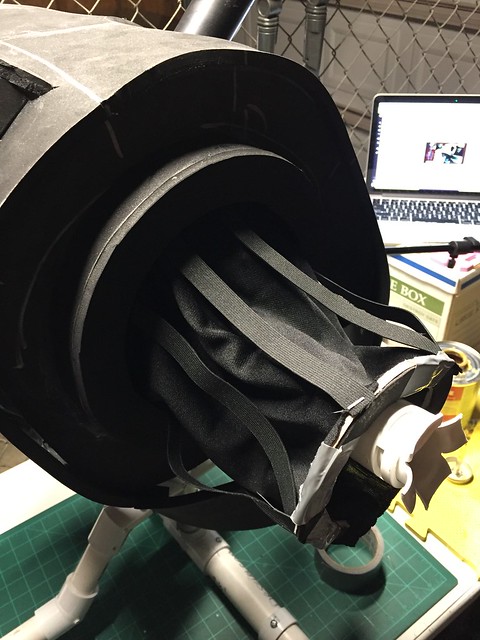
So the small horseshoe goes over the pvc slip ring. The larger one channels the shoulder sleeve.
Steps to connecting the arm. First insert the slip ring over the shoulder joint and attach the end plug.

Lineup the sleeve ring with the magnets and clamp the bottom with binder clips.
Add horeshoe clamp (which will have the shoulder bell on it.

Arrms are almost there. Just need the shoulder bell and the inner elbow joints done.
A little more work tonight in the shop. I won't be streaming but I still want to get the arms done.