You are using an out of date browser. It may not display this or other websites correctly.
You should upgrade or use an alternative browser.
You should upgrade or use an alternative browser.
1:1 Wall-e Build
- Thread starter welshwarrior123
- Start date
welshwarrior123
Well-Known Member
So ive been working on Wall-e, but kinda neglected this thread. So thought I would post some up to date things as well as showing what I have done.
So ive totally scrapped the top detail section, im going to re cut more accurate pieces, but the main work has been putting into getting all the pieces built and assembled before I start detailing.
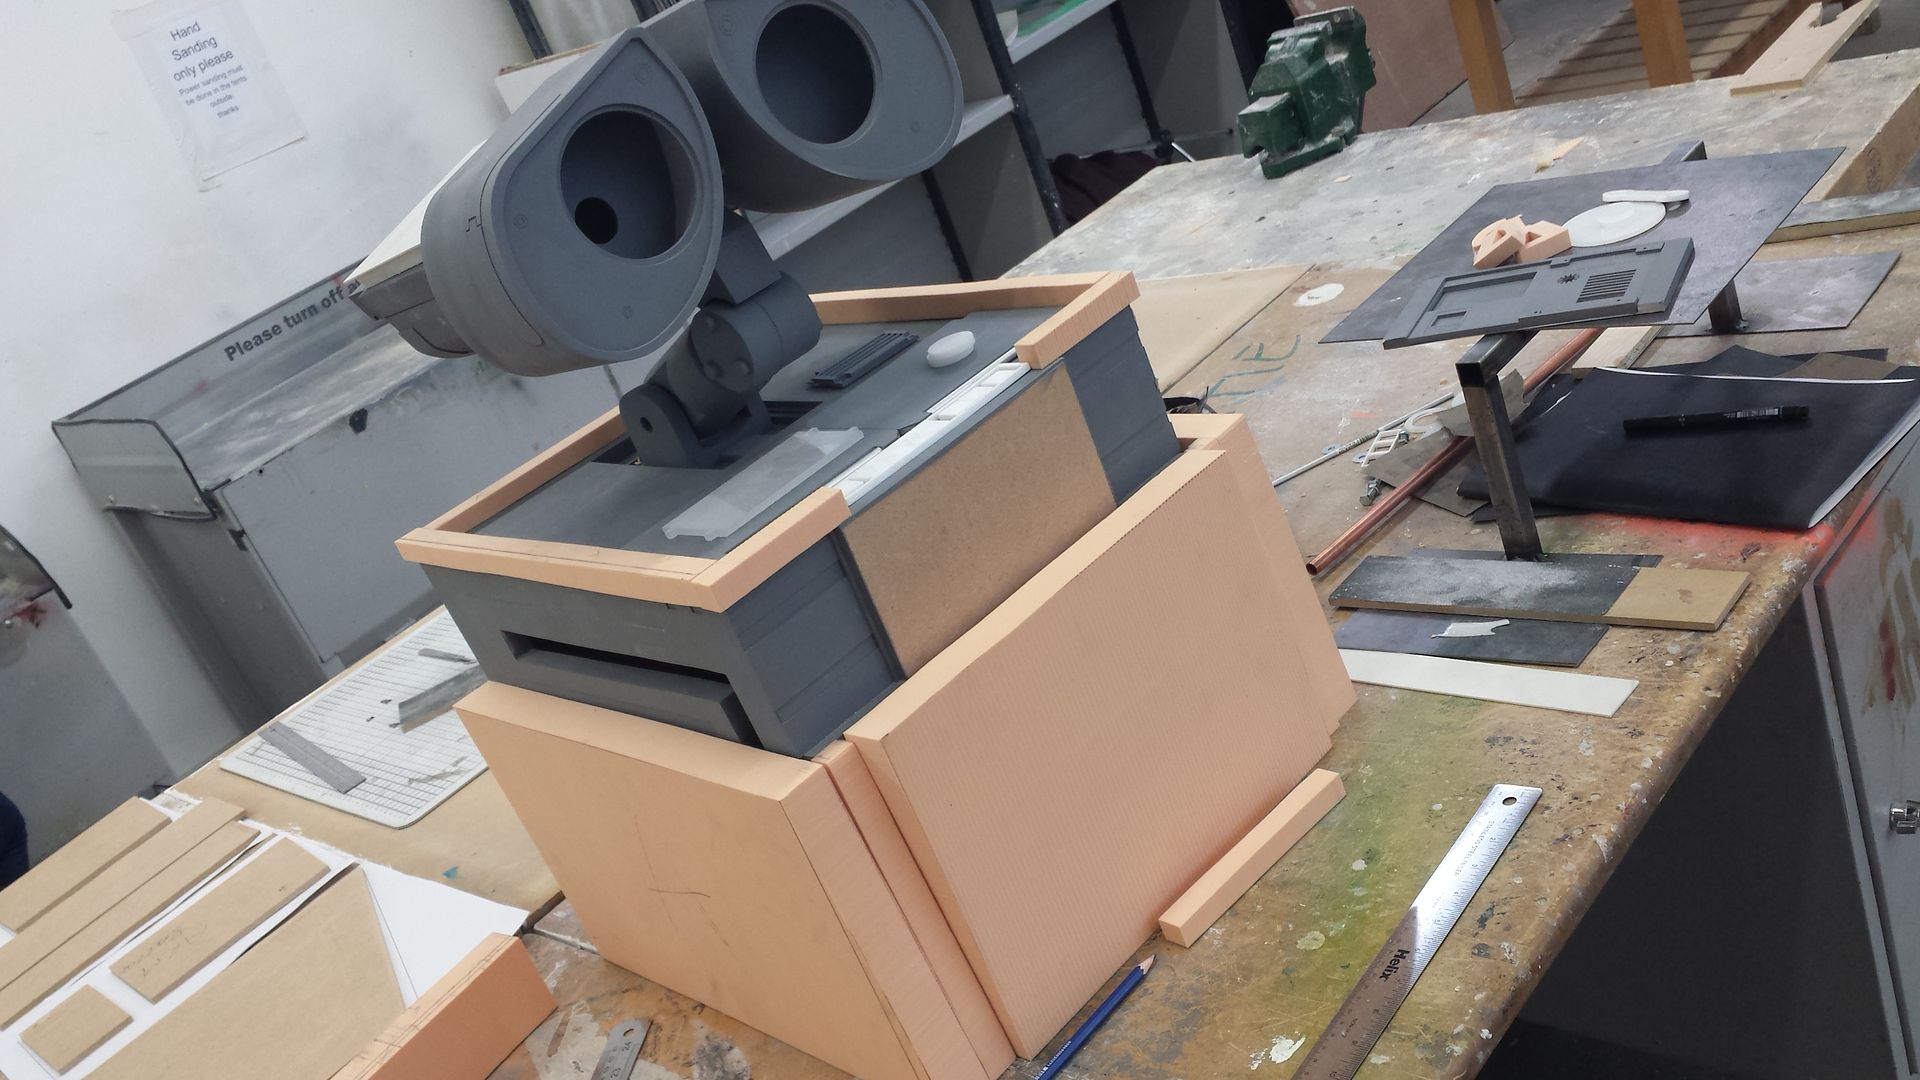
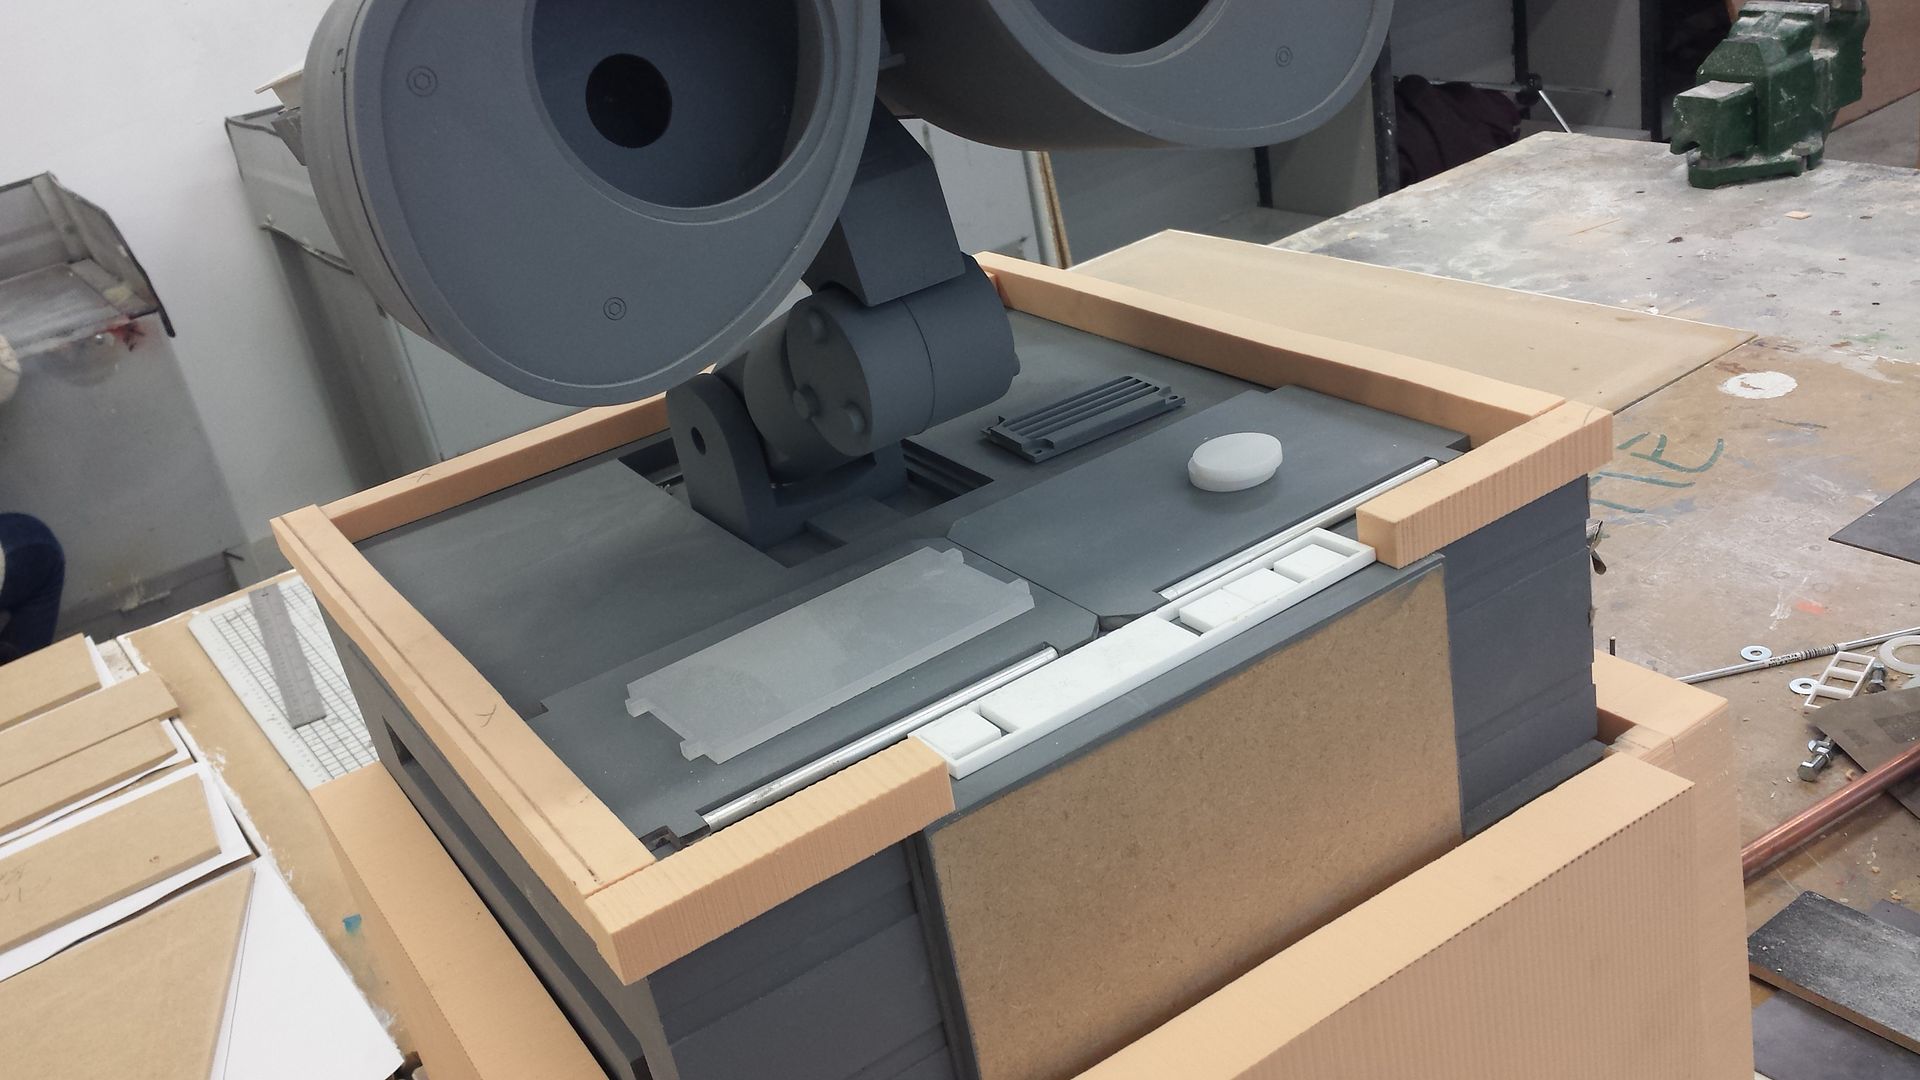
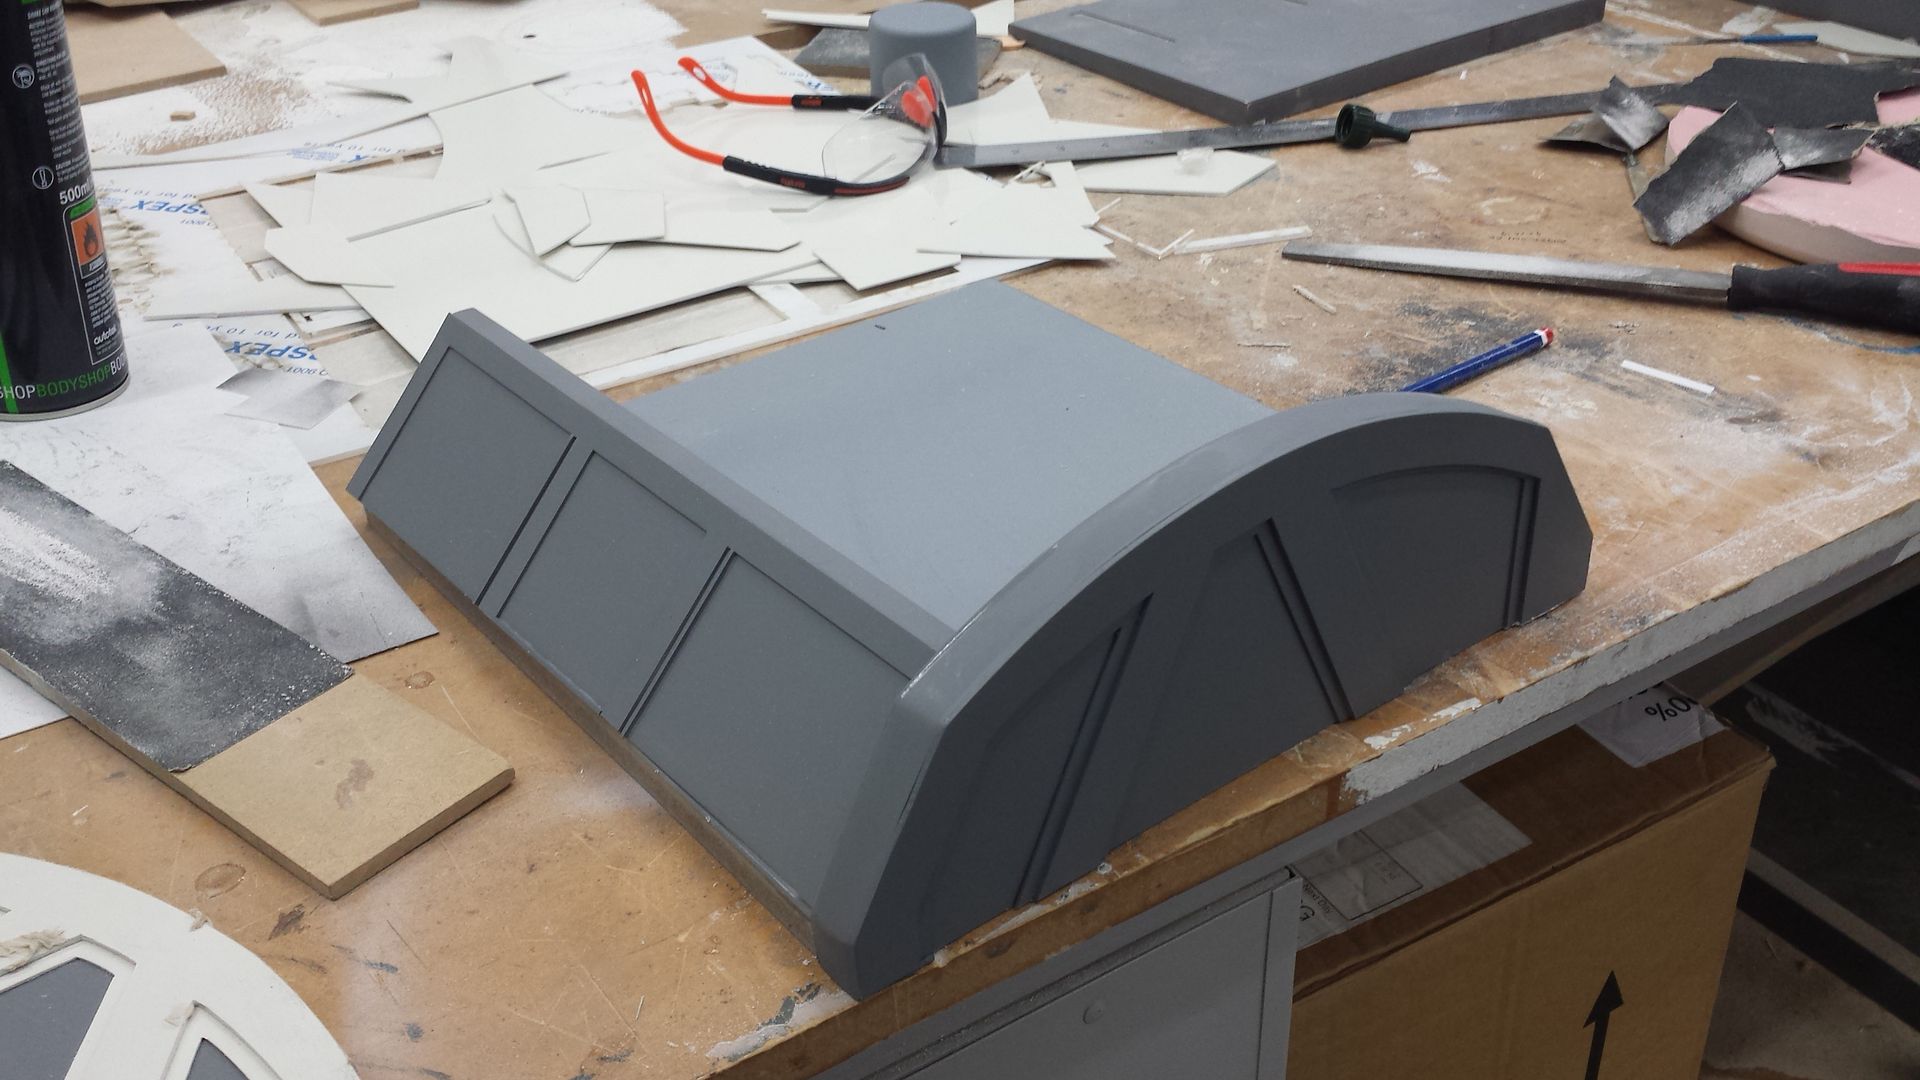
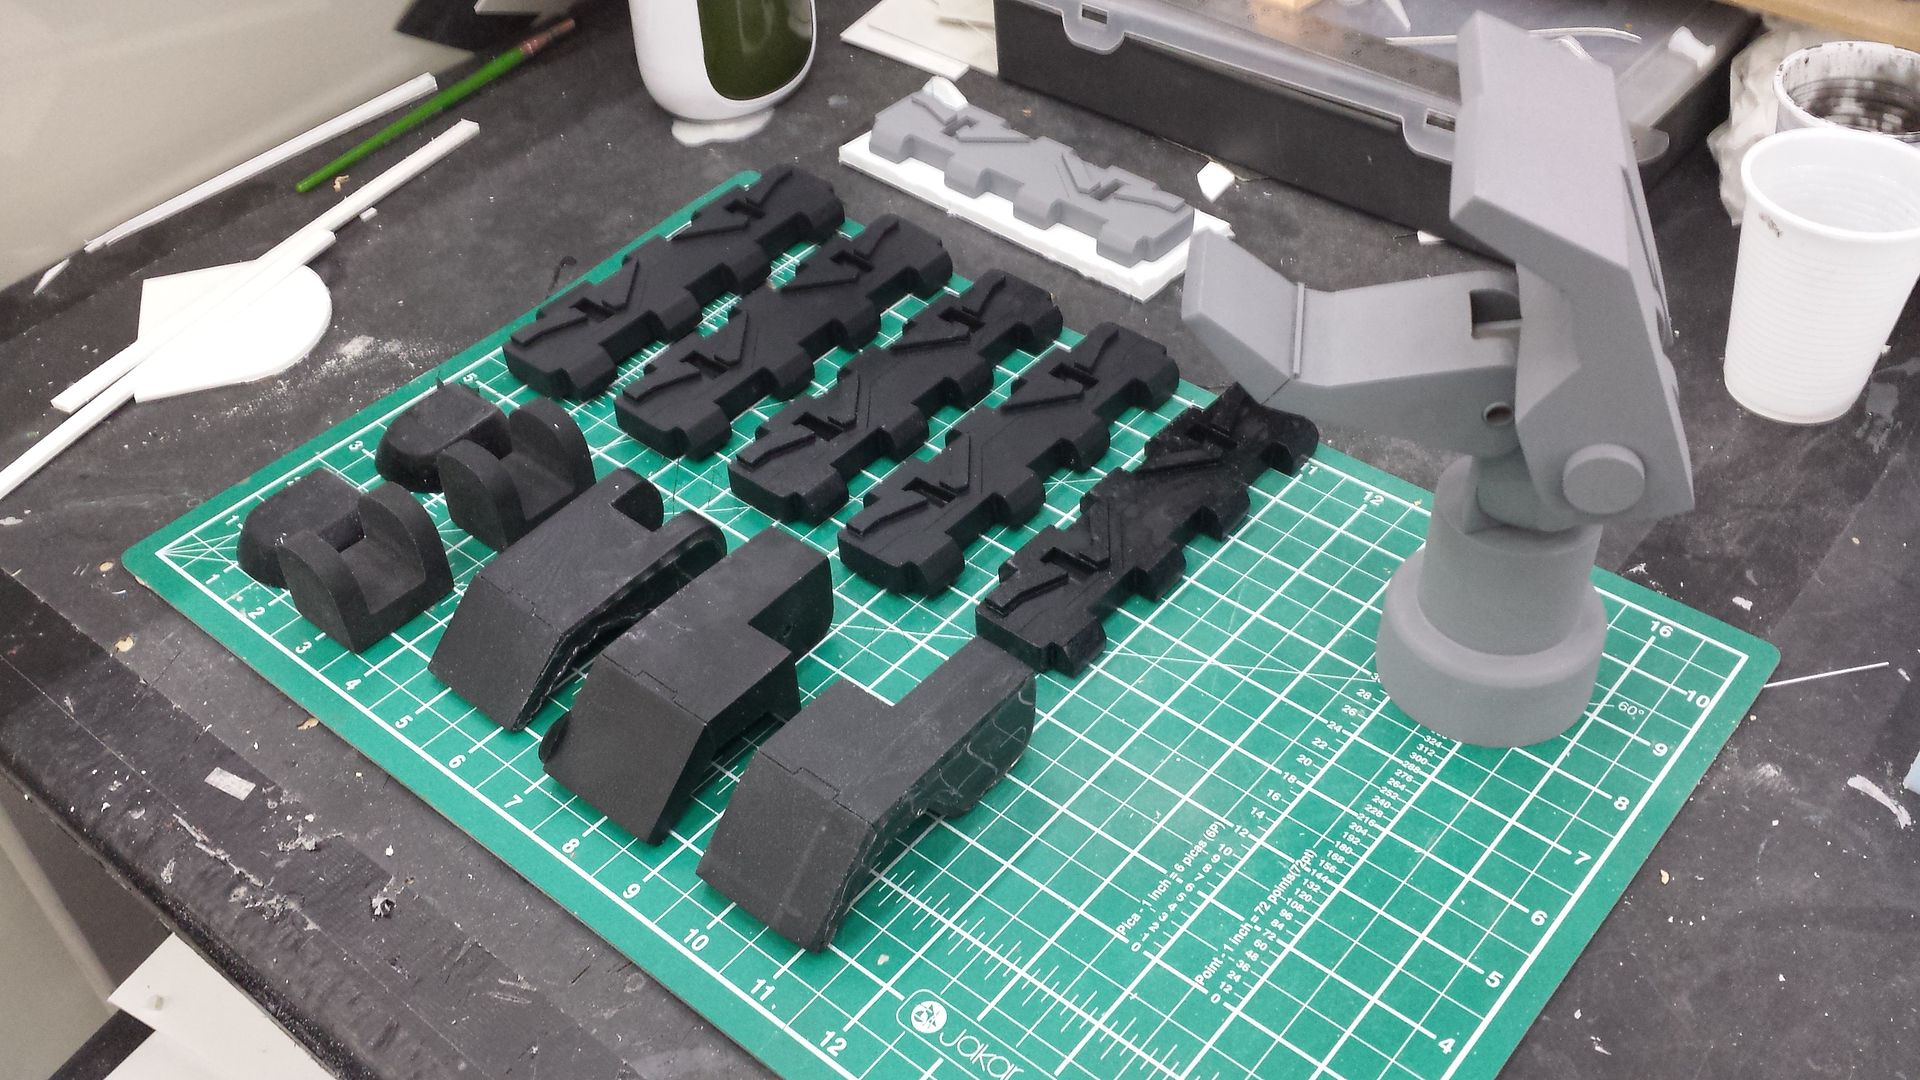
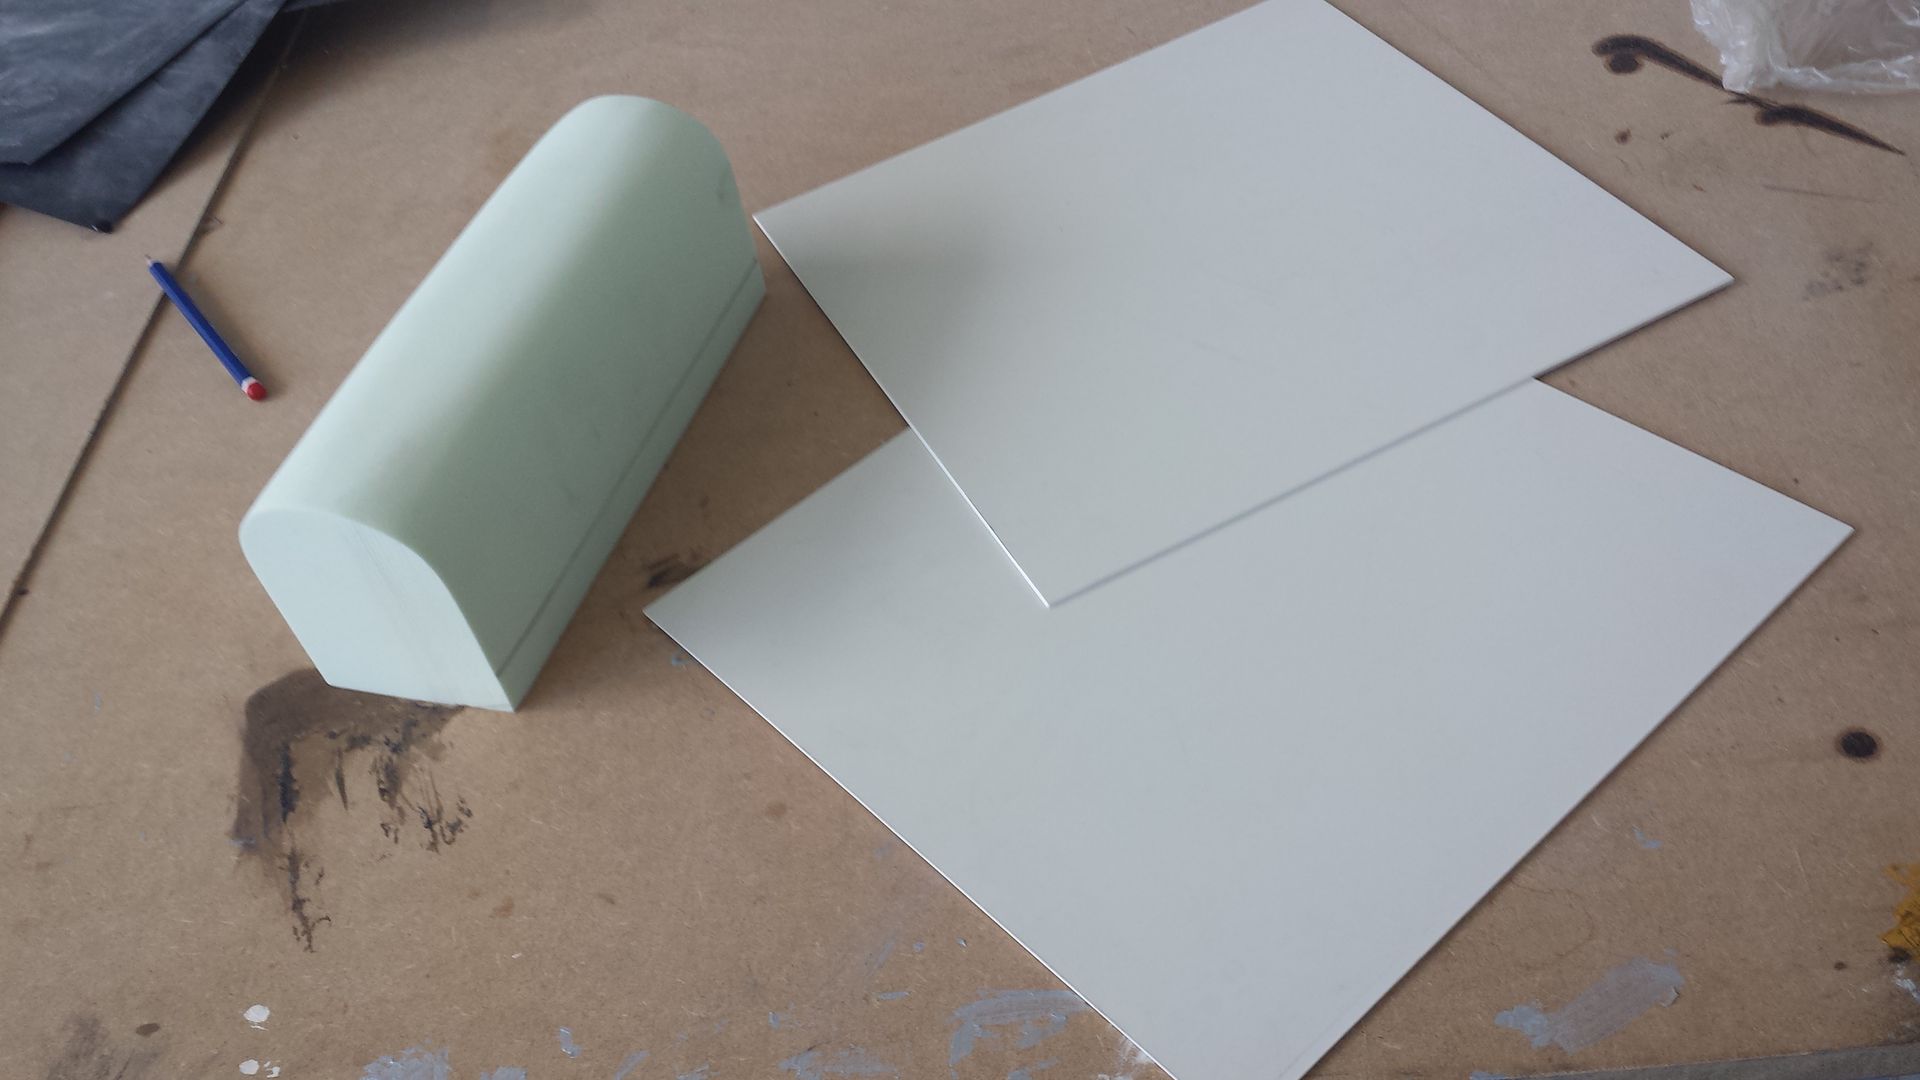
The first thing was the neck, these are all made using a dense tooling foam. Still rough in these photos but you get the idea;
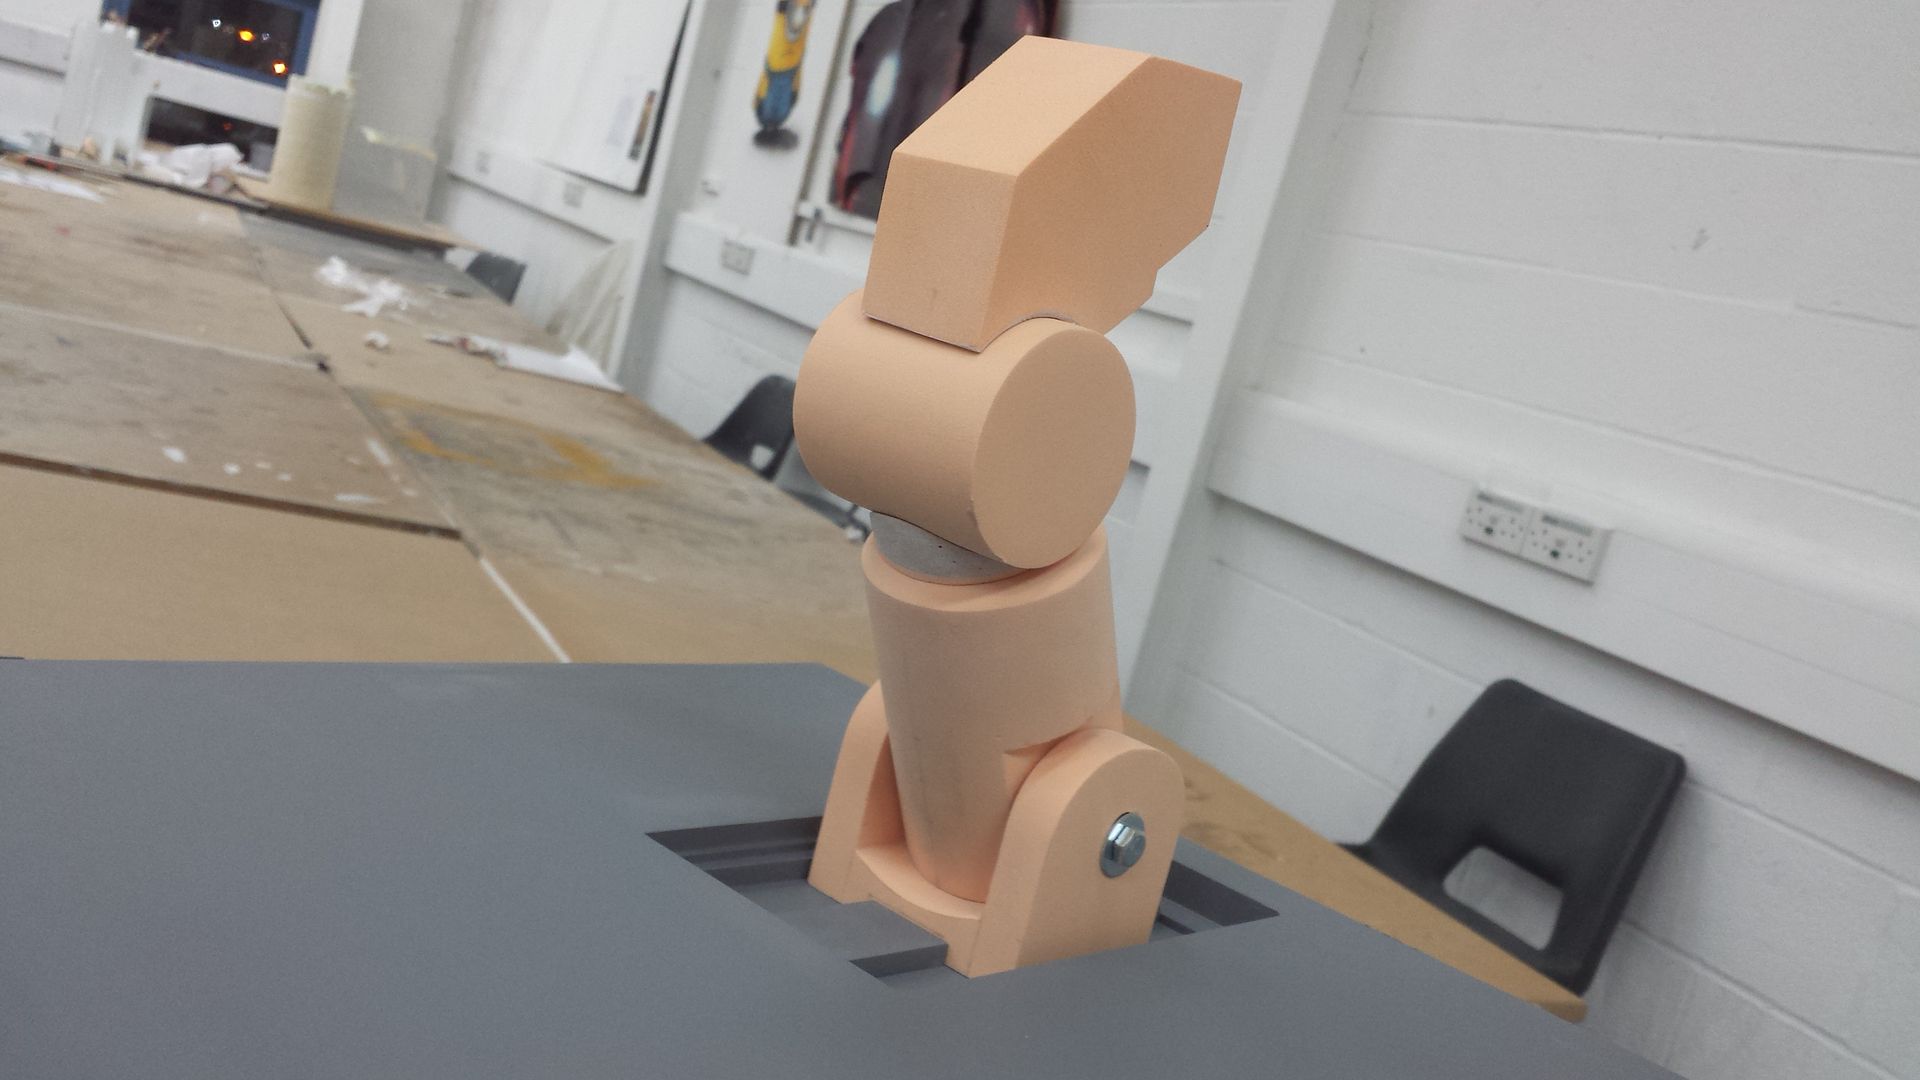
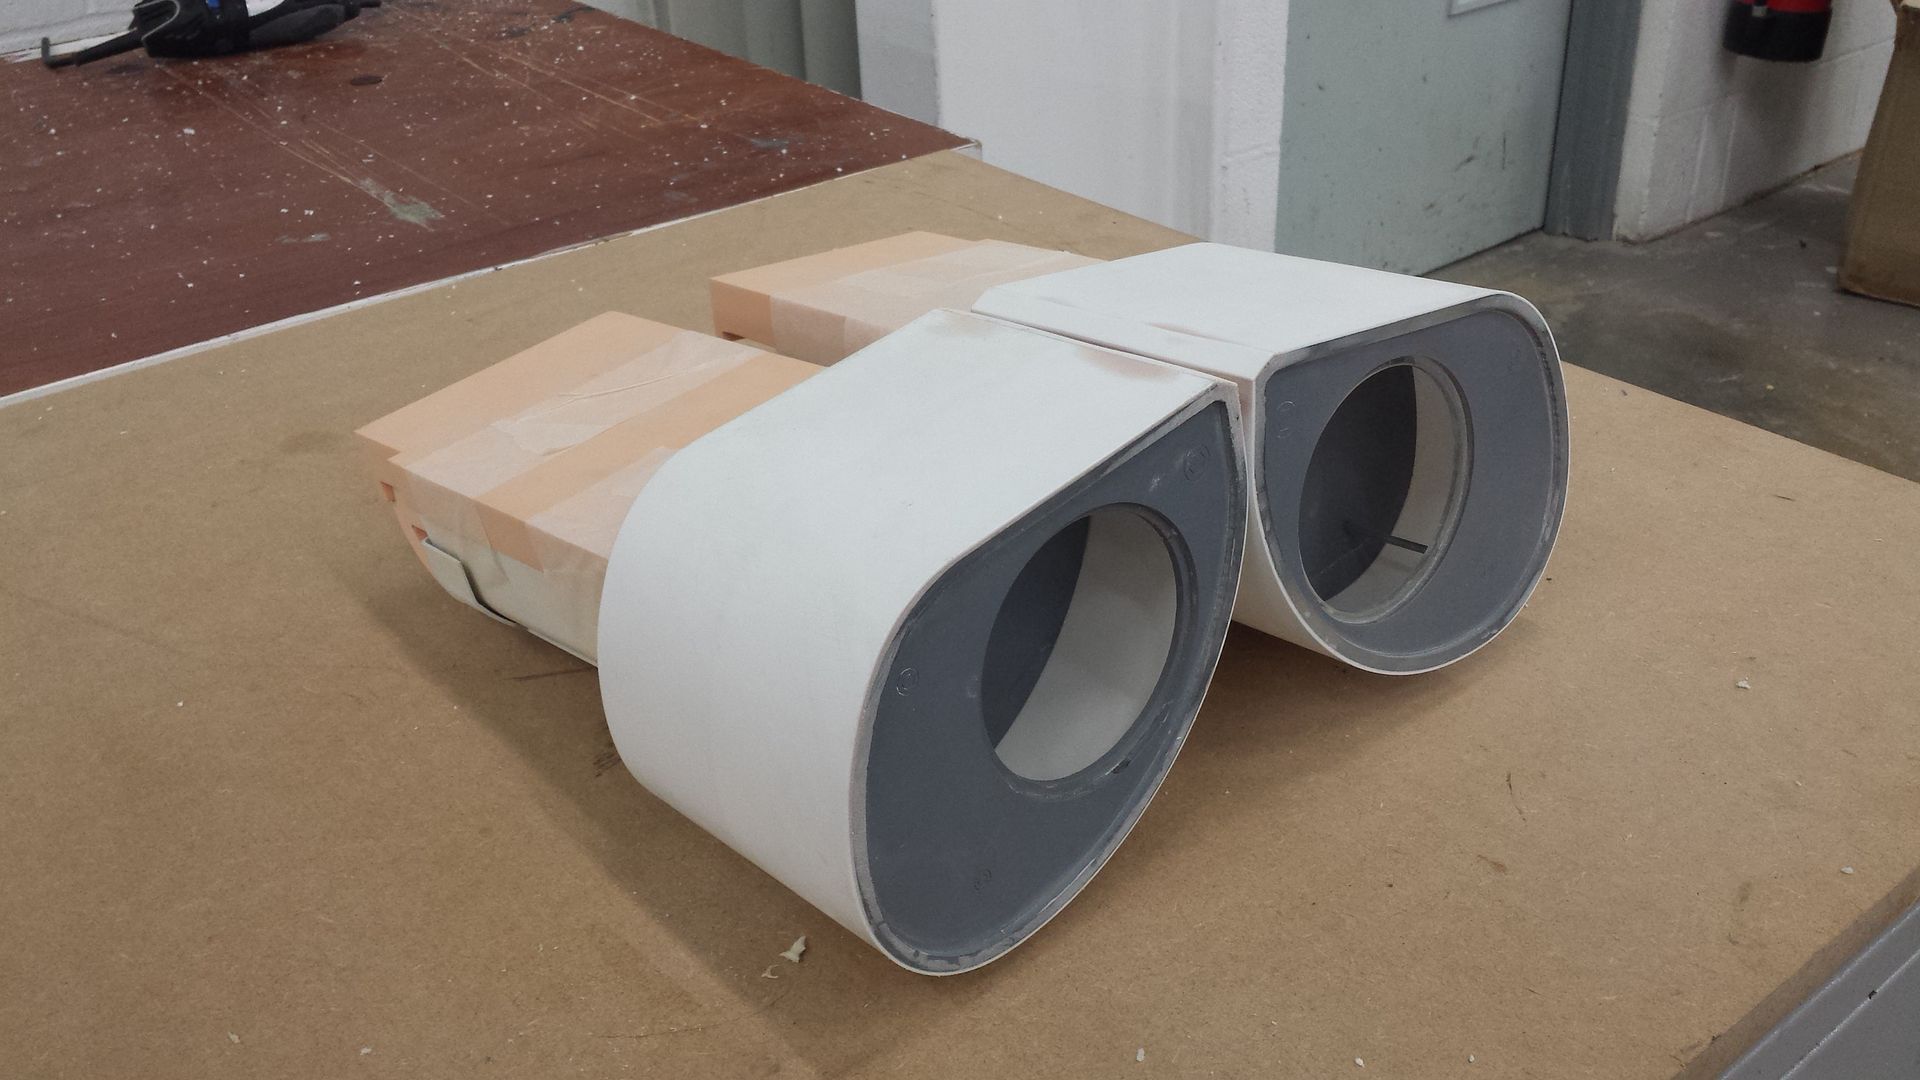
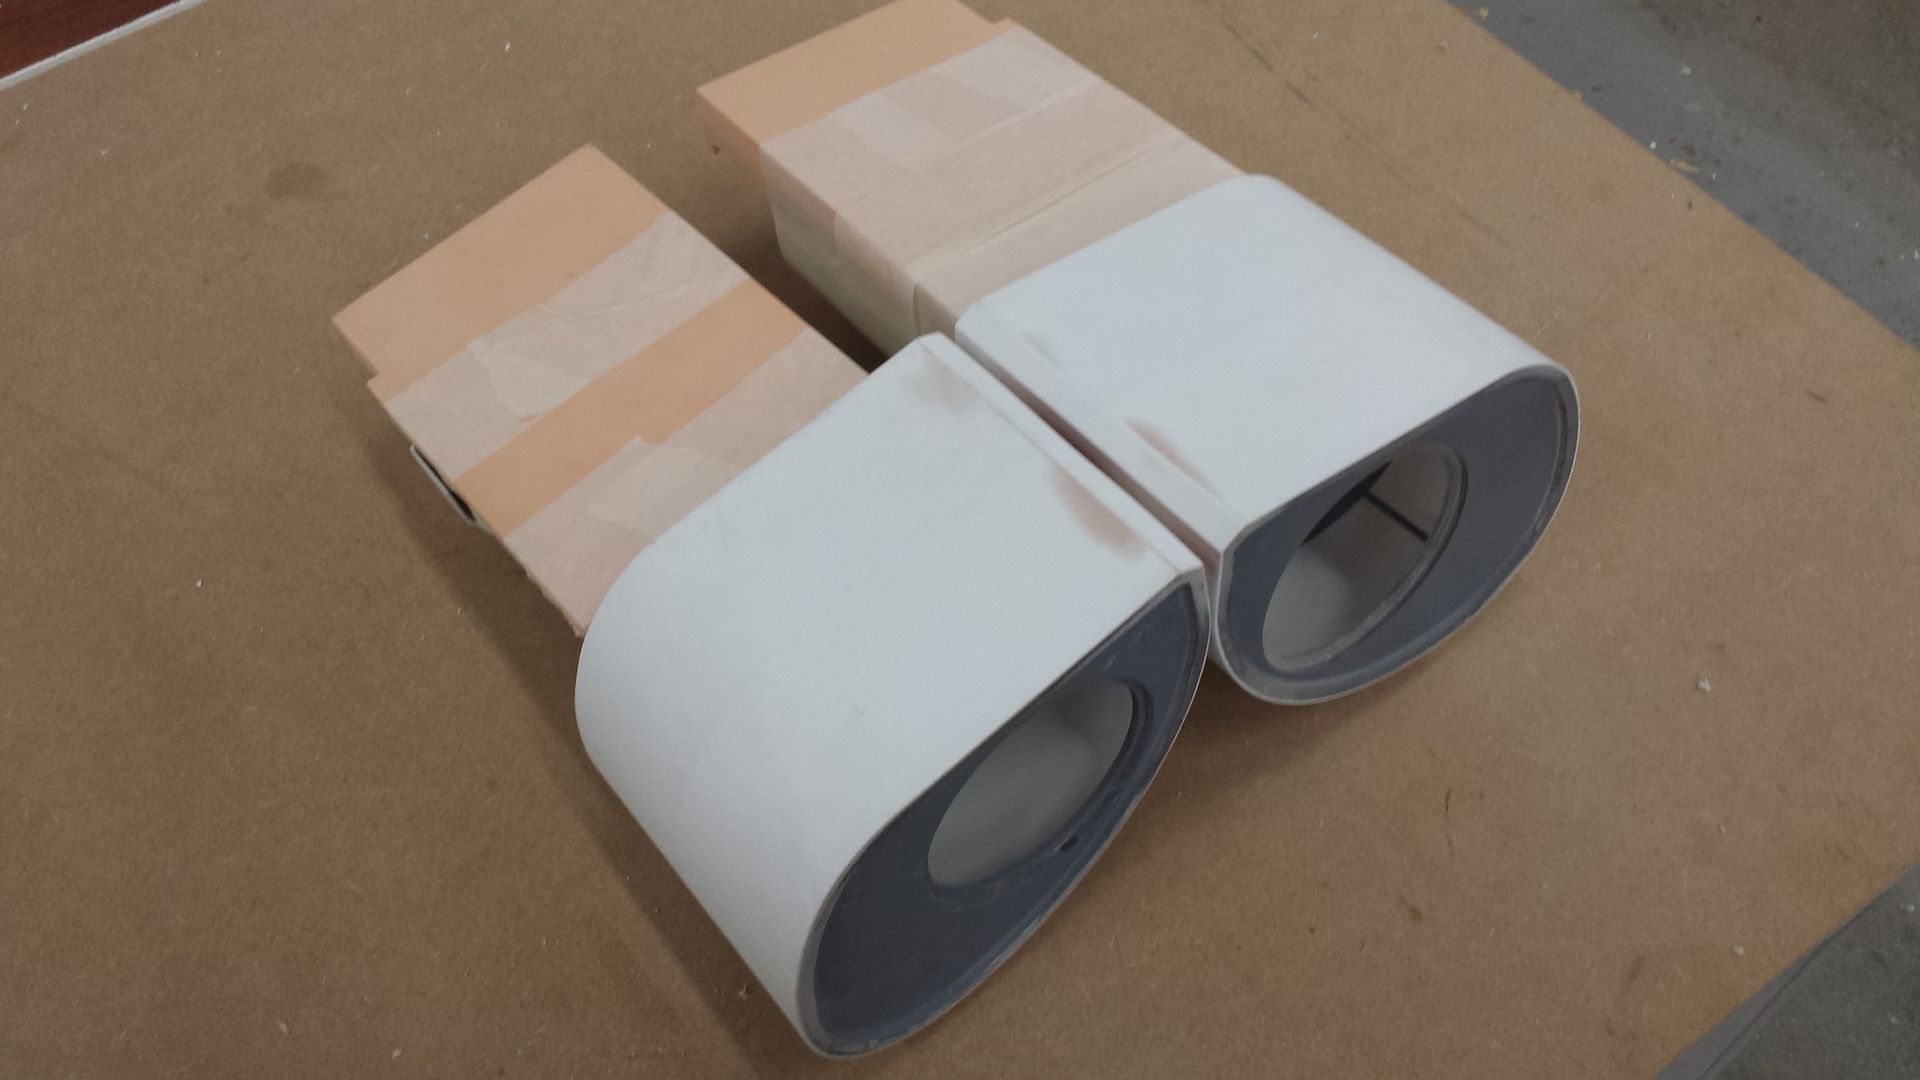
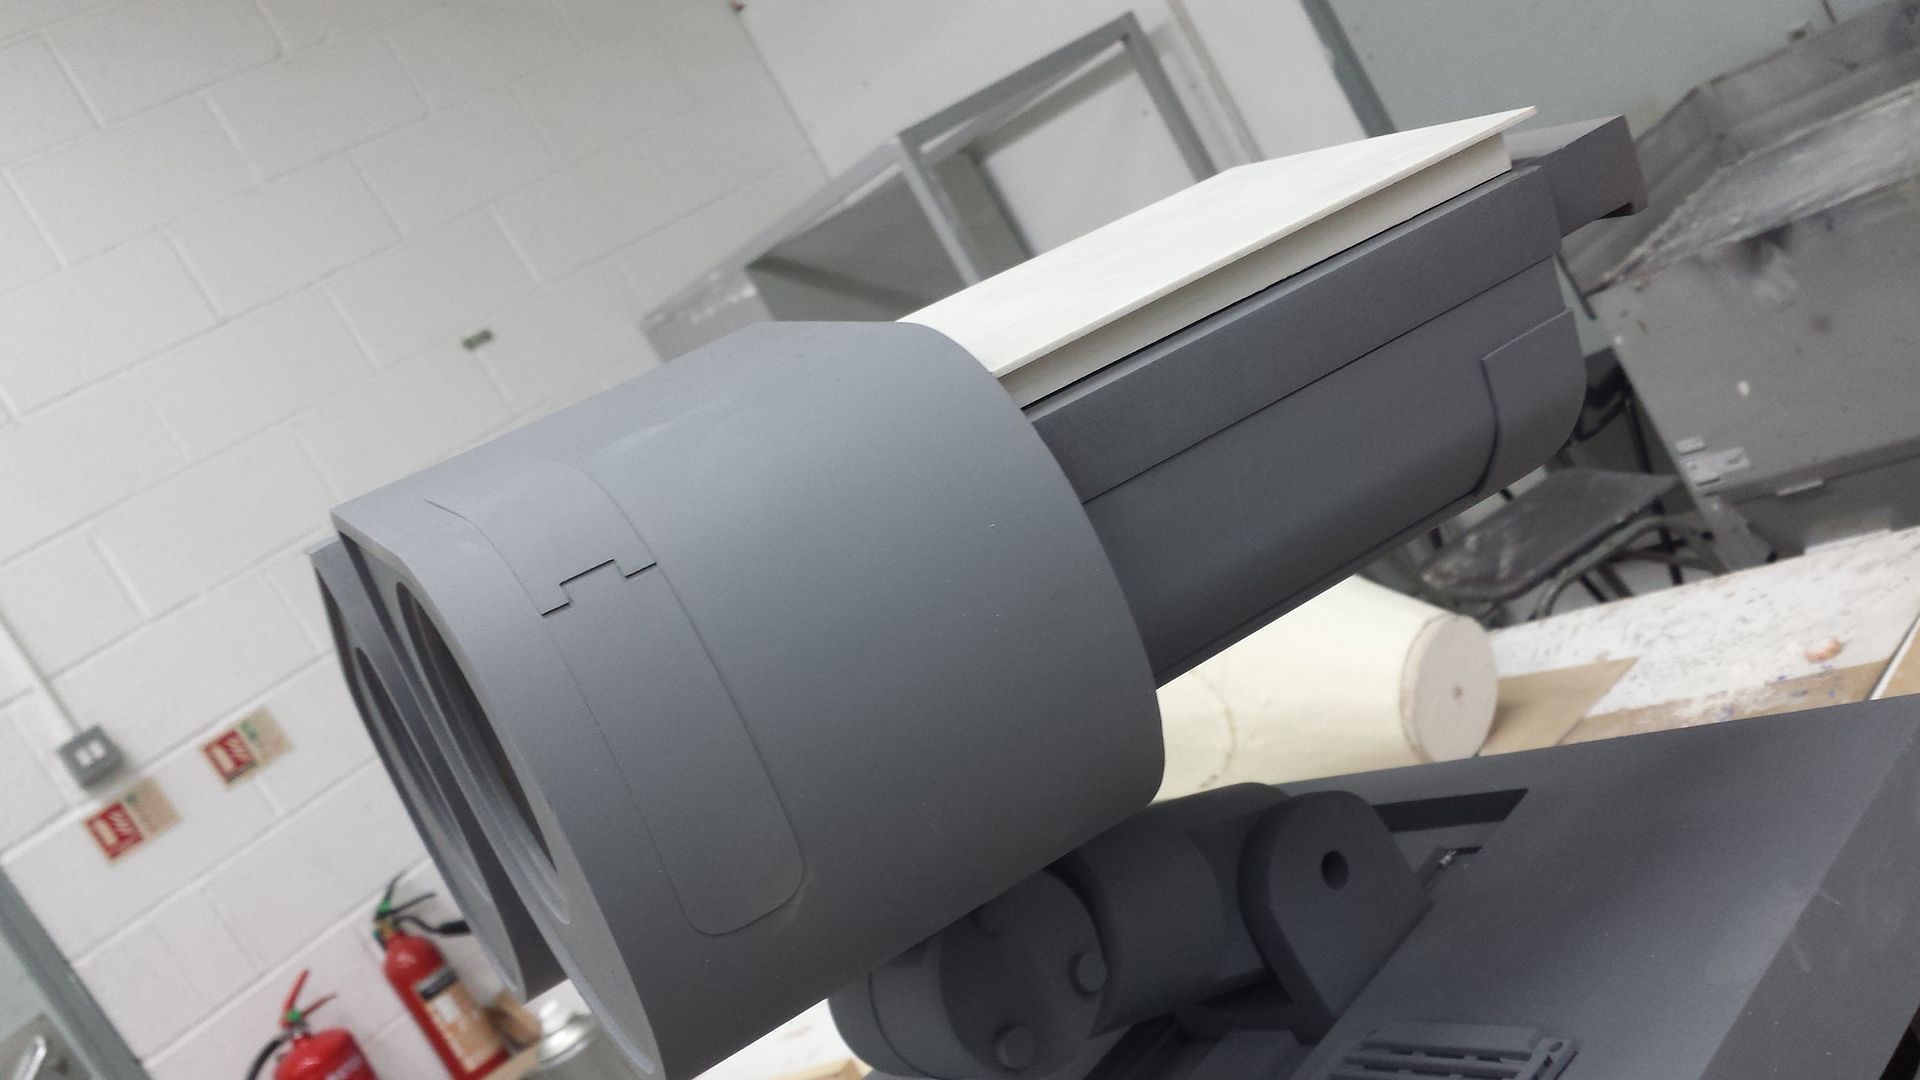
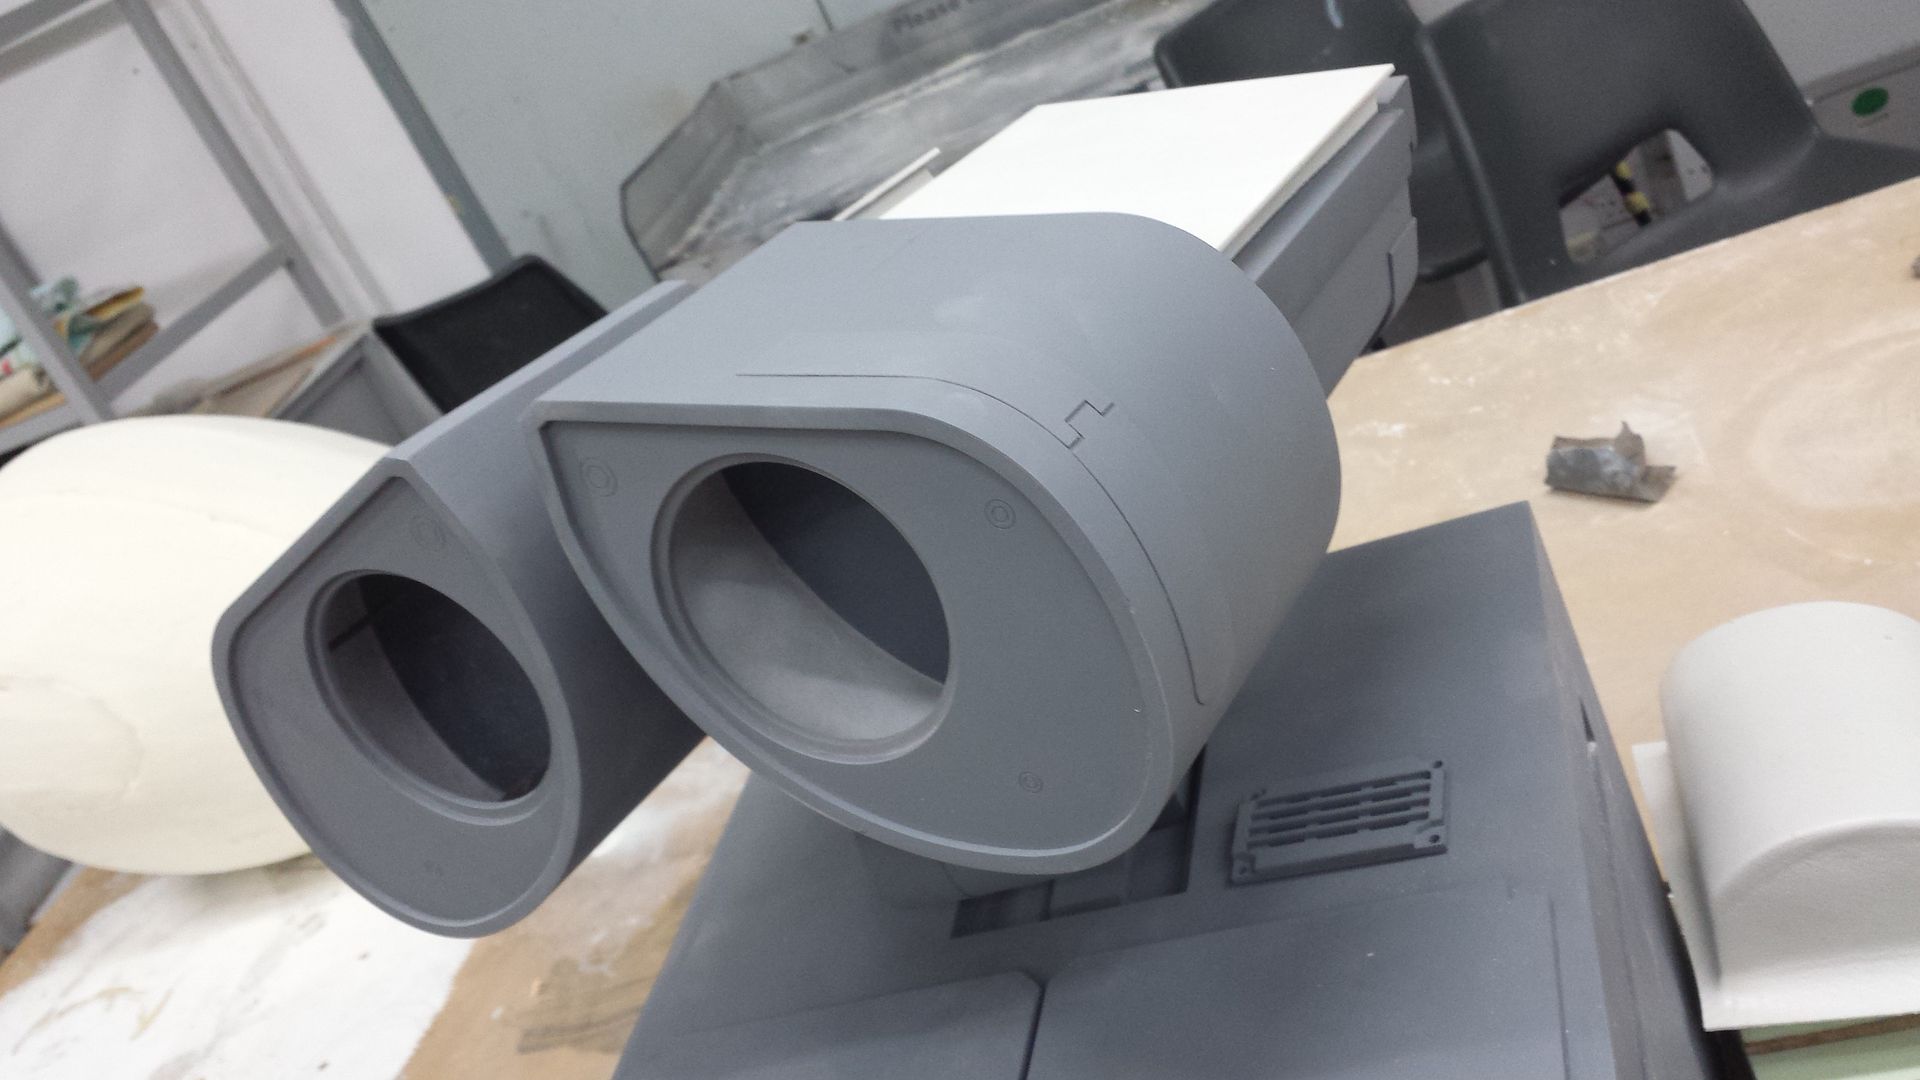
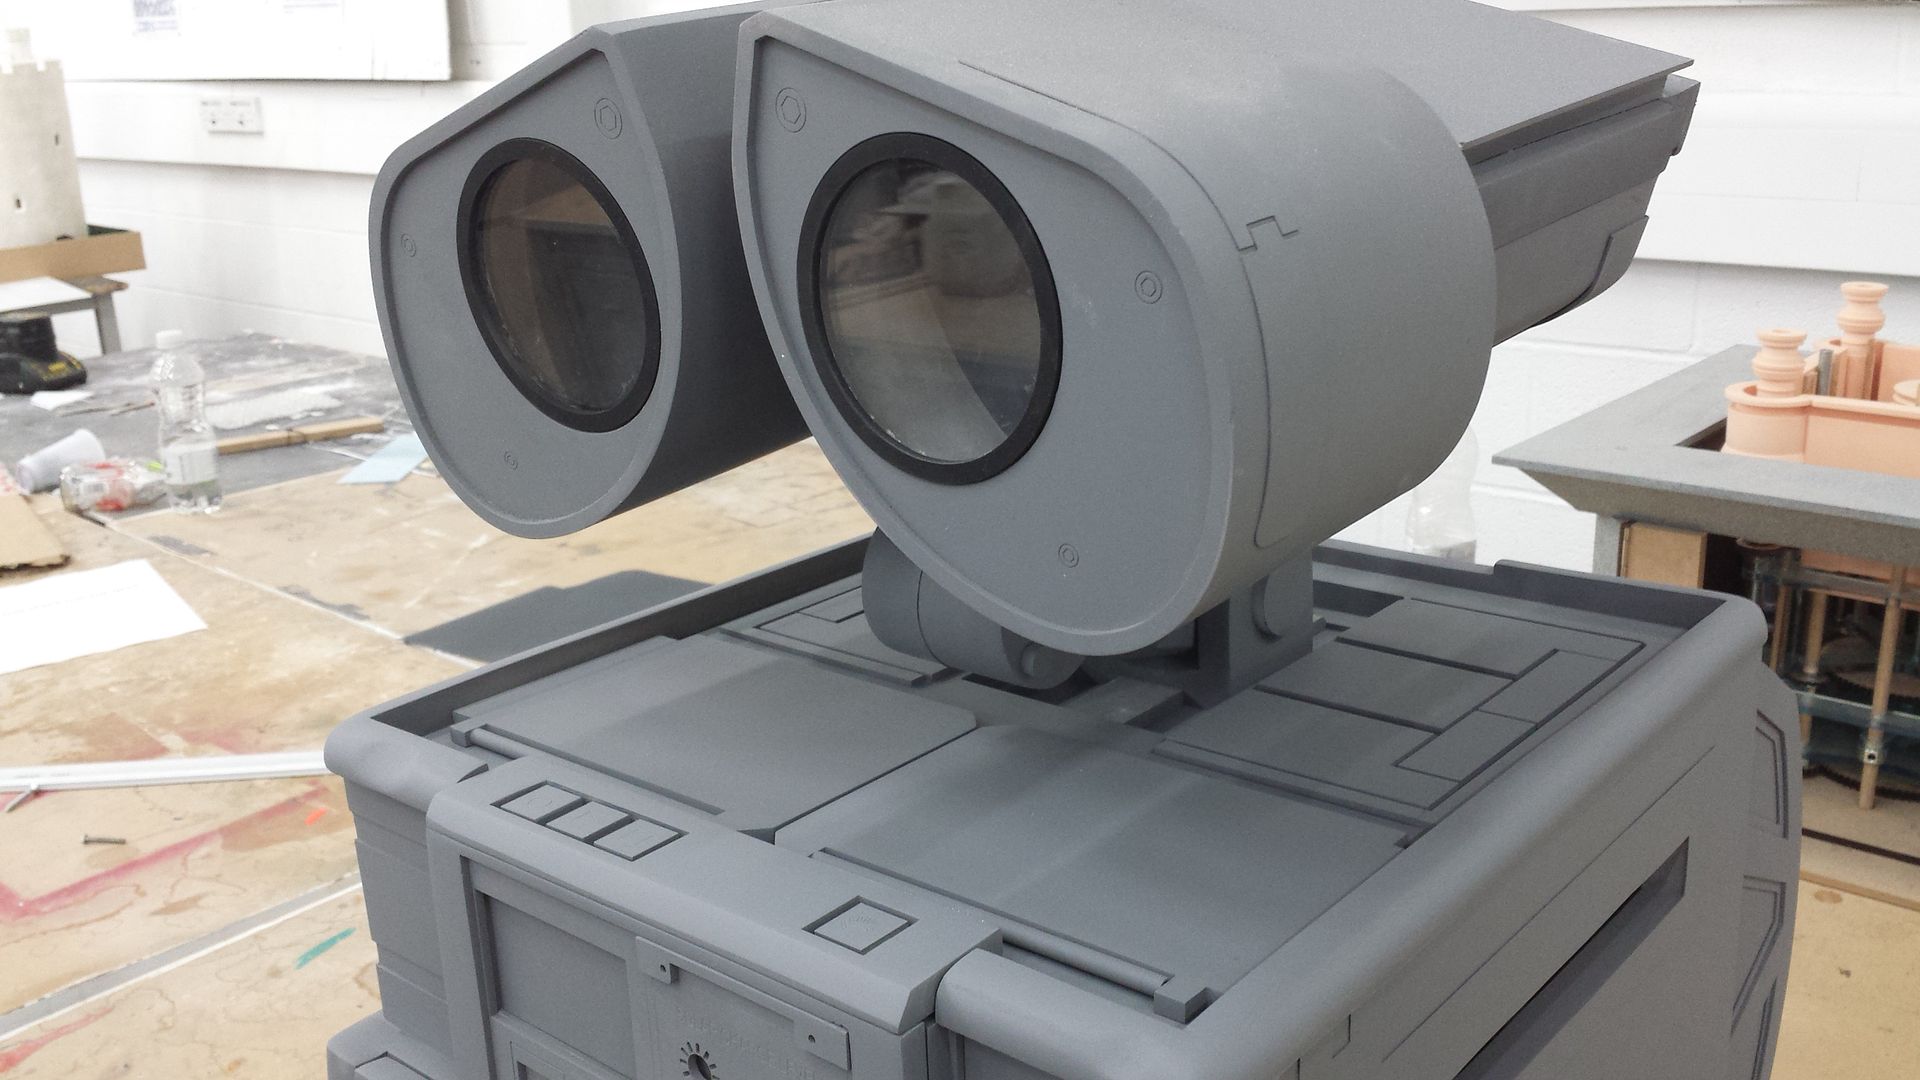
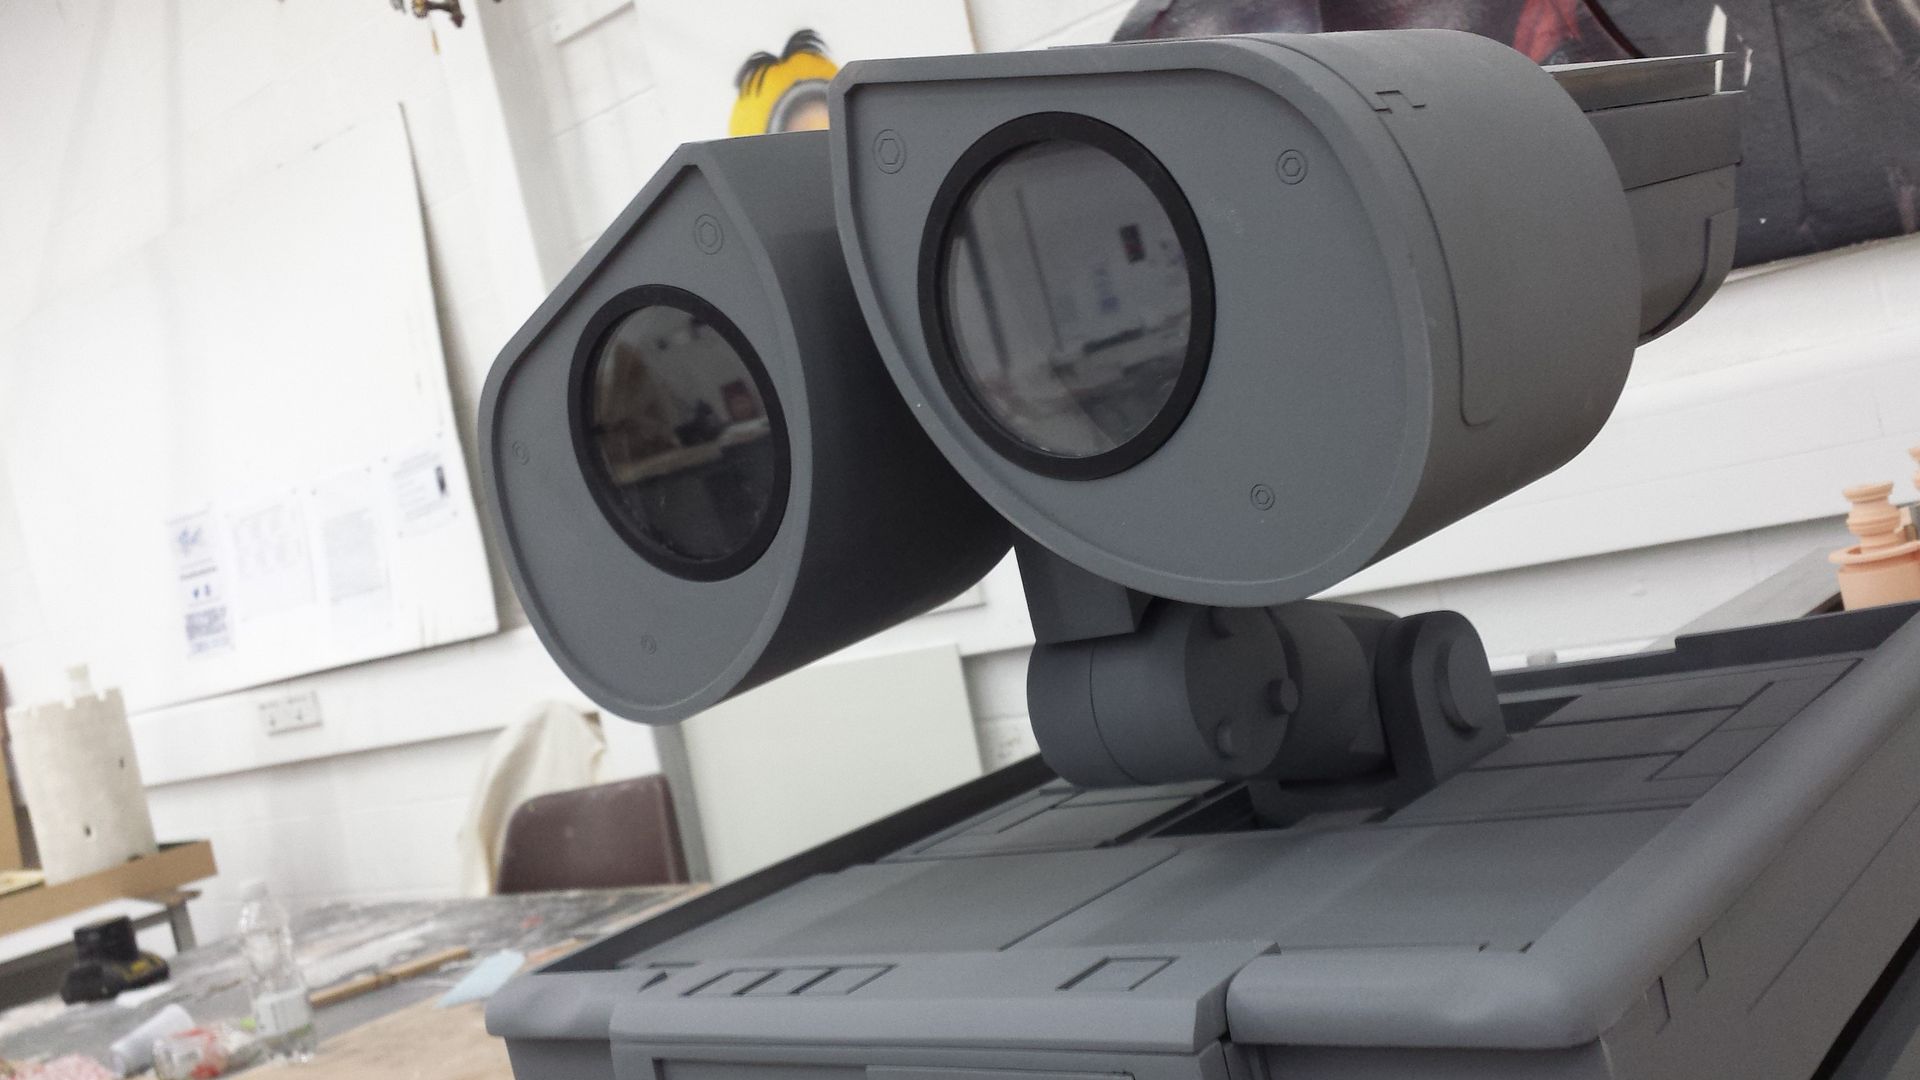
With the neck blocked out, I then set about working on the eyes. For these I used 3mm acrylic to act as the frame, pinned together with brass, then wrapped 1mm ABS around them and sealed the join;
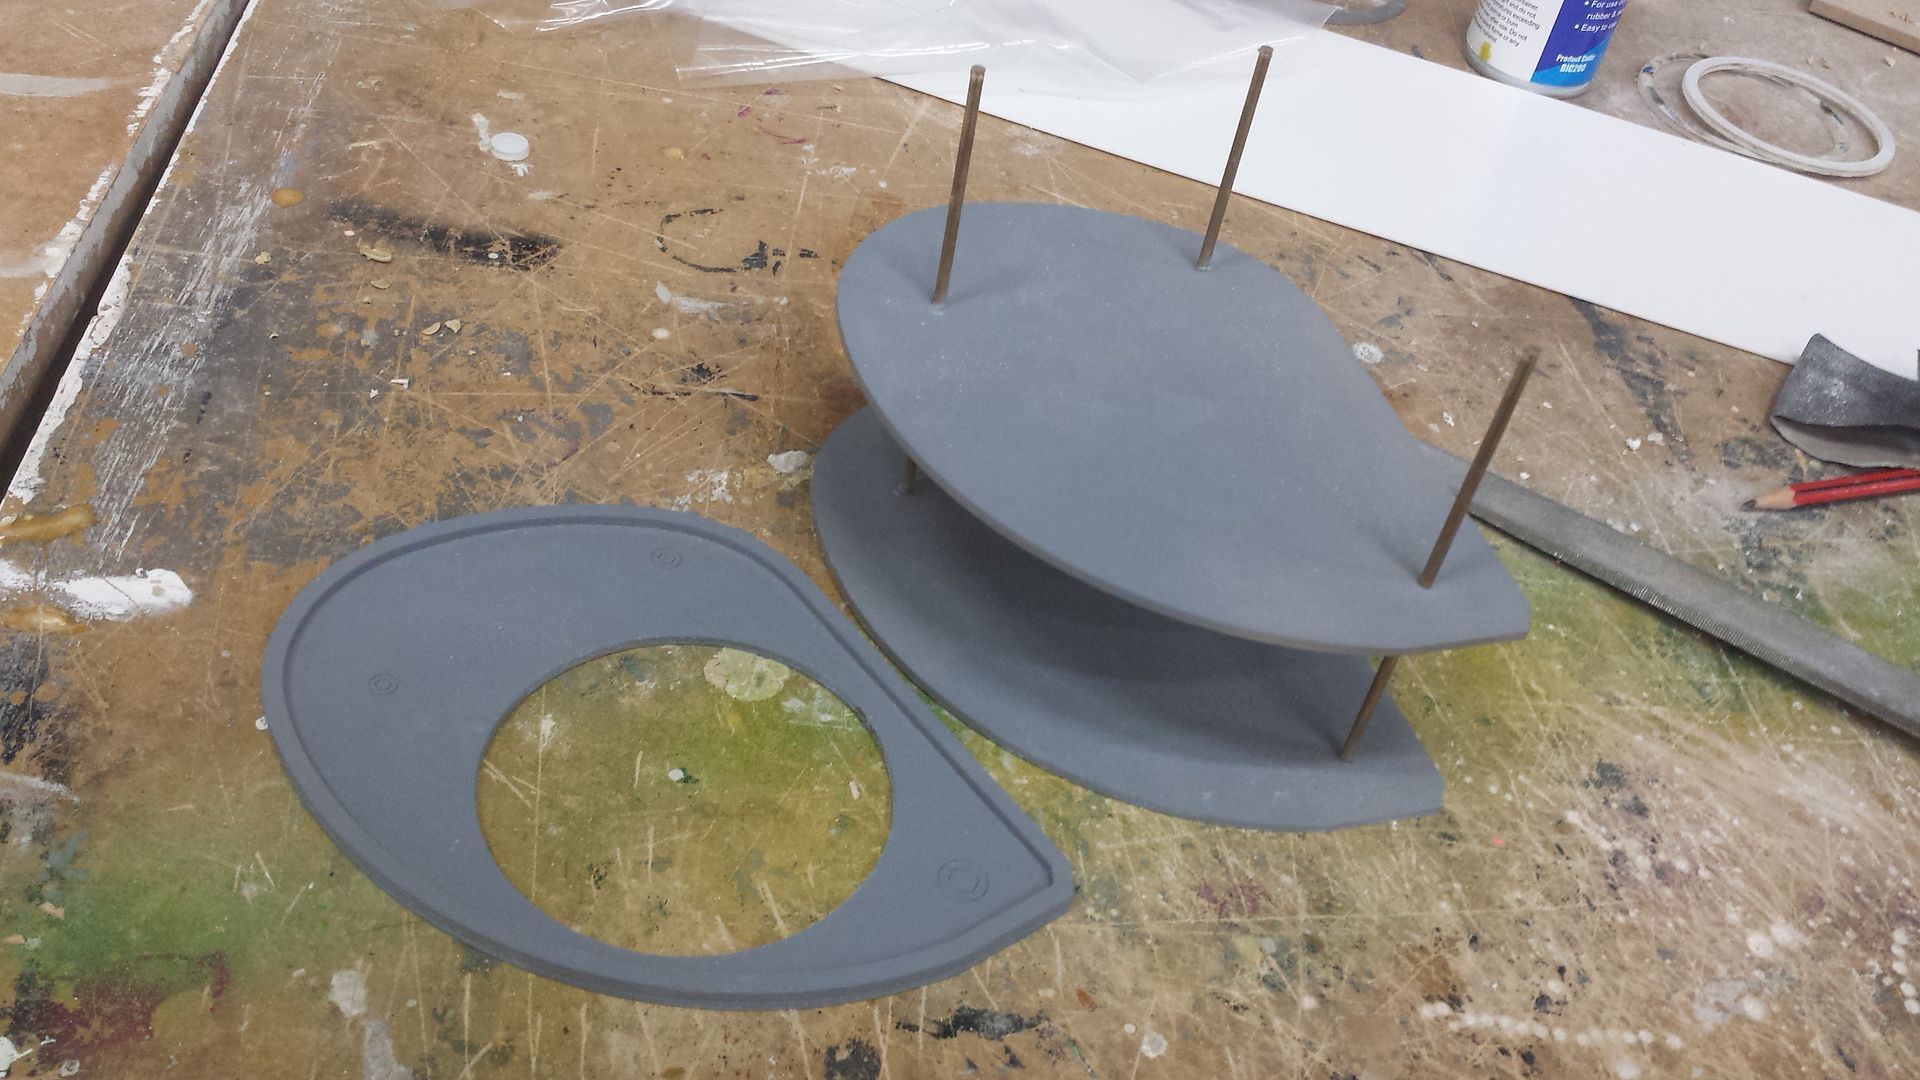
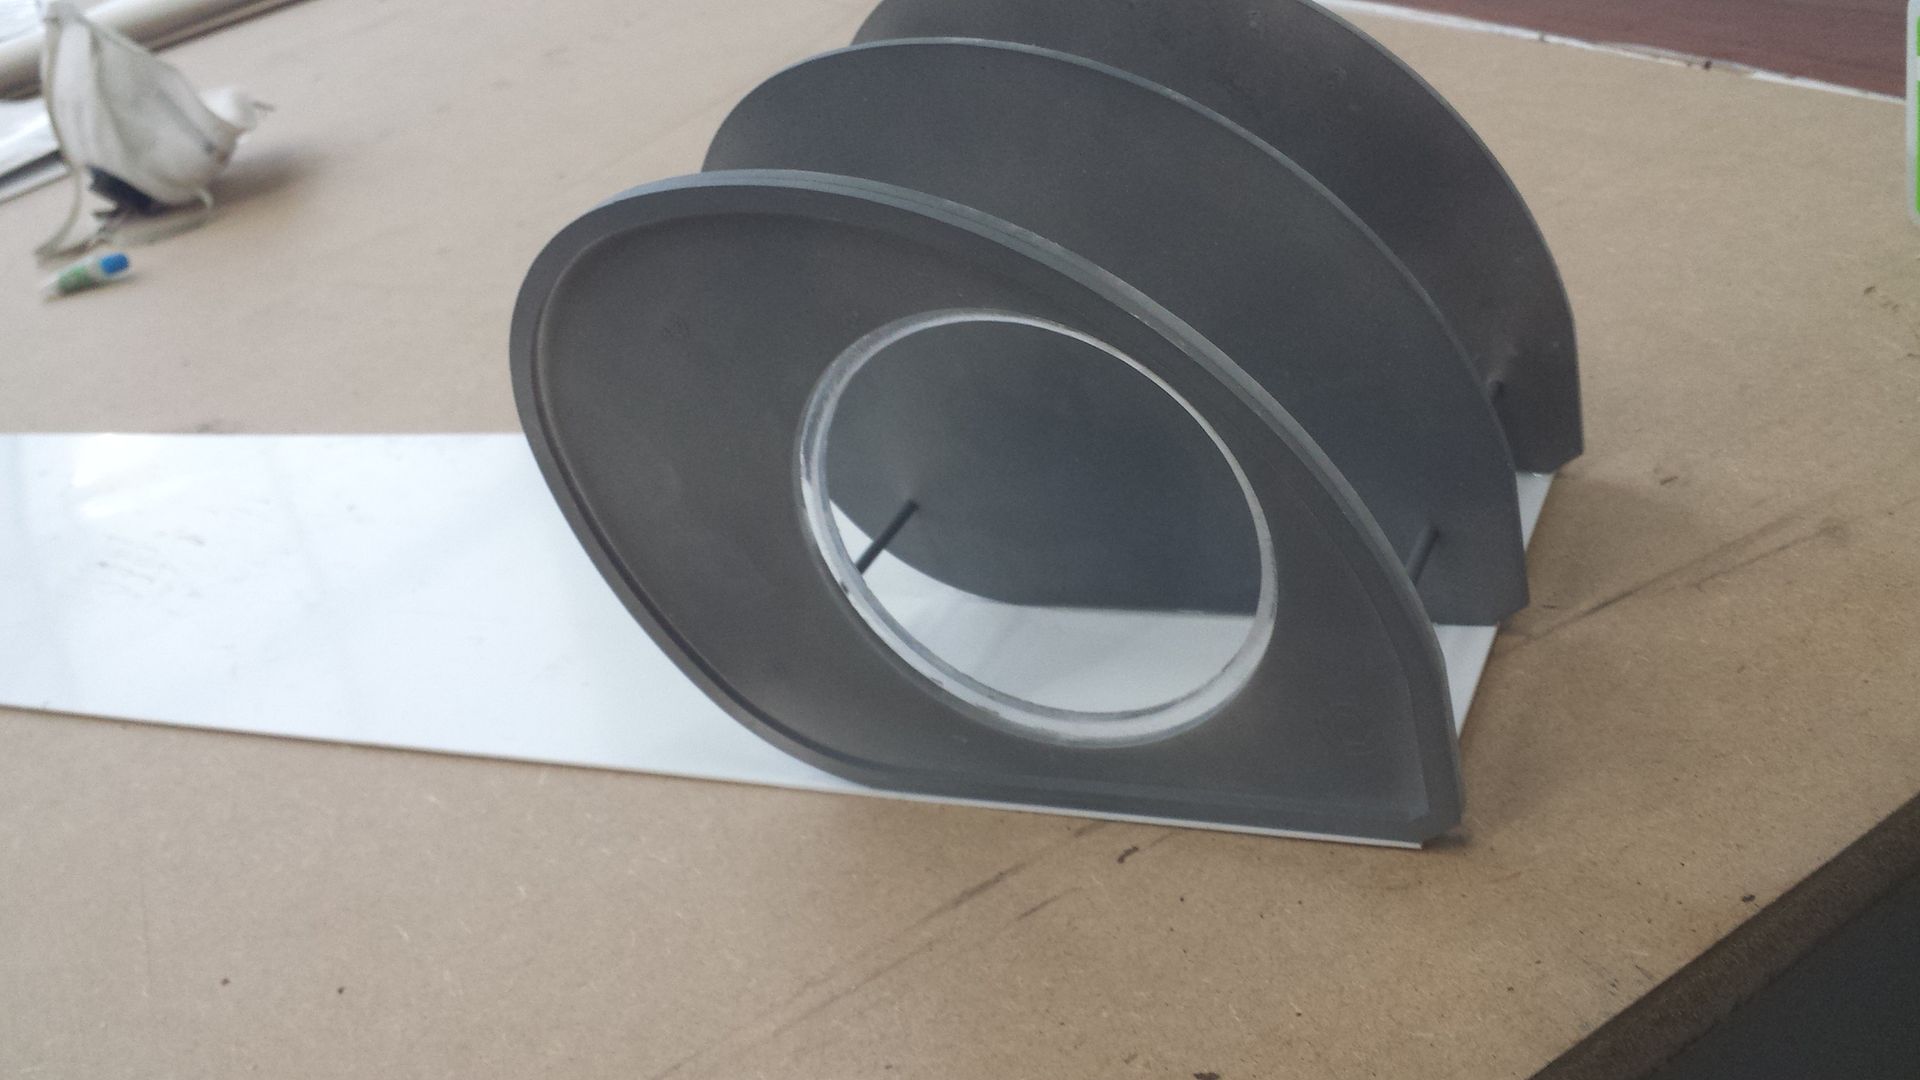
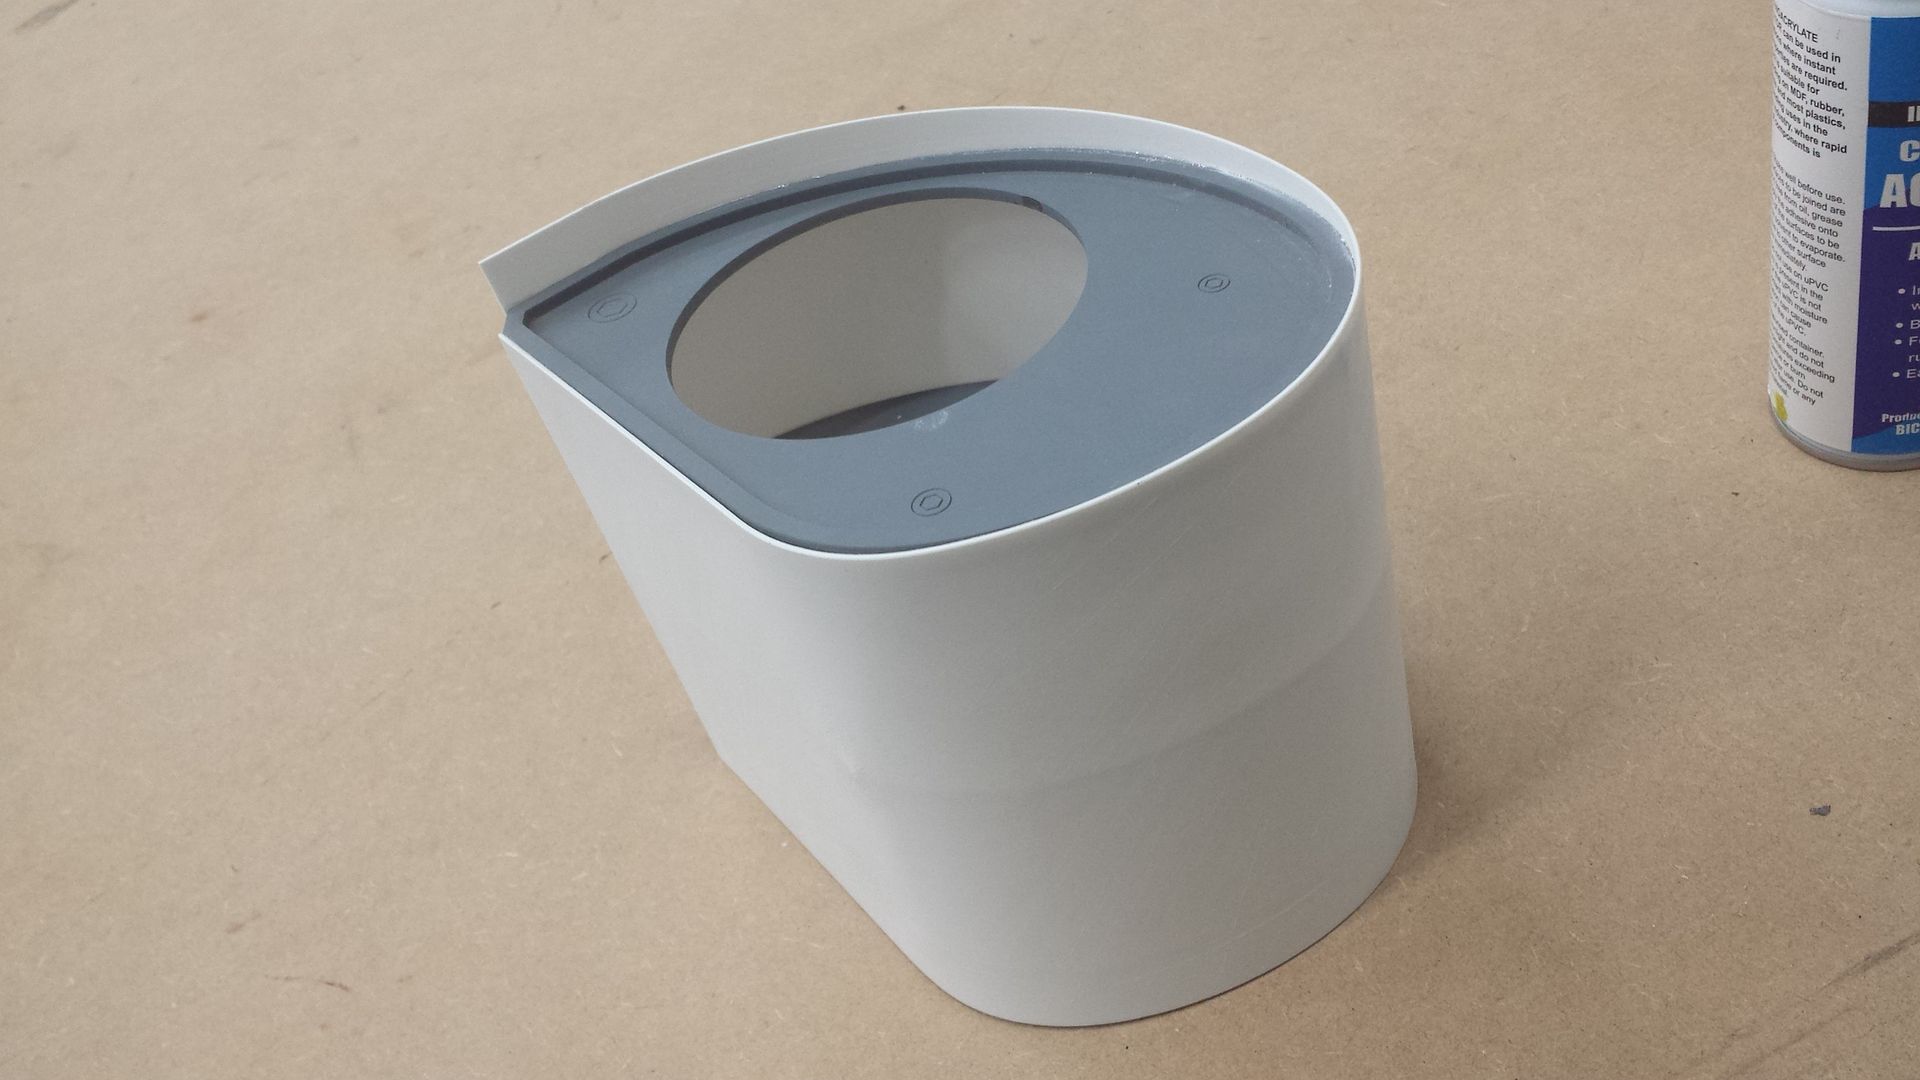
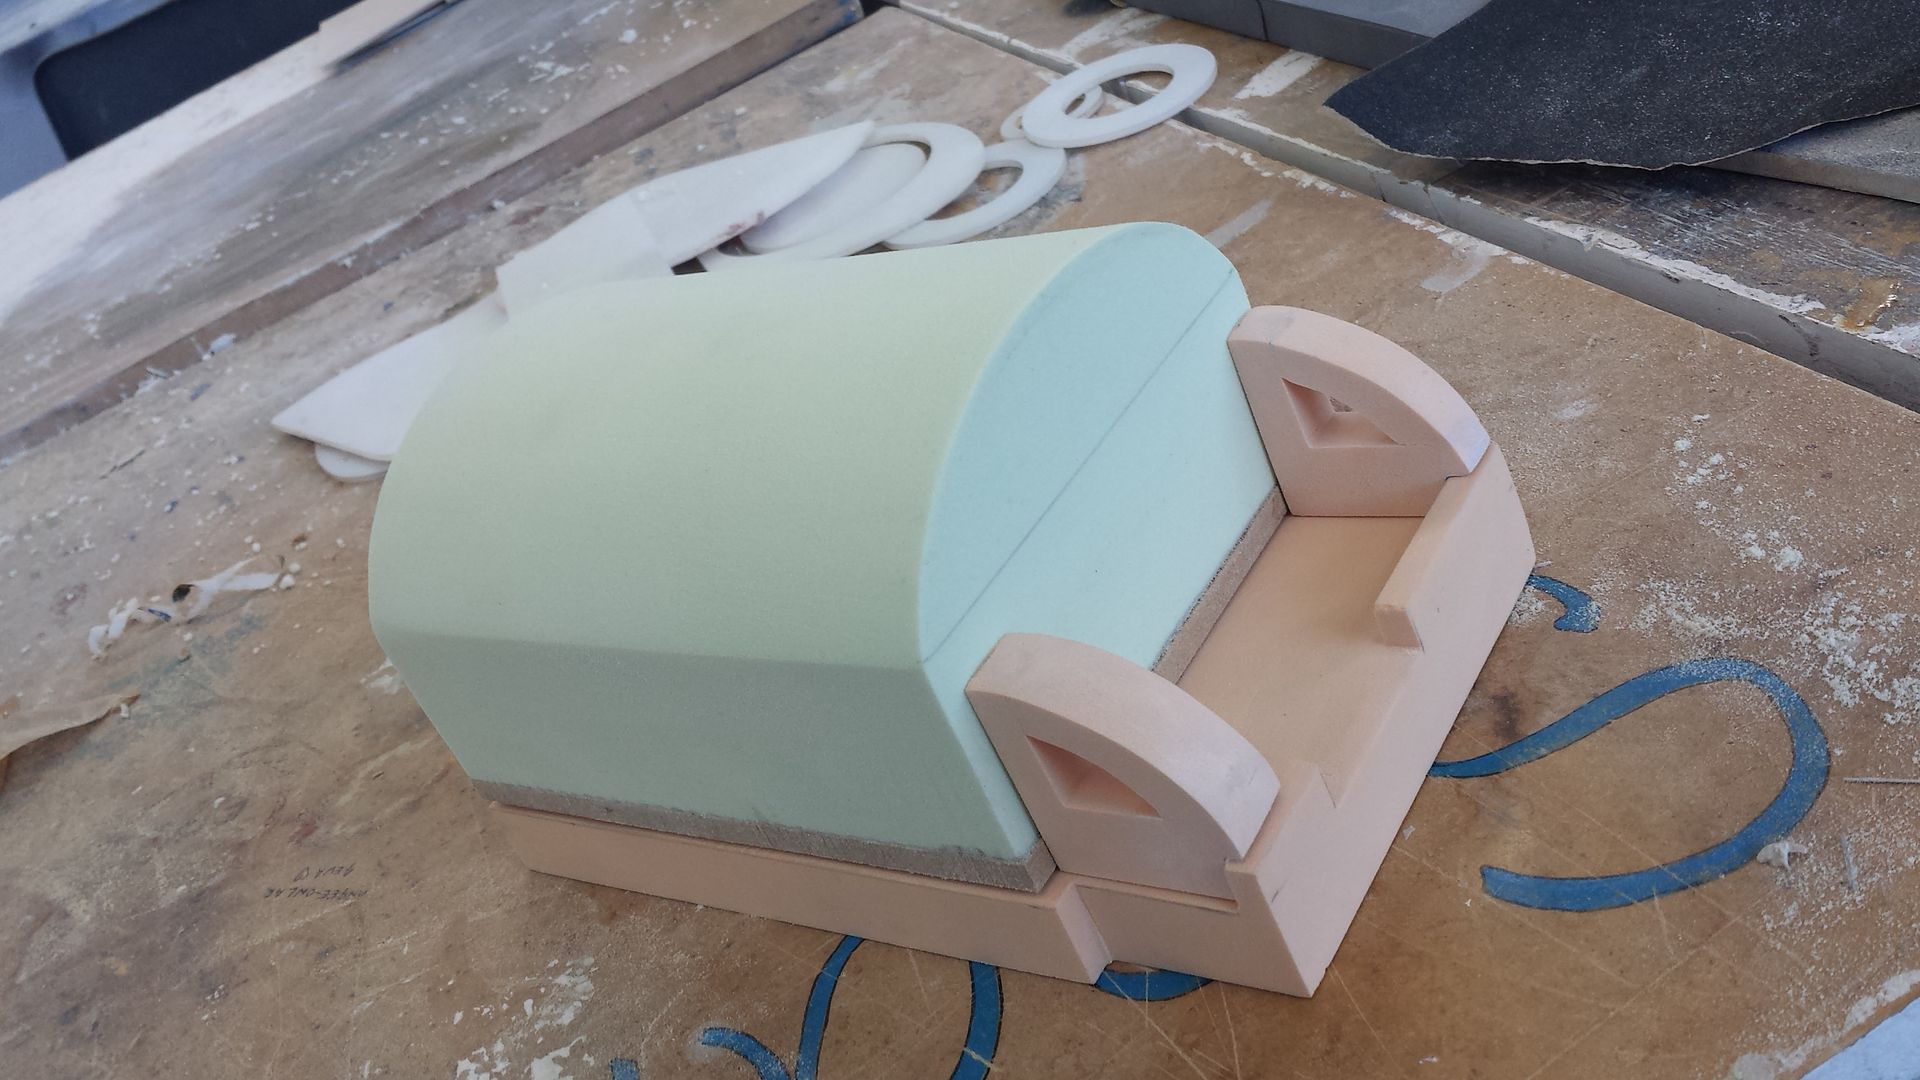
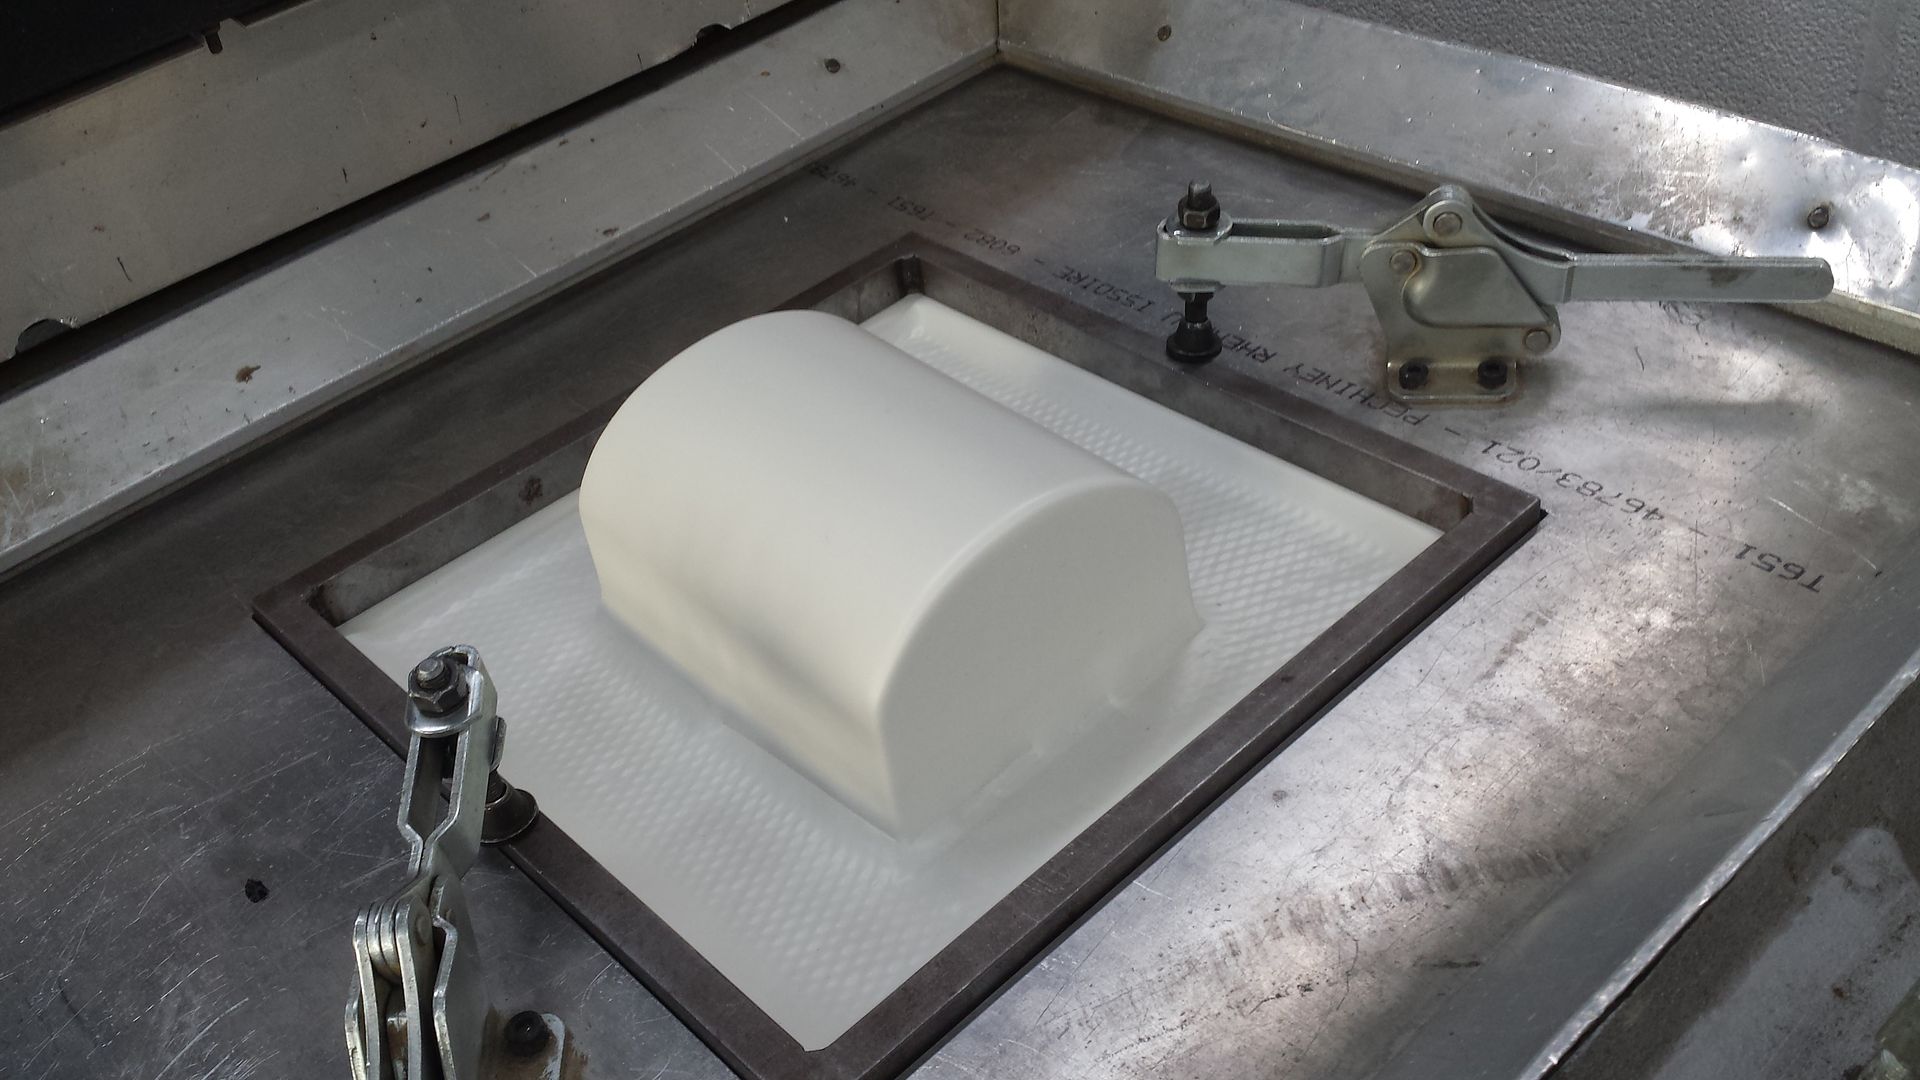
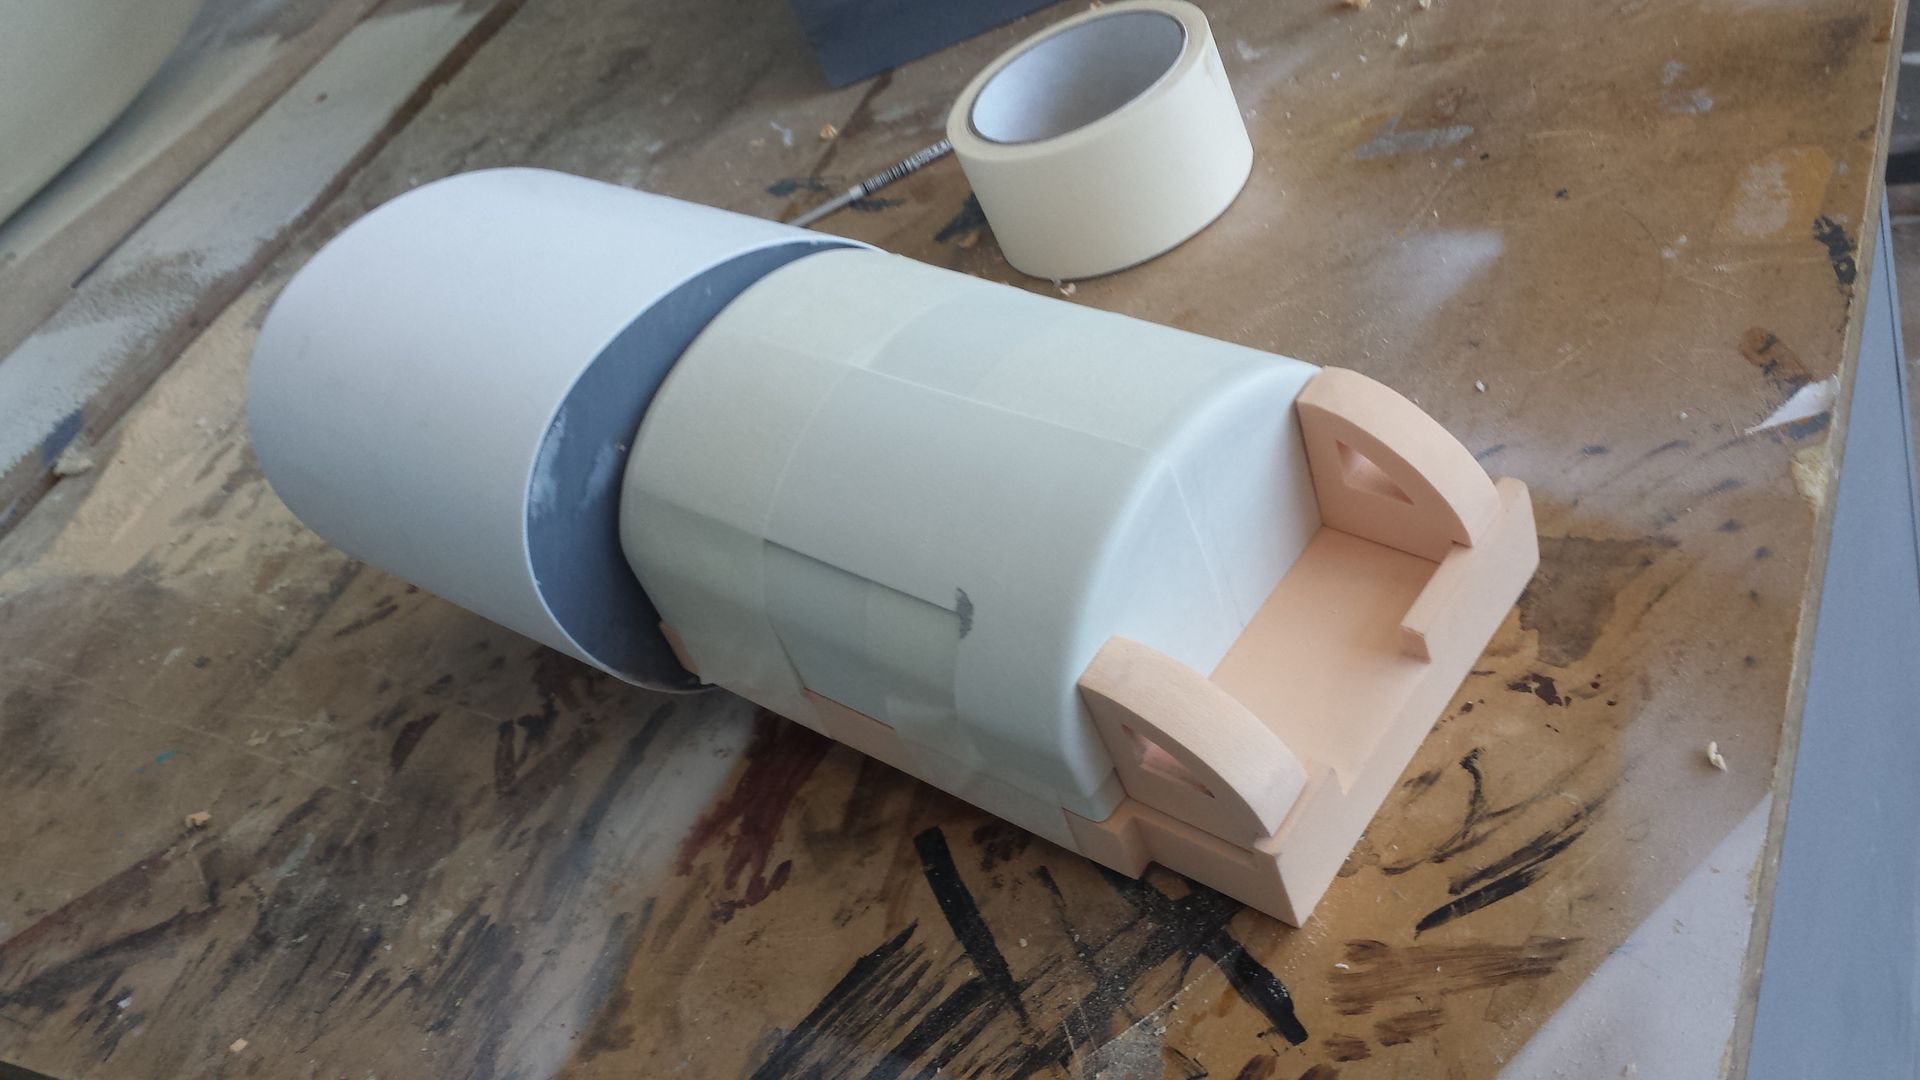
Then the back sections were made again using the tooling foam. While I then made a buck using softer foam, to vac form some ABS bottoms of the piece. I did 2 for each eye so as to be able to cut a section out to act as the detail panelling thats found underneath the eye.
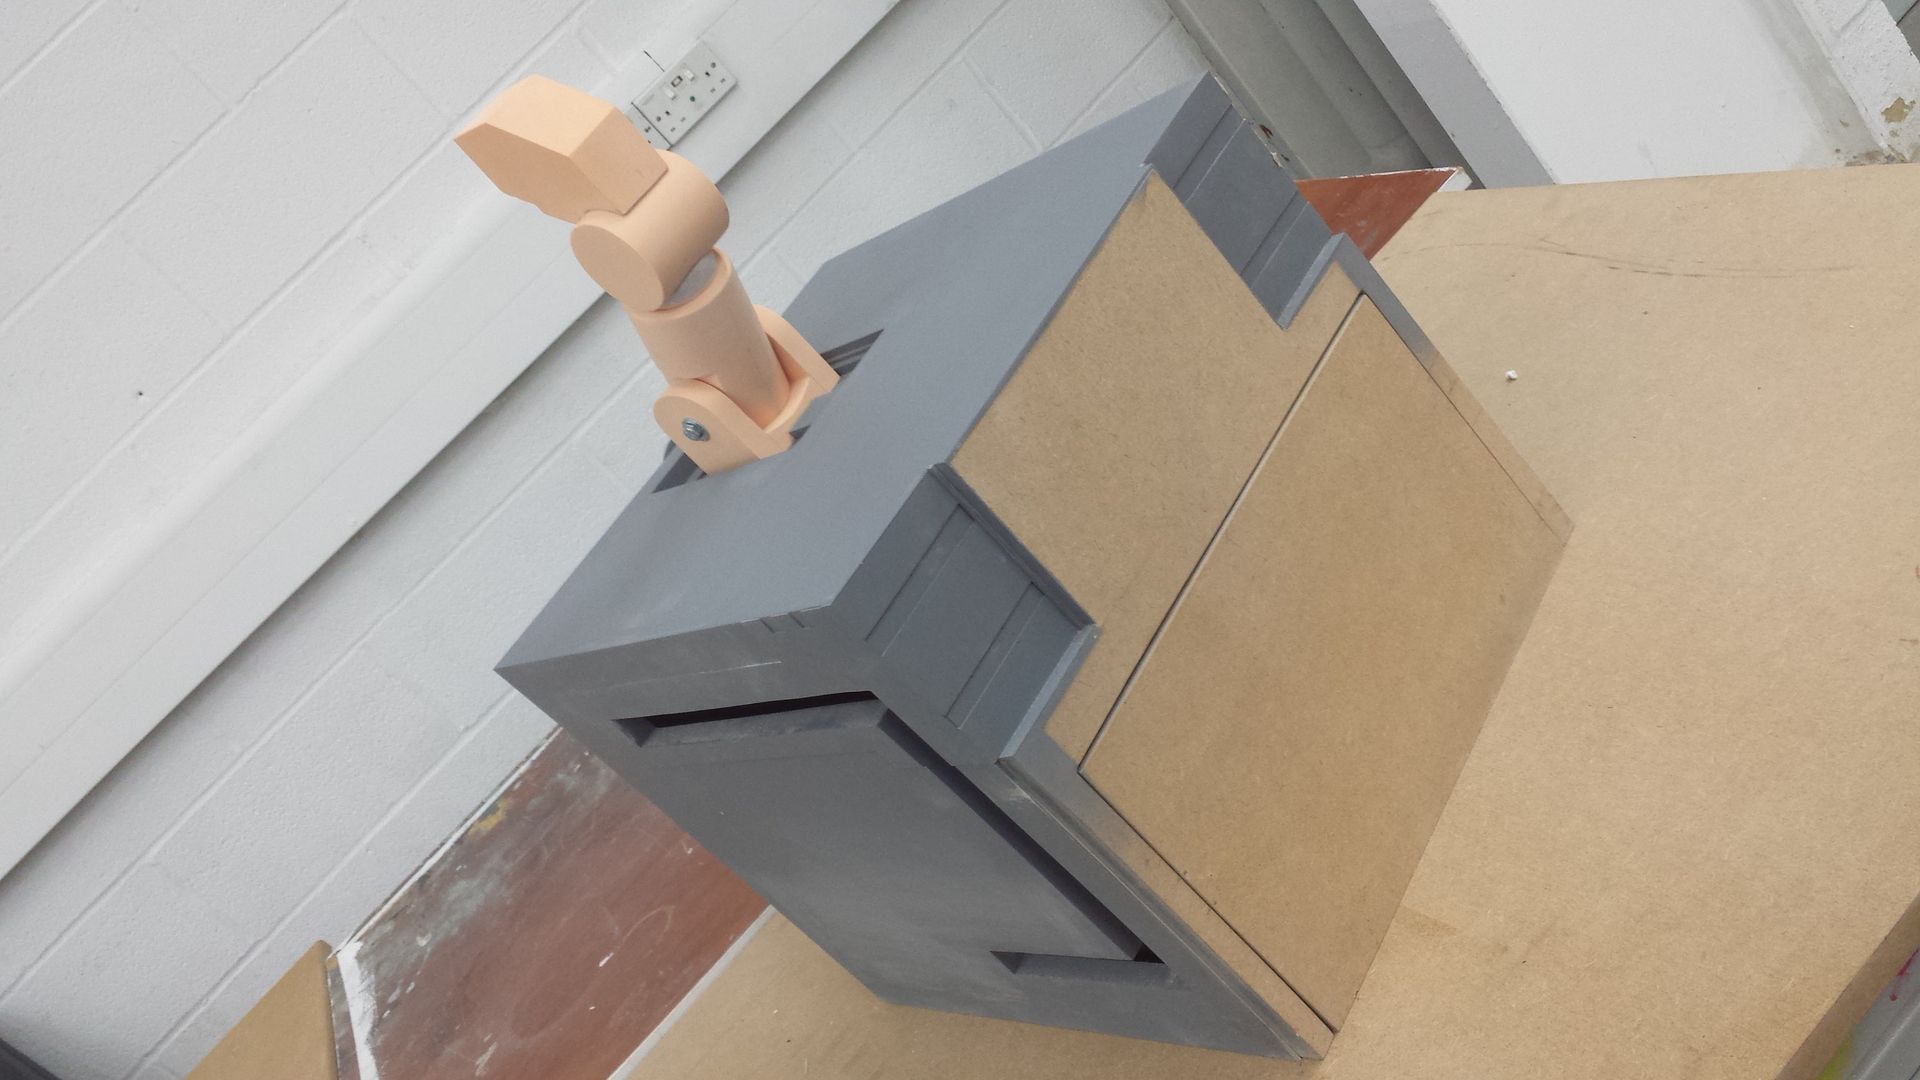
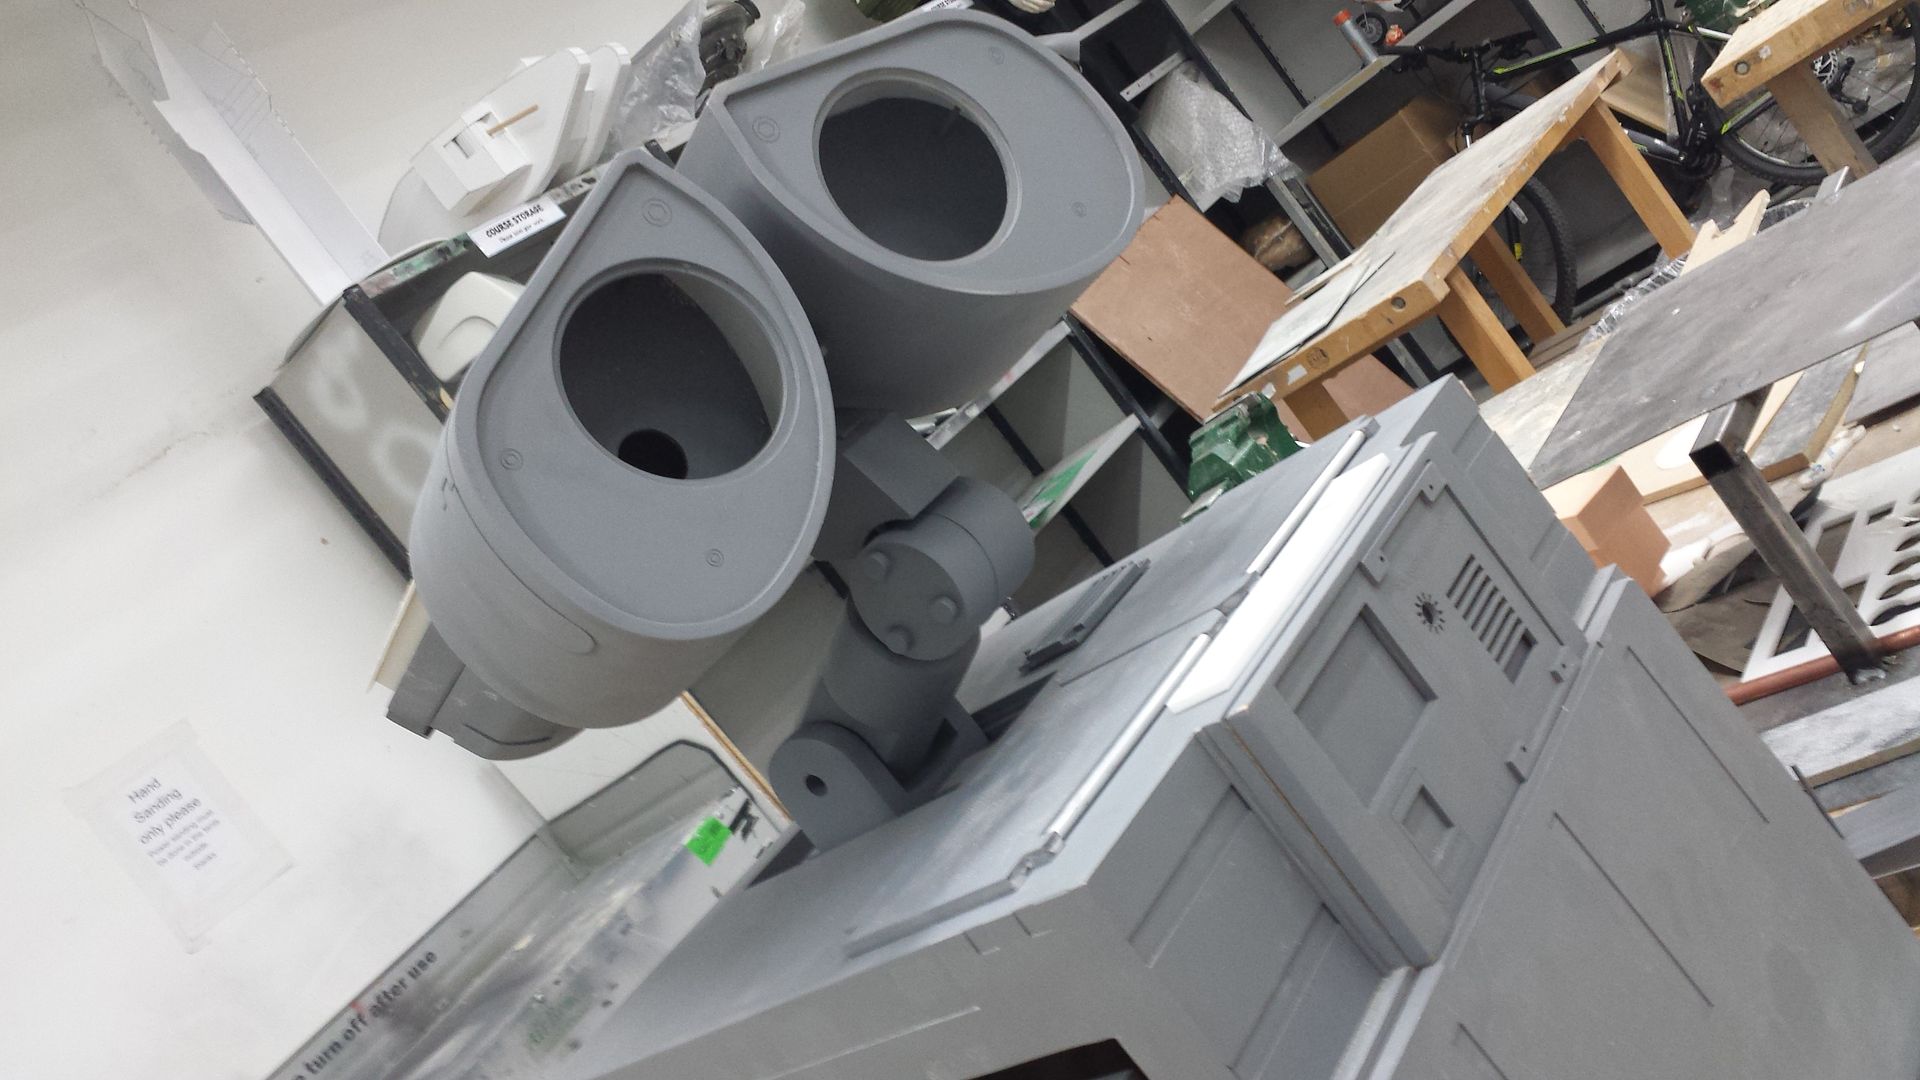
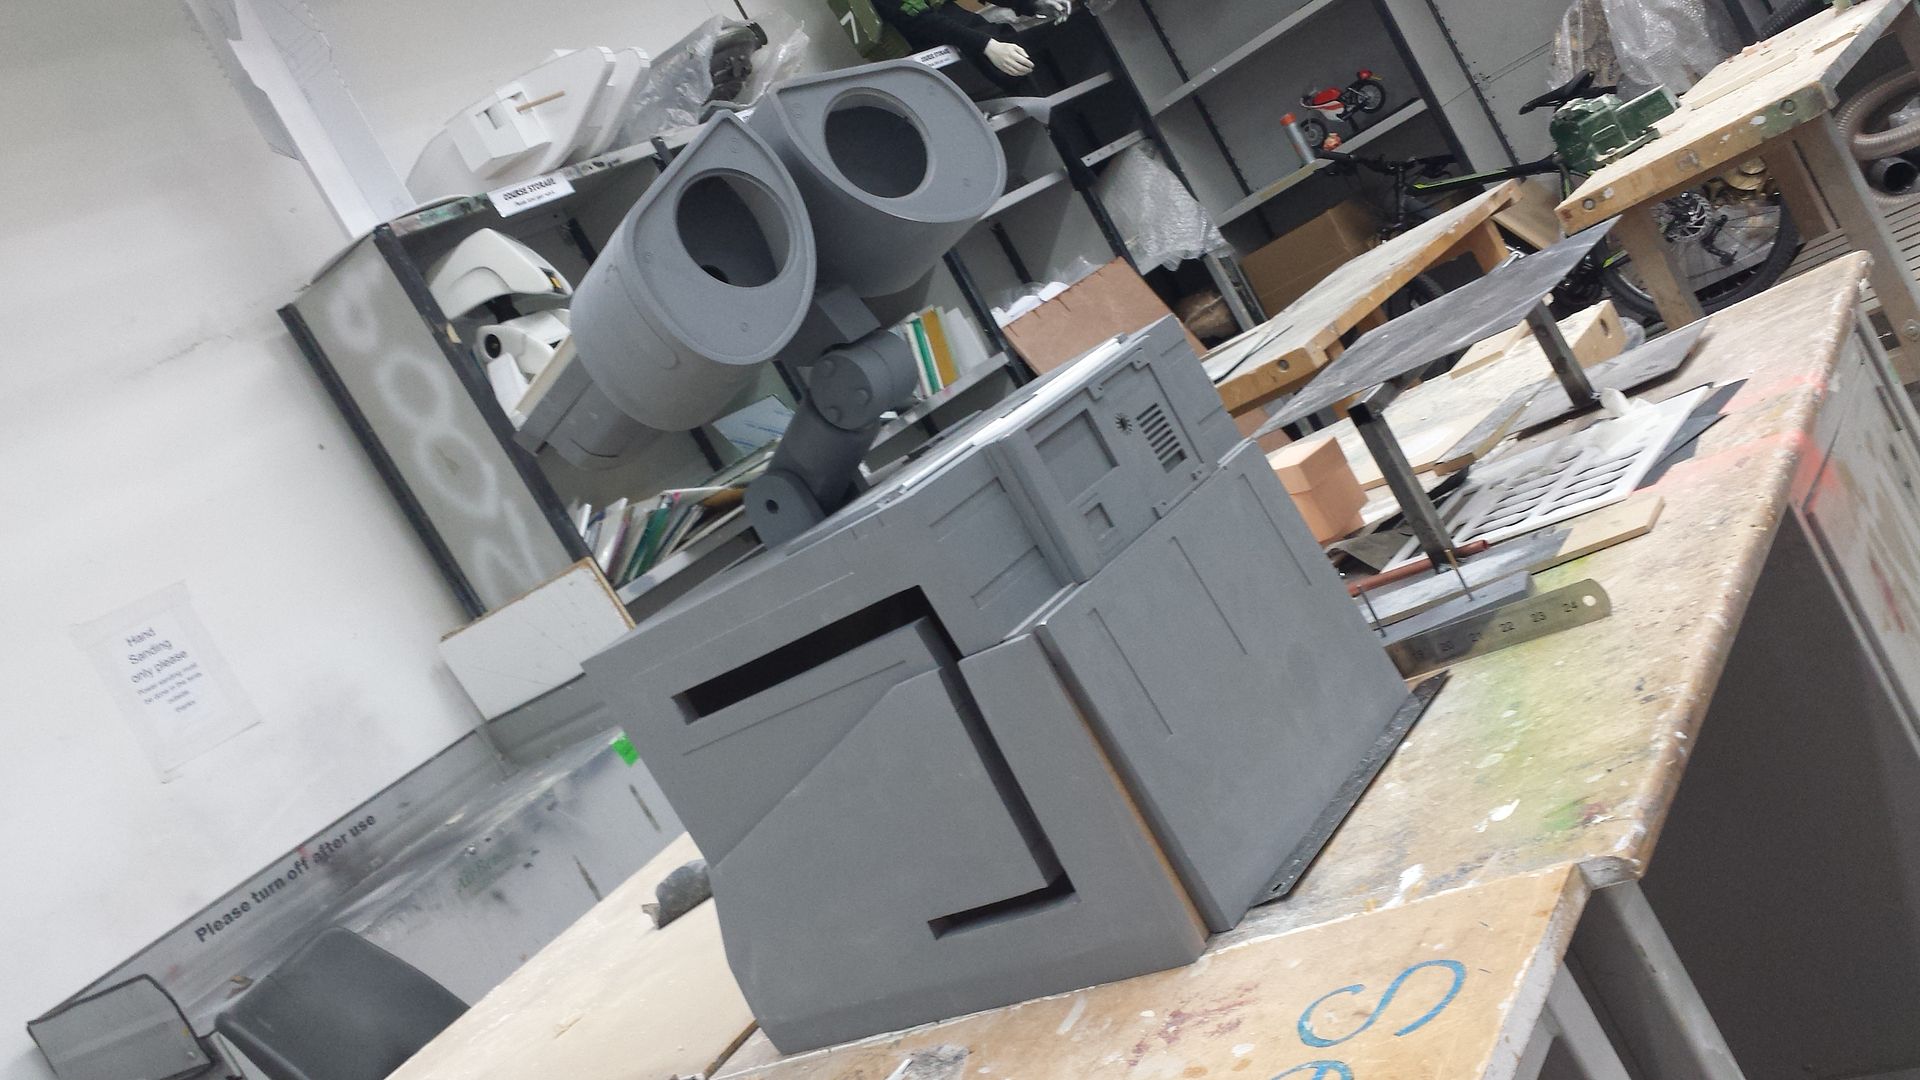
I then welded up a steel frame for Wall-e to sit on. This will be hidden by his tracks as well as the detail pieces that hang underneath him, which will bolt to the vertical supports.

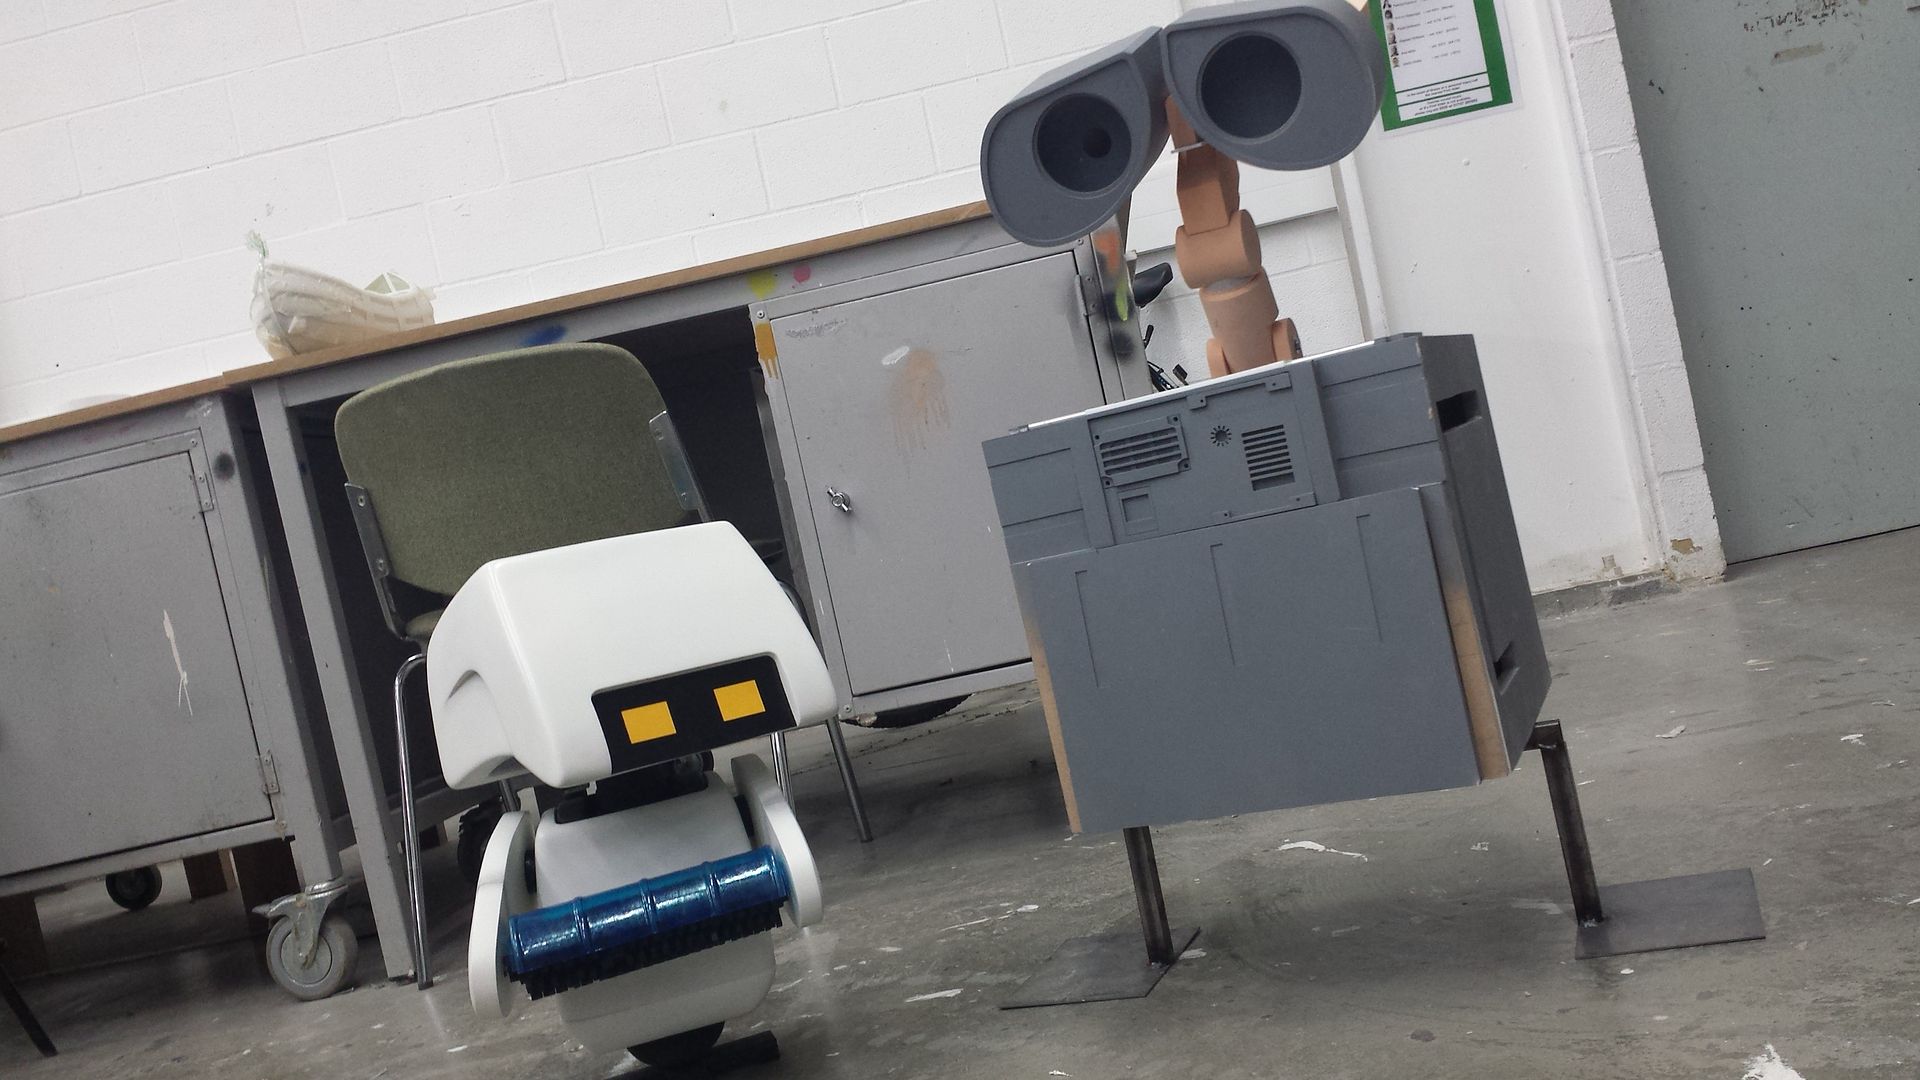
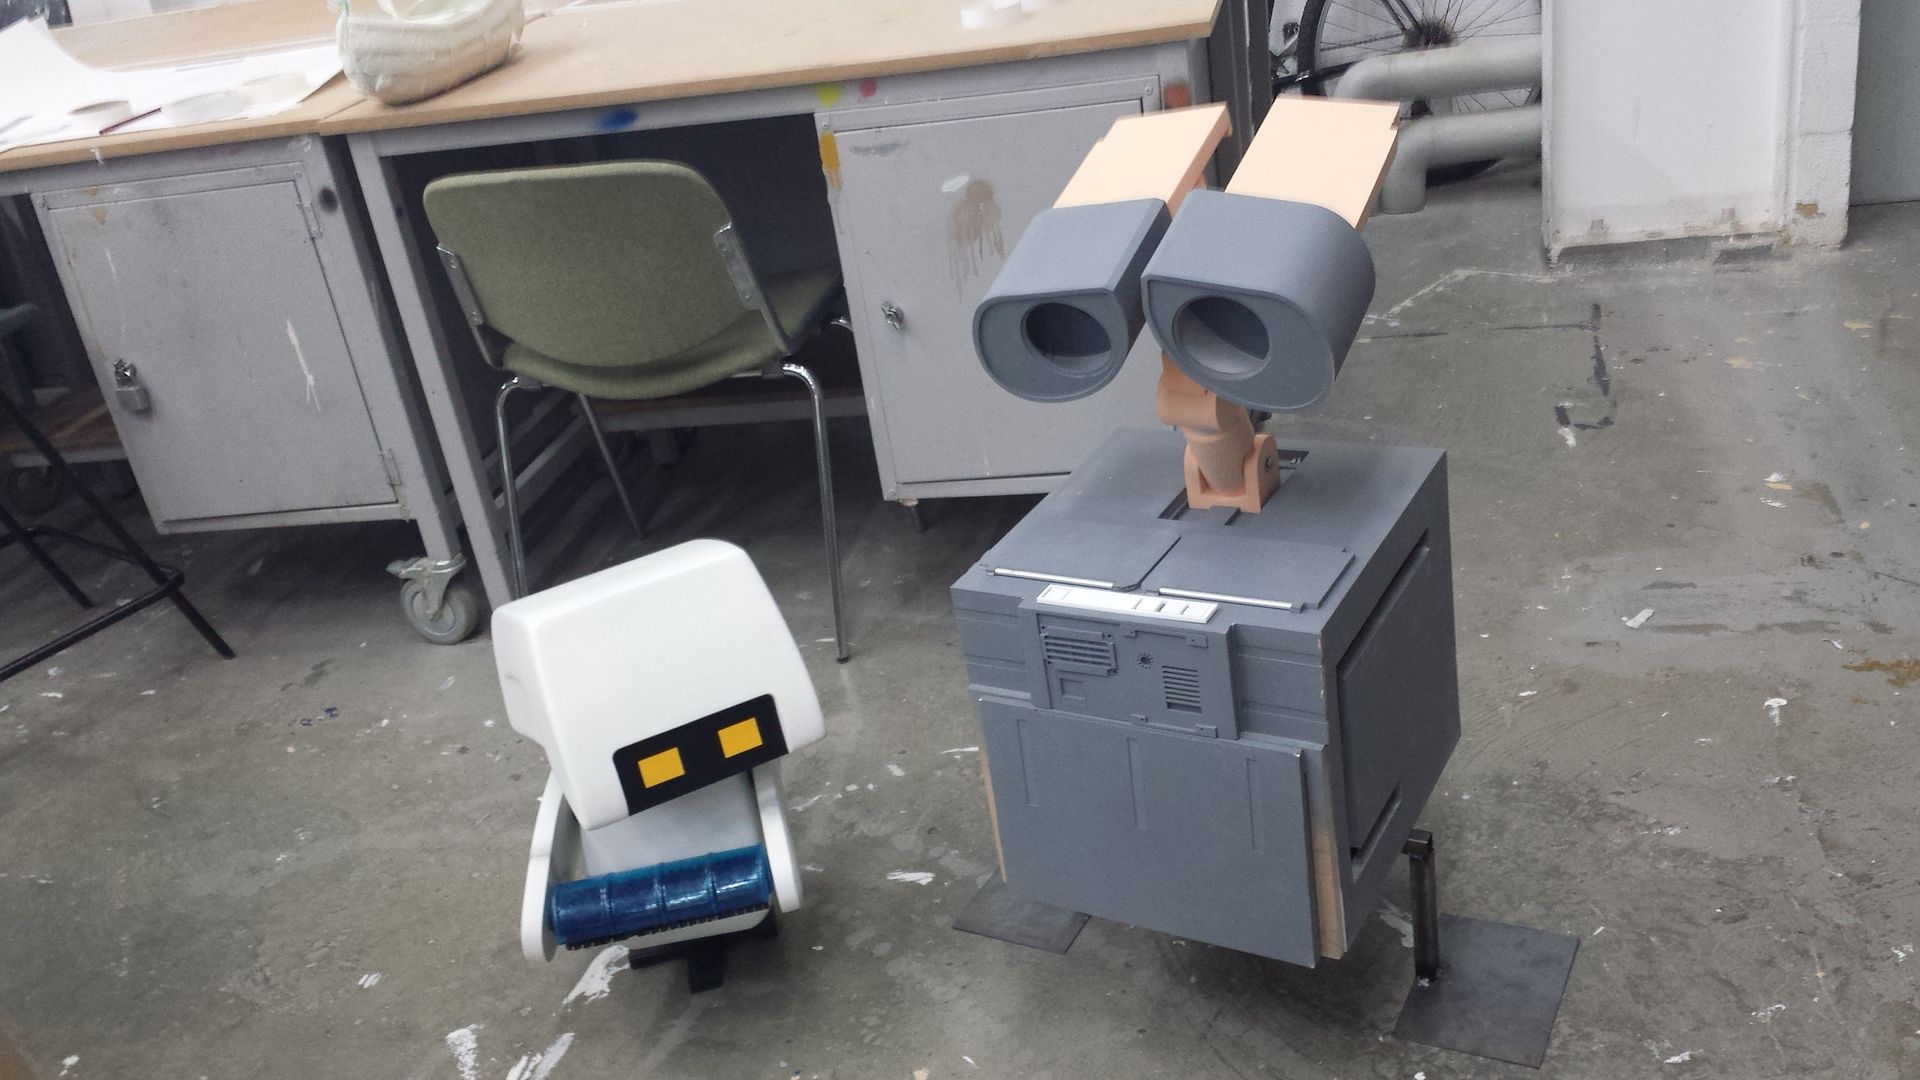
And here he is with his head attached, next to my friends M.O for a size comparison. The M.O is 1:1 but the wall-e is 25% smaller than the builders plans, but I dont think they are that far off when compared together.
Should have more to post over the weekend if all goes to plan.
Welsh
So ive totally scrapped the top detail section, im going to re cut more accurate pieces, but the main work has been putting into getting all the pieces built and assembled before I start detailing.
The first thing was the neck, these are all made using a dense tooling foam. Still rough in these photos but you get the idea;


With the neck blocked out, I then set about working on the eyes. For these I used 3mm acrylic to act as the frame, pinned together with brass, then wrapped 1mm ABS around them and sealed the join;


Then the back sections were made again using the tooling foam. While I then made a buck using softer foam, to vac form some ABS bottoms of the piece. I did 2 for each eye so as to be able to cut a section out to act as the detail panelling thats found underneath the eye.


I then welded up a steel frame for Wall-e to sit on. This will be hidden by his tracks as well as the detail pieces that hang underneath him, which will bolt to the vertical supports.

And here he is with his head attached, next to my friends M.O for a size comparison. The M.O is 1:1 but the wall-e is 25% smaller than the builders plans, but I dont think they are that far off when compared together.


Should have more to post over the weekend if all goes to plan.
Welsh
TazMan2000
Master Member
I bet you're a hero to your kids for making this.
The innards look big enough to hold a six pack of beer. I wonder if Disney would release one like this that could be a beer fridge too? :lol
TazMan2000
The innards look big enough to hold a six pack of beer. I wonder if Disney would release one like this that could be a beer fridge too? :lol
TazMan2000
welshwarrior123
Well-Known Member
Thank you guys. You know Tazman, my tutor kept telling me this should be a glorified fridge, a quite expensive one though lol
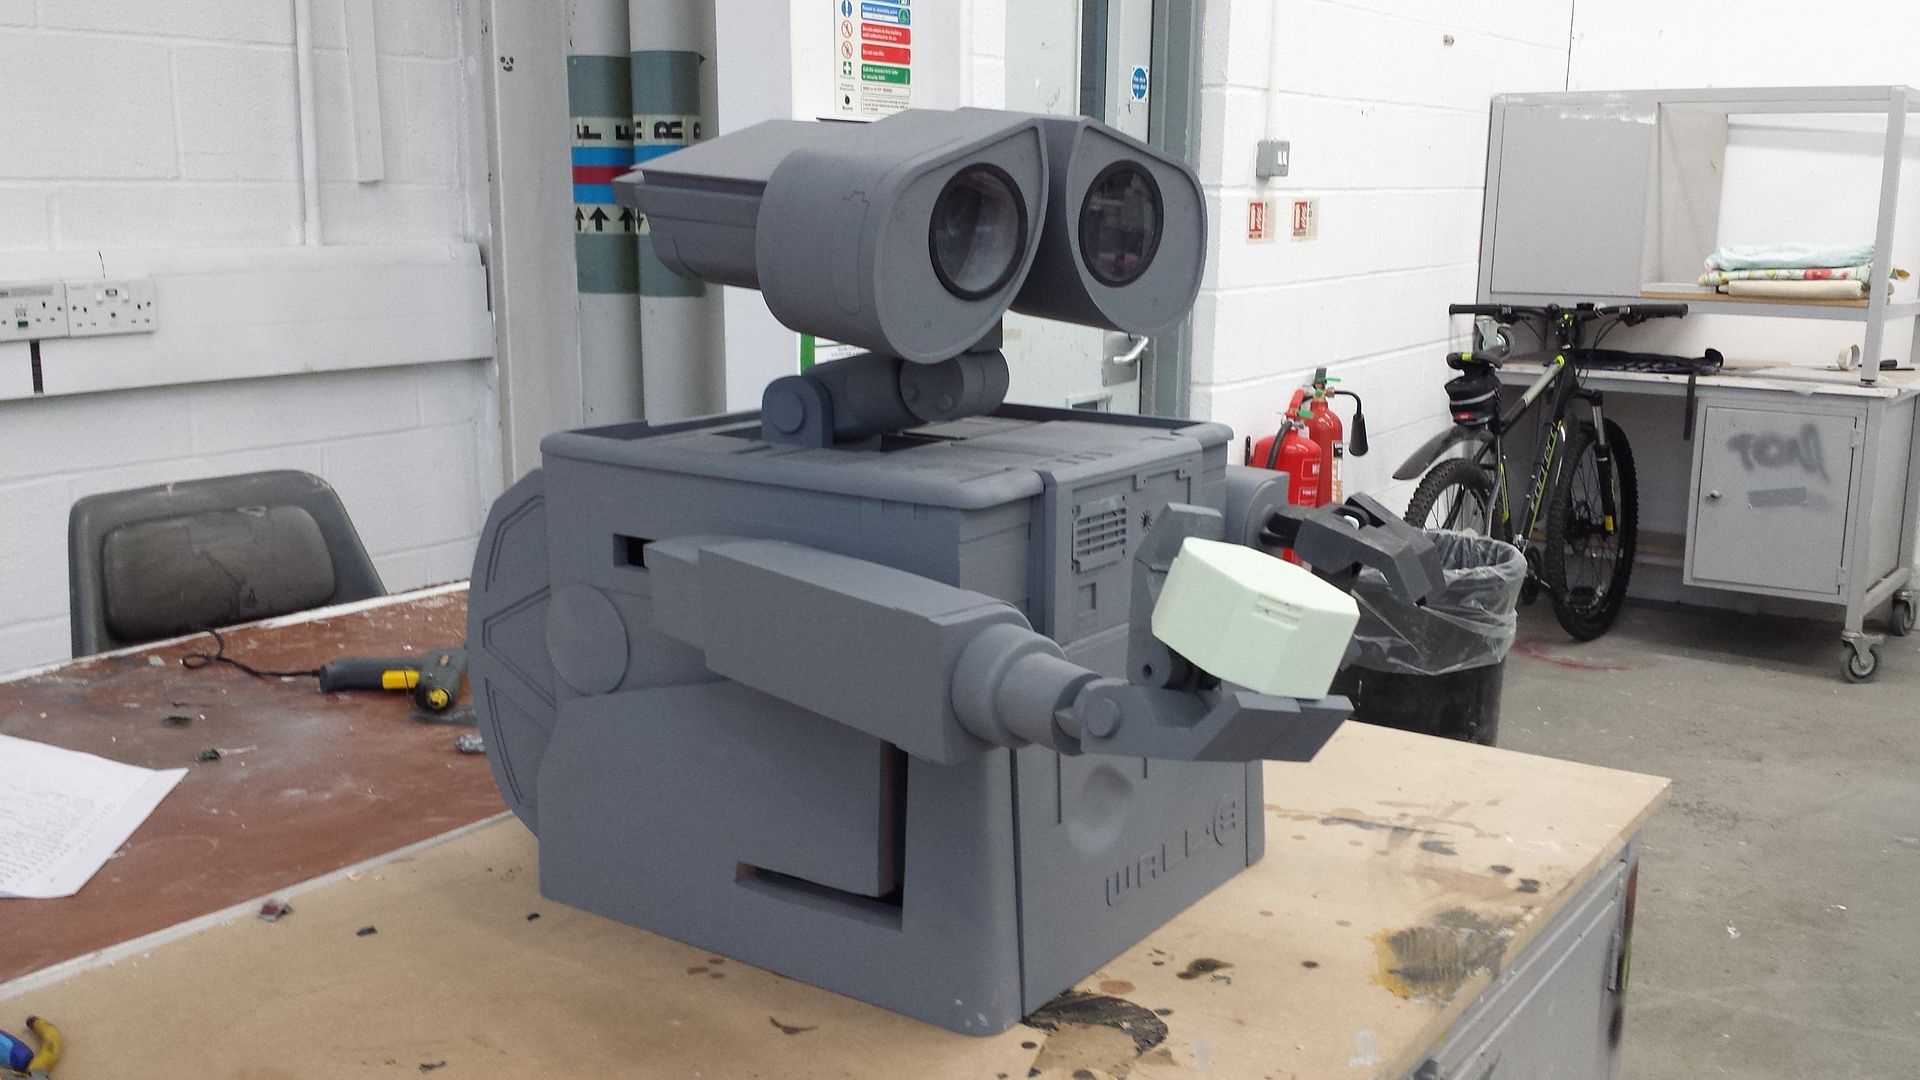
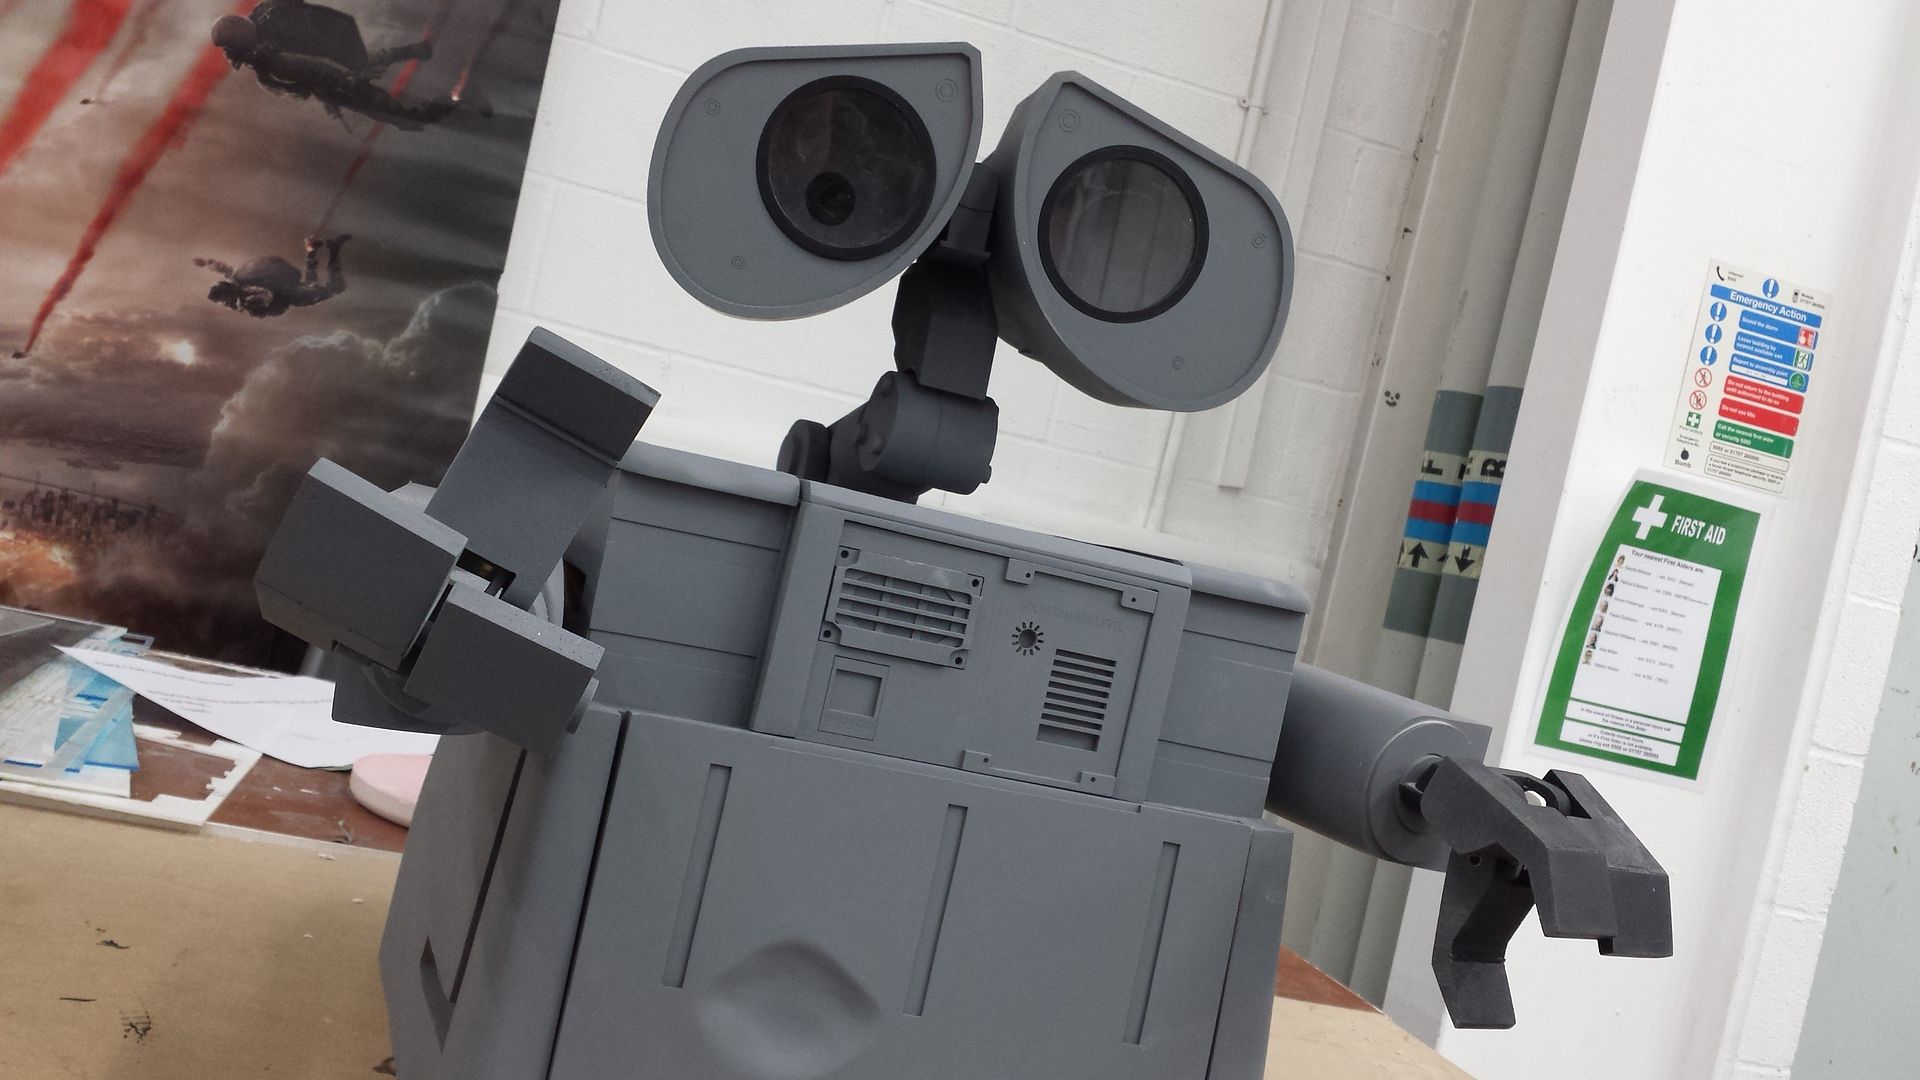
Well I got the eye brows attached, I know these need to be flush, but im having to through a little caution to accuracy as this is only a 16 week project. These were hand cut using 0.5mm ABS, as well as the back top sections for the eye;
I also finished up his neck by adding some more detail and bolts (laser cut acrylic), and also put on his side panel as well as his door. Although these will be getting re done next week to make them more accurate, along with starting on his tracks and wheels;
Should have a lot more progress to post next week, but any advice or comments would be welcome from those who have built one before")
Welsh
Well I got the eye brows attached, I know these need to be flush, but im having to through a little caution to accuracy as this is only a 16 week project. These were hand cut using 0.5mm ABS, as well as the back top sections for the eye;


I also finished up his neck by adding some more detail and bolts (laser cut acrylic), and also put on his side panel as well as his door. Although these will be getting re done next week to make them more accurate, along with starting on his tracks and wheels;


Should have a lot more progress to post next week, but any advice or comments would be welcome from those who have built one before
Welsh
oysteinhole
Well-Known Member
Just love it and your technics .....will follow this thread
and your technics .....will follow this threadwelshwarrior123
Well-Known Member
Hey Guys, ive still been trudging away at the Wall-e build. I only have 5 weeks left to finish him now, so things are starting to get tight.
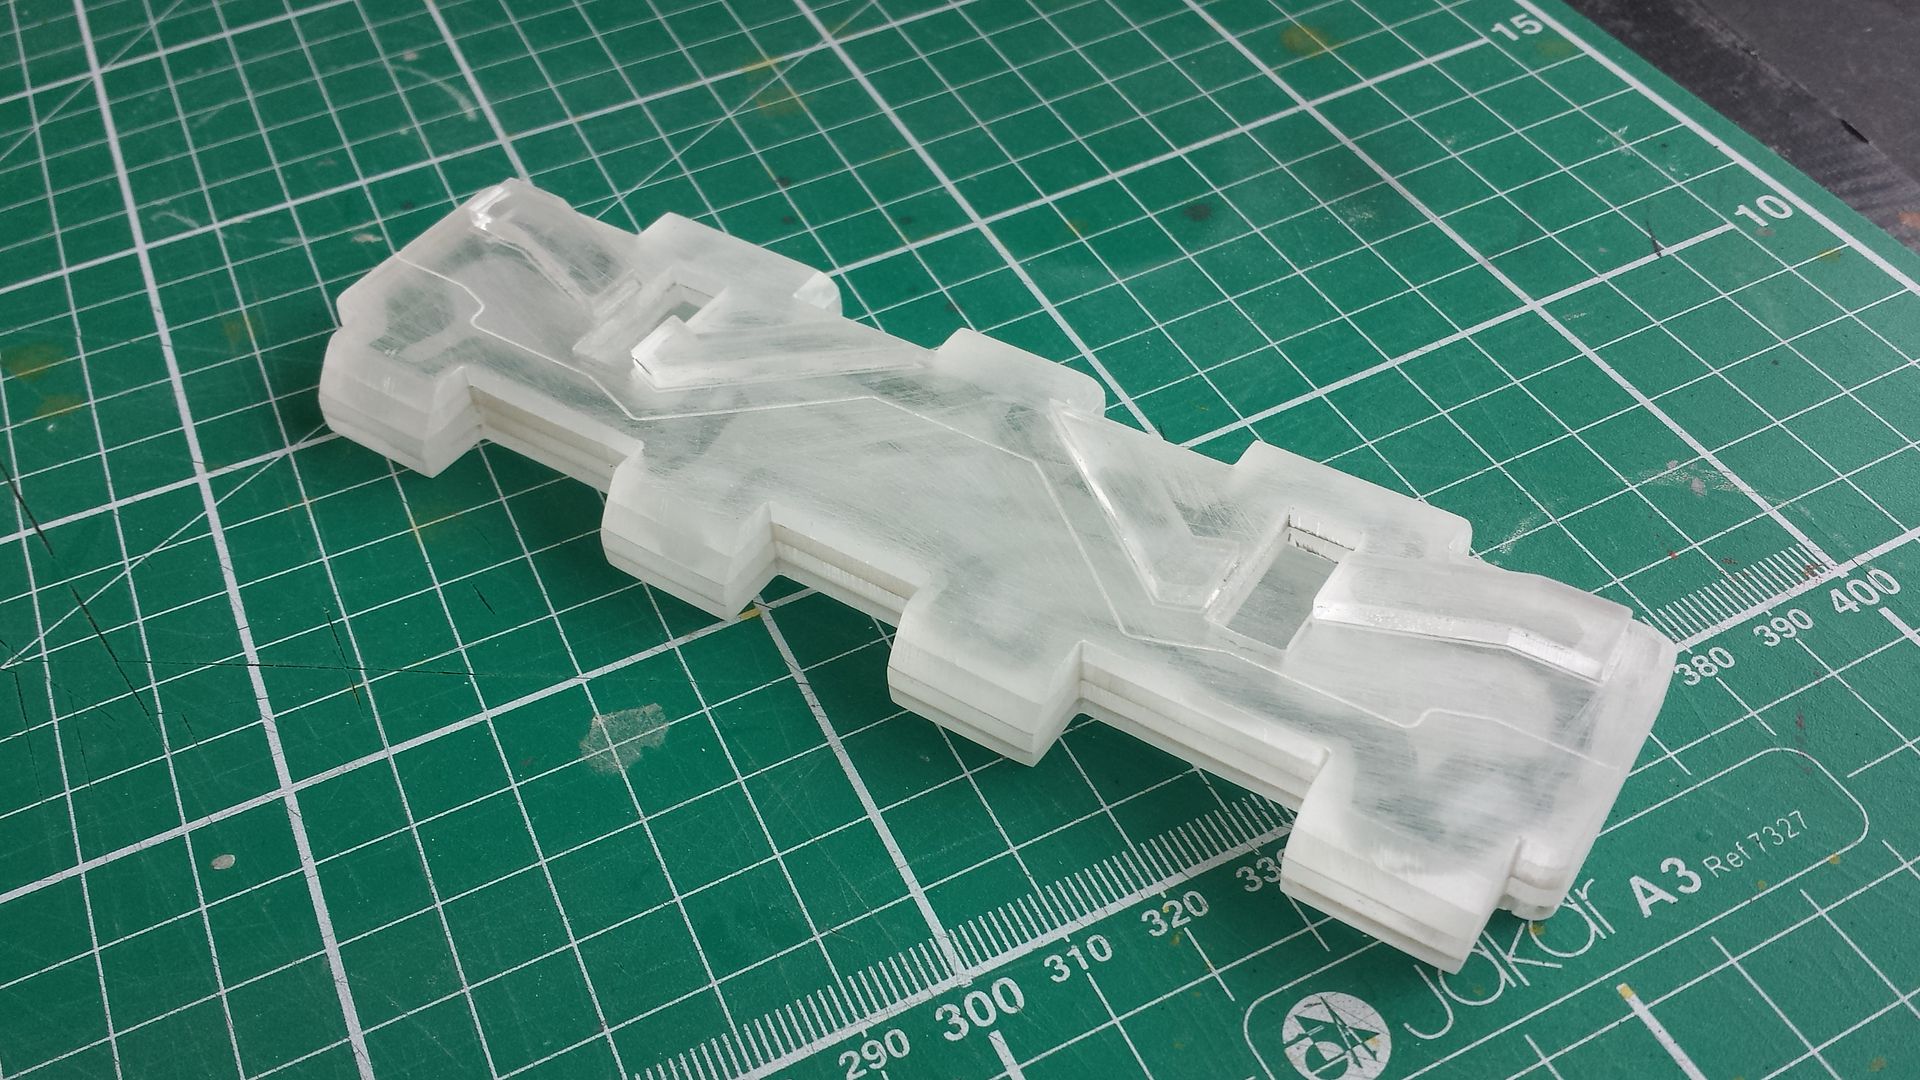
So firstly I held off working on the body as I needed to get on with other parts that havent even been started. First up was his tracks, these are laser cut using 4 pieces of 3mm Acrylic, two blank flat pieces and two with detail and etching. They also feature the tread section, only issue is that the tracks are to thin, although this is intentional so as to cut down on the cost of resin as im going way over budget on him.
Heres the tracks all glued together,
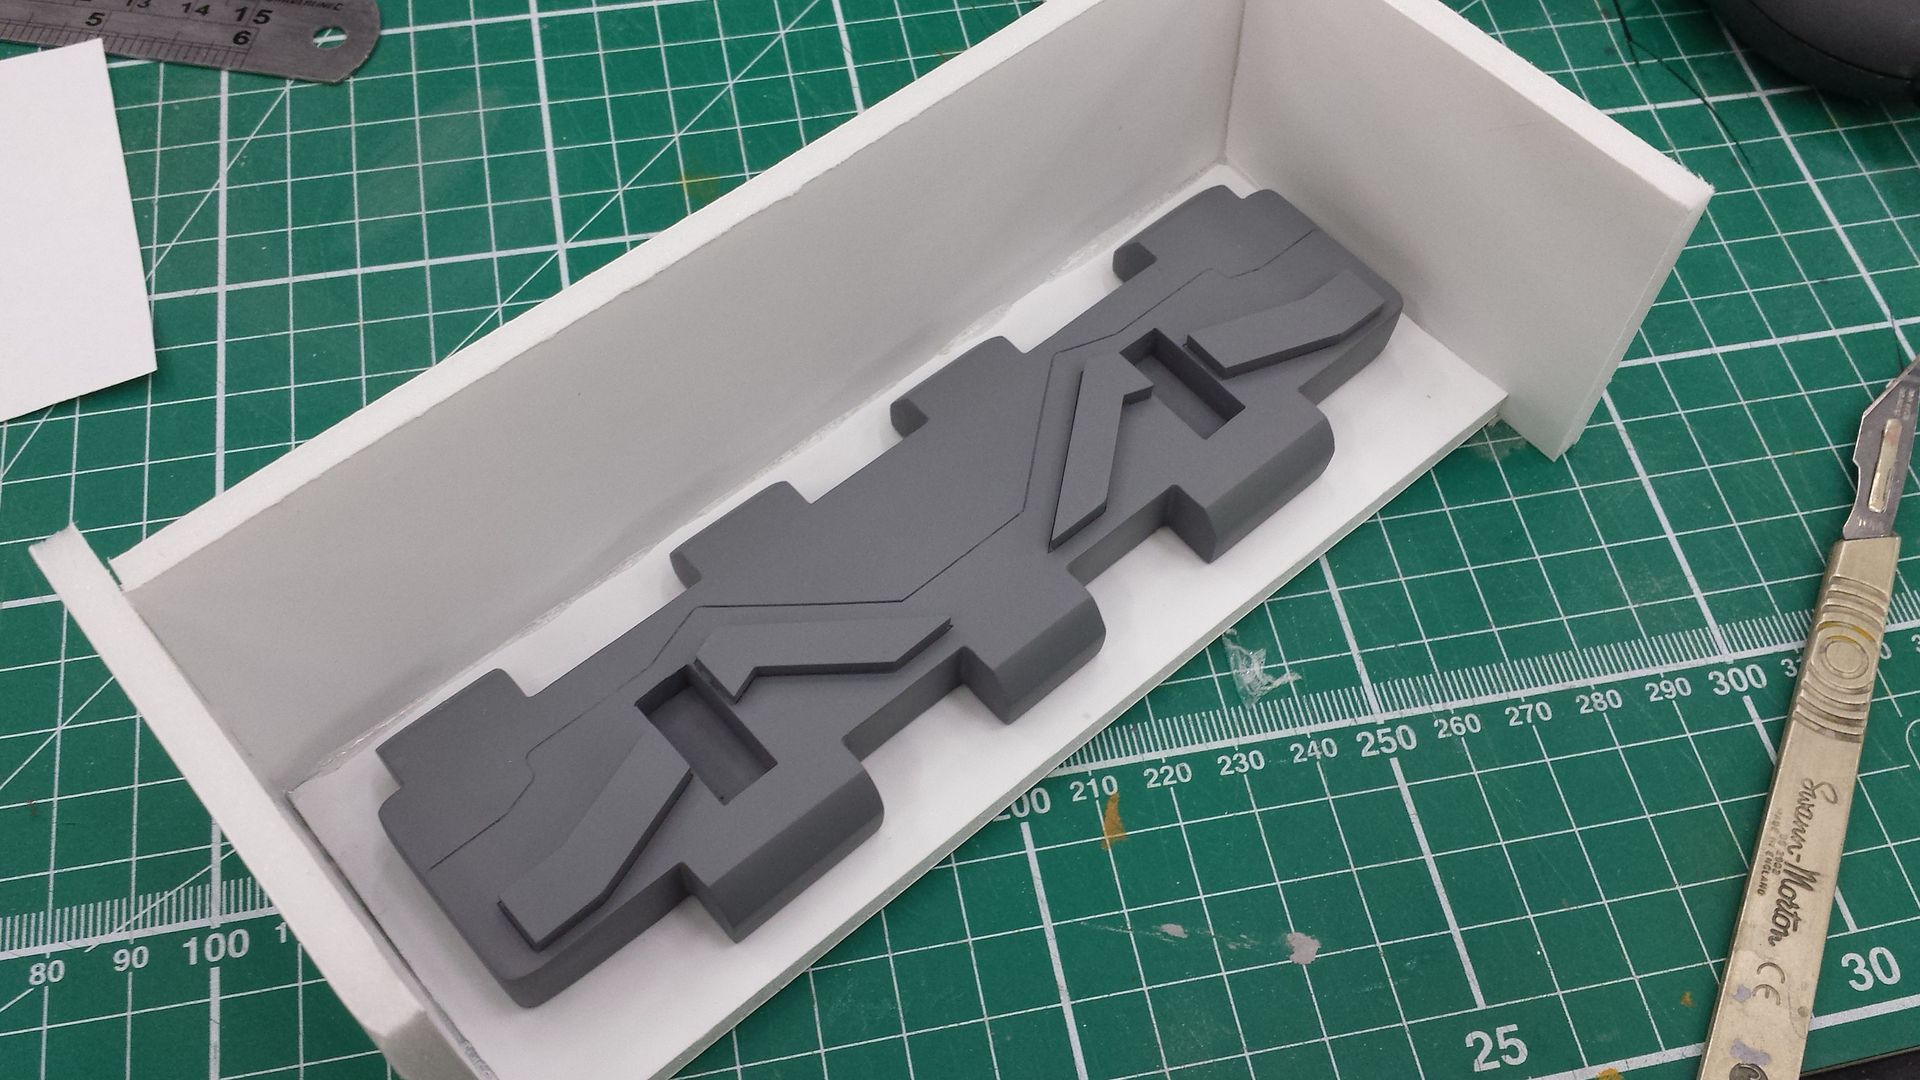
They then were filled, sanded and primer added, followed by being glued in a box ready for a box mold to be made....1 down 64 to go,
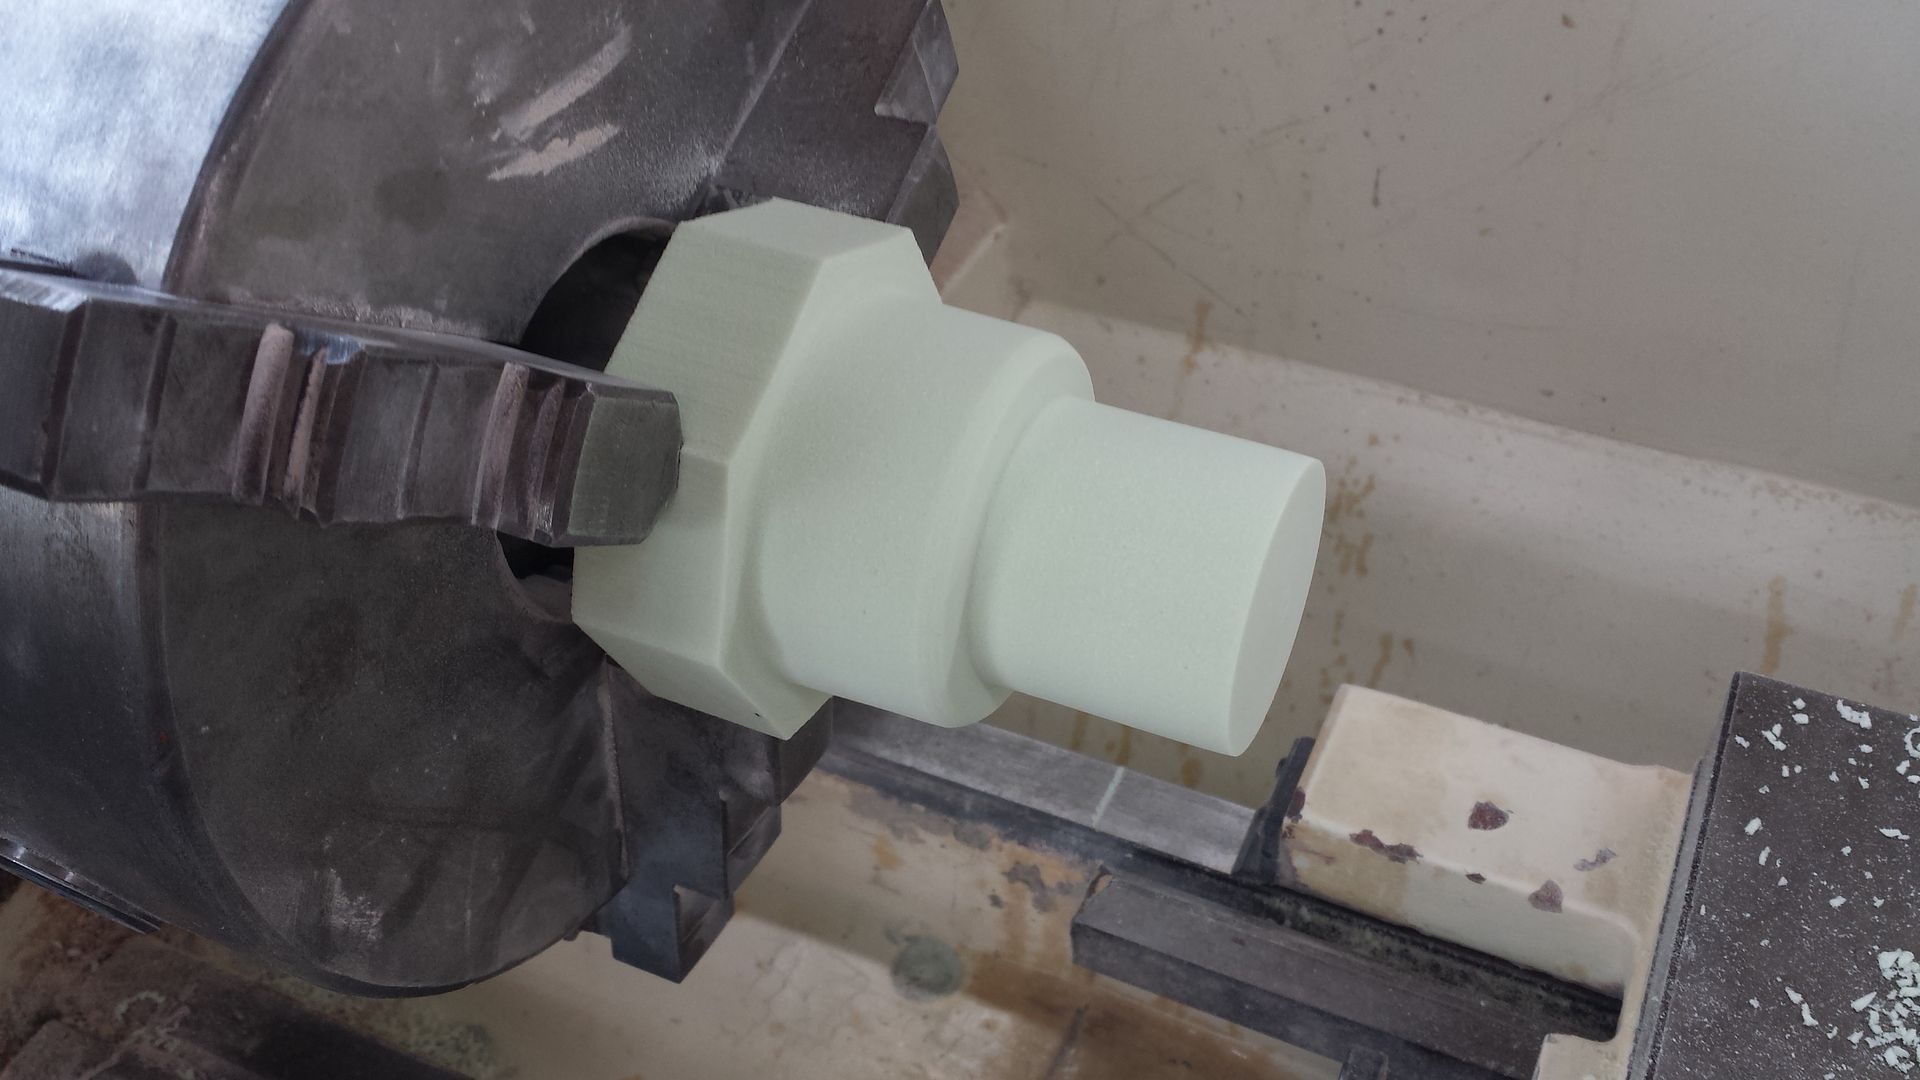
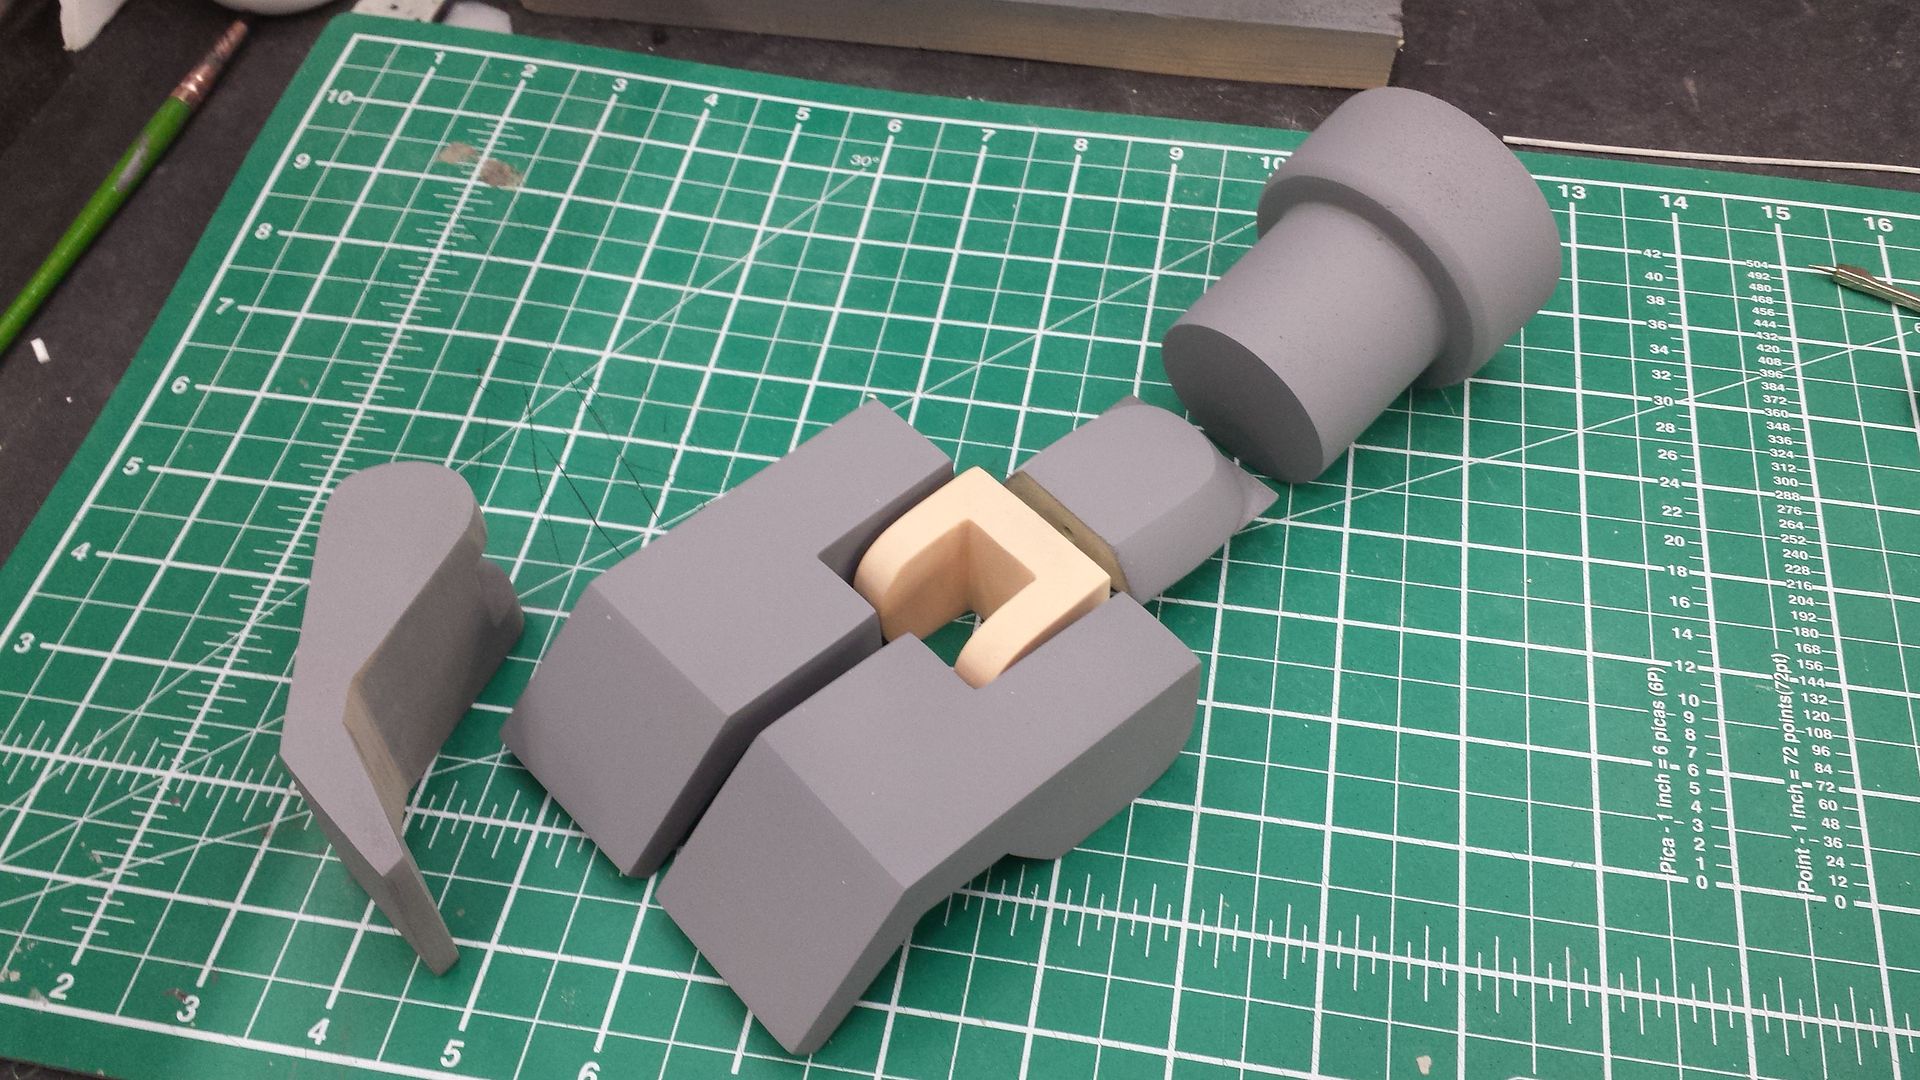
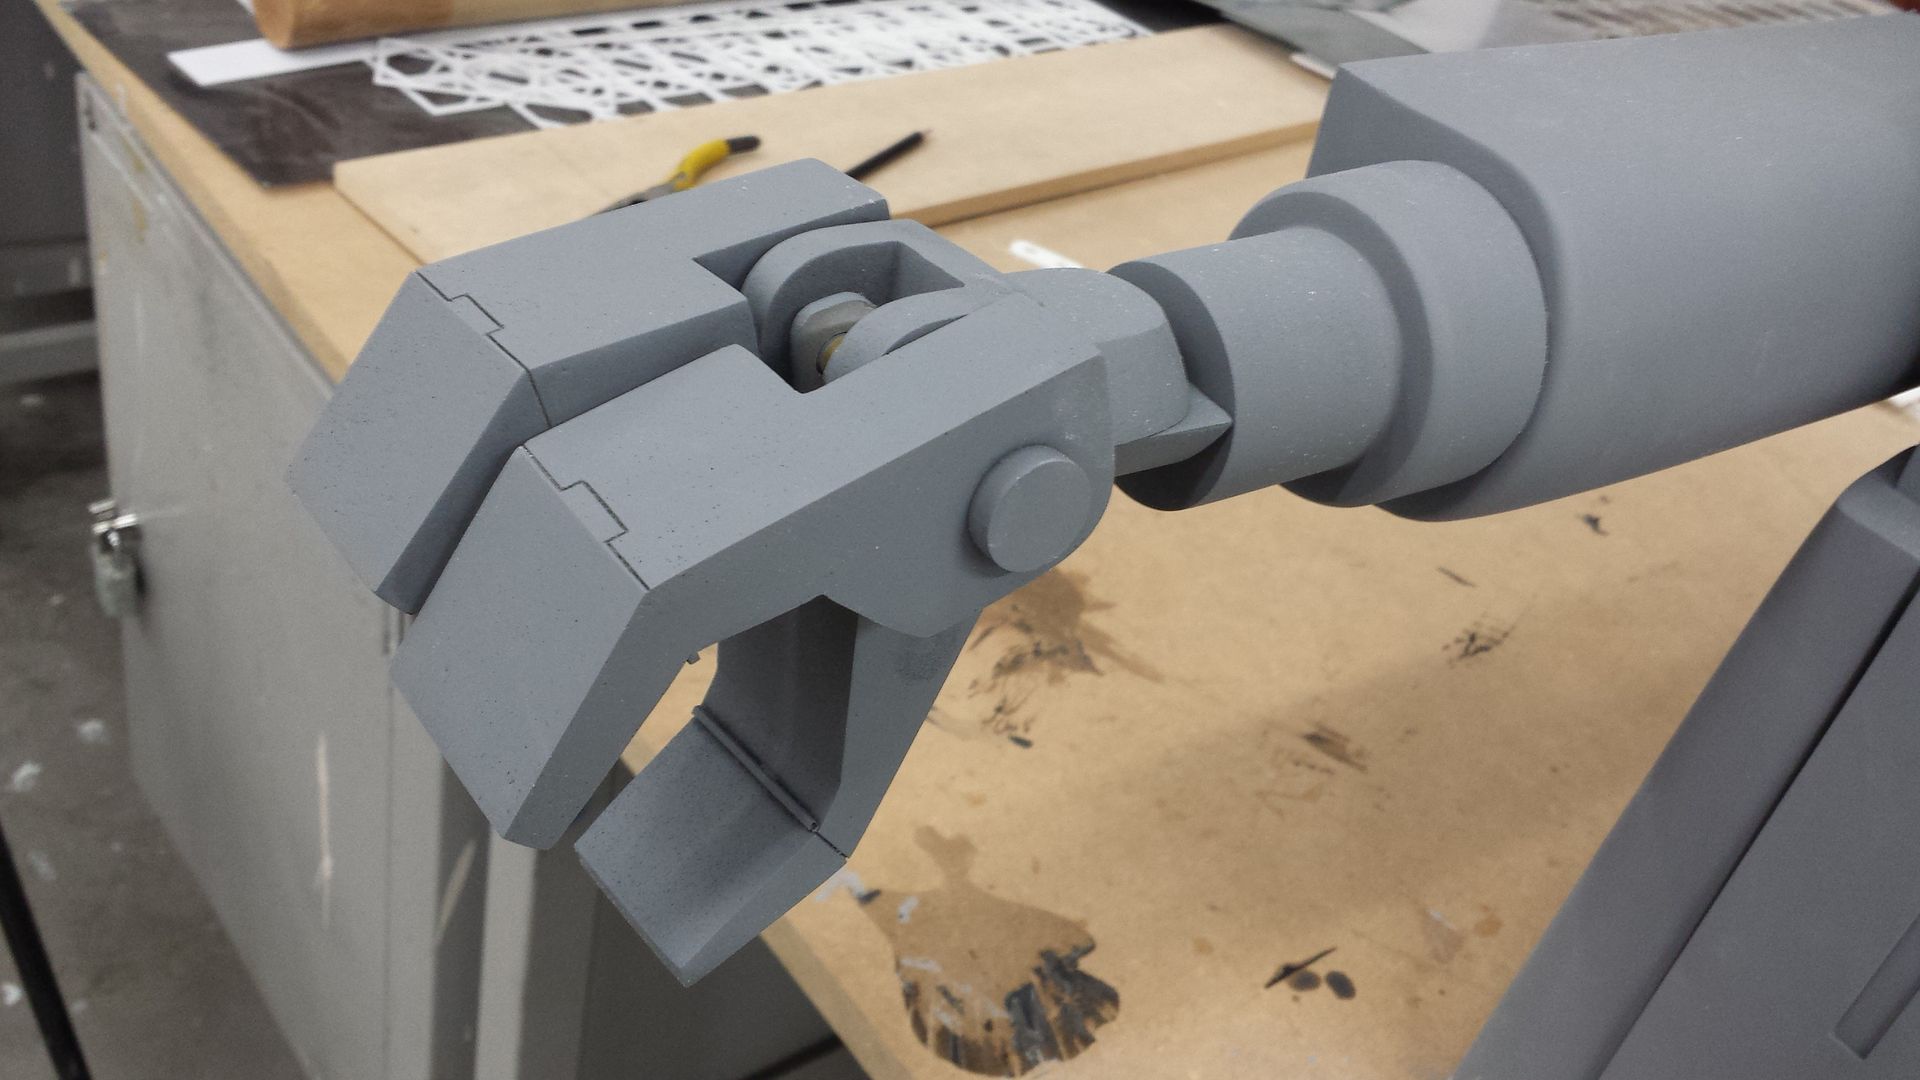
Next up was his hand and wrist. Like the tracks these will also be casted in resin. The wrist section is turned on the lathe using soft green chemi wood, while the fingers are hand made and sanded using medium grade tooling foam. They still need to get cleaned up and have the joins made, but will also feature a little bit of articulation.
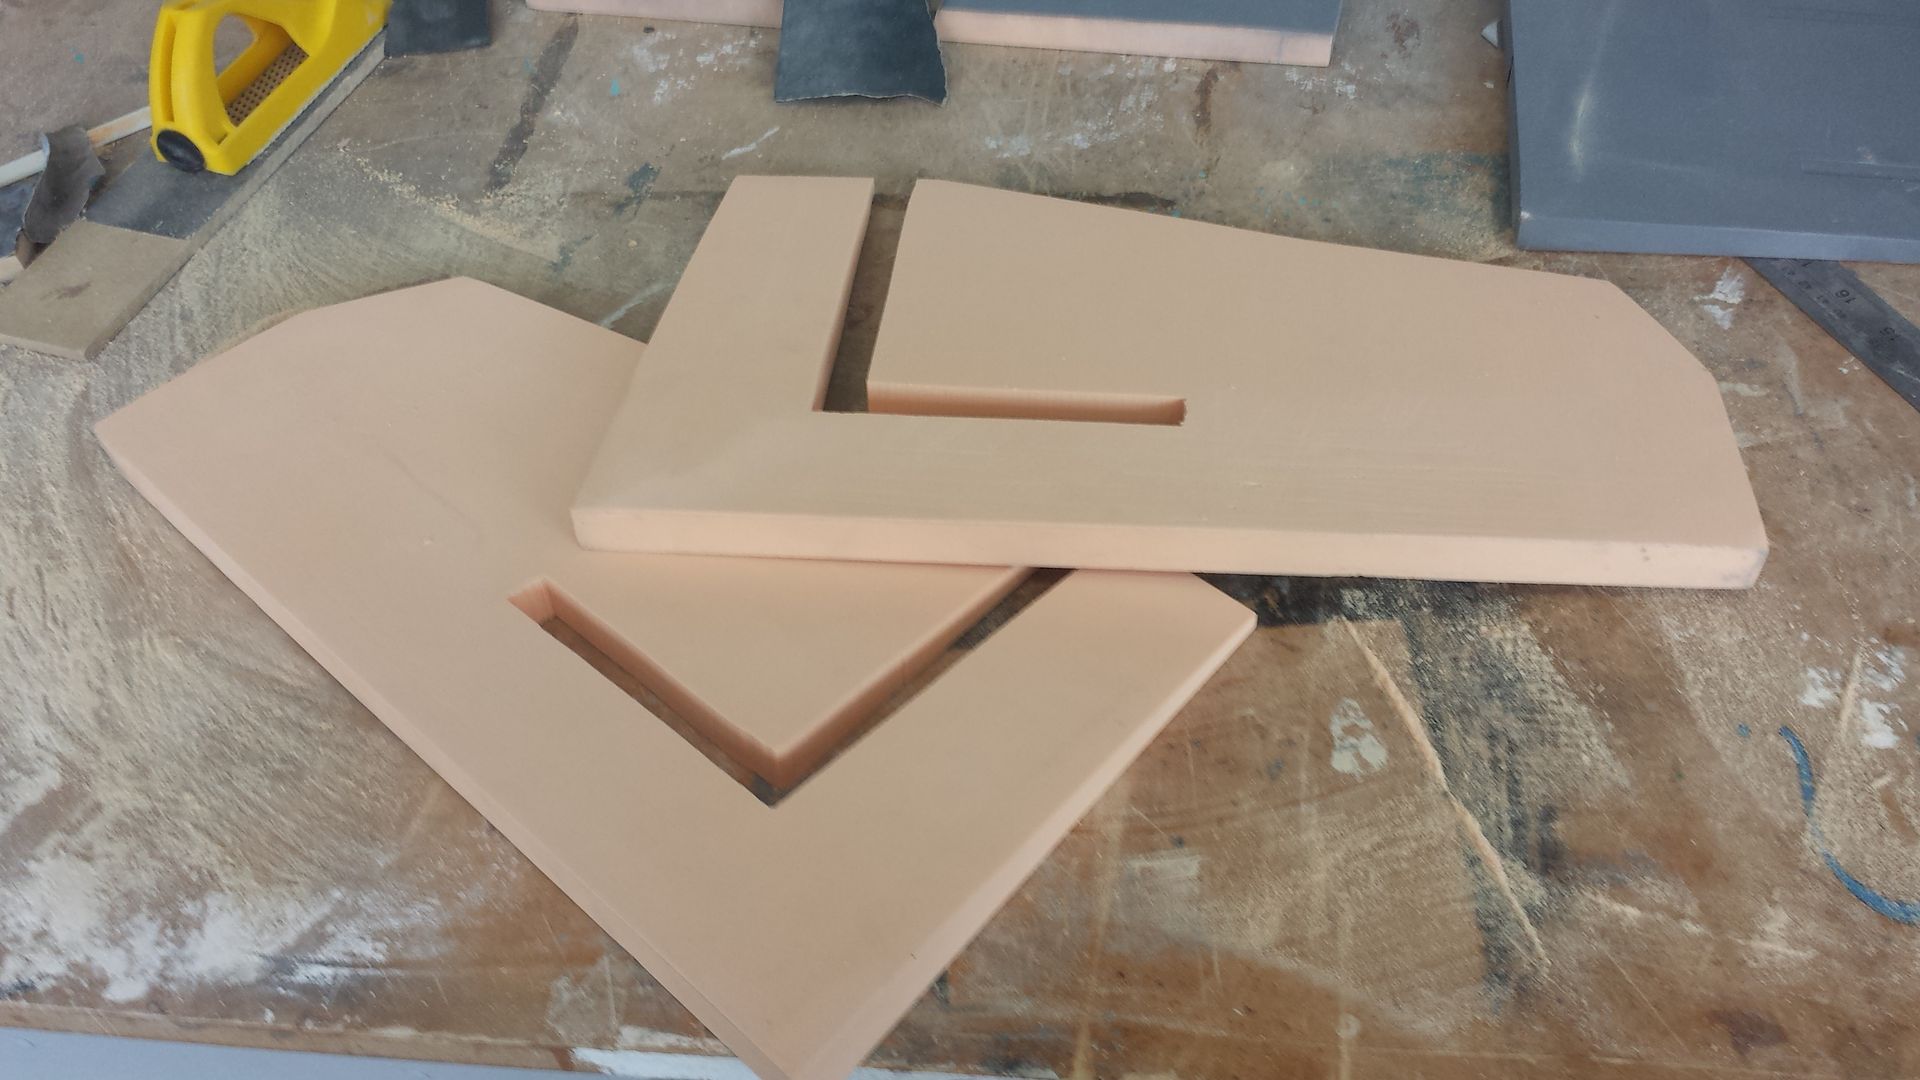
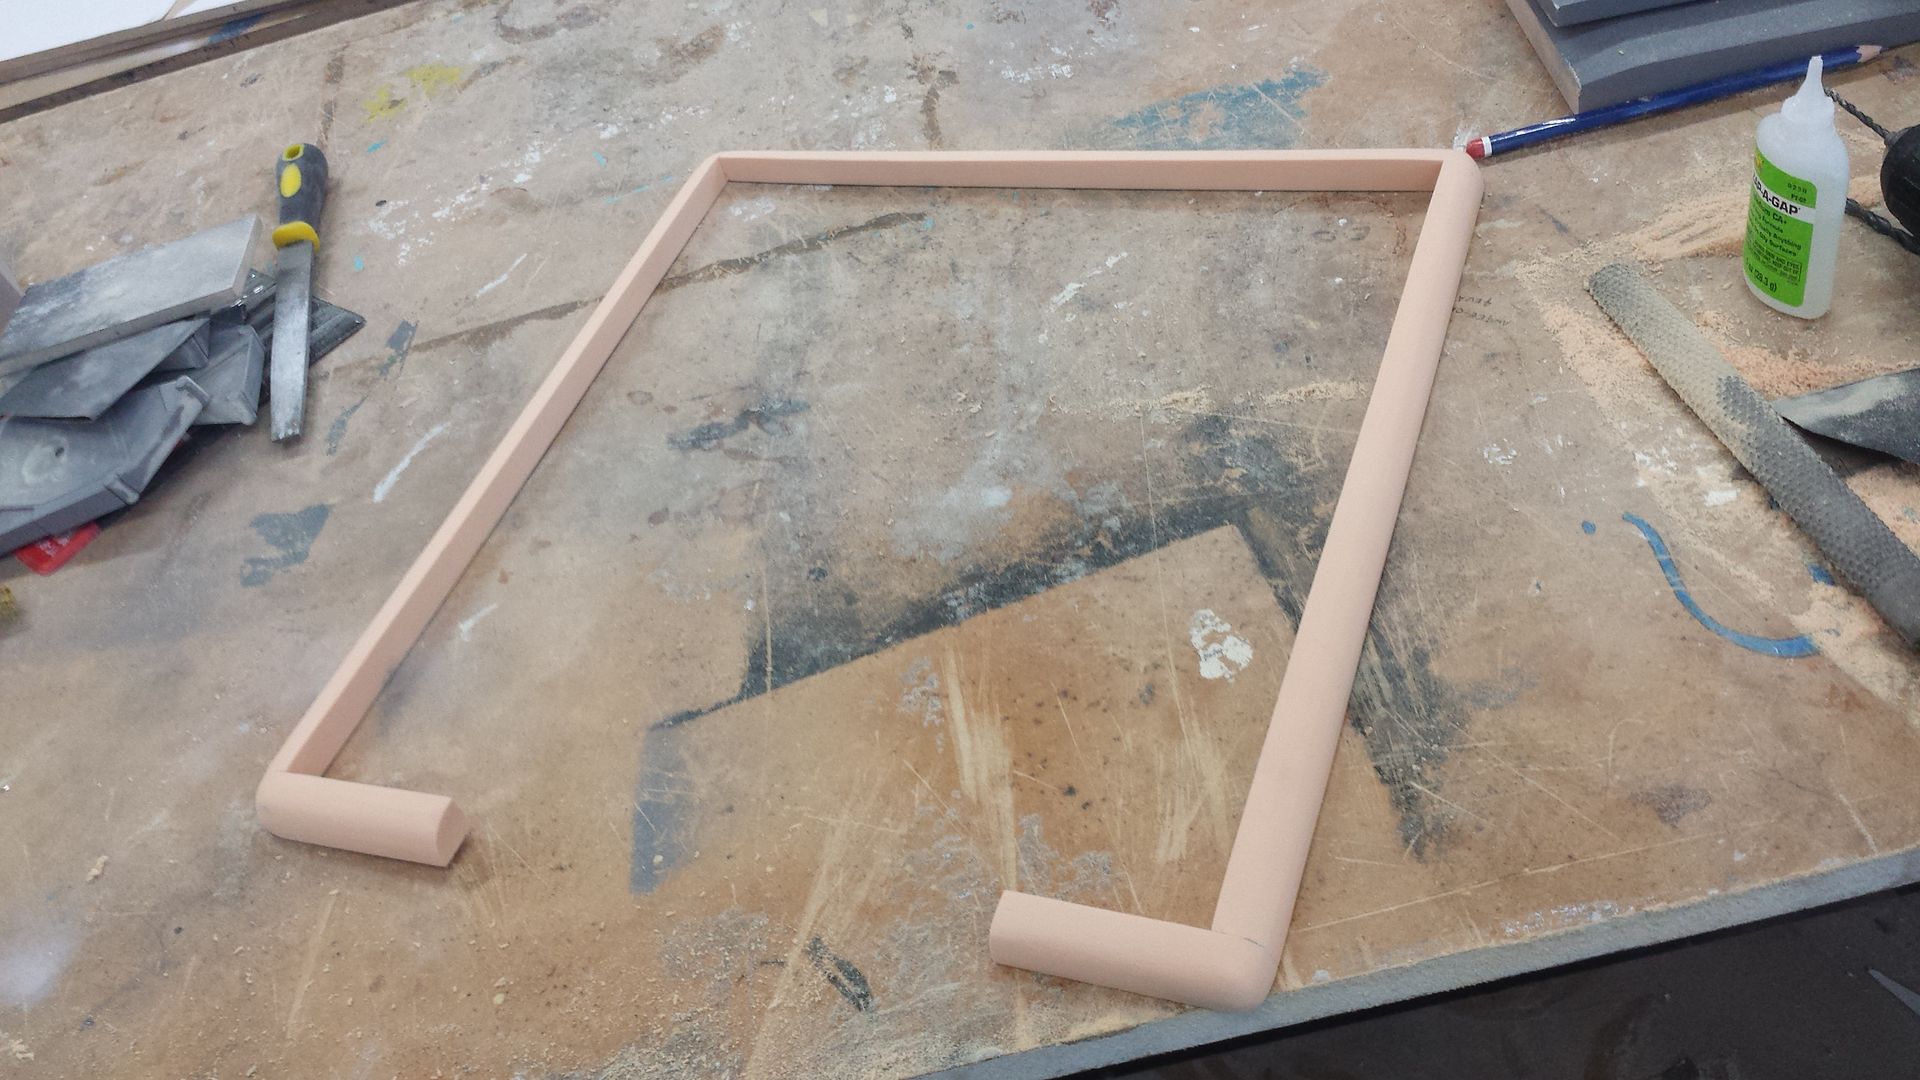
Now for the body. So I decided to re do his side panels as well as the door. The main shapes are first blocked out using medium density polyurethane tooling foam;
This is then all shaped, sanded and joined using fast cast resin (much better than using glue with this stuff)
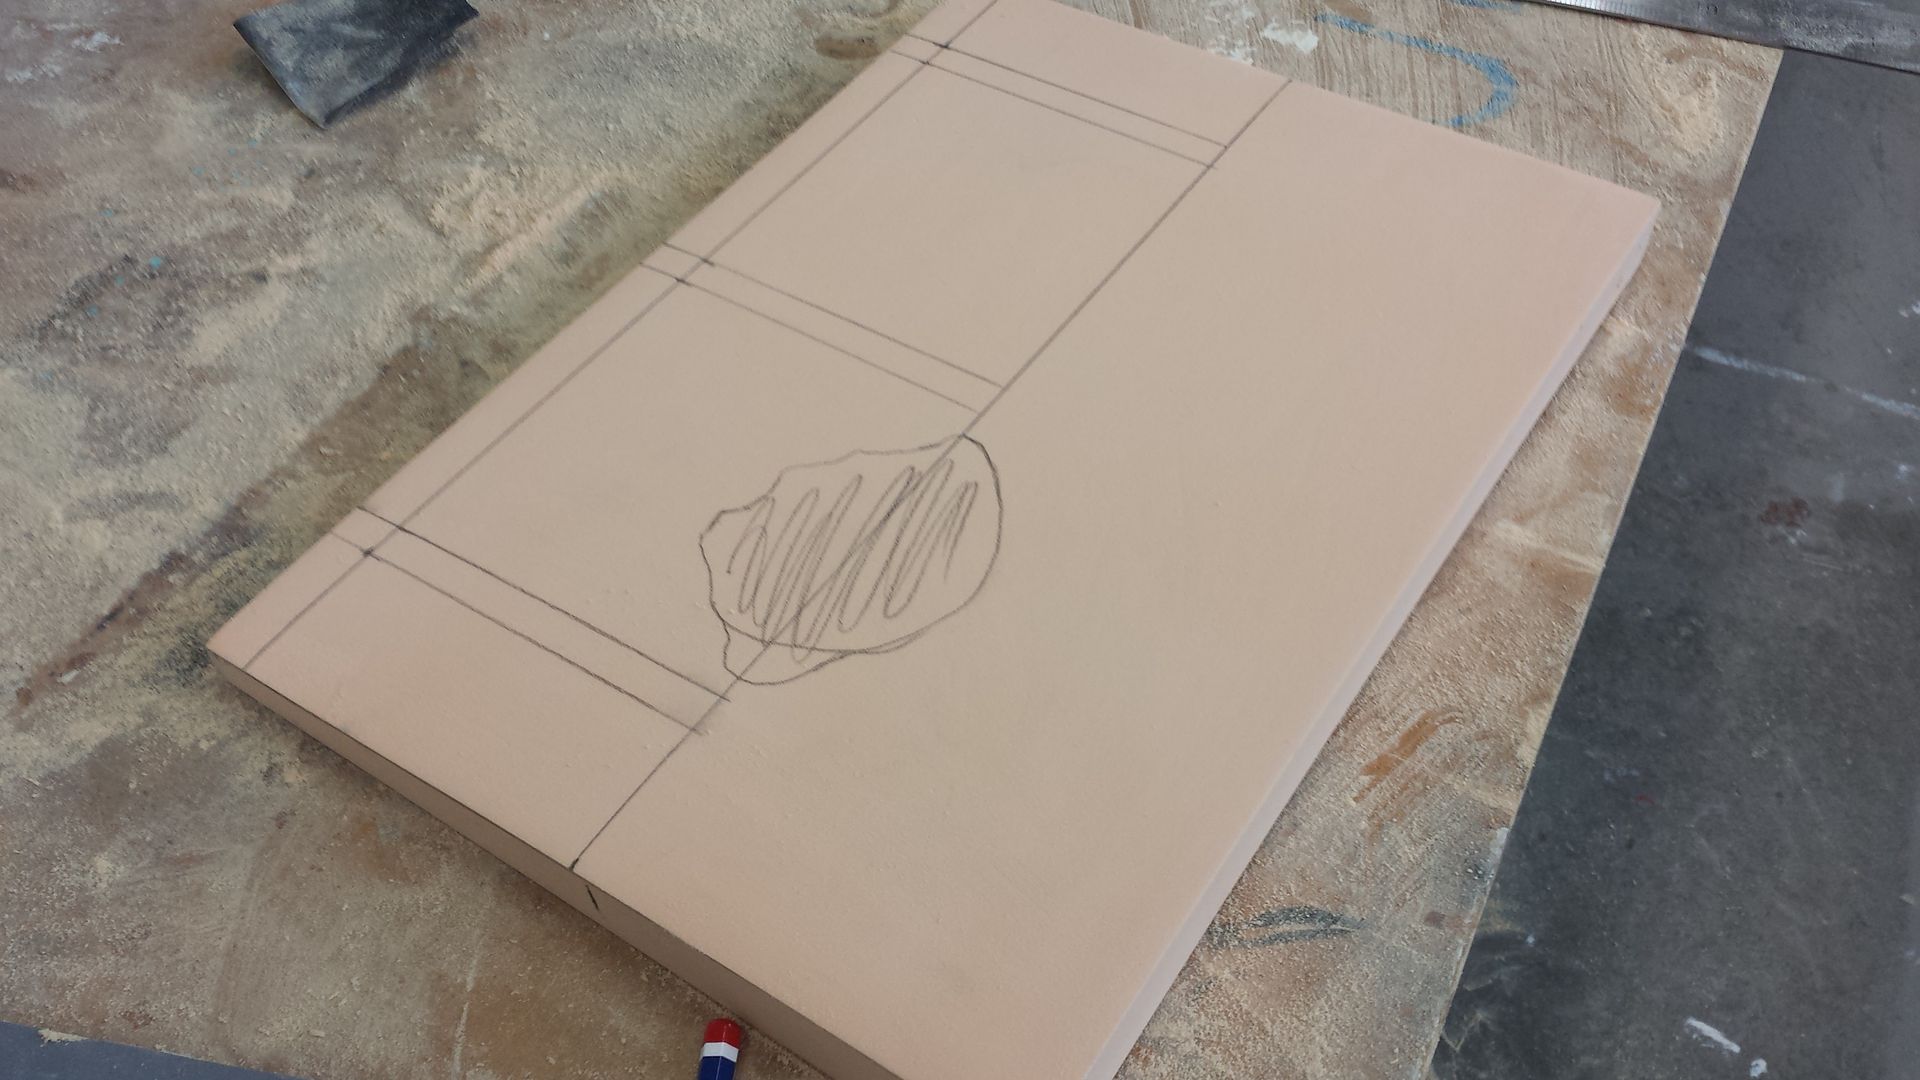
I re-did the door as well, this time incorporating the dent. So the door is first cut out and sanded, with the vents and the dent drawn on;
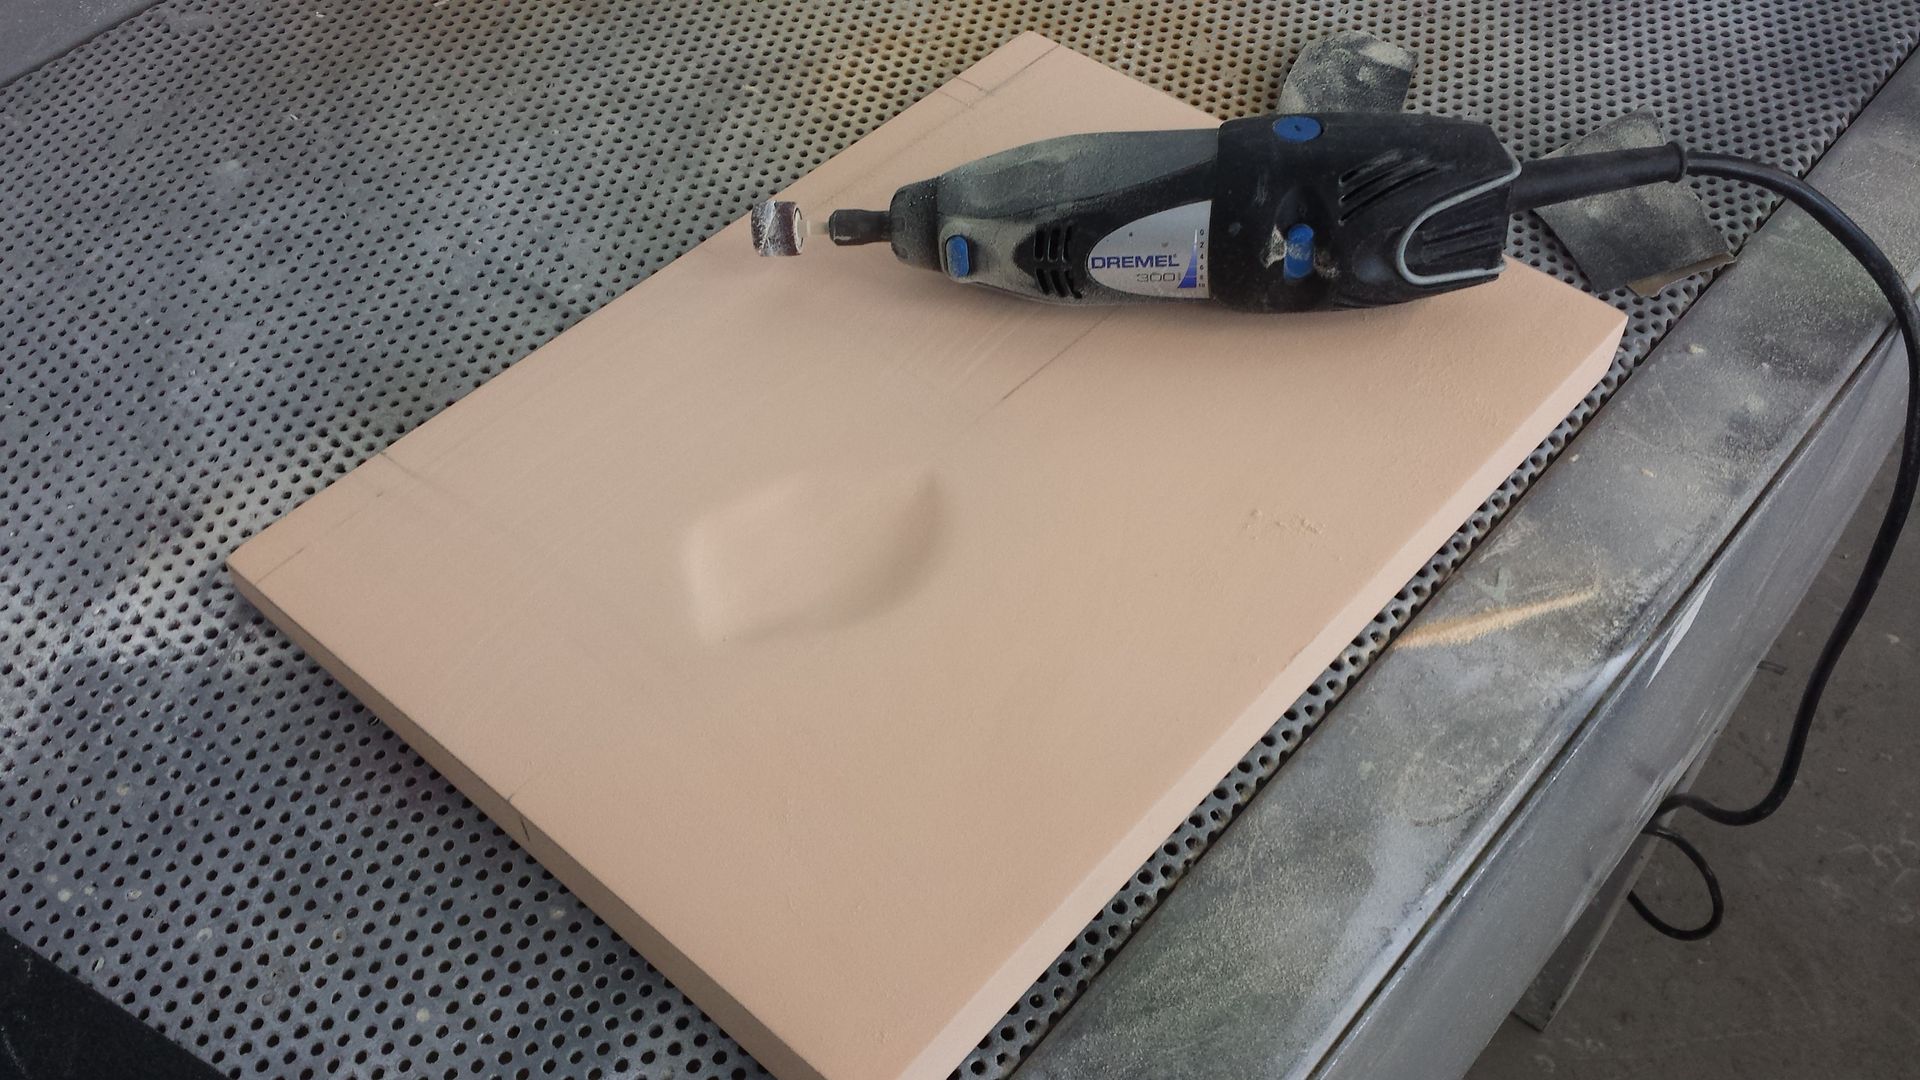
The dent is then shaped and sanded using a dremel and various bits of sand paper;
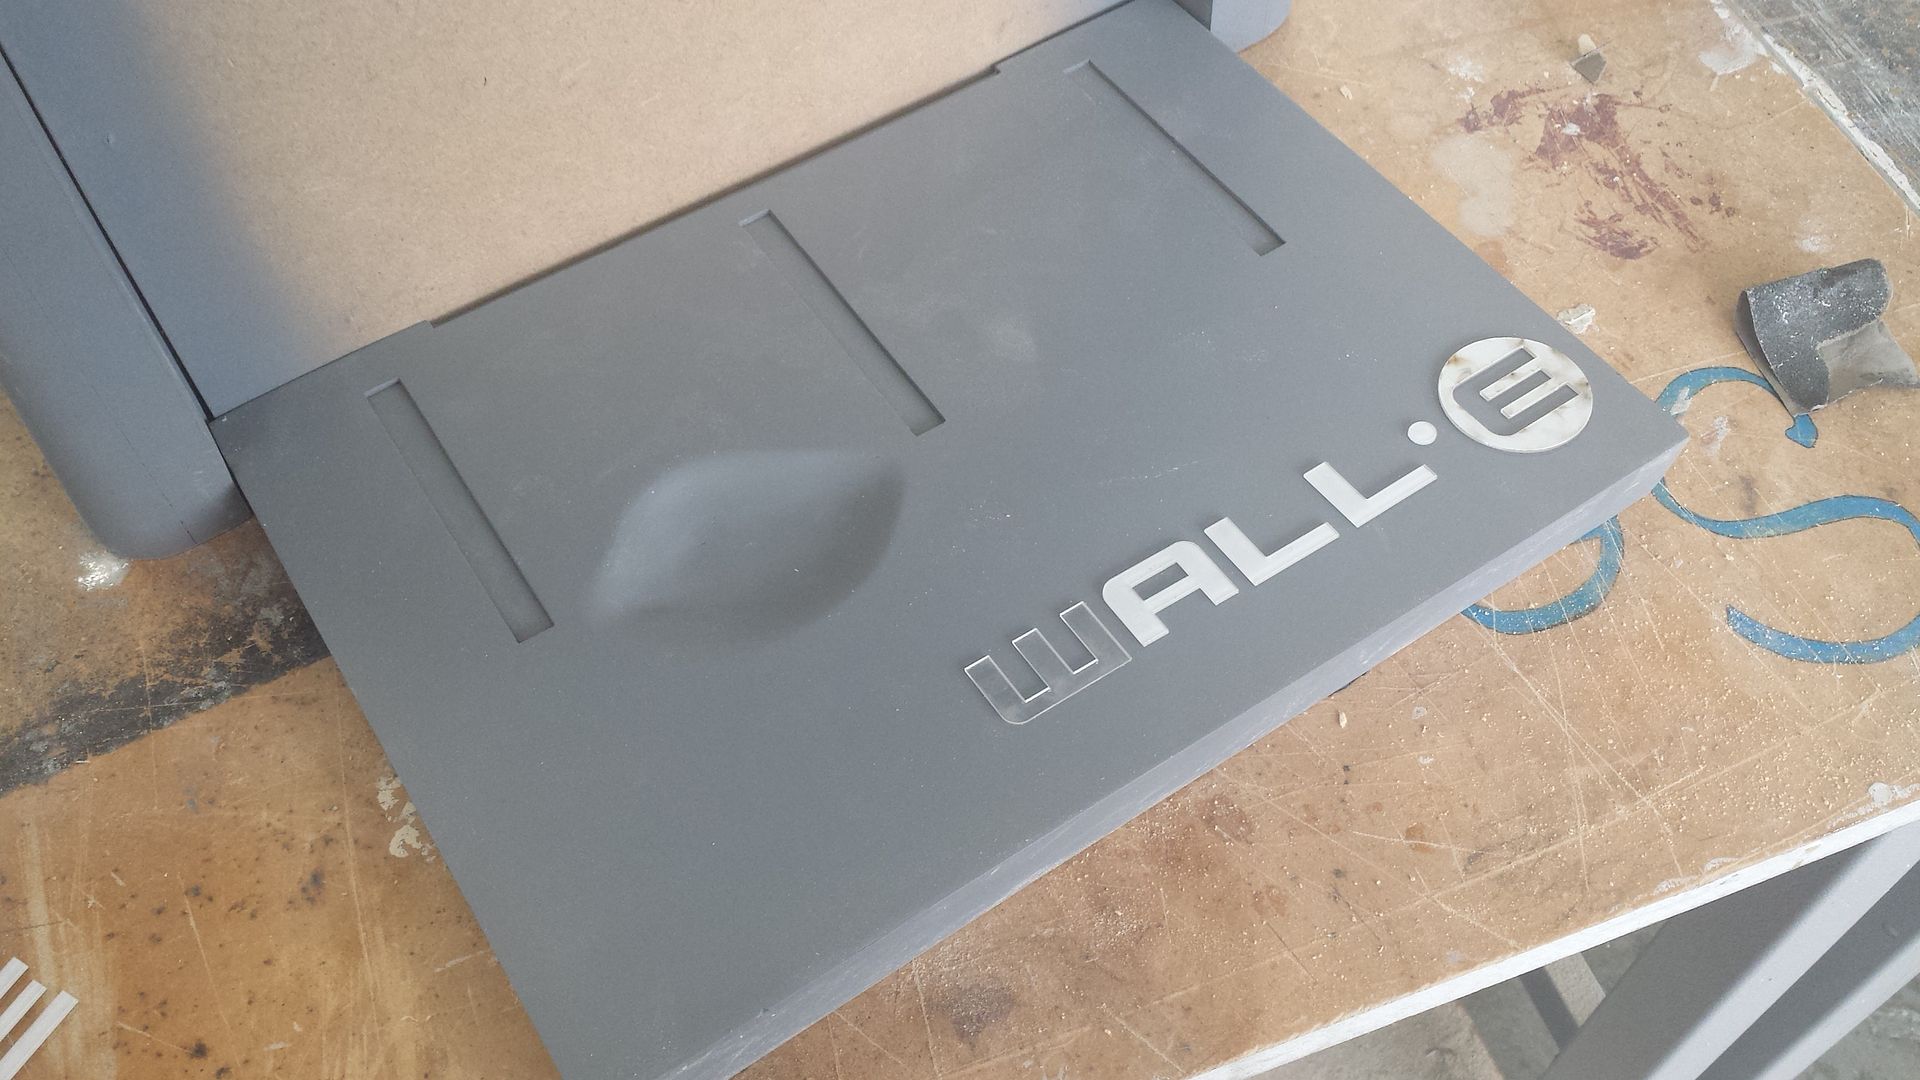
An ABS sheet is then placed over, with a hole for the dent and vents cut out, with all the seams then being filled. I also had a laser cut Wall-e logo done in 1mm acrylic;
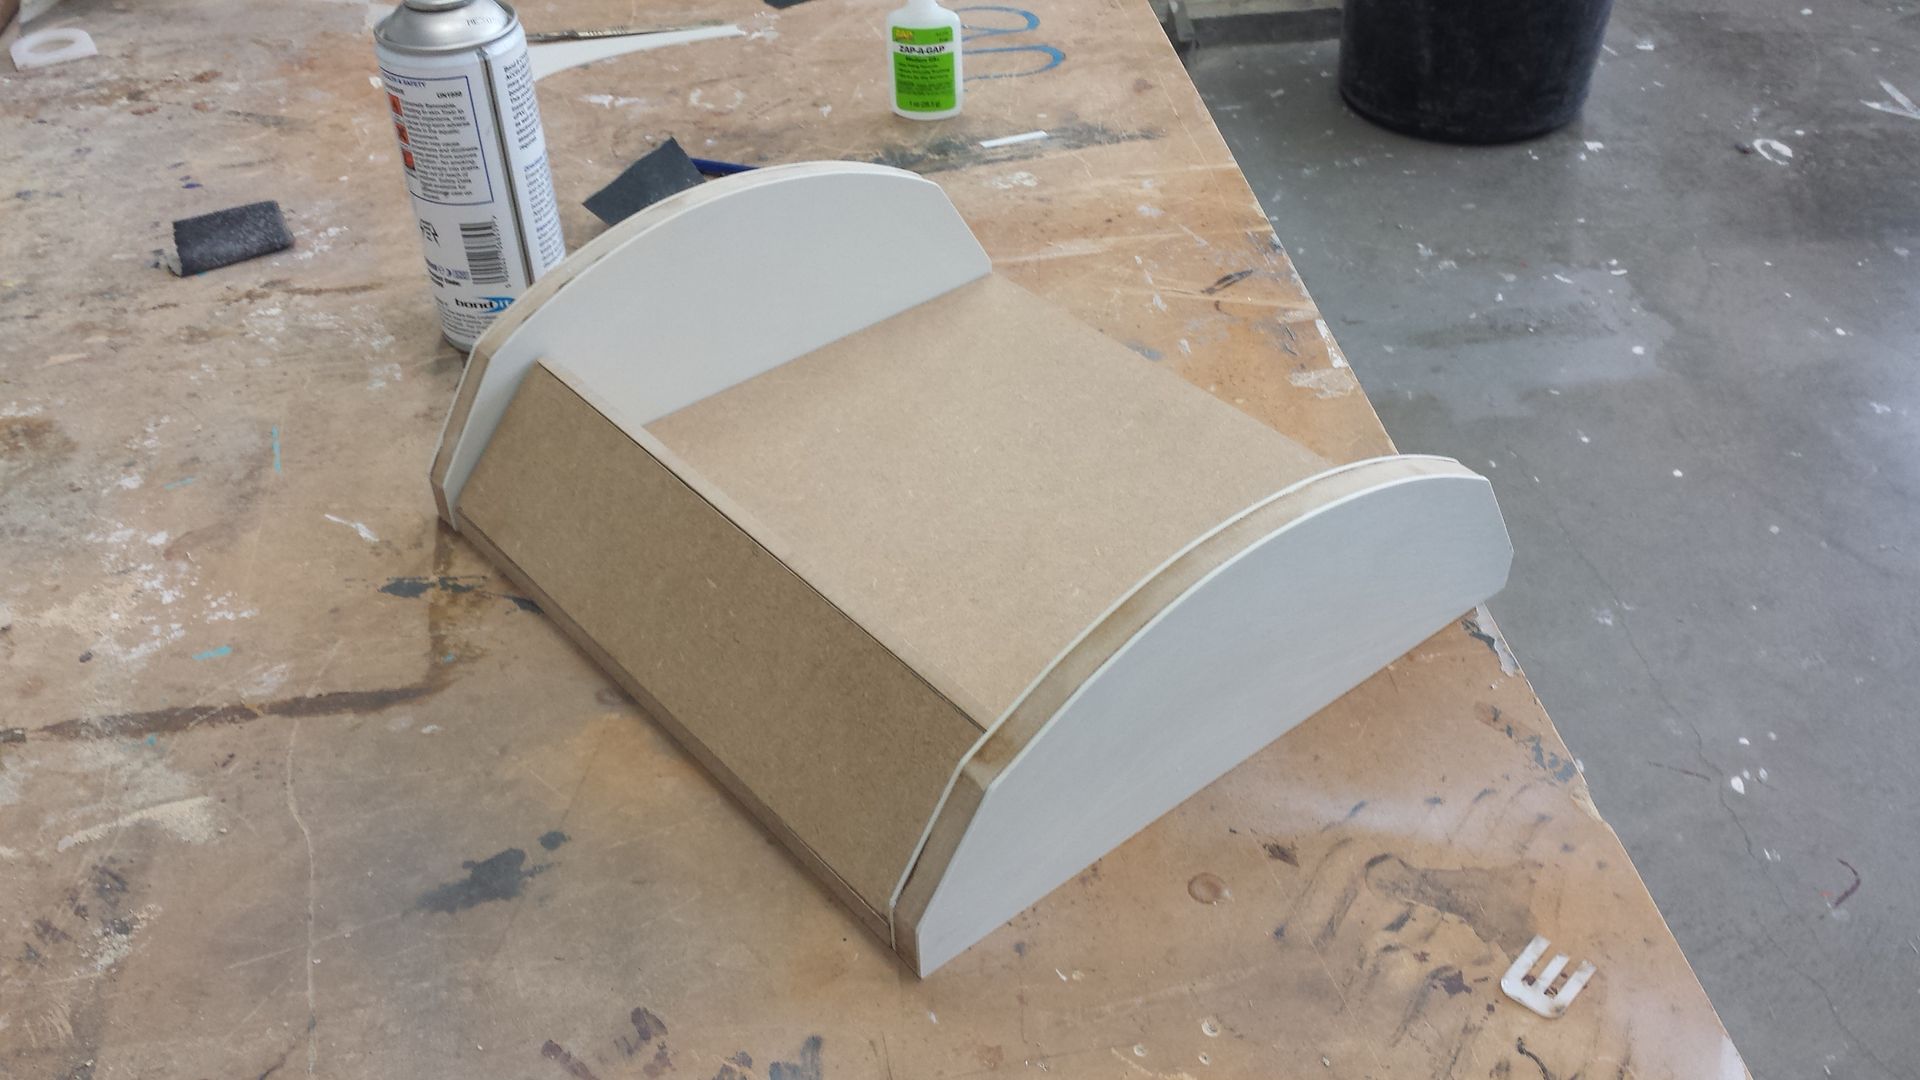
The back section was then made using the same method as the body, 14mm MDF, skimmed with ABS and details;
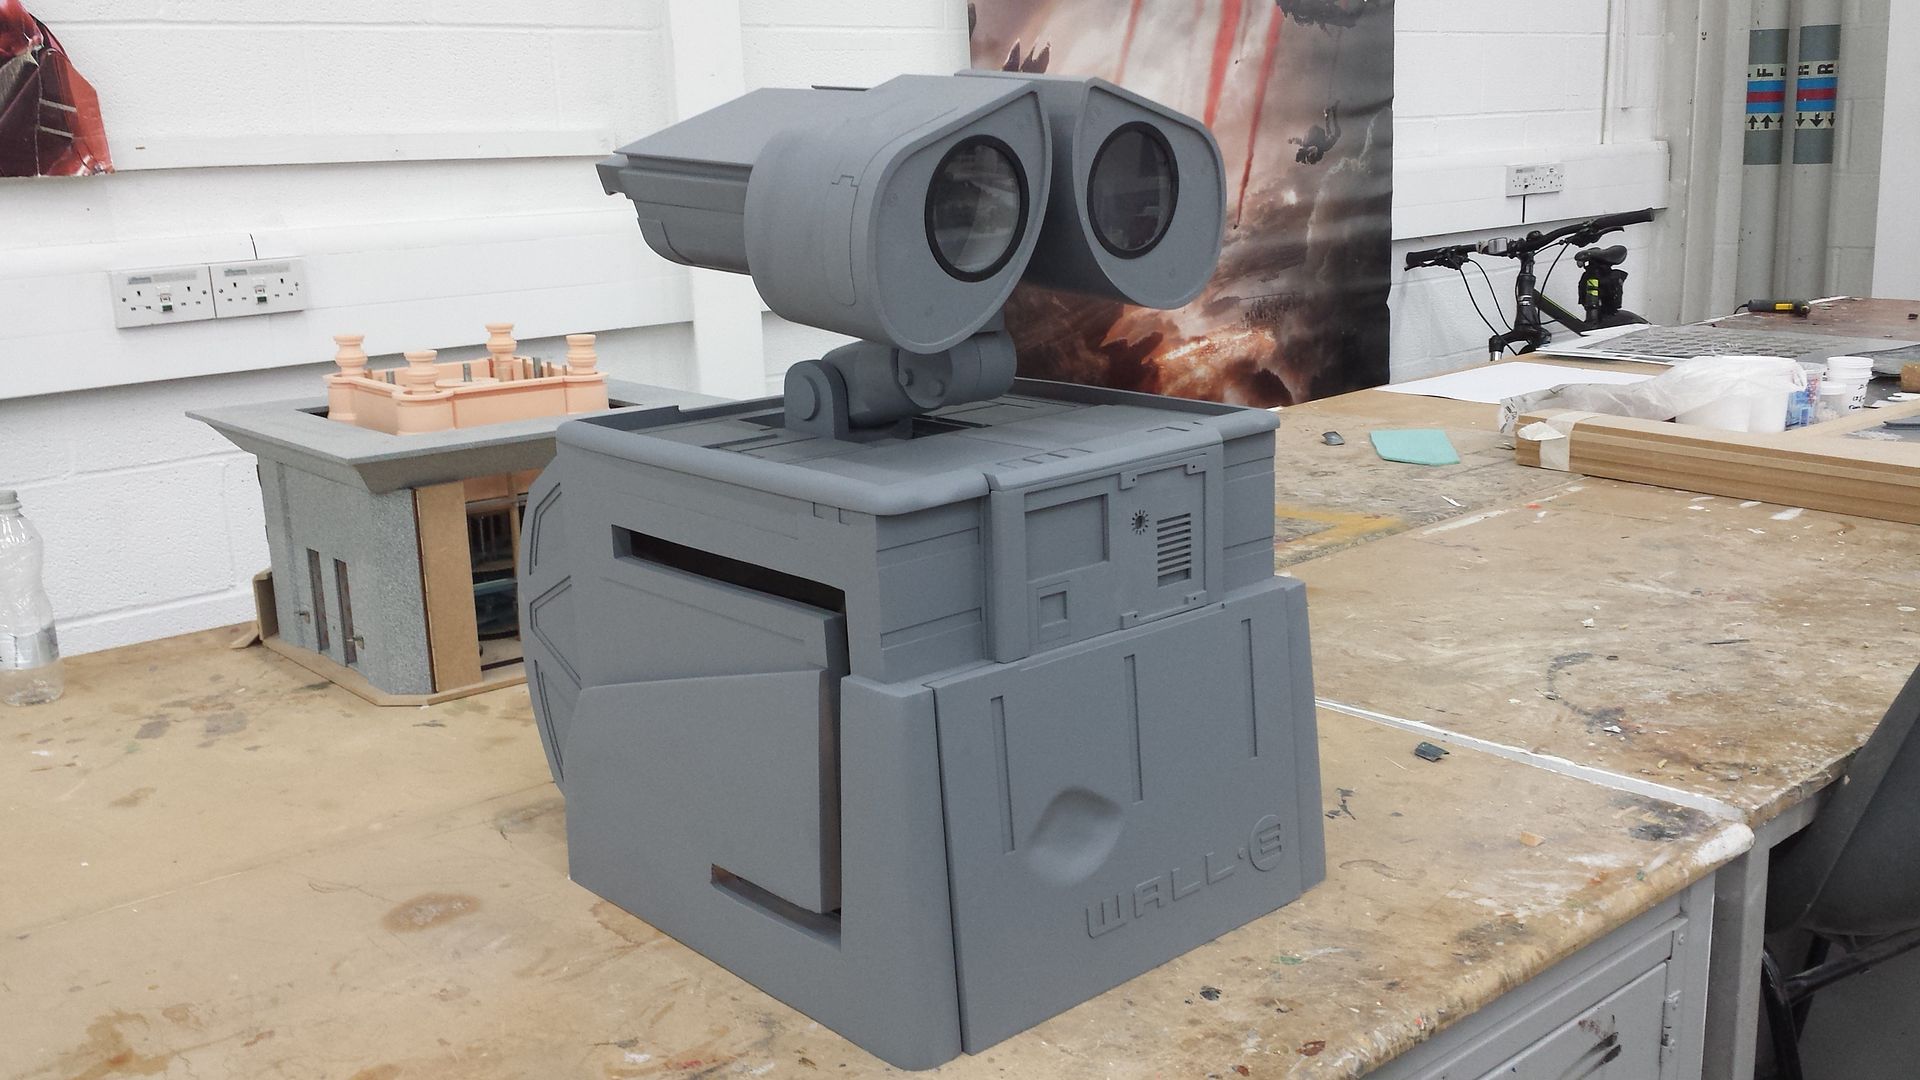
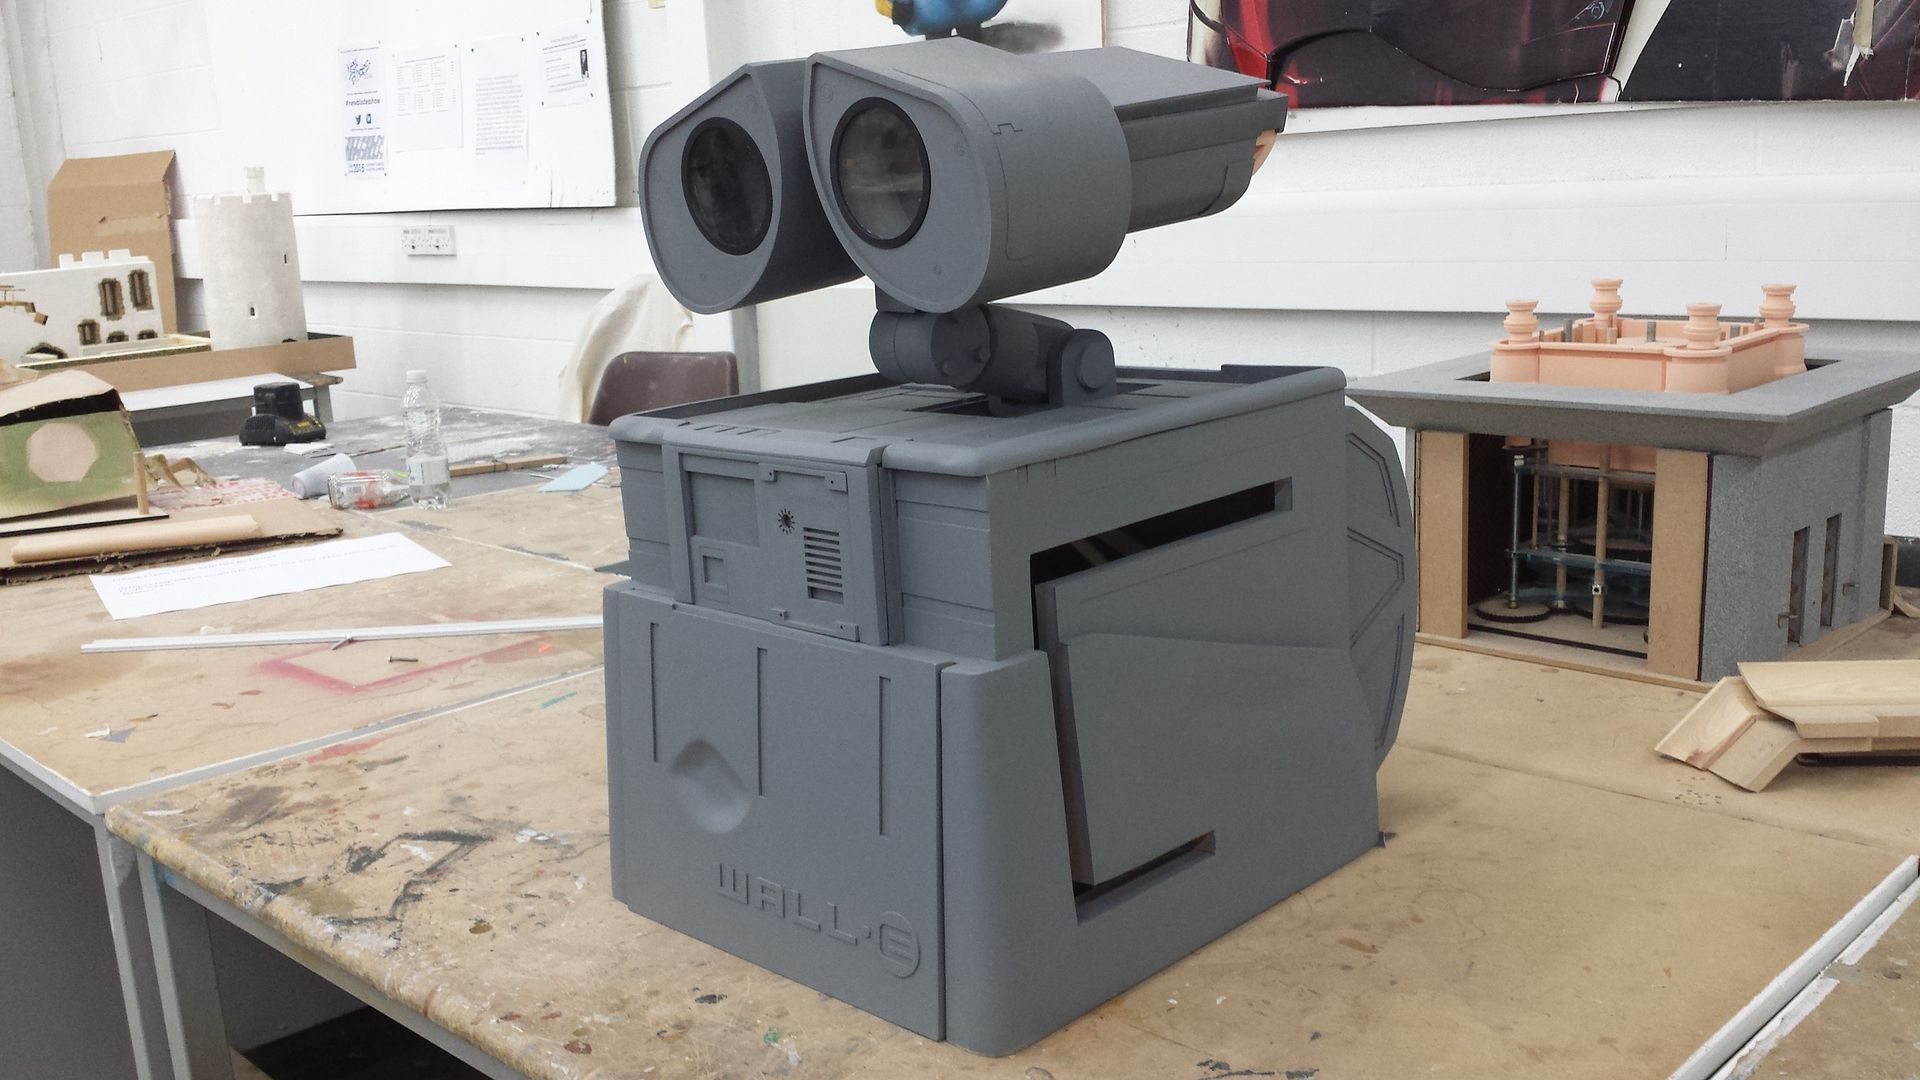
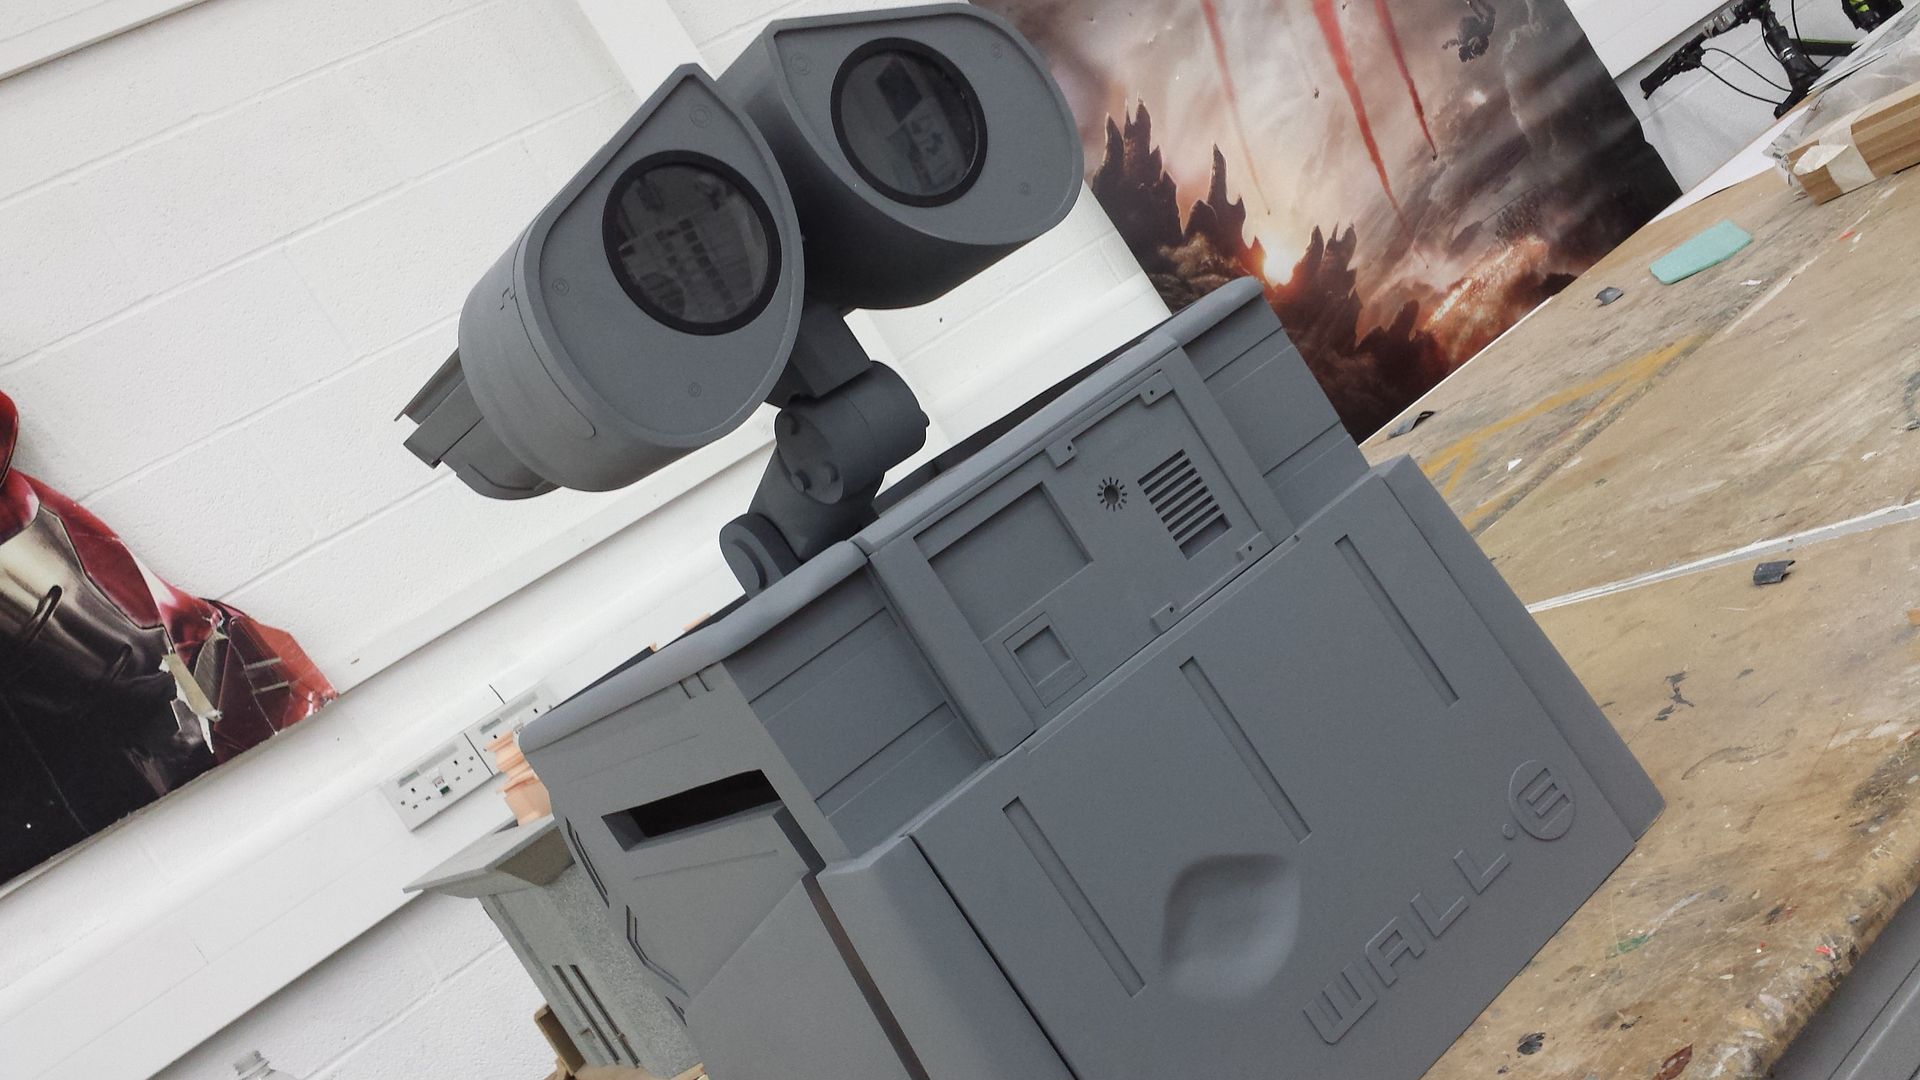
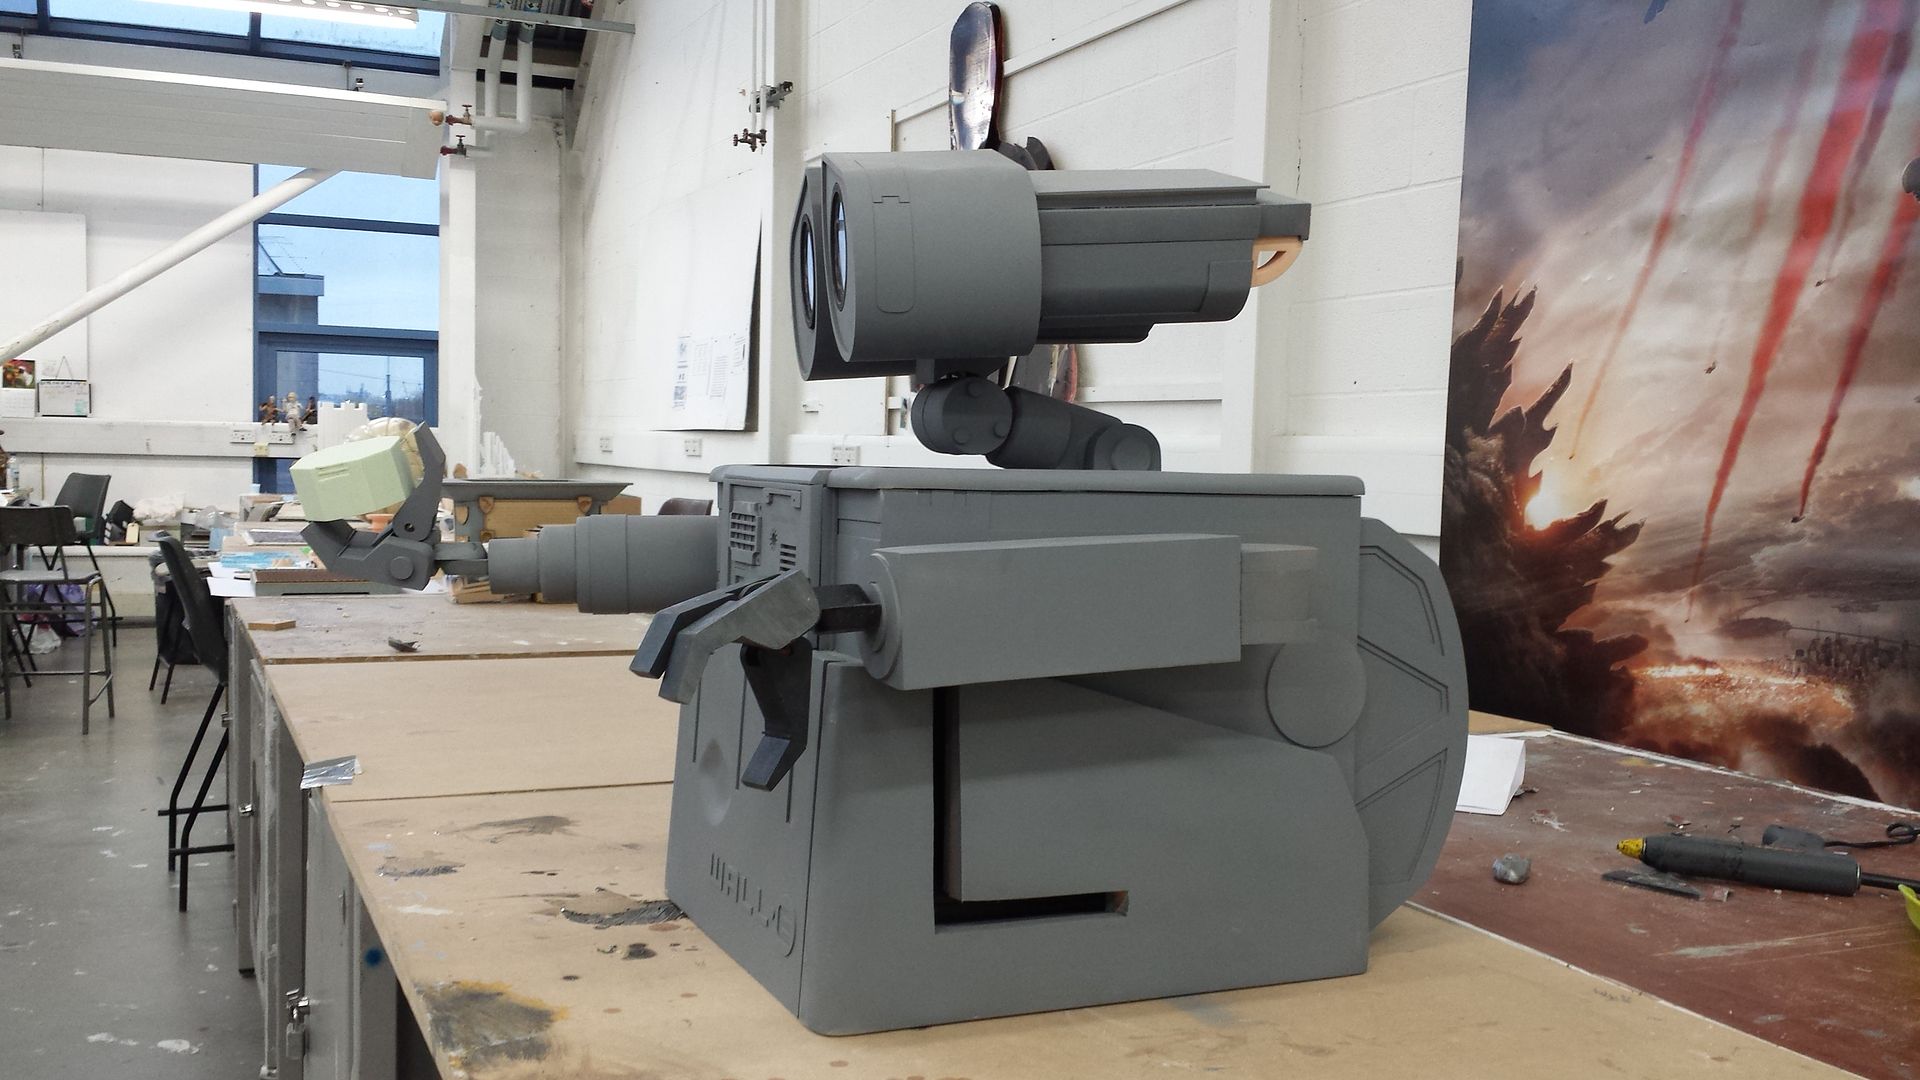
And here he is all assembled, sanded and with a coat of primer. I also built his eye frames and lenses, although he still needs his camera details put inside. All the dents have been added to the top frame, as well as all the top panelling built and attached (I know they are not fully accurate but time is running out on the project).
Next up will be getting his tracks and hands in silicone on Monday, then the wheels will be started on tuesday. With the week after that being a mad week of glueing, bolting and using anything in reach to get him all together. Wish me luck
So firstly I held off working on the body as I needed to get on with other parts that havent even been started. First up was his tracks, these are laser cut using 4 pieces of 3mm Acrylic, two blank flat pieces and two with detail and etching. They also feature the tread section, only issue is that the tracks are to thin, although this is intentional so as to cut down on the cost of resin as im going way over budget on him.
Heres the tracks all glued together,

They then were filled, sanded and primer added, followed by being glued in a box ready for a box mold to be made....1 down 64 to go,

Next up was his hand and wrist. Like the tracks these will also be casted in resin. The wrist section is turned on the lathe using soft green chemi wood, while the fingers are hand made and sanded using medium grade tooling foam. They still need to get cleaned up and have the joins made, but will also feature a little bit of articulation.


Now for the body. So I decided to re do his side panels as well as the door. The main shapes are first blocked out using medium density polyurethane tooling foam;


This is then all shaped, sanded and joined using fast cast resin (much better than using glue with this stuff)


I re-did the door as well, this time incorporating the dent. So the door is first cut out and sanded, with the vents and the dent drawn on;

The dent is then shaped and sanded using a dremel and various bits of sand paper;

An ABS sheet is then placed over, with a hole for the dent and vents cut out, with all the seams then being filled. I also had a laser cut Wall-e logo done in 1mm acrylic;

The back section was then made using the same method as the body, 14mm MDF, skimmed with ABS and details;


And here he is all assembled, sanded and with a coat of primer. I also built his eye frames and lenses, although he still needs his camera details put inside. All the dents have been added to the top frame, as well as all the top panelling built and attached (I know they are not fully accurate but time is running out on the project).


Next up will be getting his tracks and hands in silicone on Monday, then the wheels will be started on tuesday. With the week after that being a mad week of glueing, bolting and using anything in reach to get him all together. Wish me luck
welshwarrior123
Well-Known Member
Thank you very much guys. Time is getting really short to get this ready for hand in. So this week was spent casting and working on his arms. I finished up his fingers and wrists Wednesday and got some rubber on them. The next day was spent casting out the other hand, as well as a few track sections so as to make a bigger mould to reproduce them quicker;
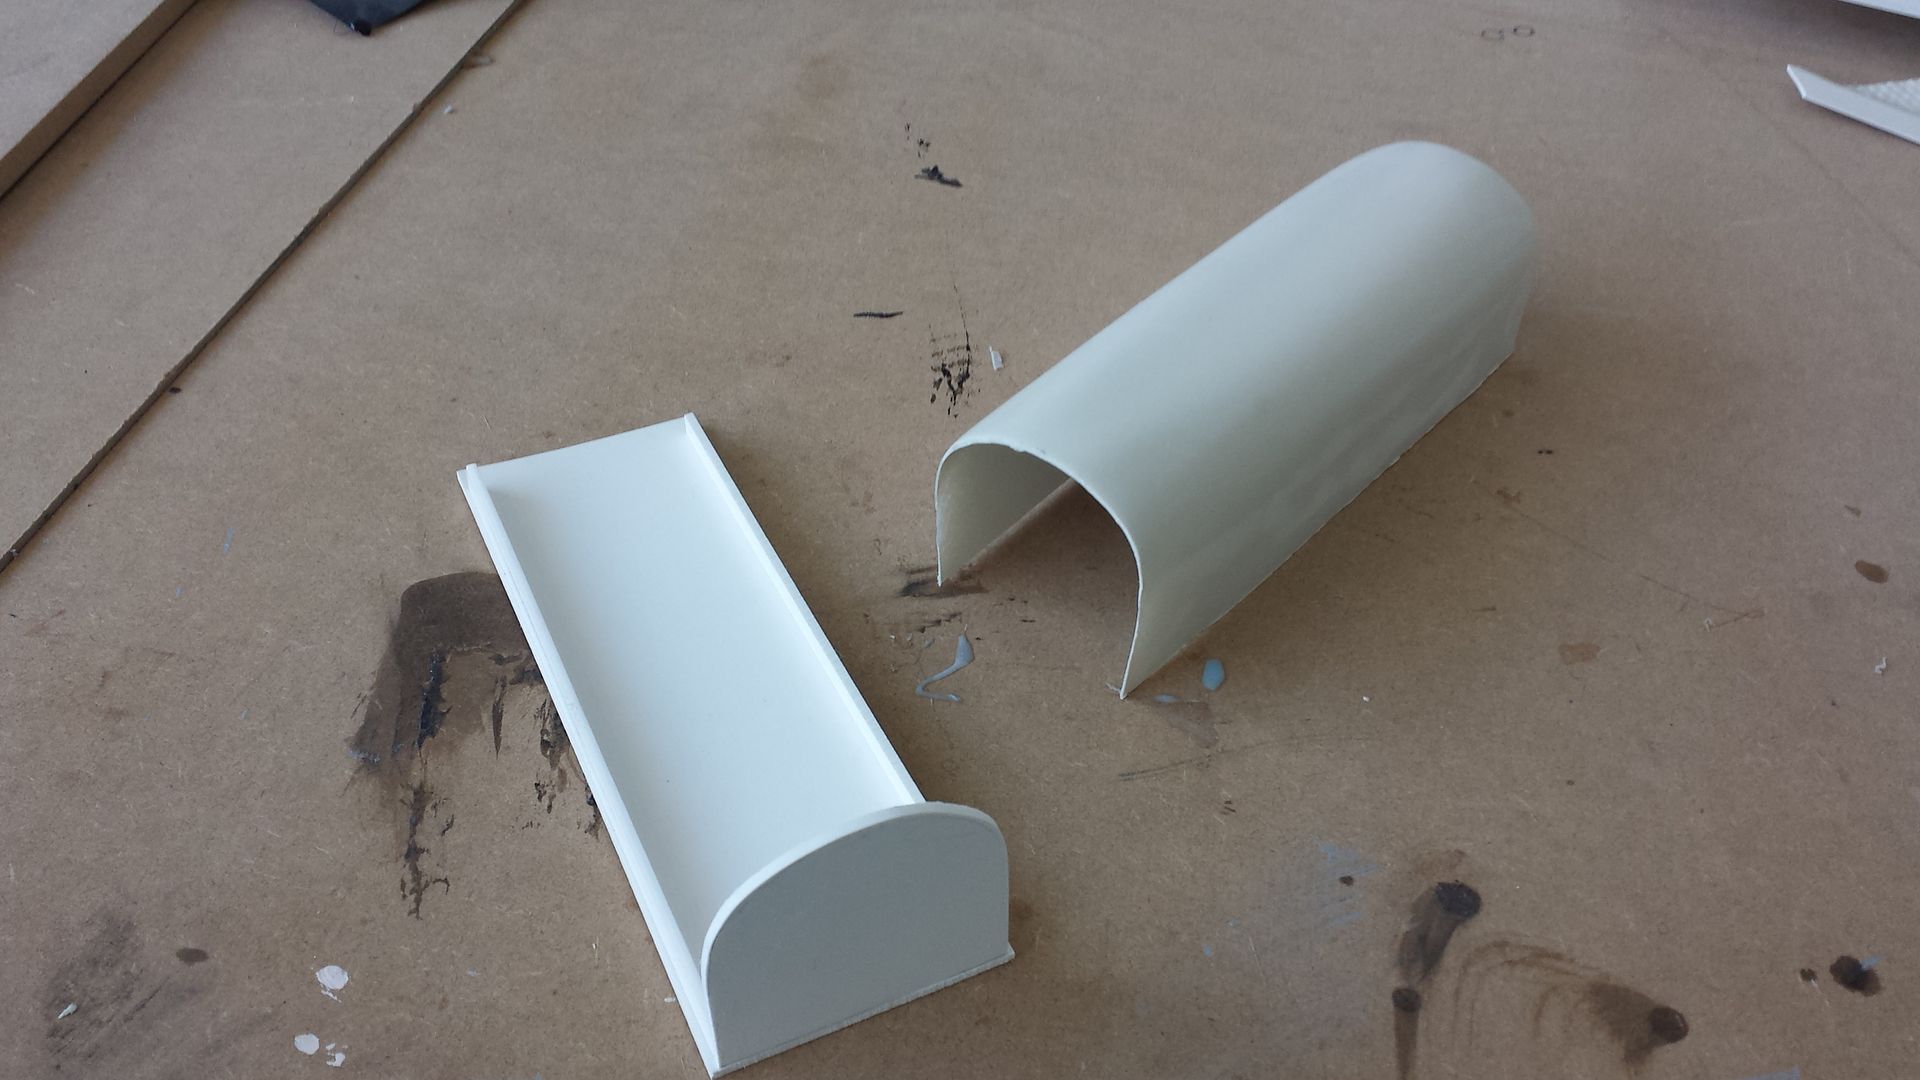
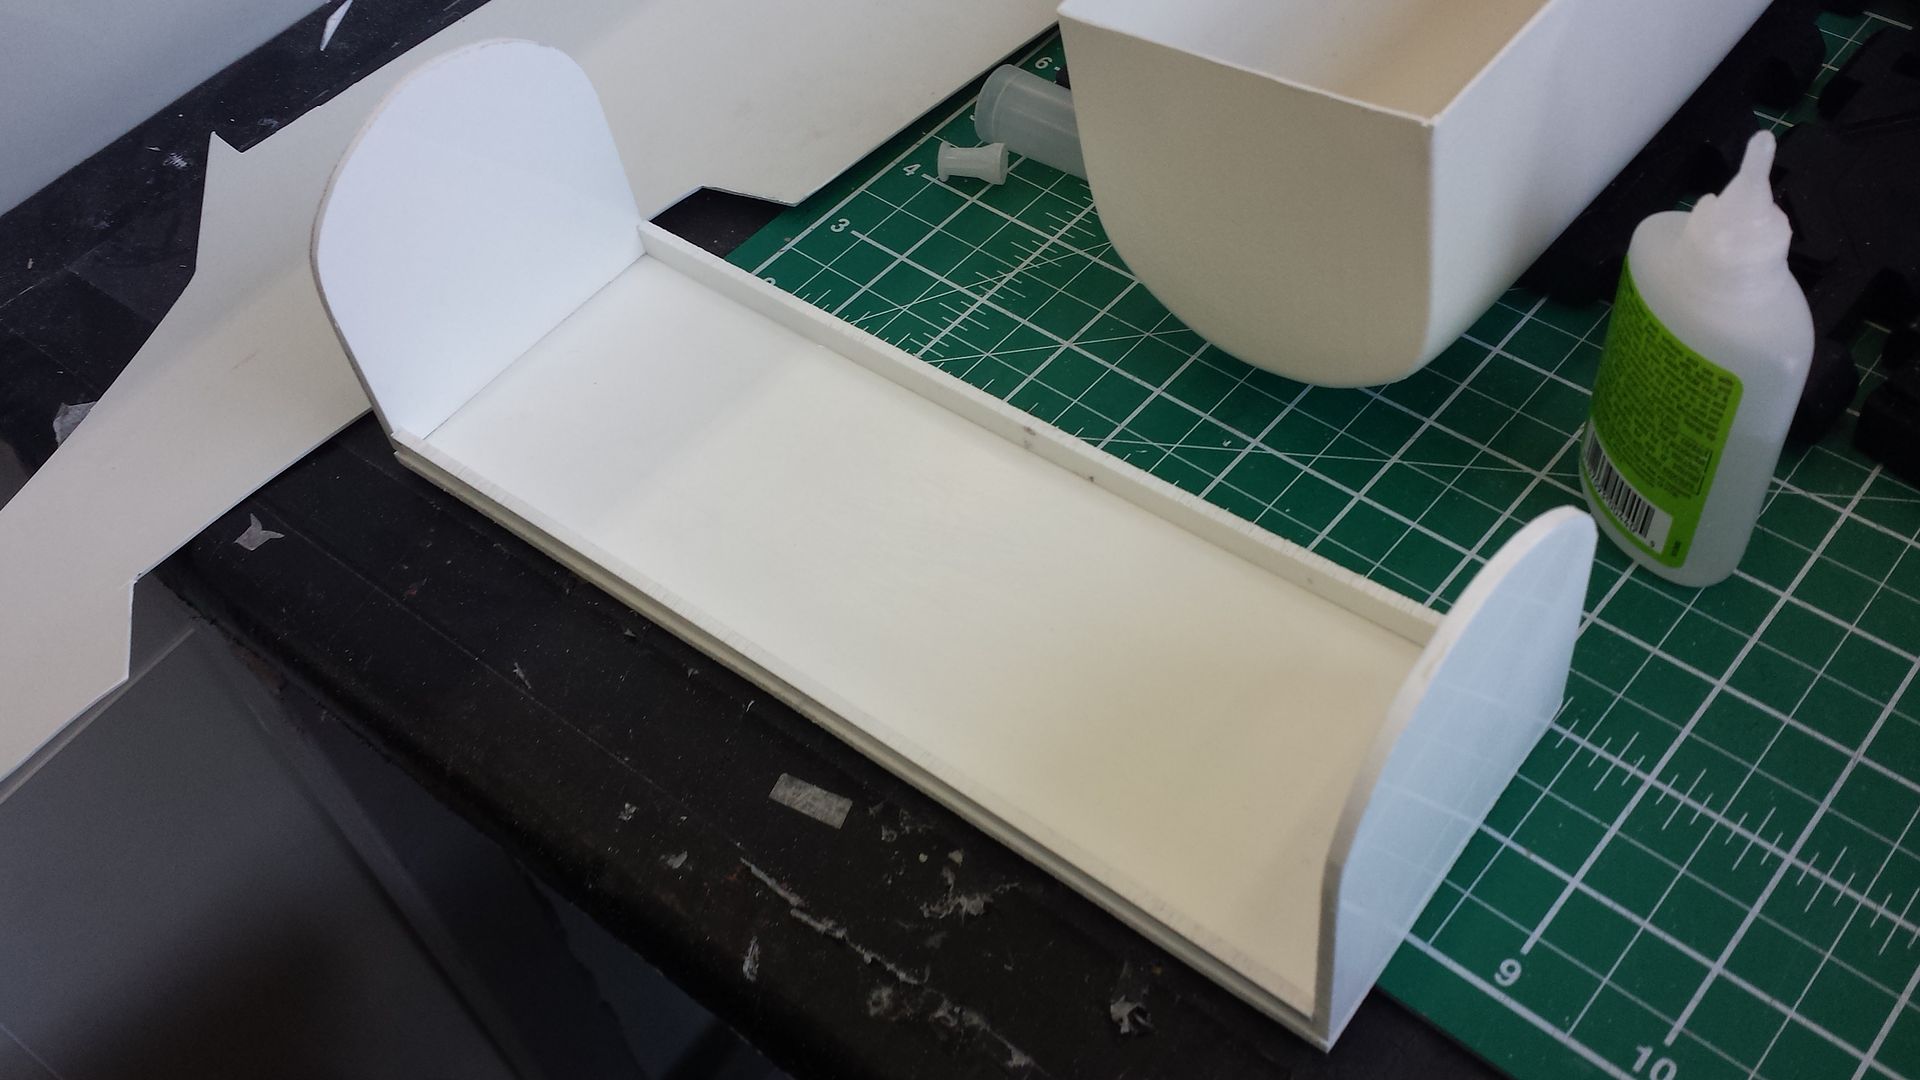
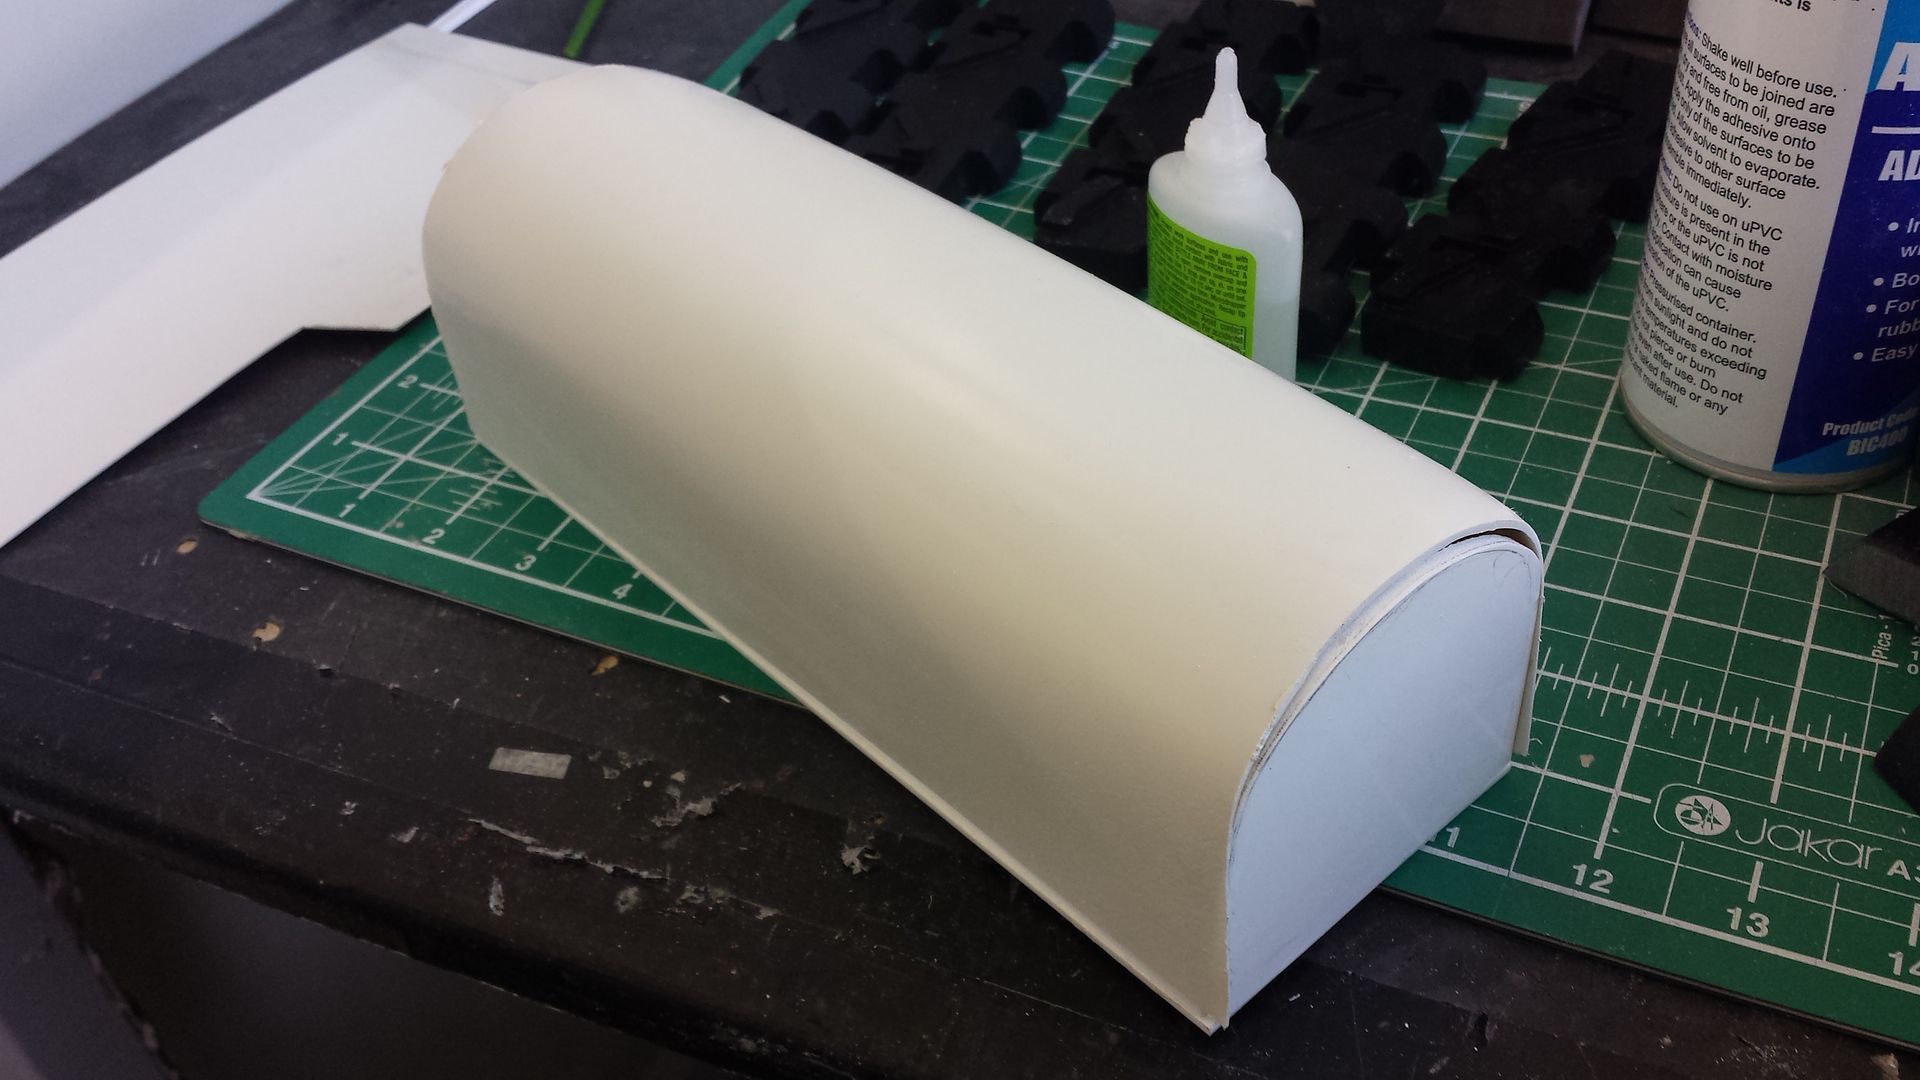
With the hand roughly together, I then set about building his arms. The idea will be to have him holding a Rubik's cube in the one hand, so I will have one arm short will the one holding the cube will be slightly extended. I was going to cast the arms, but due to the cost of the build I decided to vac form them to save money as well as weight. The main piece was carved in chemi-wood then vac formed in ABS. This then was wrapped around an acrylic frame that was then all filled and seamed up;
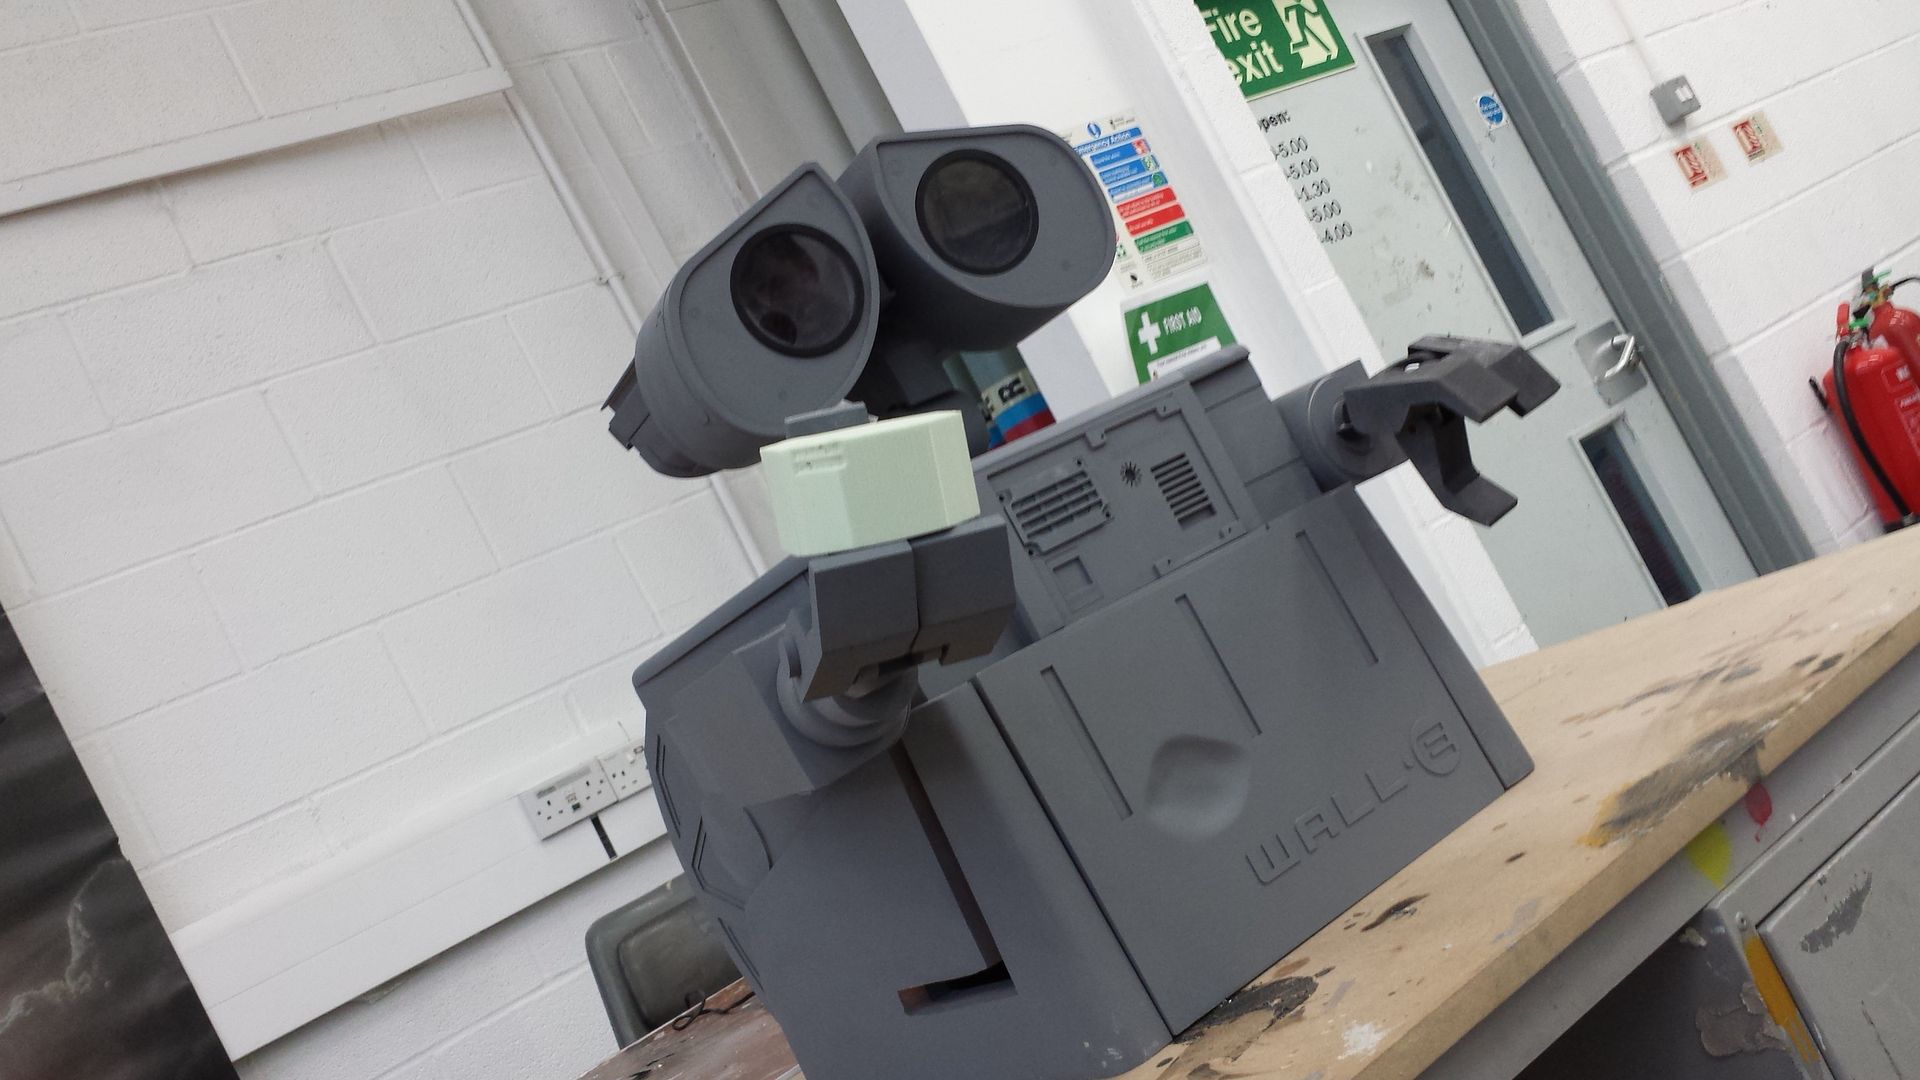
Once seamed I then attached the back section, as well as the wrists and hands and finally got it fixed onto the body;
And a shot of the final hand all built and installed;
Im personally really happy with how he is looking, although the arms still need some tweaking as well as some sanding and filling. But my plan was to get them pretty much built and installed by the end of the week, with finishing and smoothing getting done next week. The arms can slide forward and back within the frame, while the fingers are possible and the wrists can rotate. Ive also started work on the wheels which should be getting vac formed next week, then it will be a case of casting out the remaining tracks and getting him all assembled.

With the hand roughly together, I then set about building his arms. The idea will be to have him holding a Rubik's cube in the one hand, so I will have one arm short will the one holding the cube will be slightly extended. I was going to cast the arms, but due to the cost of the build I decided to vac form them to save money as well as weight. The main piece was carved in chemi-wood then vac formed in ABS. This then was wrapped around an acrylic frame that was then all filled and seamed up;


Once seamed I then attached the back section, as well as the wrists and hands and finally got it fixed onto the body;


And a shot of the final hand all built and installed;

Im personally really happy with how he is looking, although the arms still need some tweaking as well as some sanding and filling. But my plan was to get them pretty much built and installed by the end of the week, with finishing and smoothing getting done next week. The arms can slide forward and back within the frame, while the fingers are possible and the wrists can rotate. Ive also started work on the wheels which should be getting vac formed next week, then it will be a case of casting out the remaining tracks and getting him all assembled.
CSMacLaren
Sr Member
Please please please please offer a kit!
welshwarrior123
Well-Known Member
I can look into maybe offering a few small kits over the summer if enough people are interested. But even though he is 25% smaller, he still is quite big so it wont be cheap. Only issue is he is not fully accurate, as i had to cut some corners due to it being a university project.
Please please please please offer a kit!
Ditto......
I love Wall-E! Your's is coming out great.
Similar threads
- Replies
- 22
- Views
- 1,934
- Replies
- 0
- Views
- 325