You are using an out of date browser. It may not display this or other websites correctly.
You should upgrade or use an alternative browser.
You should upgrade or use an alternative browser.
Back To The Future Part 2. 2015 Jacket WIP
- Thread starter cavx
- Start date
cavx
Master Member
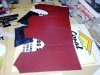
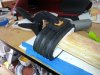
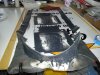
I am getting ready to glue the vest portion together ")
The idea is to place some plastic under the seems, lay down the black cloth and pour some silicone. Then lay the two shell parts on top of that and let the whole thing fuse together. Because the silicone bites into the cloth and then only sticks to itself, this should just peel off the plastic in one part.
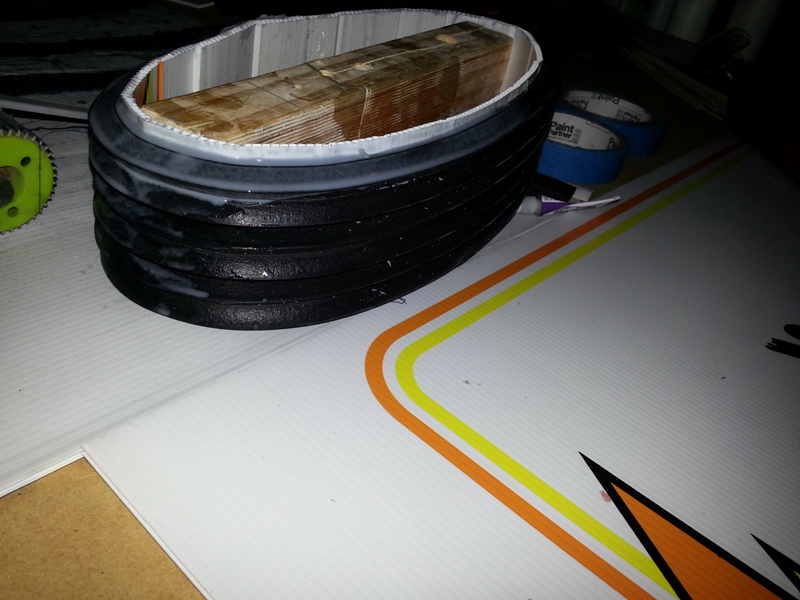
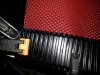
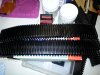
I am also making a longer belt. The other day, I had a small amount of red tinted silicone left over, so took a very quick (and thin) mold of one of the belt sections. Today I was able to fill the middle of that mold and add the two halves of the original part to each end and take a full mold of that. Hopefully when I de-mold (silicone seems to be taking its time to cure for some reason) I will have one seamless part about 1000mm long.
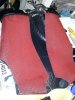
Given my vest is made from cloth impregnated silicone (tinted red), it makes sense to make the belt out of silicone (tinted black) and glue the two parts together using more silicone.
The idea is to place some plastic under the seems, lay down the black cloth and pour some silicone. Then lay the two shell parts on top of that and let the whole thing fuse together. Because the silicone bites into the cloth and then only sticks to itself, this should just peel off the plastic in one part.
I am also making a longer belt. The other day, I had a small amount of red tinted silicone left over, so took a very quick (and thin) mold of one of the belt sections. Today I was able to fill the middle of that mold and add the two halves of the original part to each end and take a full mold of that. Hopefully when I de-mold (silicone seems to be taking its time to cure for some reason) I will have one seamless part about 1000mm long.
Given my vest is made from cloth impregnated silicone (tinted red), it makes sense to make the belt out of silicone (tinted black) and glue the two parts together using more silicone.
Attachments
cavx
Master Member
cavx
Master Member
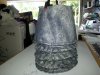
More progress.
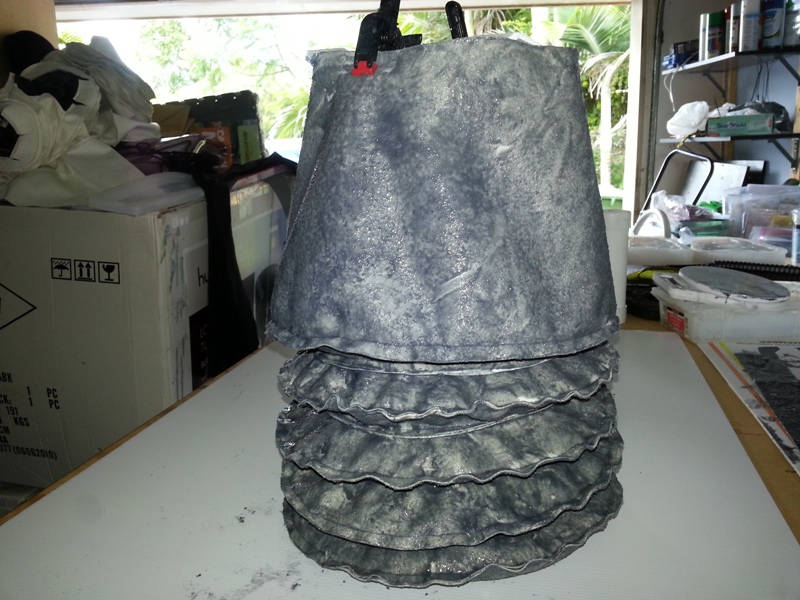
Joining up the shoulders.
Smaller elbow bellow.
Larger Shoulder Bellow.
Layering up a bellow with grey rubber.
I intent to layer silicone soaked cloth onto this.
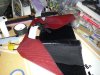
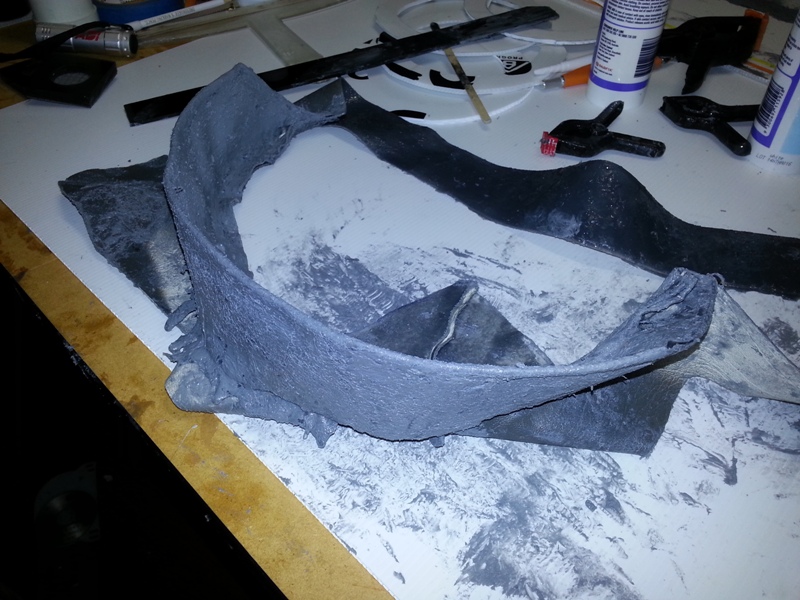
Sleeve greeblies.

These bellow sleeves are kicking my butt. If this does not work, I will hack my V1 jacket taking the oversizxed sleeves from the elbows and use those for the shoulders and make smaller ones for the elbow.
Joining up the shoulders.
Smaller elbow bellow.
Larger Shoulder Bellow.
Layering up a bellow with grey rubber.
I intent to layer silicone soaked cloth onto this.
Sleeve greeblies.
These bellow sleeves are kicking my butt. If this does not work, I will hack my V1 jacket taking the oversizxed sleeves from the elbows and use those for the shoulders and make smaller ones for the elbow.
Attachments

cavx
Master Member
Looking great dude! Today is my day for bashing out the rest of my jacket build. Your vest section looks awesome!
Thanks dude
So I just found my first major hurdle and I am not sure why. The silicone I mixed yesterday did not cure. The silicone in the mix container has cured perfectly fine, just the stuff applied to both the rubber form and the cloth did not. Maybe there is something in the rubber that has causes a reaction. But the cloth is the same cloth used in the vest portion of the jacket, so that should have cured.
On to plan B I guess.
cavx
Master Member
I've actually had bad reactions between rubbers before. I tried to glue some Smooth-On silicone pieces together with silicone RTV adhesive. The glue never cures and made the surface of the parts slimey forever.
Correct. You can make parts out of additive silicone and glue them with caulking silicone (well at least I have been able to with the products I am using), but once you have used caulking (or other air curing products), additive silicone won't cure if they come in contact with them.
There must be something in the rubber strip as I tested a new sample part and the additive silicone did not set. It does not explain why the cloth embedded silicone didn't set though.
Today I made a mold for my sleeve greeblies and hacked up my V1 jacket to salvage what parts I can from that. I also ran a test to see how well the additive silicone bonds to the fabric backing of the vinyl. That is a win. So tomorrow I can start to paint those parts with dark grey rubber.
Hopefully I will get black pigment for the elastomer and pour my self a belt (single piece) and these greeblies.

cavx
Master Member
OK so since my last post, I have -
1. silicone coated the collar and my pockets (they will expand as well).
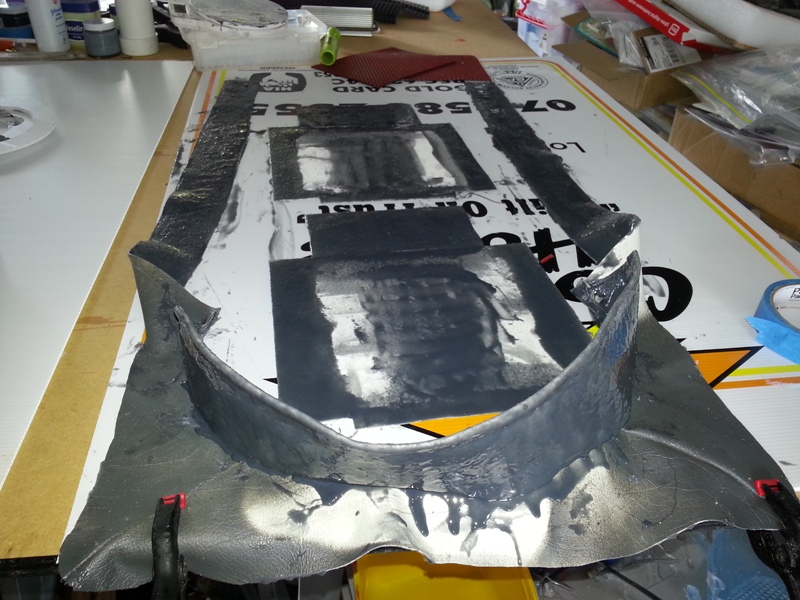
2. modded my bellows from the V1 jacket and began coating those with silicone.
3. not 100% happy with the rubber coating so re-did them with caulking silicone mixed with a bit of acetone. This was white silicone that I have added black pigment to. It is darker without the forced flash.

4. re-did the collar to match the sleeves. This coat has been good because it sealed up sewn joins I had before. Same as on the bellows where it now appears to be one piece.
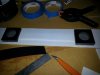
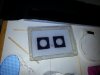
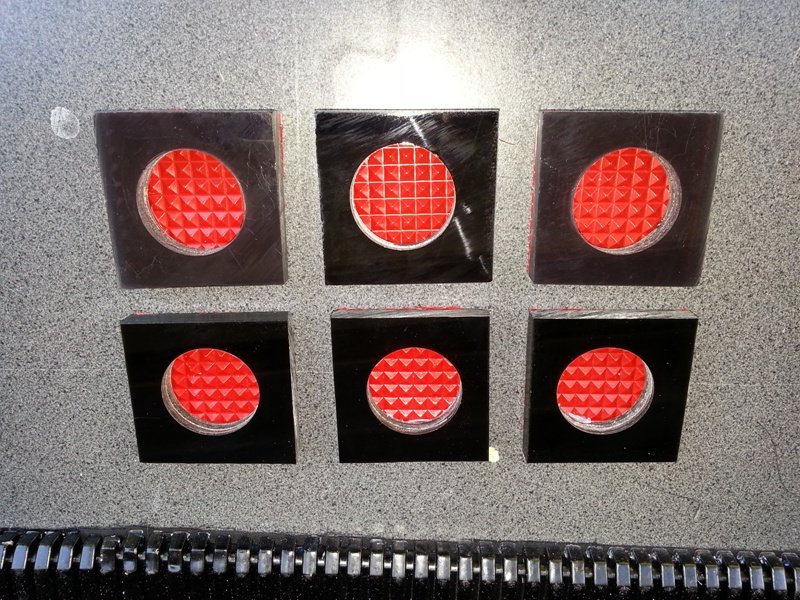
5. made a mold and began casting my greebs for the sleeves.

This was supposed to save time, but it has not. Initially I made two master parts and they took about 20 mins. I have to let the black set, then inlay red. That means two takes over 12 hours! I could make another 4 parts in under an hour tomorrow. And I might just do that.
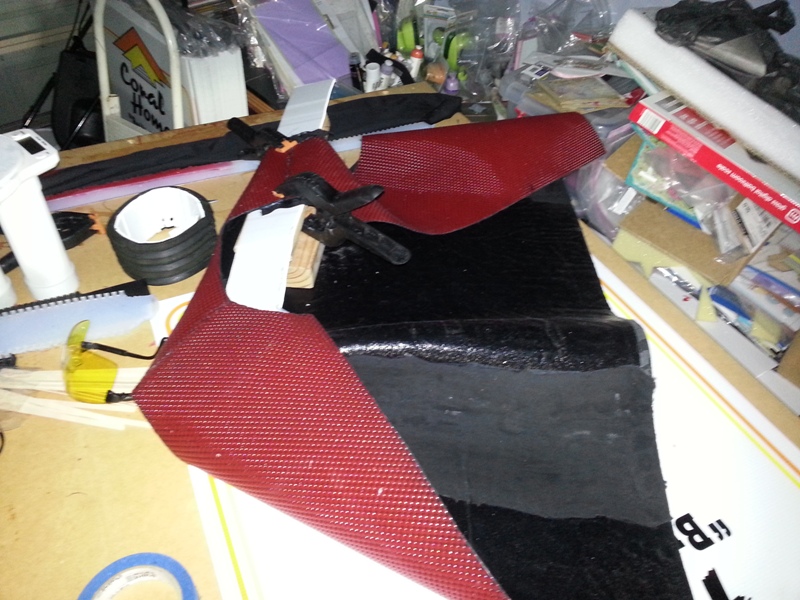
6. In the back ground of the last photo is my cloth embedded belt.
I really only have 4 days to get this completed before Gold Nova on the 18th and 19th. Can I do it?
1. silicone coated the collar and my pockets (they will expand as well).
2. modded my bellows from the V1 jacket and began coating those with silicone.
3. not 100% happy with the rubber coating so re-did them with caulking silicone mixed with a bit of acetone. This was white silicone that I have added black pigment to. It is darker without the forced flash.
4. re-did the collar to match the sleeves. This coat has been good because it sealed up sewn joins I had before. Same as on the bellows where it now appears to be one piece.
5. made a mold and began casting my greebs for the sleeves.
This was supposed to save time, but it has not. Initially I made two master parts and they took about 20 mins. I have to let the black set, then inlay red. That means two takes over 12 hours! I could make another 4 parts in under an hour tomorrow. And I might just do that.
6. In the back ground of the last photo is my cloth embedded belt.
I really only have 4 days to get this completed before Gold Nova on the 18th and 19th. Can I do it?
Attachments


cavx
Master Member
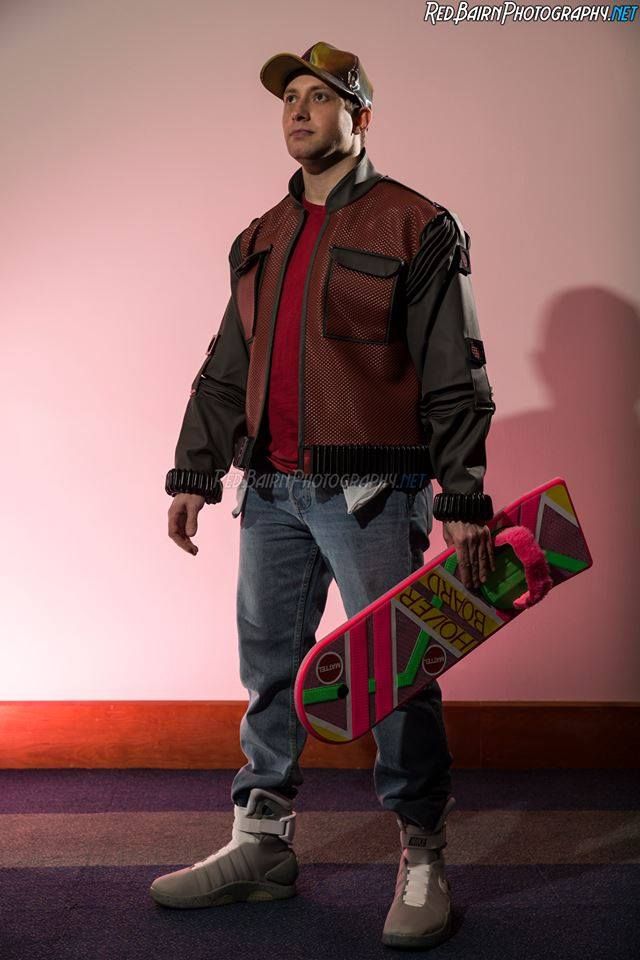
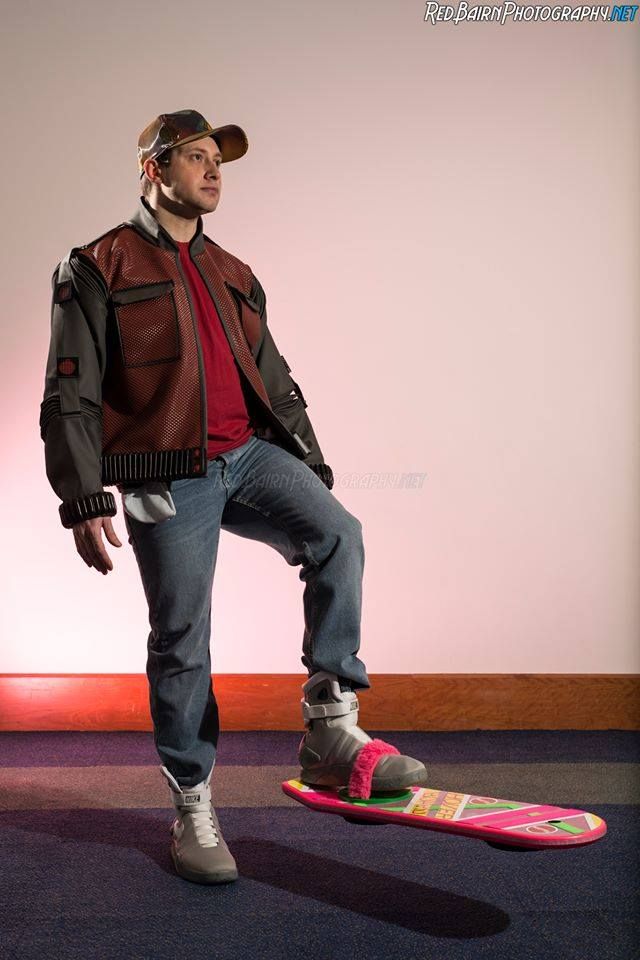
Yeah I have been following the thread on your jacket. Your jacket is nice and I do like the photo with the Hover Board.
I don't have a tailor designing mine, so my sleeves won't sit as good.
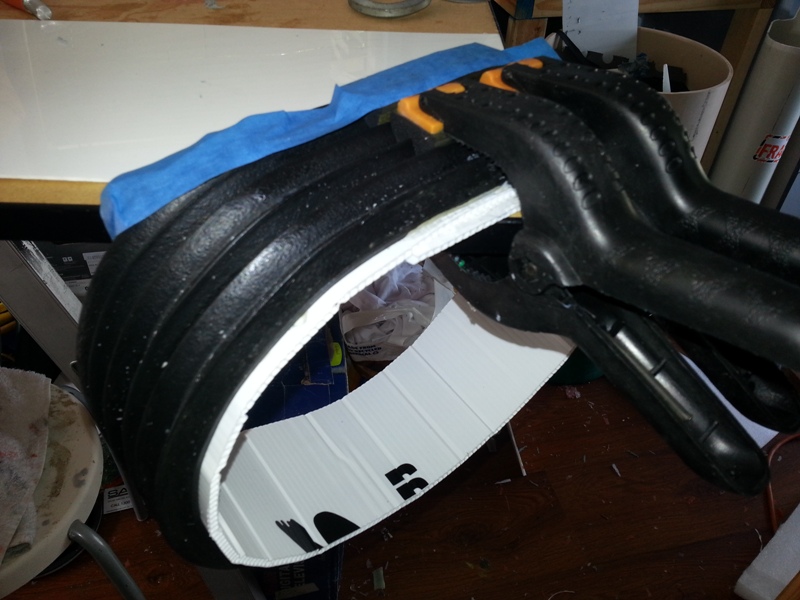
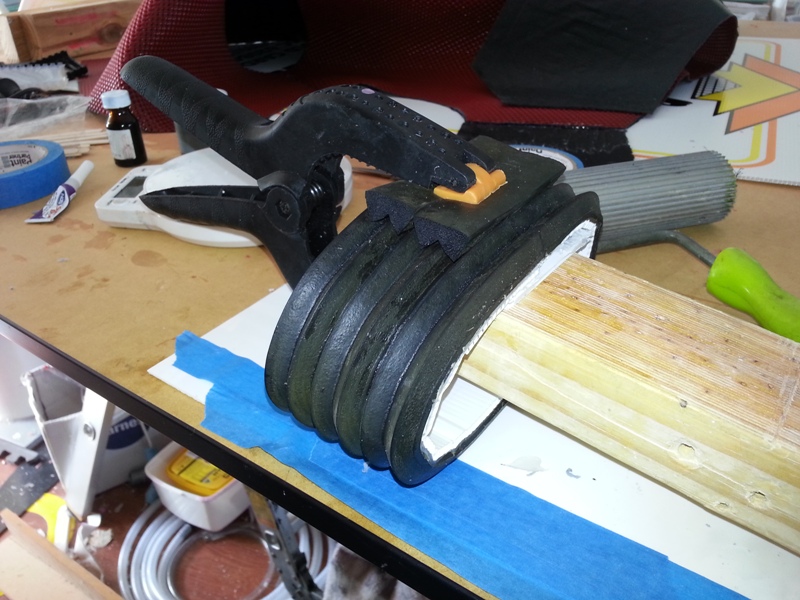
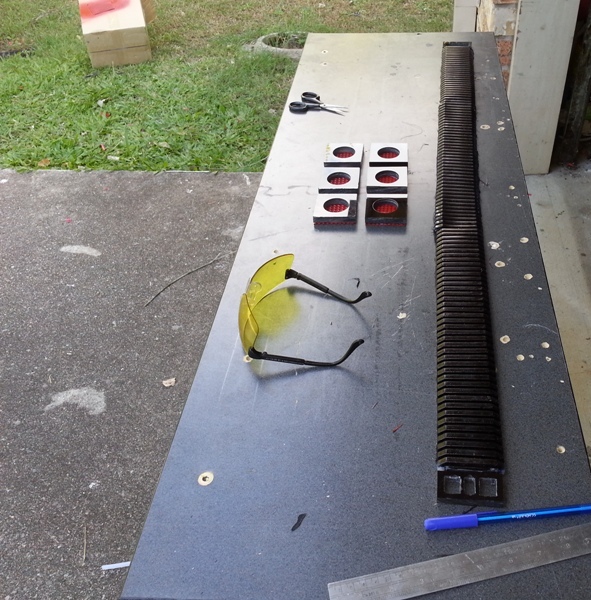
Anyway, today I de-molded the belt and poured a second to make the cuffs.
I also decided it was quicker to scratch make make all 6 sleeve greebs along with the two belt ends. I still need to make the pocket trims and have the straps for the sleeves ready to be cut to length once the sleeves are done.
I don't have a tailor designing mine, so my sleeves won't sit as good.
Anyway, today I de-molded the belt and poured a second to make the cuffs.
I also decided it was quicker to scratch make make all 6 sleeve greebs along with the two belt ends. I still need to make the pocket trims and have the straps for the sleeves ready to be cut to length once the sleeves are done.
Attachments

cavx
Master Member
cavx
Master Member
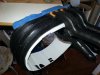
This is where I am at now.
Just not sure about these pockets. Is it there placement, or are they too big? They took me most of the day to make, so I don't really want to have to re-do these if I don't have to.
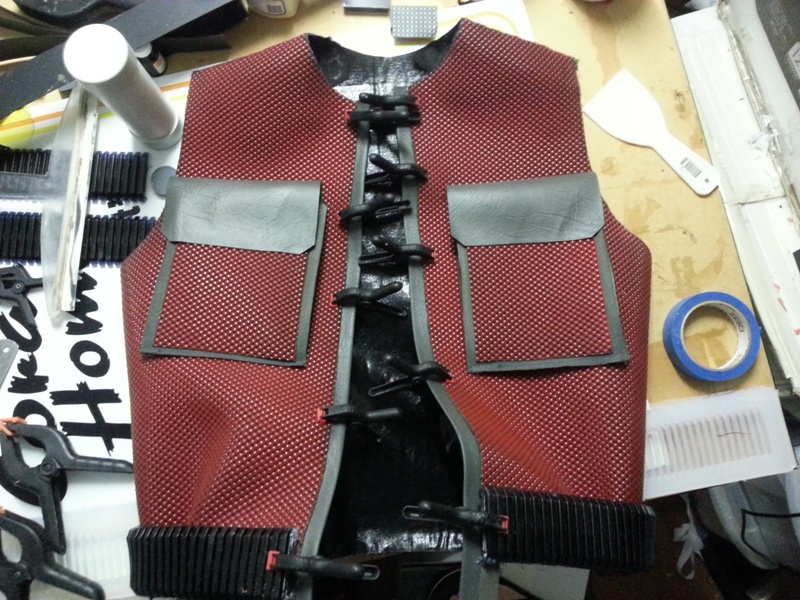
Really not sure how much more I will be able to get done on this, this week as life goes on. I was hoping to at least get the collar and pocket trims on today.
There was something in the rubber that caused a reaction to the silicone for molding the bellows. Given I know that my Plasticine doesn't react, I might be able to make up a mold and pour either concrete or cheap polyester casting resin into the mold to make a hard mold. The silicone won't react with polyester and because the silicone is flexible, will peel right out.
Anyway, a project for next week.
Just not sure about these pockets. Is it there placement, or are they too big? They took me most of the day to make, so I don't really want to have to re-do these if I don't have to.
Really not sure how much more I will be able to get done on this, this week as life goes on. I was hoping to at least get the collar and pocket trims on today.
There was something in the rubber that caused a reaction to the silicone for molding the bellows. Given I know that my Plasticine doesn't react, I might be able to make up a mold and pour either concrete or cheap polyester casting resin into the mold to make a hard mold. The silicone won't react with polyester and because the silicone is flexible, will peel right out.
Anyway, a project for next week.
Attachments
cavx
Master Member
Any progress @cavx ?
Nope. Been a total slacker on this project. Now that I have taught myself to Fibre glass I should be able to make a set of molds for the bellows and get this finished. Will it be done by October 21?
Last edited by a moderator:
Similar threads
- Replies
- 33
- Views
- 2,133
- Replies
- 13
- Views
- 2,907
- Replies
- 10
- Views
- 1,568
- Replies
- 5
- Views
- 820