Scratch built Terminator T-800 Endoskeleton

chanfan , I am a big fan of your work , looking forward to seeing more of this project....love the sculpting you are doing with the skull....mindblowing sir !!!
 
Hey guys!

Here's a small update:

Did some sanding and shaping of the shins:
228.jpg


I've been working on adding all of the lines and details to the skull and here's what I have done so far:

Drawing them up:
227.jpg


Carving them out:
229.jpg

230.jpg

The edges looks like a mess and they were. I went over the lines with putty and then I redrew them with a sculpting tool and sanded away the excess putty to make the lines smooth.
231.jpg

232.jpg

I still have to go over some of the lines to make them more "straight". Some of them are still a bit jagged.
 
Last edited:
Thanks guys, I'm so glad you like it! My goal is to have the skull ready for molding 1½ week from now, when me and my wife are having our second baby!
I figure I wont be getting much work done once the second kid arrives! :D
 
New update:

I primed the skull again and continued sanding. Some of the lines still have some cleaning left to them and there are still some additional details to be added.
233.jpg

234.jpg

And here are some shots of the overall progress:
235.jpg

236.jpg

There are a bunch of stuff going on that you can't see in these pics, such as a bunch of joints in the making, but I'll show those later on!
 
Does anyone know where the original full size terminator is now? I remember from a special after the movie came out that it was only from the waste up and even that was almost 400 pounds. anyway I just wondered what happened to it.
 
I just commented on a fabulous Alien build and lo and behold here is an equally impressive Terminator Endoskeleton. Techniques differ but the end results are quite wonderful and it's great as a fellow builder to see how others approach their projects. The use of cardboard certainly saves a fortune on material and it's very easy to manipulate. Moulding and casting negates some of these savings but you do end up with something that's reproduceable and more durable. Scratch building at it's best and thanks for sharing. Impressed with photography too being a keen enthusiast myself. Lets see him finished now.
 
Thanks for the input, guys!
ClearCaseMan, I think one of the endos from T1 is on display in Japan.

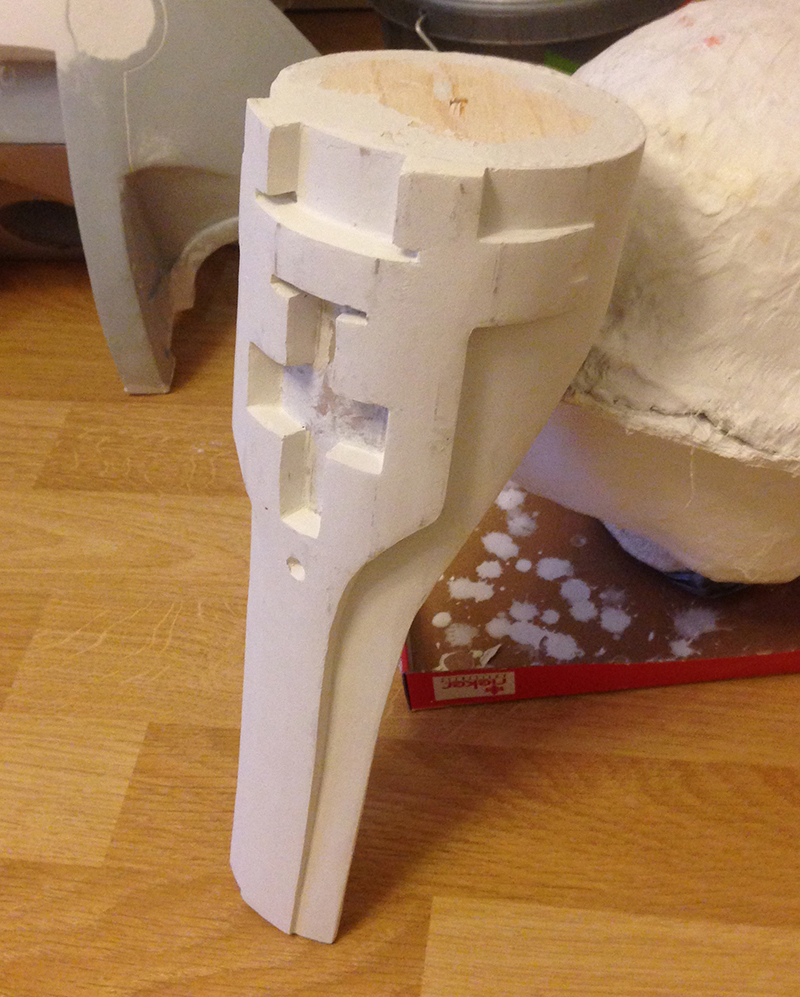
Crawjaw, yes it's very cheap to build with but it takes a lot of effort to get the finish I'm after! :D I know, the silicone and resin is quite expensive, but I'll have the opportunity to produce more than one endo that way, and possibly, sell parts! ;)

Here's a small update,

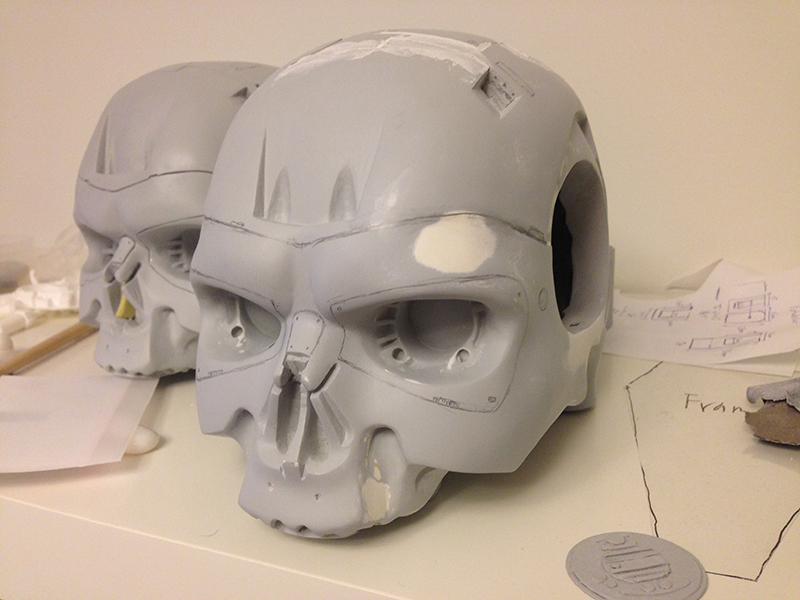
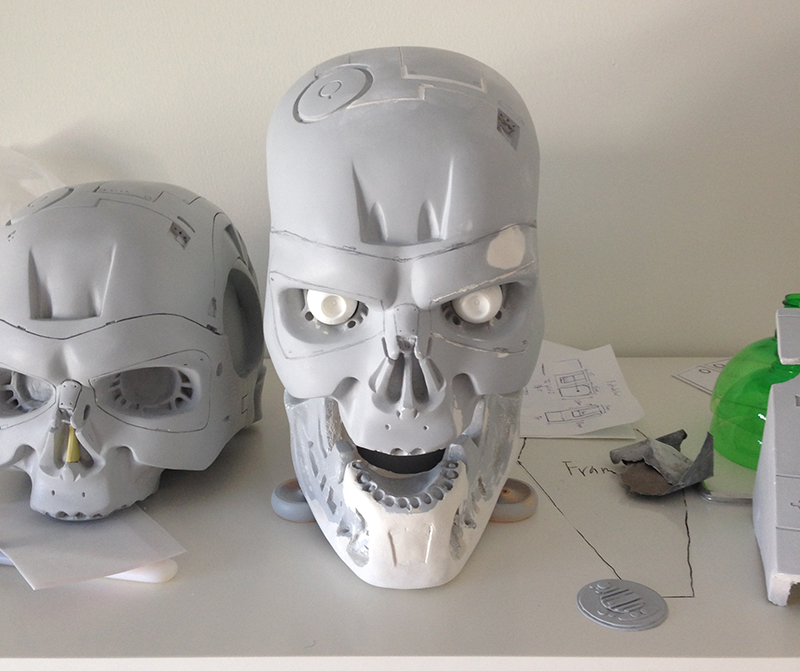
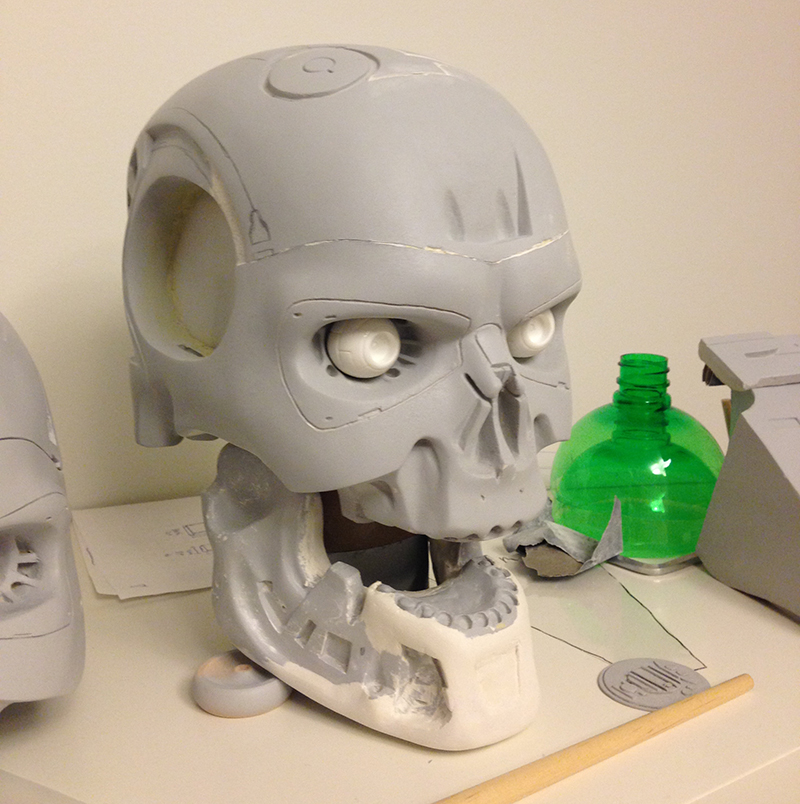
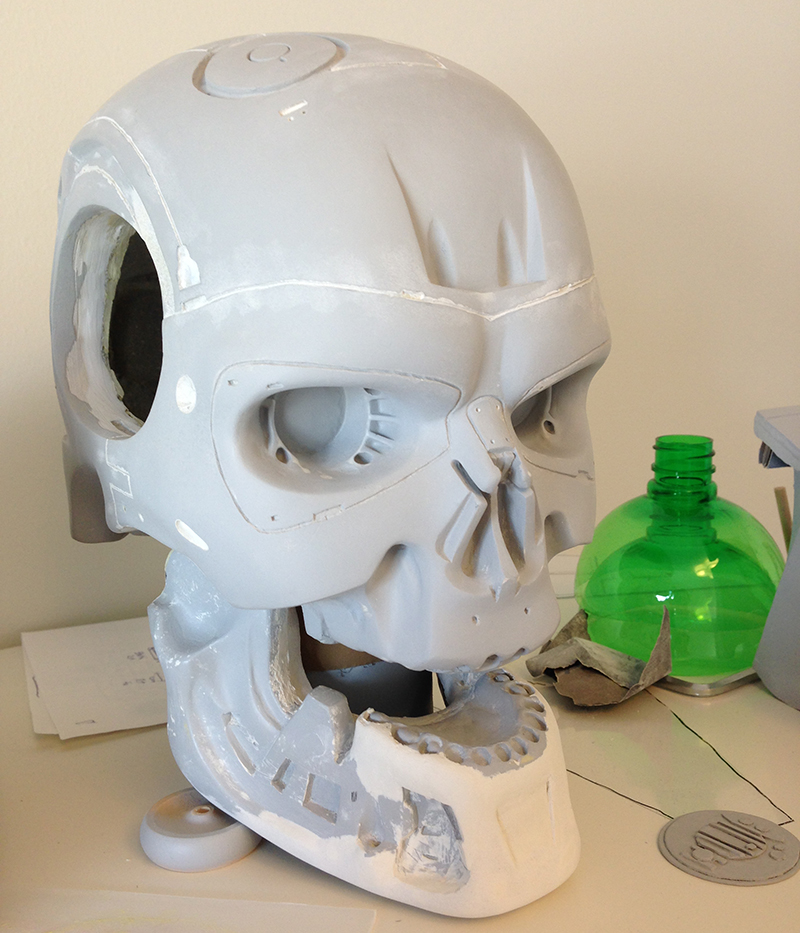
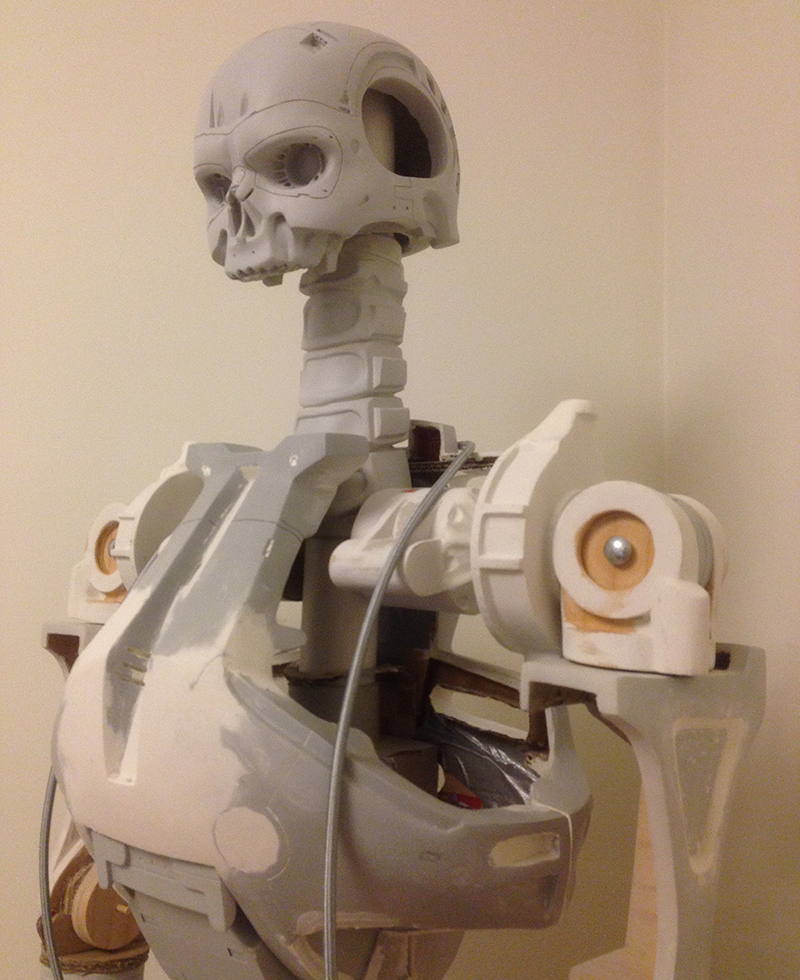
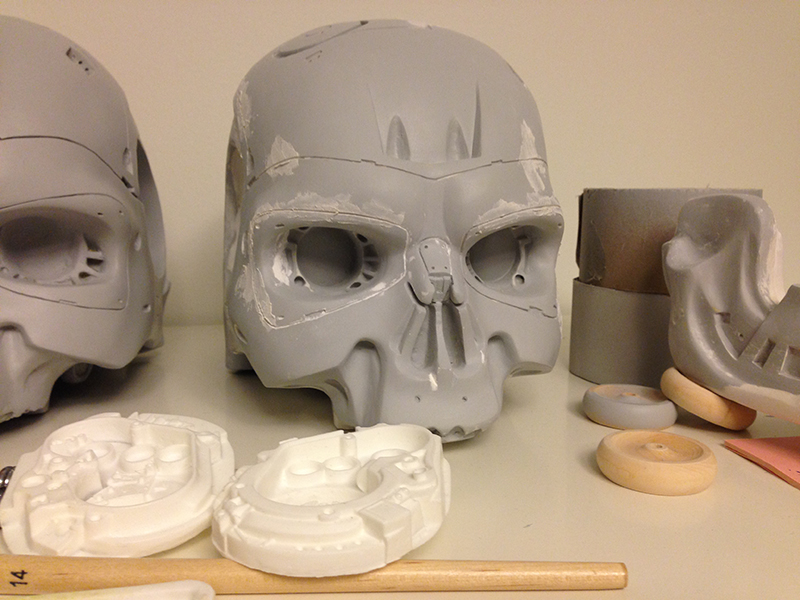
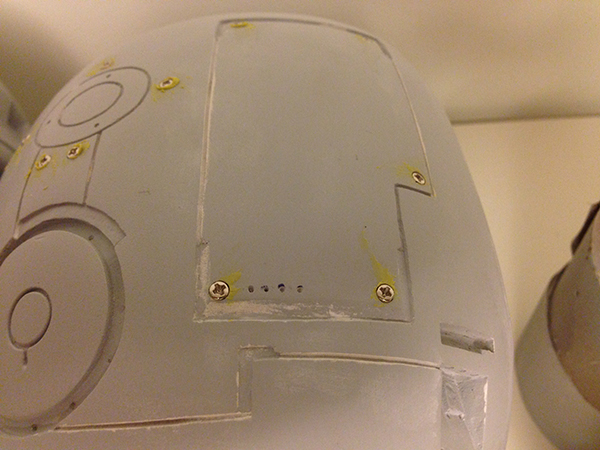
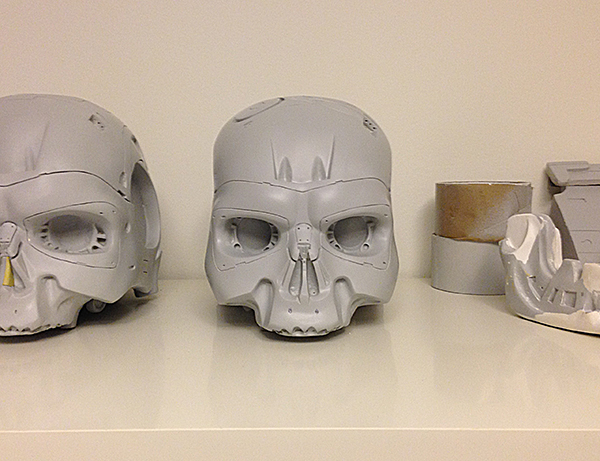
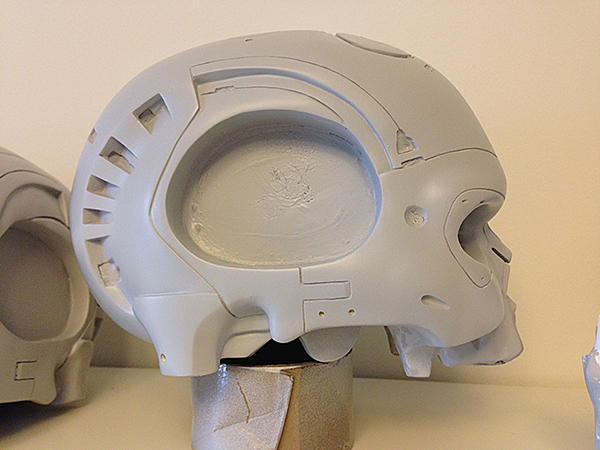
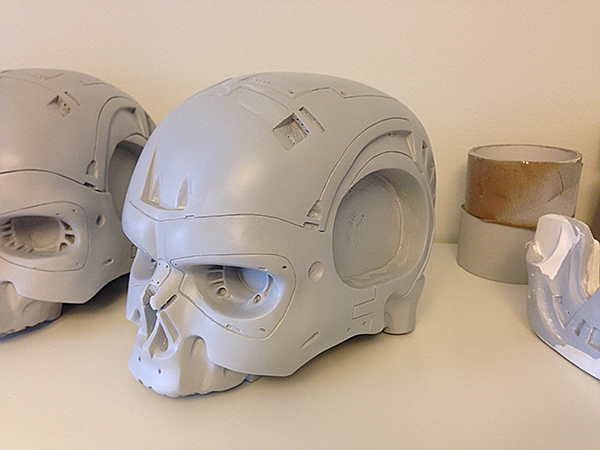
I'm still tinkering away with the skull. Focusing on refining and getting the lines in the face as "smooth" as possible.
239.jpg

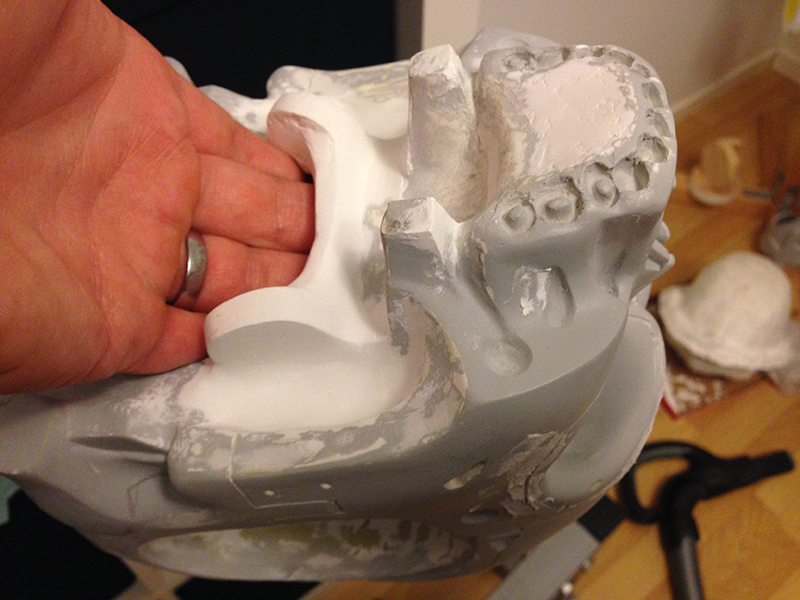
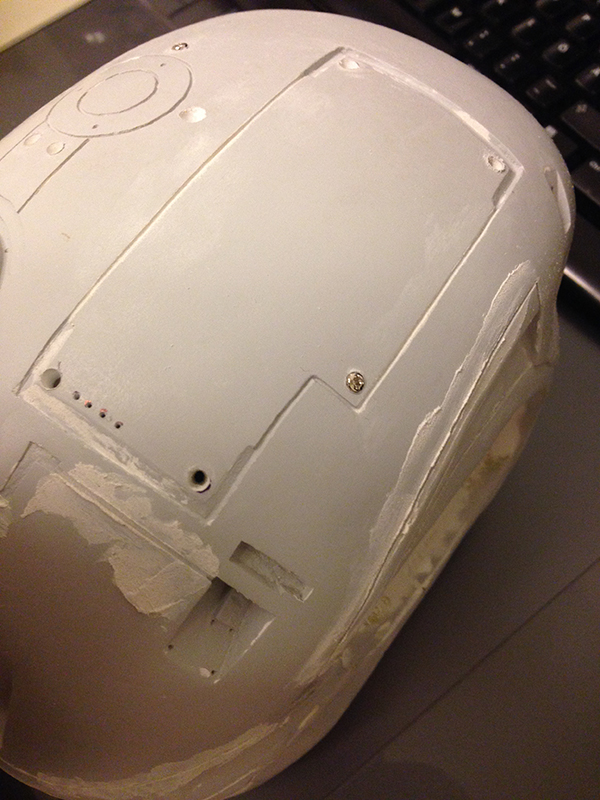
I'm also doing some work on the bottom of the skull, where the jaw will attach.
237.jpg

I know, it looks like a mess underneath, but I'll smooth things out soon! :)

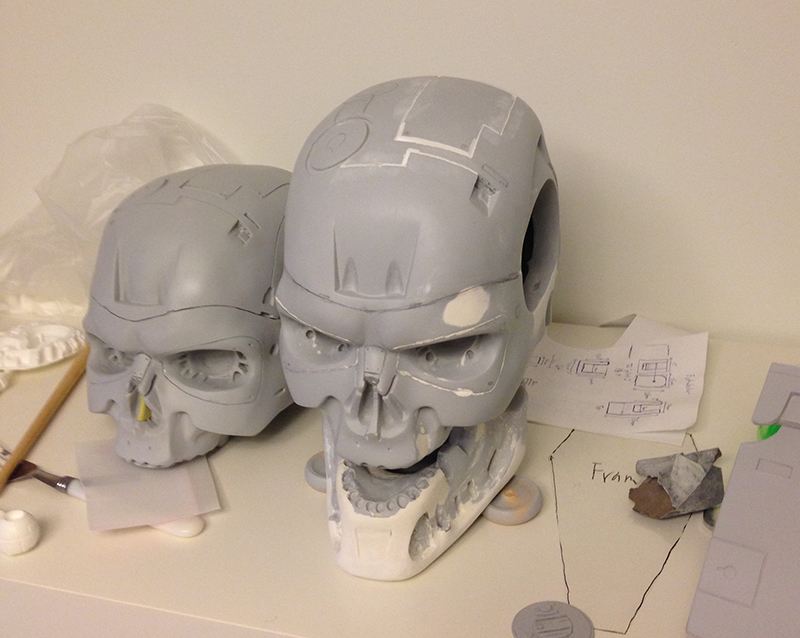
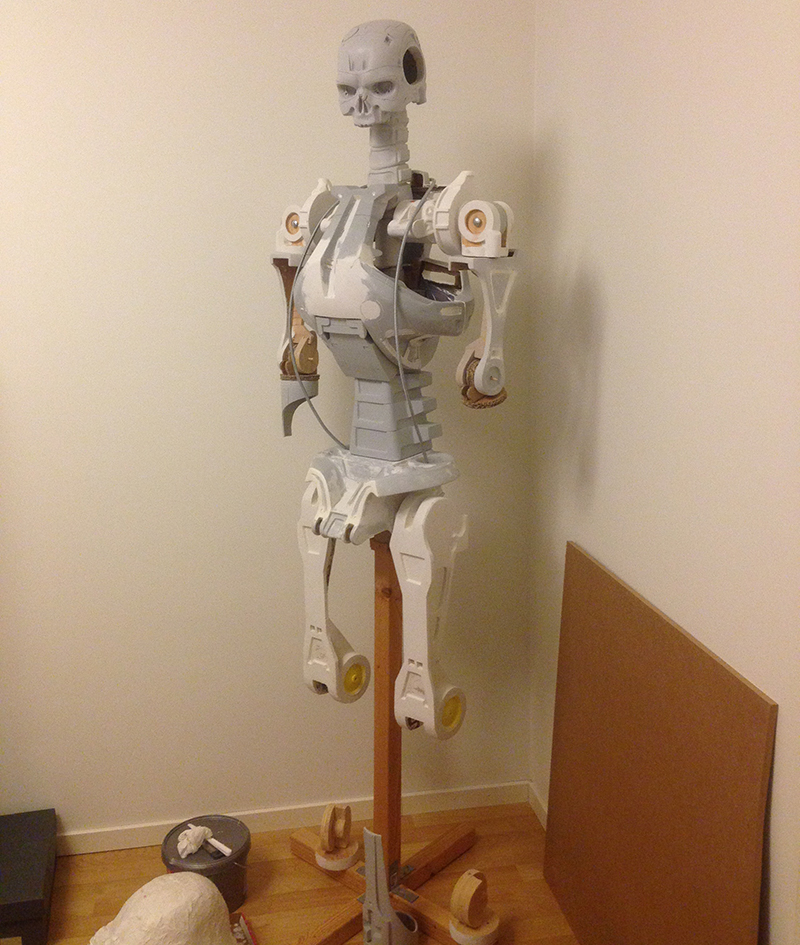
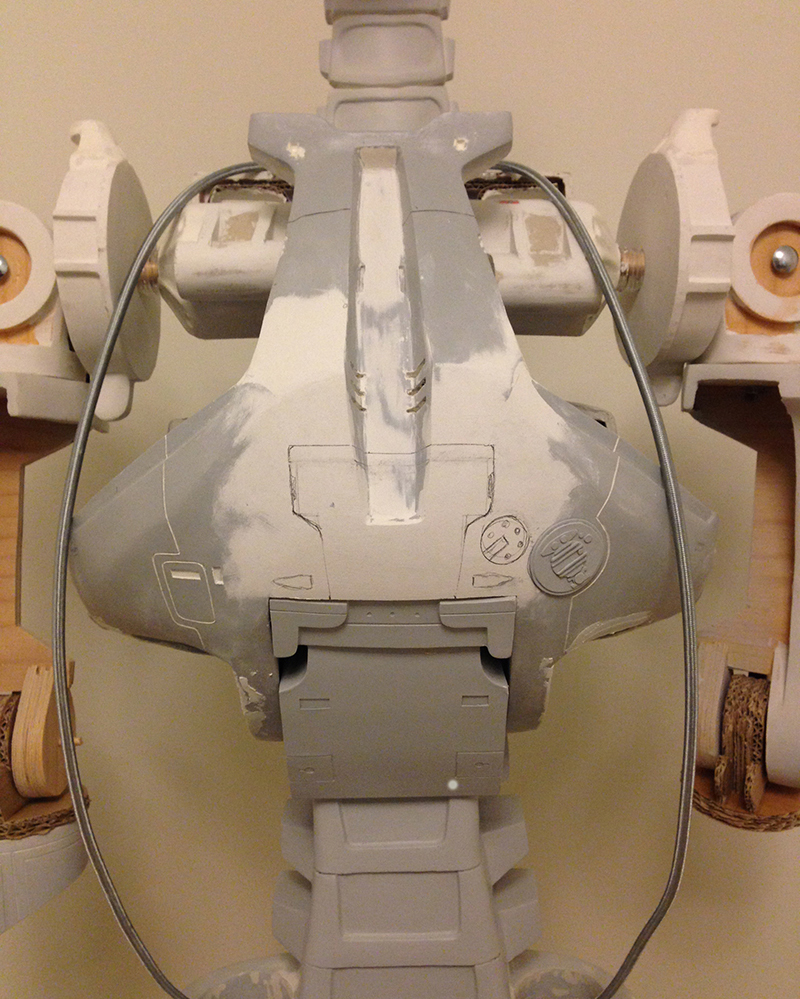
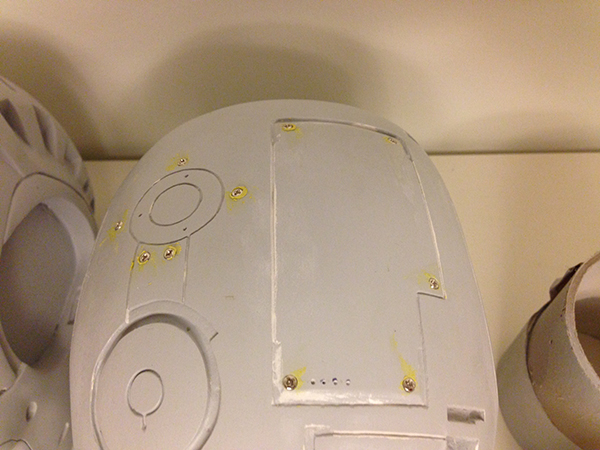
I have also been outlining some of the details on the chest.
238.jpg

My fellow endobuilder Jaz was awesome enough to send me a genuine replacement for the "chest emblem" that I will use instead of the scratch built part that you see in the picture above. Thanks Jaz! :)
 
Here's a new update,

Work on the skull continues. I was finally able to get some time off to use the dremel so here's the latest progress.

Drilling holes for screw details:
240.jpg


Filling the holes with milliput and screwing the screws into the milliput to create perfect sized holes. I intend to unscrew them before the final clean up of the excess milliput and then screw them back in.
241.jpg

243.jpg

(I know the crews should be more like a socket drive rather than phillips, but you know what, My endo likes phillips!) :p

I also picked up where I left of on the hands, adding some milliput to blend the materials and smooth things out:
242.jpg
 
Just a small update to let you know I'm still around! :)

Iv'e been sanding away at the skull trying to get it as flawless as I possibly can and I have also been smoothing out the line details.
Here it is with primer. Still have some more sanding to do but it's getting there.
I also ordered a new set of teeth for him, some larger ones as I felt the once I'm currently using are a bit too small.
This means I will probably have to redo the teeth sockets before I make the mold! :p
244.jpg

245.jpg

246.jpg
 
This thread is more than 3 years old.

Your message may be considered spam for the following reasons:

  1. This thread hasn't been active in some time. A new post in this thread might not contribute constructively to this discussion after so long.
If you wish to reply despite these issues, check the box below before replying.
Be aware that malicious compliance may result in more severe penalties.
Back
Top