lovelyandy
Well-Known Member
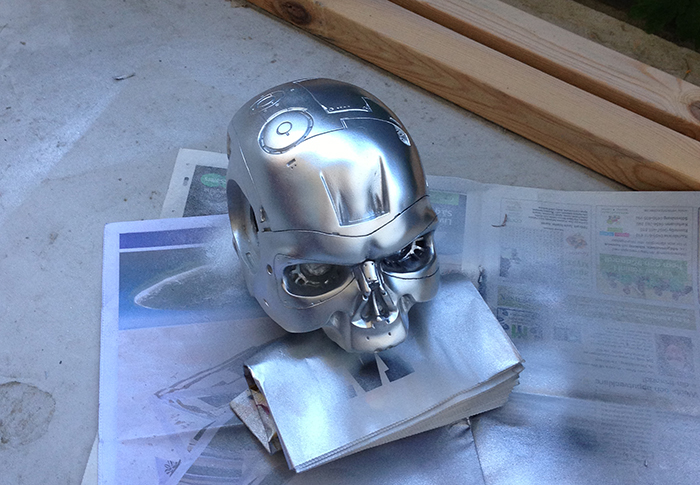
might like your endo, my jaw is on the floor.
")
 there are so many incredible talented people here and you are definitely one of them
 I have never stopped thinking about building one sice 1984.
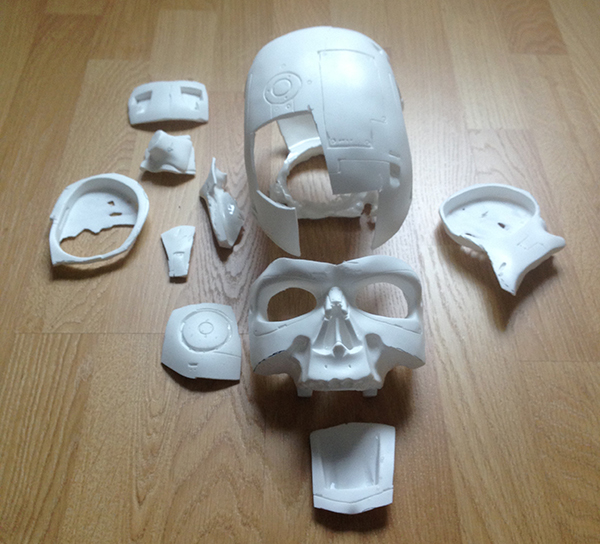
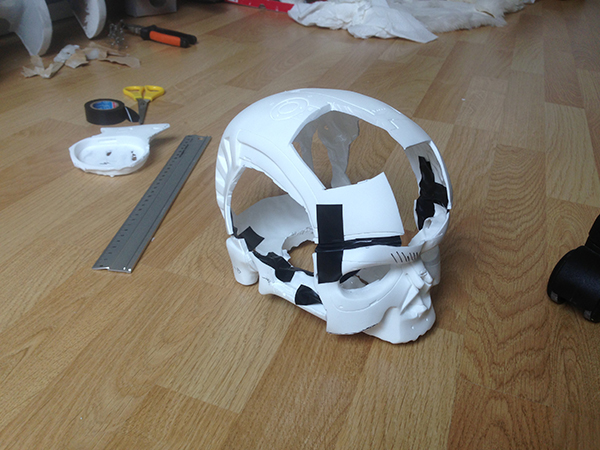
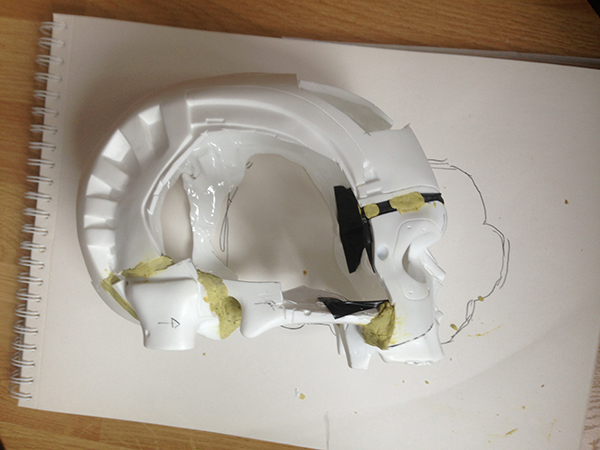
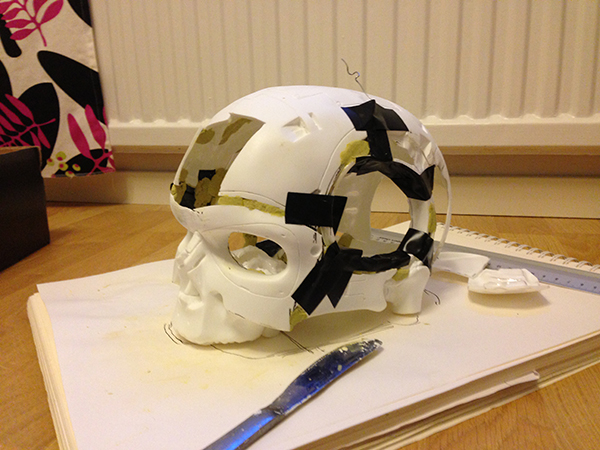
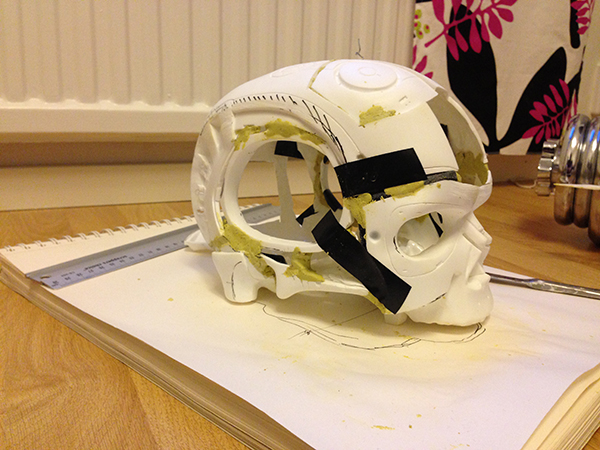
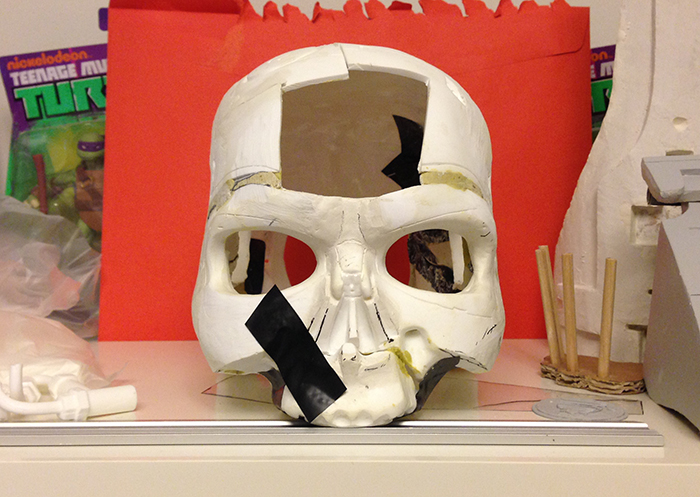
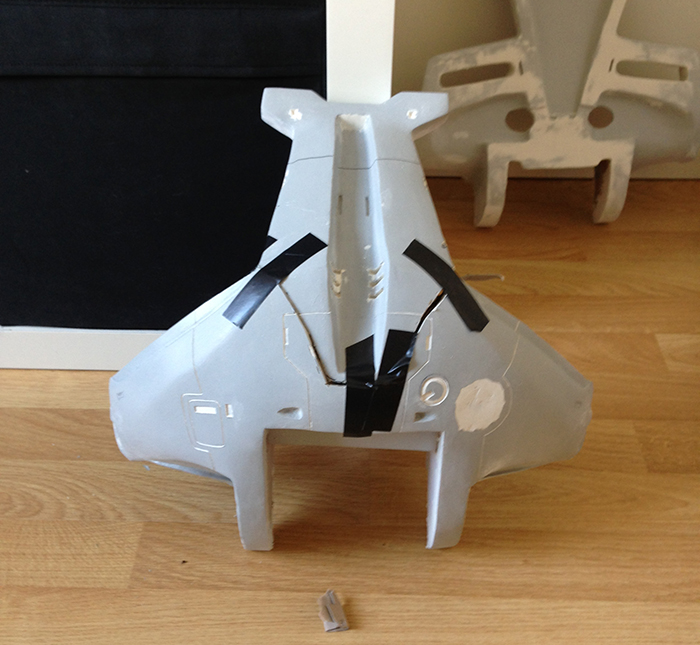
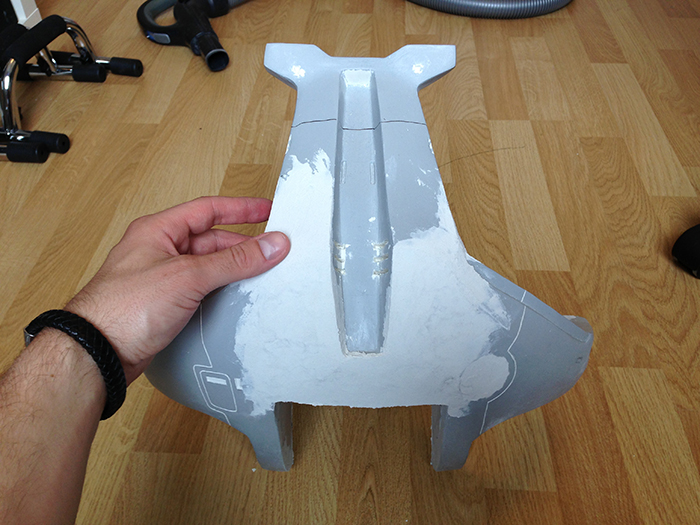
You have photo documented your build so nicely, it is hard not to think of whipping one up. I wouldn't mind trying to cut out thouse shapes out of foam-core rather than corregated cardboard. Even though he is supposed to be human-size, i wondered if there were a standard set of drawings for the endo, as there are for R2-D2s. I went to the Endo-Builders site and it said that the site had no posts. OK, so maybe I need to register. I tried. I am waiting to hear. Maybe it was a dead board.
The thing is, the endo is so popular amongst 3D artists, that there are all kinds of renderings online. I am not computer savy enough to use any of these to my advantage. I am a pencil and ruler kind of guy.
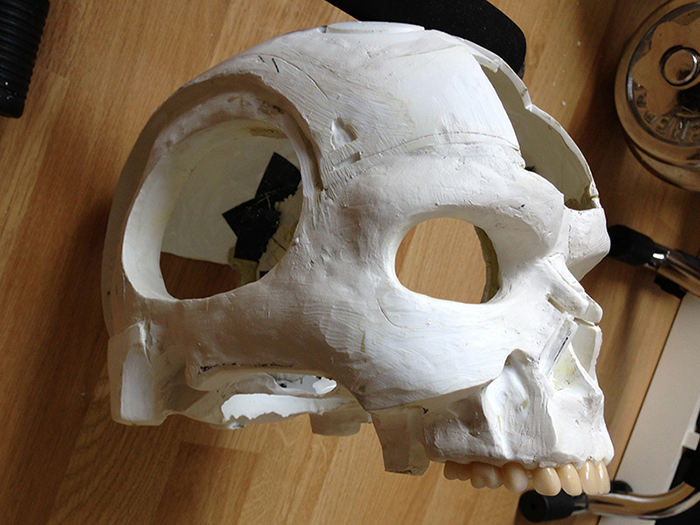
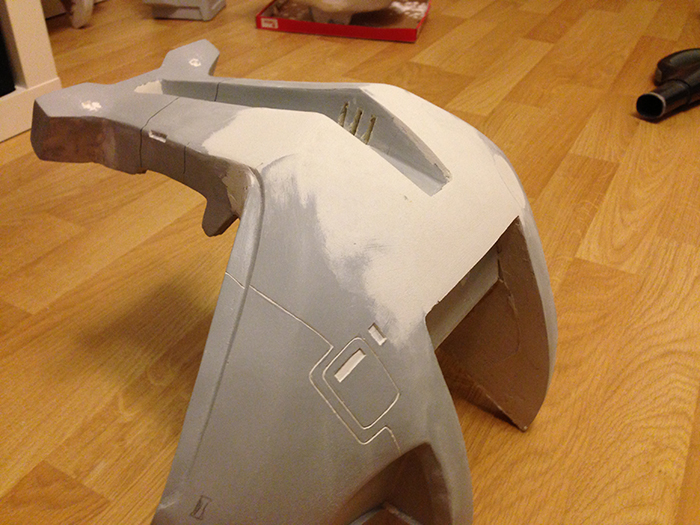


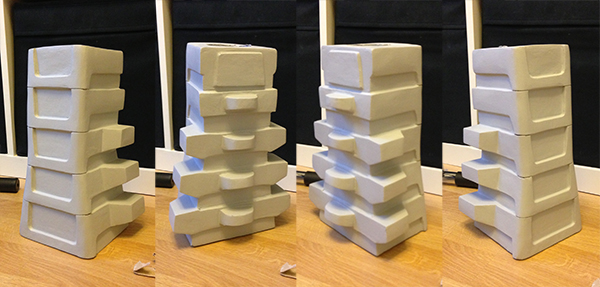
 nice progress


