You are using an out of date browser. It may not display this or other websites correctly.
You should upgrade or use an alternative browser.
You should upgrade or use an alternative browser.
Nerf Gun Props? YES!
- Thread starter JohnsonArms
- Start date
Decided it was time to join the fun. Here's the mockup for what I have in mind.
View attachment 144481
View attachment 144482
I don't know why the pics are upside down. They're the proper orientation in my computer:unsure
I really like the concept, very nice :thumbsup
I've noticed a few pics around the place appearing upside down recently, not sure what's causing it.
PhoenixWand
Well-Known Member
can anyone tell me how they made unsc stencils?
I found a good quality image of a logo just by googling "N7 logo", but it should work for any.
For stencilling, I use airbrush stencil sheet. It usually comes in a roll and is available at most good craft stores.
One tip is to cut an area a little bigger than the stencil and tape newspaper around the rim, one roll can last a long time :thumbsup
It's a good idea to let any previous coats of paint or clear to be fully dry before stencilling, and this tute assumes that that is the case. Right, here we go:
Scale the logo pic to the size you need and print 3-4 copies, one trace cut for each composite colour (your assentially breaking the logo into its componant parts and reassembling it in stages), and one for referance to help align them up nicely.
Lay each of the logo prints over the top of the stencil sheet so the stencil sheet gridwork (the bit you peel off) is face down, and cut about two inches around the outside of each logo.
Once each piece is cut from the stencil sheet, secure the logos in the centre of ech piece (photo mounting glue is a good way of doing this, it won't slip about, or go elf shoes on you and curl up like paper normally does), and allow to dry for a bit with something flat n heavy on em.
Take each piece and carefully cut out any sections that share colours, and repeat for each colour, these are your composite stencils. Using the guide print, peel the backing off and carefully place and secure in the desired location.
!!Check twice, spray once :thumbsup It's no fun finding that spot you didn't notice was exposed and ruining your lovely paintjob.
After the paint has set a little, but not hardened (and hour or two in moderat tempretures is about right), carefully peel off the stencil and leave it for the recommended full cure time, and repeat process for each colour.
Once complete and fully dry, include with any weathering detail you might be planning, or just seal with the clear coat of choice for that shiny new look")
*edit* for single colour logos, only one stencil is needed.
For stencilling, I use airbrush stencil sheet. It usually comes in a roll and is available at most good craft stores.
One tip is to cut an area a little bigger than the stencil and tape newspaper around the rim, one roll can last a long time :thumbsup
It's a good idea to let any previous coats of paint or clear to be fully dry before stencilling, and this tute assumes that that is the case. Right, here we go:
Scale the logo pic to the size you need and print 3-4 copies, one trace cut for each composite colour (your assentially breaking the logo into its componant parts and reassembling it in stages), and one for referance to help align them up nicely.
Lay each of the logo prints over the top of the stencil sheet so the stencil sheet gridwork (the bit you peel off) is face down, and cut about two inches around the outside of each logo.
Once each piece is cut from the stencil sheet, secure the logos in the centre of ech piece (photo mounting glue is a good way of doing this, it won't slip about, or go elf shoes on you and curl up like paper normally does), and allow to dry for a bit with something flat n heavy on em.
Take each piece and carefully cut out any sections that share colours, and repeat for each colour, these are your composite stencils. Using the guide print, peel the backing off and carefully place and secure in the desired location.
!!Check twice, spray once :thumbsup It's no fun finding that spot you didn't notice was exposed and ruining your lovely paintjob.
After the paint has set a little, but not hardened (and hour or two in moderat tempretures is about right), carefully peel off the stencil and leave it for the recommended full cure time, and repeat process for each colour.
Once complete and fully dry, include with any weathering detail you might be planning, or just seal with the clear coat of choice for that shiny new look
*edit* for single colour logos, only one stencil is needed.
Last edited:
PhoenixWand
Well-Known Member
@Canobi Wow! thanks so much, I'll be applying my UNSC logo to my modded maverick tomorrow, I'll post a pic up when I'm done, thanks so much for all your help!
SqueekinOrka
Well-Known Member
Hi everyone.
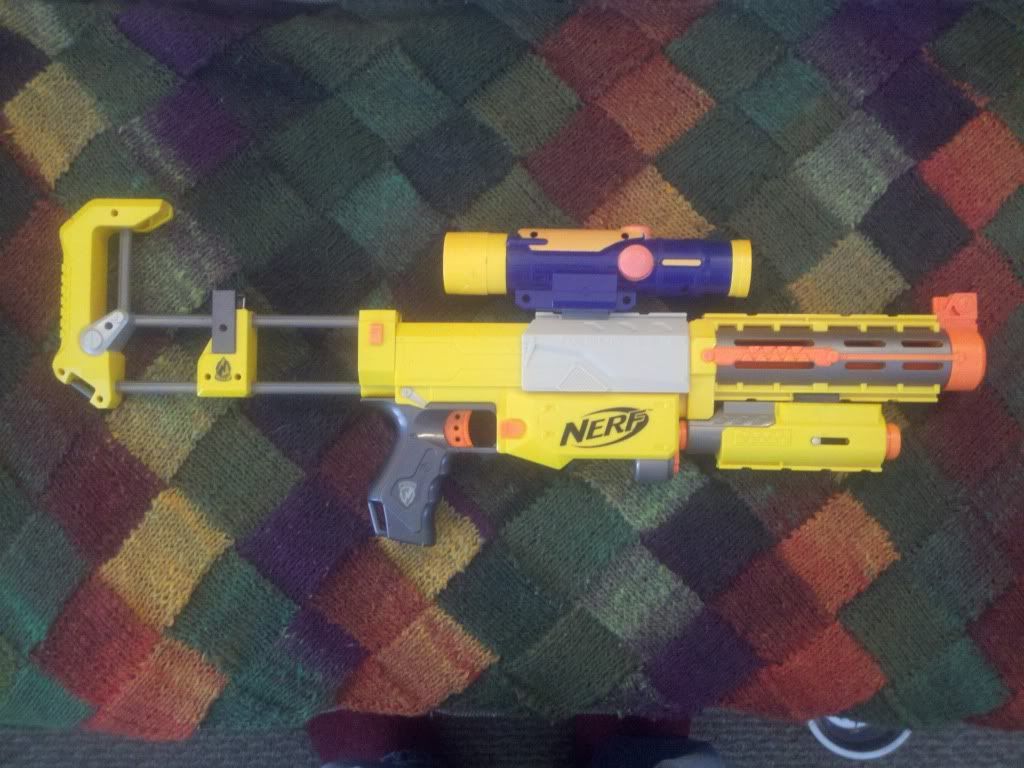
Yesterday i brought my first Nerf gun the N-Strike Elite Retaliator which I'm hoping to mod into the Mantis Sniper Rifle from Mass Effect.
My question is,Does anyone know the height of the 6 ammo pack ?
Mine came with a 12 ammo pack but I'm looking for a ammo pack that's smaller so it hides in the gun. The part that hides in the gun is about 9cm. I'm wondering if the 6 is about that size.
Thanks for your time and there's some really cool mods here.
Started to take it apart and drew a template. Will need to buy some PVC pipes.
leaf onthe wind
New Member
Greetings all.
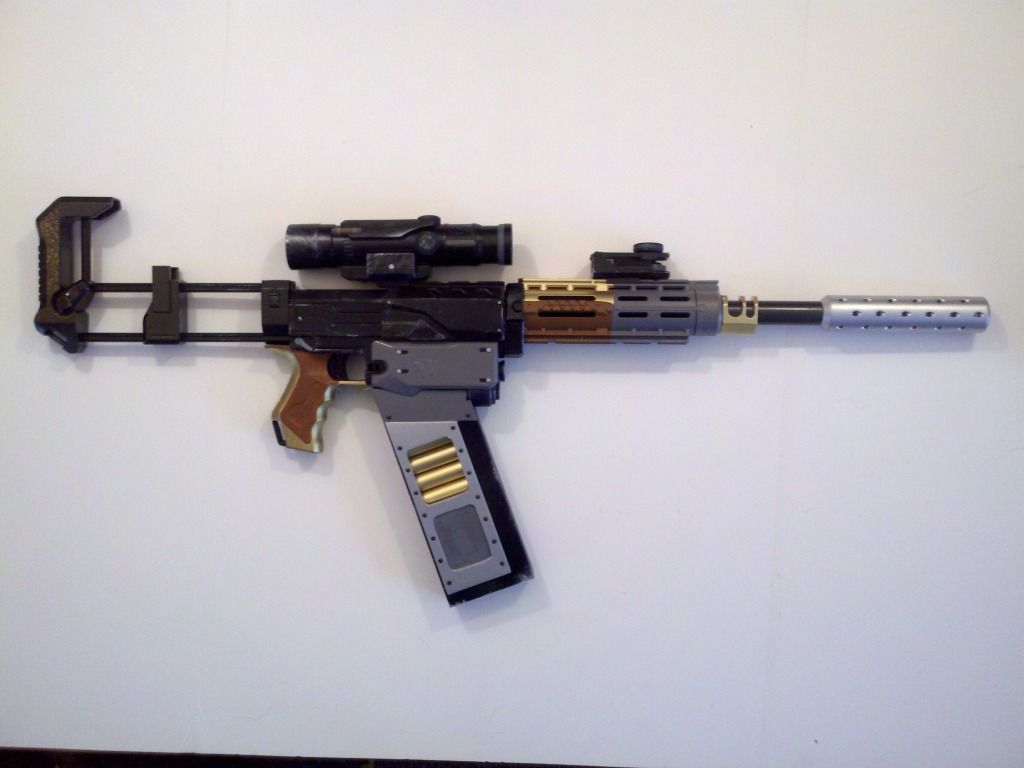
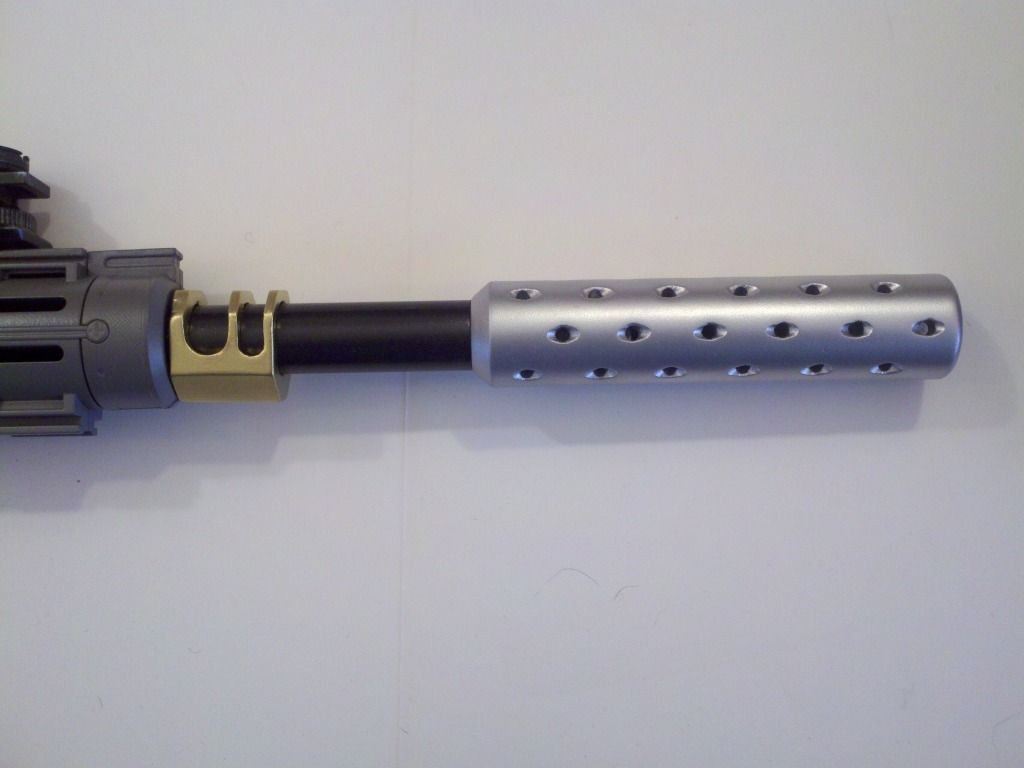
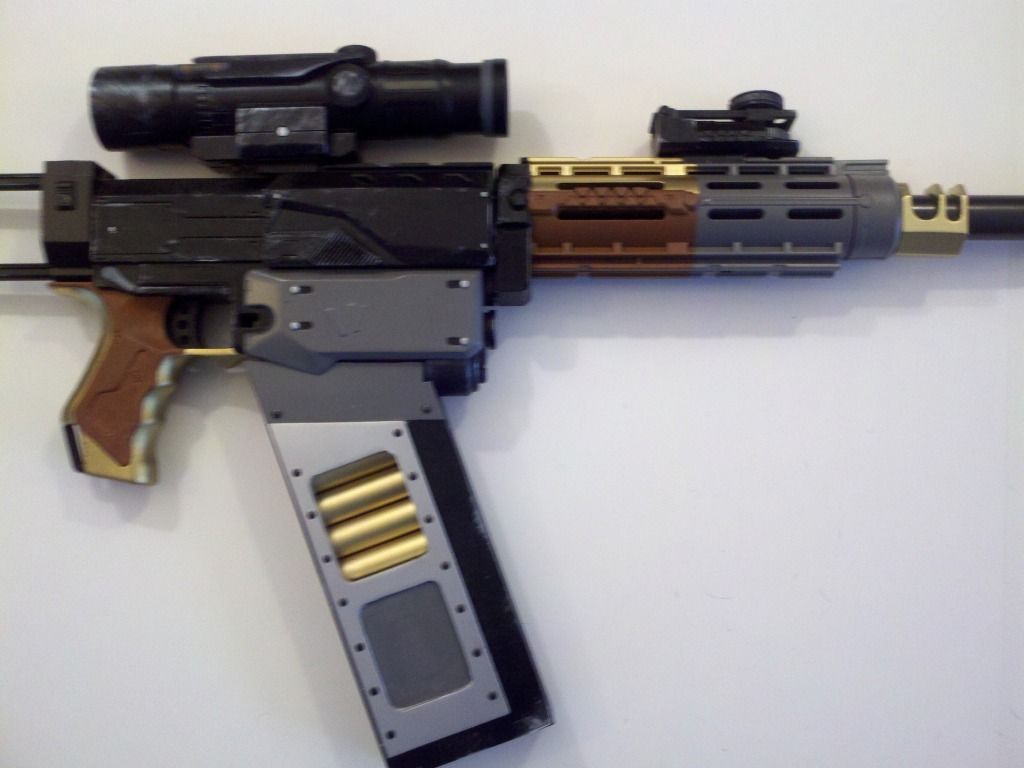
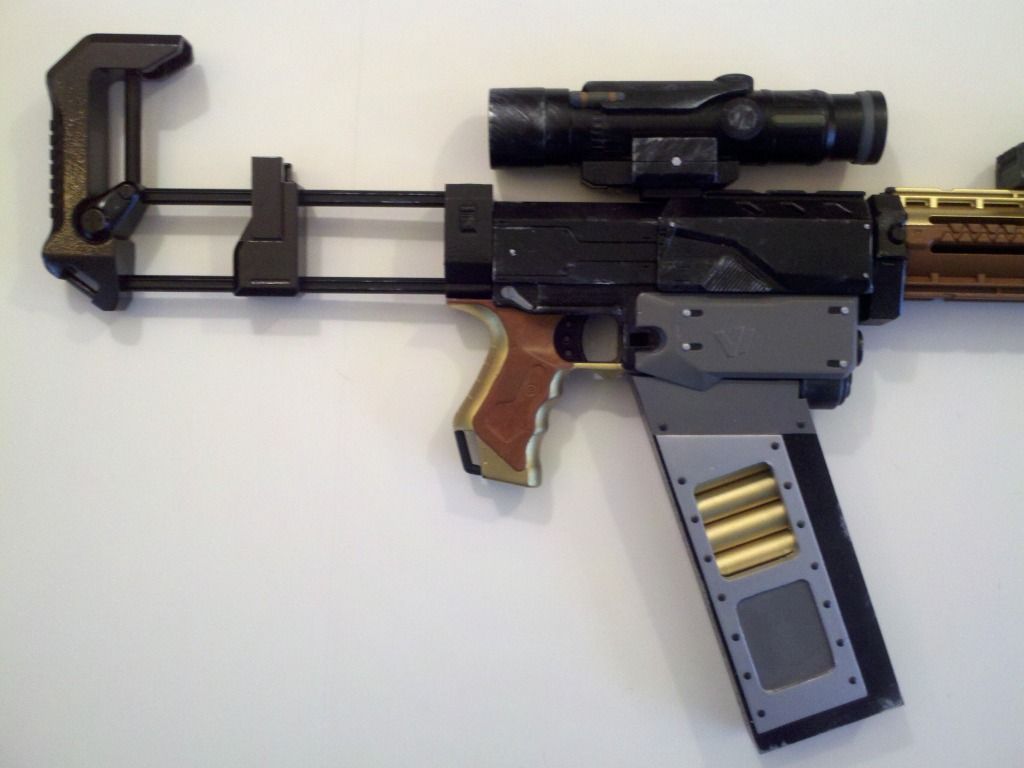
I am close to completing my Nerf "Vira" from Firefly and thought I'd post a few pics.
Heres what I started with.
I am lucky enough to work in a machine shop so I have acess to Lathes, mills and materials needed to make the extra add on Barrel/Silencer and the Ammo Clip.
I'll post a build thread later.
Thanks to Crix from "The Verse" Johnson Arms from "RPF" and others who inspired me to try this project.
I still need to clear coat and make the extra ammo for the back stock.
Here is the almost finished Prop.
Heres what the movie prop looks like.
That's an awesome down and dirty Vera.
leaf onthe wind
New Member
That's an awesome down and dirty Vera.
Thanks Yellowjacket.
I've seen some of your awsome Firefly props on other sites.
You do great work.
Theres still some tweeking I want to do but needed to get it done for a con here this month.
My next project is the Lemat " Boo"
Maybe some day I'll try my hand at a more screen accurate Vira.
Hi everyone.
Yesterday i brought my first Nerf gun the N-Strike Elite Retaliator which I'm hoping to mod into the Mantis Sniper Rifle from Mass Effect.
My question is,Does anyone know the height of the 6 ammo pack ?
A 6 dart mag is 5" (126mm) from highest point to base :thumbsup
Dr Feeley Good
Active Member
Some amazing paint jobs .....wow
ThatAnnoyingDog
New Member
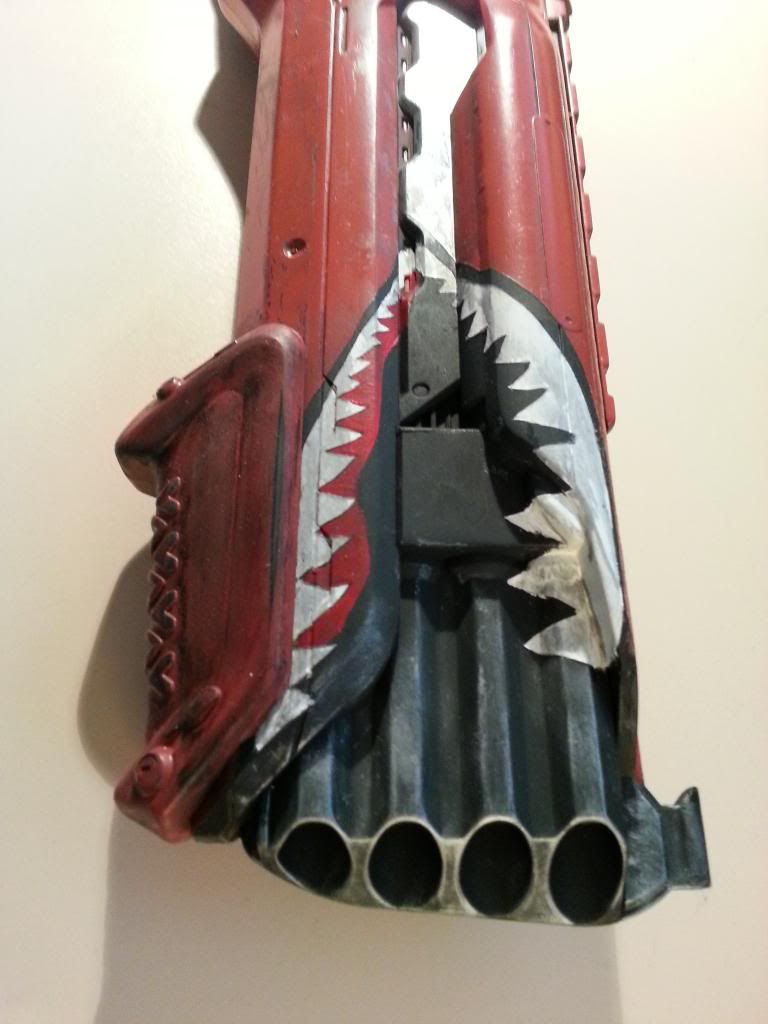
When I was into modding and painting Nerf guns, I learned a cool weathering tricks. For example, cutting out a bump into a corner on the shell looks like a great dent.
SqueekinOrka
Well-Known Member
Thank you Canobie
Looking at the gun I've moved away from sniper rifles and going to try and mod it into the M-9 Tempest. I think it works much better.
Looking at the gun I've moved away from sniper rifles and going to try and mod it into the M-9 Tempest. I think it works much better.
Here's a couple more WIP shots. The new course I've created (at my High School) 3D Fabrication & Prop design is approaching, gotta have some examples to show the kids...
The cell phone pics don't do the guns a lot of favors, gotta break out the DSLR one of these days:
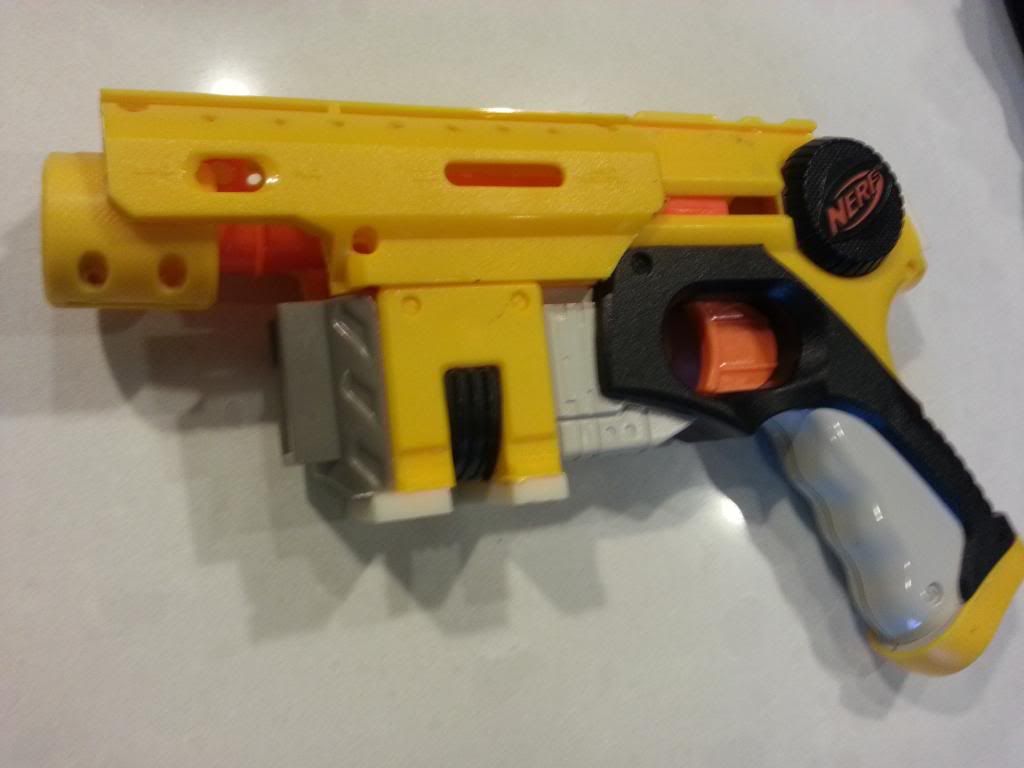
Some borderlands:
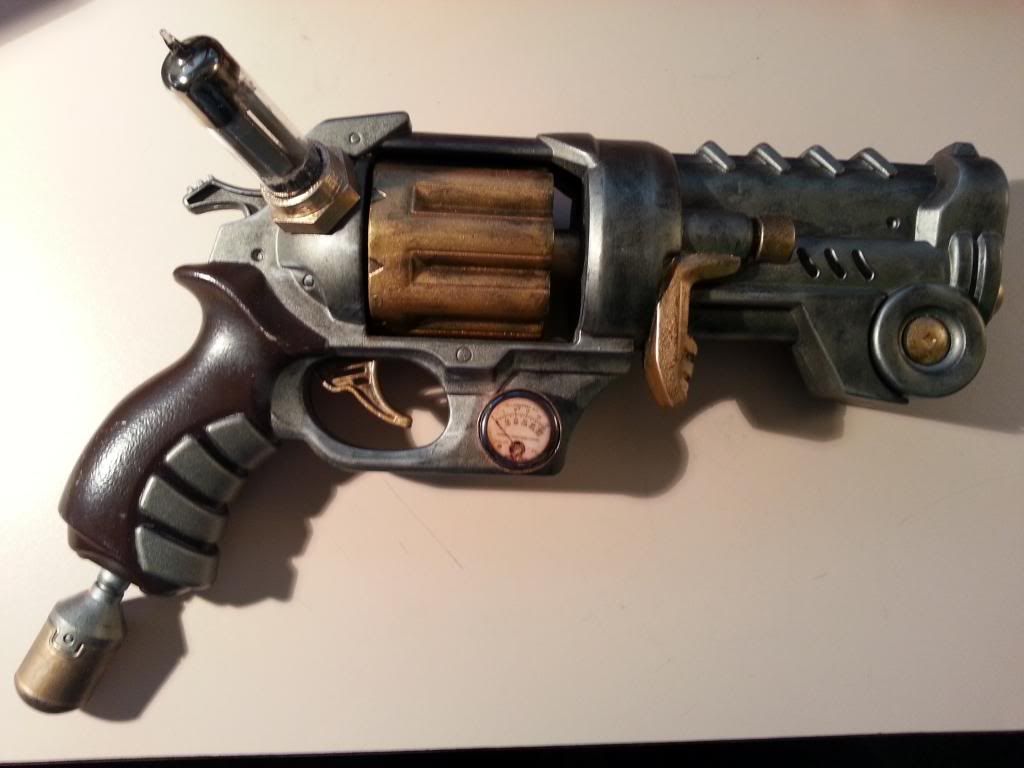
Steampunky:
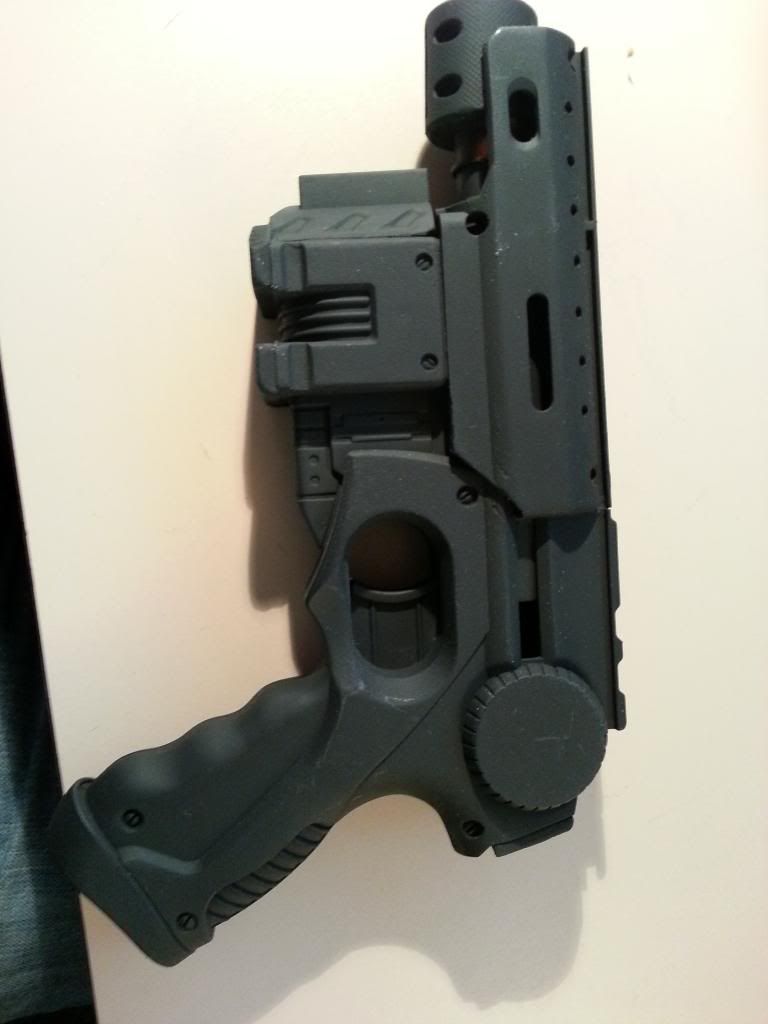
Terra Nova Replica:
The cell phone pics don't do the guns a lot of favors, gotta break out the DSLR one of these days:
Some borderlands:
Steampunky:
Terra Nova Replica:
Rodann
Sr Member
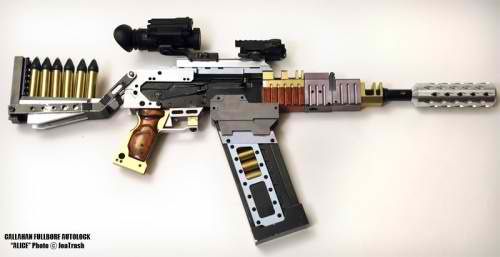
Here's mine Nerf N-Strike Recon 6. I originally got one from my wife, then took over a year to get around to it.:lol Then I got obsessed, and HAD to make a "spaceship weapons rack". Four from ToysRUs.com, for $53 shipped!
I painted and mocked them up with the slides and ports "open", because I thought they looked more imnpressive that way. They're all weathered like the bottom one, though not in these pics.
Gotta number the three new ones. I'm thinking about selling them on ebay- I don't even notice them anymore.........
Nerf N-Strike Recon 6. I originally got one from my wife, then took over a year to get around to it.:lol Then I got obsessed, and HAD to make a "spaceship weapons rack". Four from ToysRUs.com, for $53 shipped! I painted and mocked them up with the slides and ports "open", because I thought they looked more imnpressive that way. They're all weathered like the bottom one, though not in these pics.
Gotta number the three new ones. I'm thinking about selling them on ebay- I don't even notice them anymore.........
Rodann
Sr Member
Best paint job I've seen on a job yet, and that's saying something.
Are you talking about mine? If so, Thanks! I really didn't expect that. There are plenty here that I think are better than mine. Now I gotta find a better pic........
Last edited:
Similar threads
- Replies
- 54
- Views
- 2,847