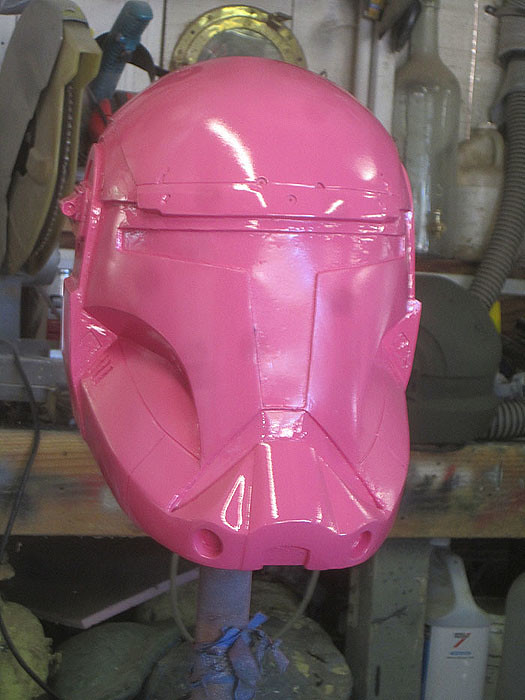
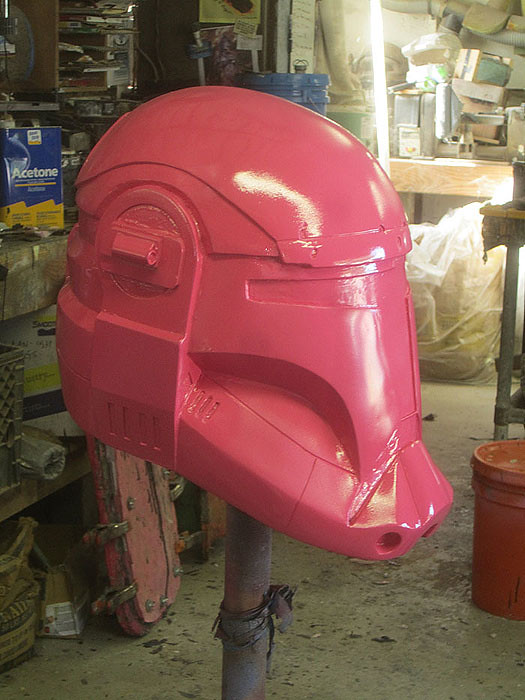
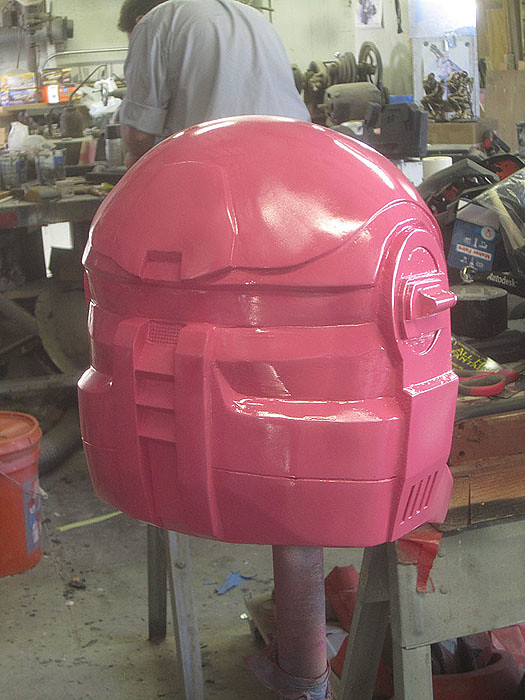
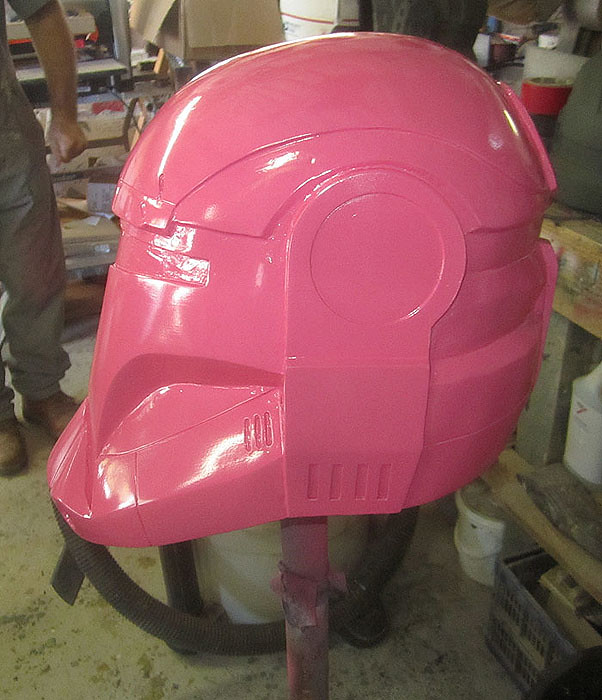
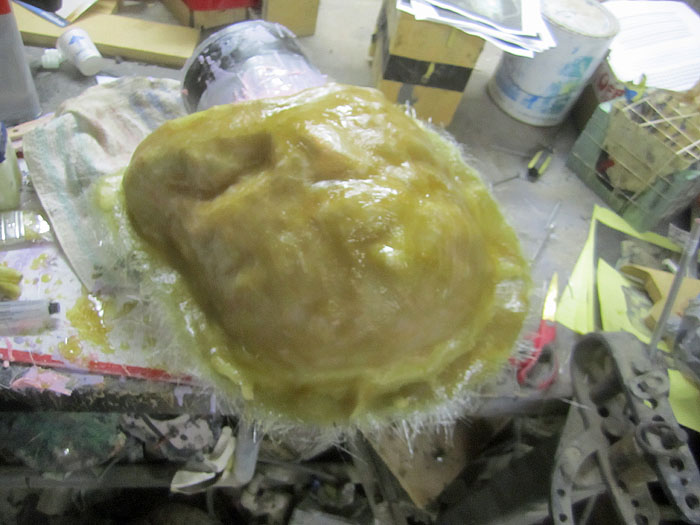
I've been working on this here and there for the past few months and figured now that I've got something to show, I should finally go ahead and write about it here. This build started back in November or December of 2009 while I was working as a navigator on a containership in the North Pacific. Not having access to my tools or my shop, it made sense at the time to get started on another pepakura-based build.
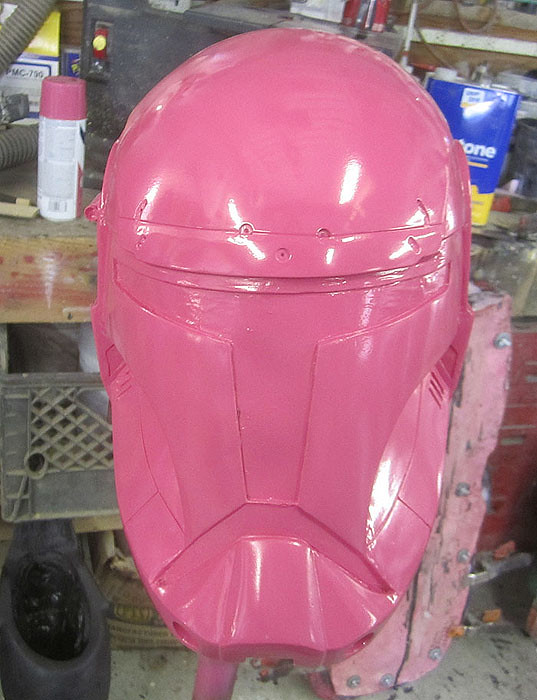
Here's the faceplate assembled:

And here's the complete helmet:


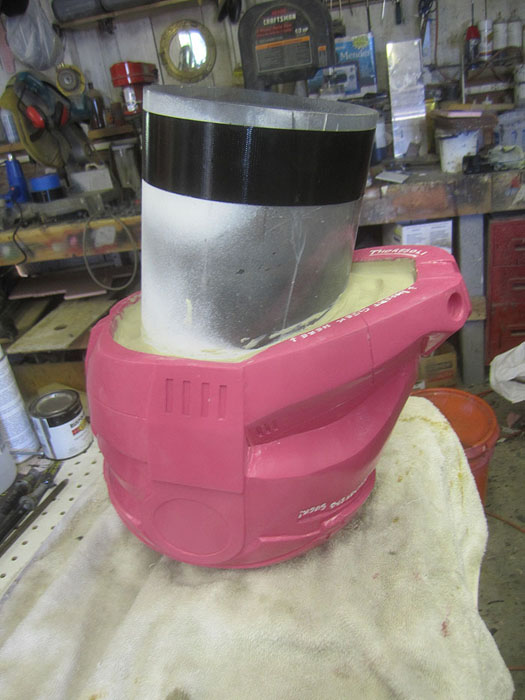
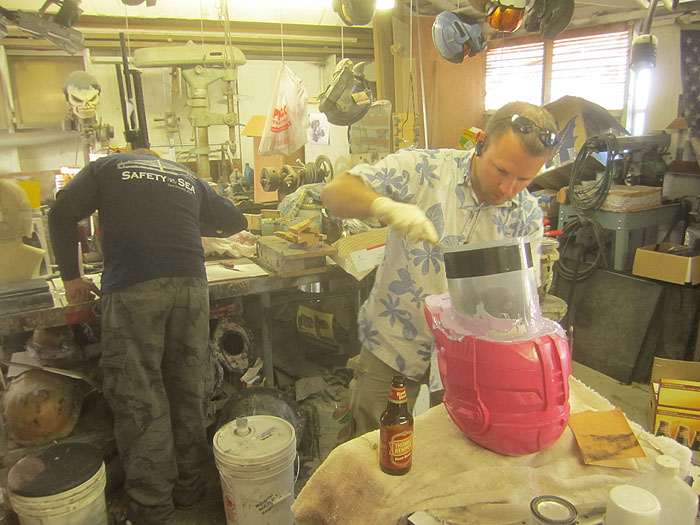
When I'd finished the pep build, I started noticing things I didn't like about the general shape of the helm. I cut the ears off and replaced them with a pair cut from sheet styrene, then cut off most of the dome and grafted the rest of the bucket onto a child-sized skateboard helmet. With all of the styrofoam removed, there's plenty of room inside the kid's helmet and it has a better profile.
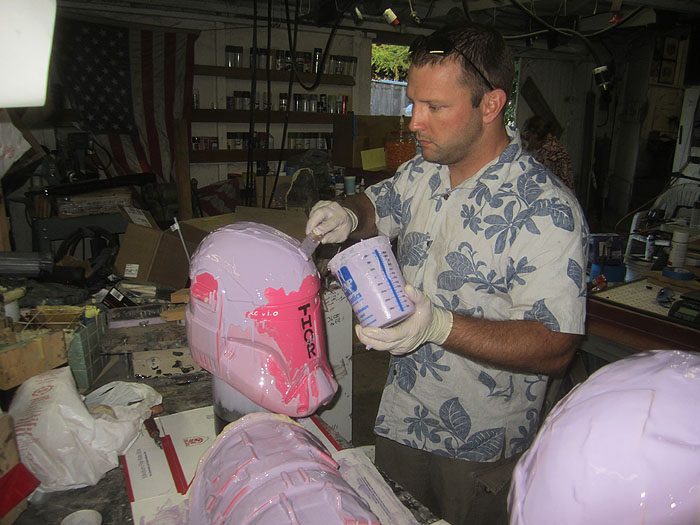
Once the paper was backed up with a few layers of resin, the next step was start with the bondo to straighten out the shape:
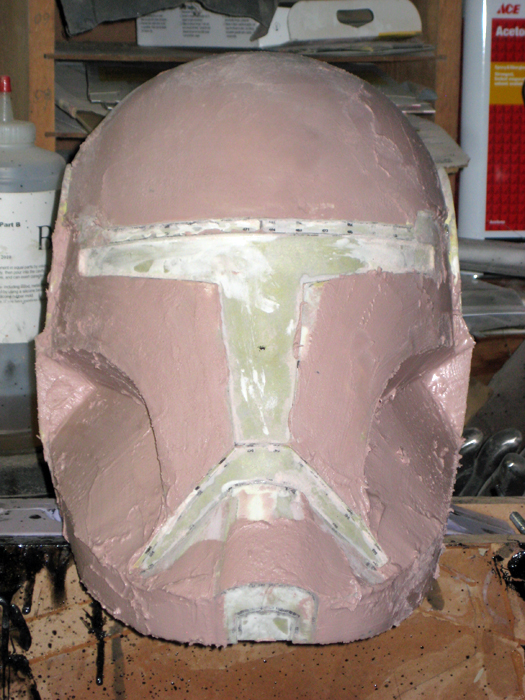
After a few cycles of bondo-sand-repeat, I decided to spray the whole deal with black primer to see how it looks. Here's the current state of it as it sits in my workshop right now:
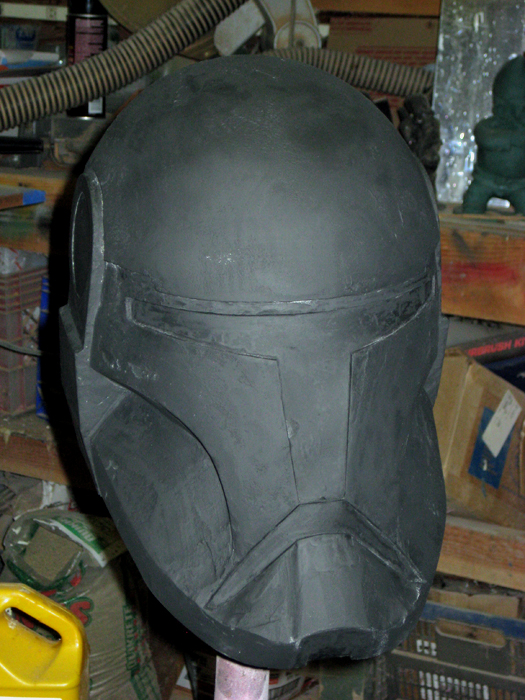
Hopefully I'll have this thing ready to mold sometime sooner than later. For now I still have a lot of smoothing to do before I score all of the seam lines into the surface and add all of the little fasteners and greeblies. I was really making progress today, but then my Dremel croaked (it's only ten or twelve years old, but it's had a hard life) and I turned to other projects for a while.
Comments welcome.
Here's the faceplate assembled:

And here's the complete helmet:


When I'd finished the pep build, I started noticing things I didn't like about the general shape of the helm. I cut the ears off and replaced them with a pair cut from sheet styrene, then cut off most of the dome and grafted the rest of the bucket onto a child-sized skateboard helmet. With all of the styrofoam removed, there's plenty of room inside the kid's helmet and it has a better profile.
Once the paper was backed up with a few layers of resin, the next step was start with the bondo to straighten out the shape:

After a few cycles of bondo-sand-repeat, I decided to spray the whole deal with black primer to see how it looks. Here's the current state of it as it sits in my workshop right now:

Hopefully I'll have this thing ready to mold sometime sooner than later. For now I still have a lot of smoothing to do before I score all of the seam lines into the surface and add all of the little fasteners and greeblies. I was really making progress today, but then my Dremel croaked (it's only ten or twelve years old, but it's had a hard life) and I turned to other projects for a while.
Comments welcome.

