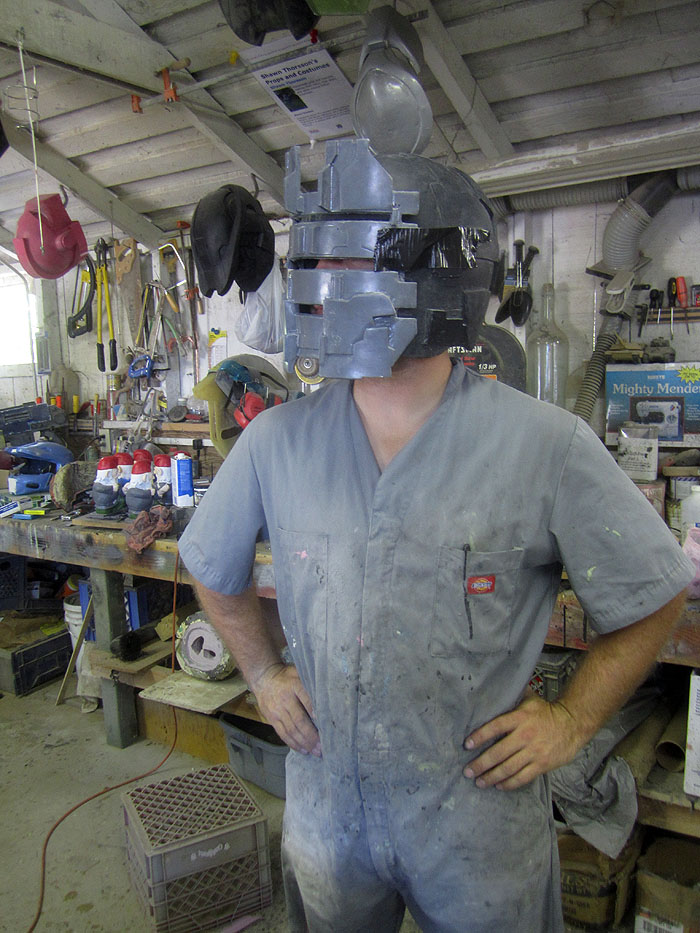
I started this project a couple of months ago and now I'm finally at a point where I'm willing to post pictures of it. Here's a reference:

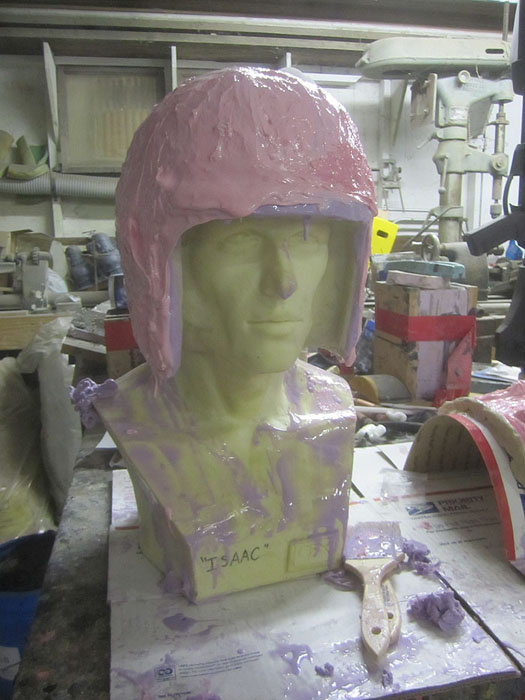
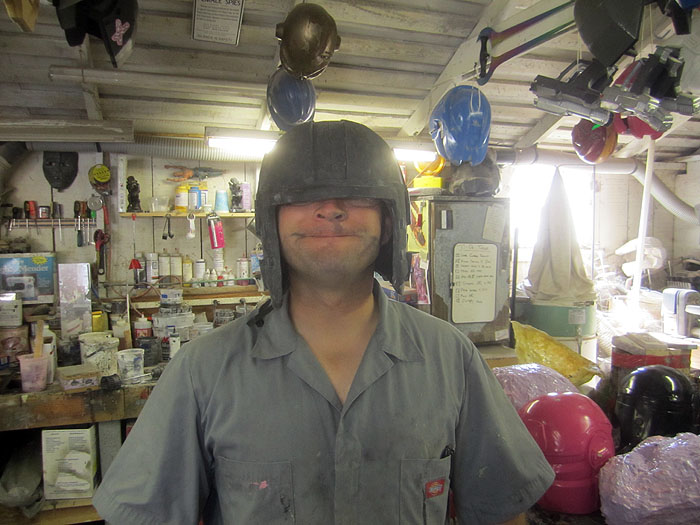
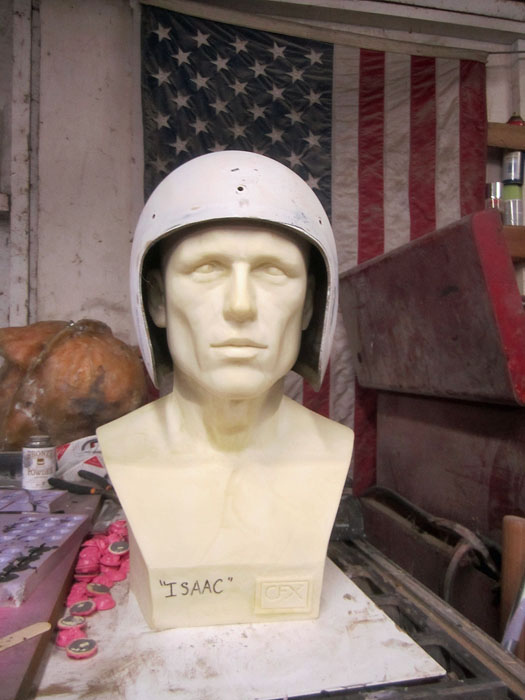
I've started with the helmet. In order to make sure I had a good dome shape to start with, I stripped the padding out of a child-sized, open-faced motorcycle helmet. With the padding removed, there's lots of room inside. Then I stuck it on top of a sculpting armature:
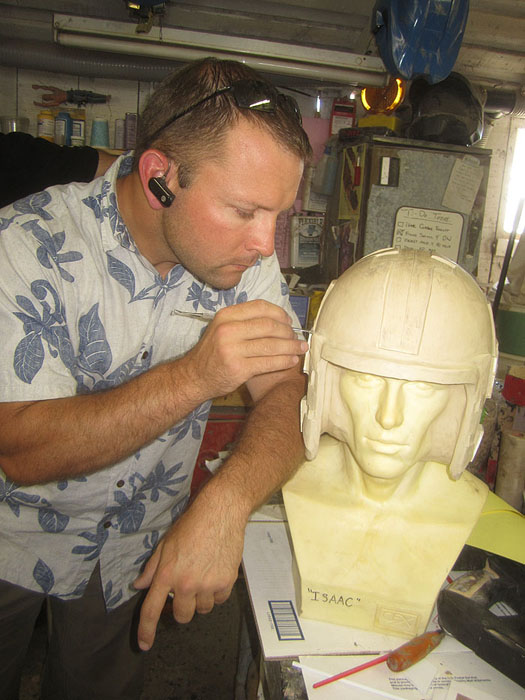
Over the top of the helmet I started sculpting the separate panels in clay:

Once I had roughed out a few of the general shapes, I cut some card stock to give me an idea of how to form up the faceplate:

Using the card stock as a template, I formed the faceplate by heating up some thick styrene sheet and forming them over the side of a bucket to get a uniform curve. Here's the beginning:

The whole thing was formed with two layers of 1/8" styrene for a base, then a variety of details cut from thinner sheet stock. I also used a bit of bondo here and there to fill in some spots and smooth things out. Here's the result with a coat of primer:

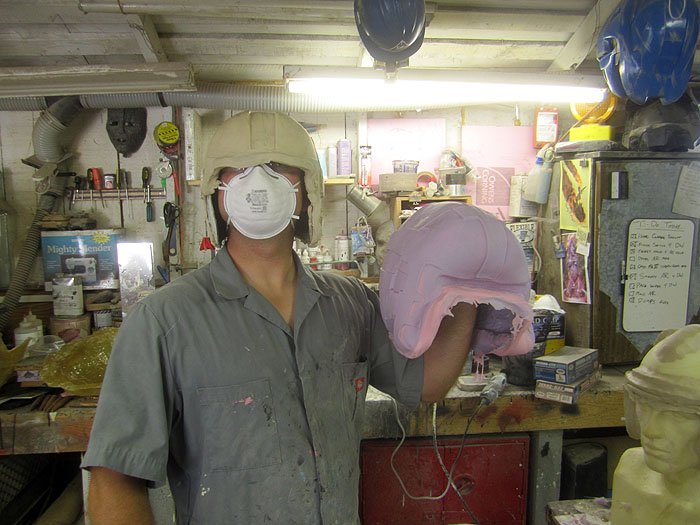
In order to make it shiny and smooth, I went ahead and sprayed it with gloss pink:
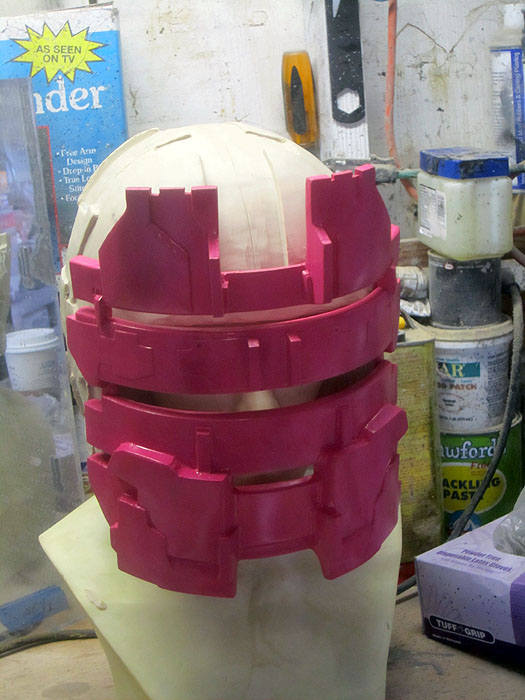
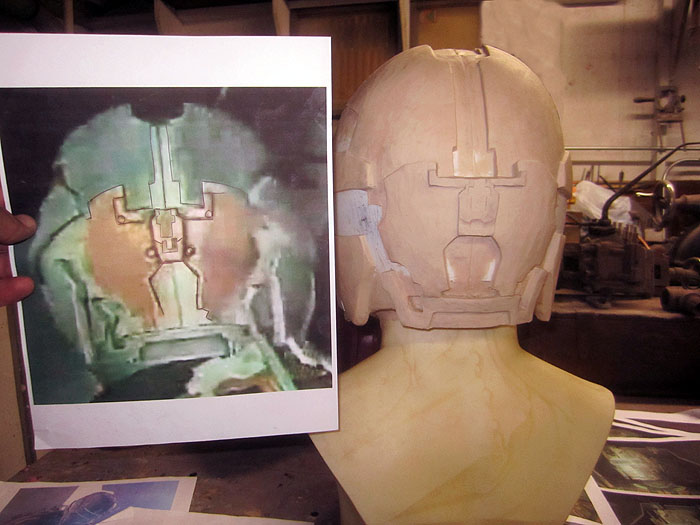
I also continued to refine the details at the back of the helmet:
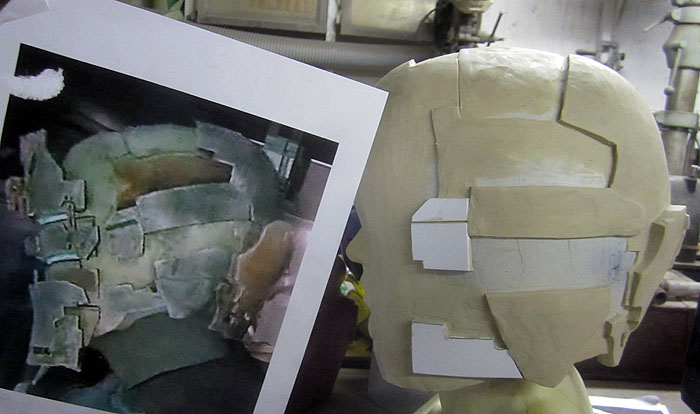
The sides too:
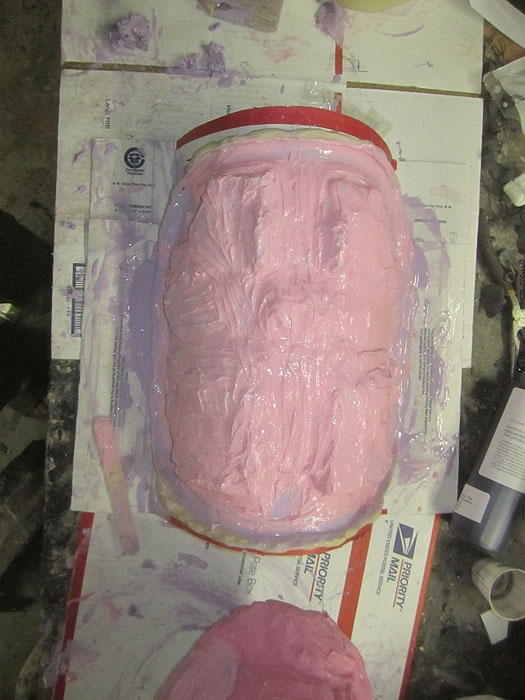
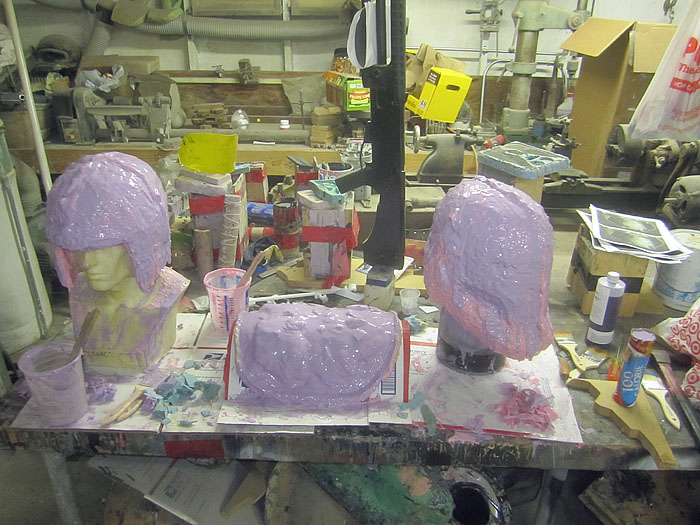
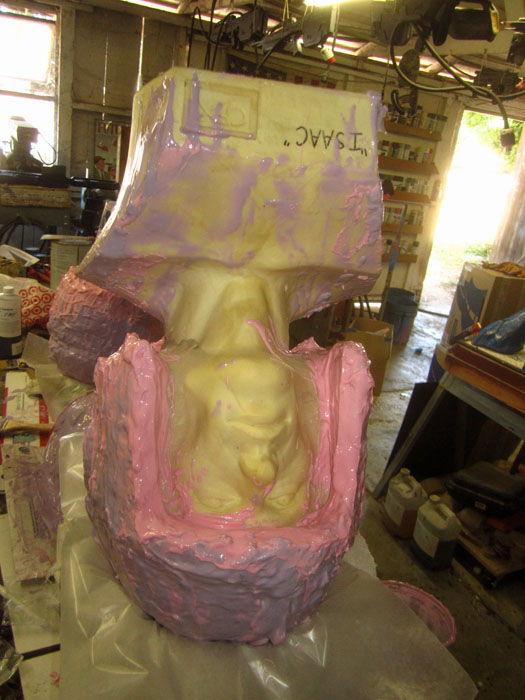
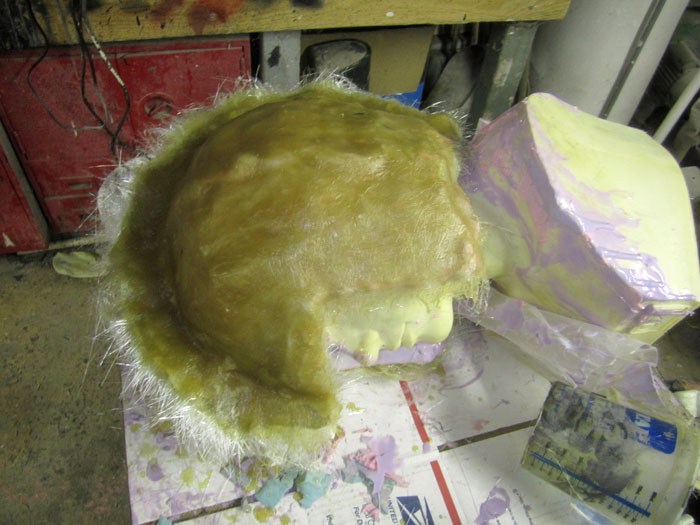
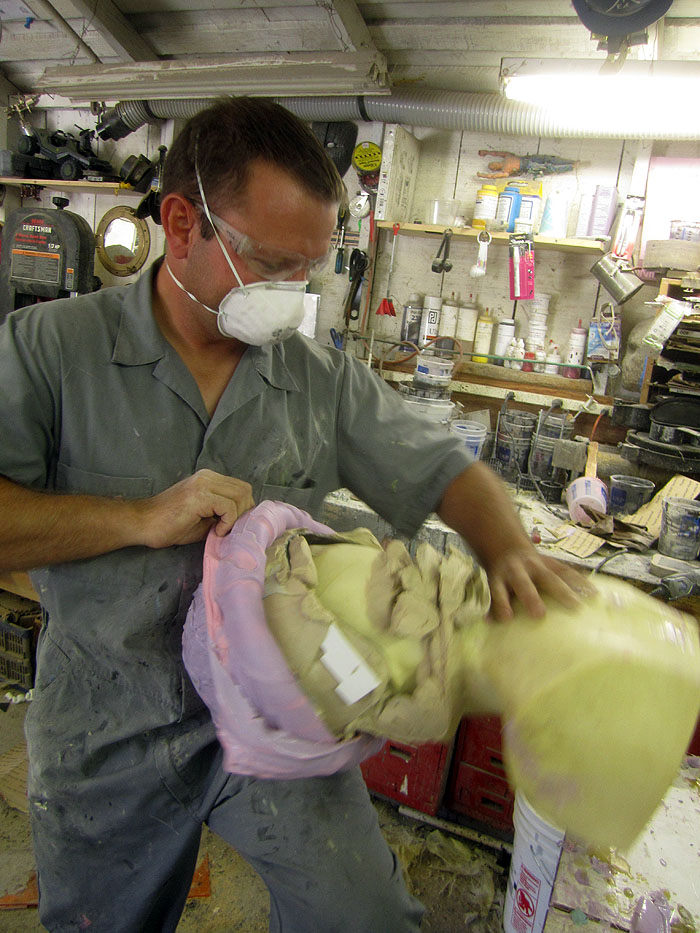
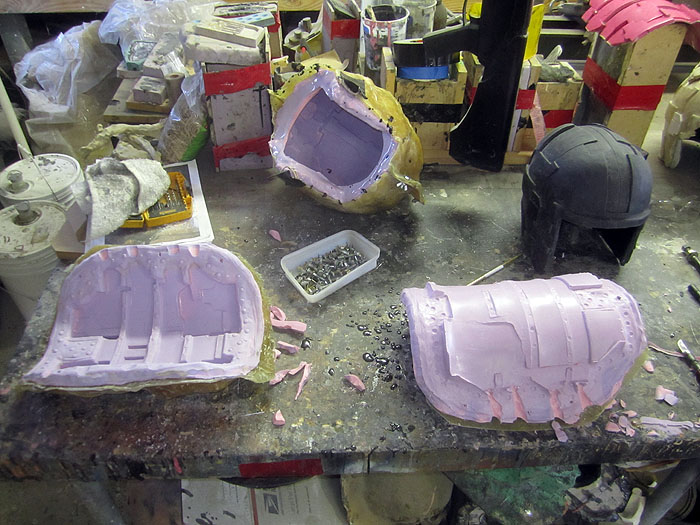
I've still got a bit of tweaking left to do, but then it'll be time to mold this guy.
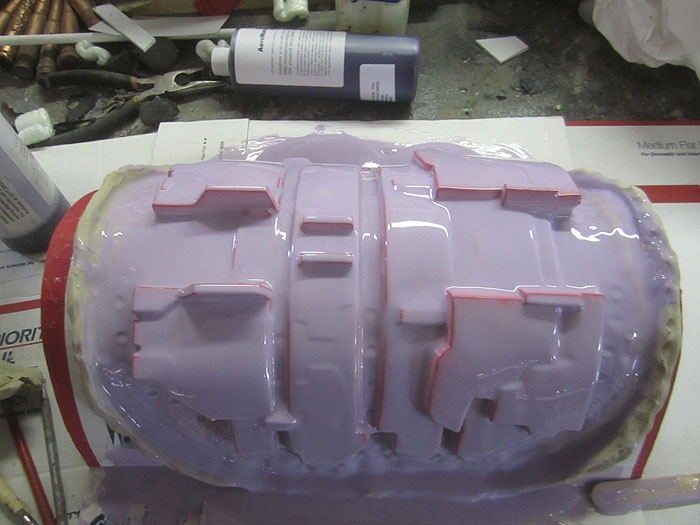
The plan is to rotocast the dome and cast the faceplate separately. This way the helmet can be smaller and more form-fitting while still making it possible to get your head in and out.
I'm also planning on vacforming the bulk of the other parts of the costume with resin cast detail parts as needed.
Stay tuned...
I've started with the helmet. In order to make sure I had a good dome shape to start with, I stripped the padding out of a child-sized, open-faced motorcycle helmet. With the padding removed, there's lots of room inside. Then I stuck it on top of a sculpting armature:
Over the top of the helmet I started sculpting the separate panels in clay:
Once I had roughed out a few of the general shapes, I cut some card stock to give me an idea of how to form up the faceplate:
Using the card stock as a template, I formed the faceplate by heating up some thick styrene sheet and forming them over the side of a bucket to get a uniform curve. Here's the beginning:
The whole thing was formed with two layers of 1/8" styrene for a base, then a variety of details cut from thinner sheet stock. I also used a bit of bondo here and there to fill in some spots and smooth things out. Here's the result with a coat of primer:
In order to make it shiny and smooth, I went ahead and sprayed it with gloss pink:
I also continued to refine the details at the back of the helmet:
The sides too:
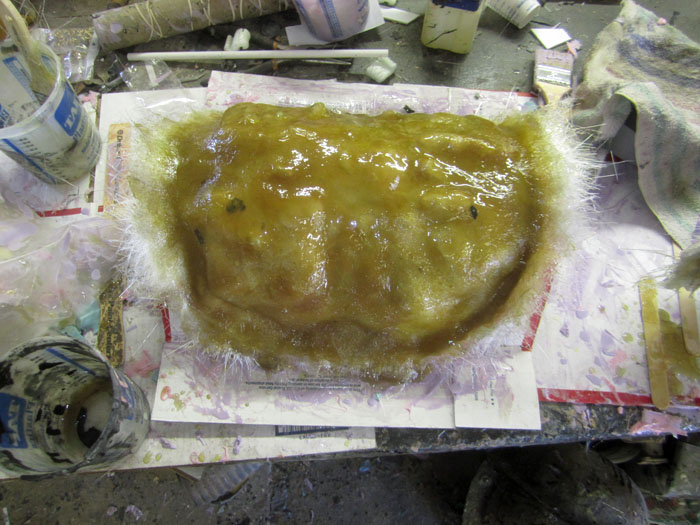
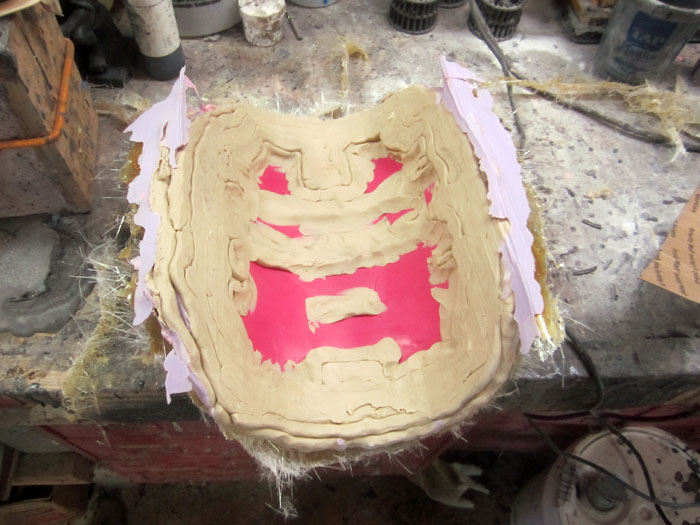
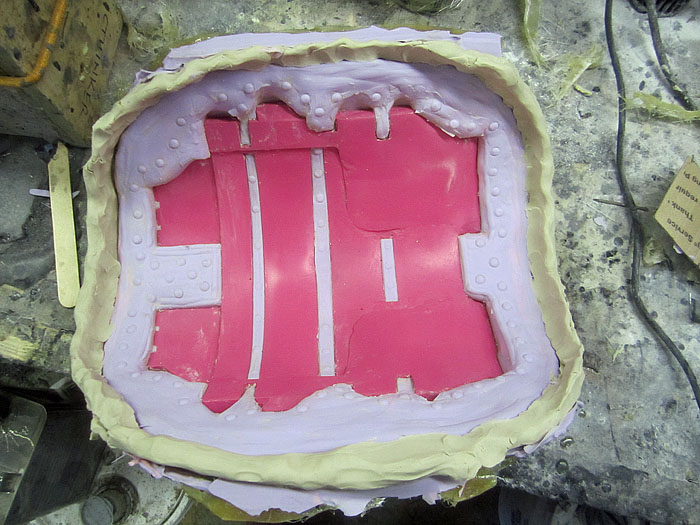
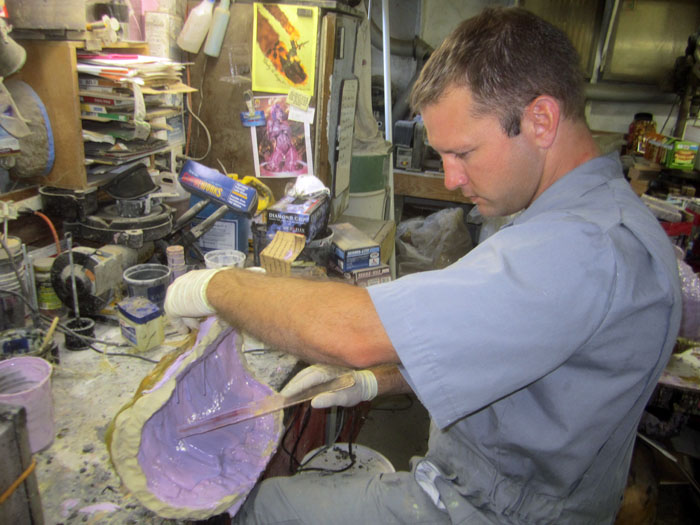
I've still got a bit of tweaking left to do, but then it'll be time to mold this guy.
The plan is to rotocast the dome and cast the faceplate separately. This way the helmet can be smaller and more form-fitting while still making it possible to get your head in and out.
I'm also planning on vacforming the bulk of the other parts of the costume with resin cast detail parts as needed.
Stay tuned...
Last edited: