WIP: The Fifth Element: Police Blaster Build Thread

chukzilla

Active Member
RPF PREMIUM MEMBER
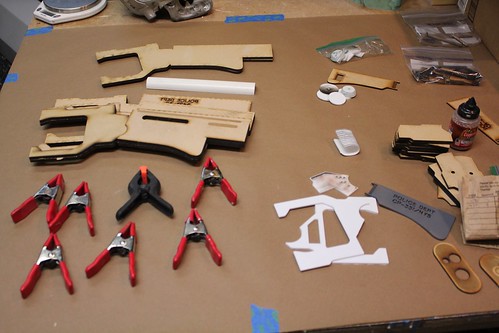
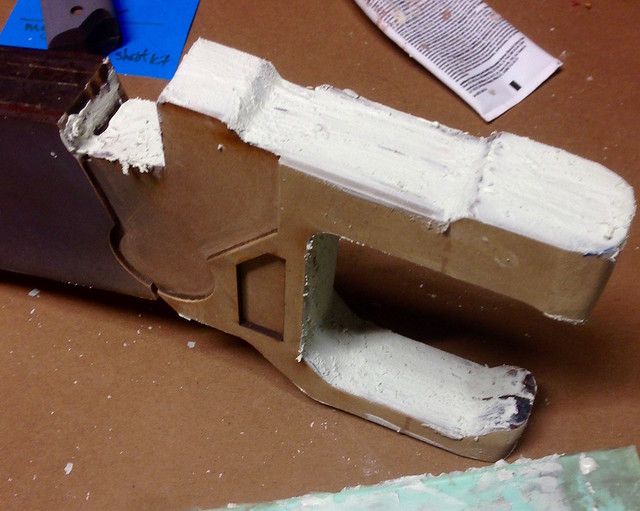
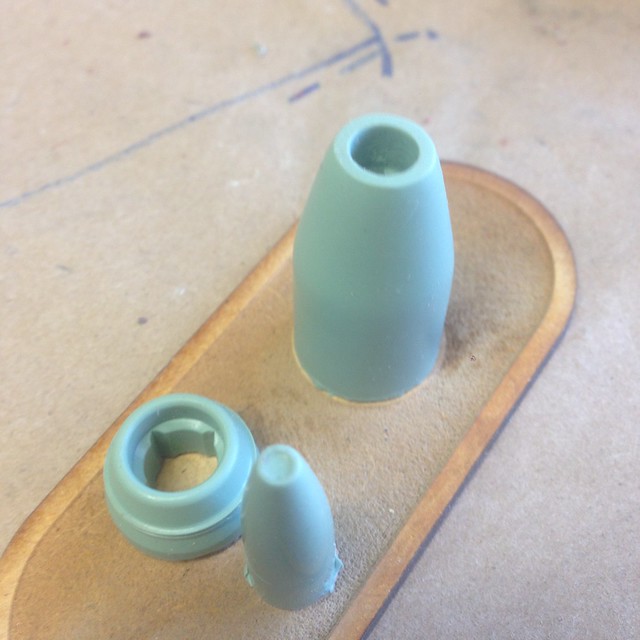
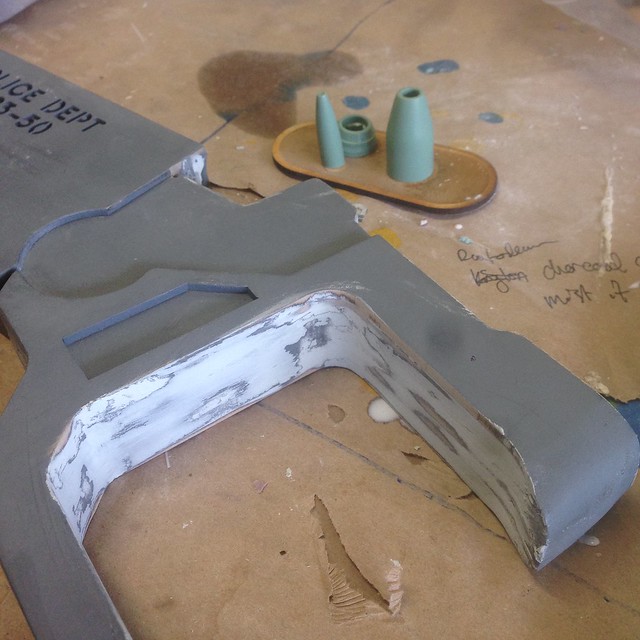
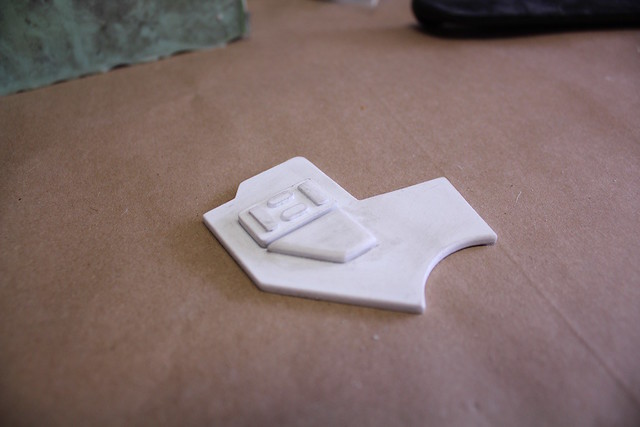
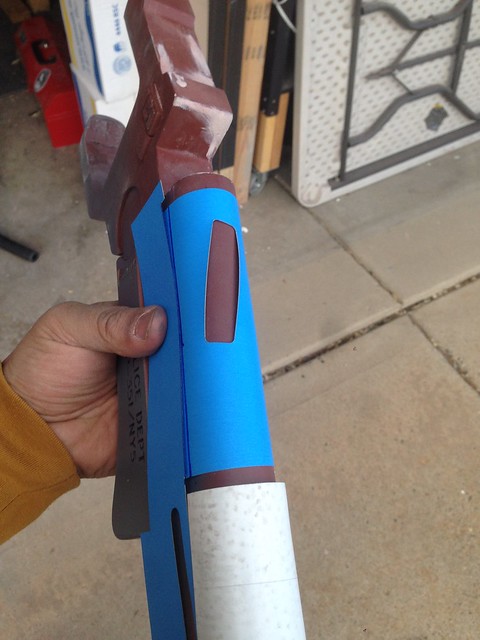
Starting a scratch build for one of my favorite weapons in Science Fiction. Ye Olde Fifth Element Police Blaster.

Police Blaster.png

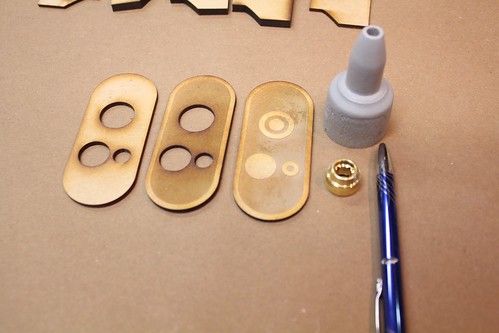
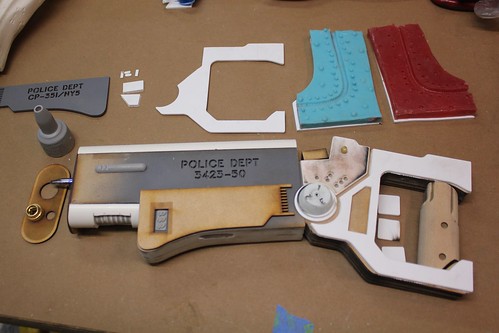
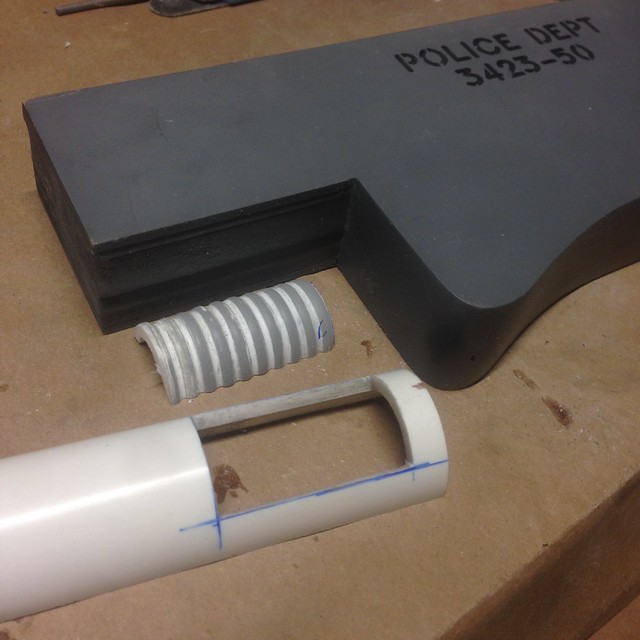
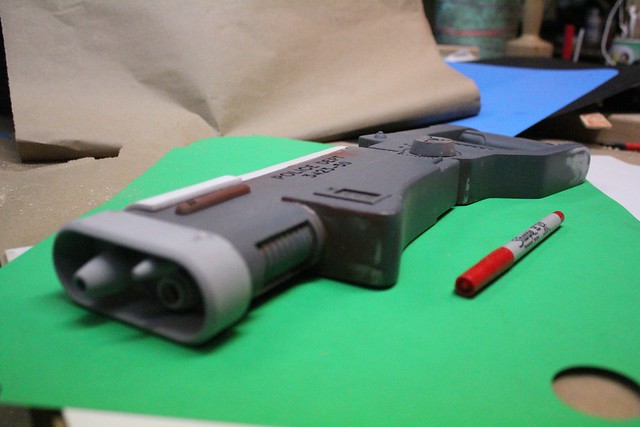
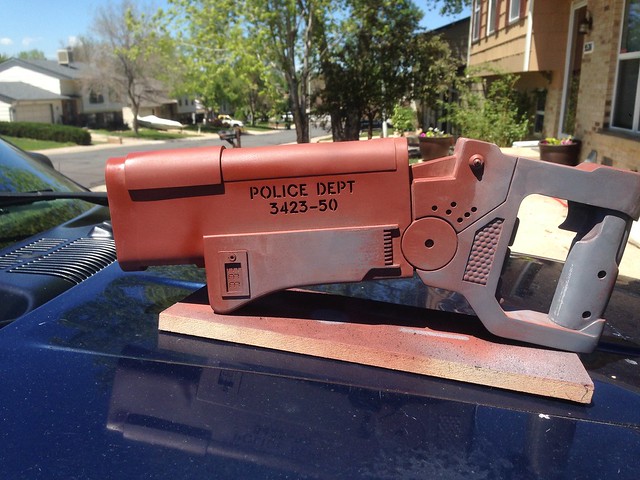
Started working on the greeblies and I have most of the body designed from screenshots but I'm having the damnedest time finding the font for the engraving.
My wife is a graphic designer who loves tracking down fonts but this one is eluding her. The 3's and the 5's are very distinctive. Clearly it's been id'd and used before but I'm coming up blank. Anyone know or remember what they used?

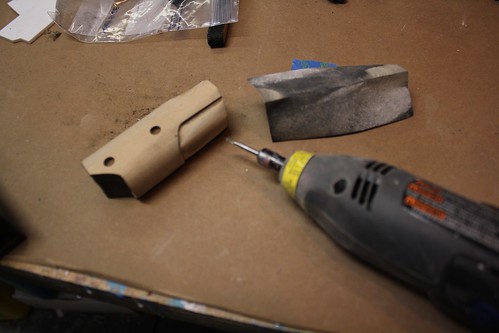
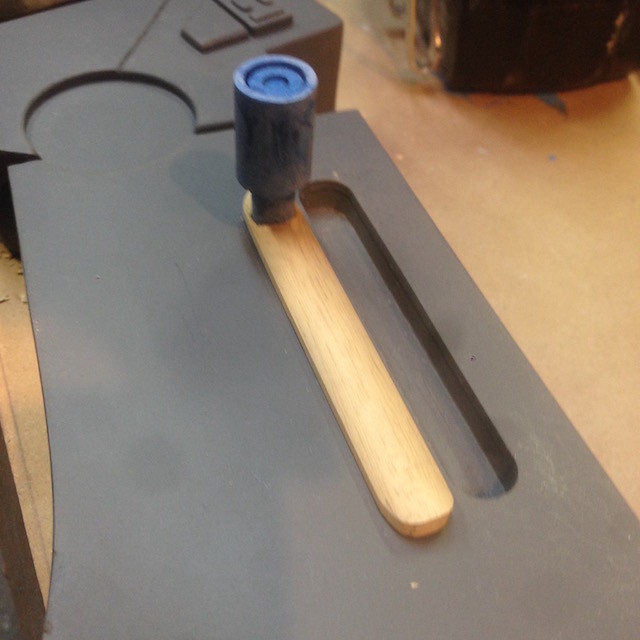
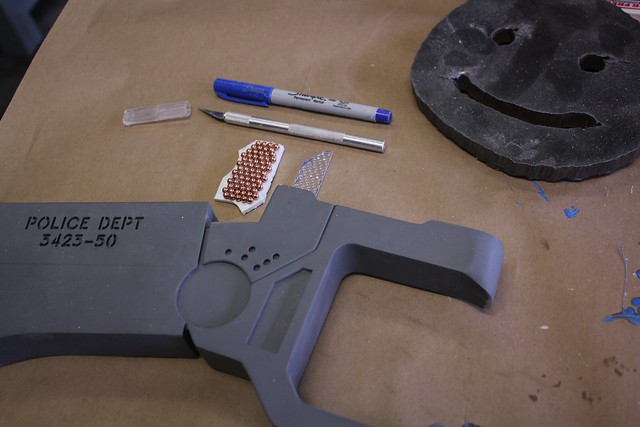
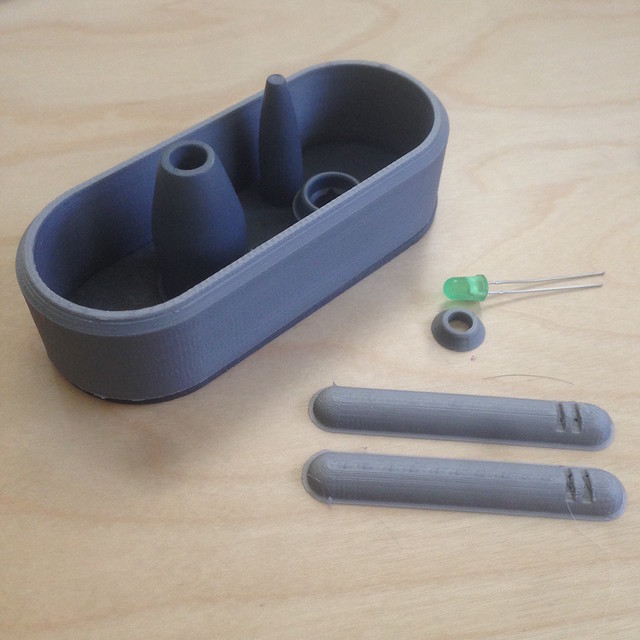
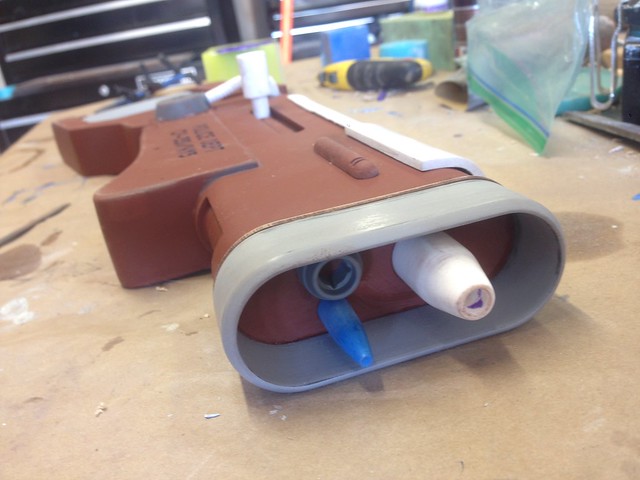
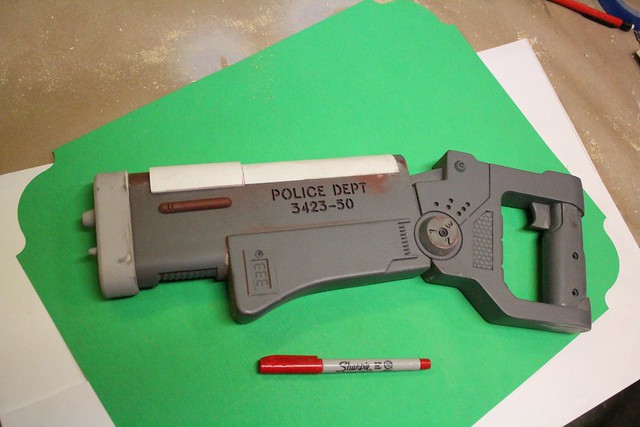
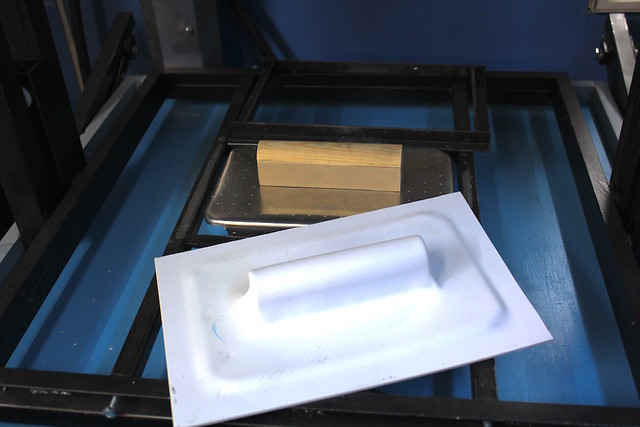
WIP Update: Built templating files for cutting. Wondering if mastering for running leds is something I should consider.
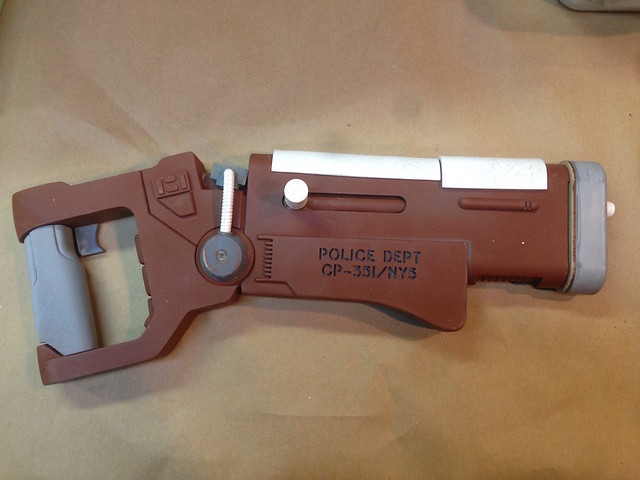
Screen Shot 2017-03-16 at 12.44.54 PM.png
 
Last edited:
Re: WIP: The Fifth Element: Police Blaster Build - Temporary Font Chosen

Settled on Cennerick Extra Bold for now. I'll have to manually 'stencilify' them. Finished up build templates. Illustrator is hard.
 
Gotta say, for all the love the Fifth Element gets, I have never seen anyone even attempt to build one of these! Pod Guns and Multipasses (not entirely unfairly) seem to get all the attention. Best of luck; I'll be following this one!
 
Gotta say, for all the love the Fifth Element gets, I have never seen anyone even attempt to build one of these! Pod Guns and Multipasses (not entirely unfairly) seem to get all the attention. Best of luck; I'll be following this one!
Oh it's been done... morganthirteen here on the board did a couple different kits many, many years ago. And I believe Hollywood Collectibles Group did a licensed replica.

But it's always fun to see a fresh take on things. Looks like you're off to a nice start chukzilla :thumbsup
 
Last edited by a moderator:
Havent decided how to core the gun. Originally was just going to shop bot the handle and base, but... effort (mostly dragging out the planer to get the right width).
 

Glued and then bondo and repeat..

Waste mold to refine the greeblies.


Rinse and repeat

Right side detail. Scratch built out of styrene.

Bottom detail.

Dowel rods and washers.

BB's and glue to make a vacuformed detail

Used Tinkercad, Fusion 360 to make these parts.

Test fitting for styrene detail.

Test fit.

Final assembly fitting before molding right side.

Final assembly left side.

Vacuformed and cut to fit detail.


Last Prime before rubber!
 
Just a reminder, this is not an interest or sales thread so let's keep those posts out of this thread, thanks.
 
Thanks for the feedback guys, it really means a lot. When you're starting out it's like throwing stuff out into a black hole and waiting for at least an echo.

I'll post a run thread once I have the two build-ups done.

Molding pics coming soon.
 
This thread is more than 6 years old.

Your message may be considered spam for the following reasons:

  1. This thread hasn't been active in some time. A new post in this thread might not contribute constructively to this discussion after so long.
If you wish to reply despite these issues, check the box below before replying.
Be aware that malicious compliance may result in more severe penalties.
Back
Top