Yes, mine is also Xcoser. I was sure, but I still don't know all the rules around here yet, so I didn't want to say the brand.
I was actually fine with how the back was setup. I understand the need for it on the regular size. Otherwise you would never get your head in it. I like how tight it fit actually, it fits me almost like the Hero prop fits Pratt, and the bottom cutout accommodates my very substantial pony-tail. Although if I choose to keep it around, I may cut the back completely out and redo it in foam for a proper build and sizing.
My mask also scraped me up, but worse than just some neck scraping. My ear is bruised and has a small half inch cut on the back. Also, my mask has a tear where the person who cut the neck area went too deep and it is progressively getting worse. I am currently trying to get the place I bought it from to find and send me a mask in better condition, but they seem intent on only providing partial refunds.
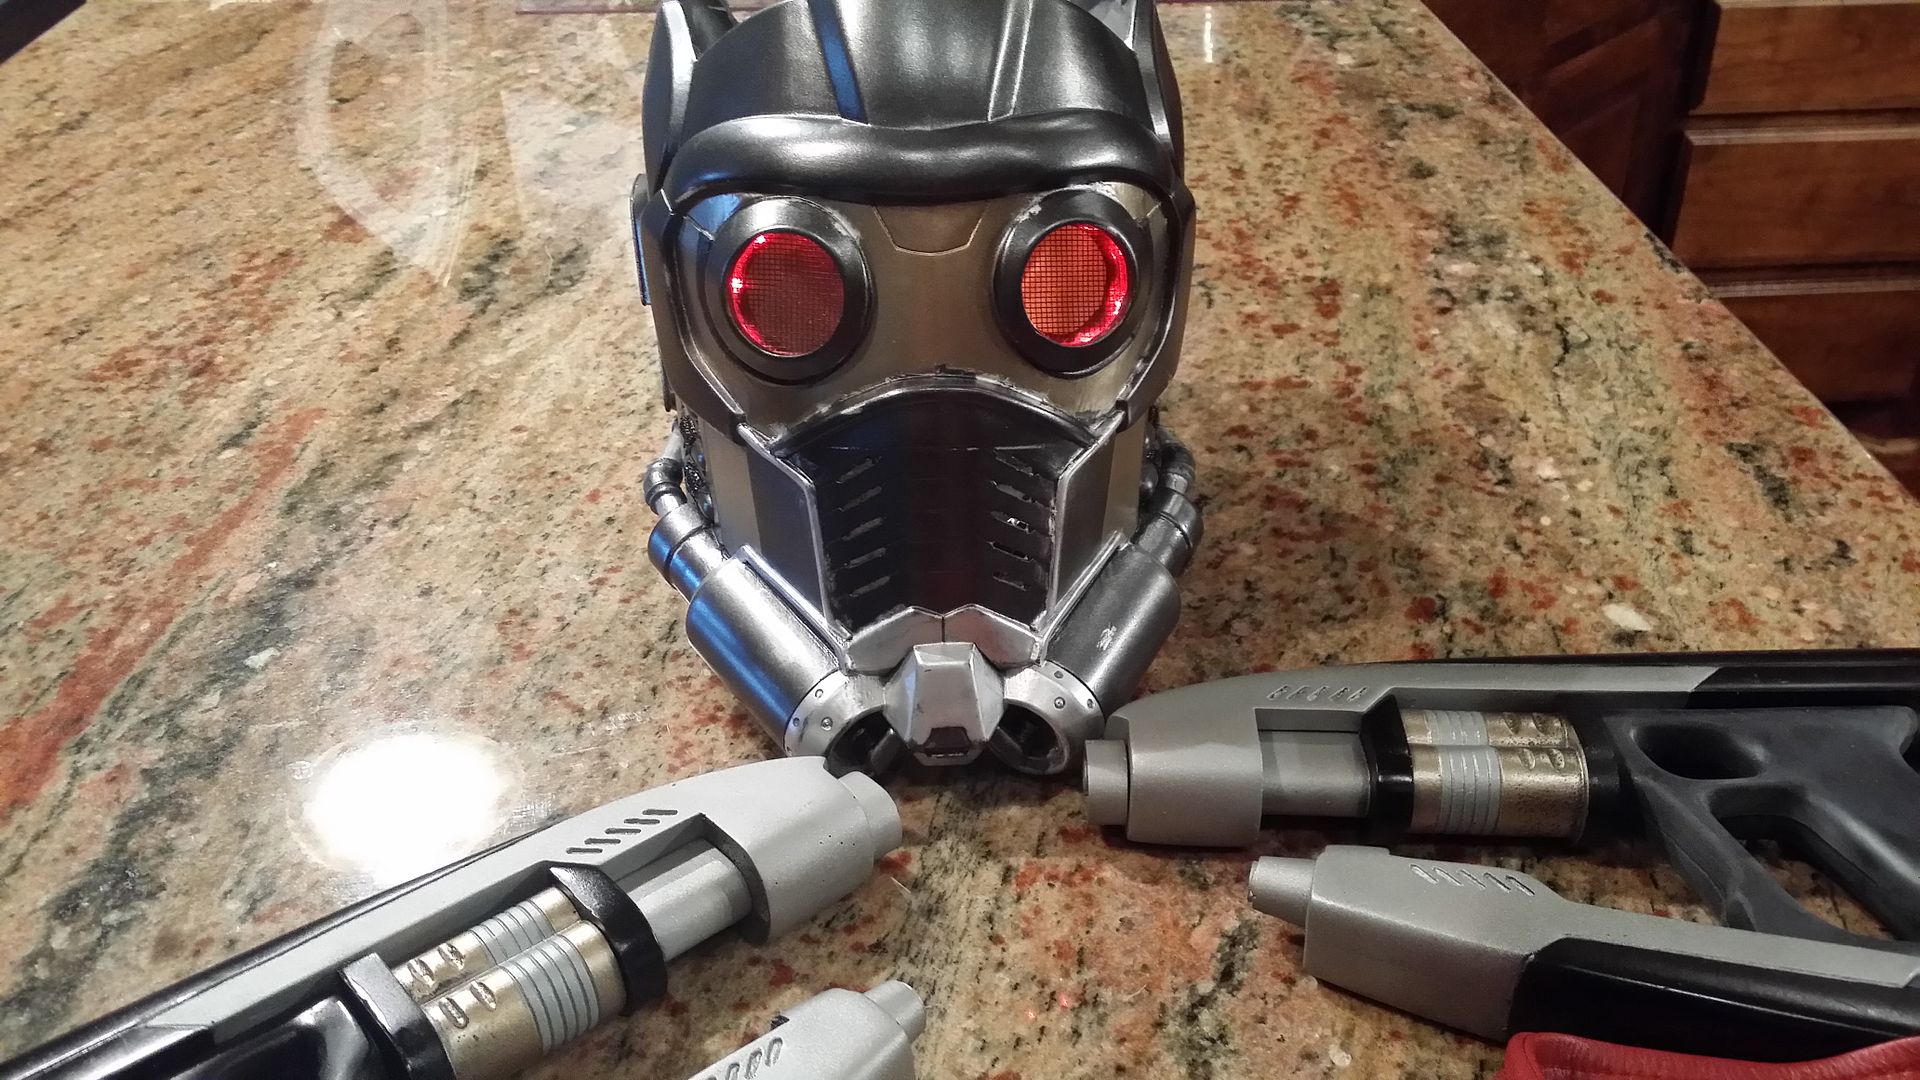
I used that Harbor Freight floor mat foam and taped it in with painters tape. I think it's half-inch thick and did the job very well. At least well enough for me to use regular red colored acrylic for the lenses. The electronic lenses would not mount correctly due to the middle ring being crooked in relation to the lenses. So they wouldn't fit flush. It wouldn't help anyways as you are right about the glow-glass not being appropriate for seeing and they pushed into my eyes like two half dollars.
Did cutting out the holes on the grill improve ventilation? I was considering something similar since mine fits tight and is somewhat like a sauna. I can only wear it for about a minute due to moisture build-up.
Also, how do you have the lenses set up in those pictures? If you don't mind sharing. Is that the glow-glass with some kind of mesh, or did you do something original?
PS- Thanks for being willing to talk to me. You're the first person to acknowledge and respond to my posts here. I'm from the 80's too.
")