Thorssoli, hit me up with a PM, if you have any left.
PM Sent and payment received.
If anyone else wants a kit, please post here and I'll PM you with the details.
This forum is intended for interest gauging and active runs. Due to the transient nature of this forum, please keep all research and ongoing discussion in one of our main forums so your information is not lost.
Only Premium Members can start a new run.
Thorssoli, hit me up with a PM, if you have any left.
Very interested, this looks stellar. Please PM me details.


like a kit :love
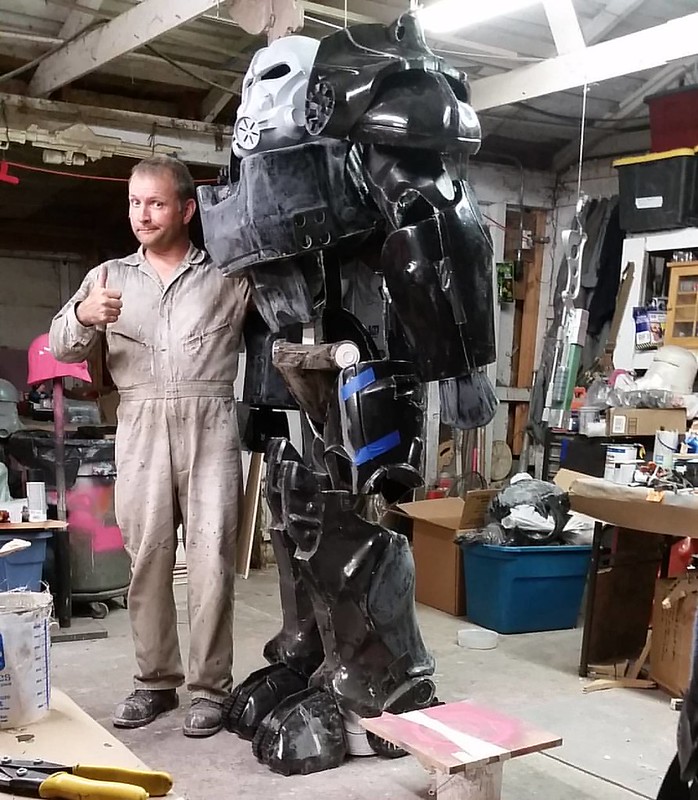
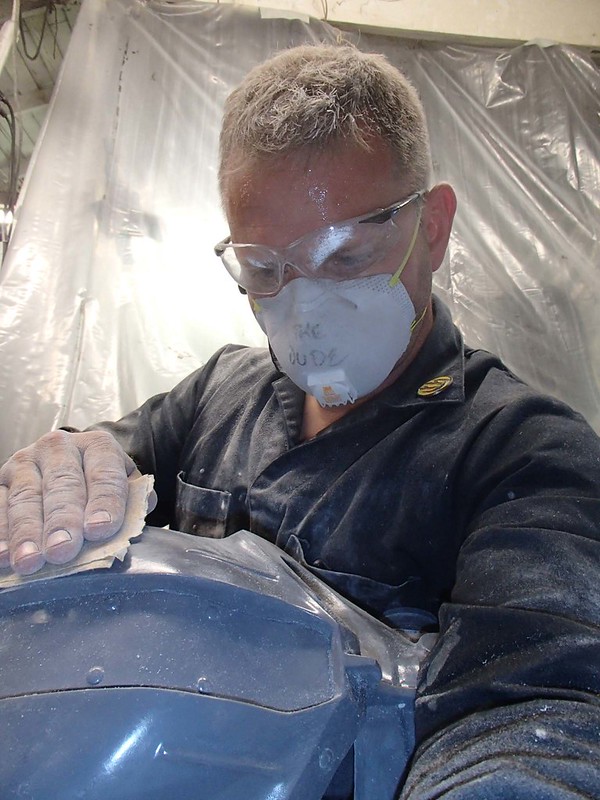
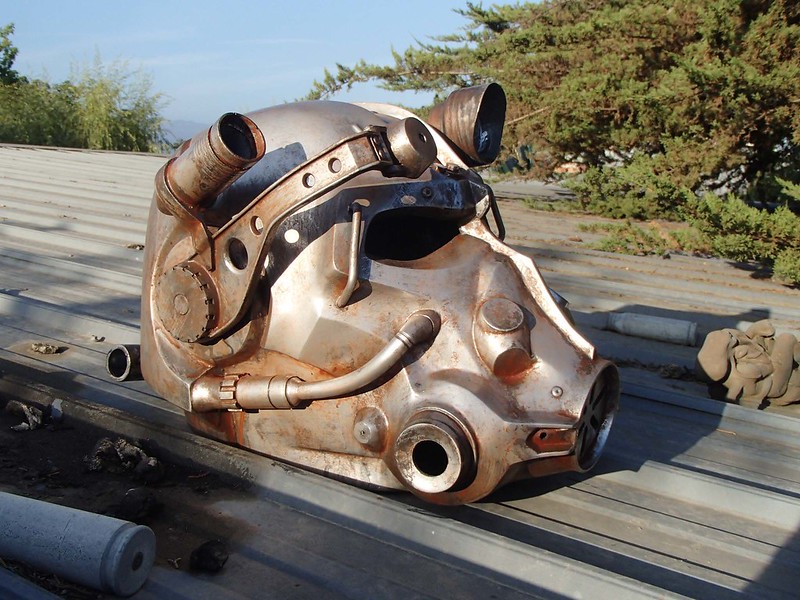
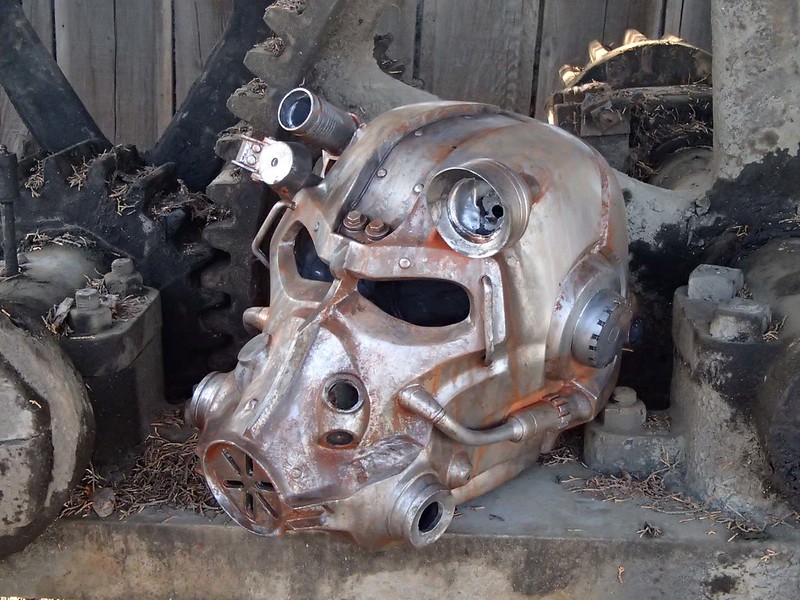
Ok, I want one of these. Going to have to get creative & dip into my firing Blade Runner blaster budget.If you've been following my build thread (link HERE) you may have been wondering, "how can I get me a piece of that thing?" Here's your chance...
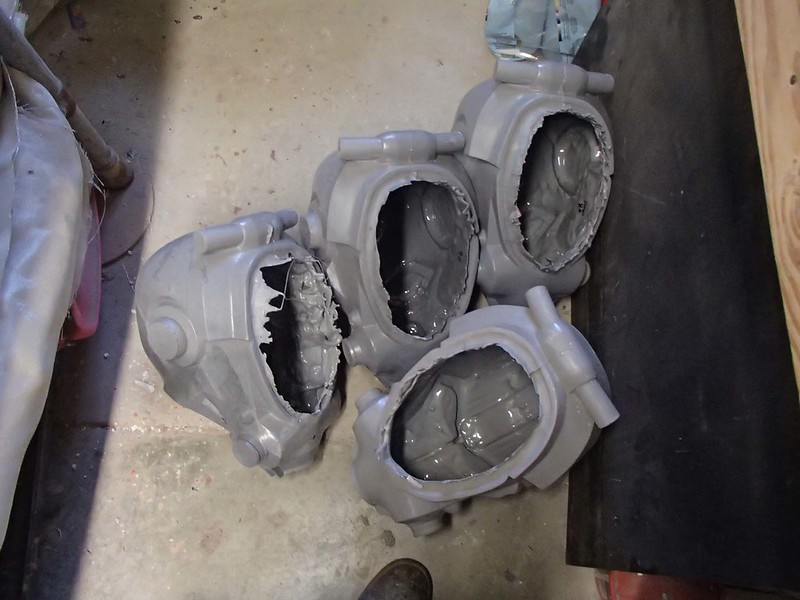
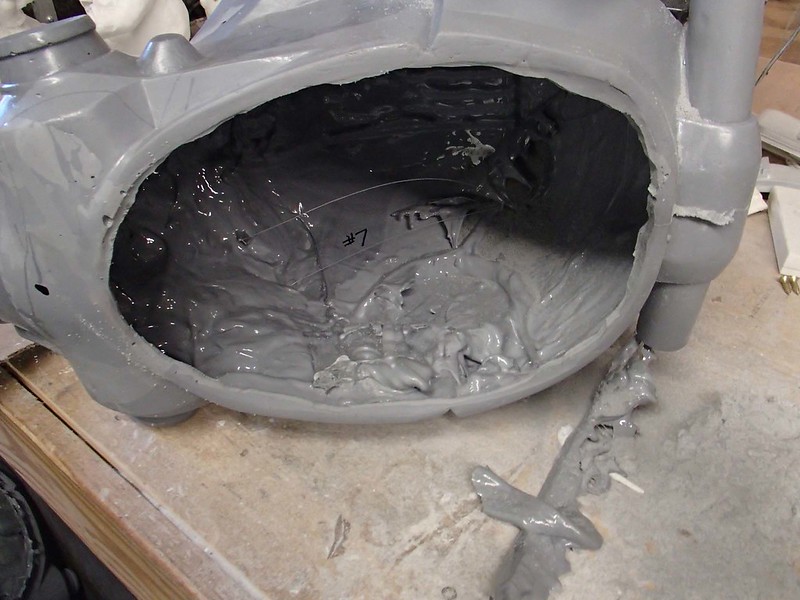
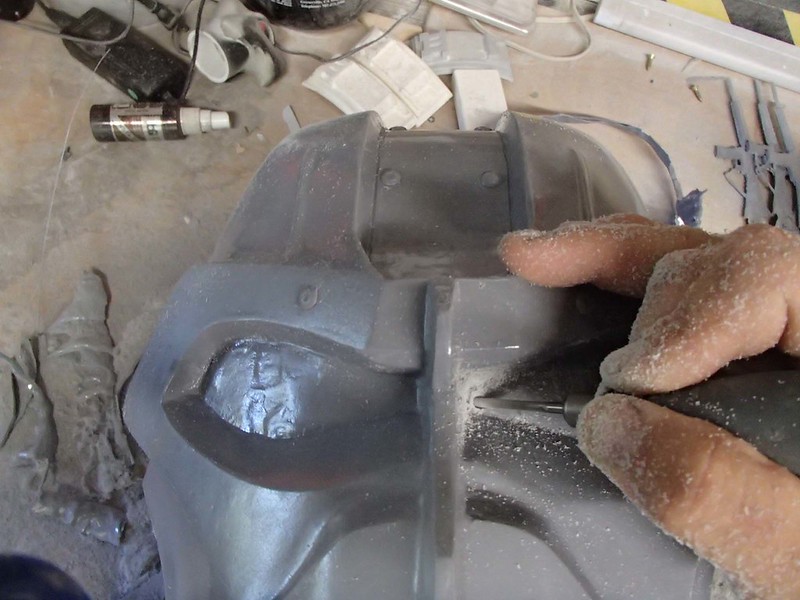
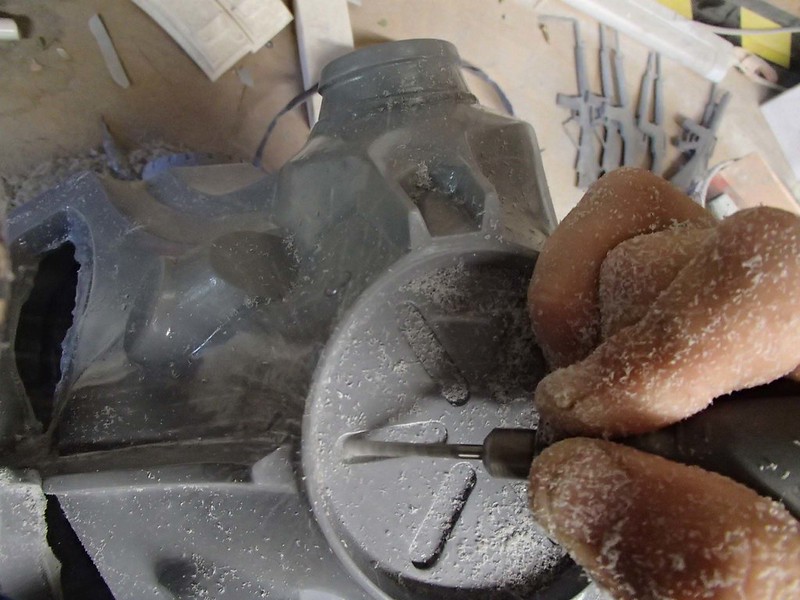
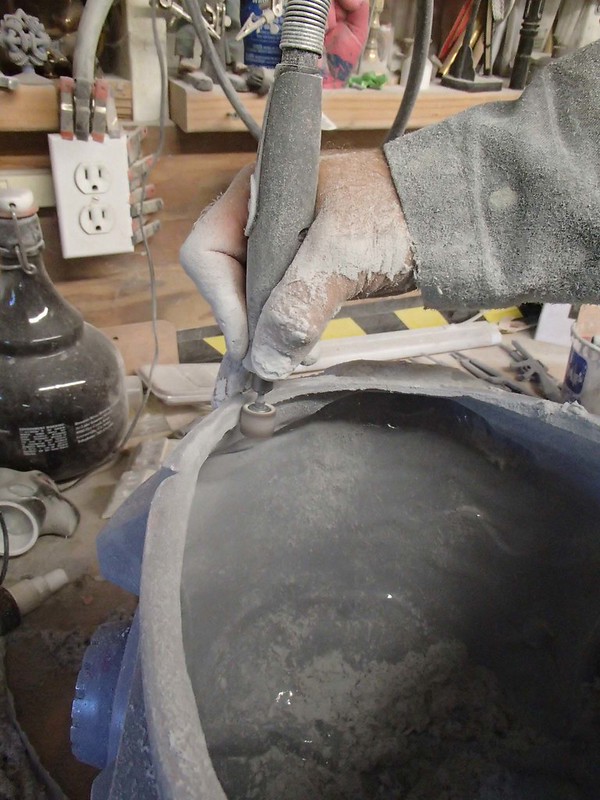
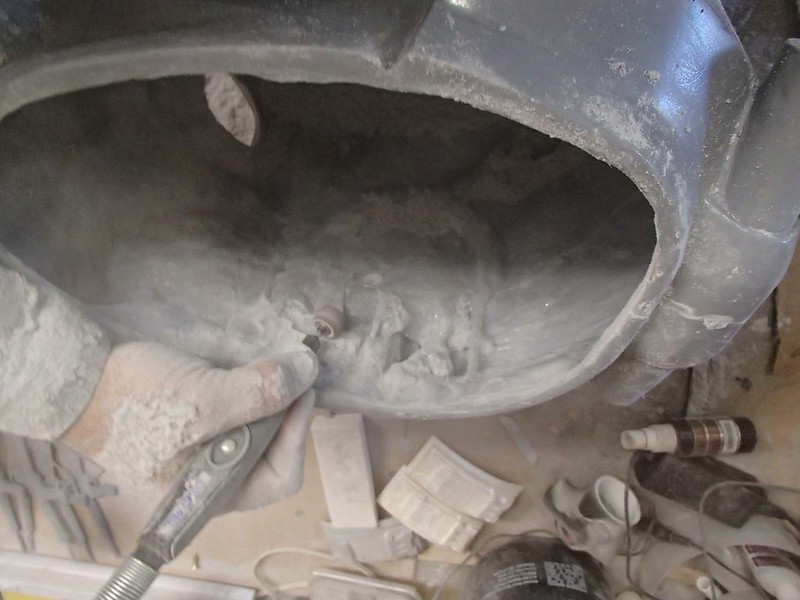
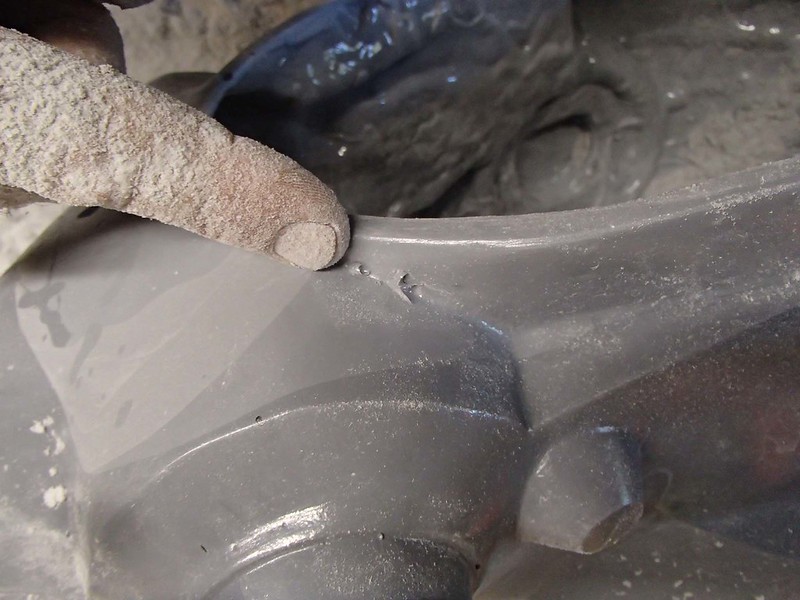
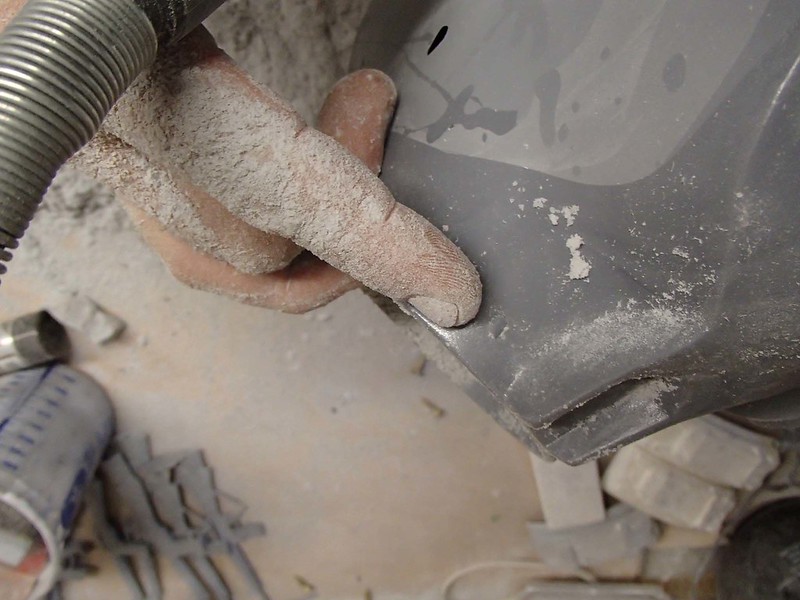
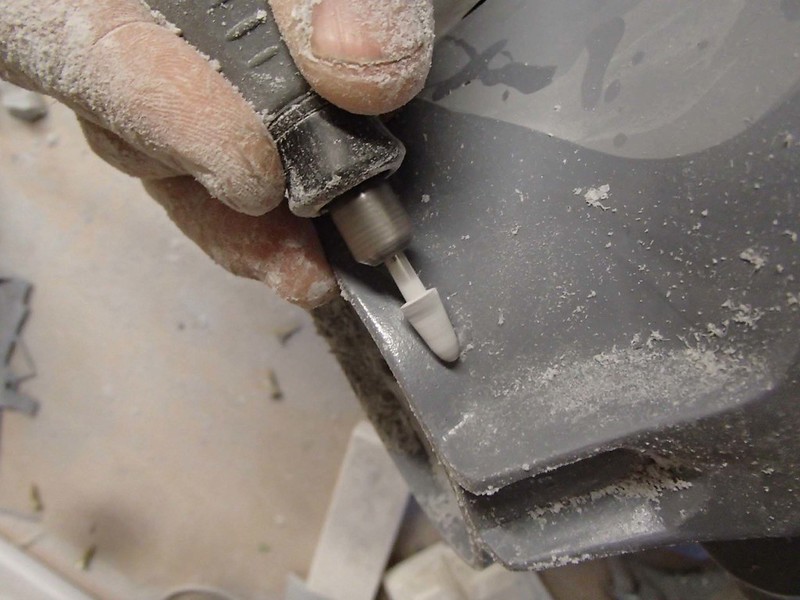
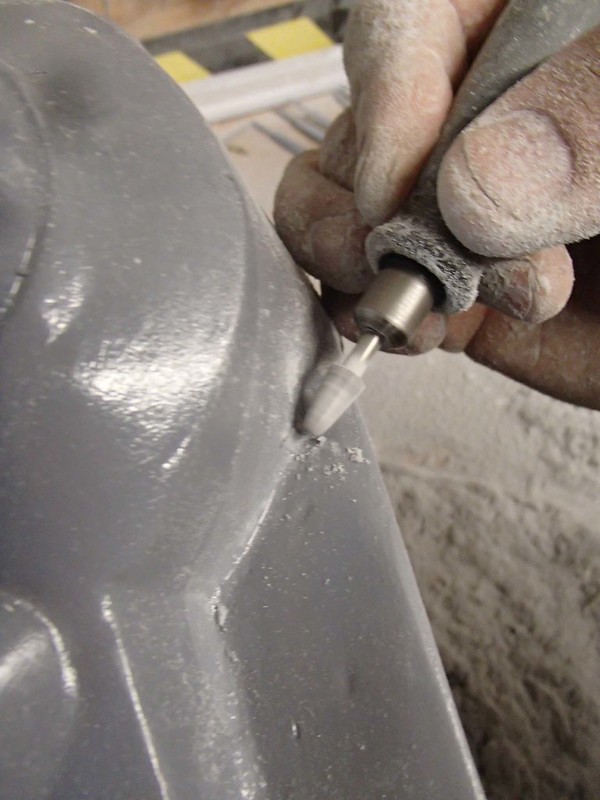
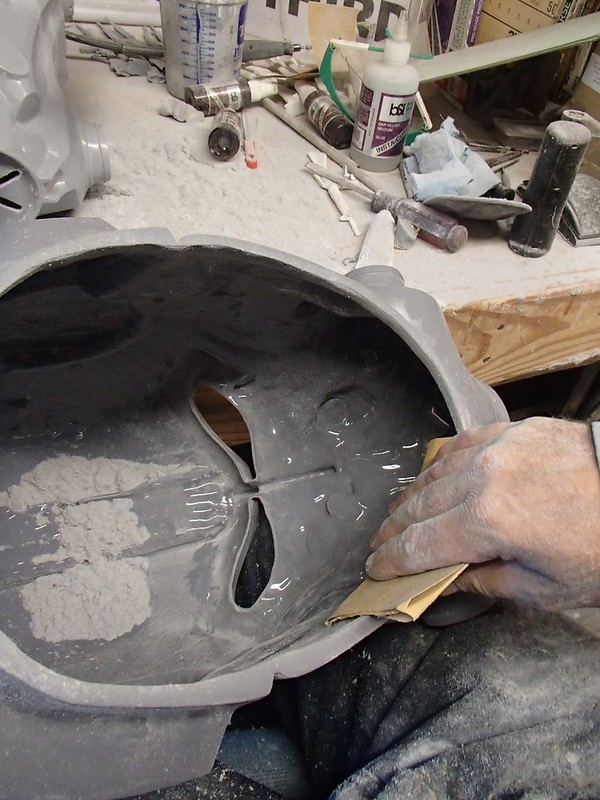
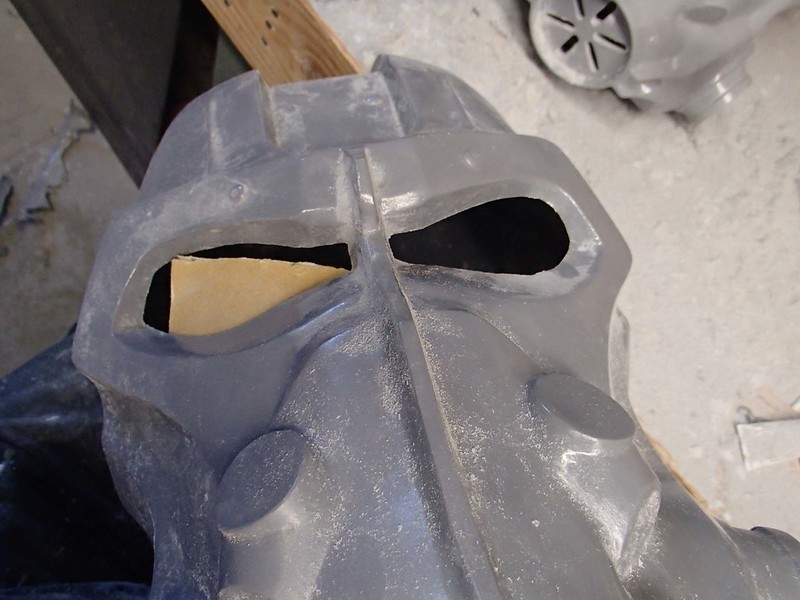
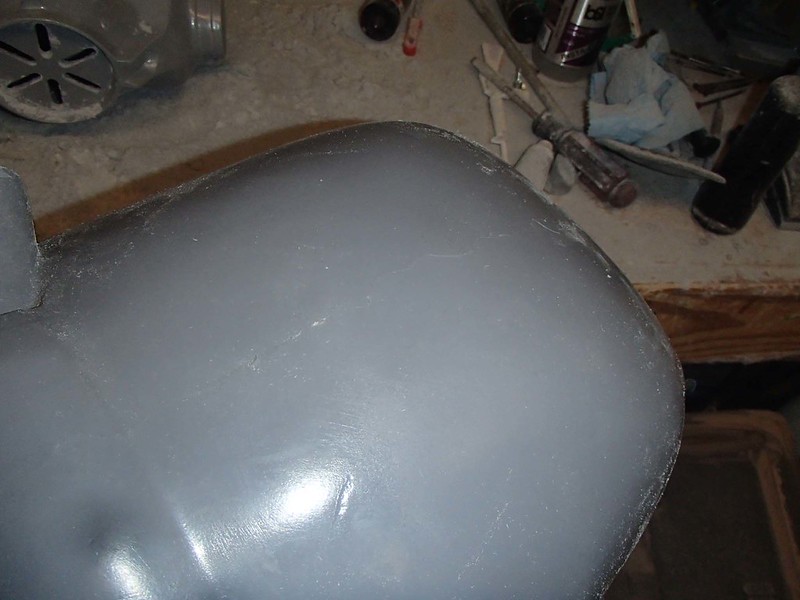
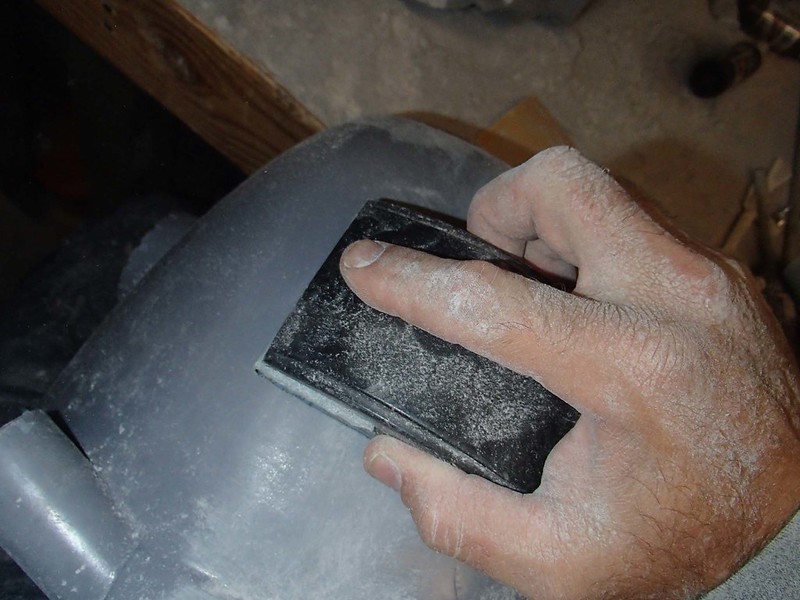
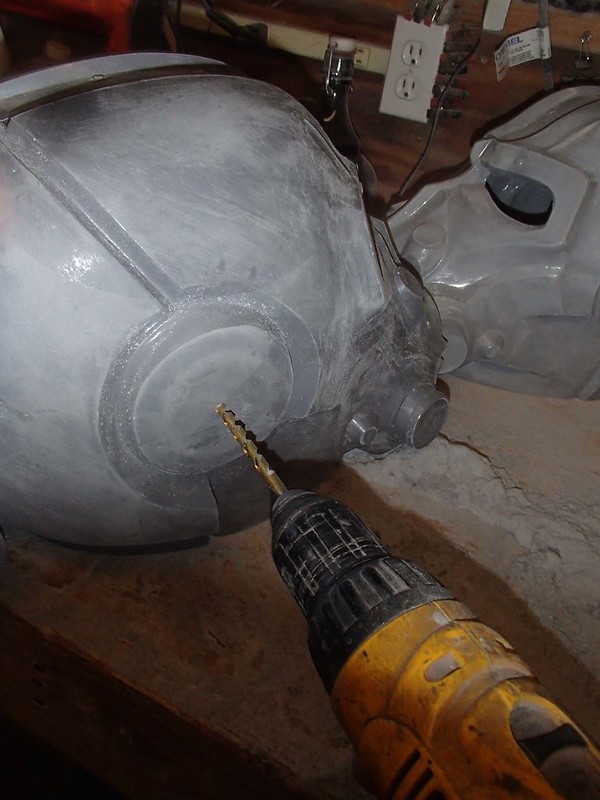
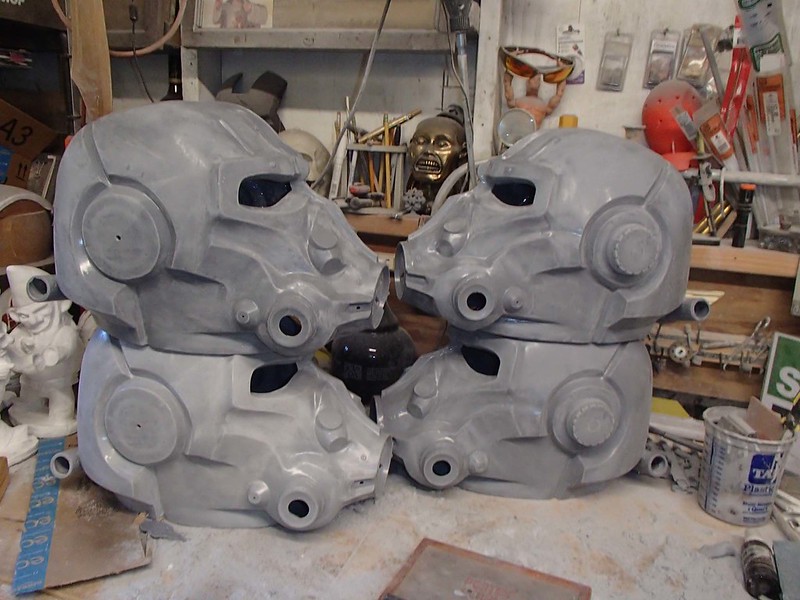
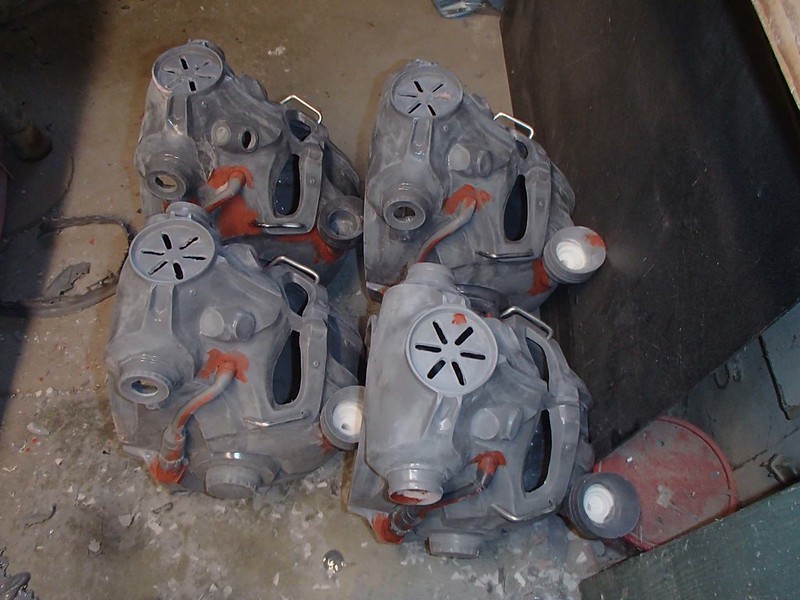
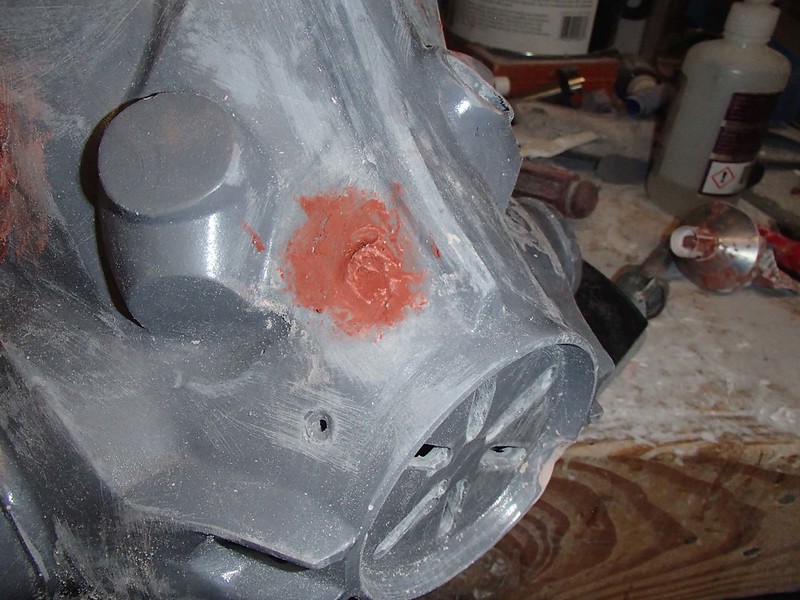
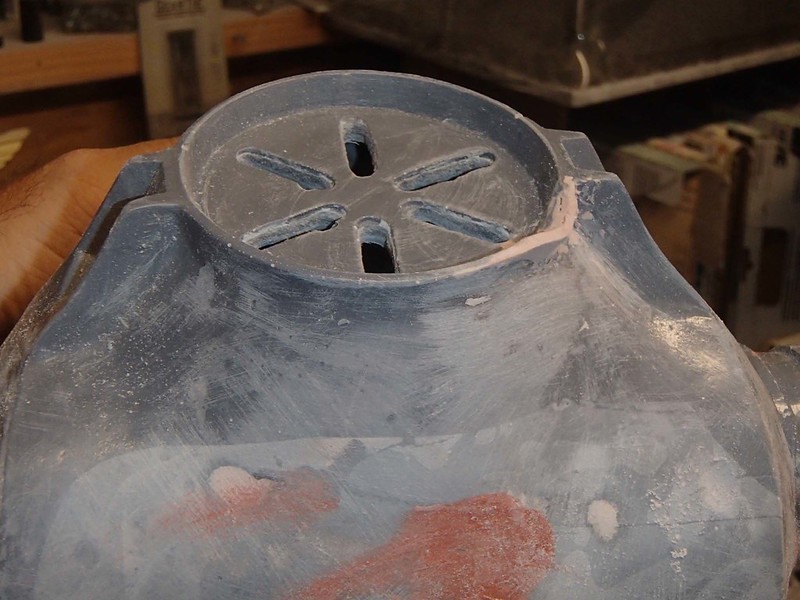
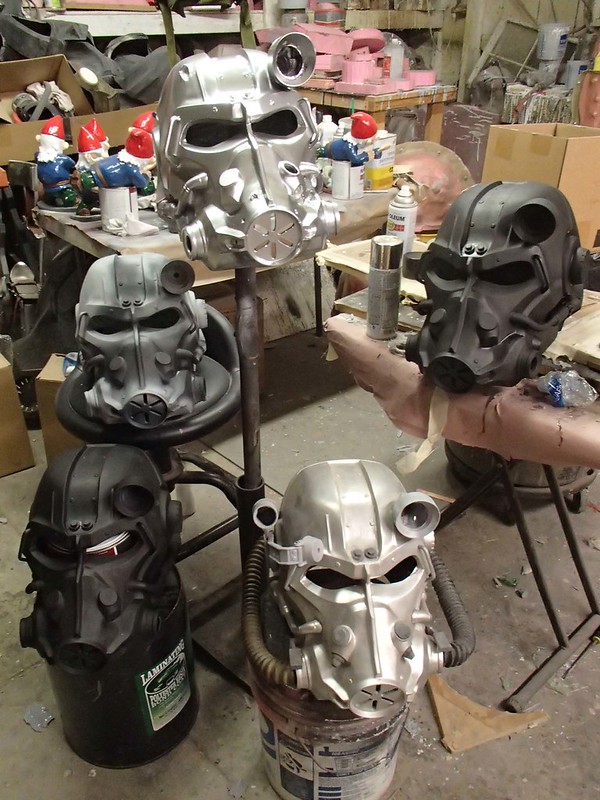
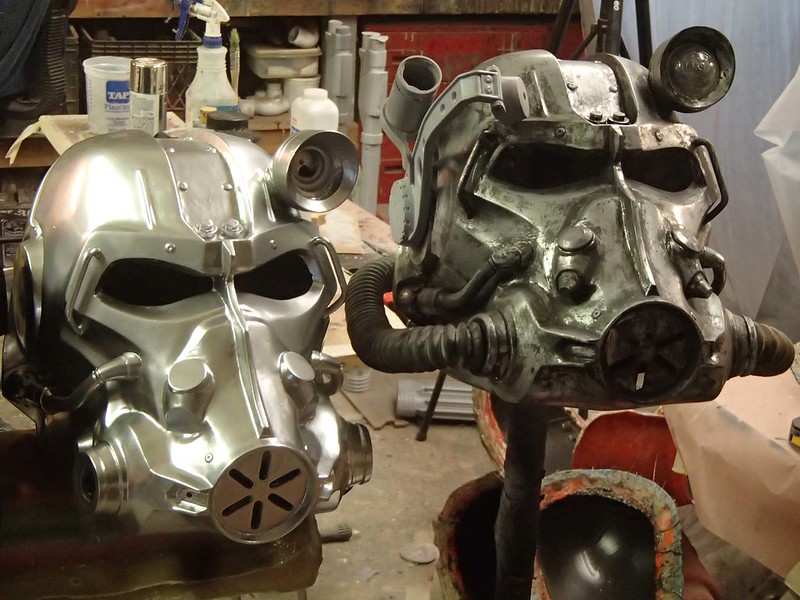
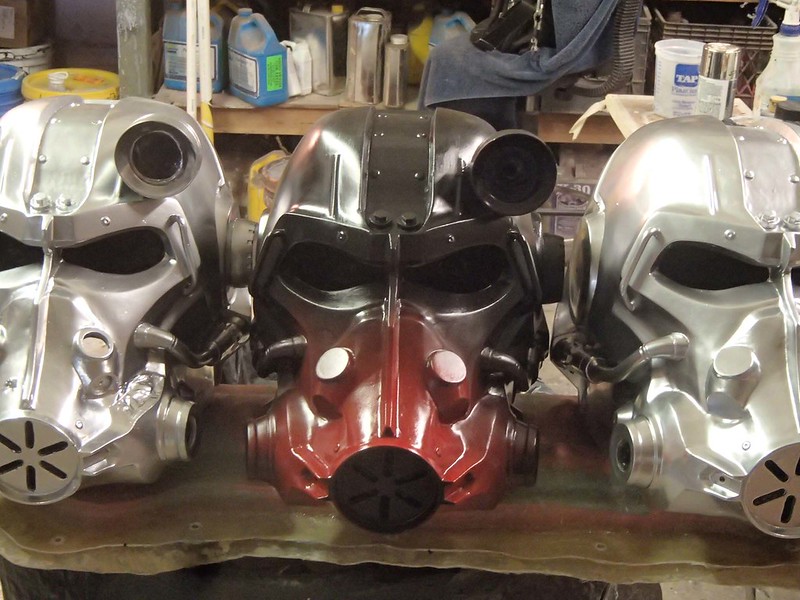
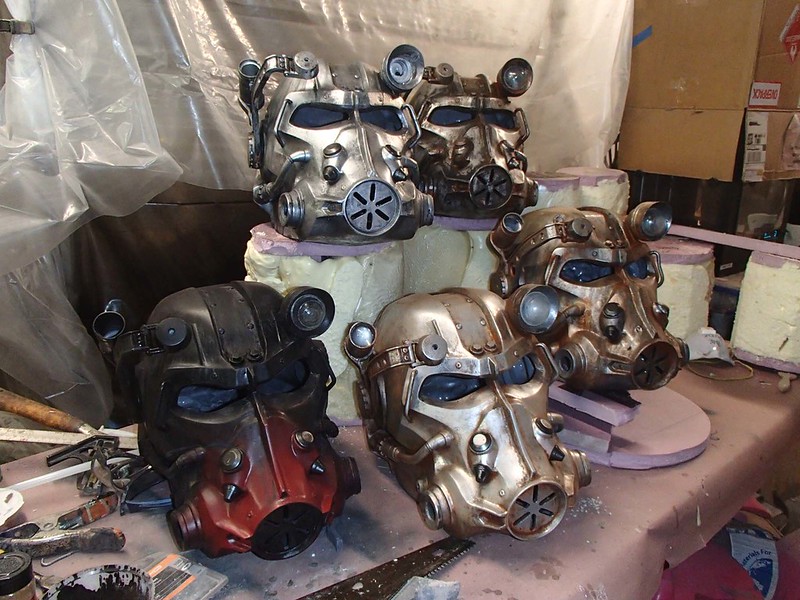
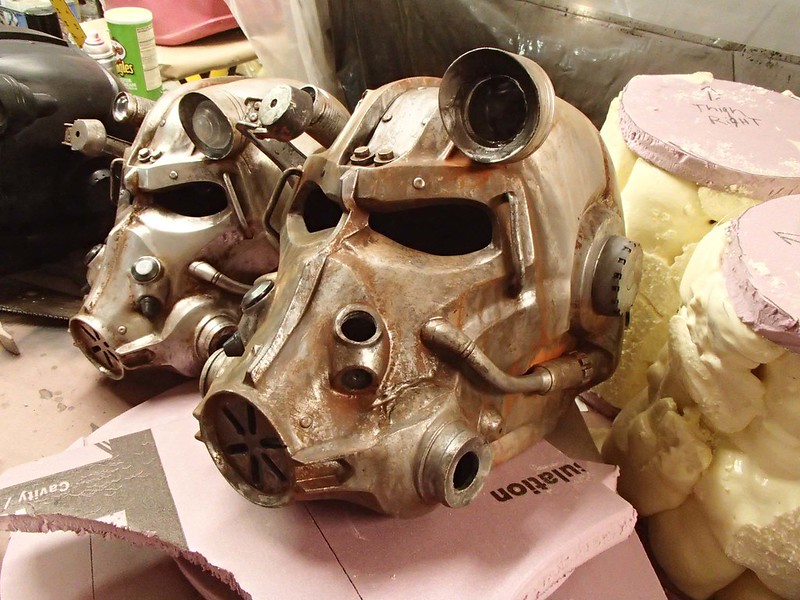
I've finished molding the helmet and all of it's greeblies and attachments. Here's a complete set of parts all tacked together:
[url]https://farm5.staticflickr.com/4027/34941693723_7c2407df6b_c.jpg[/URL]
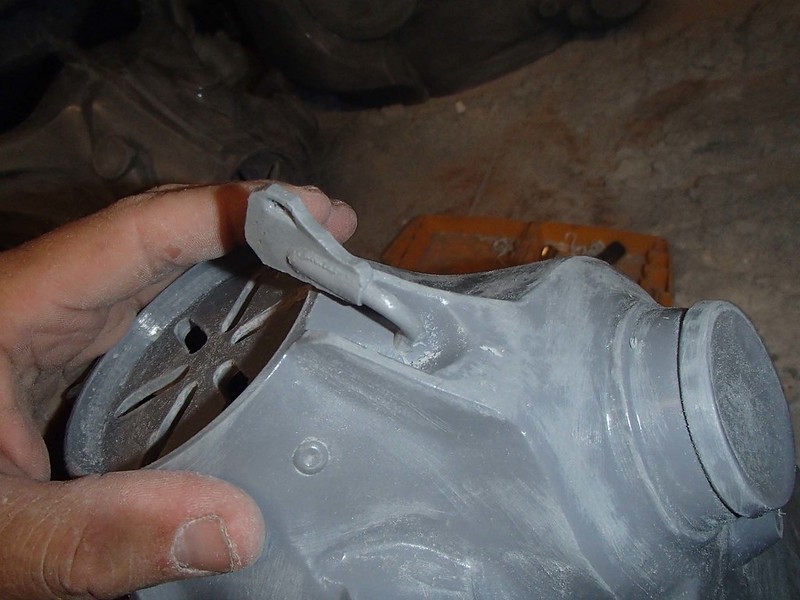
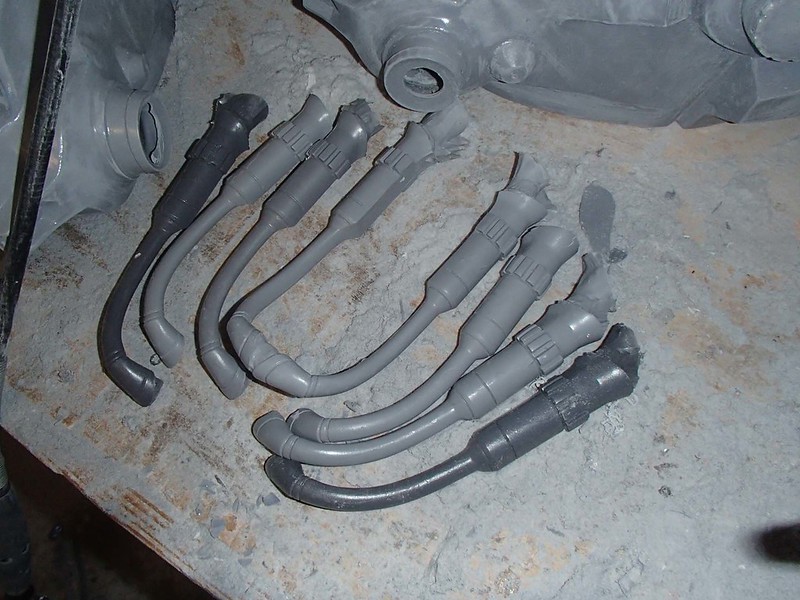
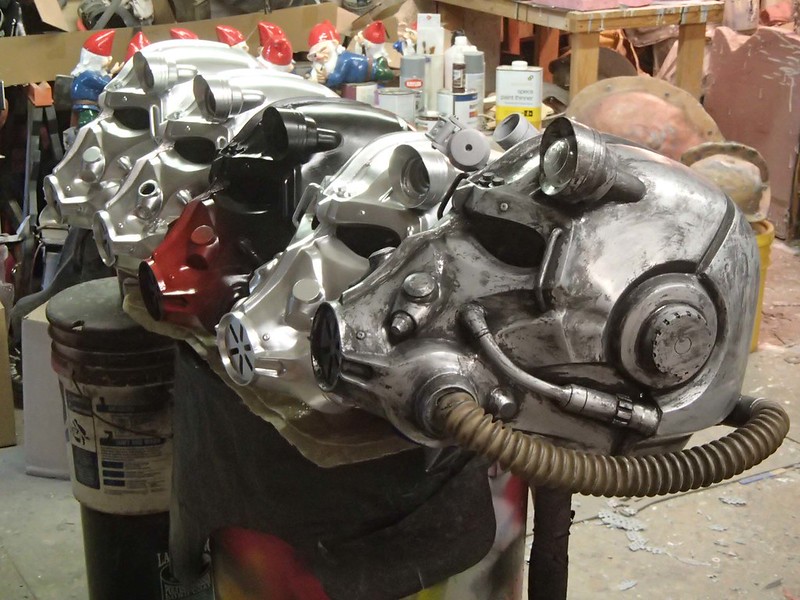
The kit includes the gas mask hoses as well as tinted acrylic lens for the eyes:
[url]https://farm5.staticflickr.com/4236/35363823520_89e24367d8_c.jpg[/URL]
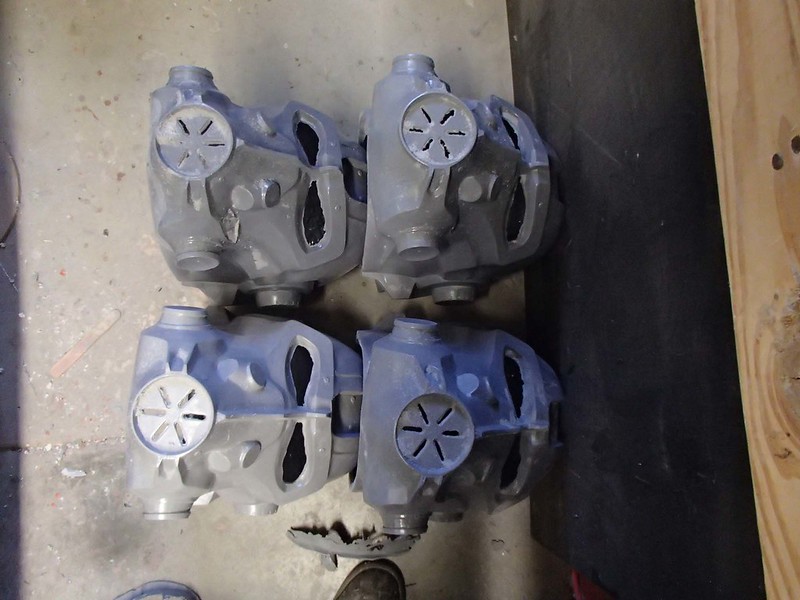
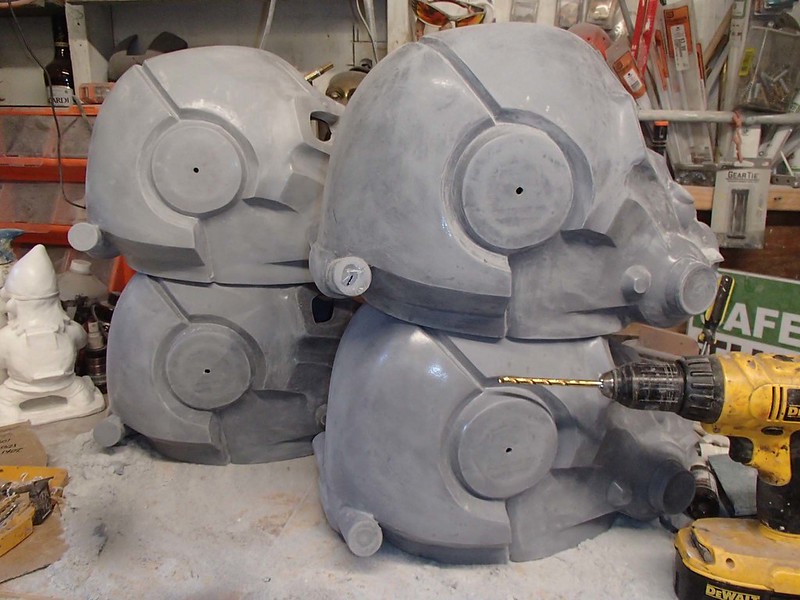
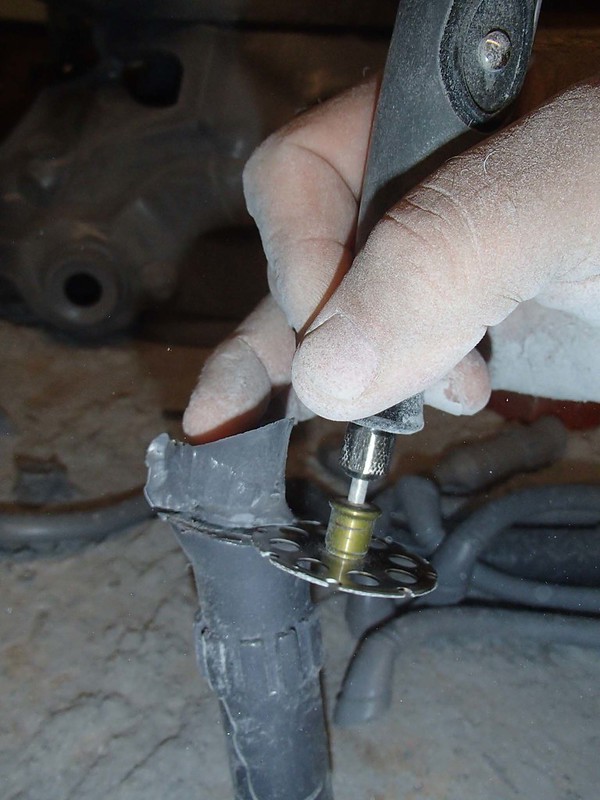
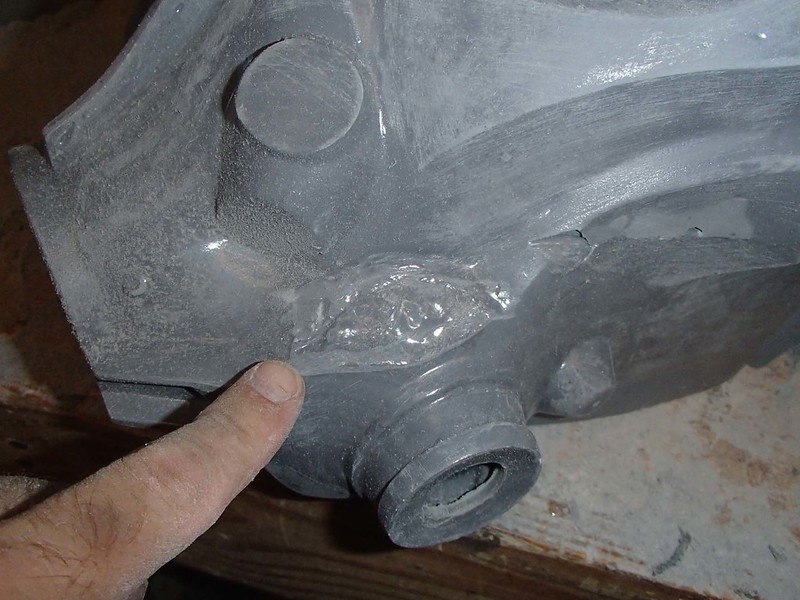
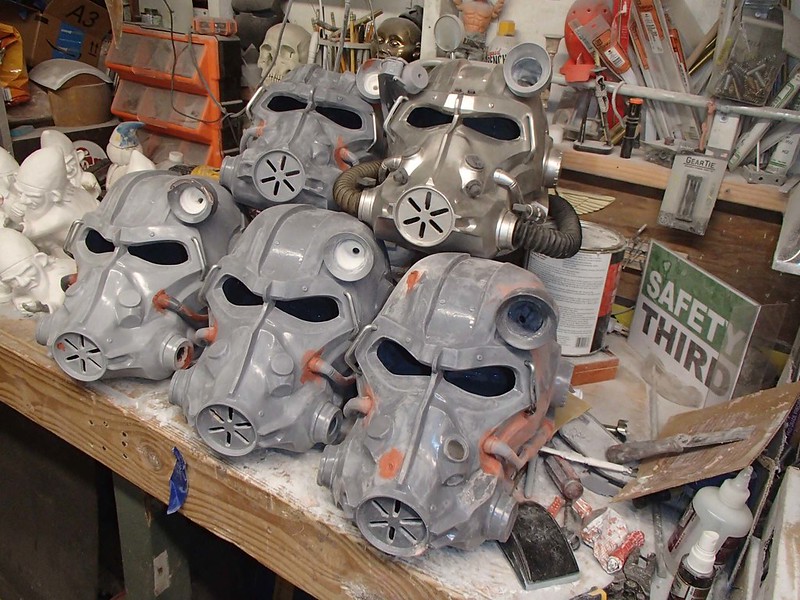
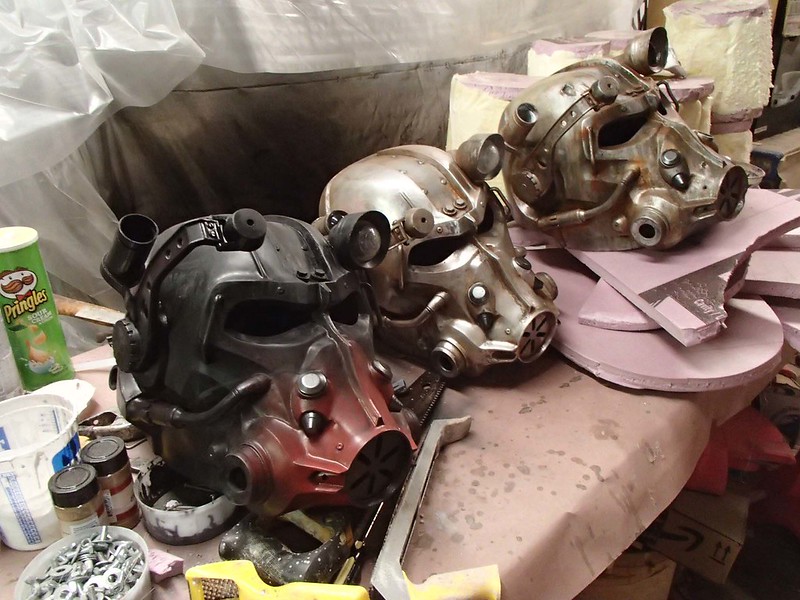
Here's all of the separate parts of the kit laid out:
[url]https://farm5.staticflickr.com/4231/35363820240_3bace2a688_c.jpg[/URL]
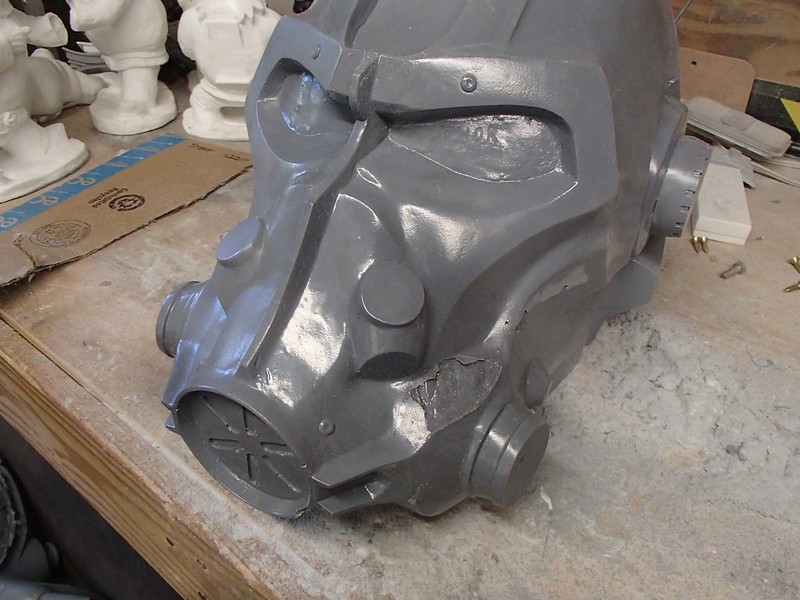
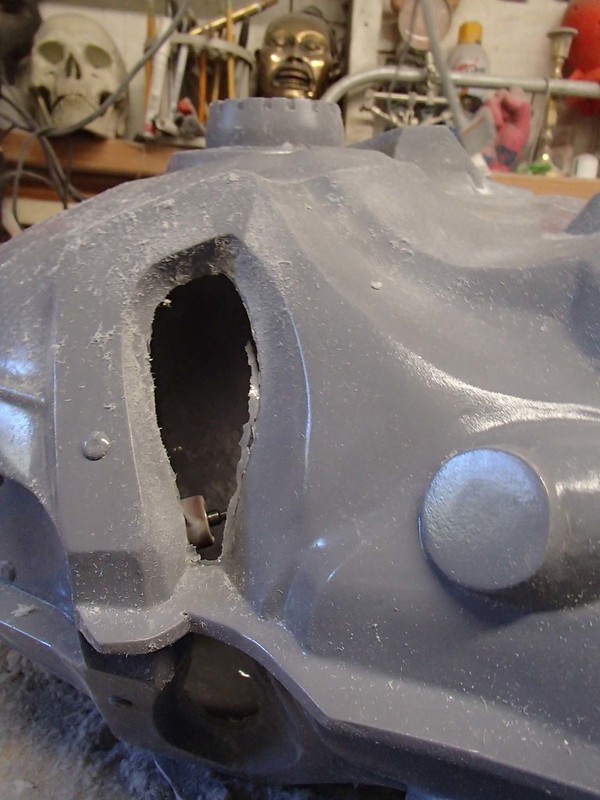
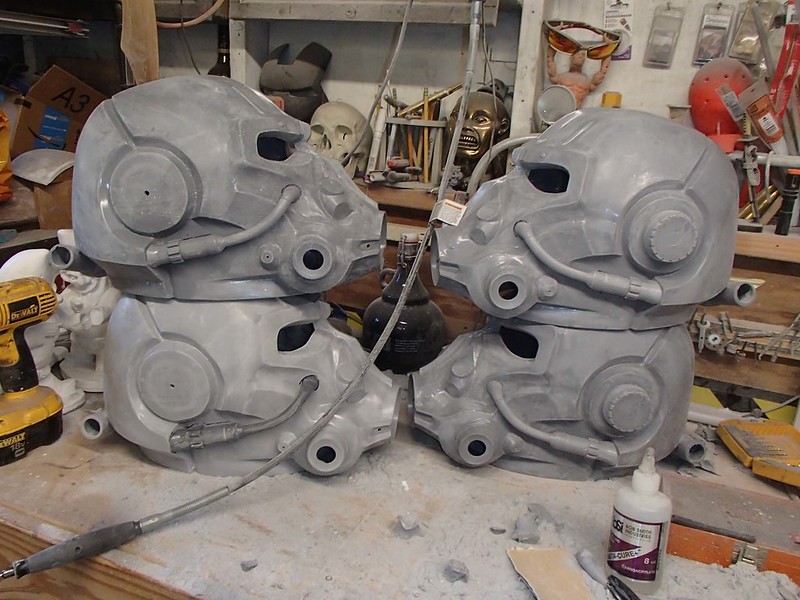
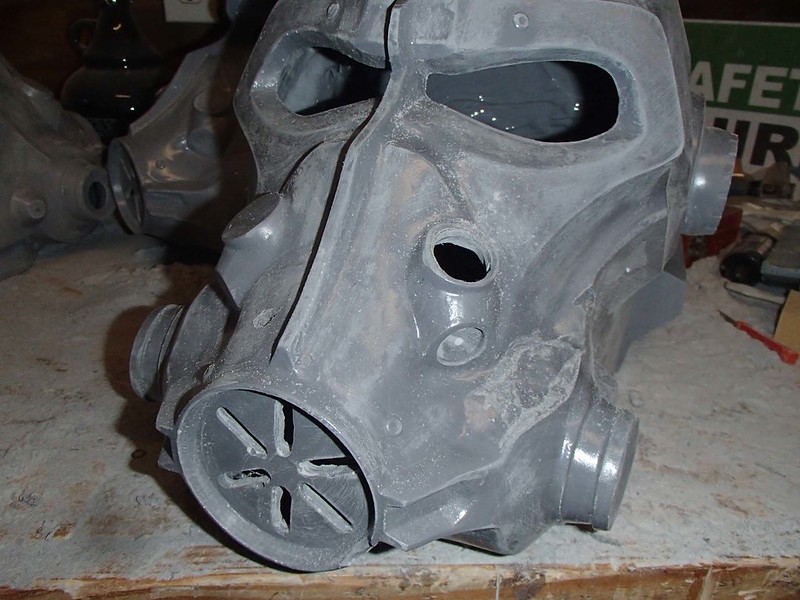
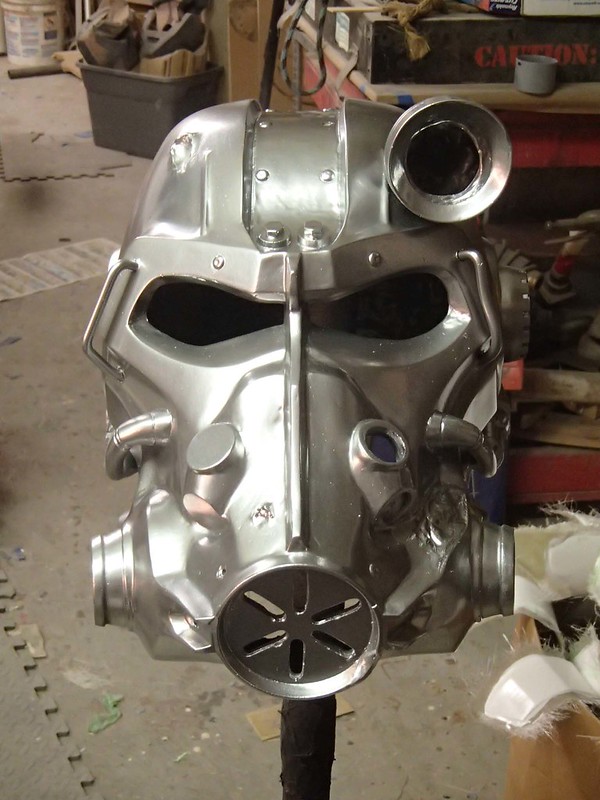
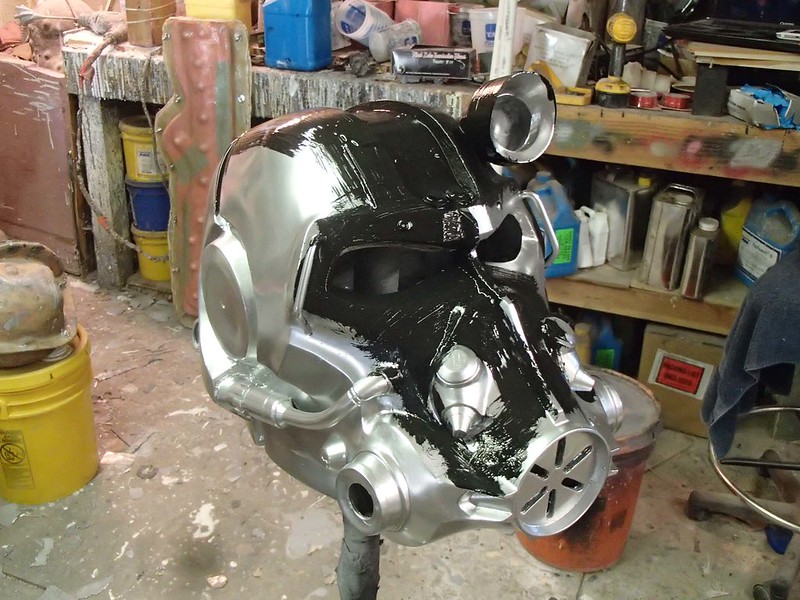
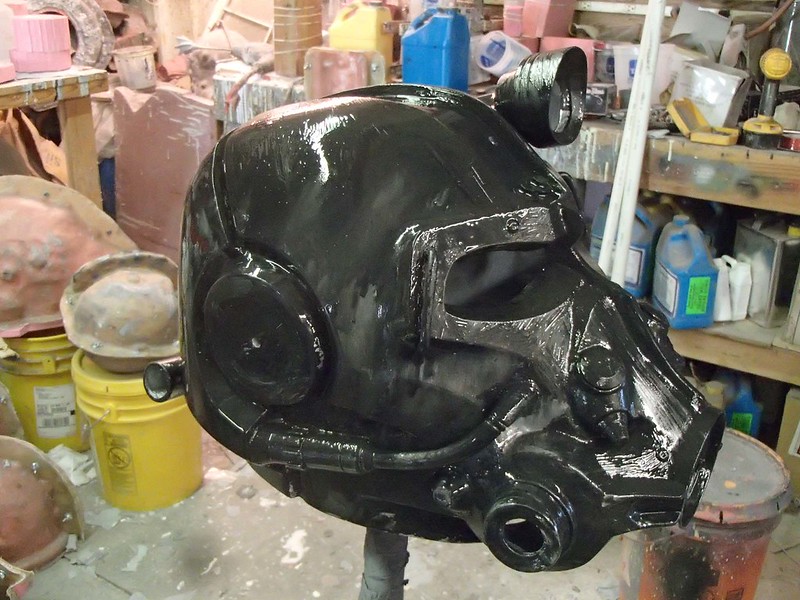
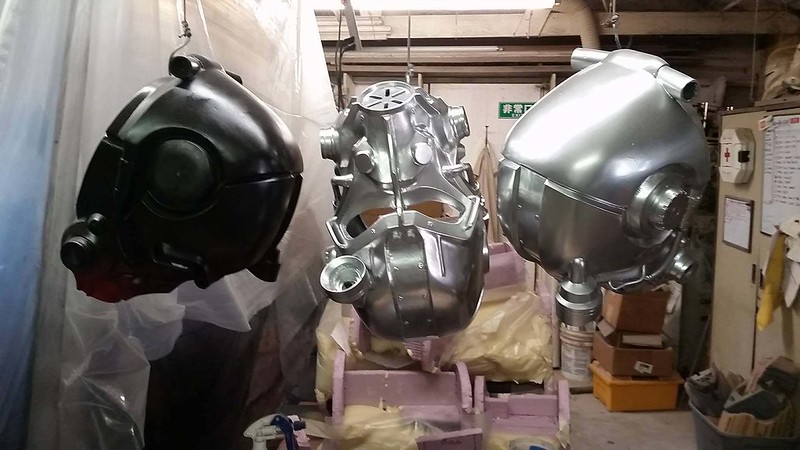
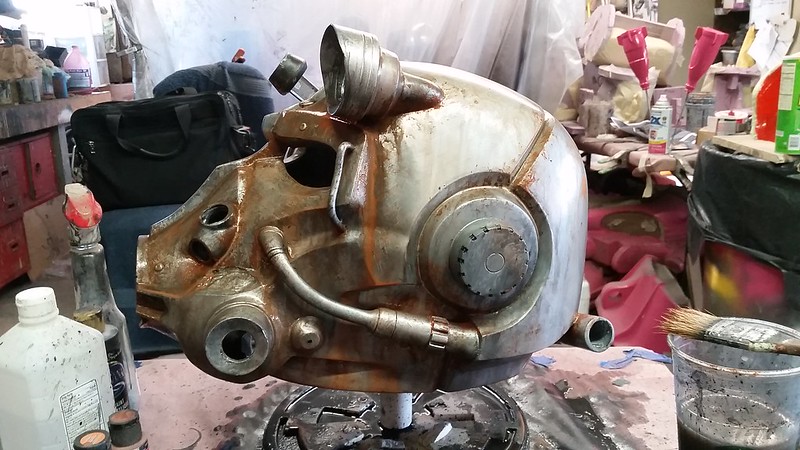
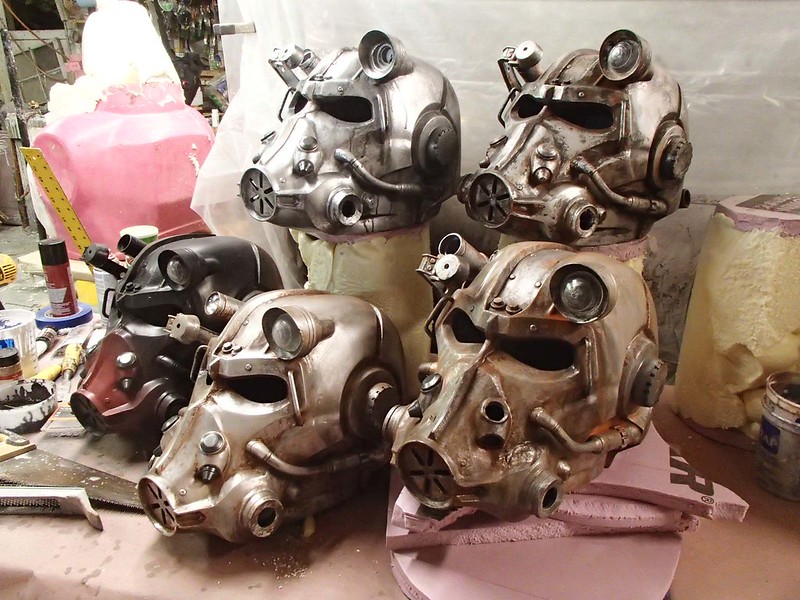
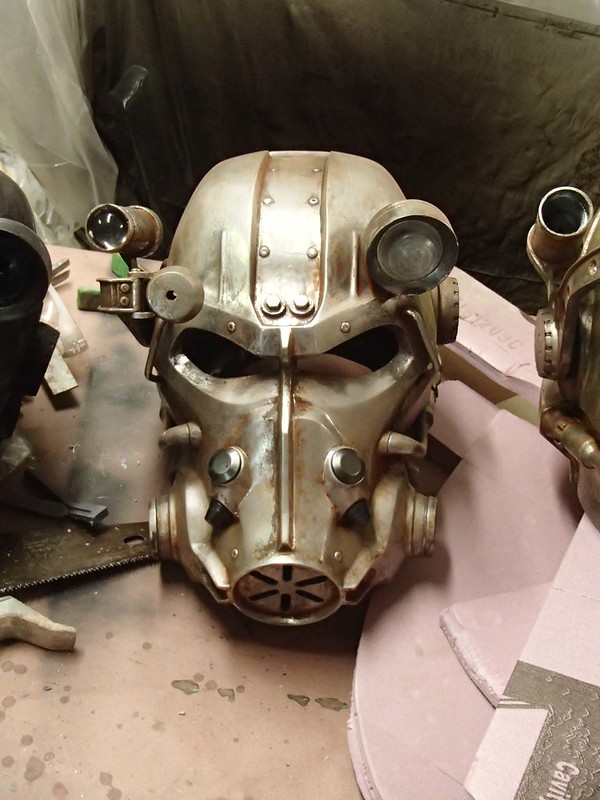
I haven't finished painting one yet, but here's one that's almost done:
[url]https://farm5.staticflickr.com/4348/35746353004_926c06f534_c.jpg[/url]
If anyone would like a copy of the helmet, I'm going to be selling raw cast kits in rotocast resin with all of the attachments, rubber hoses, and a tinted acrylic insert for the eyes for $280 plus shipping.
A $120 deposit gets you on the list.
Once your kit is packed and ready to ship, I'll invoice you for the remaining balance plus the actual cost of shipping.
Post here if you'd like a kit and I'll PM you with payment details.
Thanks for looking!
Ok, I want one of these.
I'd like one. Please PM me. Thanks!
Hey hello thorssoli I am really interested in a kit please....... ^^
I am in too. Very happy about it")


