SigsegV
Active Member
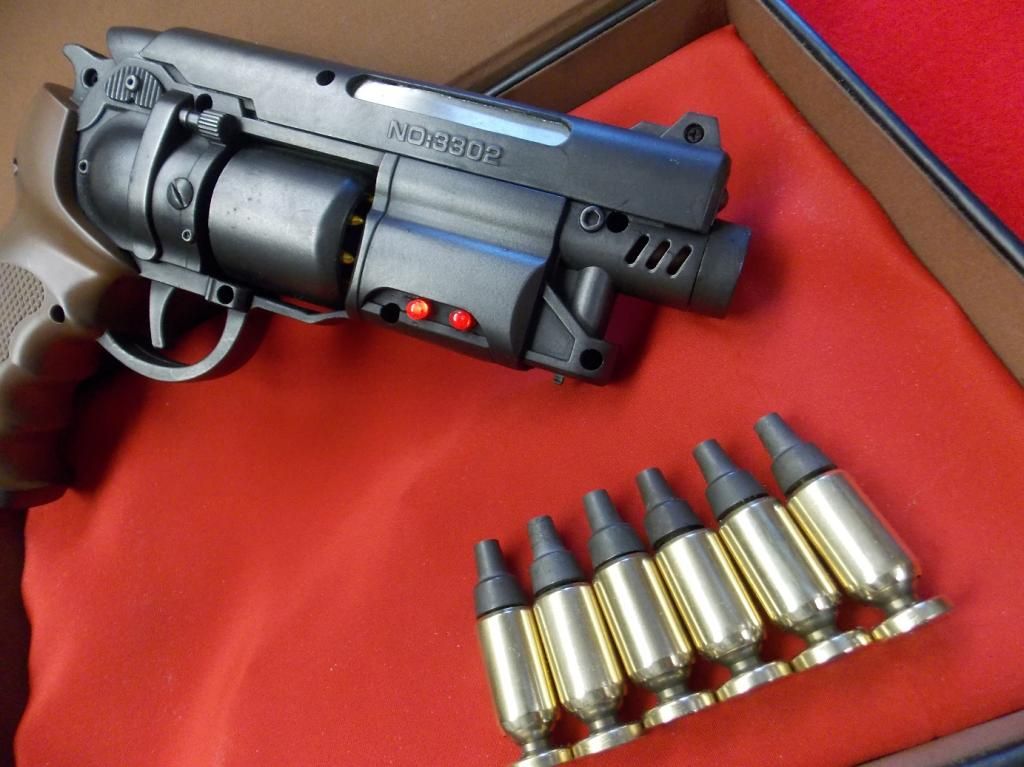
So, I saw some cheap toy guns that are knockoffs of the blade runner pistol floating around online, and I'd been considering getting one to convert for a while but I wasn't sure if it was worth the effort until I saw someone post one they did in the Nerf Props thread, so I decided to give it a go. The goal for this project is to get a passable replica with working LEDs for a total cost of no more than $25, and so far. I think I might actually come in under budget.
Which would be a first for me.
So I started with a "Lights and Sounds Machine Pistol" from Amazon for $10:


Hideous, but close enough. Also made of really soft plastic, which is kind of nice for working with it, and at least it isn't so brittle that I have to worry about it shattering if I drop it. But if this weren't a rip-off of a good design and thus worth upgrading then $10 would be way too much to pay for such a poor quality toy.

The wiring for the annoying lights and sounds, and the motor to spin the horribly tacky fake bullets around. All of this is going to go except for the battery contacts, since those will actually be useful for the LEDs I'm going to put in. Also note that the lights in this are incandescents, that's how cheap this is.

Here's how it looks with the tacky bullets removed, and some pieces from a plastic bottle to help fill in the gap.

Cut up (quite) a bit more. The black boxy segment is getting slid back a little to help fill the gap in the middle. I'm going to use epoxy putty to sculpt something to fill the new gap in front of that. Then I decided the whole thing was about a half inch too long, so it got cut in half. I've also cut off all of the details that were in the wrong place, I'm going to have to make new ones to put back on it. There is an awful lot of epoxy putty and bondo in this thing's future.

The white plastic sticks are pieces from the sprue of an old model kit, they're there to give me something to attach the front end to securely. Also in this picture: one of the slots for the old speaker enlarged to fit the switch for the LEDs I'll be adding and the other slot blocked off and ready to be filled in with putty.
And that's about as far as I am so far. Right now there's not really more I can do until I pick up some epoxy putty and my LEDs come in the mail. I am a bit short of reference images though, I've got good references for the sides of it, and there's not much going on on the back or top, but if someone could point me to some good pictures of the front or underside I'd really appreciate it.
Which would be a first for me.
So I started with a "Lights and Sounds Machine Pistol" from Amazon for $10:


Hideous, but close enough. Also made of really soft plastic, which is kind of nice for working with it, and at least it isn't so brittle that I have to worry about it shattering if I drop it. But if this weren't a rip-off of a good design and thus worth upgrading then $10 would be way too much to pay for such a poor quality toy.

The wiring for the annoying lights and sounds, and the motor to spin the horribly tacky fake bullets around. All of this is going to go except for the battery contacts, since those will actually be useful for the LEDs I'm going to put in. Also note that the lights in this are incandescents, that's how cheap this is.

Here's how it looks with the tacky bullets removed, and some pieces from a plastic bottle to help fill in the gap.

Cut up (quite) a bit more. The black boxy segment is getting slid back a little to help fill the gap in the middle. I'm going to use epoxy putty to sculpt something to fill the new gap in front of that. Then I decided the whole thing was about a half inch too long, so it got cut in half. I've also cut off all of the details that were in the wrong place, I'm going to have to make new ones to put back on it. There is an awful lot of epoxy putty and bondo in this thing's future.

The white plastic sticks are pieces from the sprue of an old model kit, they're there to give me something to attach the front end to securely. Also in this picture: one of the slots for the old speaker enlarged to fit the switch for the LEDs I'll be adding and the other slot blocked off and ready to be filled in with putty.
And that's about as far as I am so far. Right now there's not really more I can do until I pick up some epoxy putty and my LEDs come in the mail. I am a bit short of reference images though, I've got good references for the sides of it, and there's not much going on on the back or top, but if someone could point me to some good pictures of the front or underside I'd really appreciate it.


