Studio Half Scale TOS Enterprise Scratch build

Status
Not open for further replies.
Brandon thanks buddy.

I have never been there I'm strictly a Smith Brothers guy. What the heck are you doing stuck there? Get on back here.

Steve
 
Thanks cpd730!

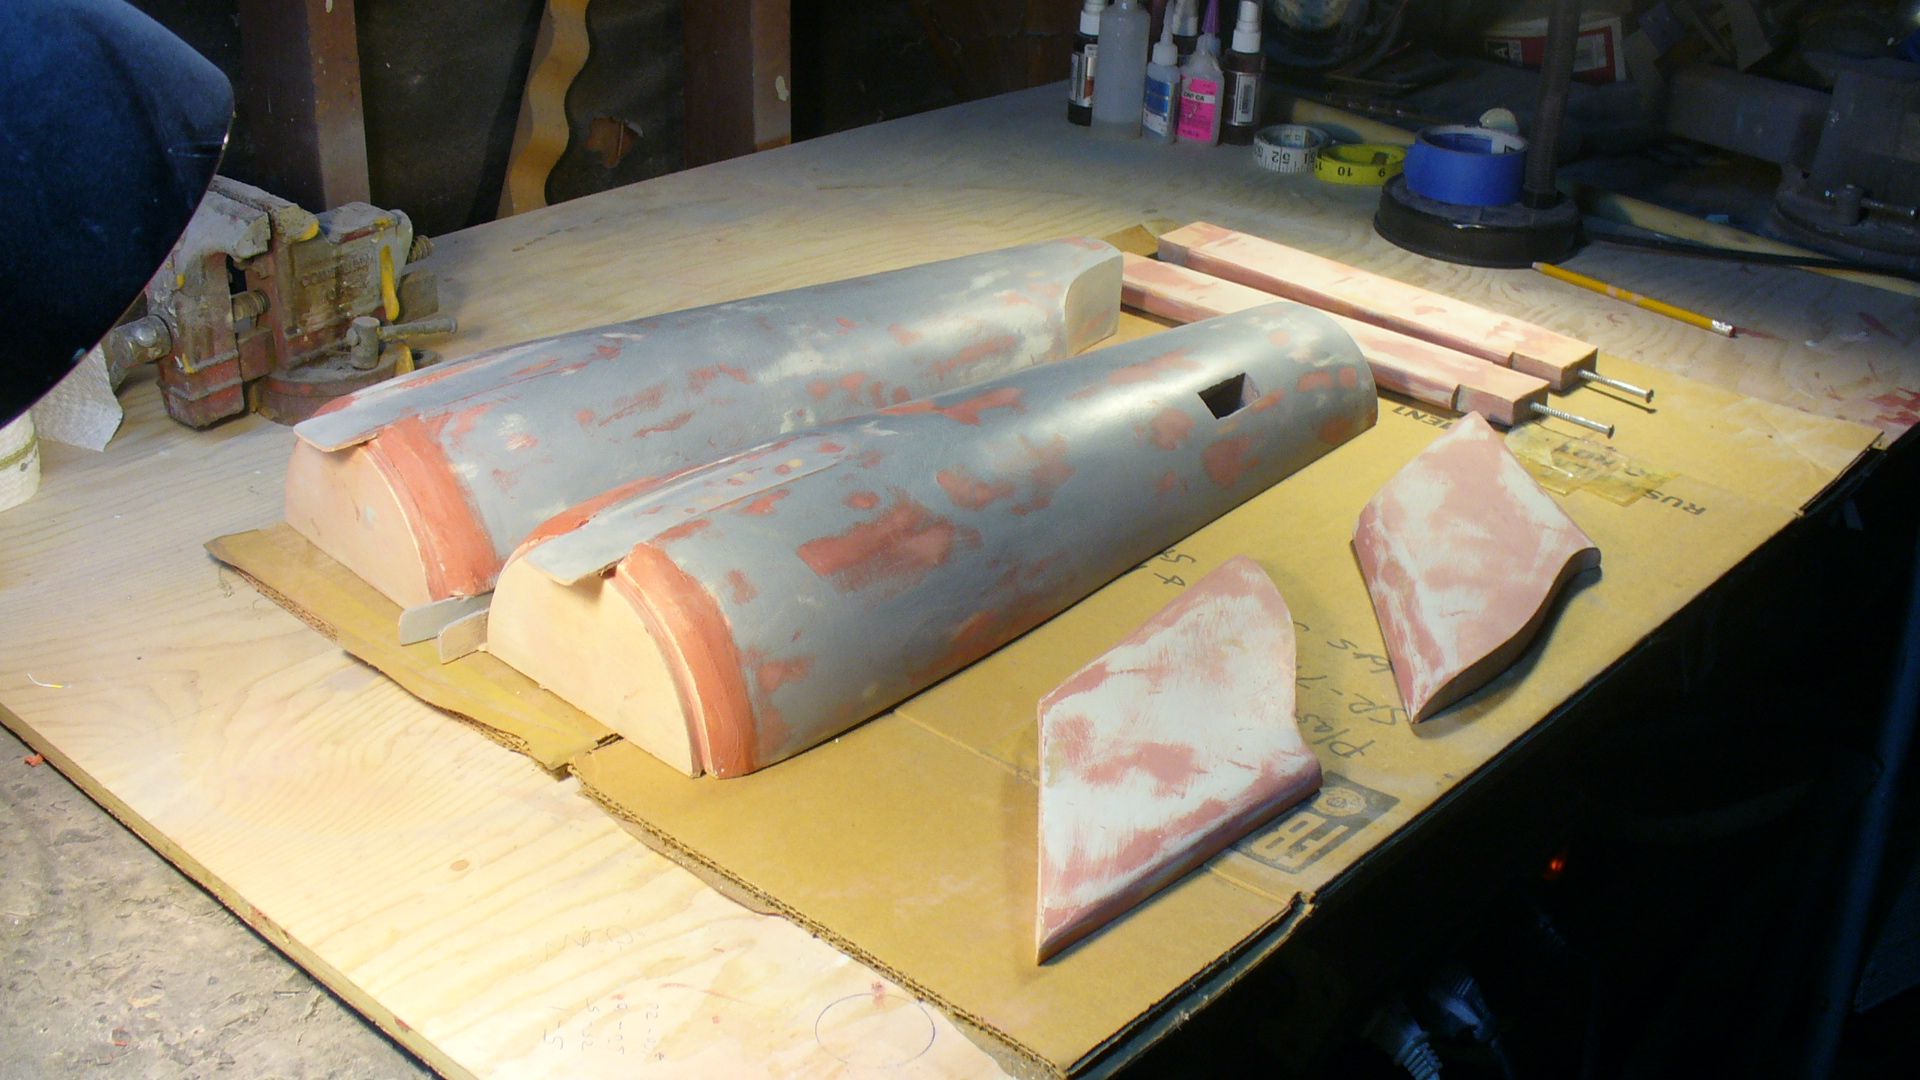
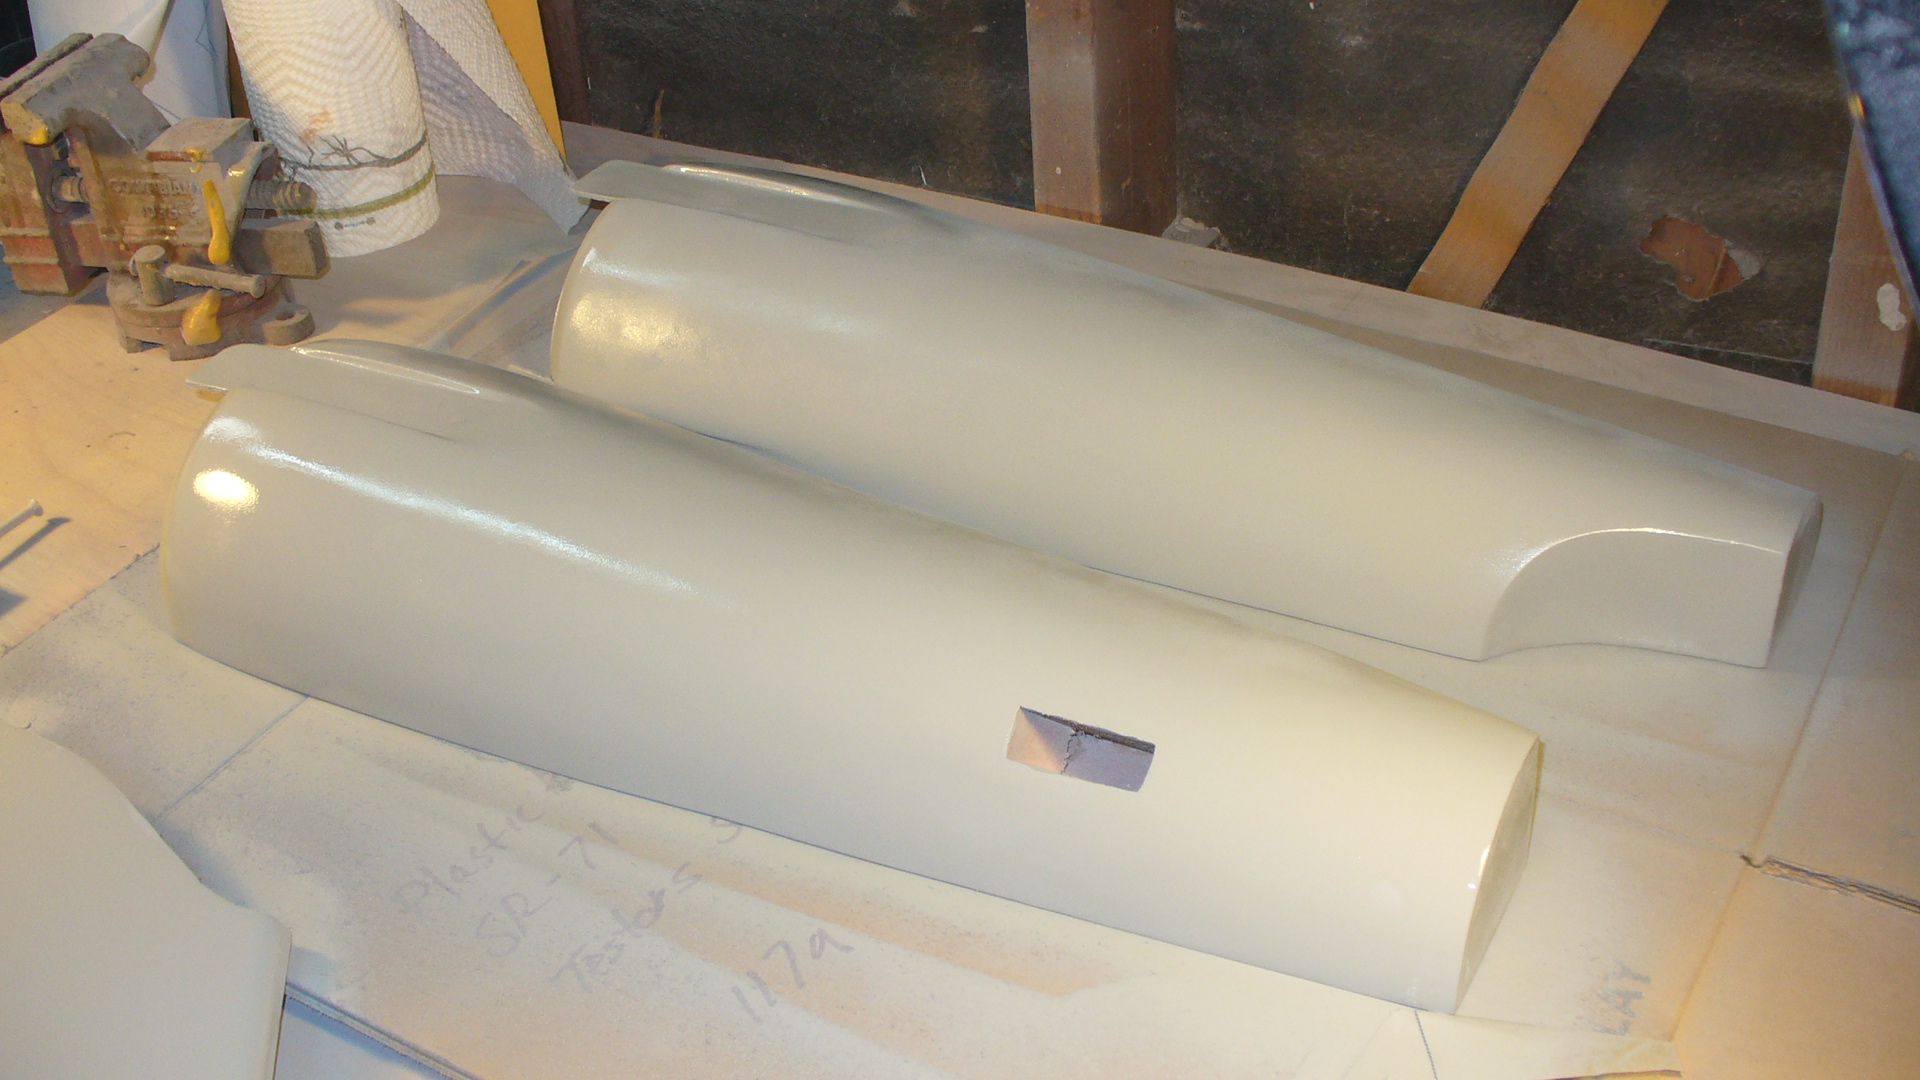
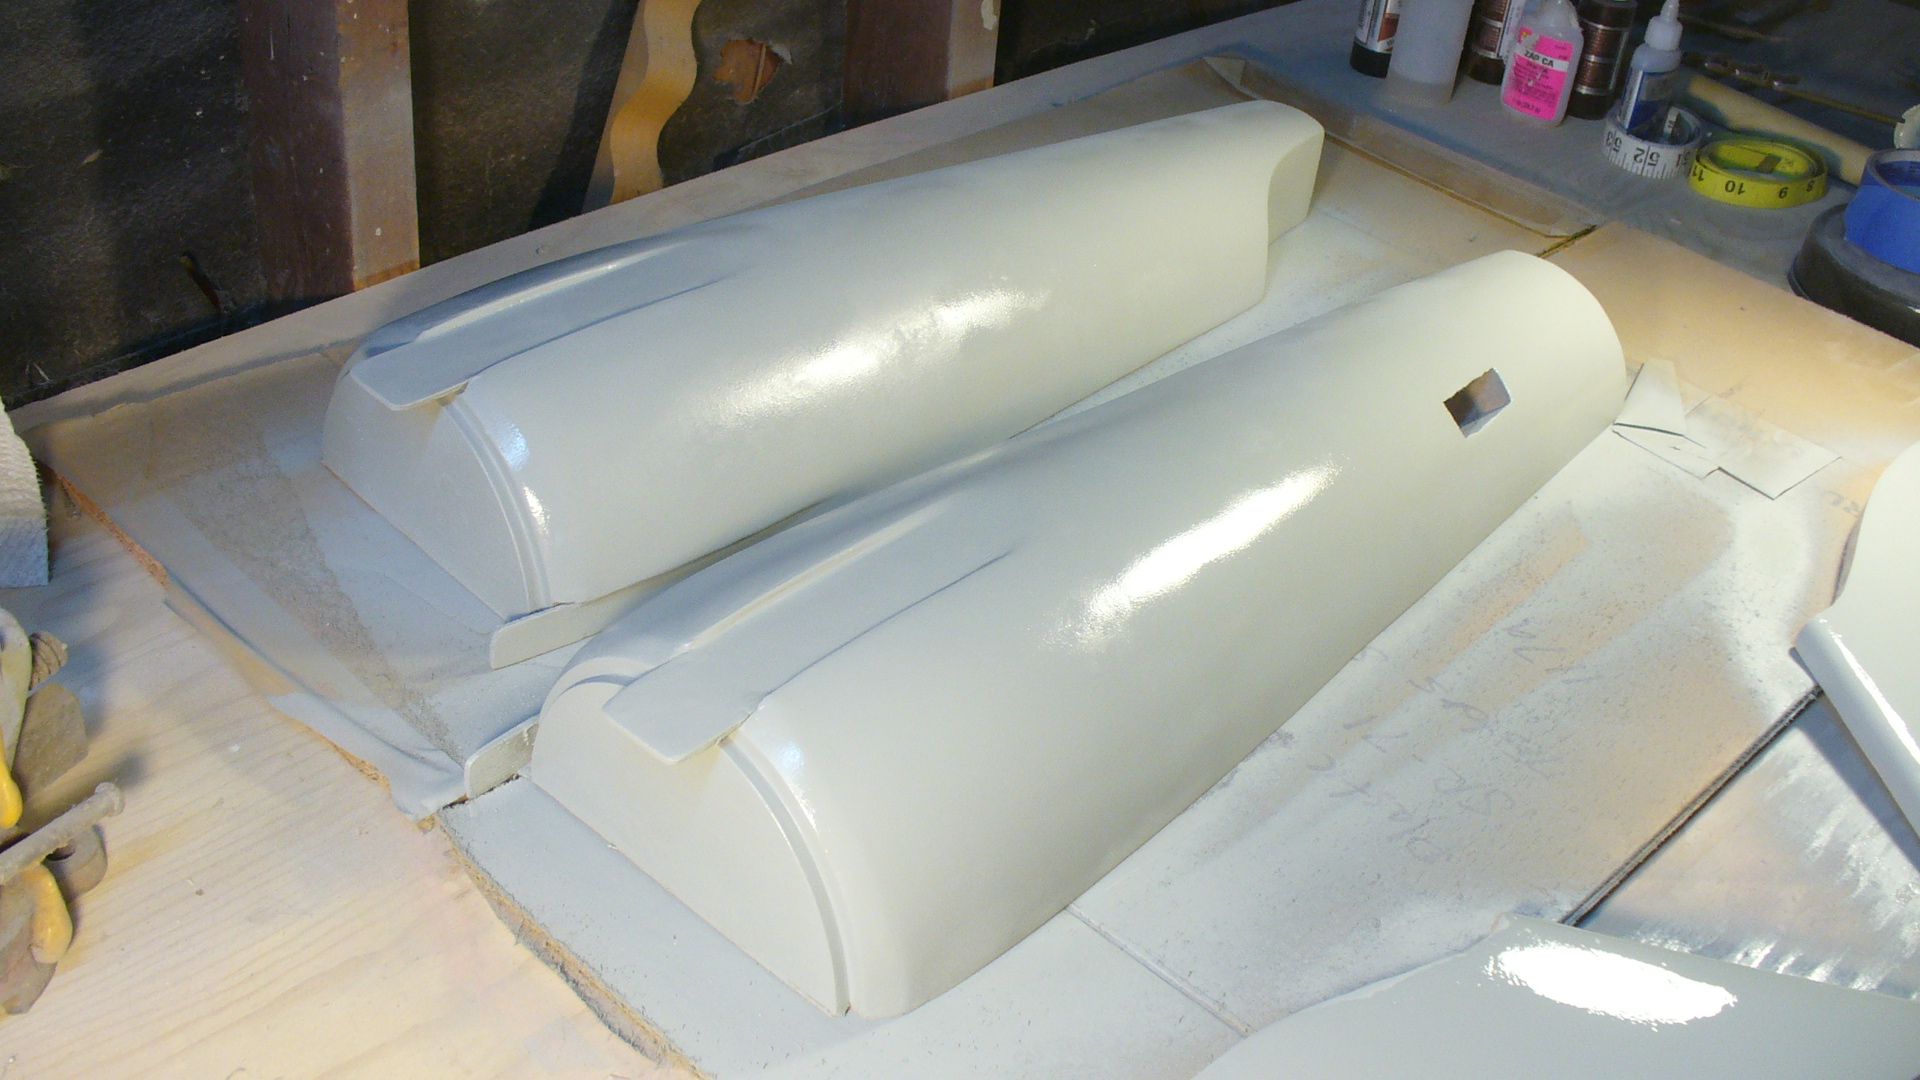
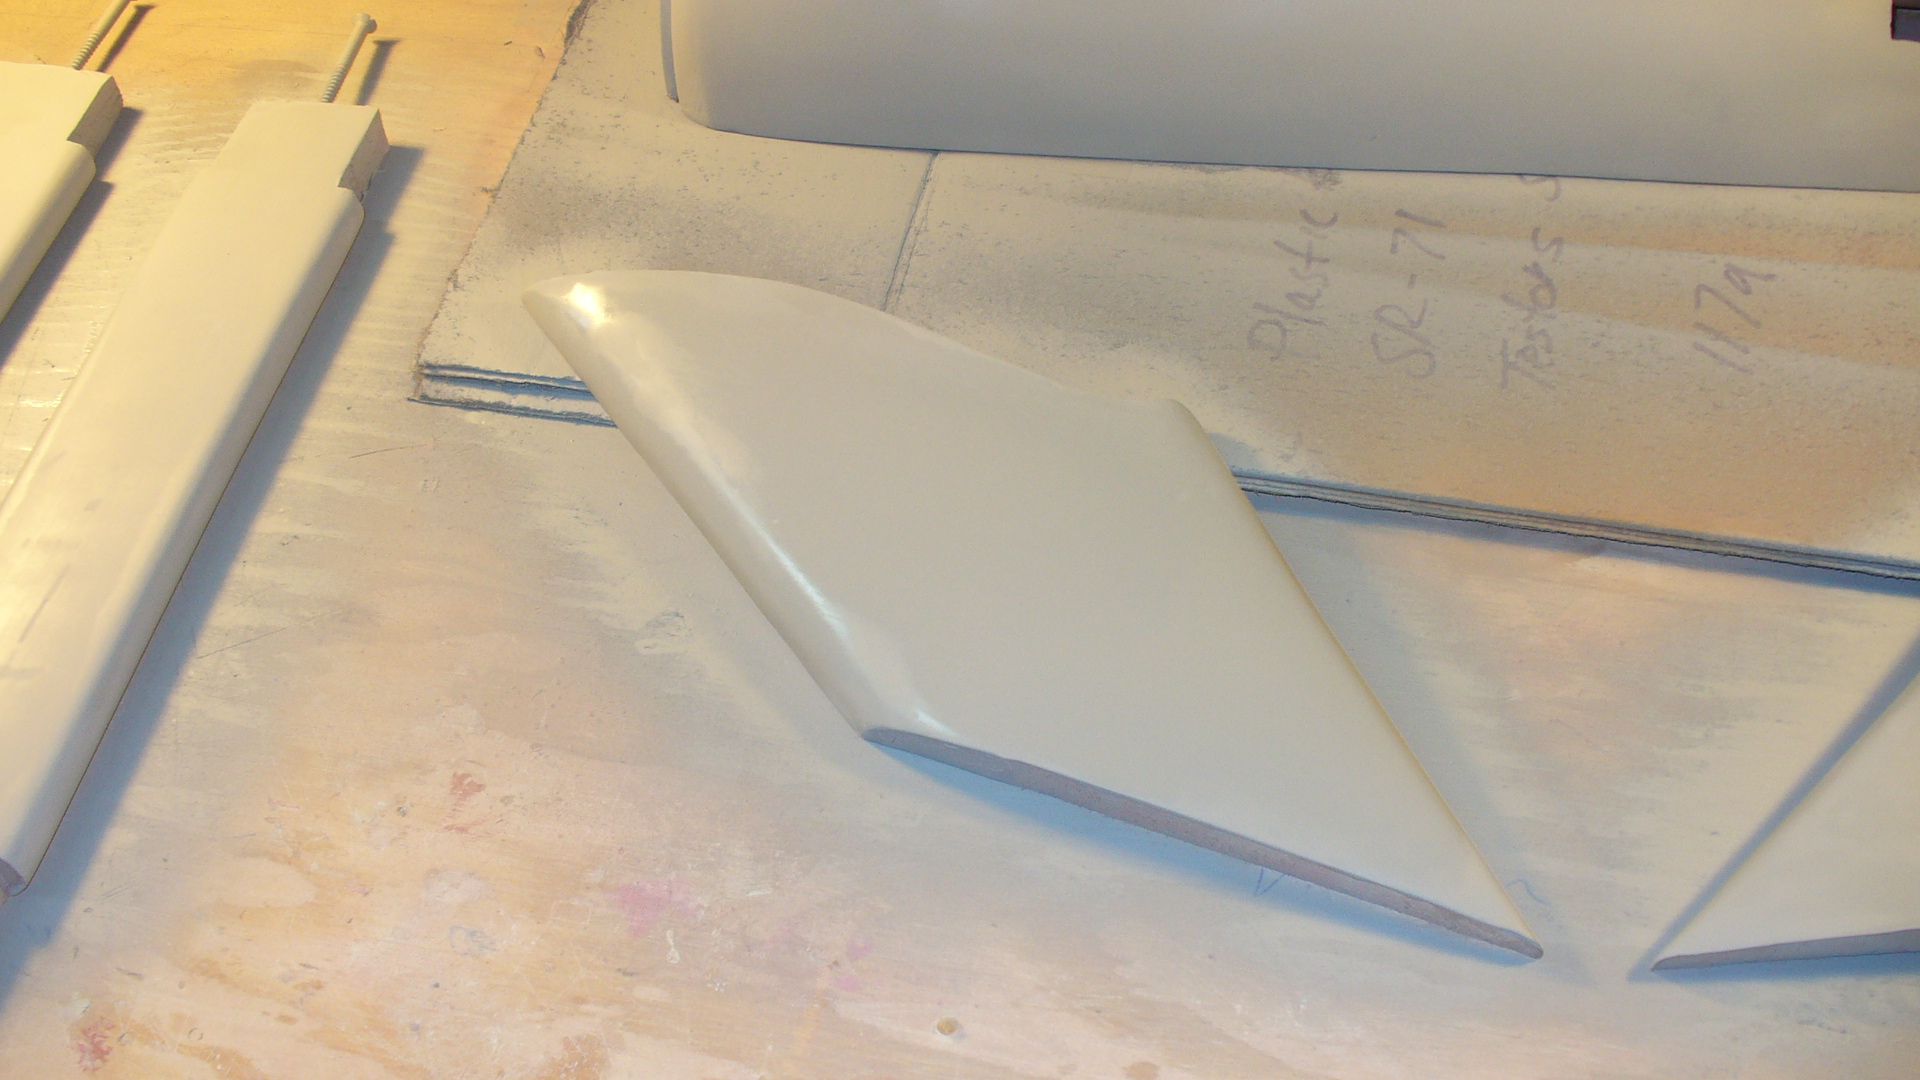
Well I'm afraid it's a bit of more of the same today. However I finally have the real primer coats on. The primer shows well the few divots and dings left to point up but there aren't many left. So I'm finally past being covered in red dust and all that horrible heavy sanding.

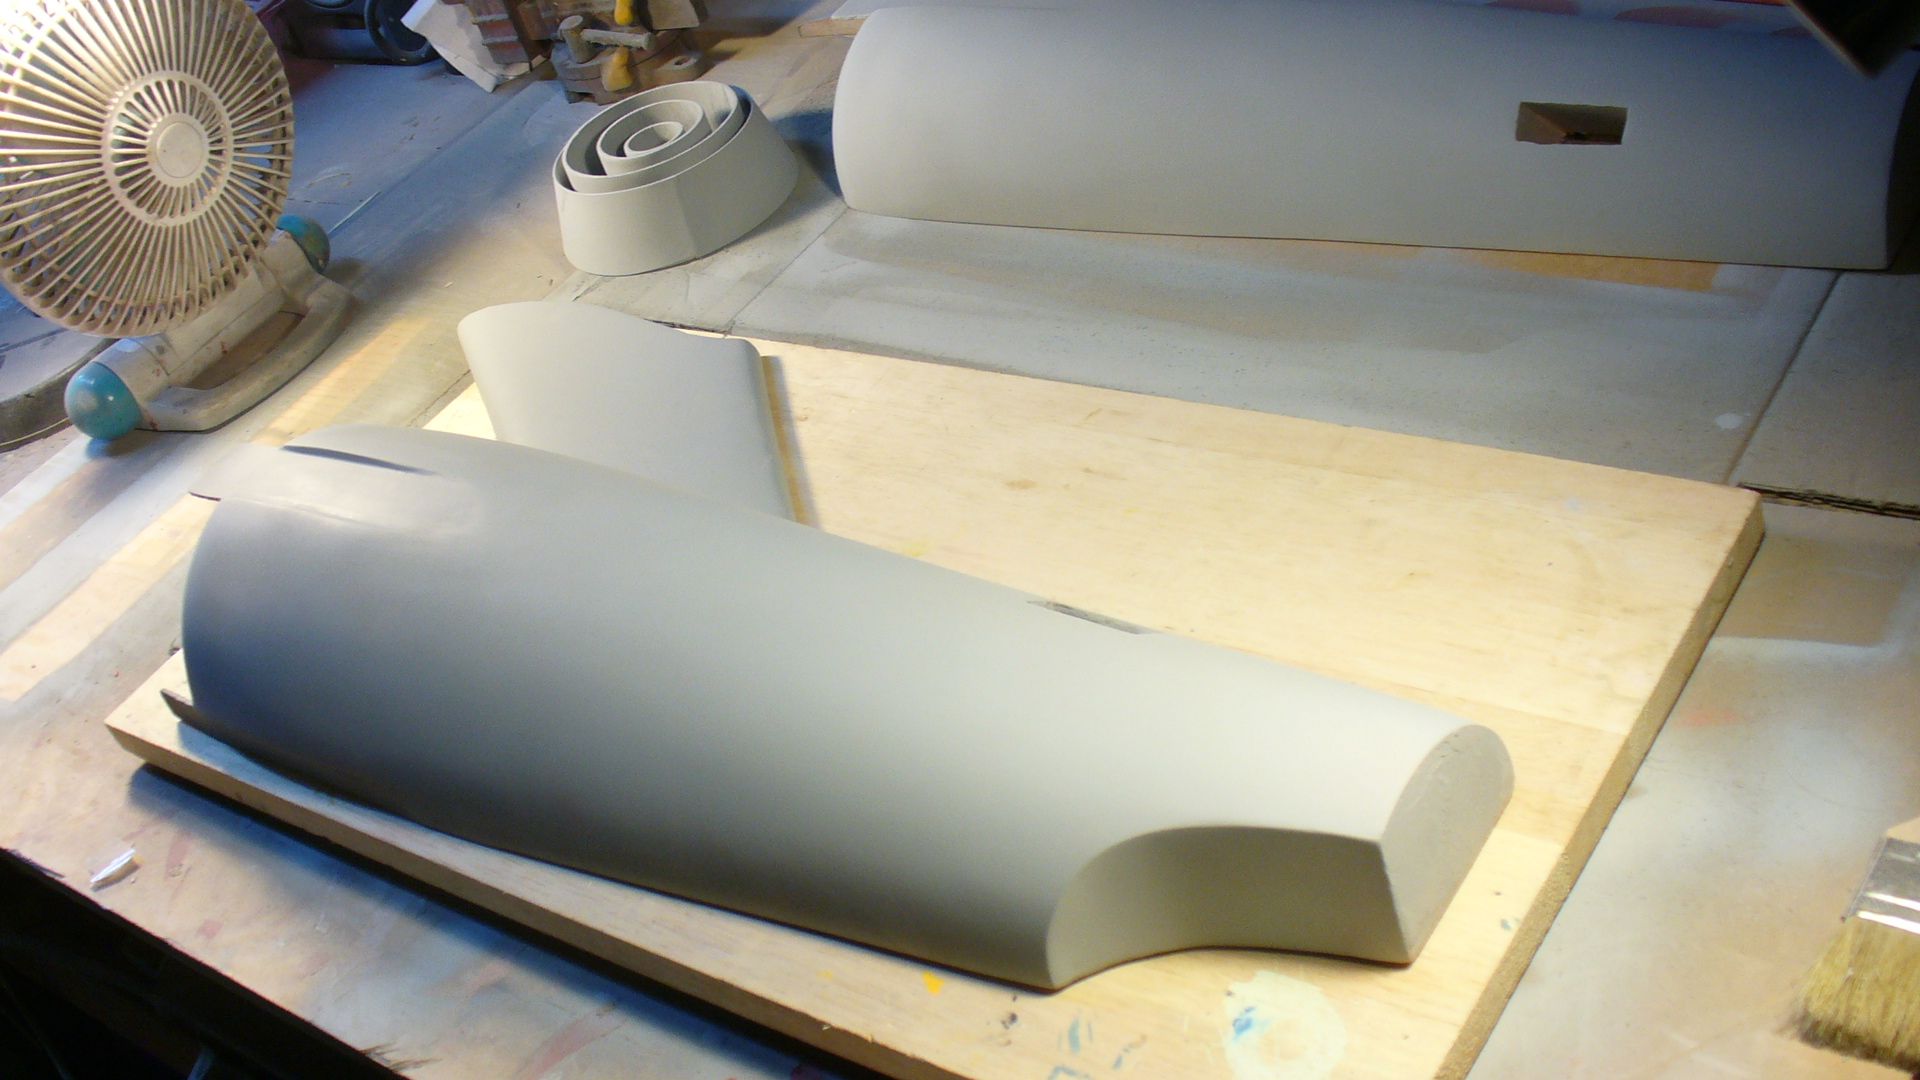
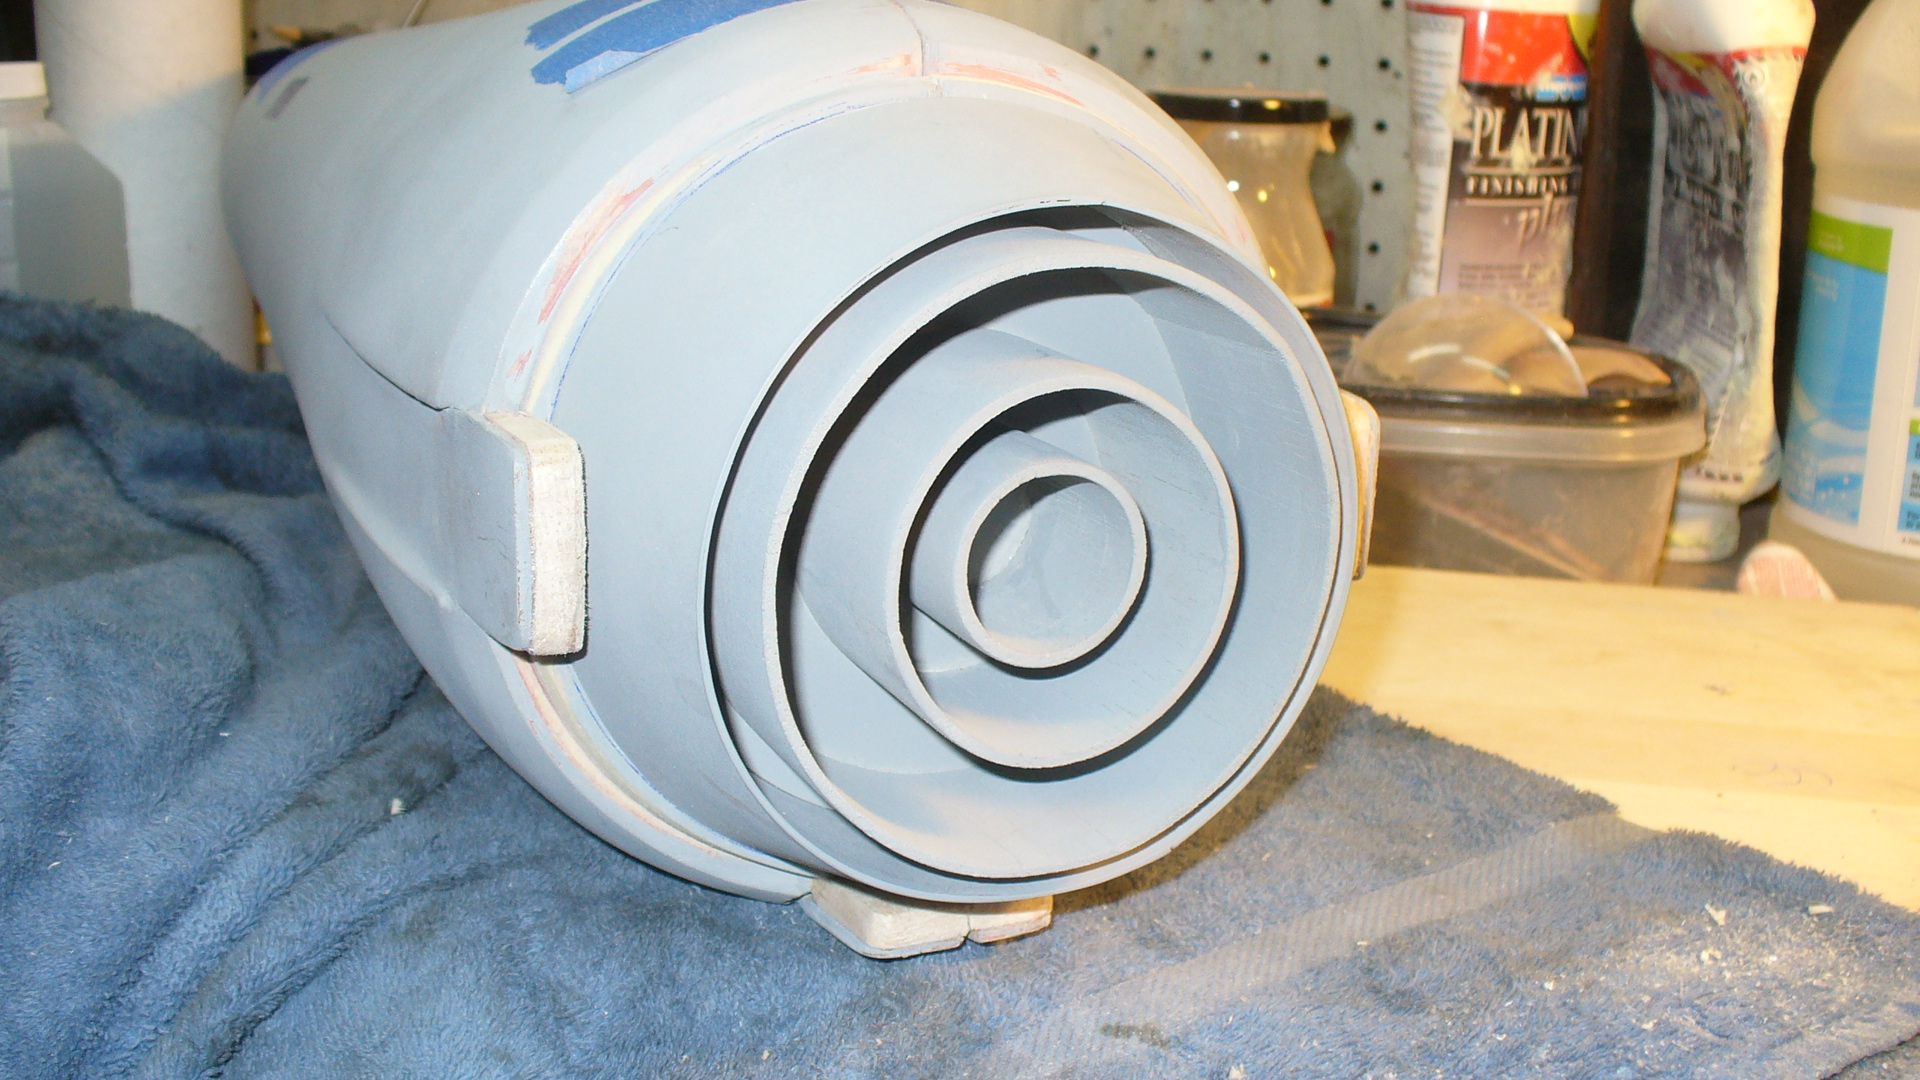
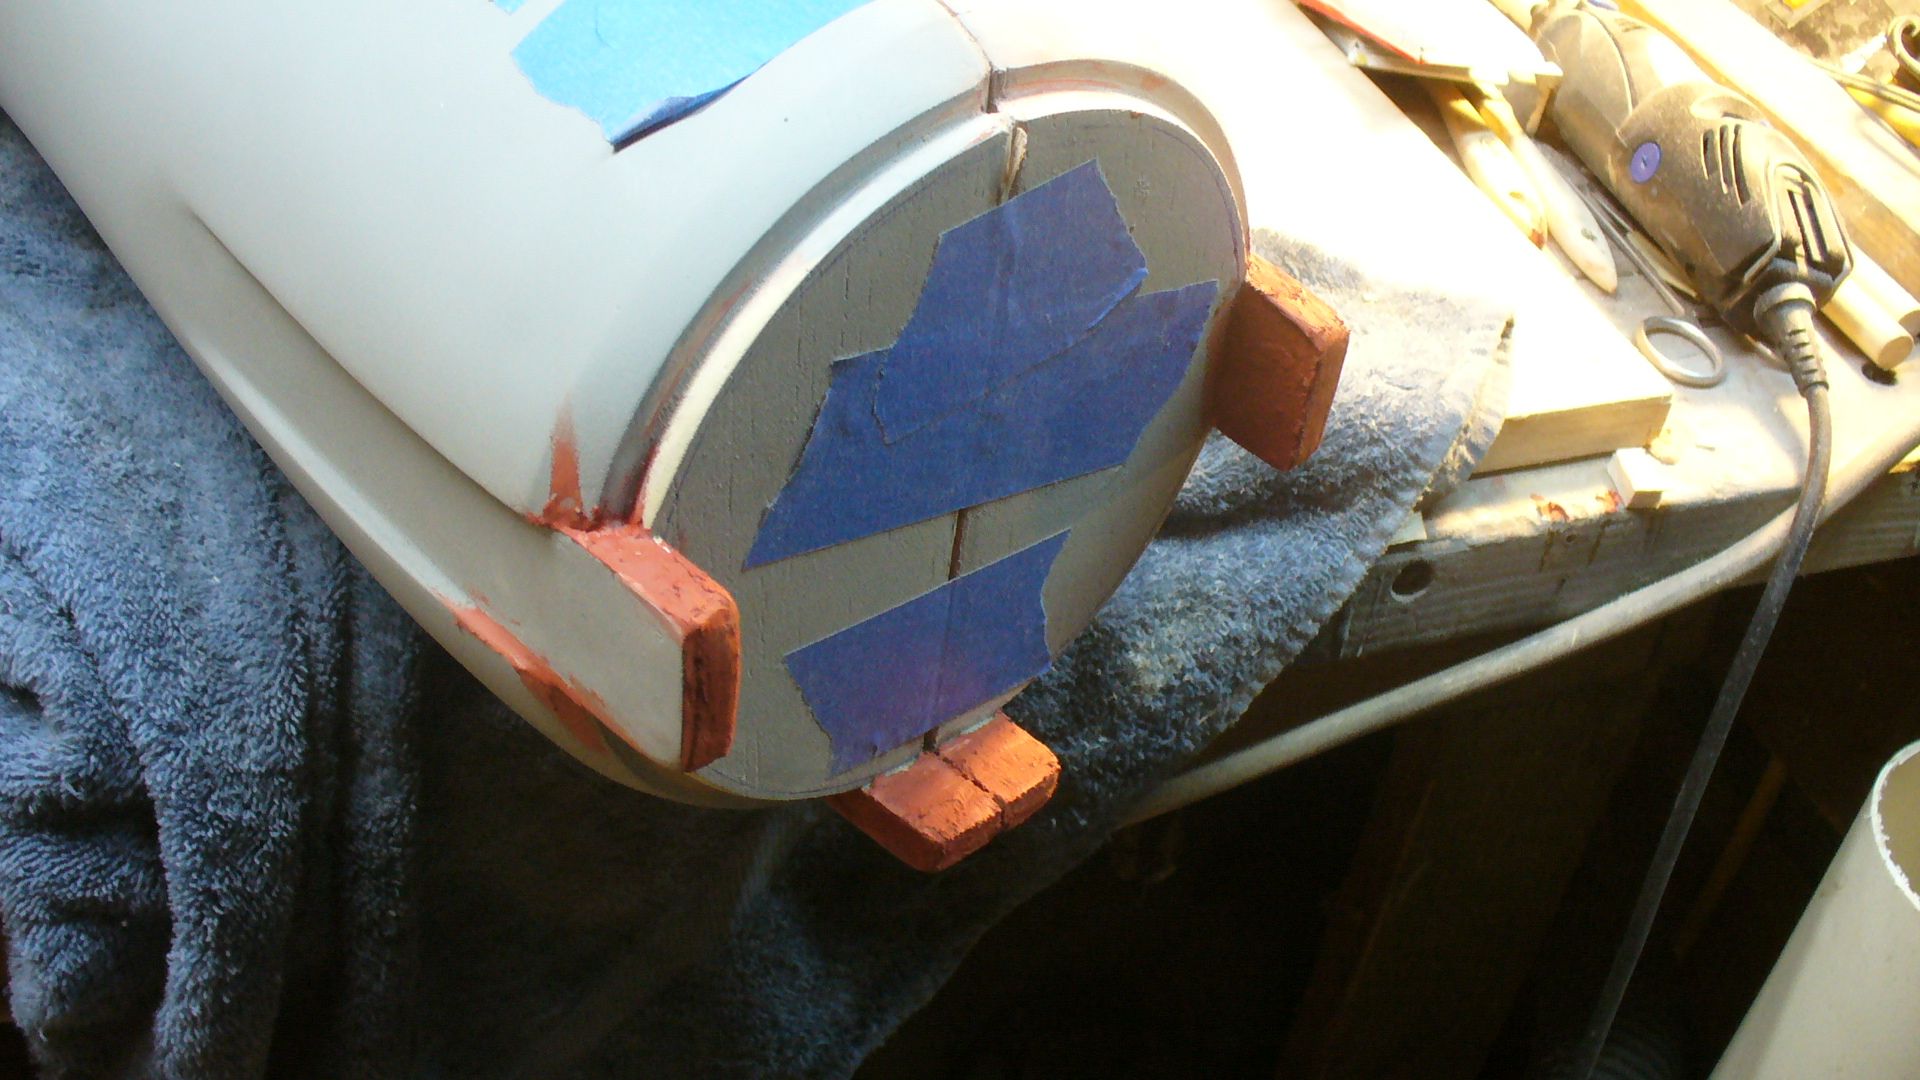
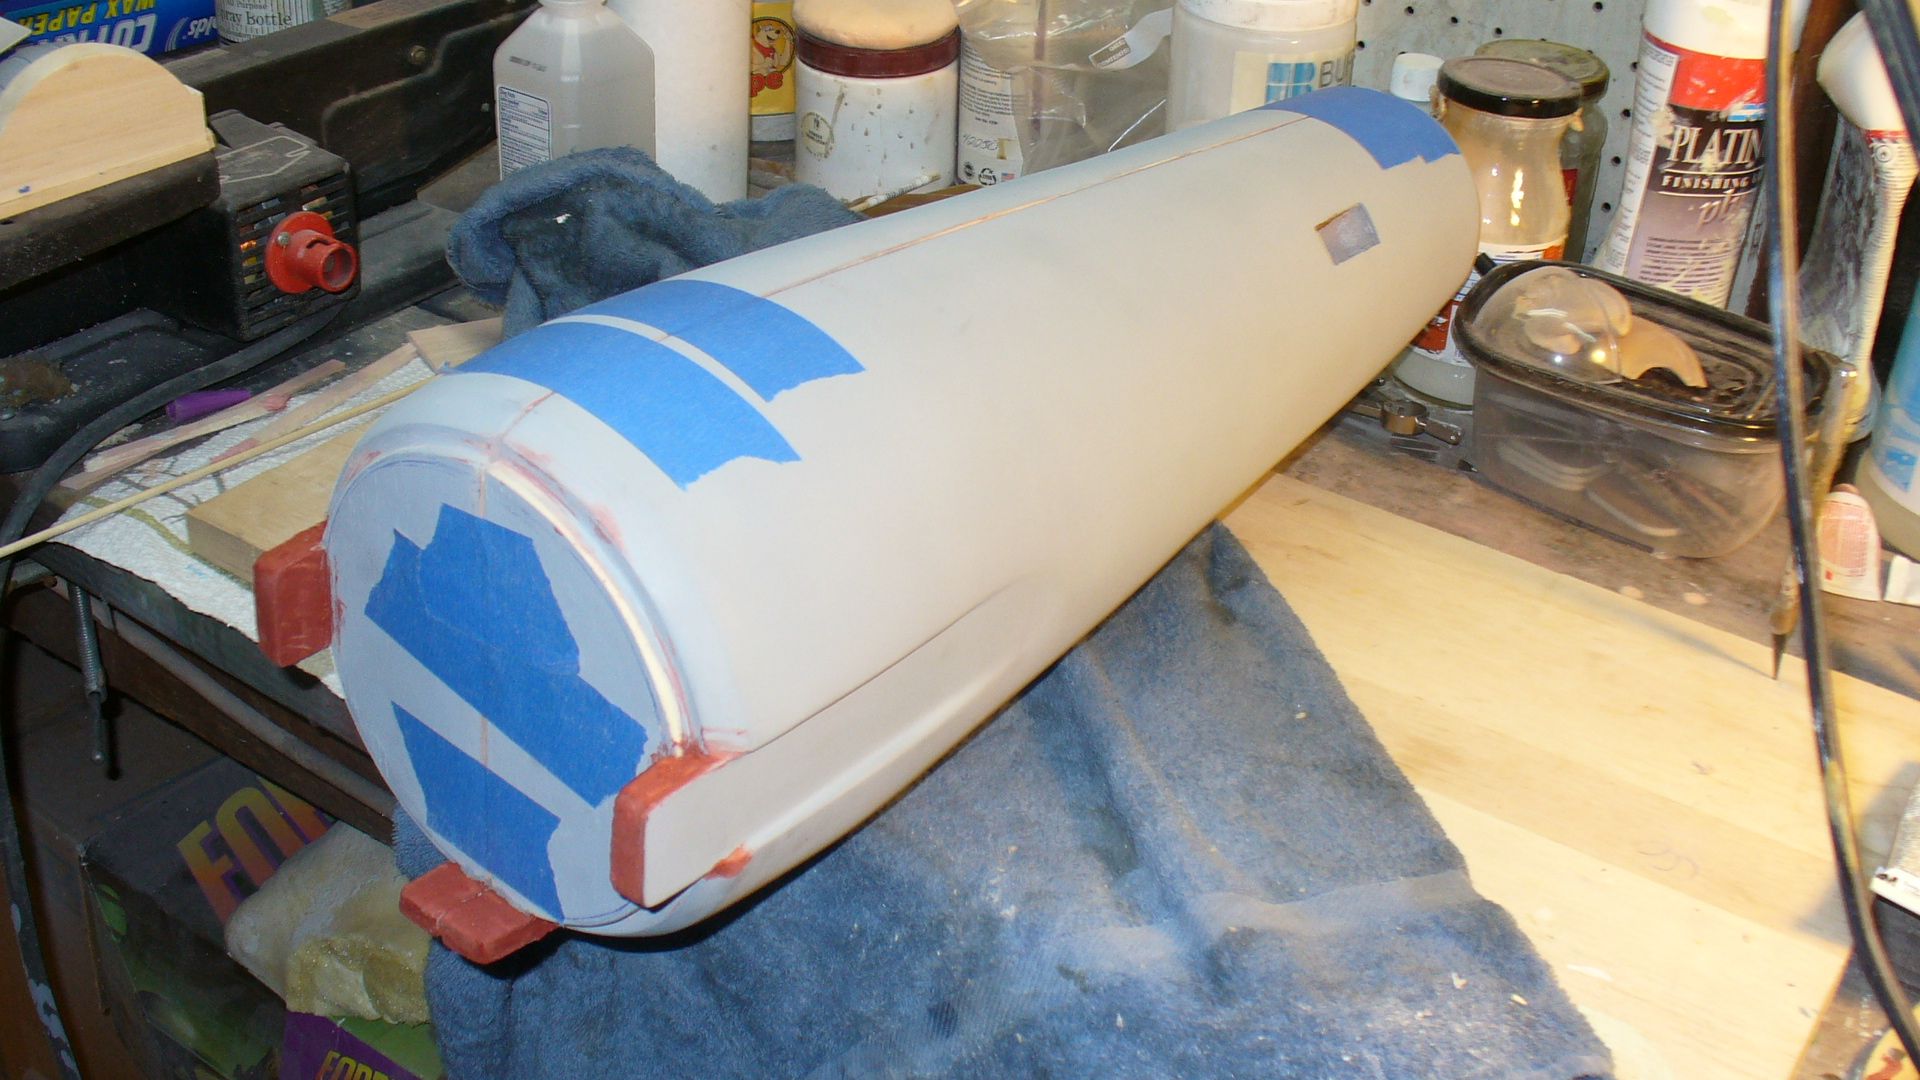
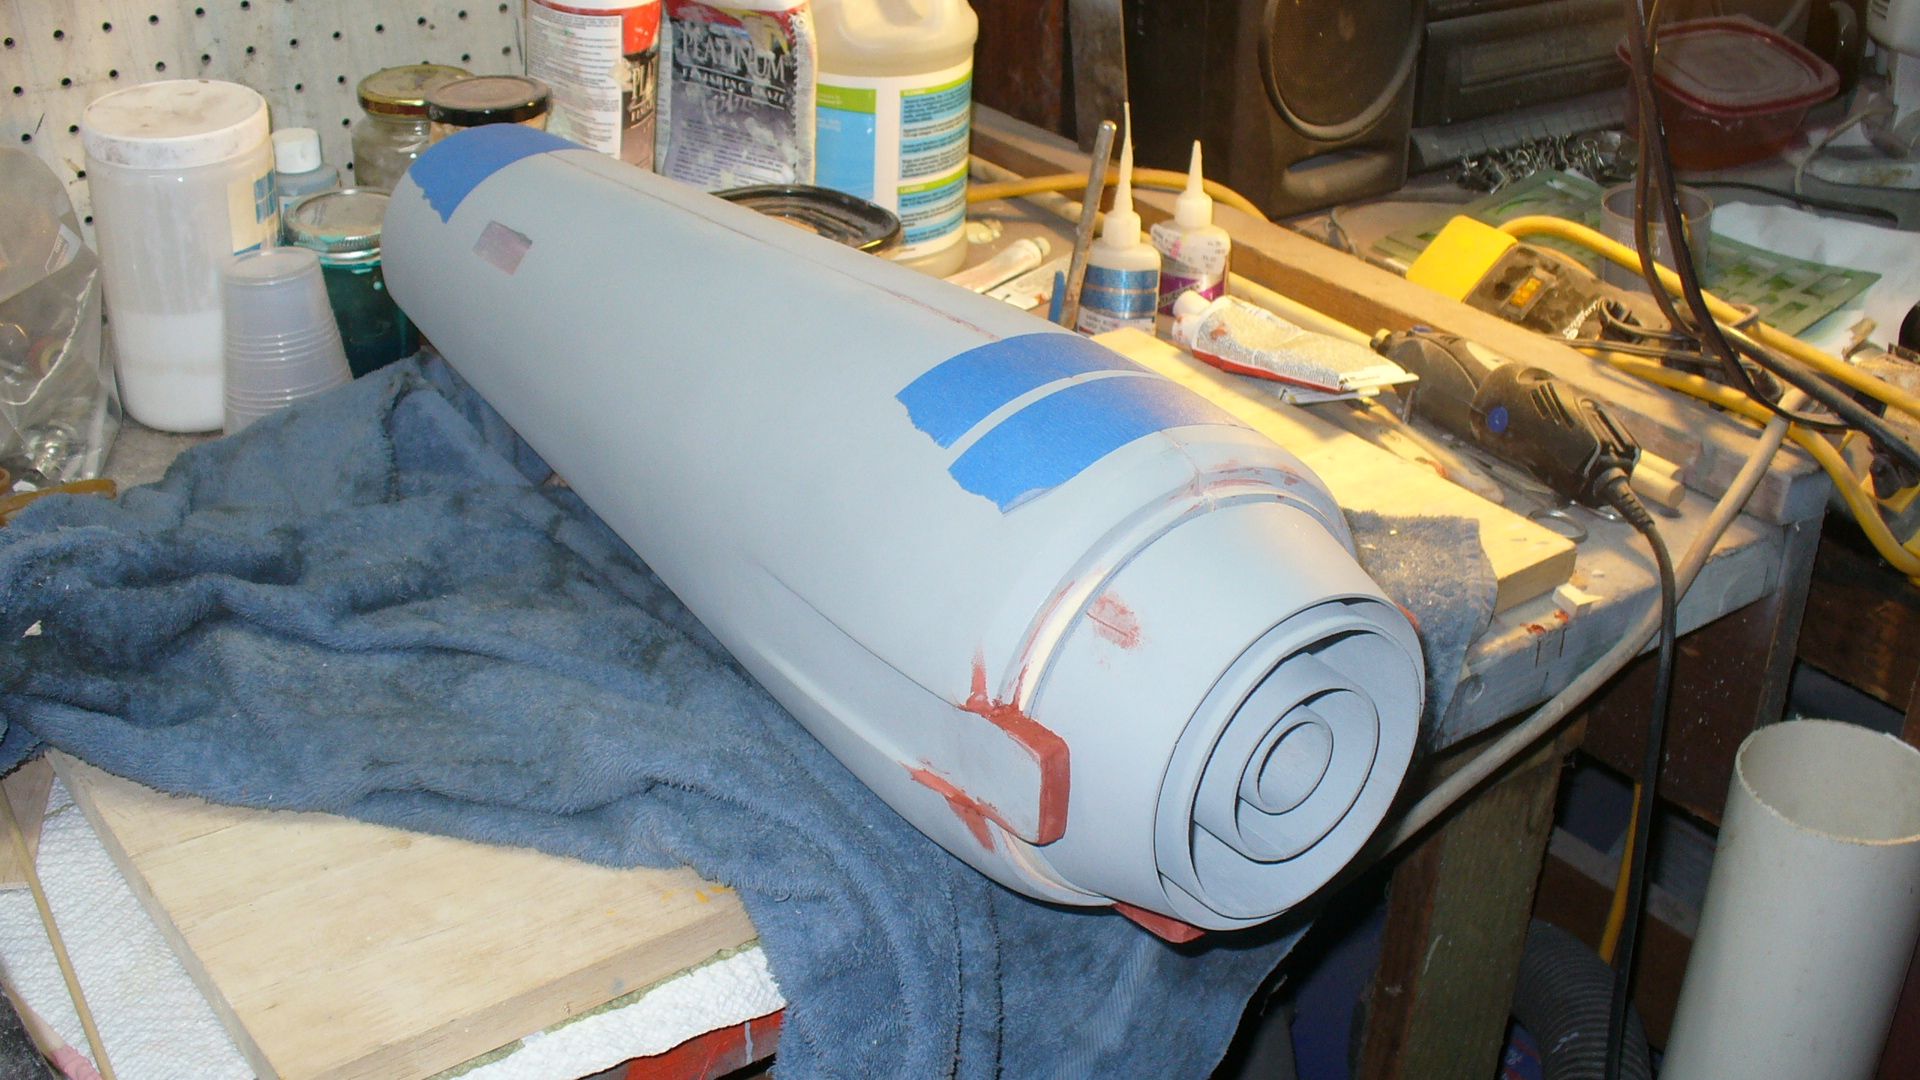
I've placed on the front ends of the hulls the array gets mounted to and blended them in. Tomorrow I can fill in behind the flat tabs sticking out of the hull with wood and taper it to fit the array outer cone.

Once the nearly two cans of primer completely cure out I can start scribing windows and attach the neck.

More tomorrow.

Steve

P1050619.jpg


P1050622.jpg


P1050623.jpg


P1050625.jpg
 
Last edited:
Steve, this build is awesome and all, but I have just one thing to say:

Dude, you were in Laserblast! :D :thumbsup
 
I wish I had the skills AND the space for it (and of course the understanding wife, lol). This by far is my favorite RPF thread!
 
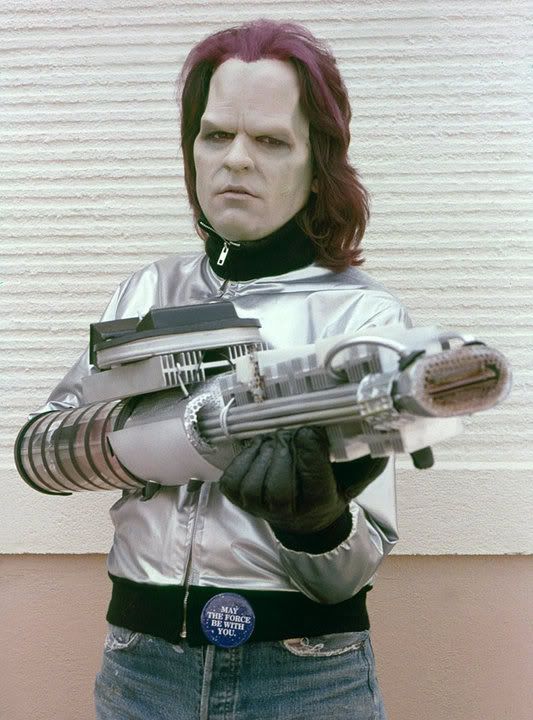
Yes I was in Laser Blast. You got me and just for you here's a rare picture of me in the test make-up I did before I had the eye contacts. Talk about dated! Super Geek but I was being paid for it! LOL!

30909_424881393622_602313622_559751.jpg


And a big thanks to you two guys. Work on the wife and try and do something like this. It doesn't have to be big and it could be a bit more simple but you may find that you do have the skills. One thing leads to another and you can always ask me for help on how to do it.

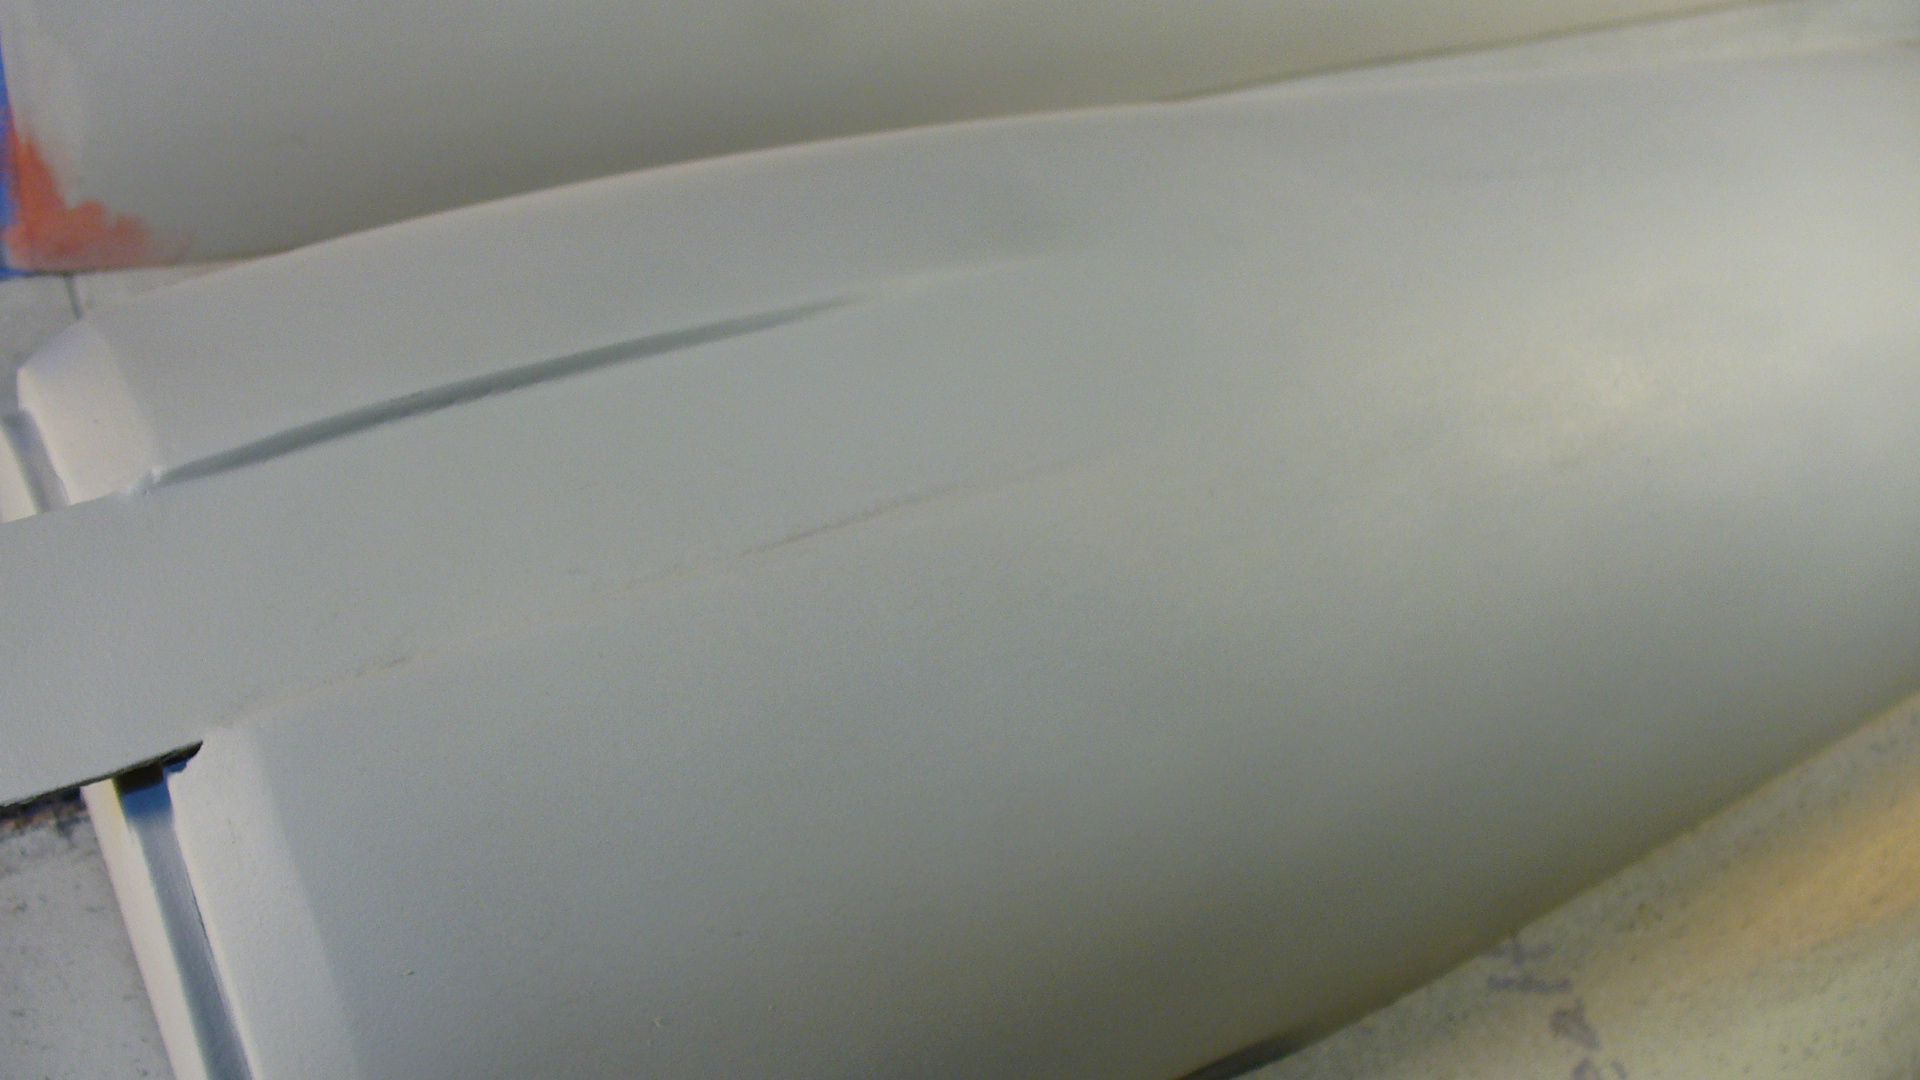
Well all I did today was spot and point. Until the hull was nice and smooth. Although there's still some pointing up to do on the indentations. But all the big sandiing and smoothing is done. Just the little stuff left to do.

Neck is perfect and ready to scribe. So tomorrow I'll add those blocks behind the tabs and finish the pointing. Scribe the neck and hull and add the neck to the hull.

Things will slow down a bit for the next 3 days while I finish off a Russian RC sub model for a customer. But I'll do both!

Steve

P1050656.jpg


P1050657.jpg


P1050645.jpg
 
Yes I was in Laser Blast. You got me and just for you here's a rare picture of me in the test make-up I did before I had the eye contacts. Talk about dated! Super Geek but I was being paid for it! LOL!

Thanks a bunch! I have always had a soft spot for that movie. (I saw it in its initial theatrical release, so talk about dated...) I tried to build the gun but I think I only got as far as taping two coffee cans together.

Maybe we can pick your brain in a dedicated Laserblast thread someday?
 
Steve- I really envy your skills! I can't wait to see this model finished. You make model making look easy my friend, and as all the the rest of us mere mortals know - it is not!!!

Live long and prosper
 
Thanks guys for all the kind words and there maybe a gun some day made. I had a friend back in those days named of all things, Jim Kirk. And he made replicas for sale of the TOS props so yes I had access to them for the gun. In fact the Tricorder you see on my work bench was just restored and it was one of the original Jim Kirk props. It's covered in my blog if you look back.

Thanks again guys,
Steve
 
OK. Well...it's called a submarine. And I'm building it for a customer. Work first as they say. But I will be back to it on Sunday!

Steve
 
Well why I wait on the cold and damp to dry out the paint on that submarine I had some time today to work on the secondary hull.

Got the blocks filled in behind the tabs. There's still a gap to fill. Custom Replicas had that filler attacked to the array cone. But I extended the thickness of the blocks in as close as I could go and still get the array to fit. When the actual epoxy parts from the molds get assembled it will be easy to fill this slight gap in with a finishing glaze putty.

I'm getting real close to attaching the neck and scribing so I can move on to the last part of these masters. The nacelles.

I've had a lot of people ask me how will I light this model. Remember. These are the masters not the actual model. The masters will be molded and the actual model made in epoxy glass. Just in case you new to this thread and didn't go back a read through it.

Steve

P1050688.jpg


The raw balsa.

P1050690.jpg


I hardened the edges with thin CA and cover with spot putty. This will sit until tomorrow and be sanded smooth.

P1050693.jpg


P1050695.jpg
 
Thanks you very much Kirk.

I'm back at her today. It's freezing cold and damp in the shop but I'm in there tweaking the secondary hull a bit more before I start scribing windows.

Pictures later.

Steve
 
Status
Not open for further replies.
Back
Top