Koda Vonnor
Well-Known Member
I'm in the process of building another Rahm Kota. I know, it's the same dude I built back in '08 but his new armor is sick, so here I go again. :cool
(Posts copied from the Rebel Legion forum)
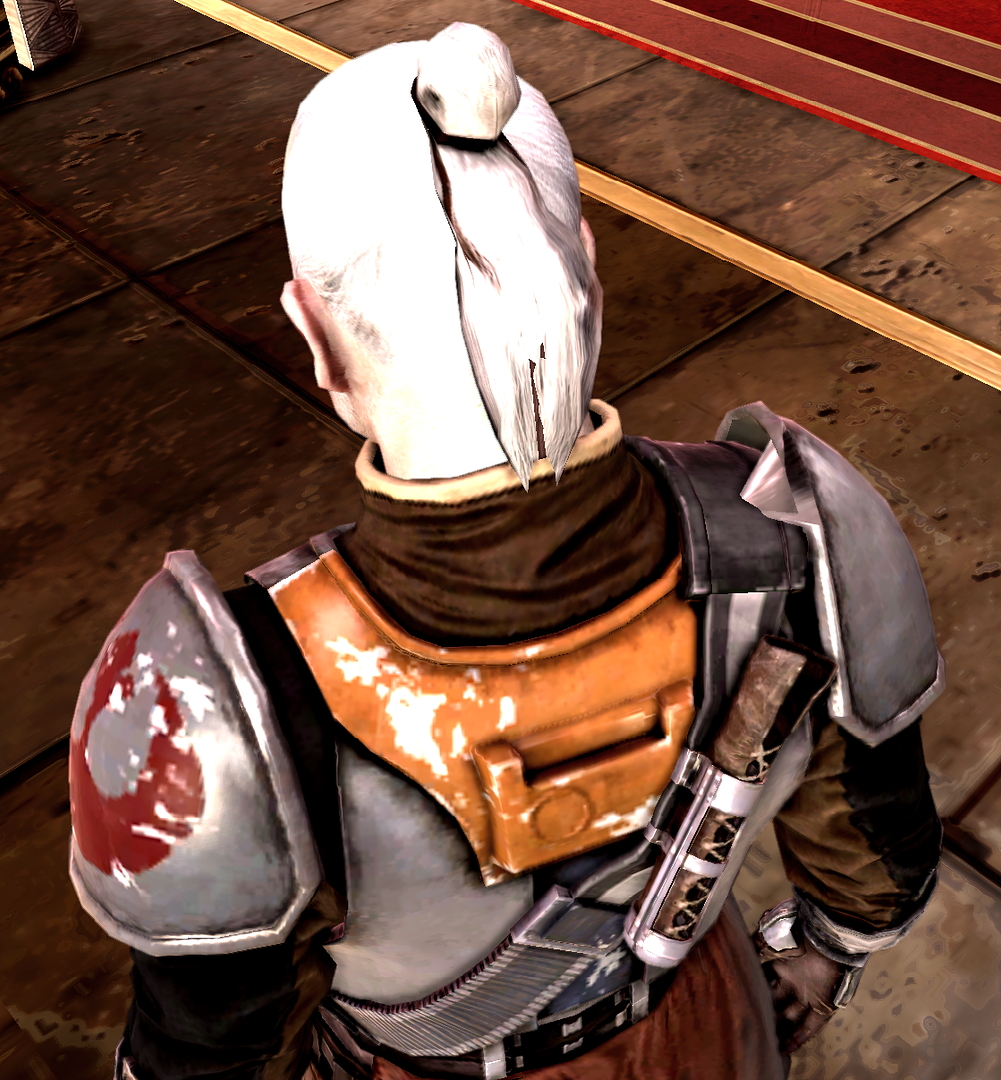
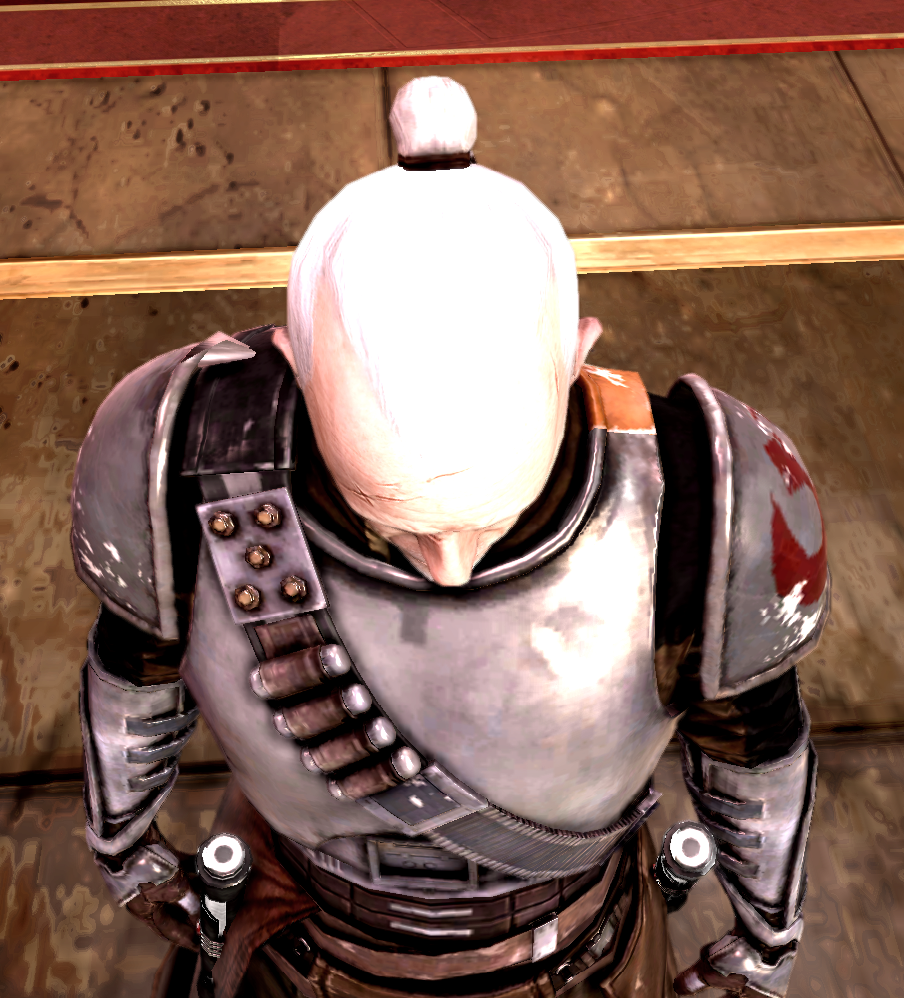
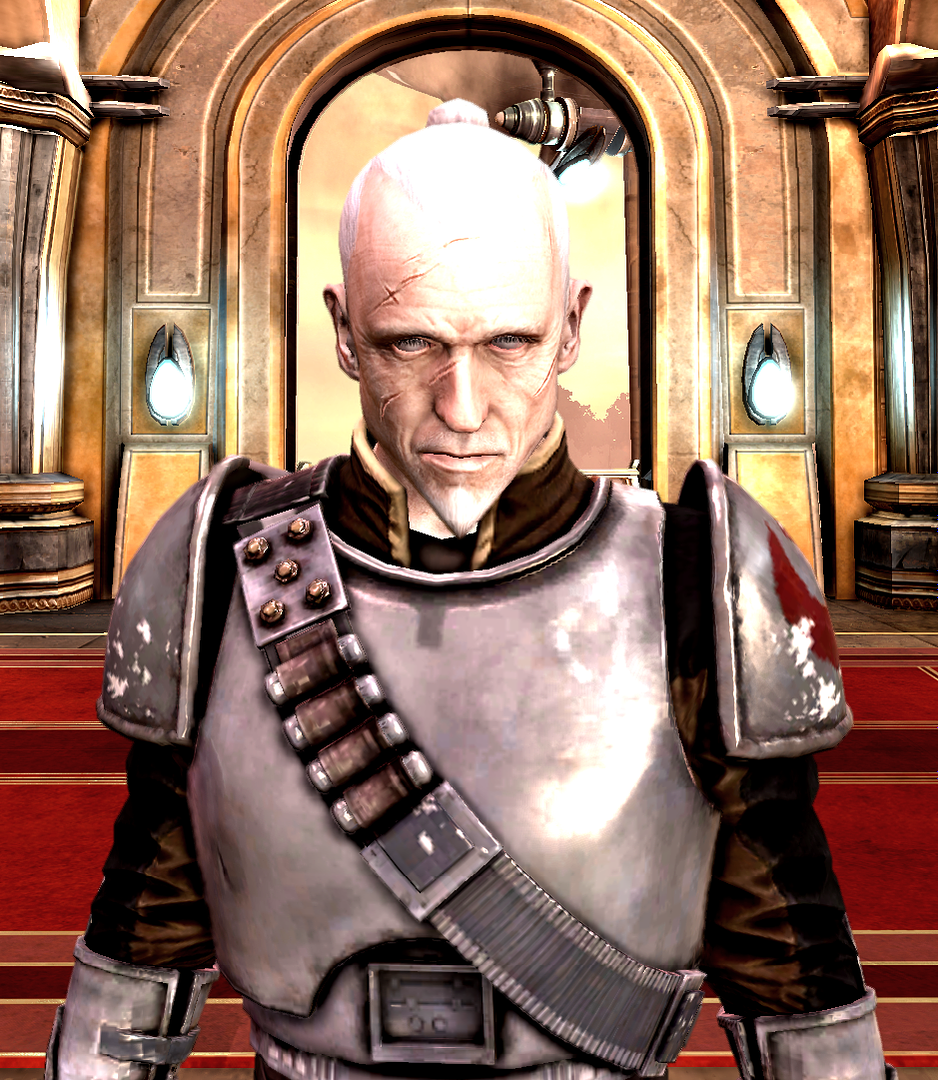
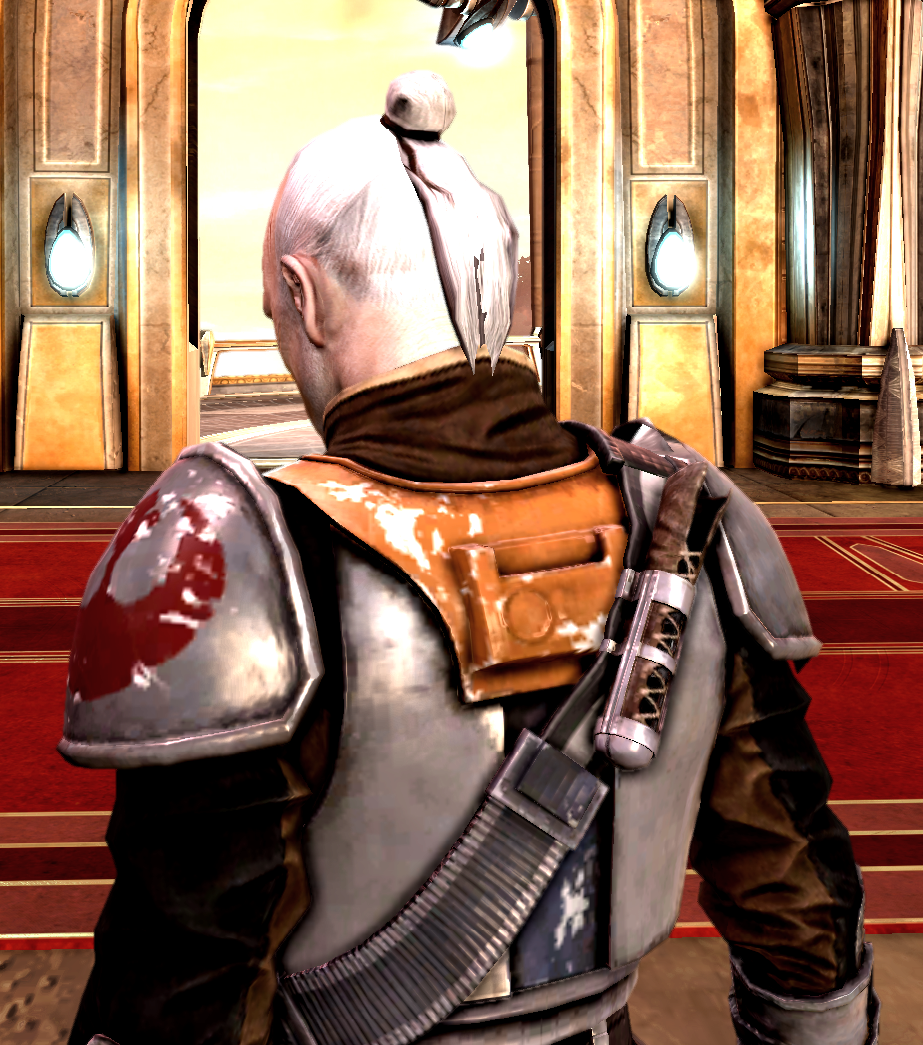
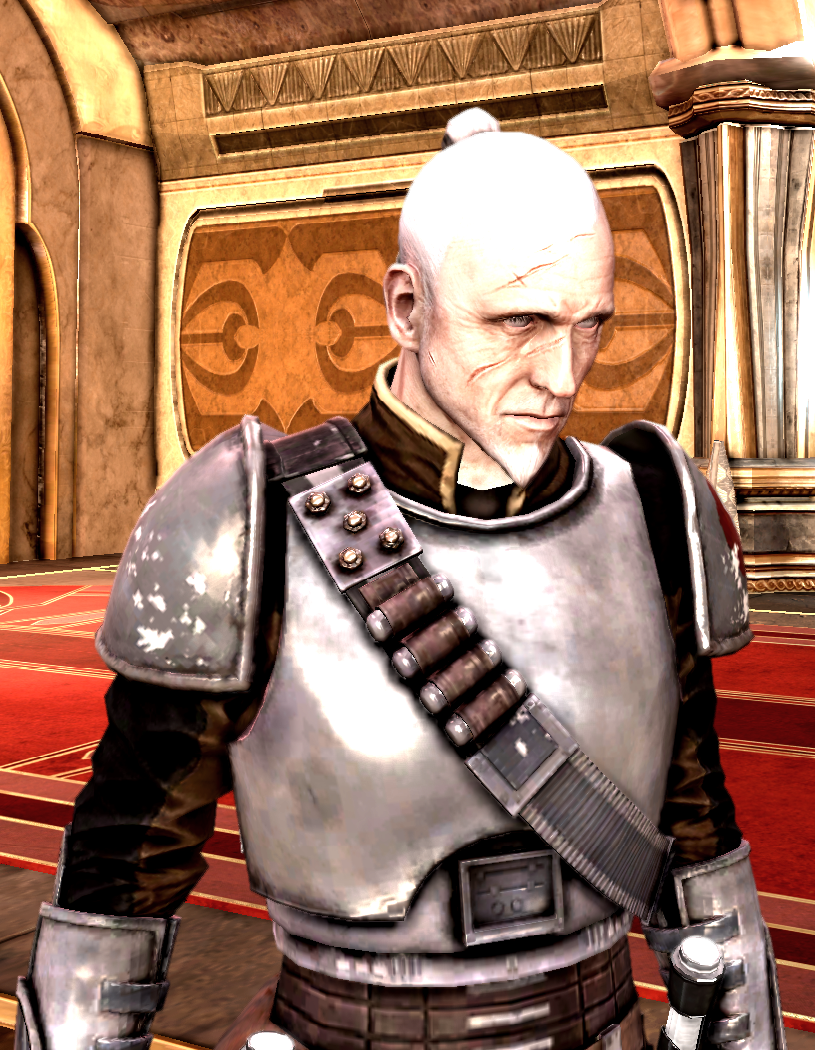
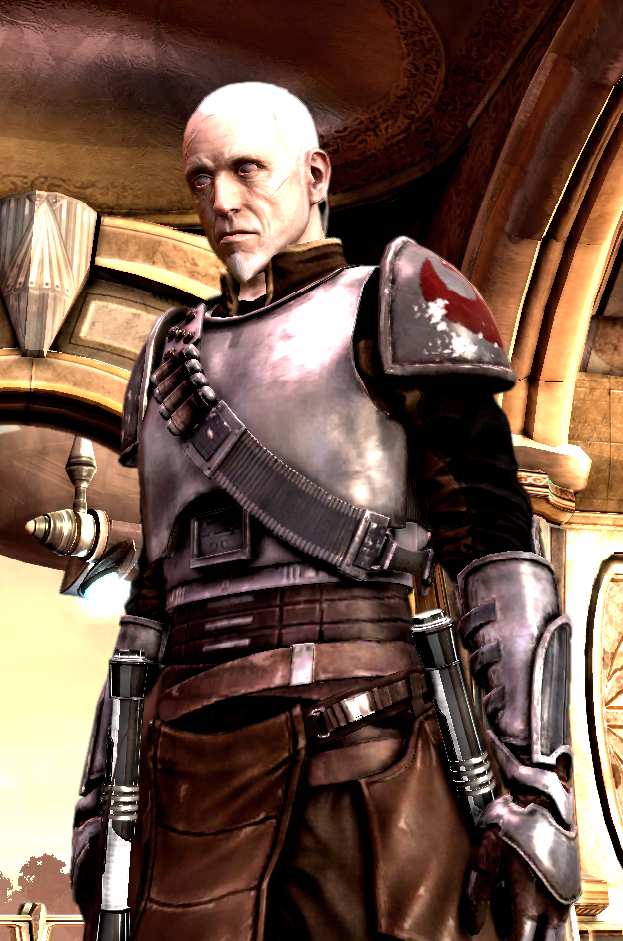
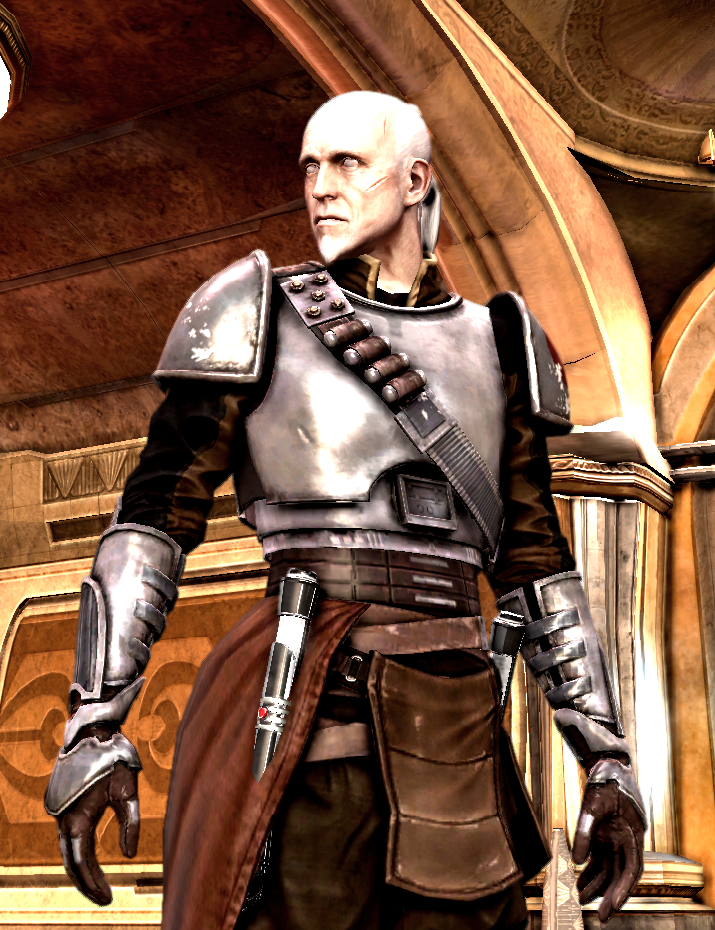
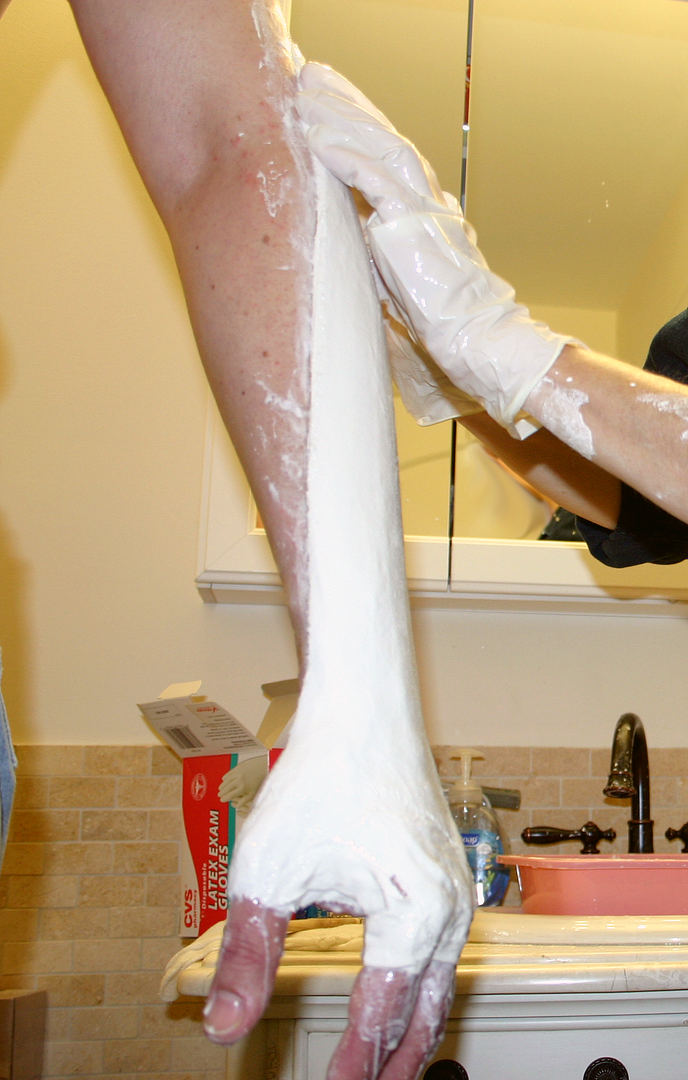
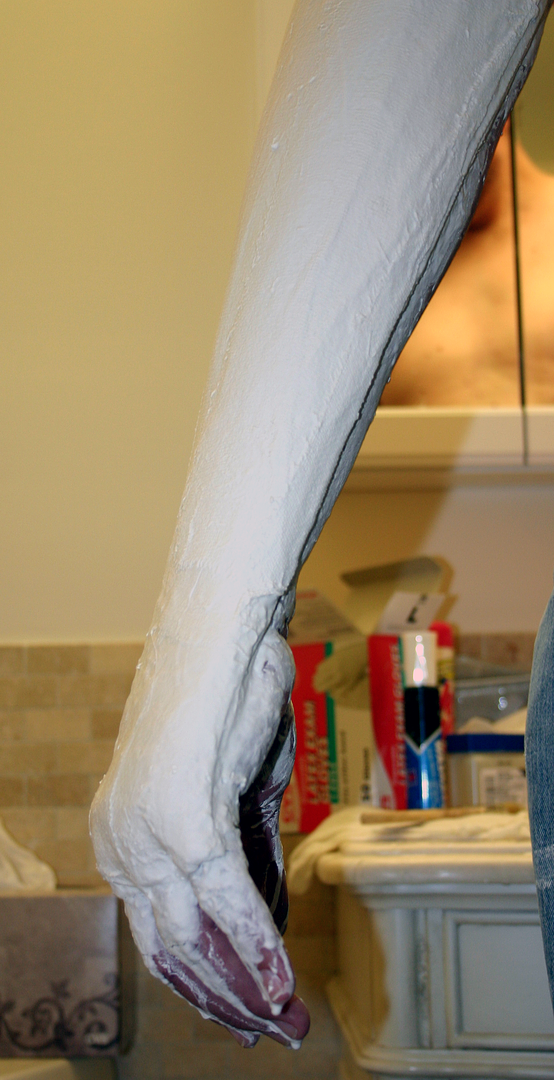
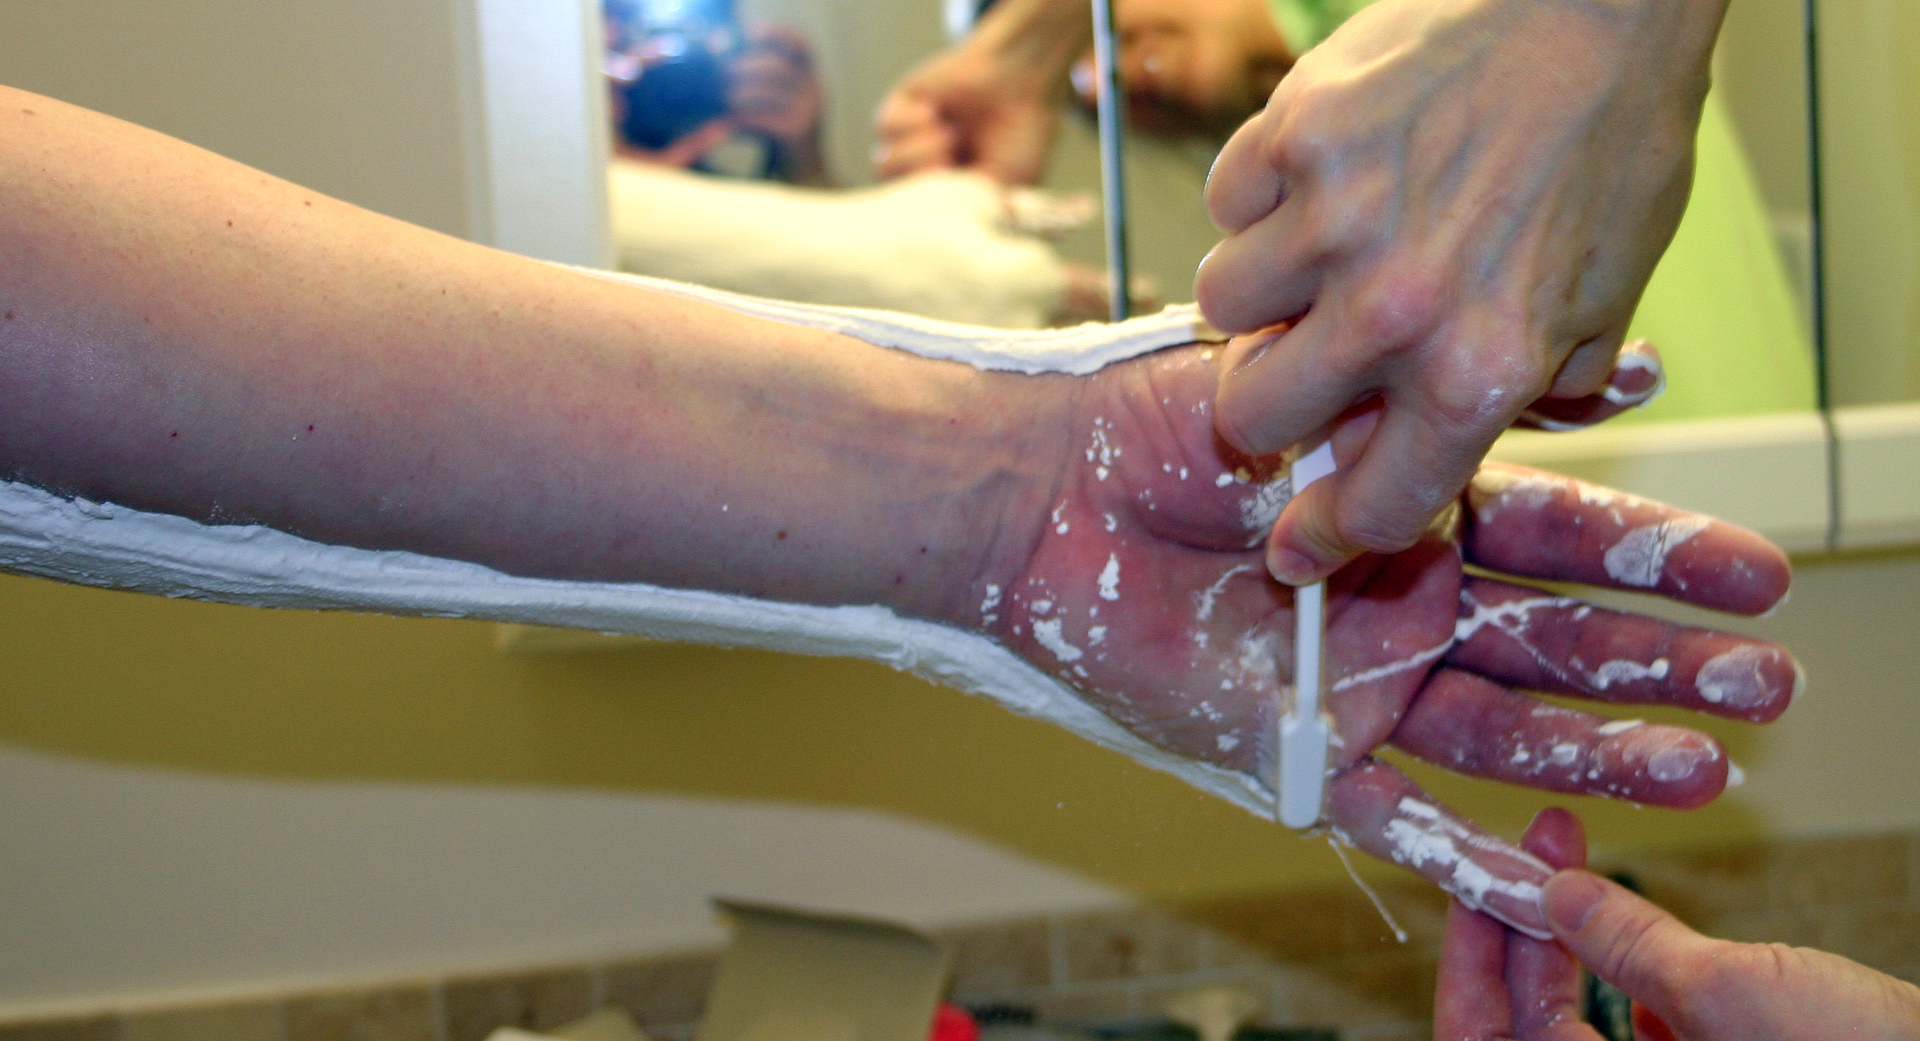
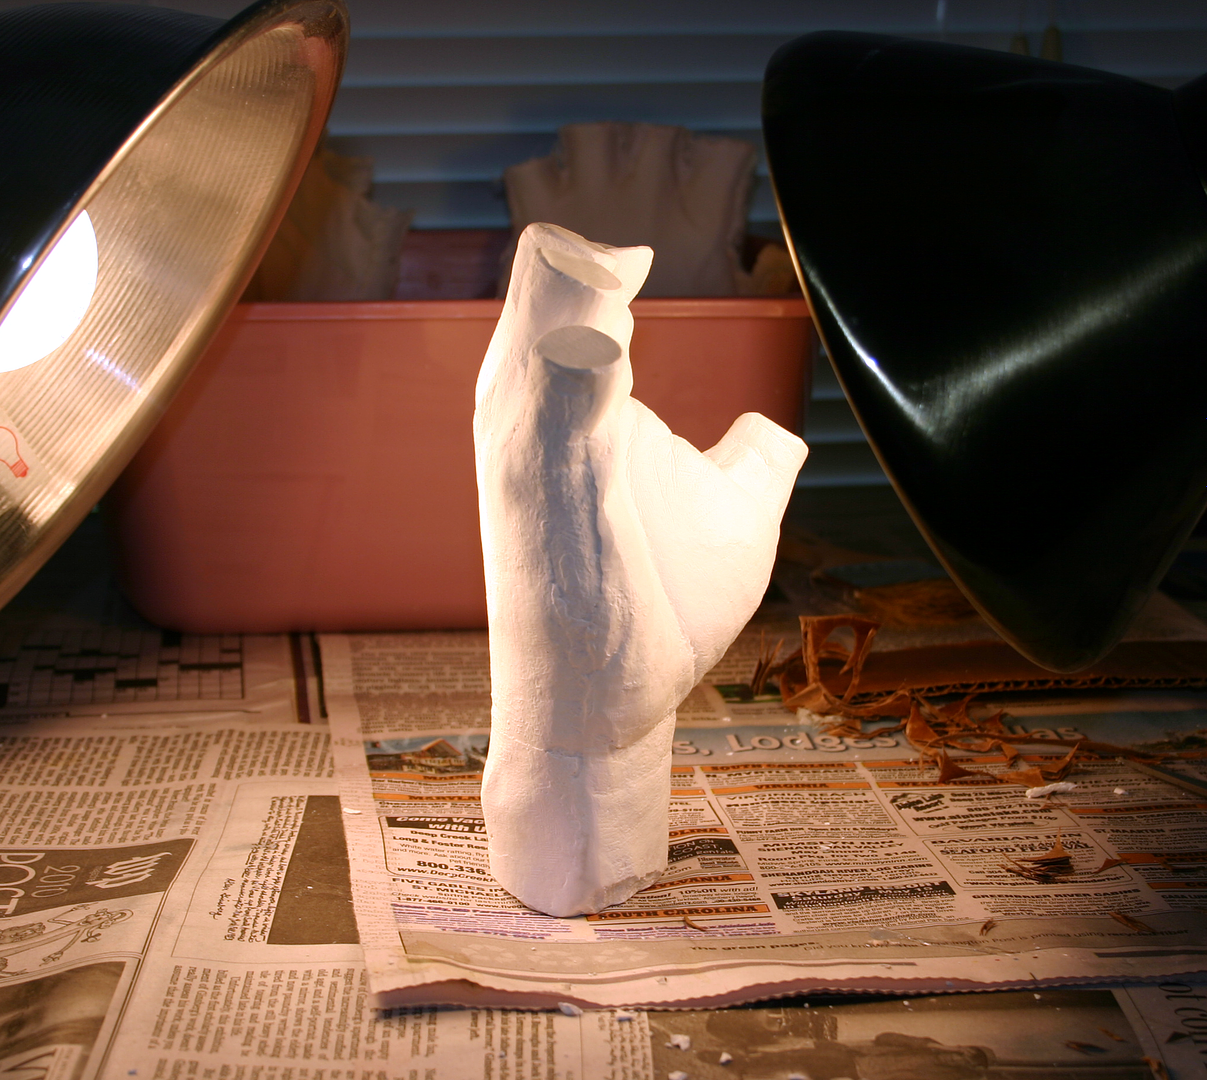
These are the first of many, to be followed by close-up details of all elements from low and high angles. Samples here, the rest in my photobucket
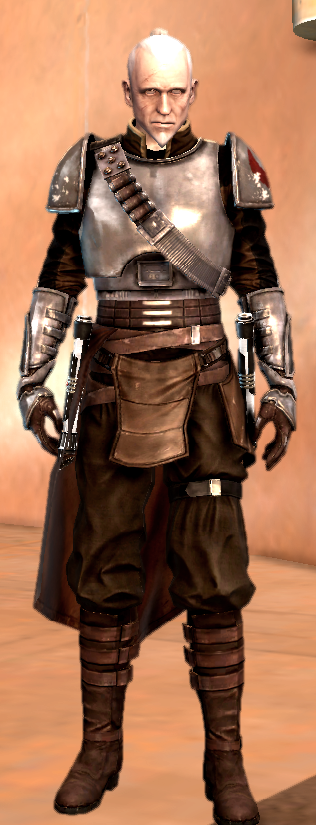
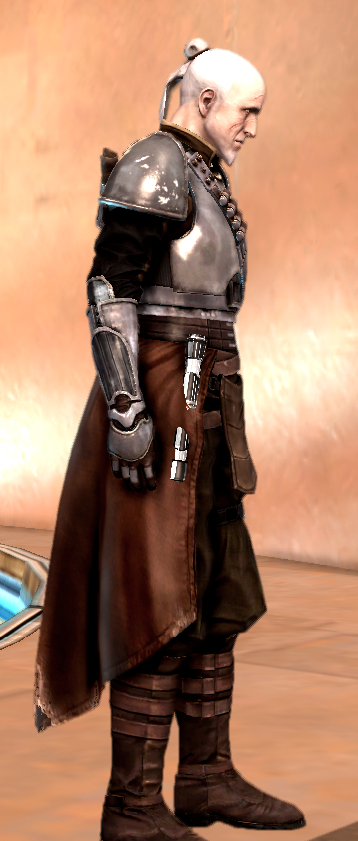
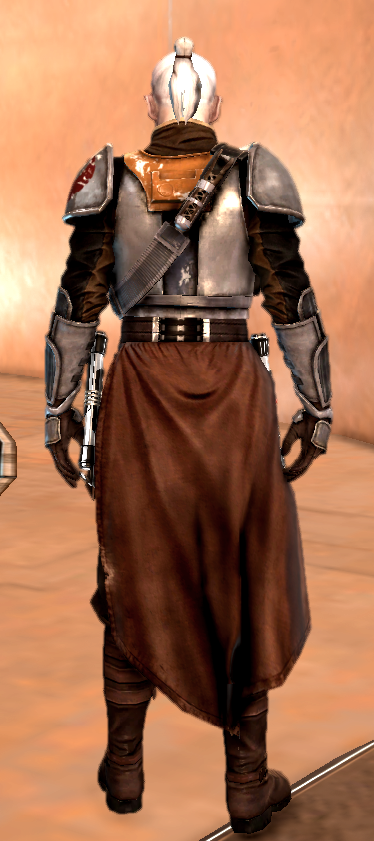
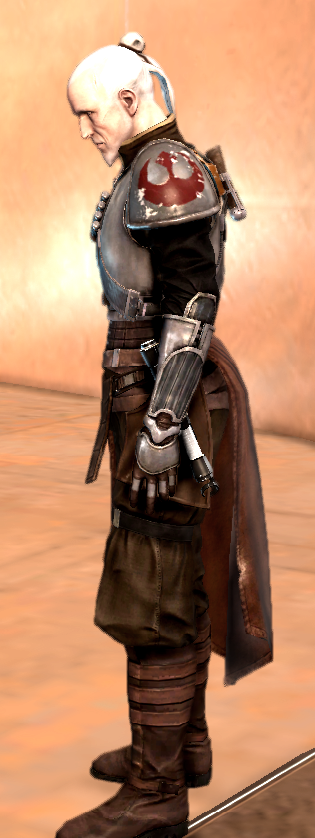
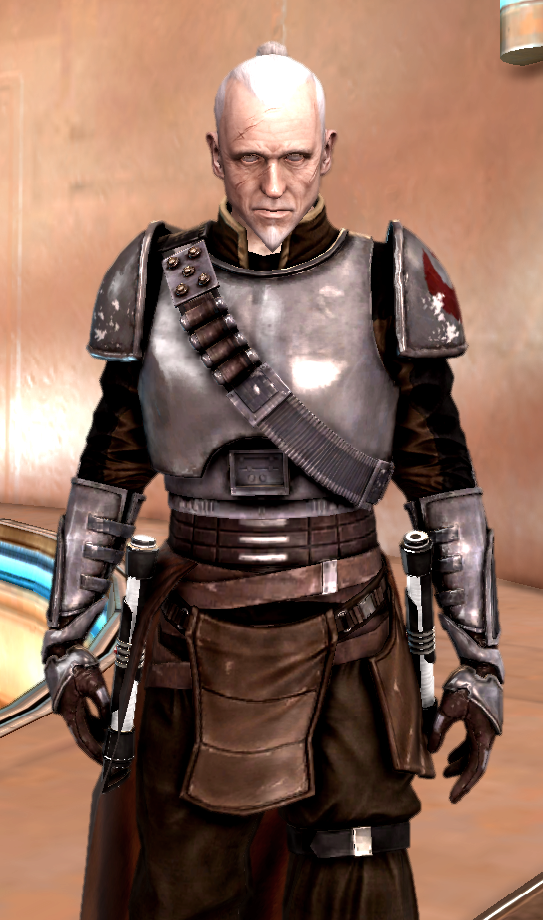
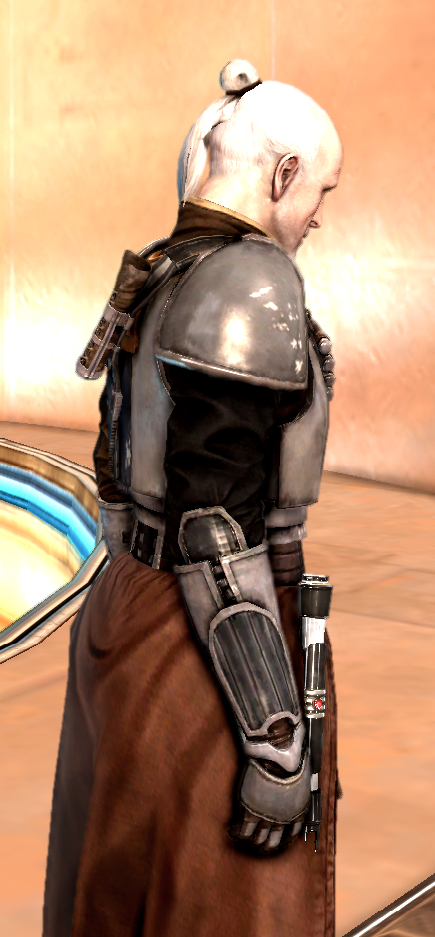
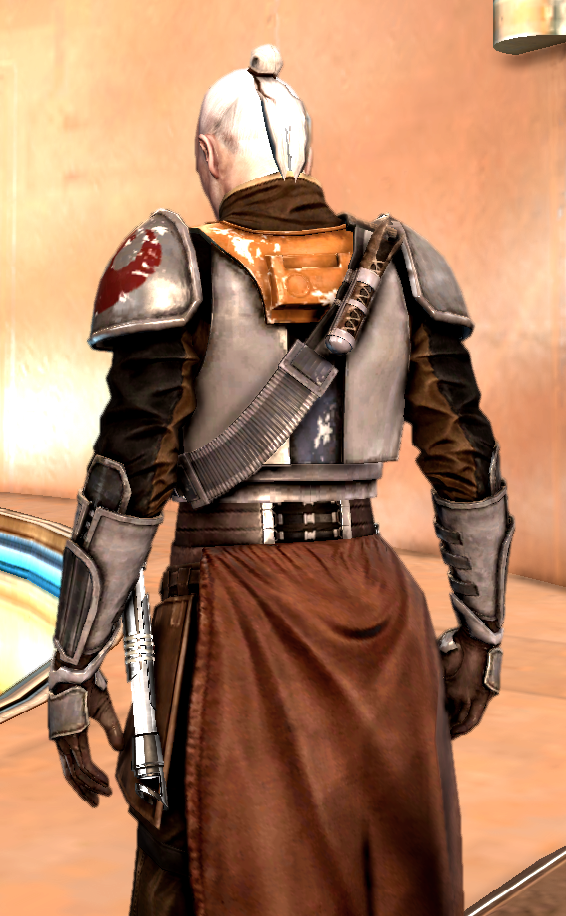
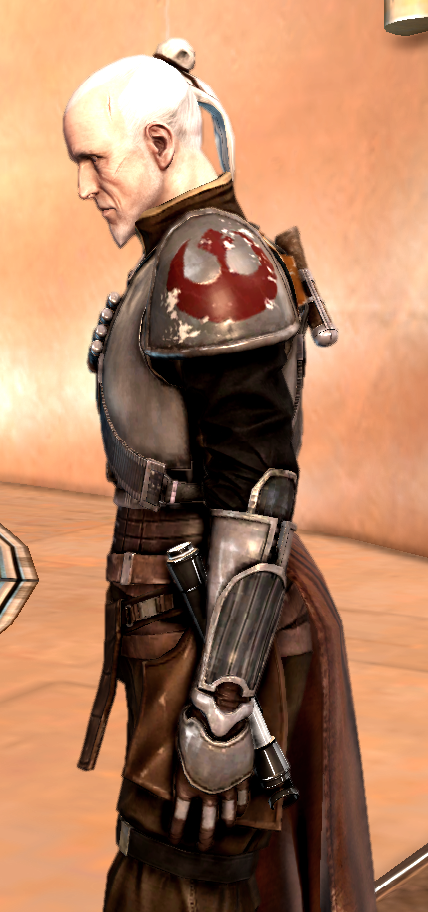
Some interesting details can already be seen even at this range:
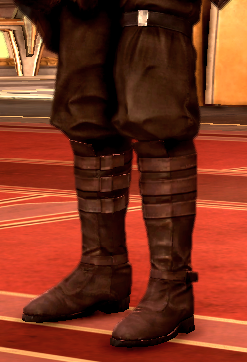
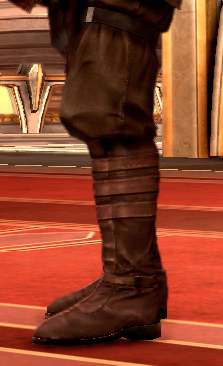
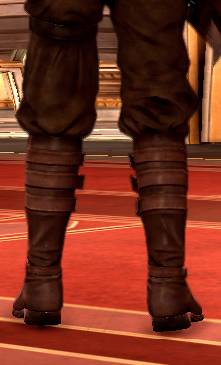
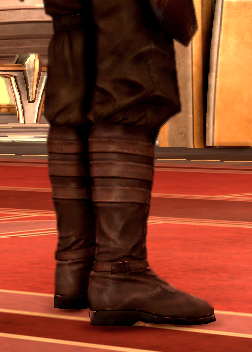
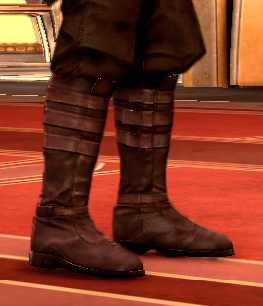
- The boots have front spats and the lowest strap is narrower than the three upper straps.
- The lowest boot straps have the end flap on the outside of the leg (as expected - doesn't interfere with movement of the legs) but the upper straps have the end flaps on the inside of the leg.
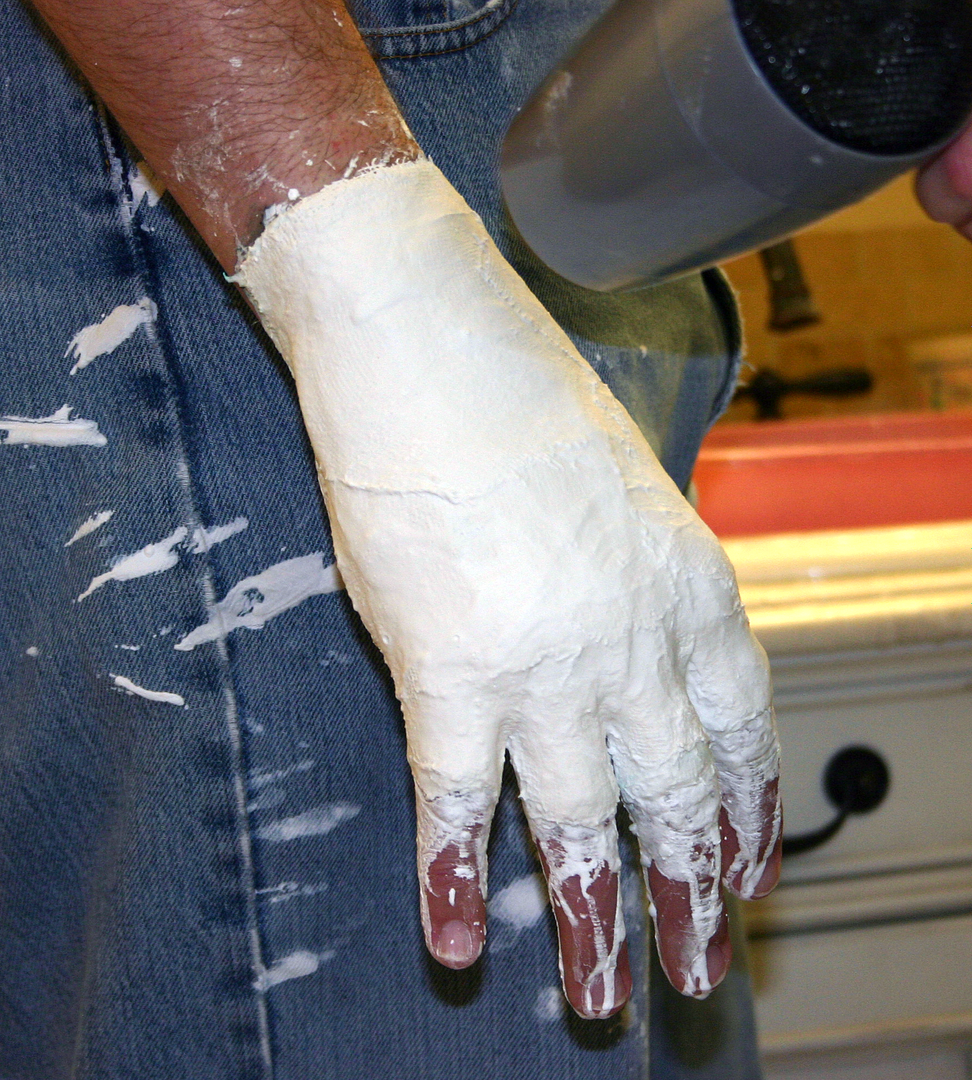
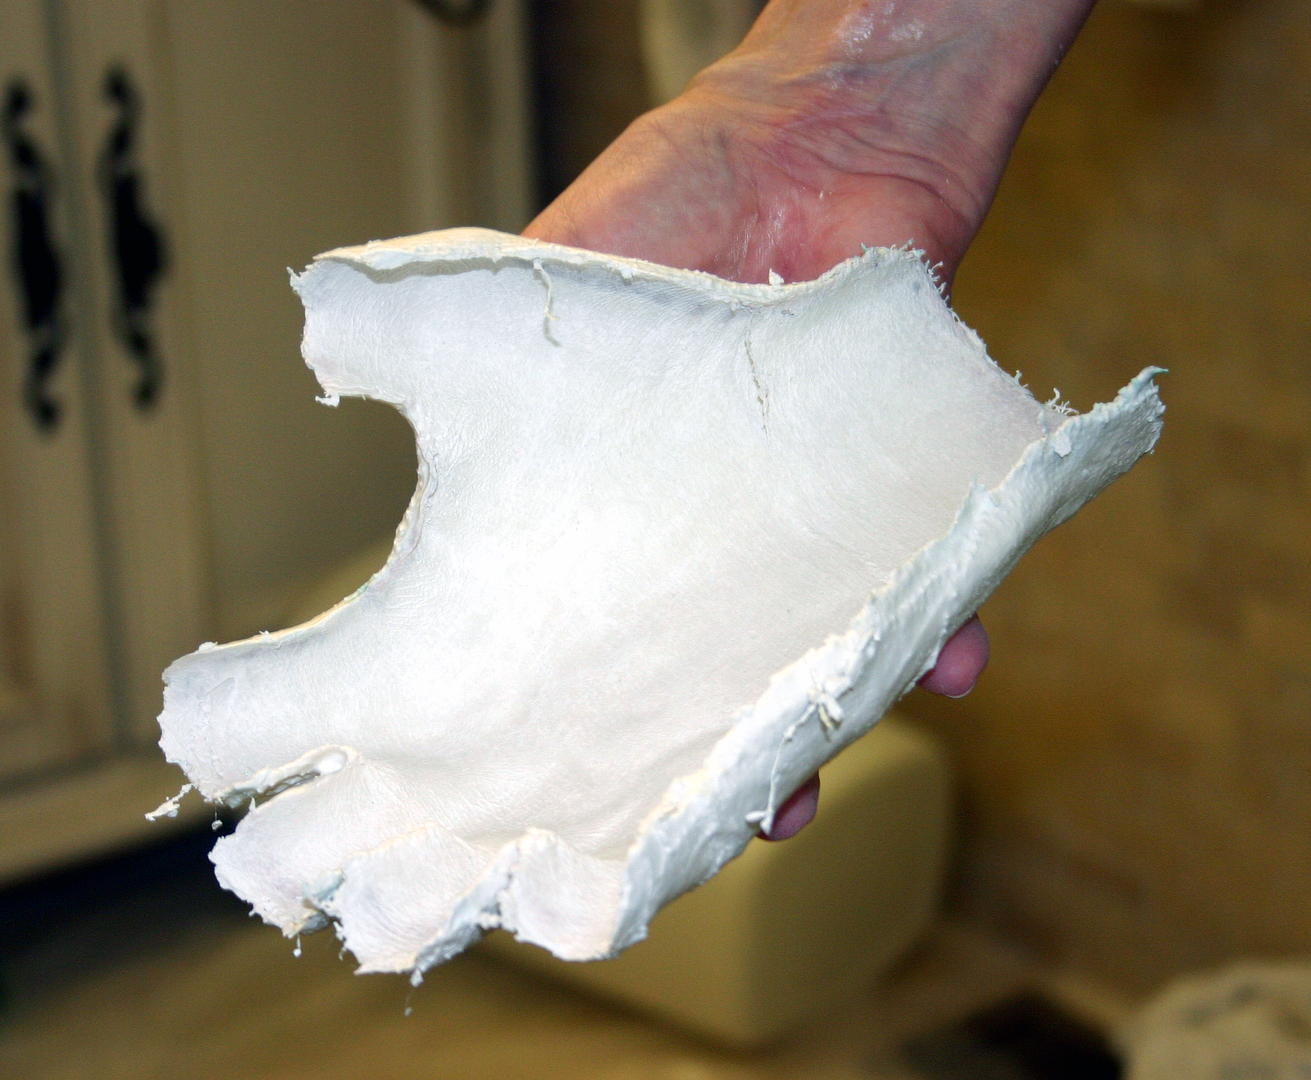
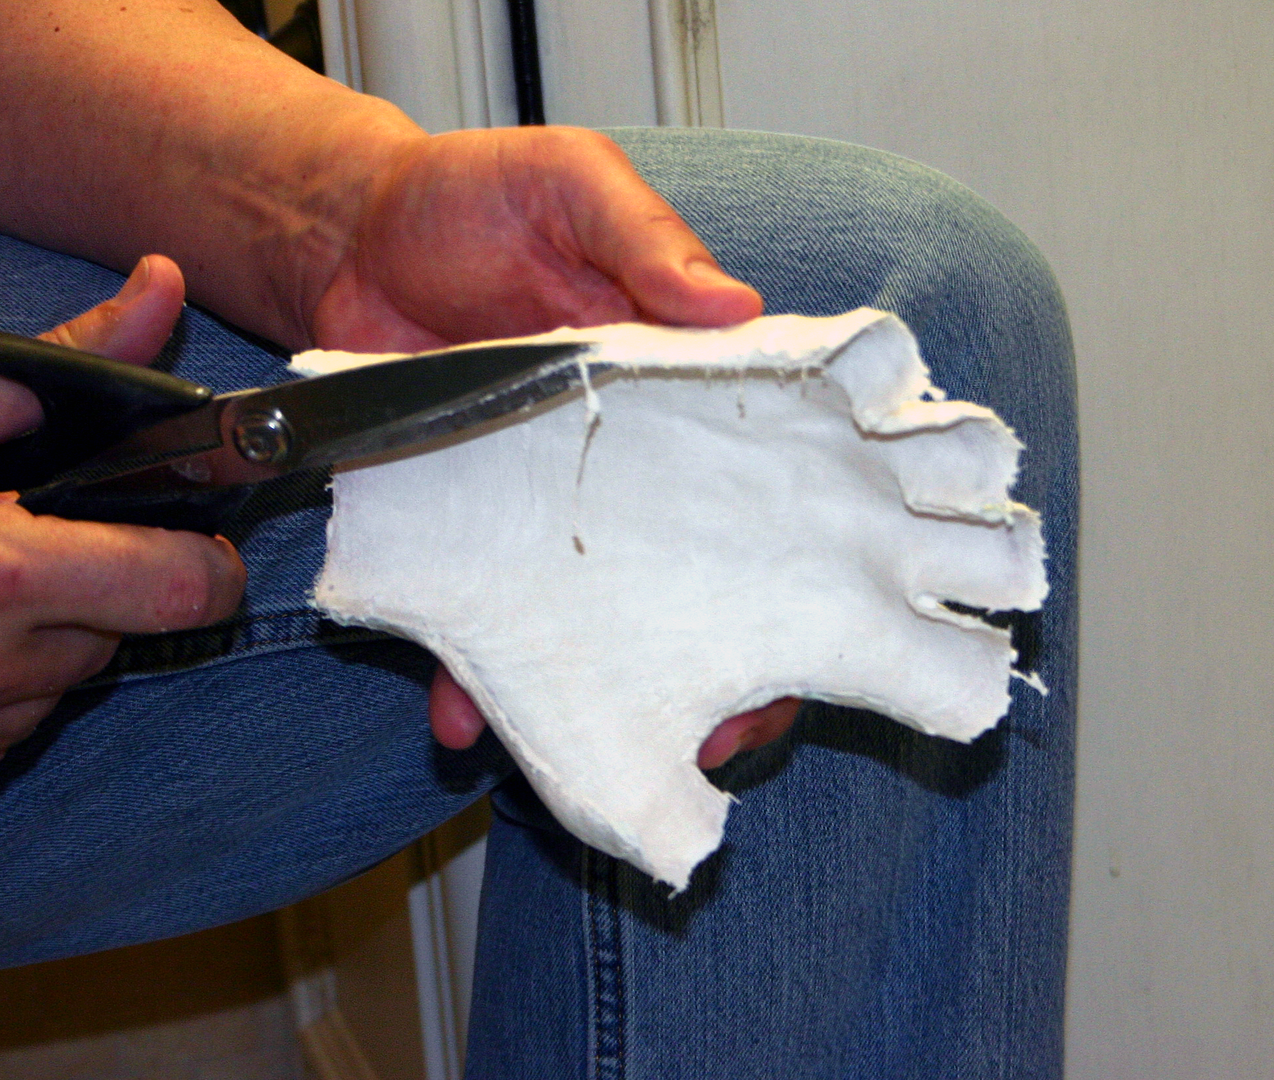
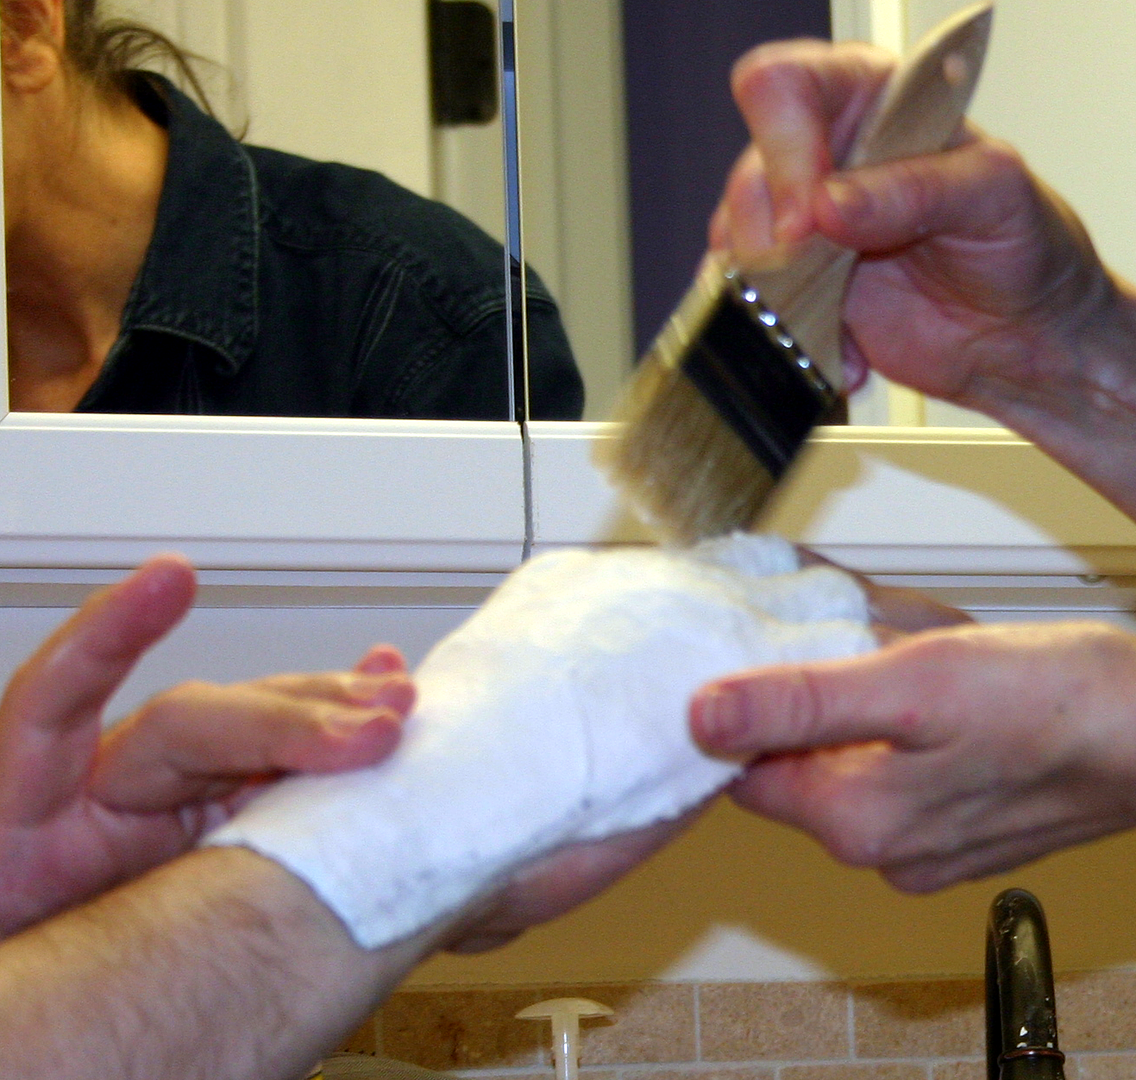
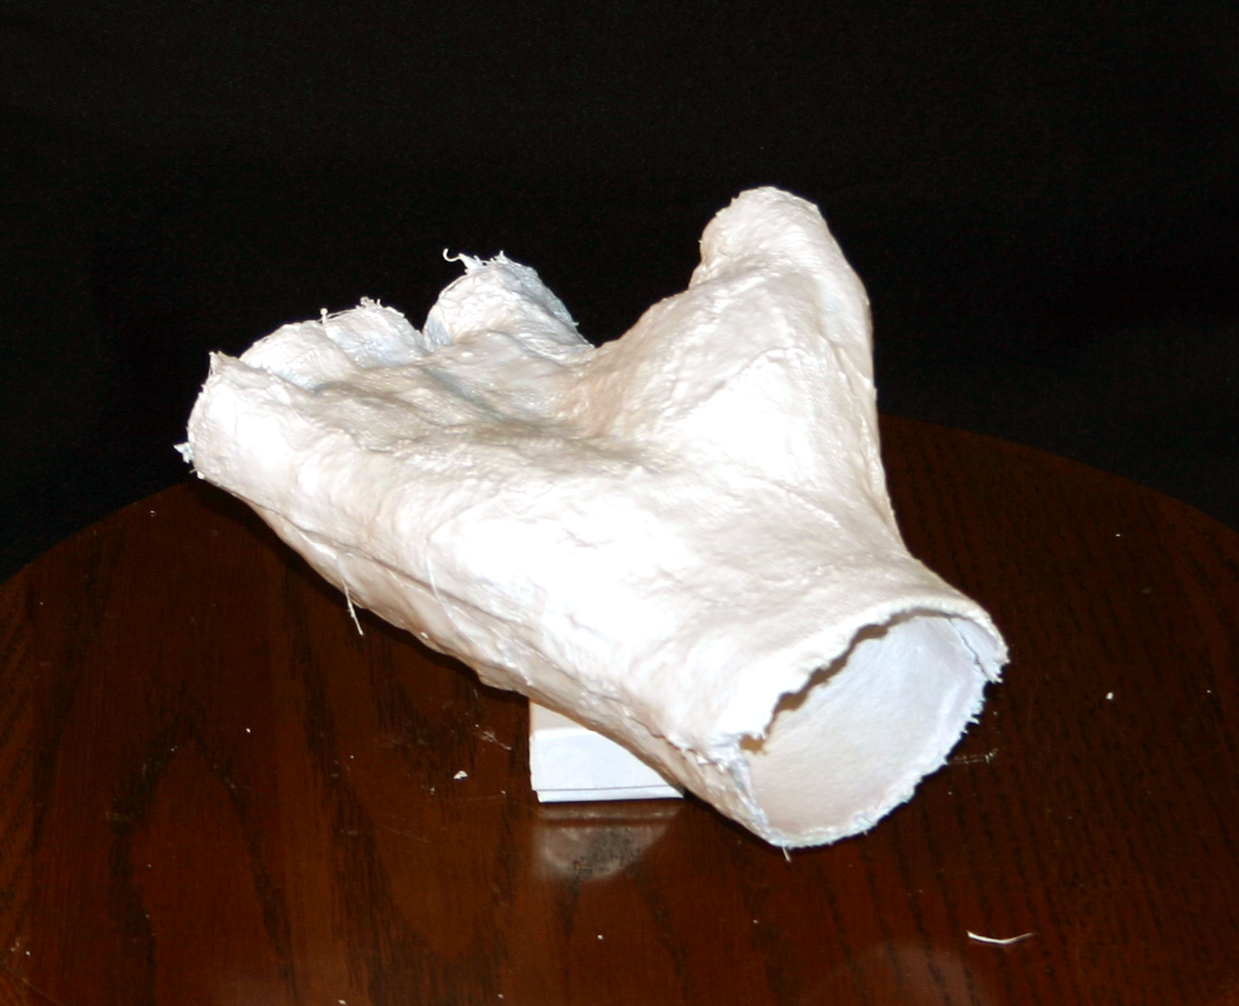
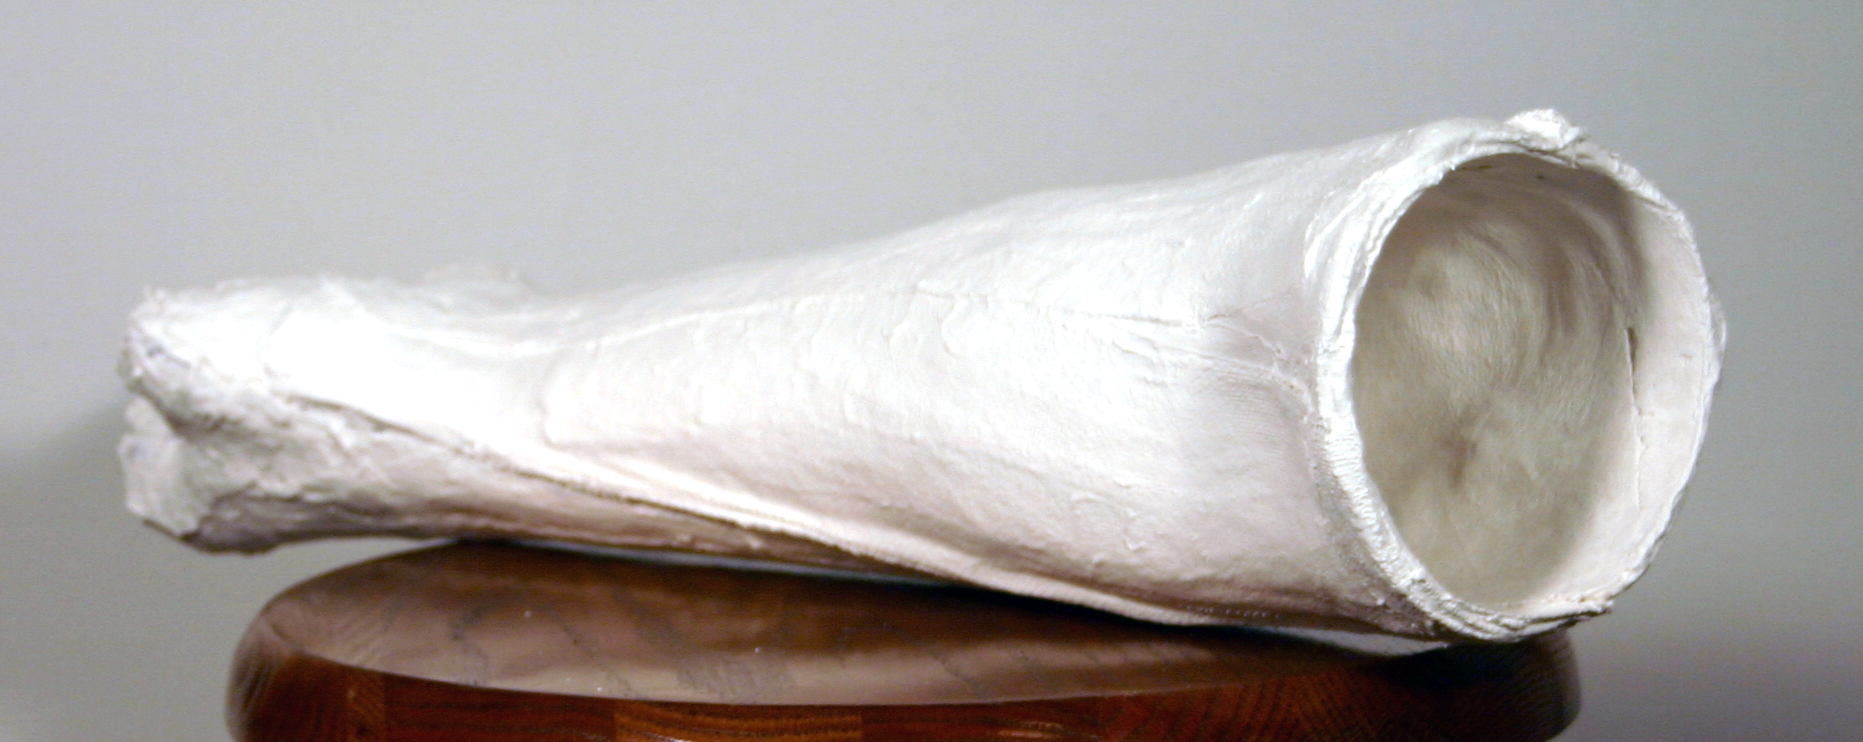
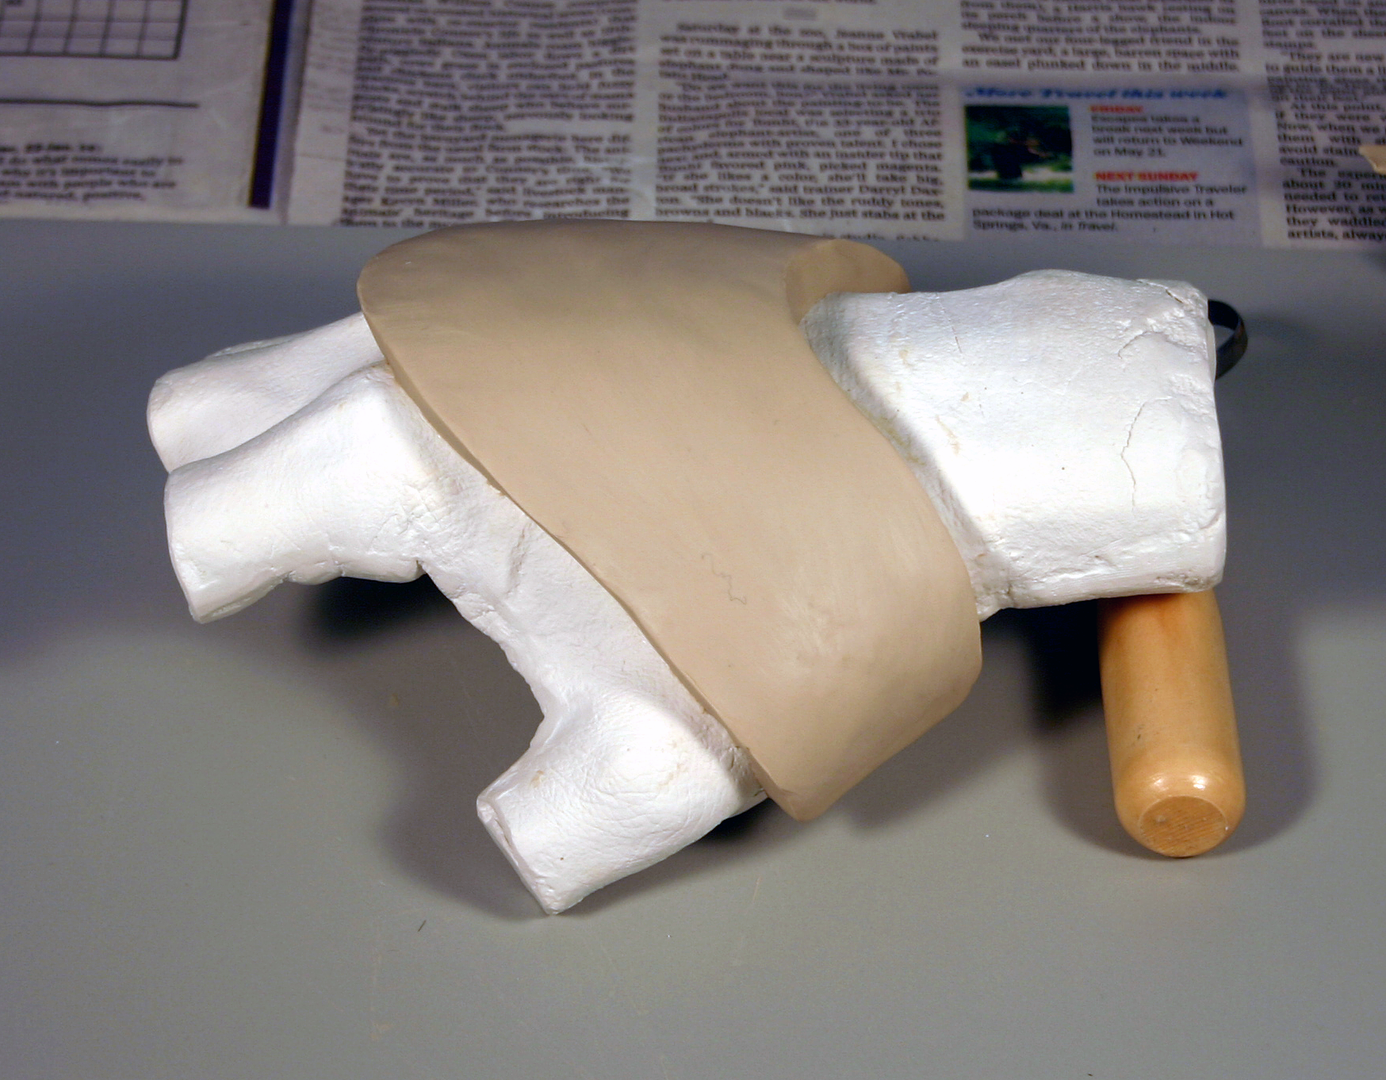
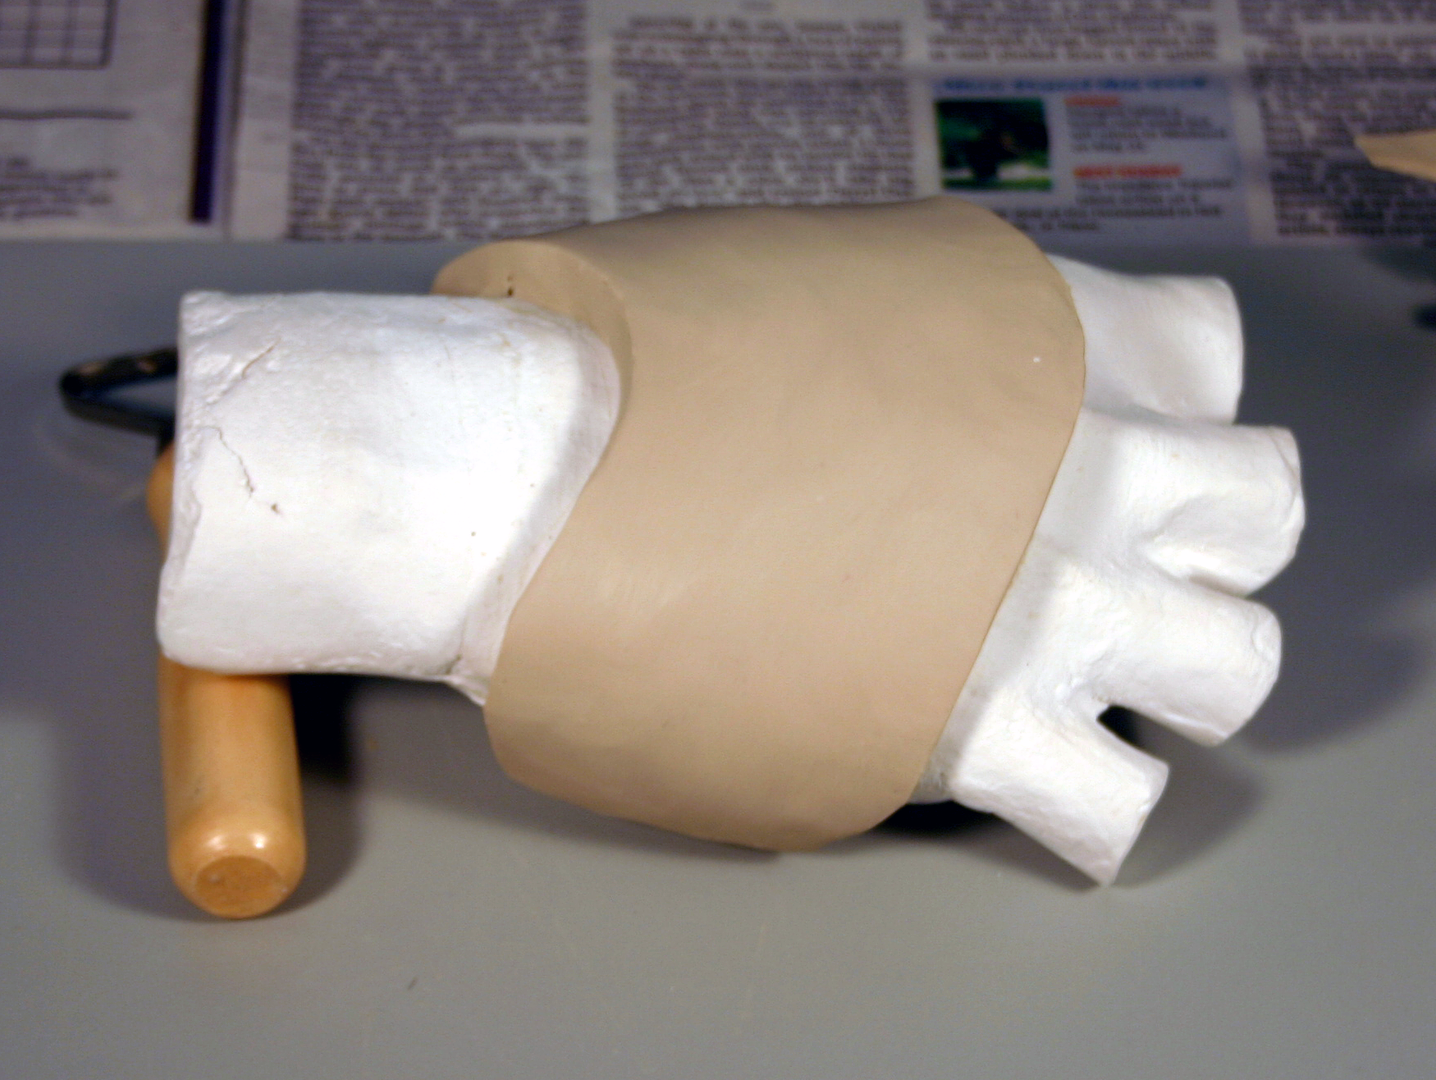
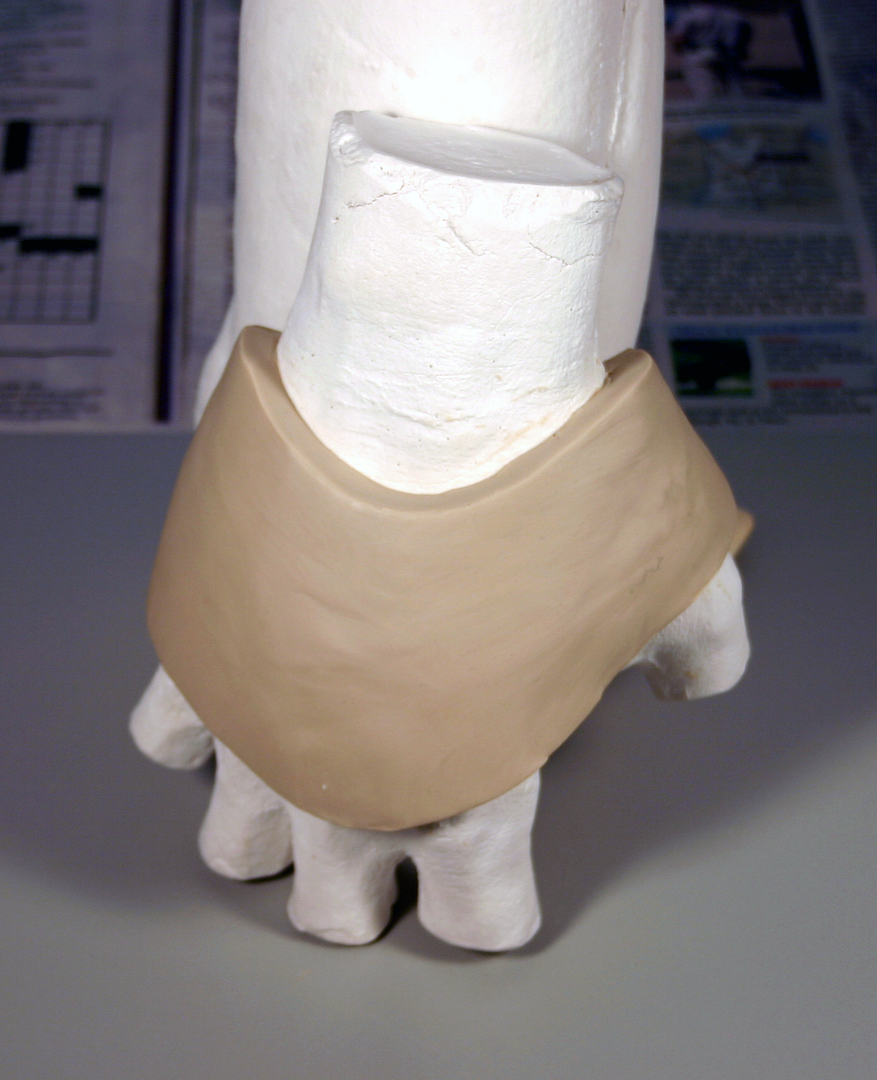
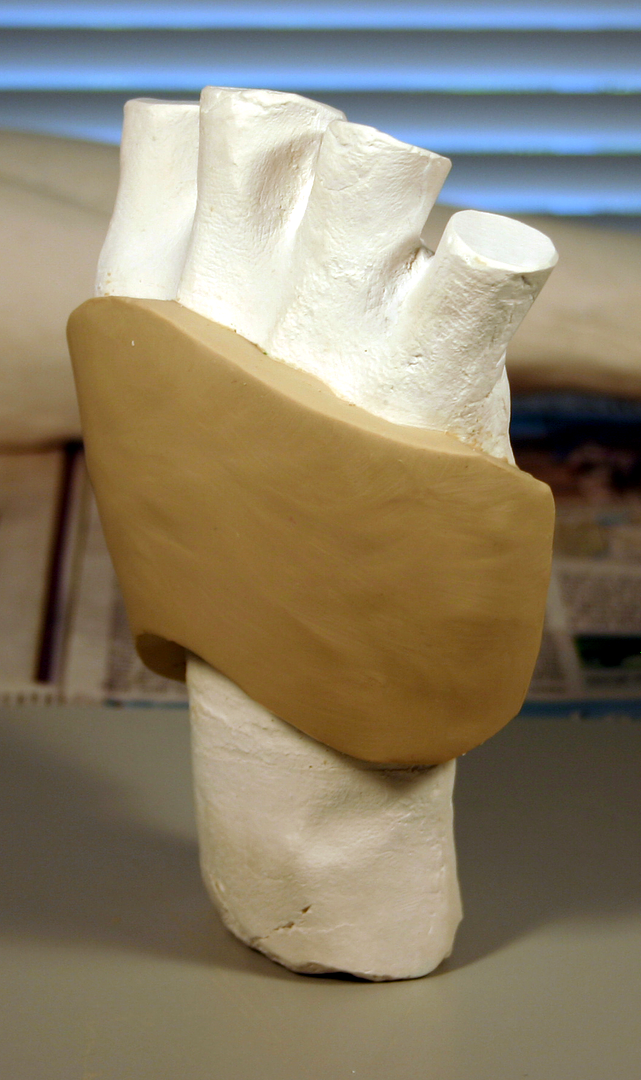
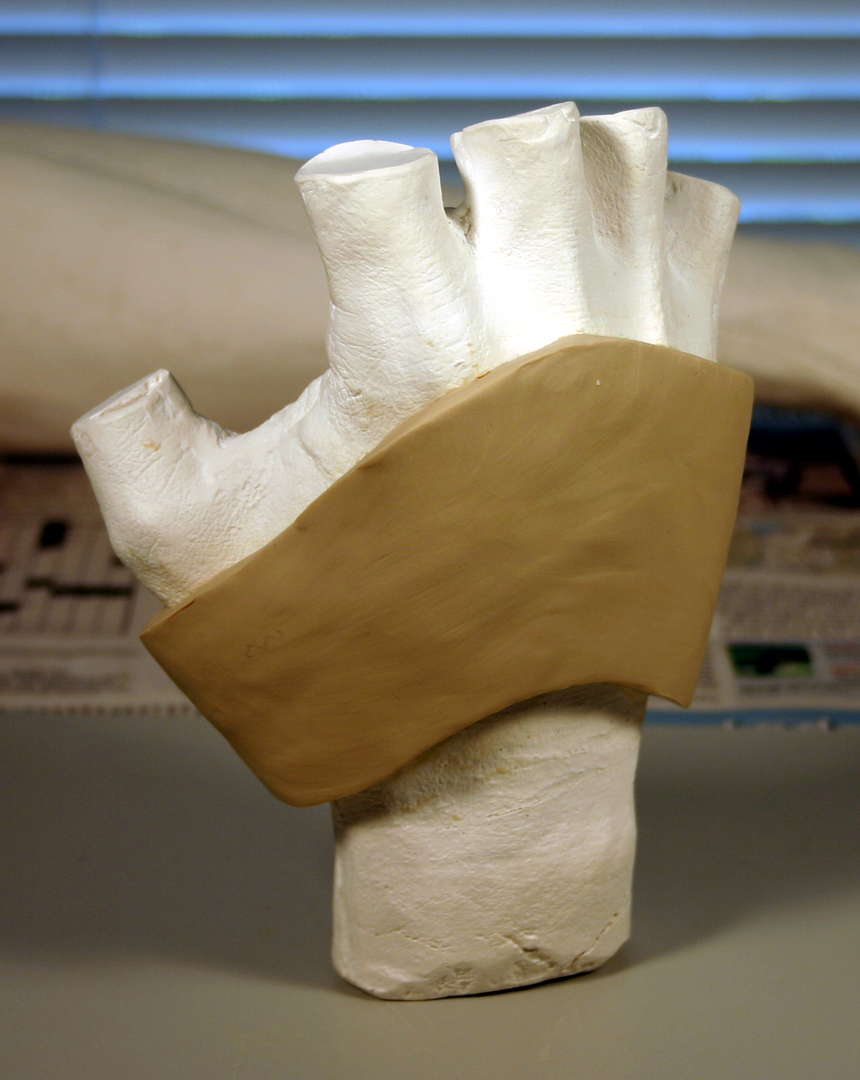
- The innermost gauntlet panel - closest to the skin - has an interesting waffle grid texture with about 1cm squares.
- There are ribbed-texture, flexible soft side panels between breastplate and backplate
- The center of the five "bolts" on the bandoleer buckle does not stick up off the surface of the buckle as far as the other four.
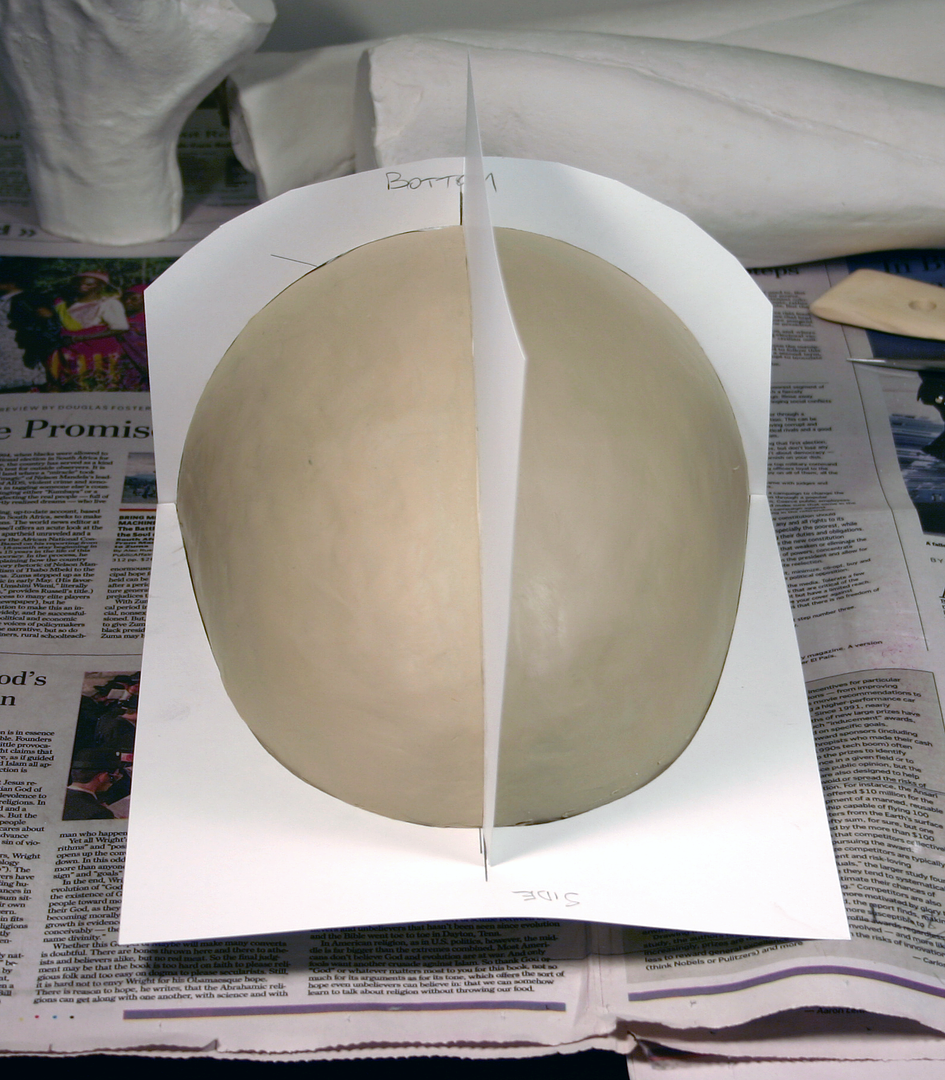
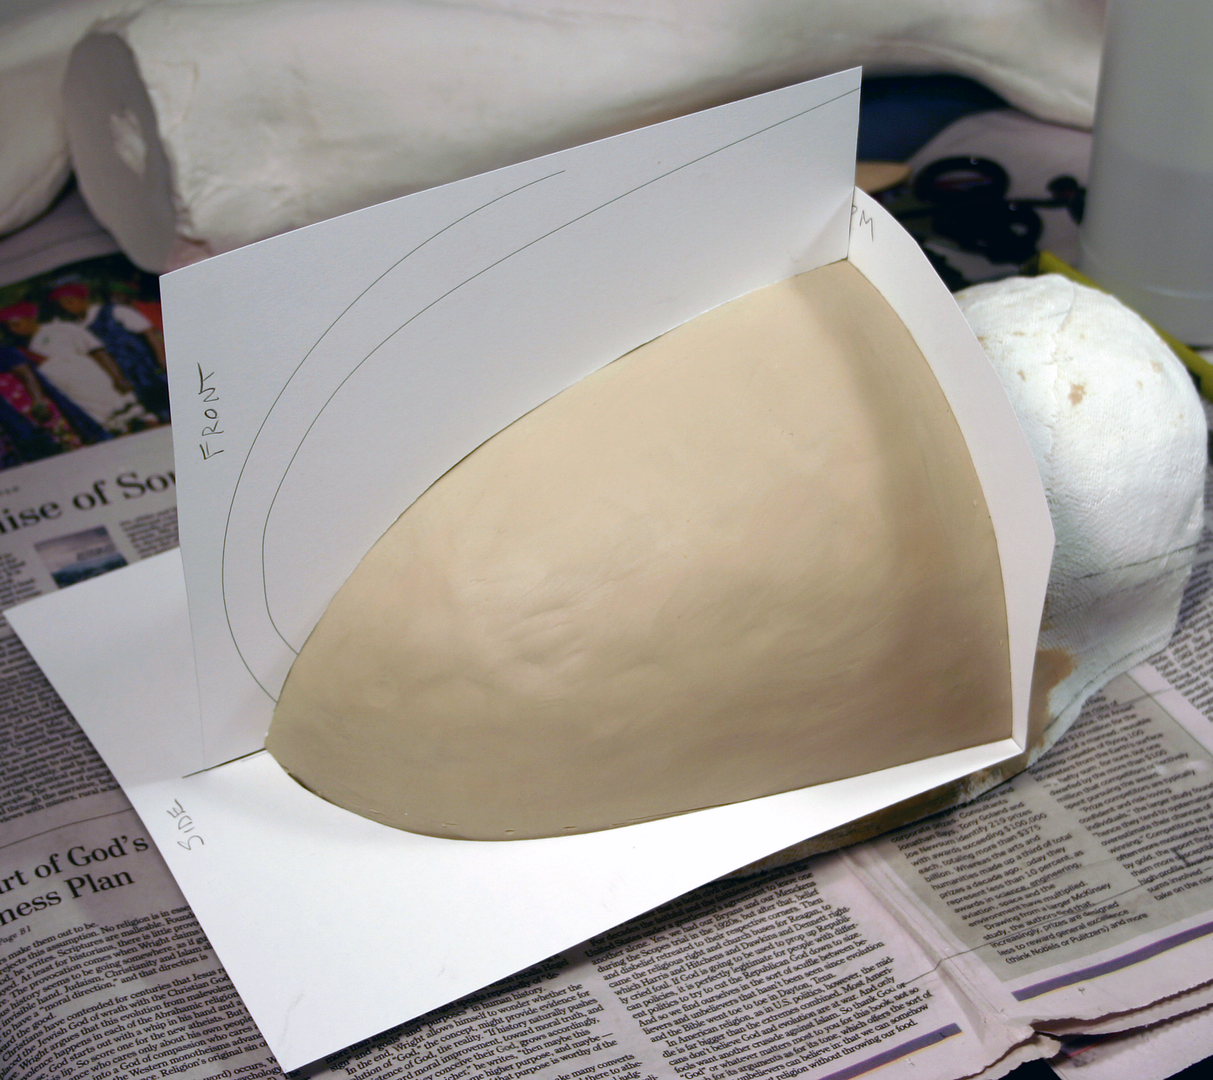
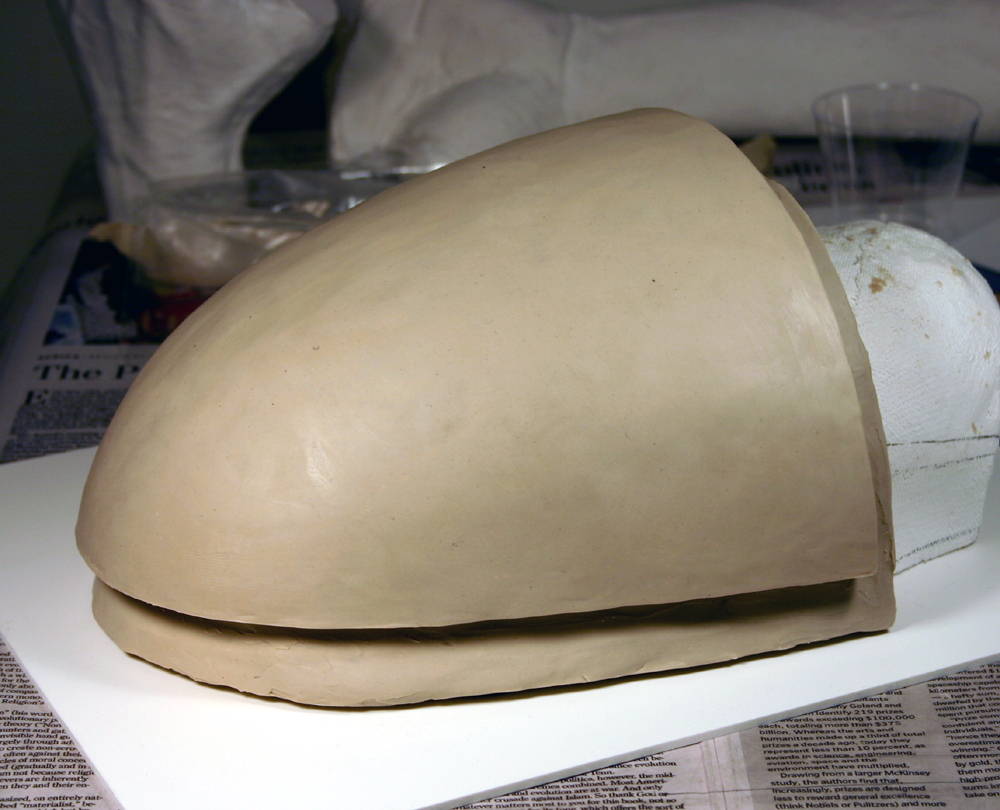
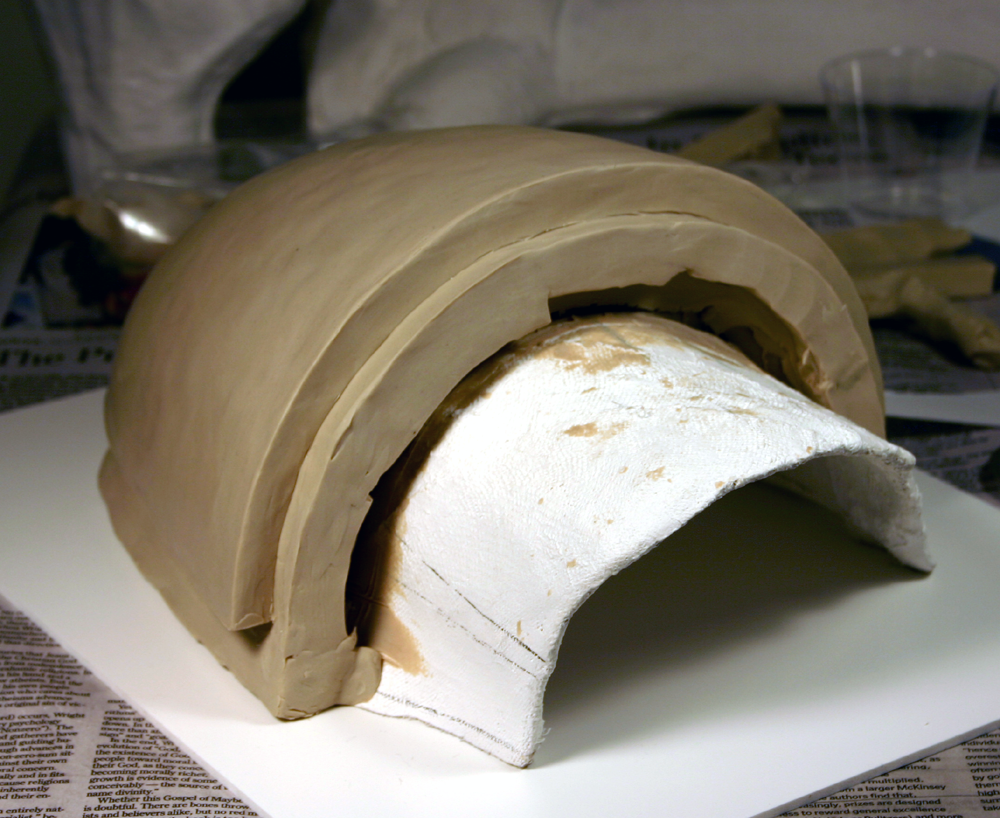
- The shoulder bells are mirror images of each other and not symmetrical across any center line, so will have to make two separate sculpts/molds.
~ Vonnor
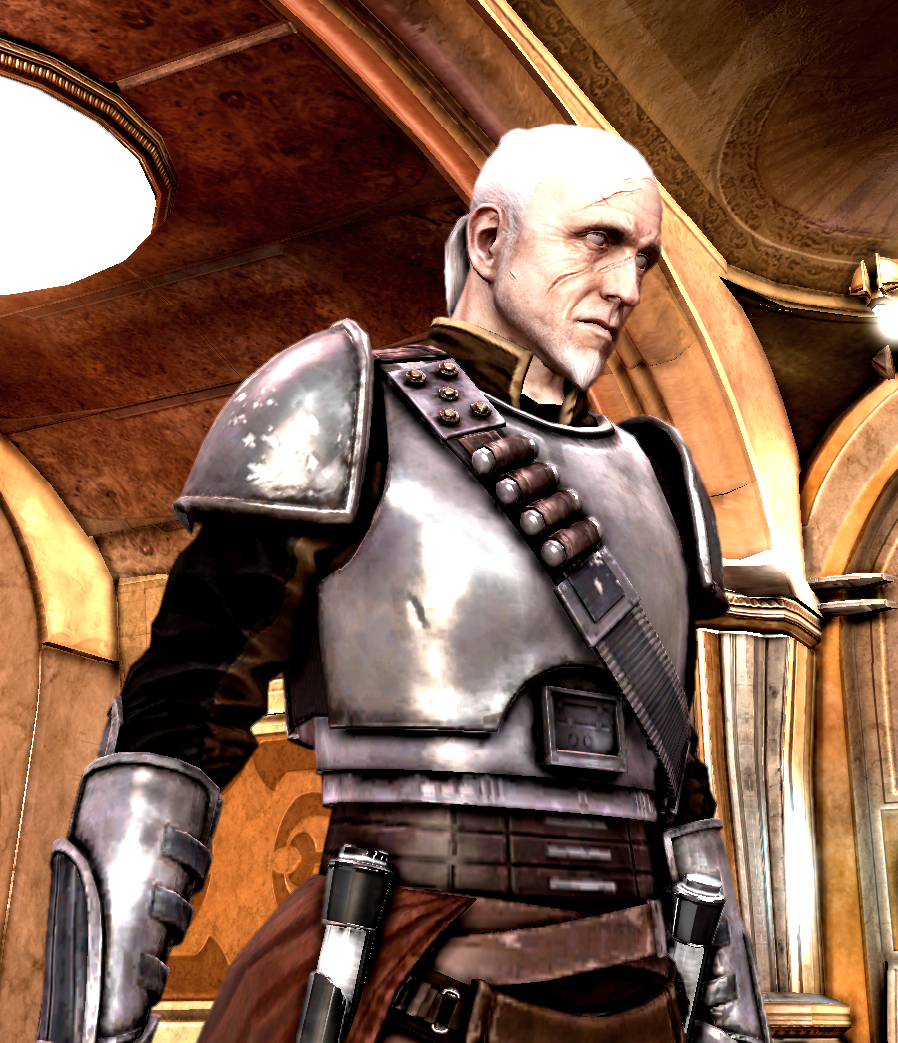
(Posts copied from the Rebel Legion forum)
These are the first of many, to be followed by close-up details of all elements from low and high angles. Samples here, the rest in my photobucket
Some interesting details can already be seen even at this range:
- The boots have front spats and the lowest strap is narrower than the three upper straps.
- The lowest boot straps have the end flap on the outside of the leg (as expected - doesn't interfere with movement of the legs) but the upper straps have the end flaps on the inside of the leg.
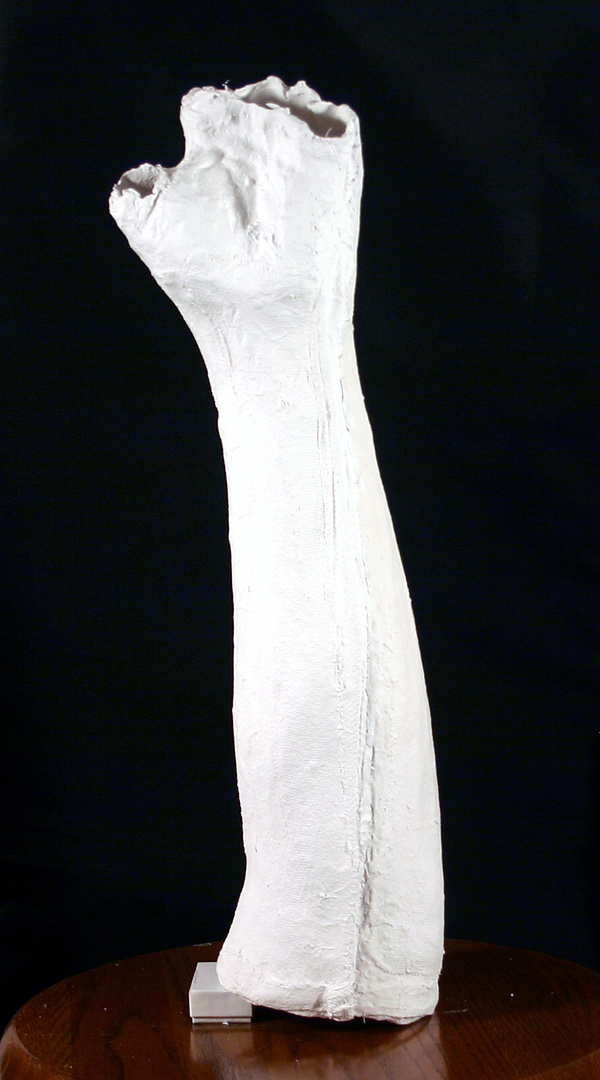
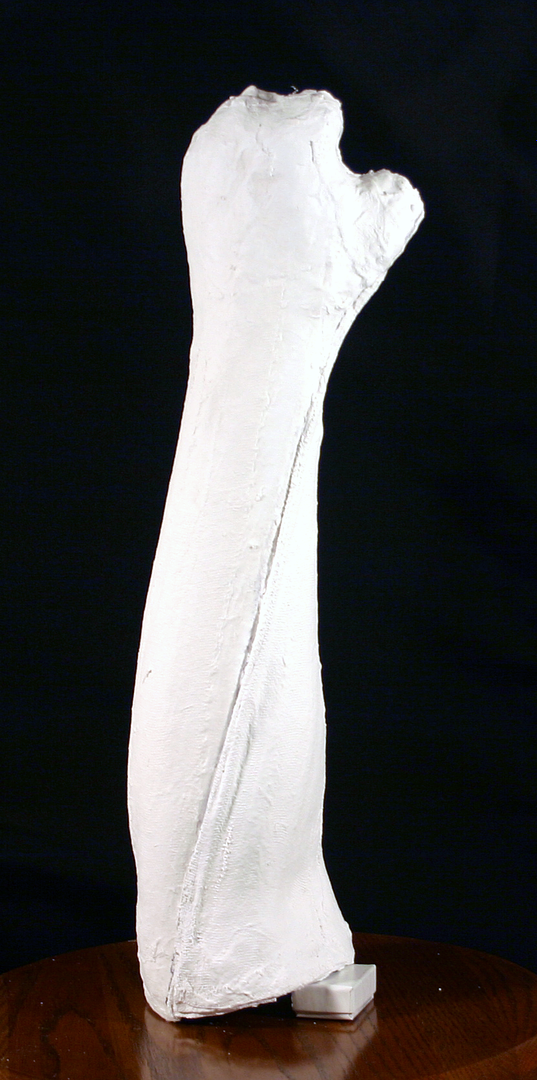
- The innermost gauntlet panel - closest to the skin - has an interesting waffle grid texture with about 1cm squares.
- There are ribbed-texture, flexible soft side panels between breastplate and backplate
- The center of the five "bolts" on the bandoleer buckle does not stick up off the surface of the buckle as far as the other four.
- The shoulder bells are mirror images of each other and not symmetrical across any center line, so will have to make two separate sculpts/molds.
~ Vonnor
Last edited: