Koda Vonnor
Well-Known Member
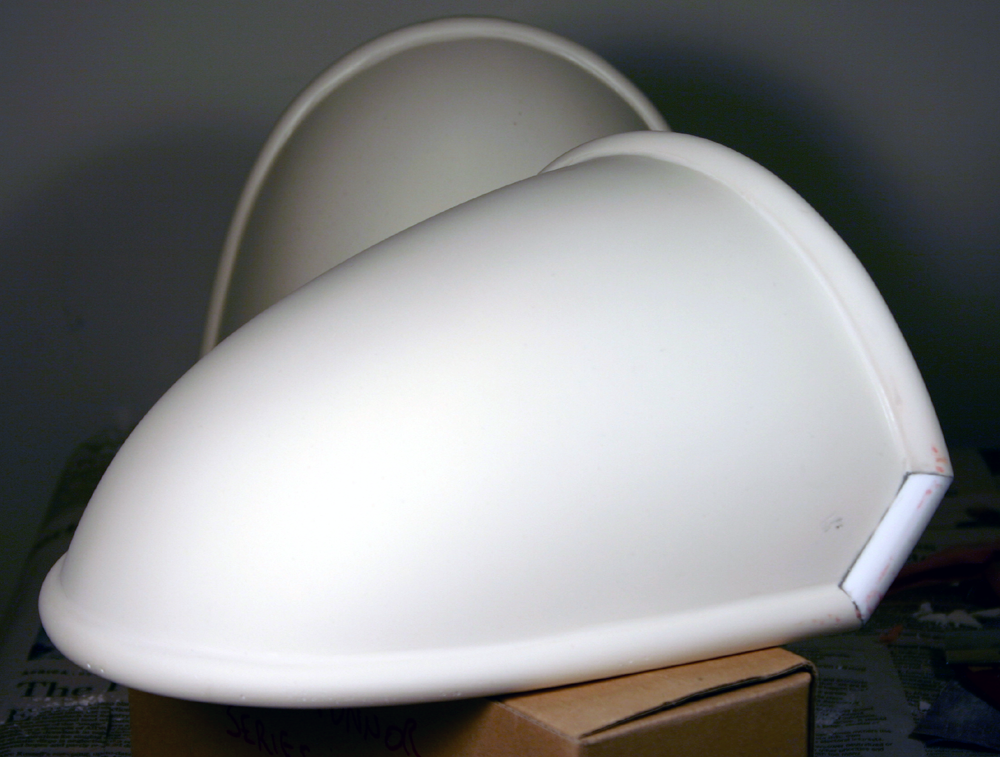
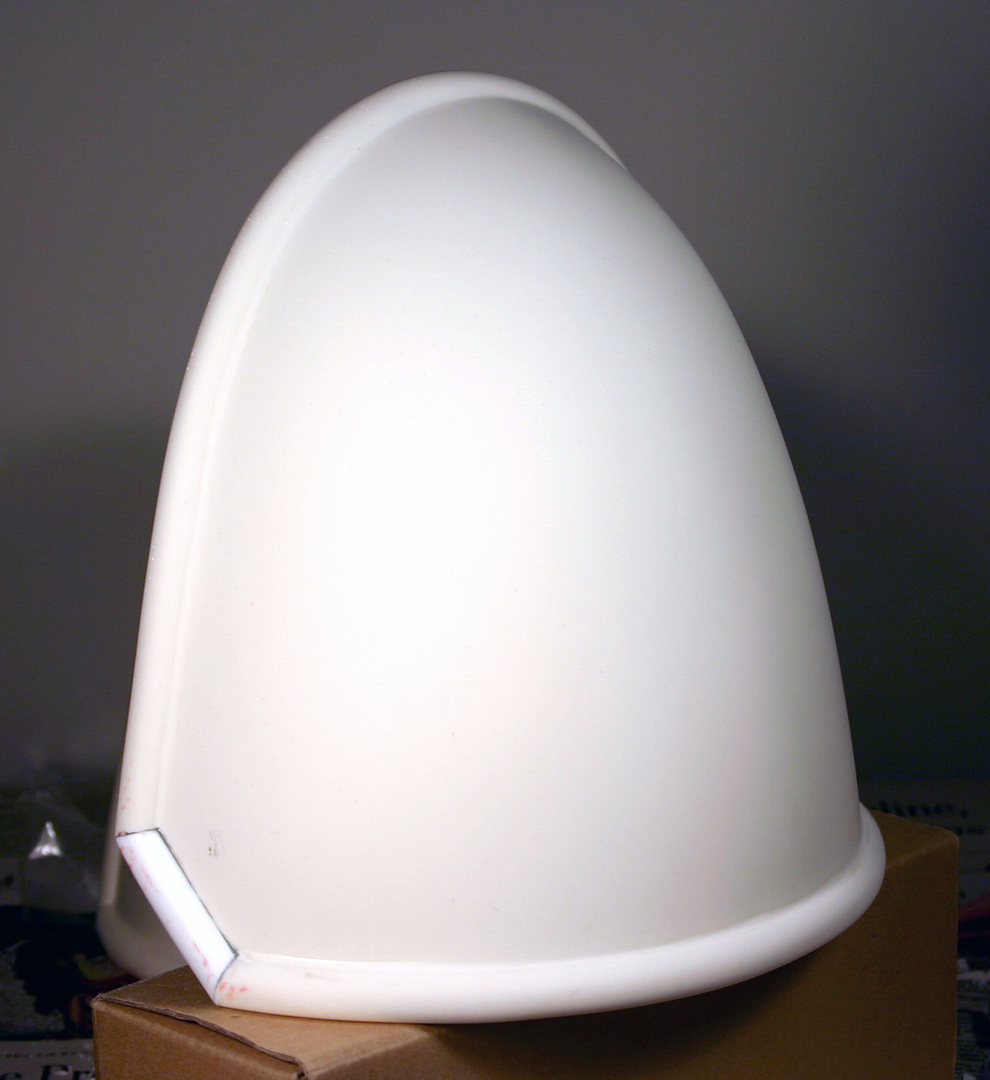
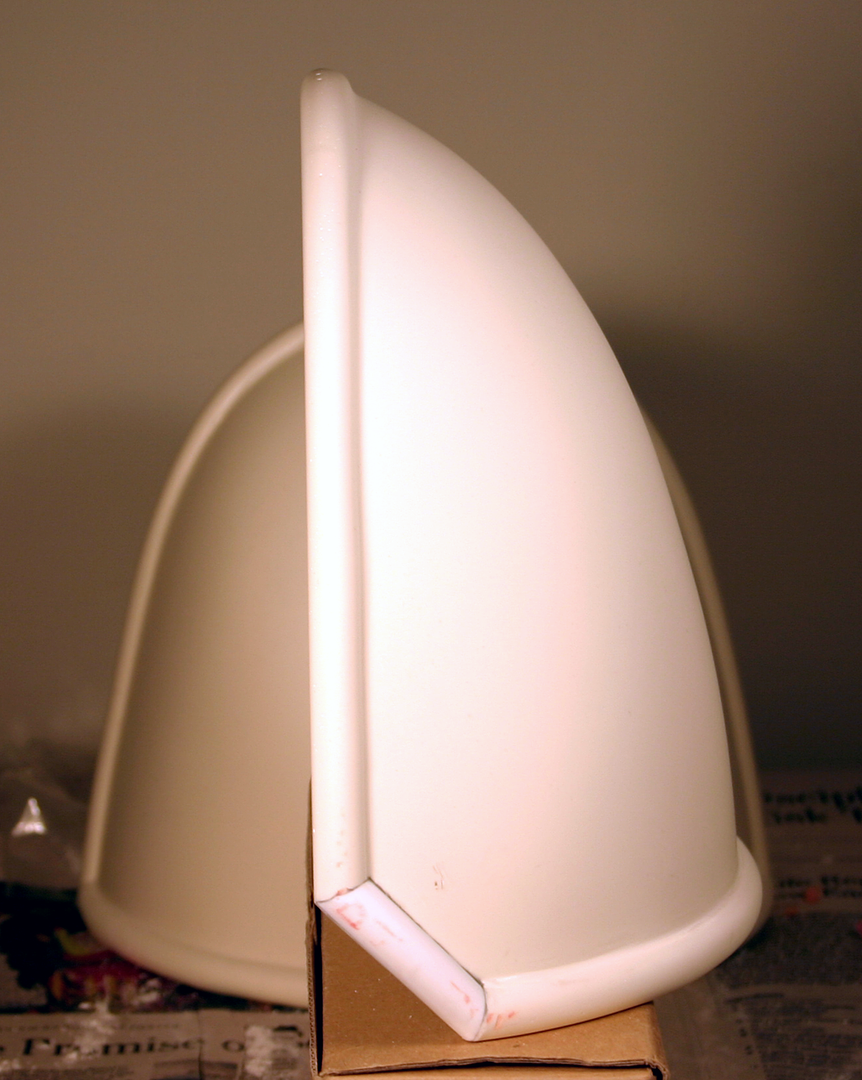
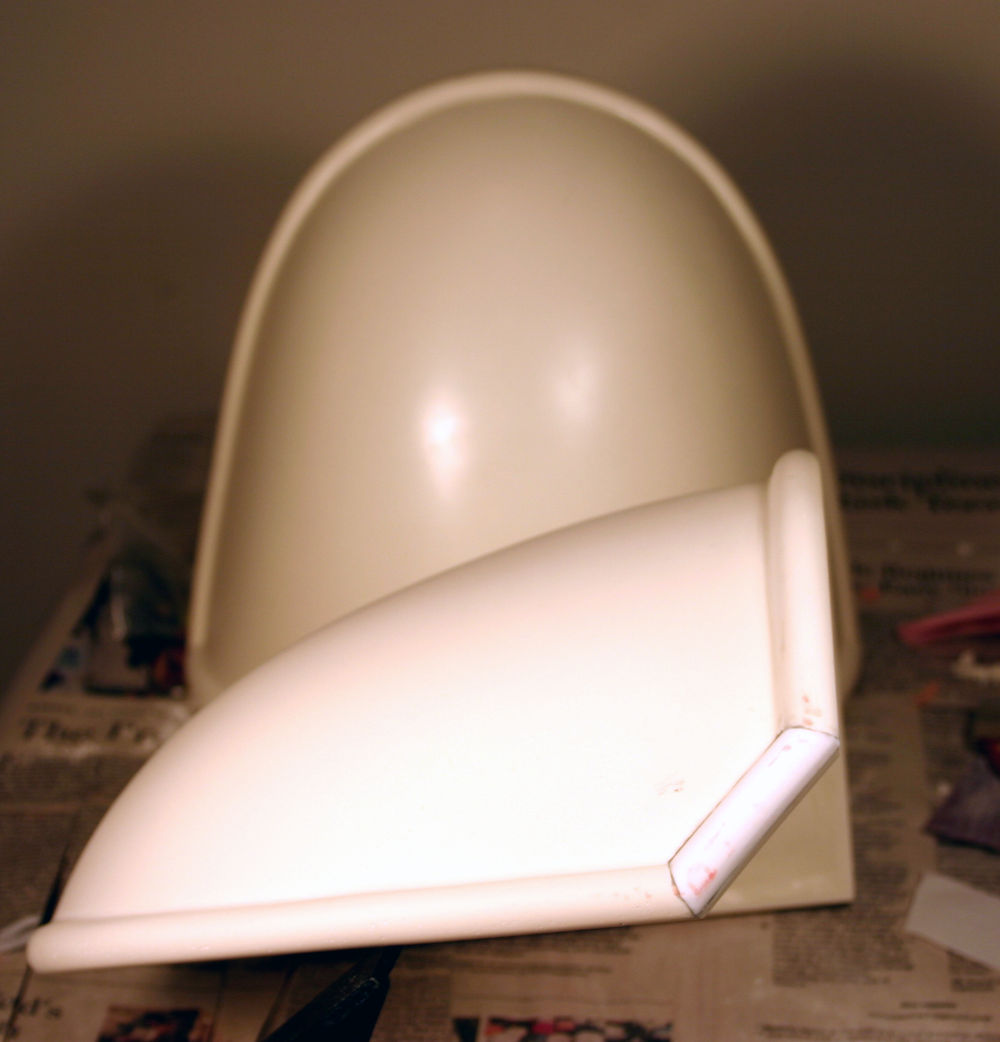
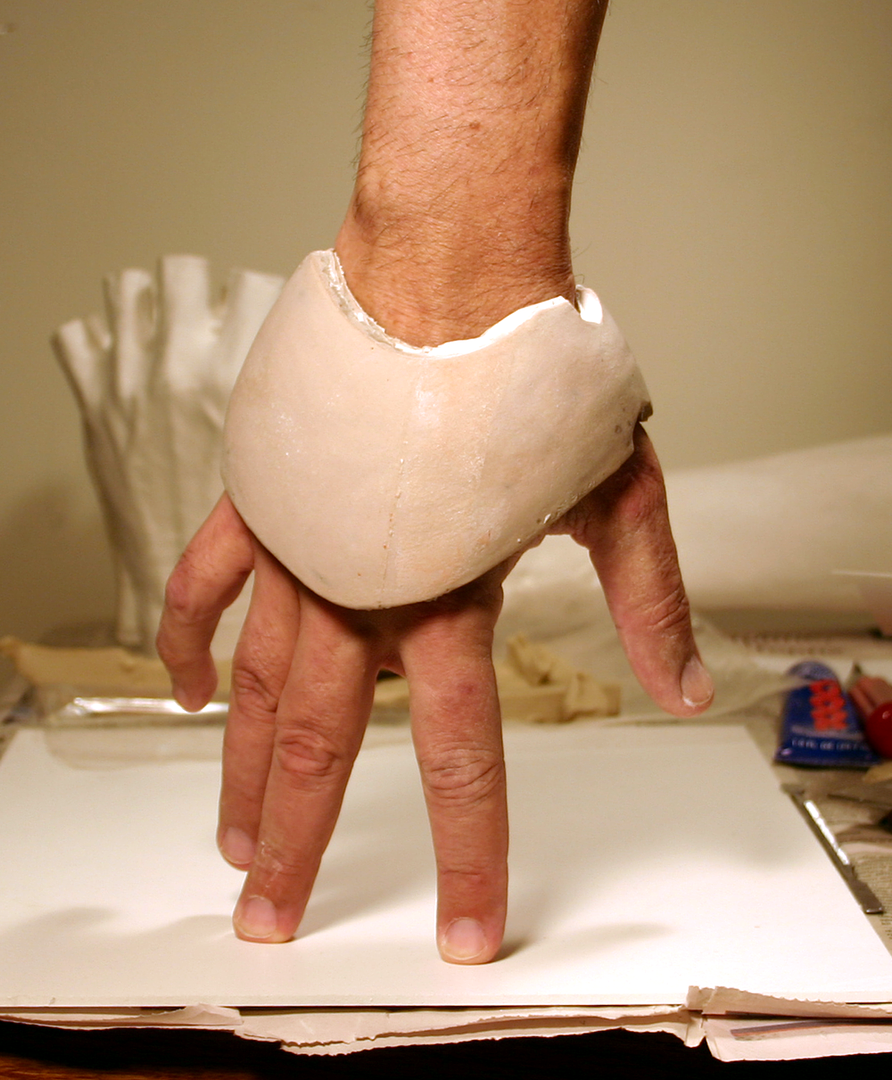
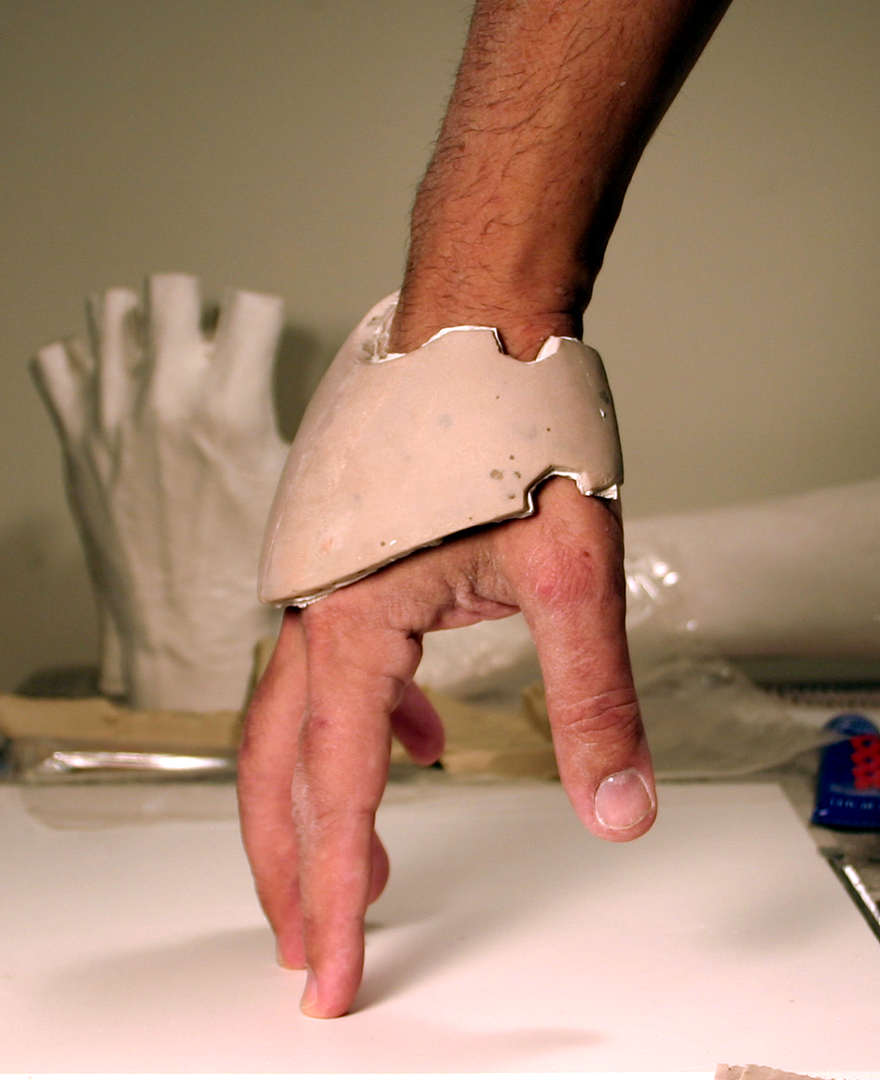
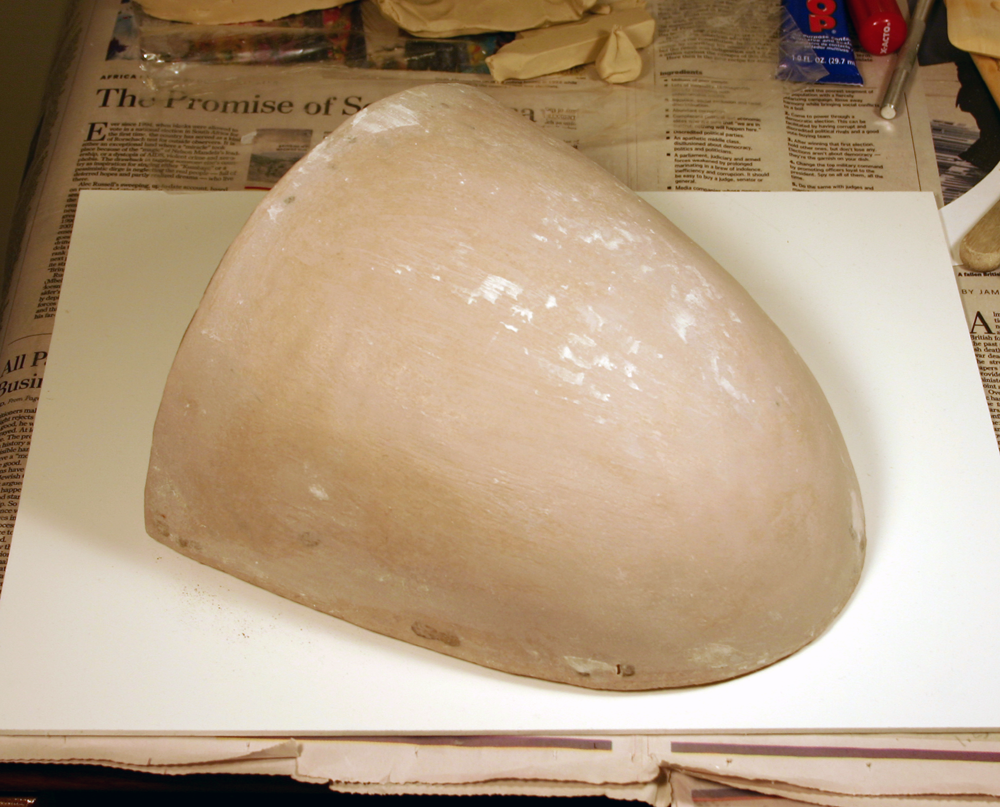
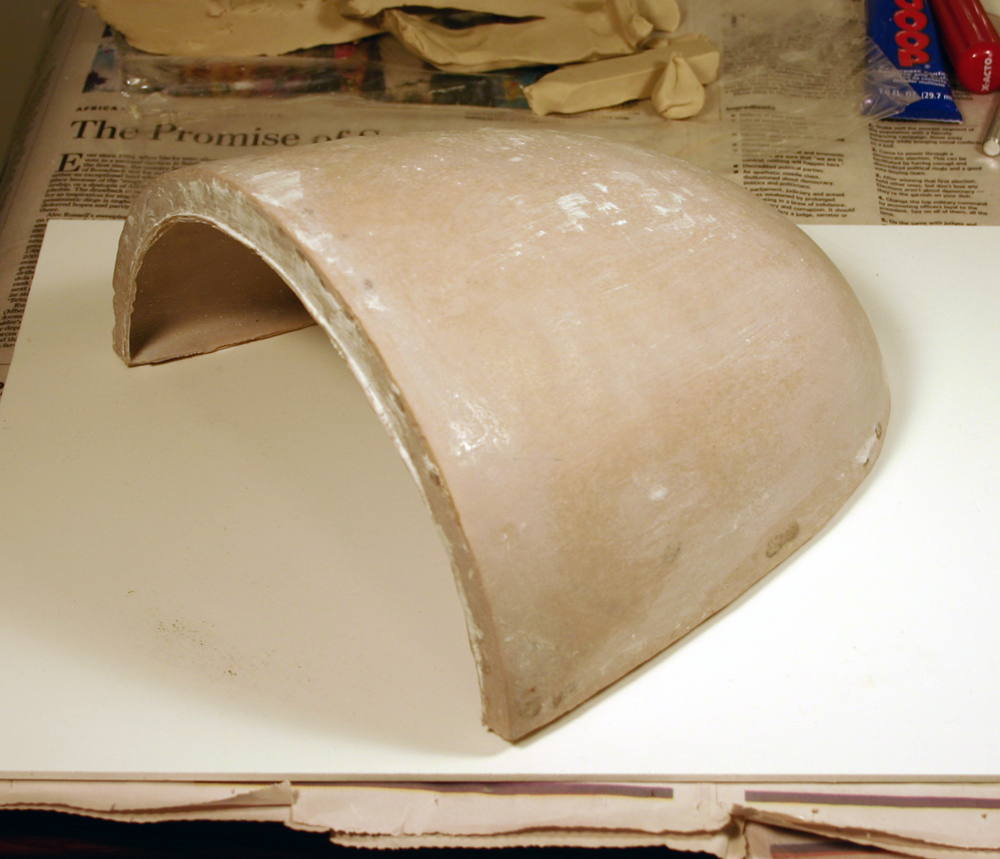
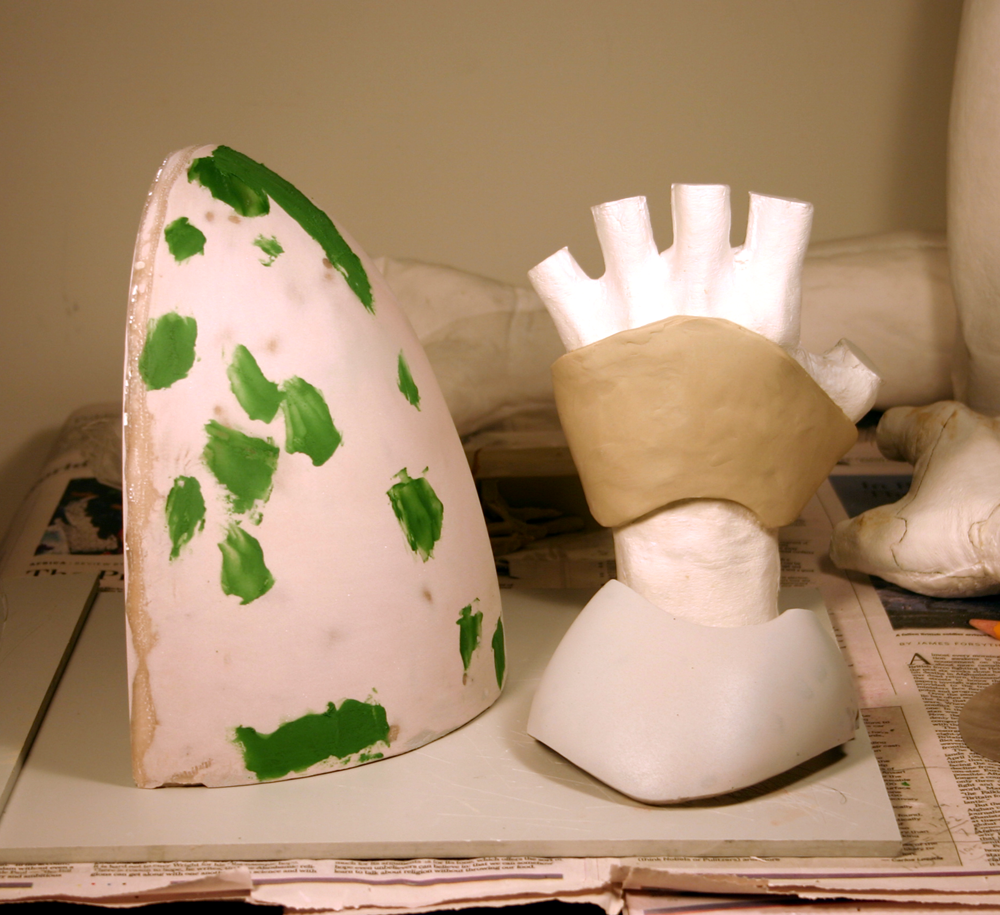
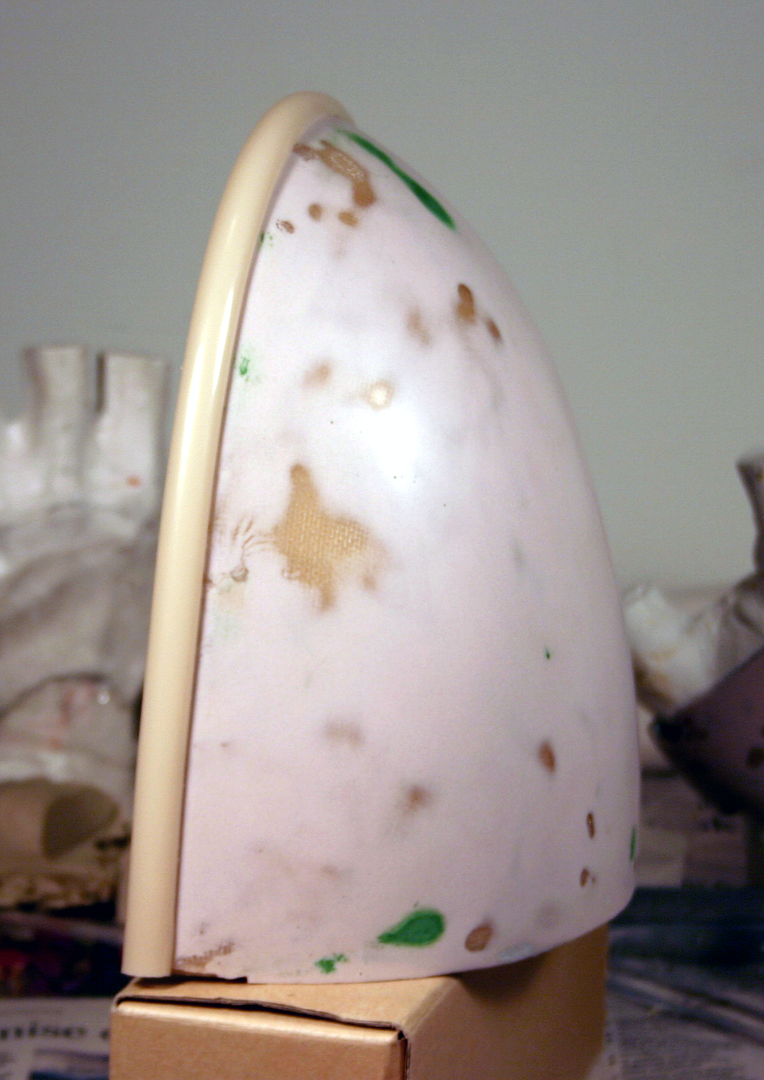
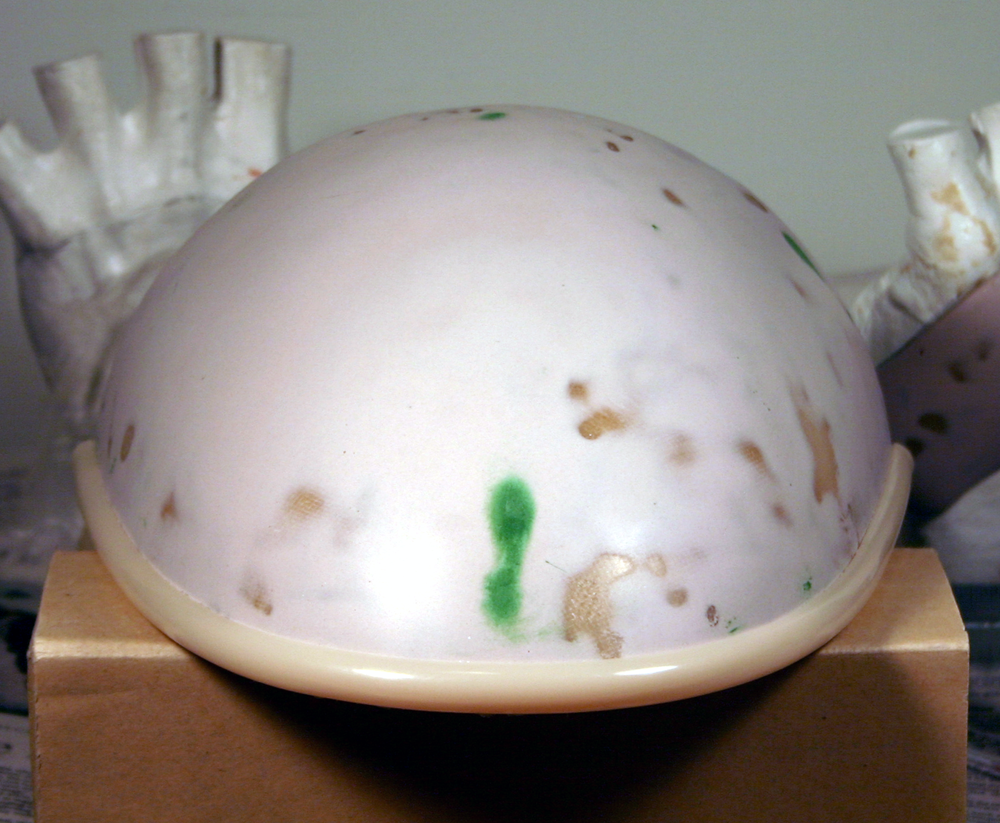
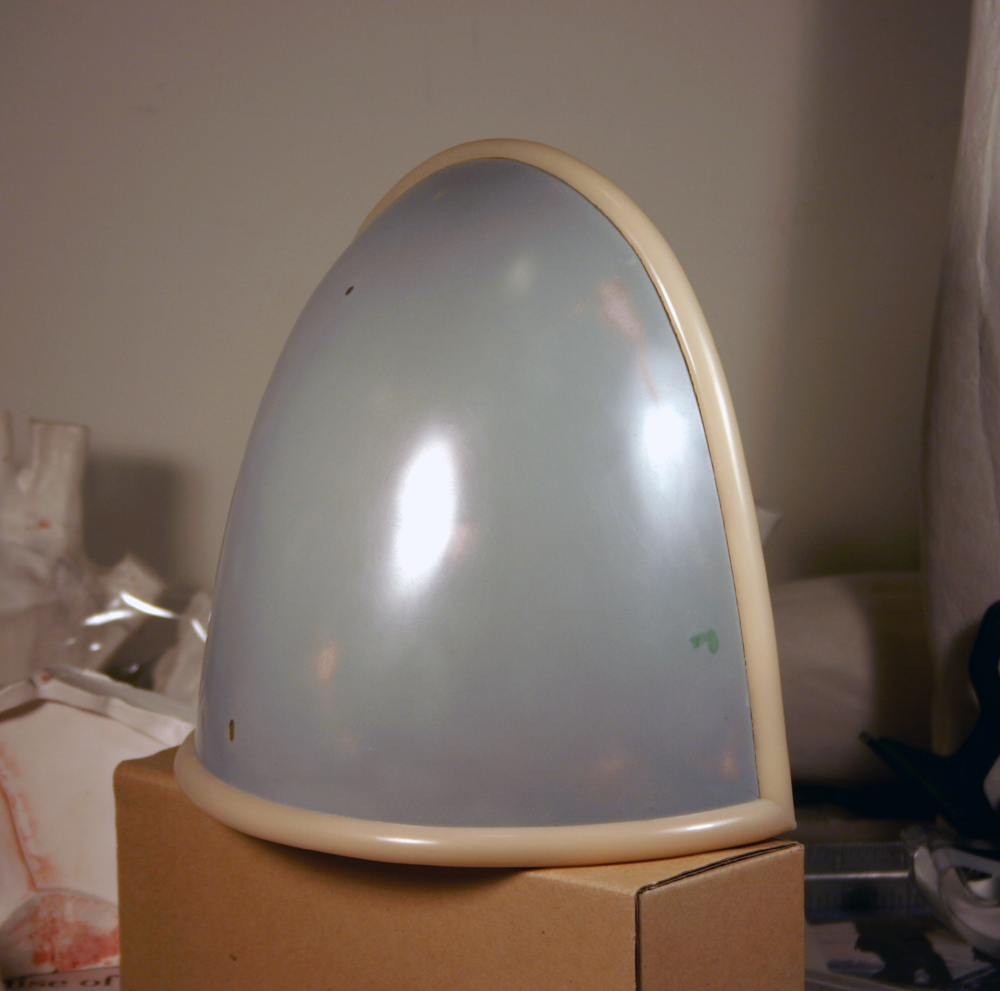
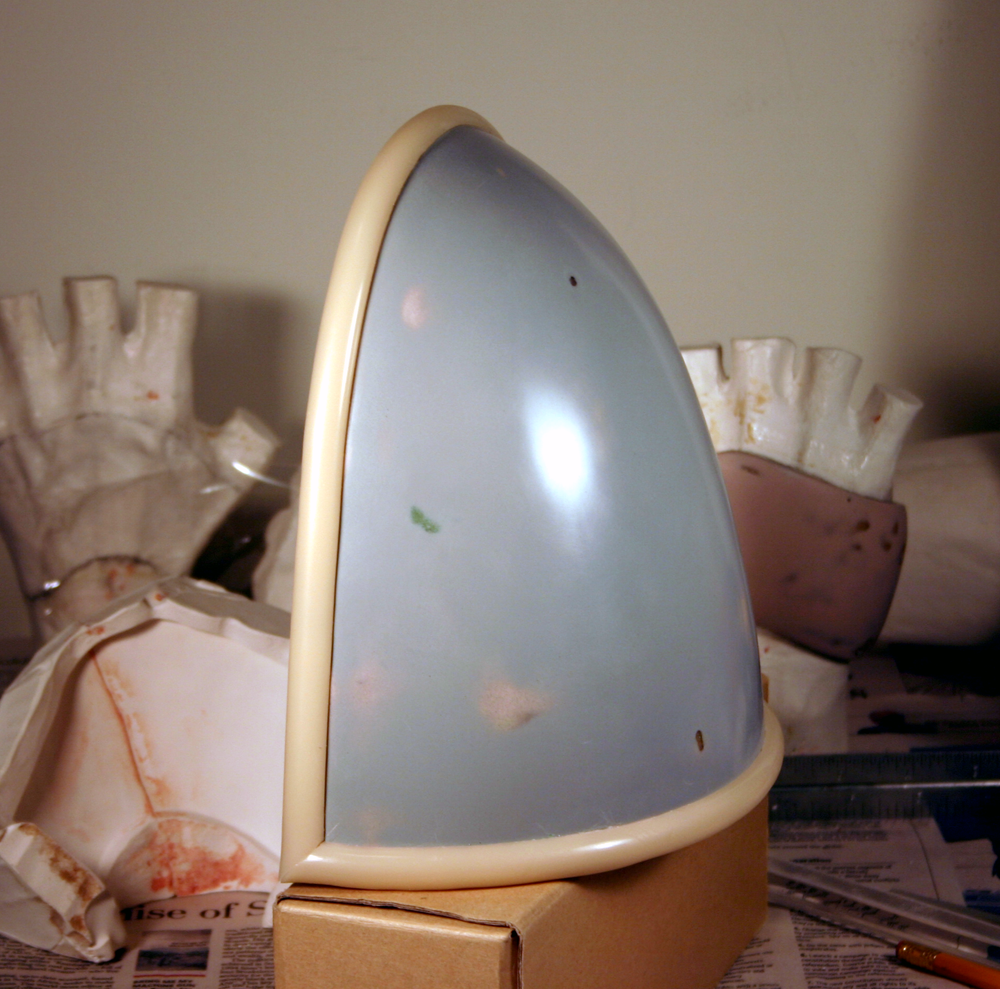
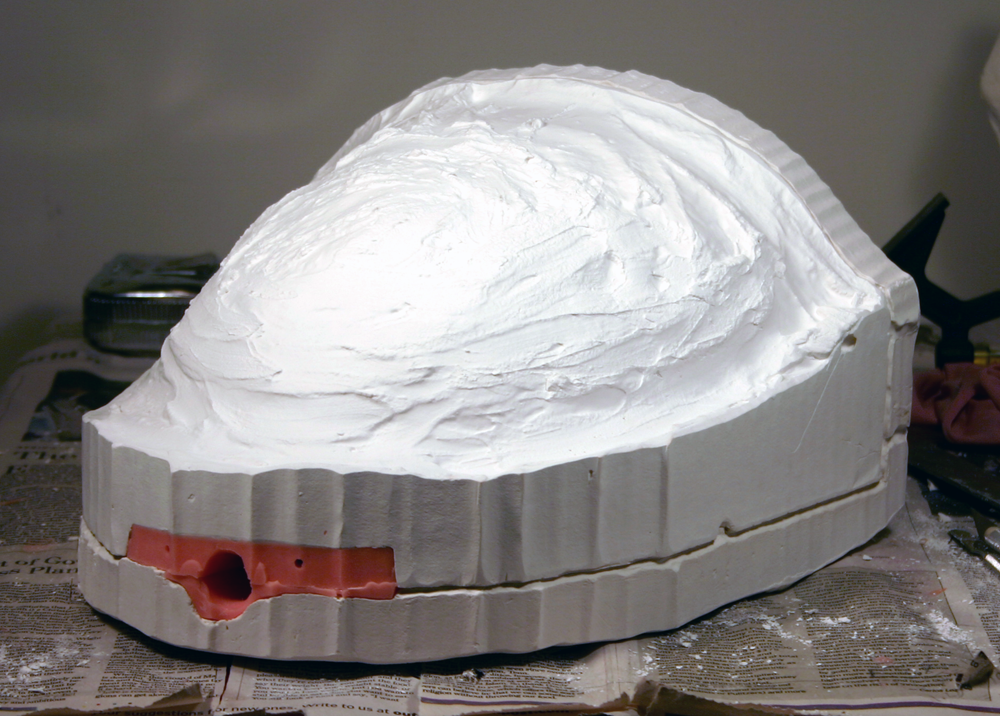
Re: Rahm Kota TFU2 - WIP
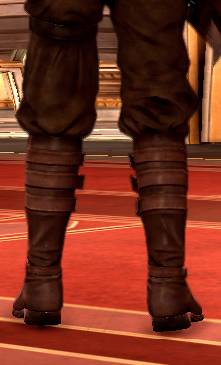
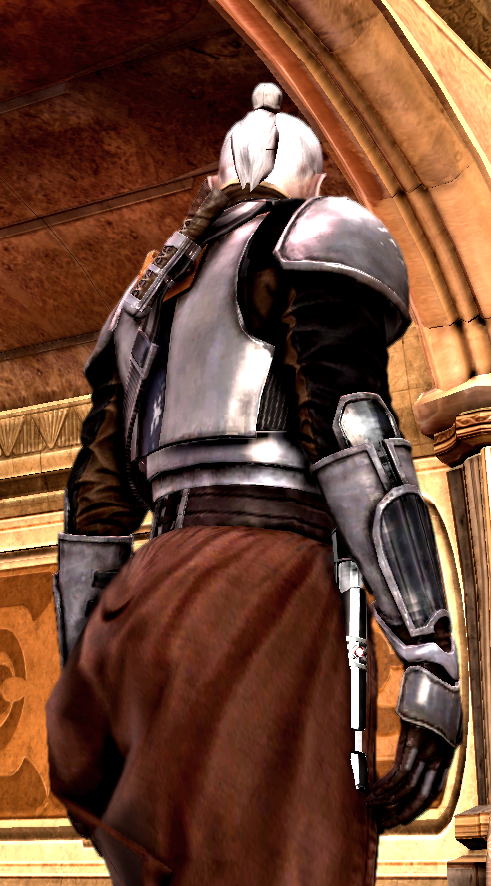
I know, right? They even look kinda like these...

I know, right? They even look kinda like these...


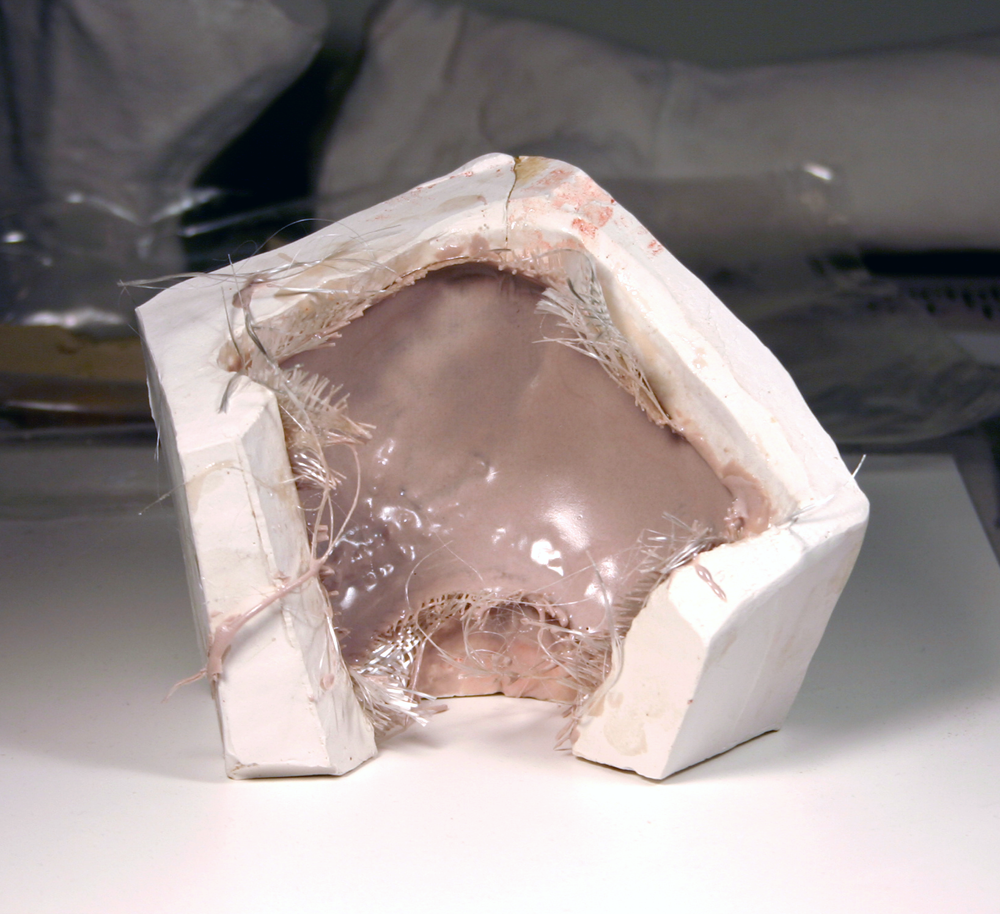
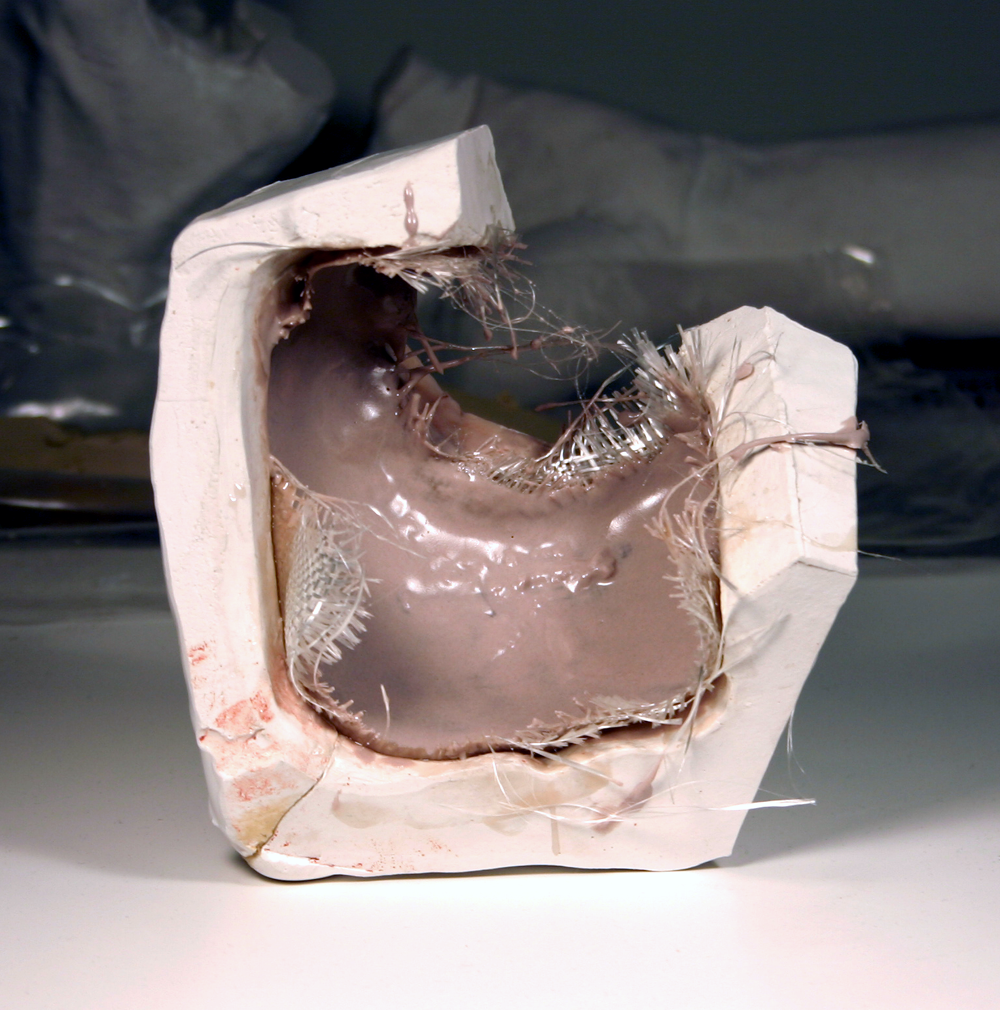
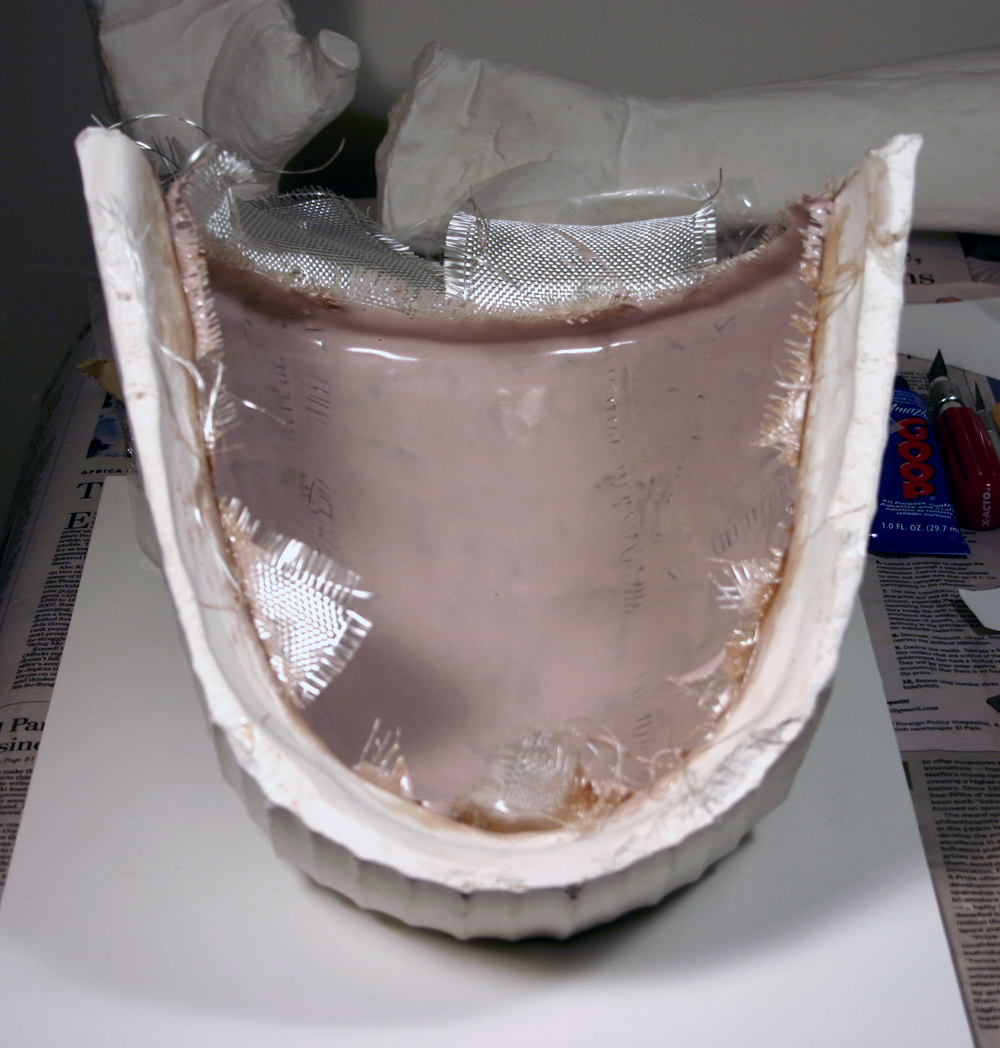
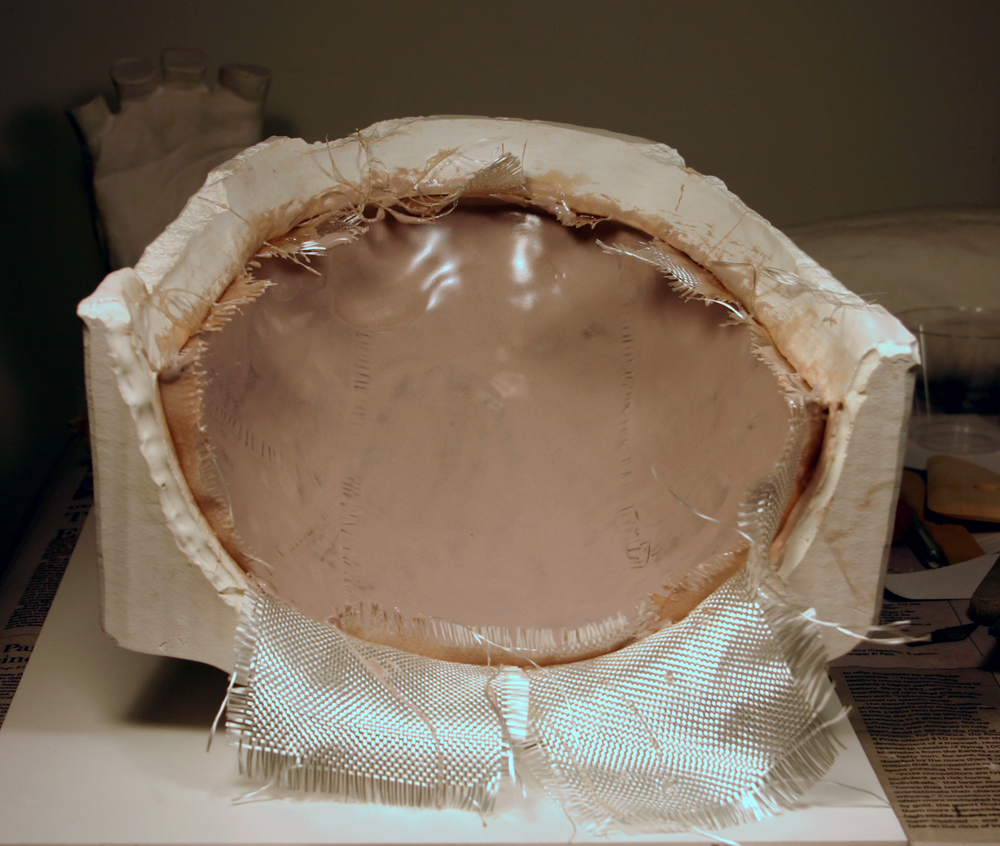
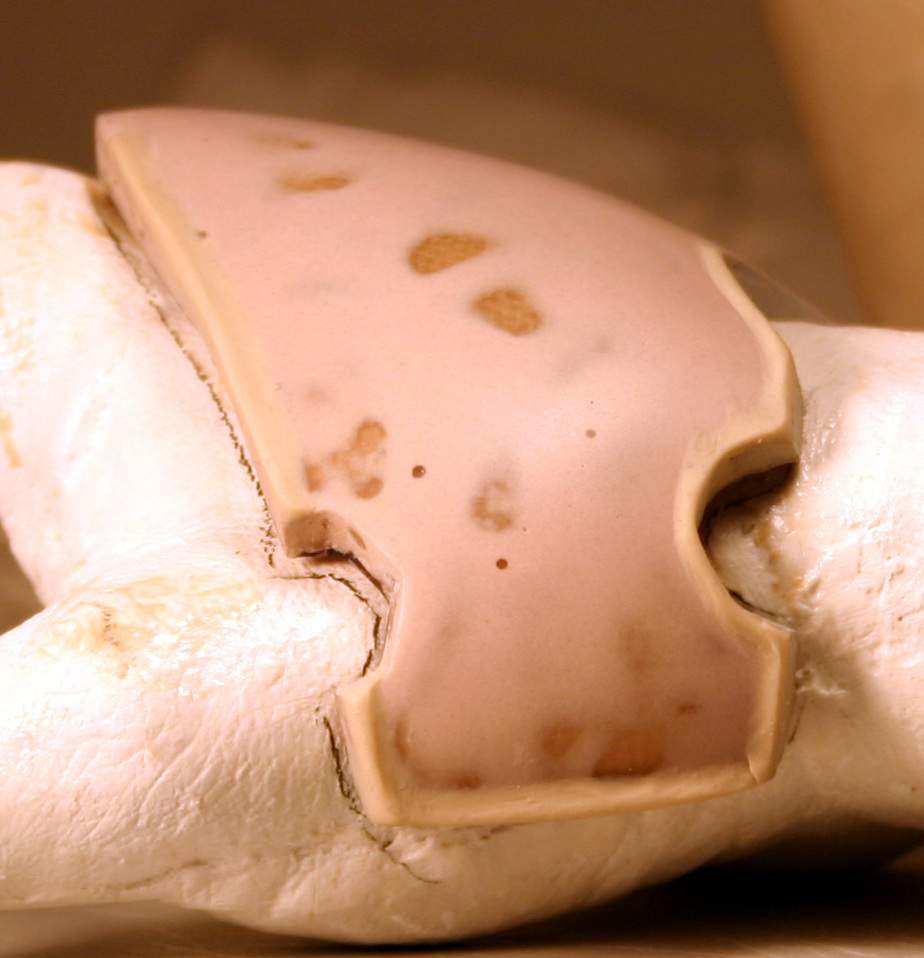
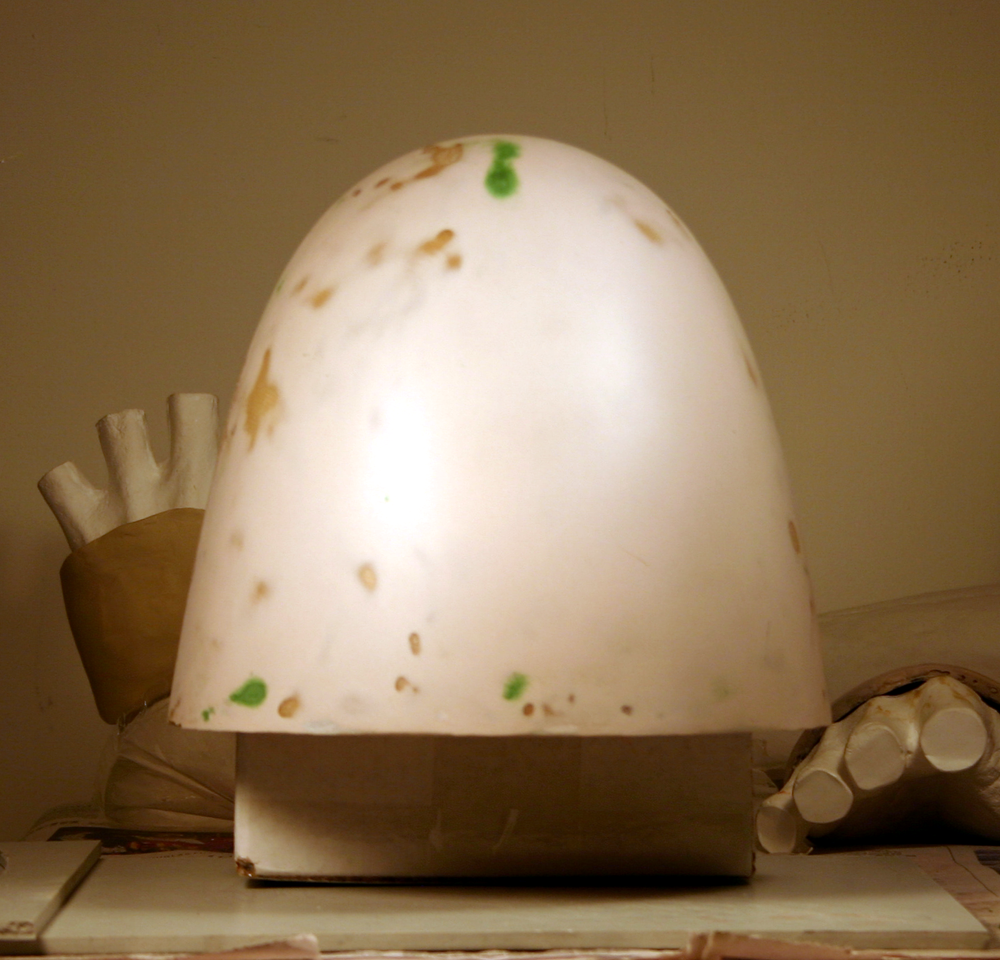
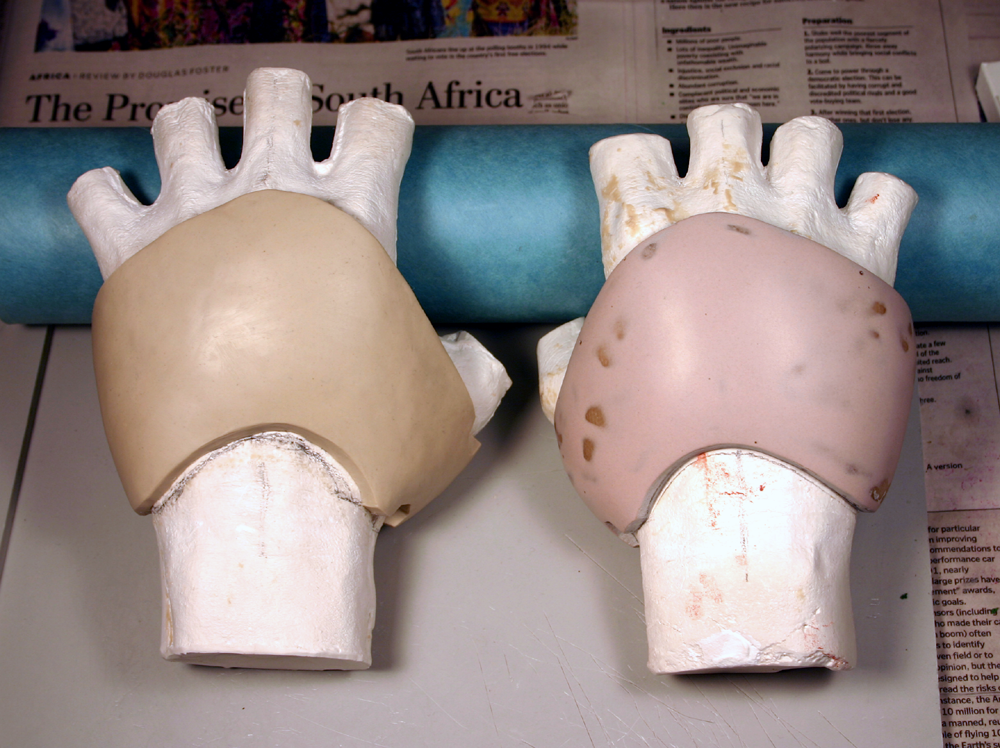
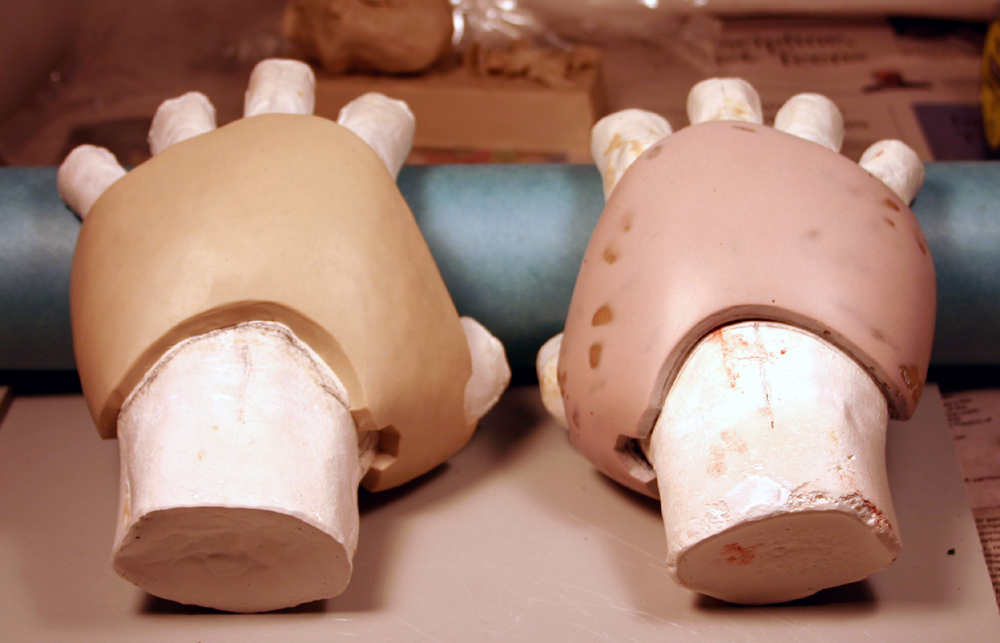
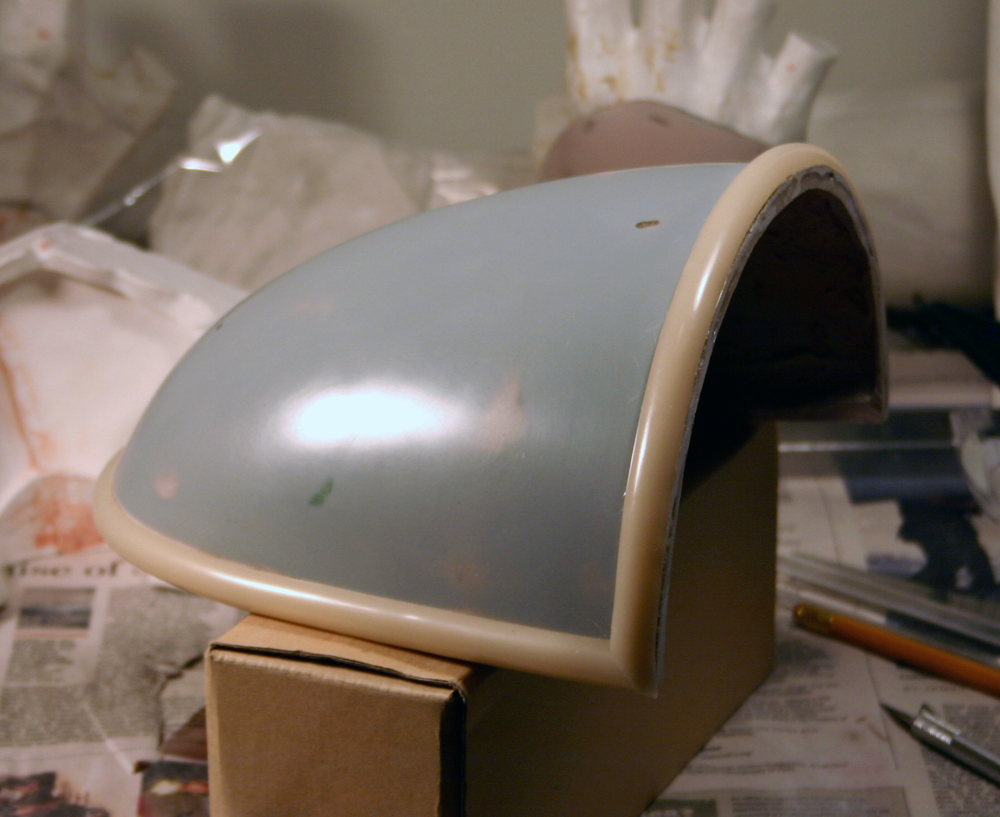
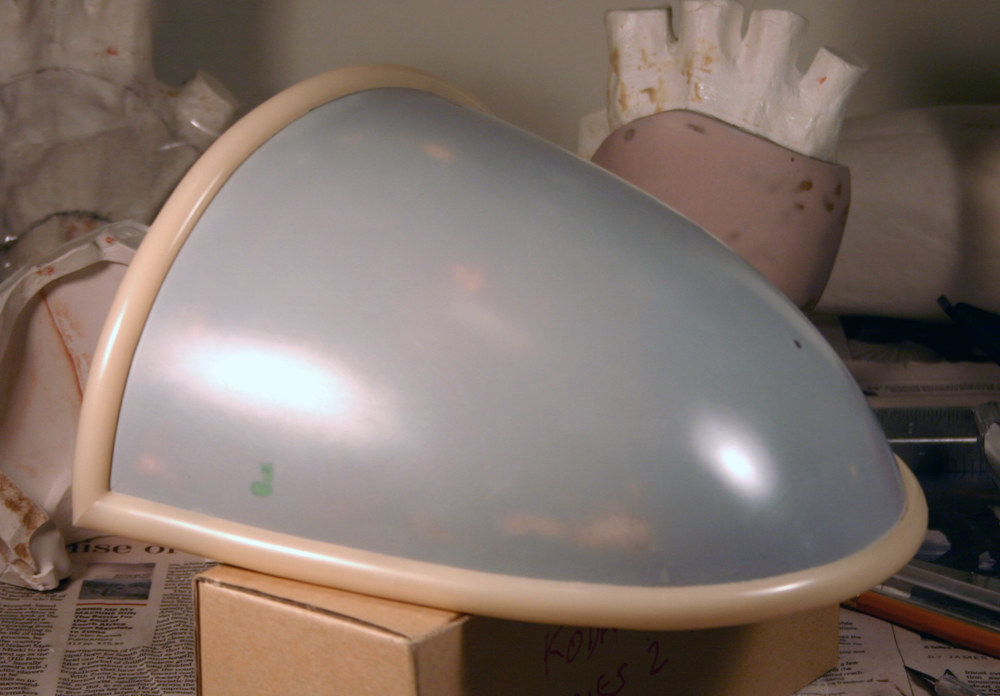
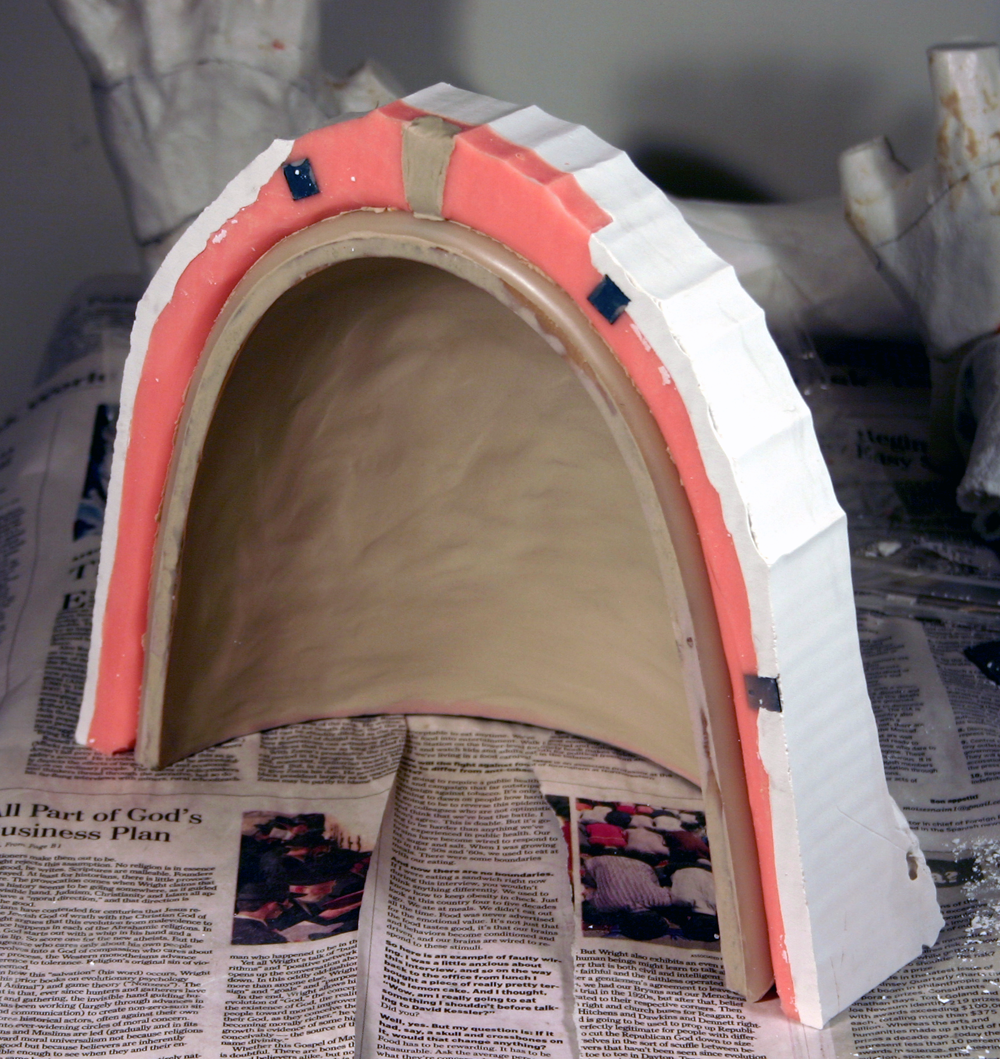
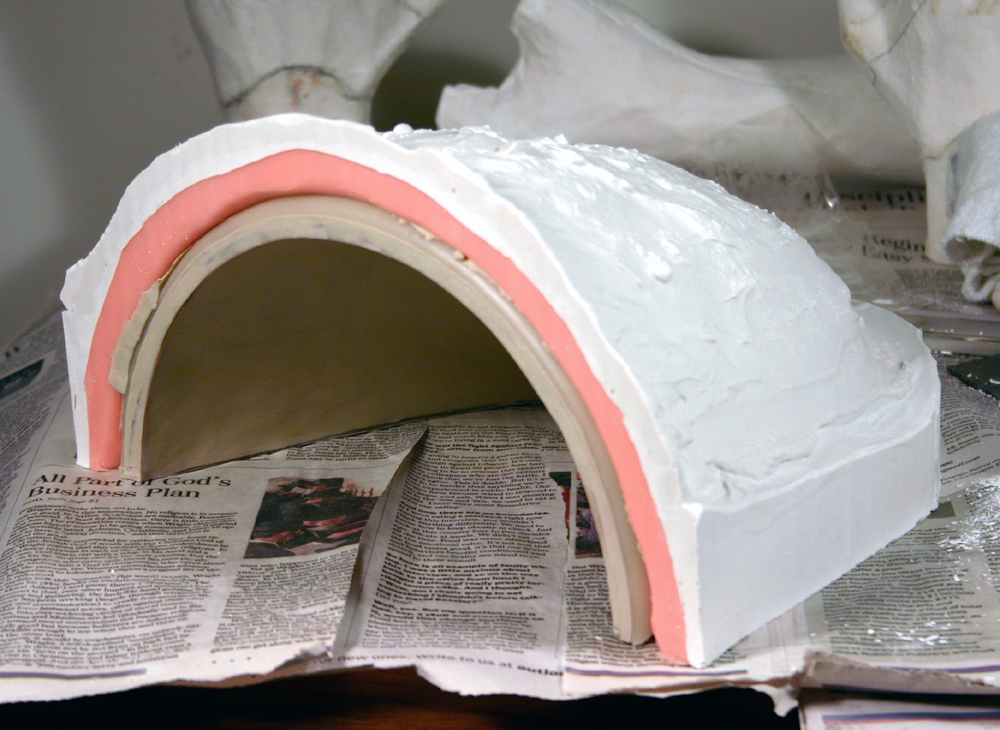
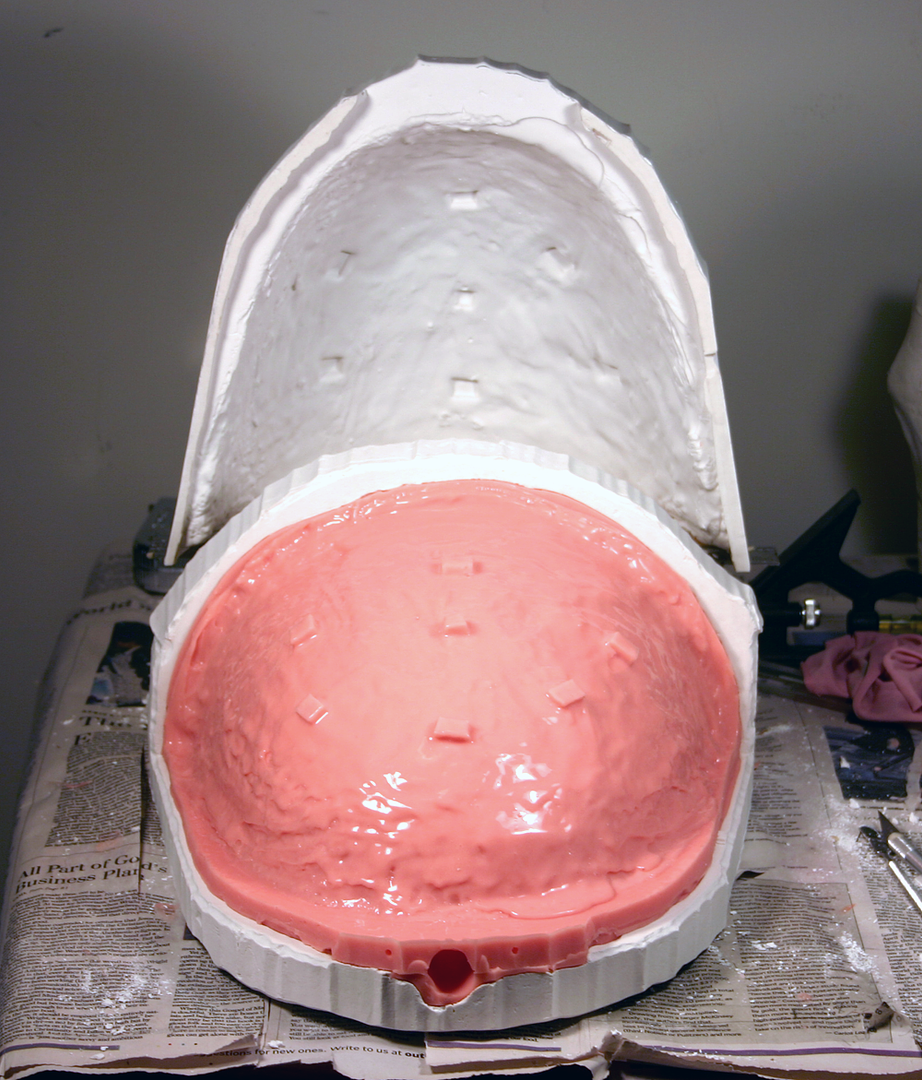
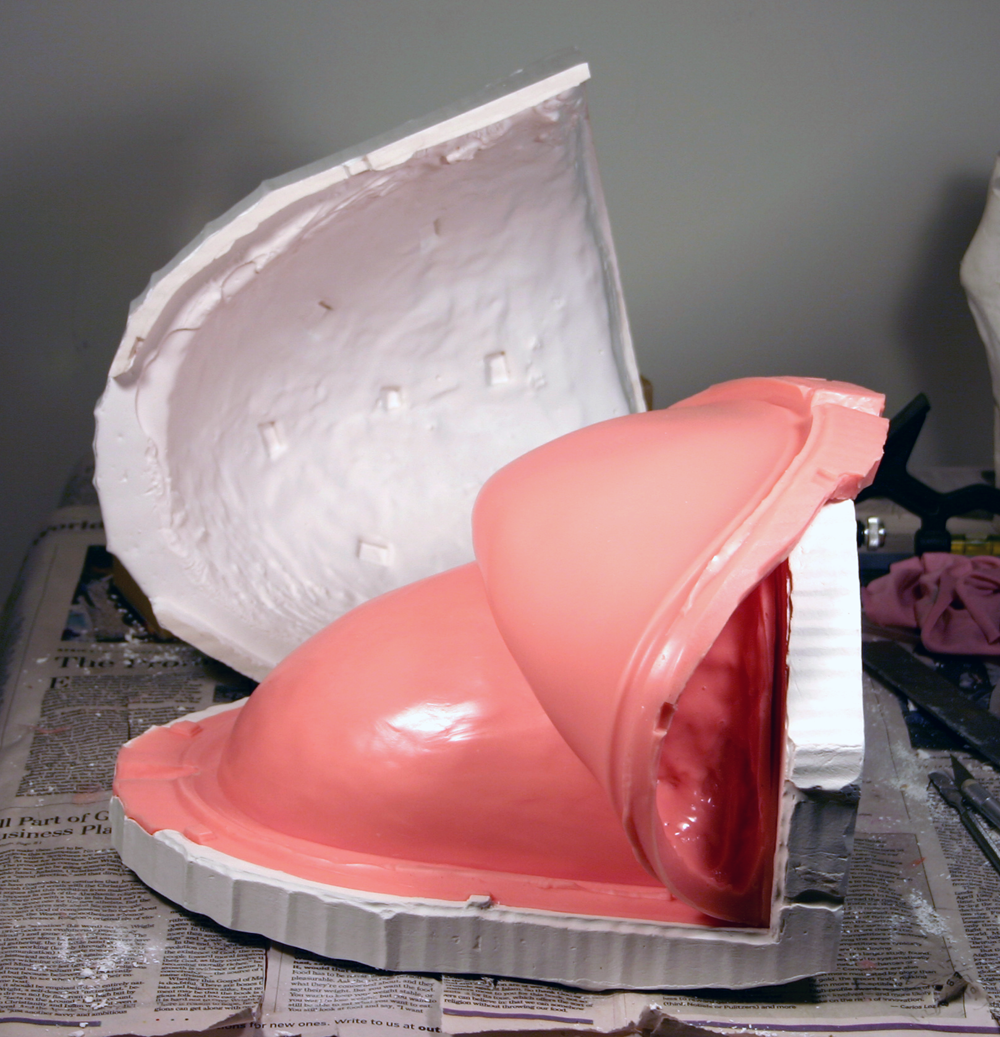
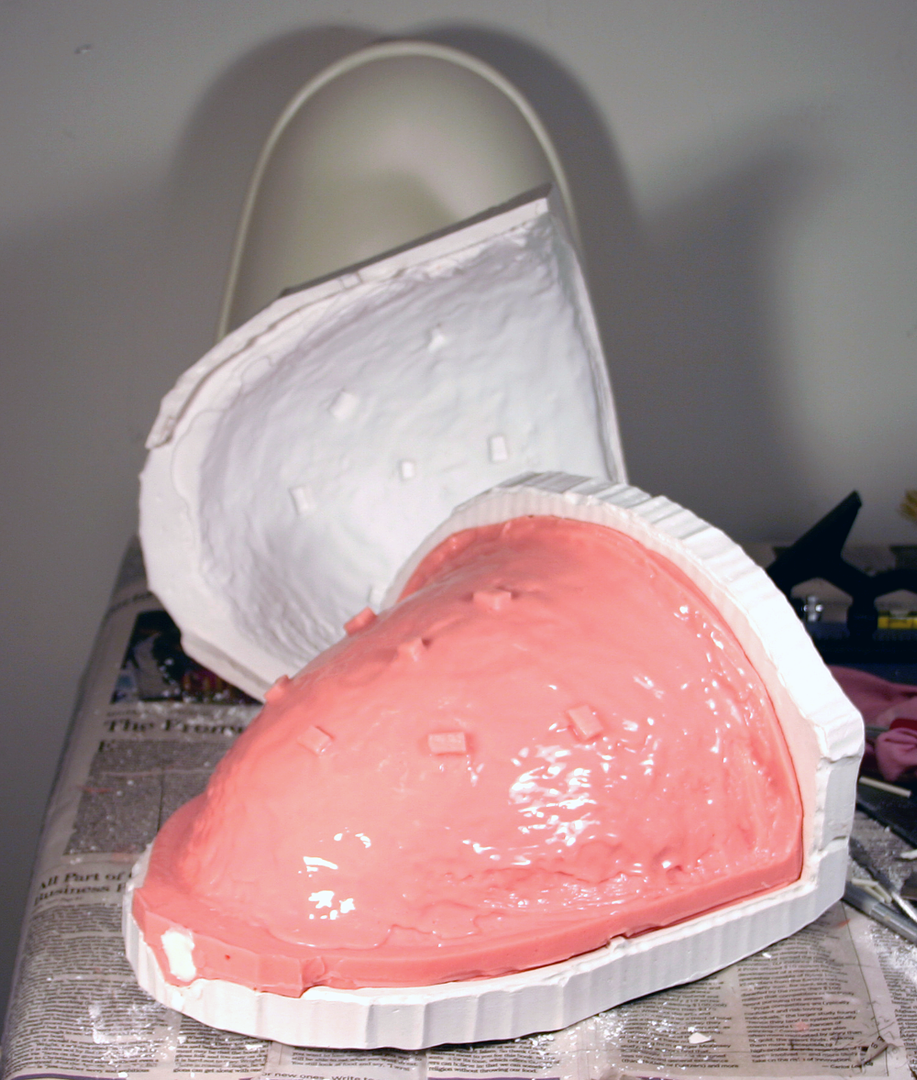
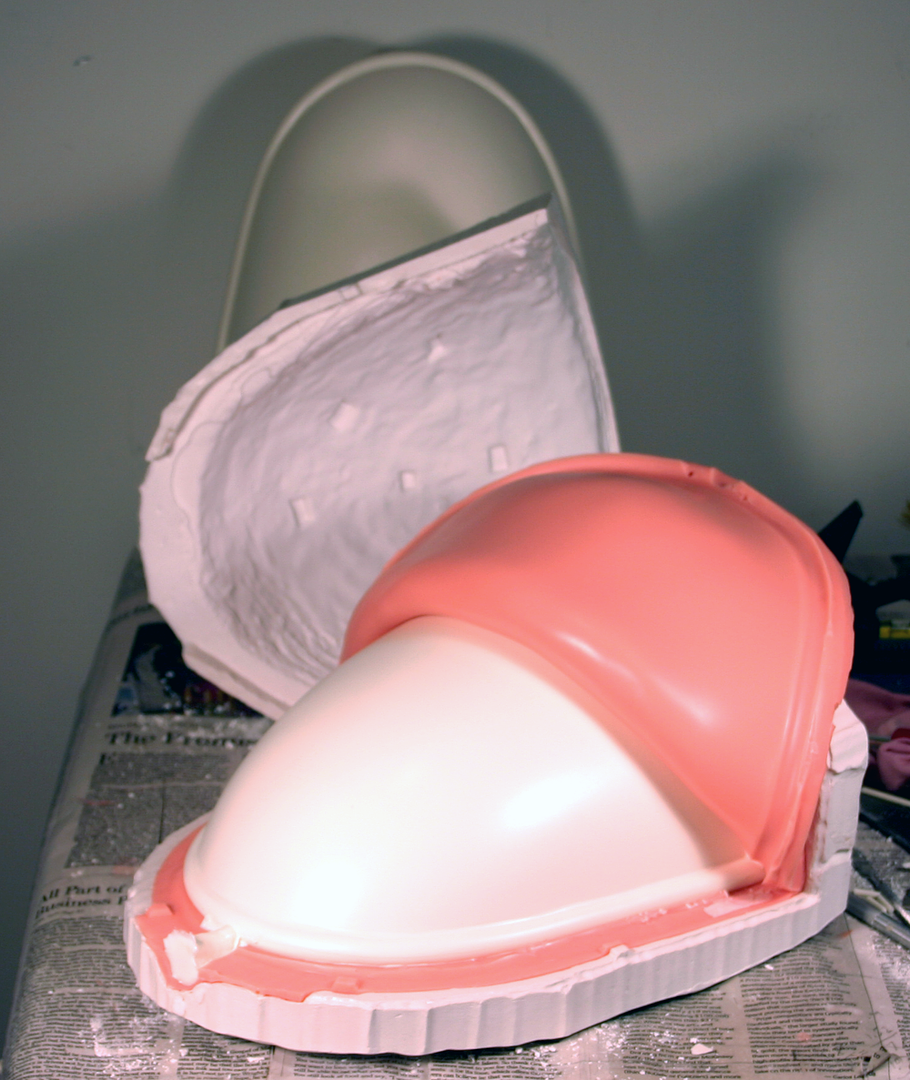
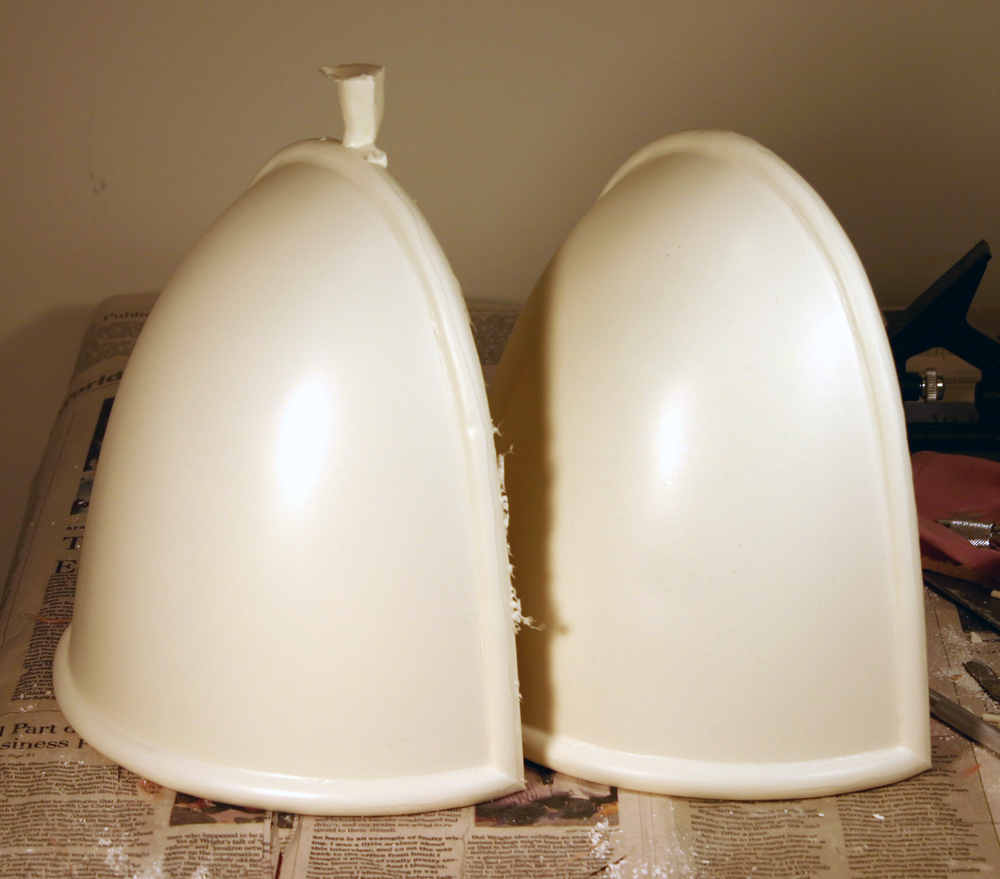
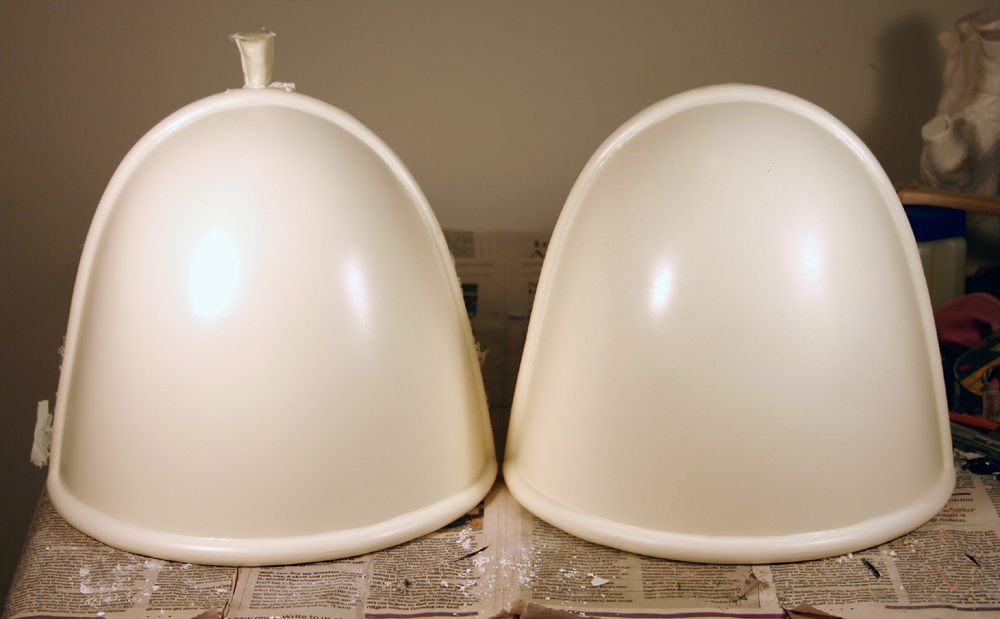
I tried that on the first Rahm Kota armor project with less than good results. The gel-cote set up too fast and shrunk away from the mold, causing bad ripples that I had to bondo-fill after the demold. The only piece I used the "rondo" on was the bell and it came out real nice. I guess I just go with what works for me. :cool...Have you tried a real Gel-coat instead of 'rondo'?
I guess I just go with what works for me. :cool
~ Vonnor


 (Sorry, I'm geeky like that )