in that pic it also looks like the thumbscrews are silver too
I'm pretty sure everyone's already stuck to that detail...surely Boba Debt and DrMcoy have, at least. I don't wanna go sifting through the thread to find the others right now.
in that pic it also looks like the thumbscrews are silver too
I don't think they are silver, I think they are black with a lot of silver showing through.
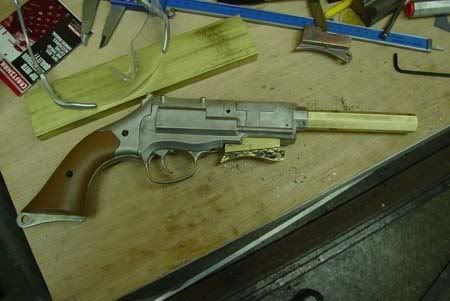
In my last picture I haven't done anything to finish them yet
well i sorta have an option there...
i DIDNT send my sidkit thumbscrews to the platers (still silver) and i also have a set of brass Phil thumbscrews... which are alot nicer..
i might just forgo that tiny bit of accuracy and use the phil thumbscrews
Are you having your frame and trigger plated, or leaving those silver?
")

Apply the PS-11 right onto the gun, it will turn black but if you keep applying the solution it will start to remove the black coating and it will turn copper. It should look like a sheet of copper that's been heated.
Once it stops changing to the coppery look, netralize it with water.
Then apply regular liquid Perma-Blue. The next time I might do this while the gun is still wet. My thinking is the dilluted Perma-Blu will not make the gun so black so quick.
You need to work quickly and you need to use a paper towel to wipe it down before you netralize it with water, rubbing the areas you want the copper to show through harder then the rest.
Don't worry if you mess it up, you can always polish the gun and try it again.