trekriffic
Sr Member
Re: Romulan Bird-Of-Prey from TOS
Today's update...
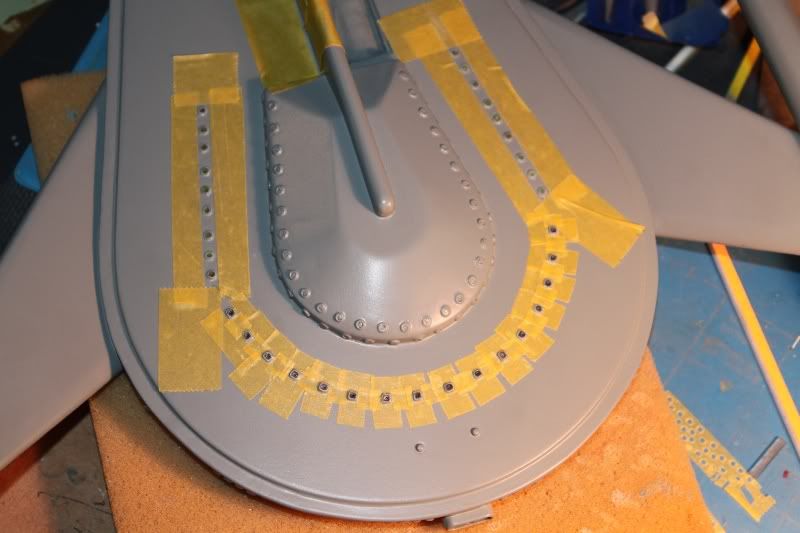
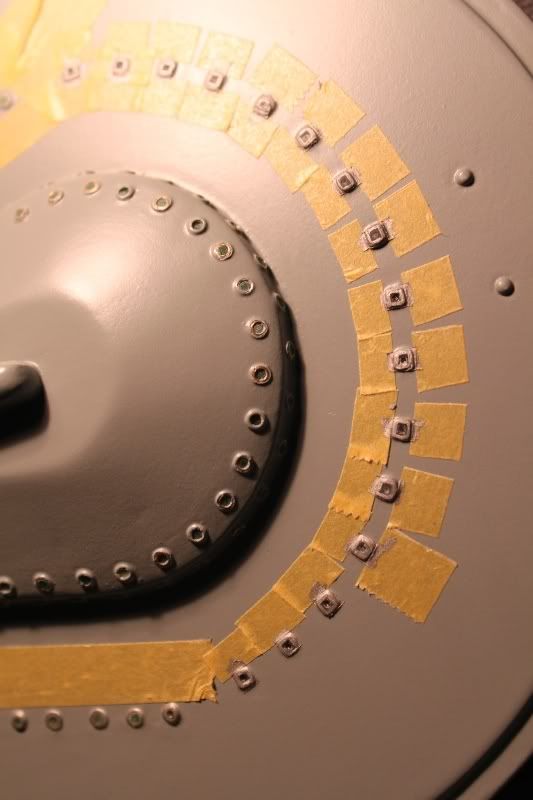
Spent about 3 hours altogether on the masking and making "hatch" covers for the stern.
I cut square pieces of tape for the windows using a ruler and my xacto knife using a piece of the square brass window frame tubing
pressed down hard into the tape on my vinyl work matt as a guide.
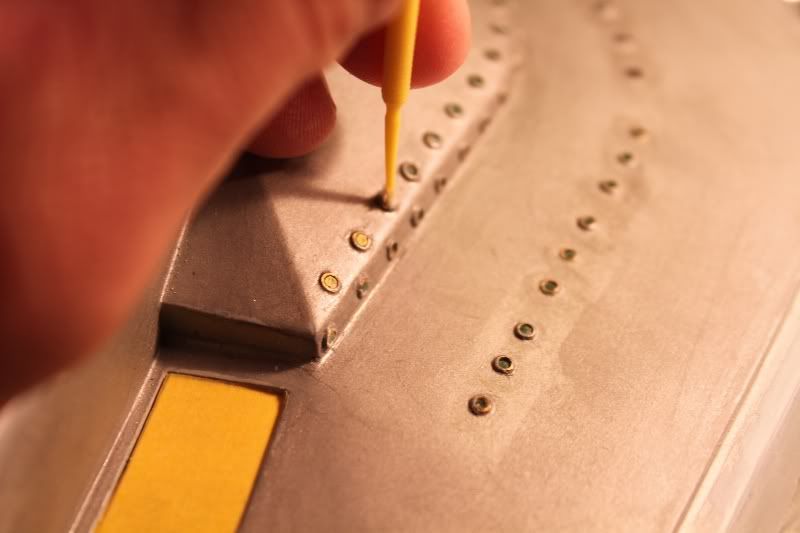
I cut a ton of tiny round holes from Tamiya tape with my smallest nail set tool for the round ports:

I applied the masking tape with tweezers and a dental pick:
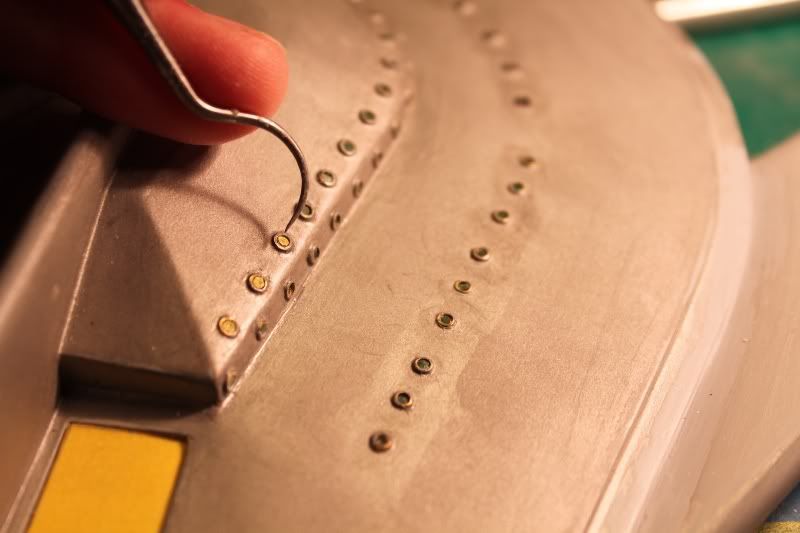
Tamping the pieces down with a microbrush:
After masking, I coated the ports and windows with Future to seal the edges so hopefully no paint leaks underneath.
Keeping fingers crossed on that.
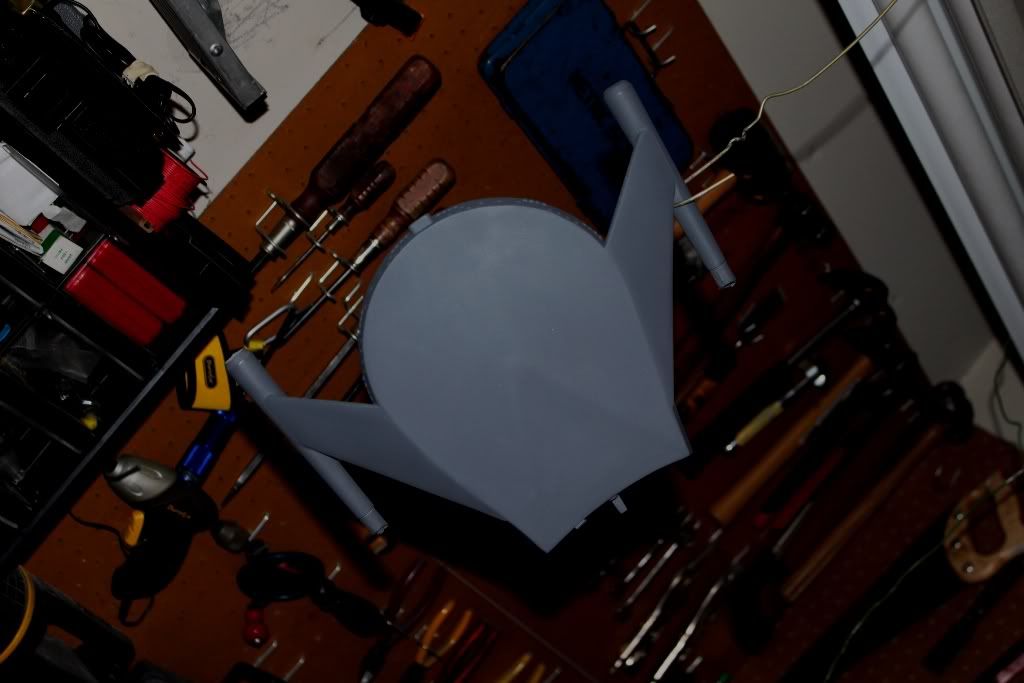
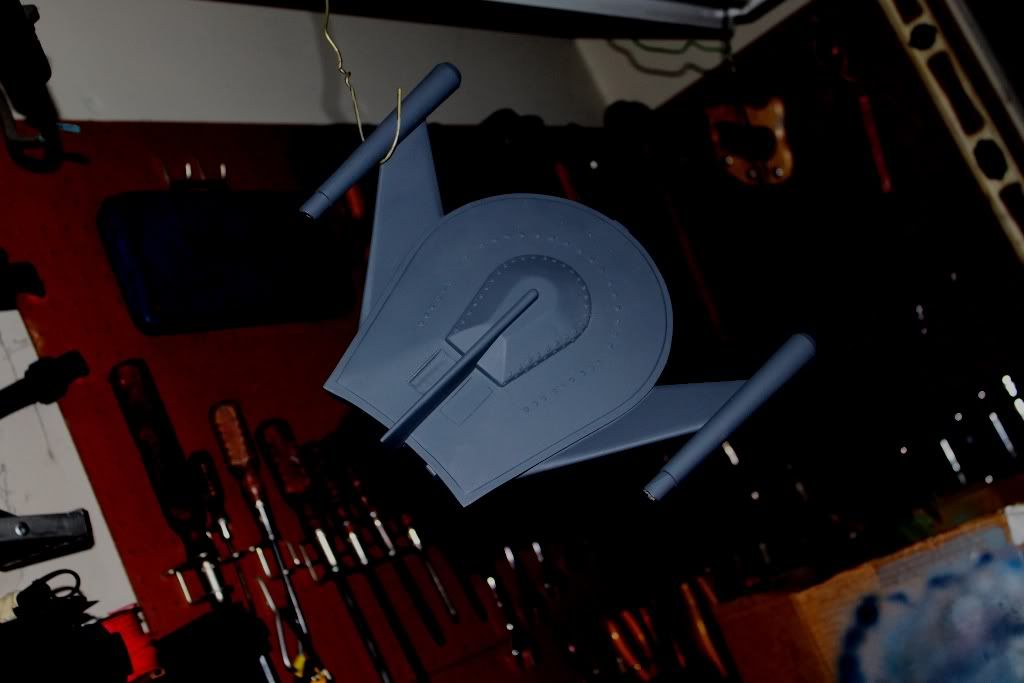
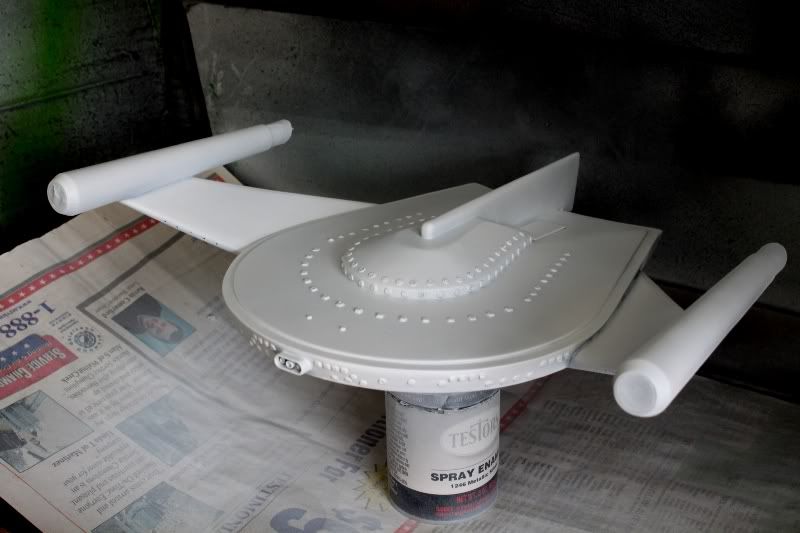
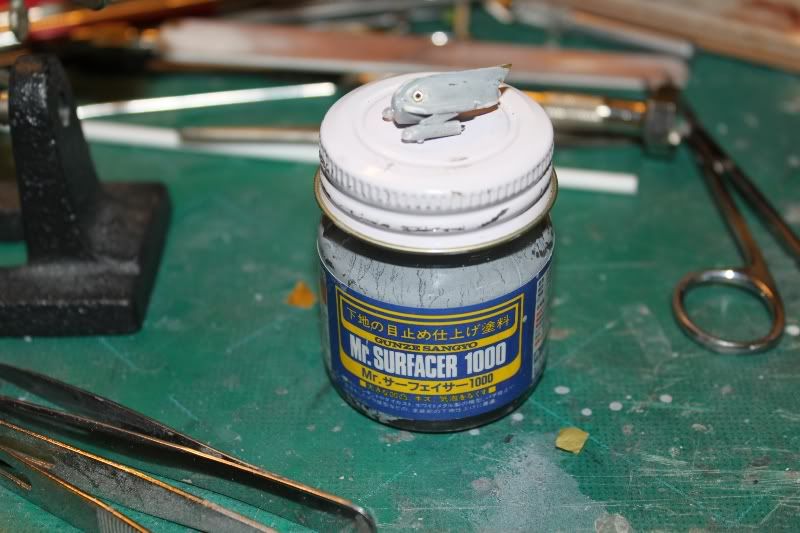
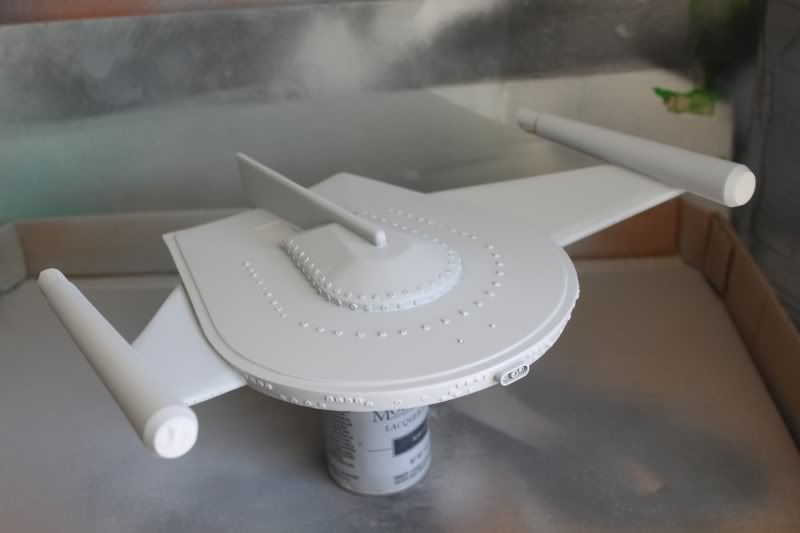
I did a bit more sanding and cleaned up the ship's surface with alcohol and a rag before spraying with Mr Surfacer 500 from a spray can:
Unfortunately, I ran out before I could do the underside; guess I'll have to break out the airbrush and mix some up from the bottle to finish the bottom.
Once that dries I'll do some more wet sanding until it's nice and smooth.
I've already seen a few spots that need a little more puttying; I'm using a little of what I have left of my grey Tamiya polyester putty at this stage.
That stuff is great, only wish it was still available.
I estimate another hour or so of work before I'm ready to hit it with the final finish coats.
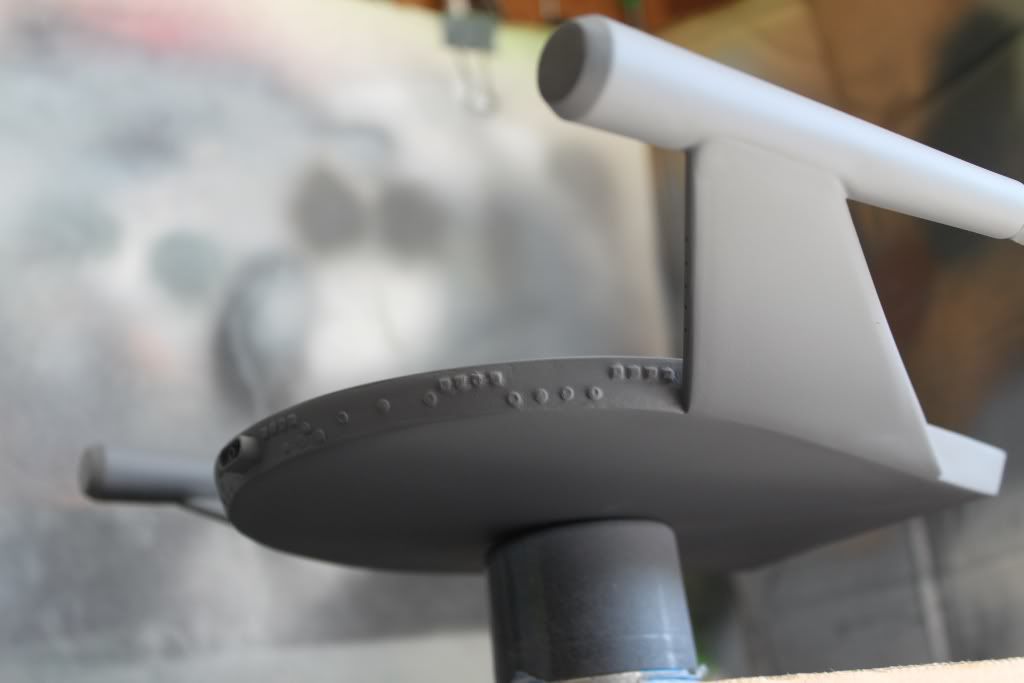
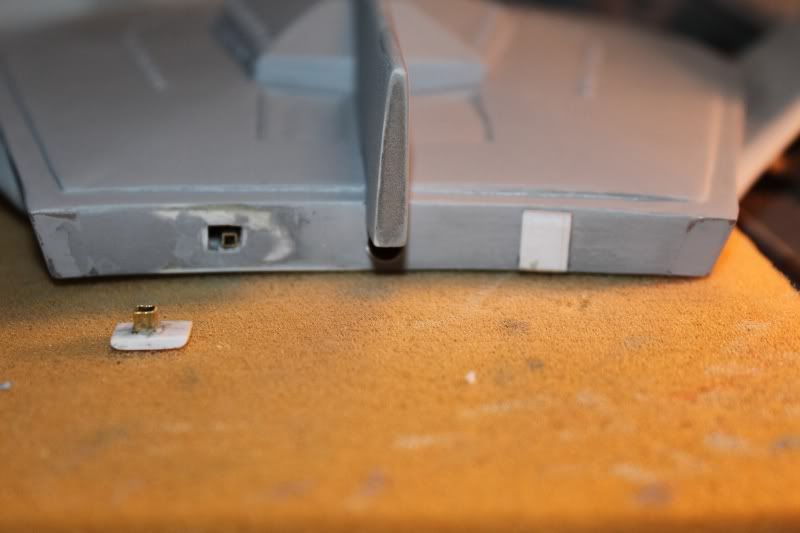
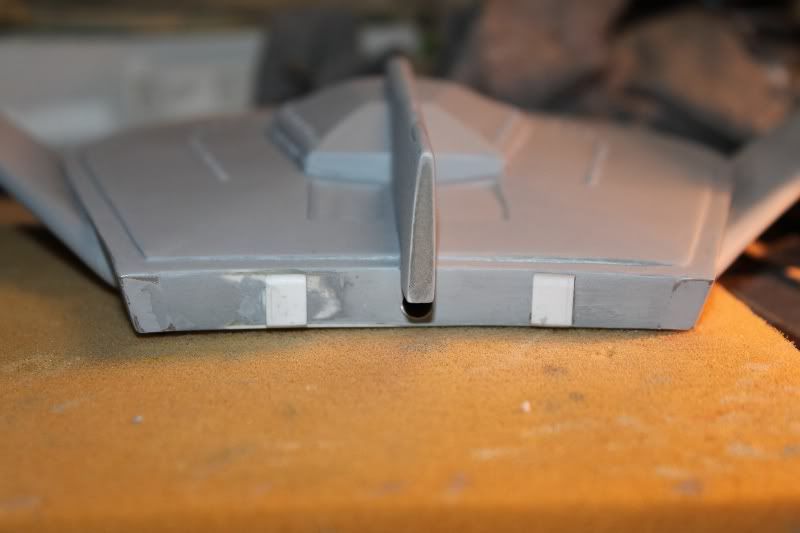
I also made the two rectangular hatch covers for the stern.
The one on the port side will work the slide switch for the lights.
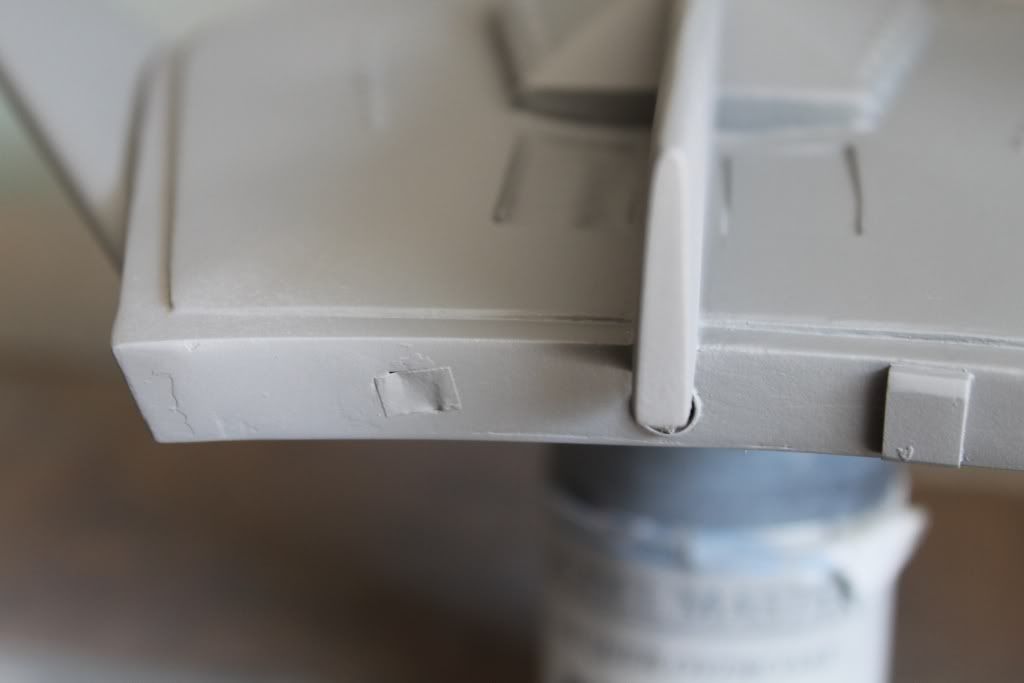
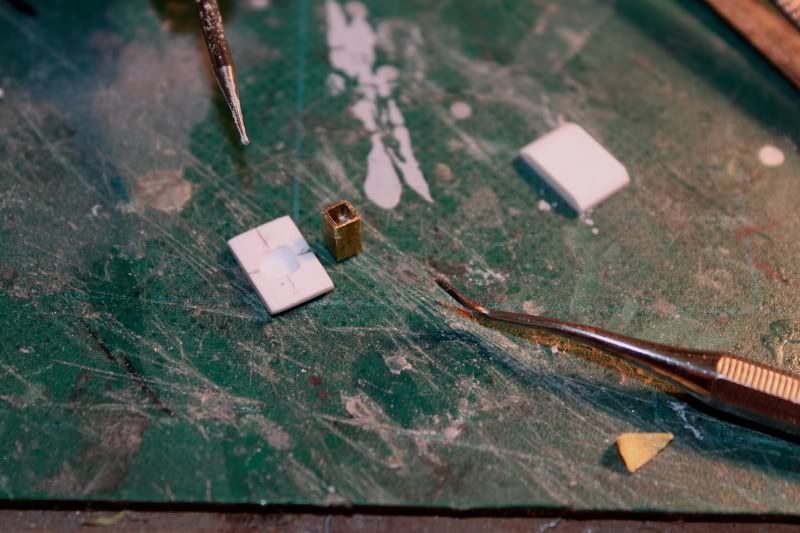
A piece of brass tubing will be glued to a slot carved in the inside face of the cover:
The slot showing the slide switch:
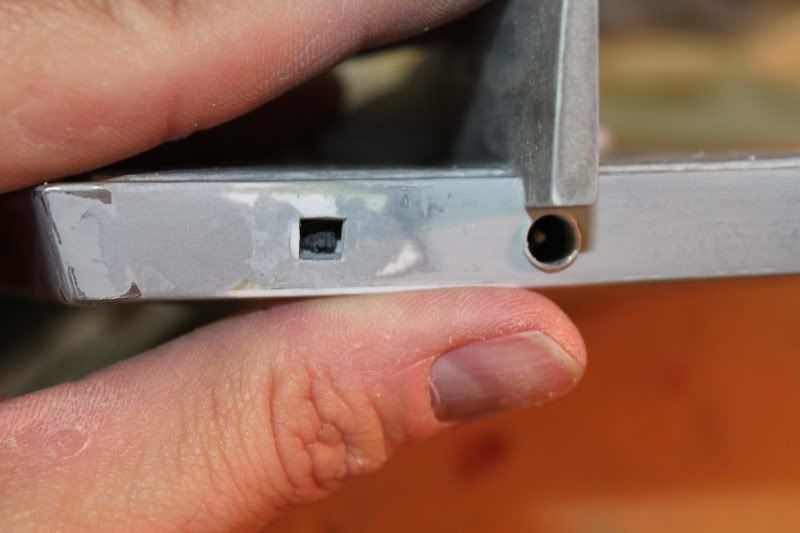
I glued in two pieces of styrene strip to either side of the opening so I could make the hatch covers narrower and still slide the switch far enough left and right to switch the electrical circuit between the internal batteries to the left or the external battery connection to the right.
The slide switch knob needed to be trimmed with my narrow xacto chissel blade to fit a short piece of smaller brass tubng which I glued to the knob with 5-minute epoxy:
The tubing on the cover will slide over the tubing glued to the slide switch.
The hatches in place. The starboard hatch is glued on but I won't glue the port cover on permanently until after applying the ship's finishing coats:
Well that's it for now!
Thanks for reading along.
Comments welcome as always.
Today's update...
Spent about 3 hours altogether on the masking and making "hatch" covers for the stern.
I cut square pieces of tape for the windows using a ruler and my xacto knife using a piece of the square brass window frame tubing
pressed down hard into the tape on my vinyl work matt as a guide.
I cut a ton of tiny round holes from Tamiya tape with my smallest nail set tool for the round ports:
I applied the masking tape with tweezers and a dental pick:
Tamping the pieces down with a microbrush:
After masking, I coated the ports and windows with Future to seal the edges so hopefully no paint leaks underneath.
Keeping fingers crossed on that.
I did a bit more sanding and cleaned up the ship's surface with alcohol and a rag before spraying with Mr Surfacer 500 from a spray can:
Unfortunately, I ran out before I could do the underside; guess I'll have to break out the airbrush and mix some up from the bottle to finish the bottom.
Once that dries I'll do some more wet sanding until it's nice and smooth.
I've already seen a few spots that need a little more puttying; I'm using a little of what I have left of my grey Tamiya polyester putty at this stage.
That stuff is great, only wish it was still available.
I estimate another hour or so of work before I'm ready to hit it with the final finish coats.
I also made the two rectangular hatch covers for the stern.
The one on the port side will work the slide switch for the lights.
A piece of brass tubing will be glued to a slot carved in the inside face of the cover:
The slot showing the slide switch:
I glued in two pieces of styrene strip to either side of the opening so I could make the hatch covers narrower and still slide the switch far enough left and right to switch the electrical circuit between the internal batteries to the left or the external battery connection to the right.
The slide switch knob needed to be trimmed with my narrow xacto chissel blade to fit a short piece of smaller brass tubng which I glued to the knob with 5-minute epoxy:
The tubing on the cover will slide over the tubing glued to the slide switch.
The hatches in place. The starboard hatch is glued on but I won't glue the port cover on permanently until after applying the ship's finishing coats:
Well that's it for now!
Thanks for reading along.
Comments welcome as always.
")