Moska
Sr Member
Hello friends.
I have decided that my new project will be the Mandalorian's Razor Crest ship for the following reasons:
1- I really like the design of the ship.
2- The Revell kit is really very well detailed. It's a nice kit and it's going to be fun to build.
3- The most important thing; This is the first time I've seen a toilet in a sci-fi spaceship. And it is included in the kit!

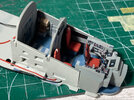
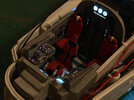
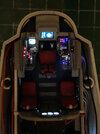
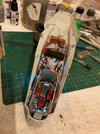
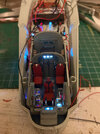
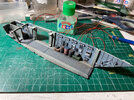
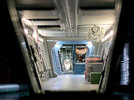
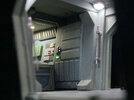
I begin my work preparing the model to include lighting in the hold, cockpit and engines.
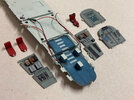
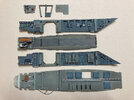
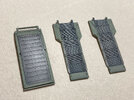
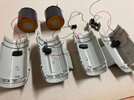
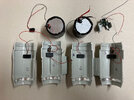
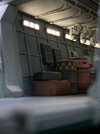
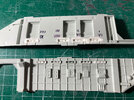
The side walls of the hold have good detail. For the wall lights, the kit proposes a decal but, if you want to add real lighting, it is necessary to drill those pieces carefully.
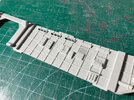
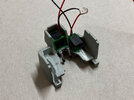
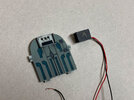
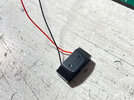
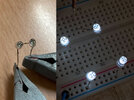
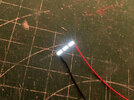
The SMD1206 LEDs have a very appropriate size for those wall lamps. I cut the necessary LEDs separately, but I ran into the problem that there is hardly any surface to solder on the side poles of each individual LED. In addition, they have to be very close together, which leaves no room for welding. I tried sanding the bottom of an LED and, fortunately, some contacts appeared that were large enough to apply solder. Furthermore, by making the solders on the lower part of the LED, there was no longer any problem placing them so close together.
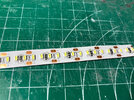
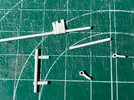
I improvised a small template with pieces of aluminum and created a channel to place the LEDs in their correct position. I added some double-sided adhesive so they wouldn't move during soldering, and I was able to create the nine sets of three LEDs needed for the wall lamps. These assemblies are very fragile if we only hold them together with solder, so I glued a small metal plate to each one that keeps them rigid and strong.
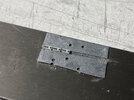
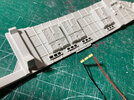
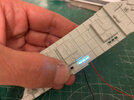
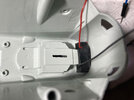
On the back of the walls, I made some recesses to be able to insert the LEDs without them protruding. This is necessary because there is no free space between those pieces and the outer hull of the ship.
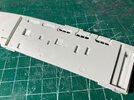
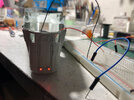
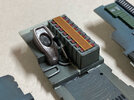
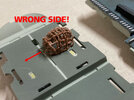
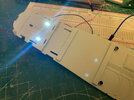
Finally, I applied Milliput putty to each of those inserts and let it cure for 30 or 40 minutes. After that time, the putty still remains quite flexible, but it loses its adhesive power. We take advantage of this situation to impregnate both the putty and the LED groups themselves with talcum powder to make it even more difficult for the LEDs to adhere to the putty. Then I pressed each group of LEDs inside its corresponding wall lamp to create a perfect fit that prevents any light leakage. The groups of LEDs were previously numbered to assign each one a specific wall lamp. The LEDs are removed without problems and the putty is left to cure until the next day. Finally, once the putty has completely cured and hardened, we sand off the excess and go over the openings we had created in the lamps again. When the work inside the warehouse is finished, I can place the groups of LEDs in each lamp knowing that they will fit perfectly in their sockets.
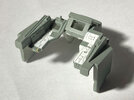
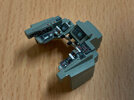
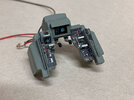
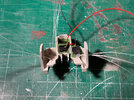
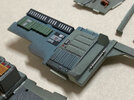
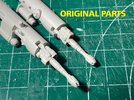
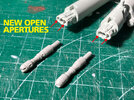
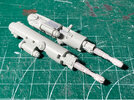
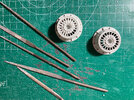
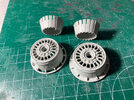
Now I'm working on the engine parts. Once again, in order to provide them with lighting, it is necessary to make quite a few cuts and perforations in these pieces. But the end result will be worth it.
Thanks for watching.
Rafa
I have decided that my new project will be the Mandalorian's Razor Crest ship for the following reasons:
1- I really like the design of the ship.
2- The Revell kit is really very well detailed. It's a nice kit and it's going to be fun to build.
3- The most important thing; This is the first time I've seen a toilet in a sci-fi spaceship. And it is included in the kit!
I begin my work preparing the model to include lighting in the hold, cockpit and engines.
The side walls of the hold have good detail. For the wall lights, the kit proposes a decal but, if you want to add real lighting, it is necessary to drill those pieces carefully.

The SMD1206 LEDs have a very appropriate size for those wall lamps. I cut the necessary LEDs separately, but I ran into the problem that there is hardly any surface to solder on the side poles of each individual LED. In addition, they have to be very close together, which leaves no room for welding. I tried sanding the bottom of an LED and, fortunately, some contacts appeared that were large enough to apply solder. Furthermore, by making the solders on the lower part of the LED, there was no longer any problem placing them so close together.

I improvised a small template with pieces of aluminum and created a channel to place the LEDs in their correct position. I added some double-sided adhesive so they wouldn't move during soldering, and I was able to create the nine sets of three LEDs needed for the wall lamps. These assemblies are very fragile if we only hold them together with solder, so I glued a small metal plate to each one that keeps them rigid and strong.


On the back of the walls, I made some recesses to be able to insert the LEDs without them protruding. This is necessary because there is no free space between those pieces and the outer hull of the ship.

Finally, I applied Milliput putty to each of those inserts and let it cure for 30 or 40 minutes. After that time, the putty still remains quite flexible, but it loses its adhesive power. We take advantage of this situation to impregnate both the putty and the LED groups themselves with talcum powder to make it even more difficult for the LEDs to adhere to the putty. Then I pressed each group of LEDs inside its corresponding wall lamp to create a perfect fit that prevents any light leakage. The groups of LEDs were previously numbered to assign each one a specific wall lamp. The LEDs are removed without problems and the putty is left to cure until the next day. Finally, once the putty has completely cured and hardened, we sand off the excess and go over the openings we had created in the lamps again. When the work inside the warehouse is finished, I can place the groups of LEDs in each lamp knowing that they will fit perfectly in their sockets.

Now I'm working on the engine parts. Once again, in order to provide them with lighting, it is necessary to make quite a few cuts and perforations in these pieces. But the end result will be worth it.


Thanks for watching.
Rafa

