Clutch
Master Member
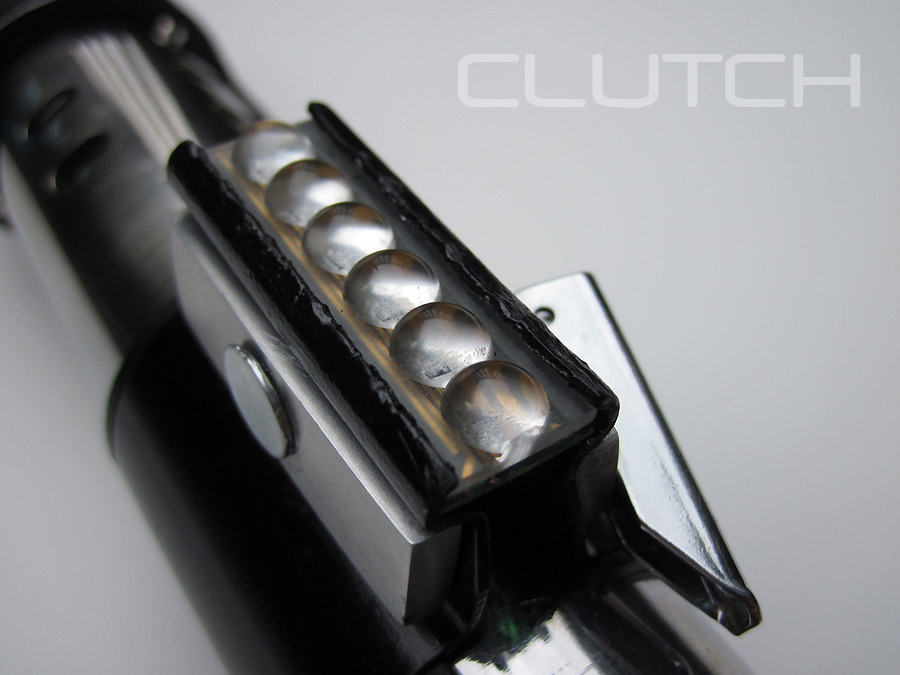
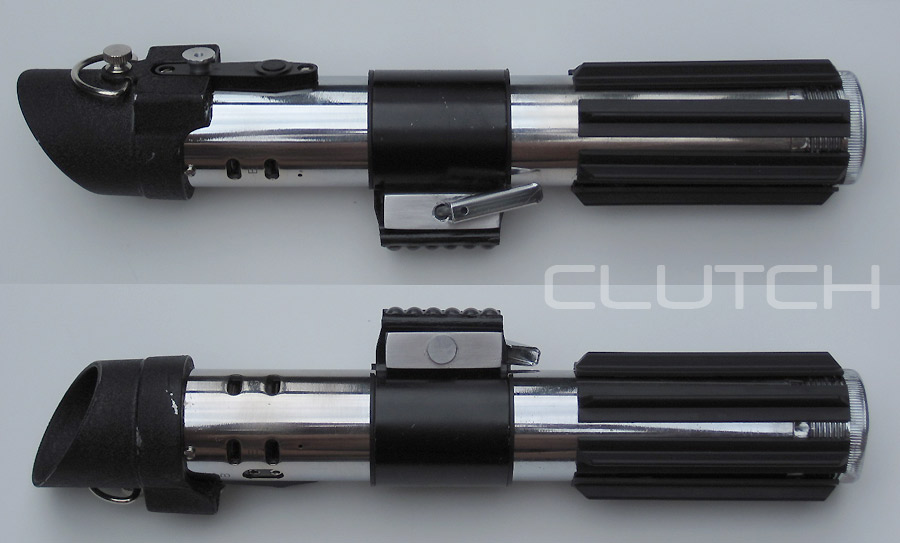
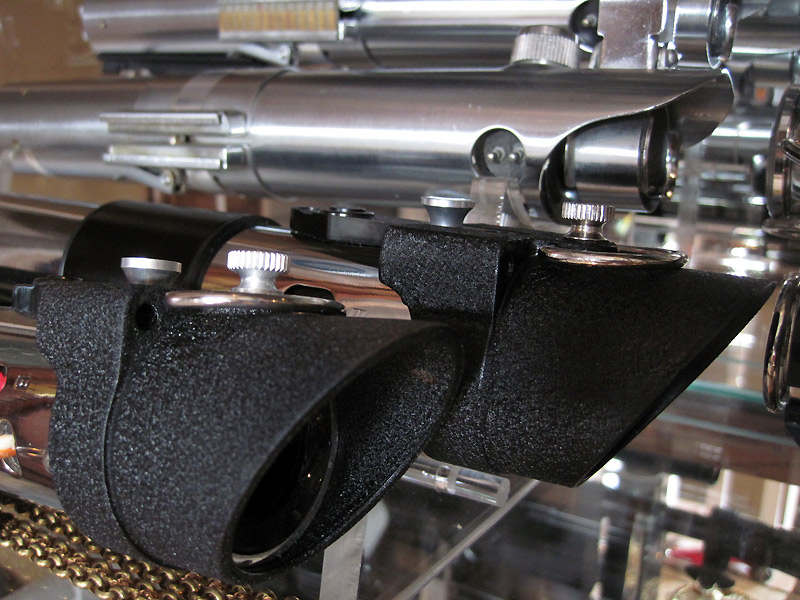
I picked up a Parks saber a while back thinking it might be a real MPP. :lol The gamble didn't pay off so I decided to try and accurize it some by refinishing the shroud.
The shroud was thick. I sandpapered the inside of it until I had it at reasonably thin. The only problem is that this left a big patch of bare metal showing!
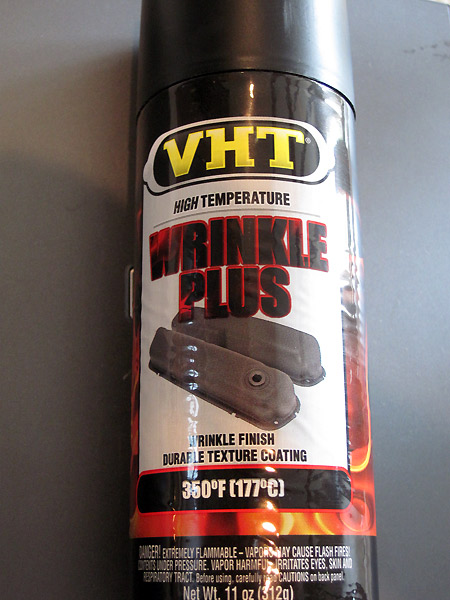
I went ahead and stripped the factory paint and bought a can of VHT Wrinkle Plus paint. Using this paint goes against everything I know about rattle cans.
Most people would think that several light coats spread out over time is best, but that will get you nowhere with this paint. You'll end up with a smooth, gloss black finish.
What you need to do is lay down three thick coats in a crosshatch pattern (all this is on the can instructions). Spray the first coat horizontally and let it set for 5 minutes. Then spray it vertically and let set for five minutes. The final coat will be diagonally sprayed.
It will look like you coated it with glossy black paint, but the magic starts a couple of hours after you spray it. The wrinkle effect takes time.
If you do need to respray an area, you should just respray the entire piece. What happens is the edge of the respray will be too thin to wrinkle and you will have a gloss 'boundary' between the original and respray.
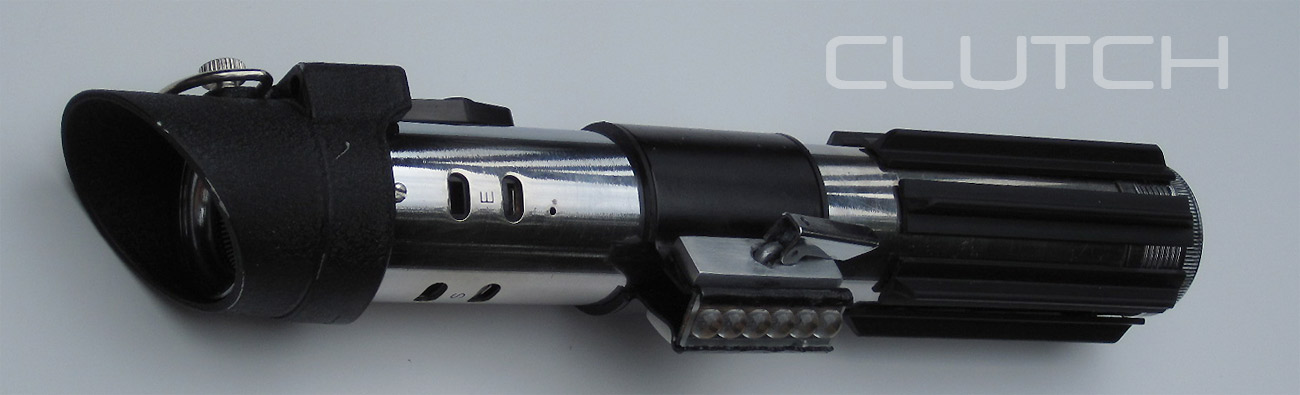
Next to a MR FX saber. (FX in front)
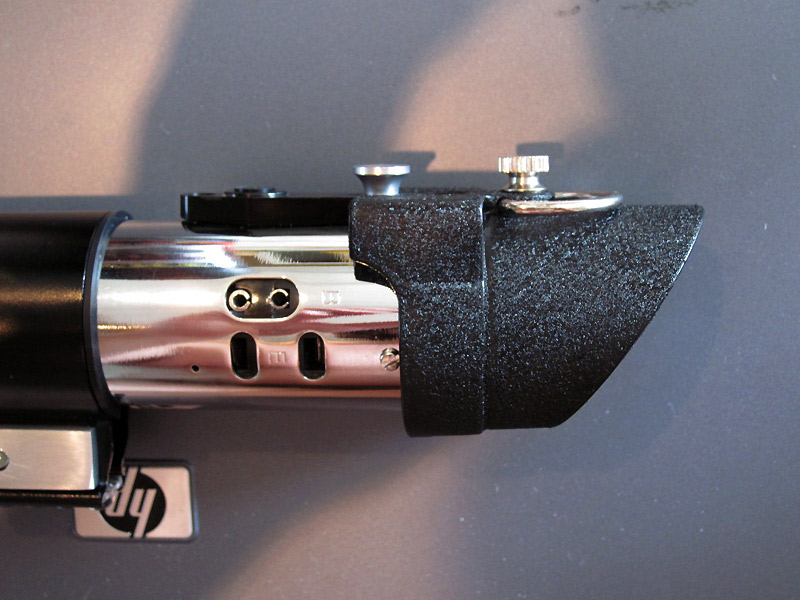
The shroud was thick. I sandpapered the inside of it until I had it at reasonably thin. The only problem is that this left a big patch of bare metal showing!
I went ahead and stripped the factory paint and bought a can of VHT Wrinkle Plus paint. Using this paint goes against everything I know about rattle cans.
Most people would think that several light coats spread out over time is best, but that will get you nowhere with this paint. You'll end up with a smooth, gloss black finish.
What you need to do is lay down three thick coats in a crosshatch pattern (all this is on the can instructions). Spray the first coat horizontally and let it set for 5 minutes. Then spray it vertically and let set for five minutes. The final coat will be diagonally sprayed.
It will look like you coated it with glossy black paint, but the magic starts a couple of hours after you spray it. The wrinkle effect takes time.
If you do need to respray an area, you should just respray the entire piece. What happens is the edge of the respray will be too thin to wrinkle and you will have a gloss 'boundary' between the original and respray.
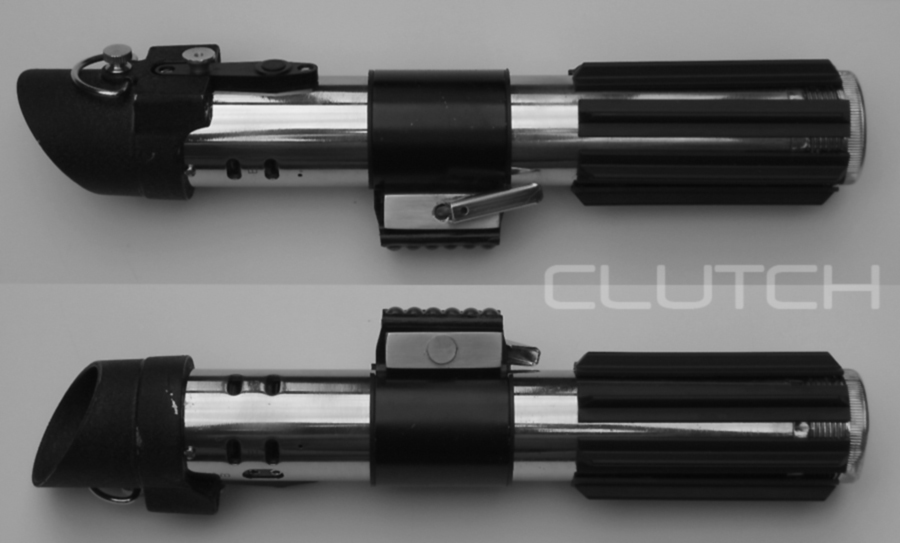
Next to a MR FX saber. (FX in front)
Last edited: