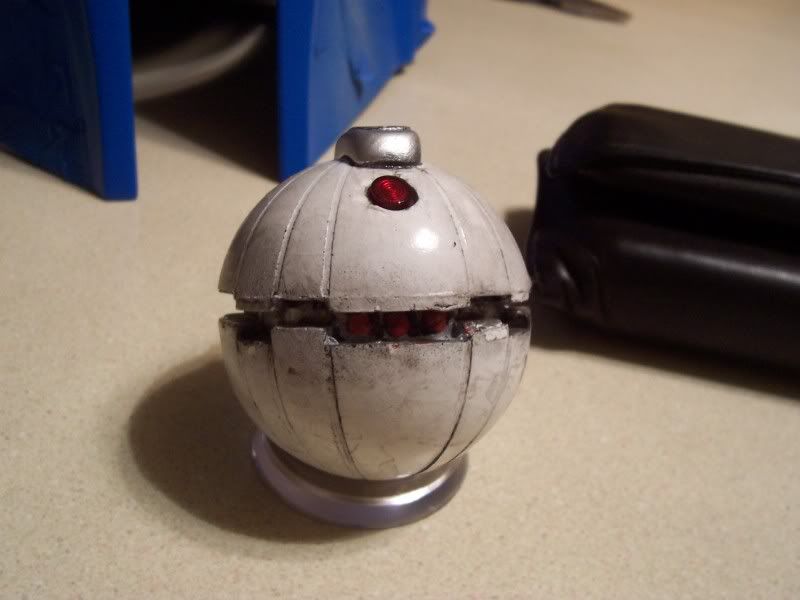
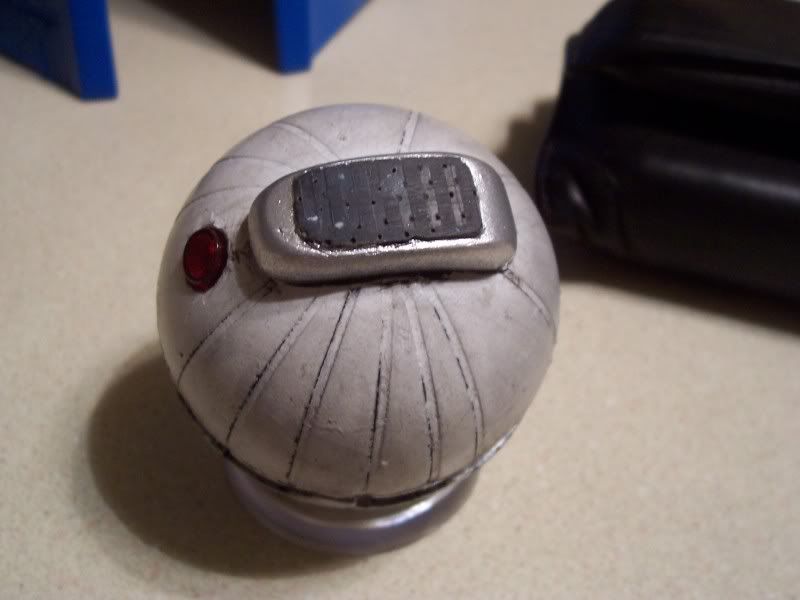
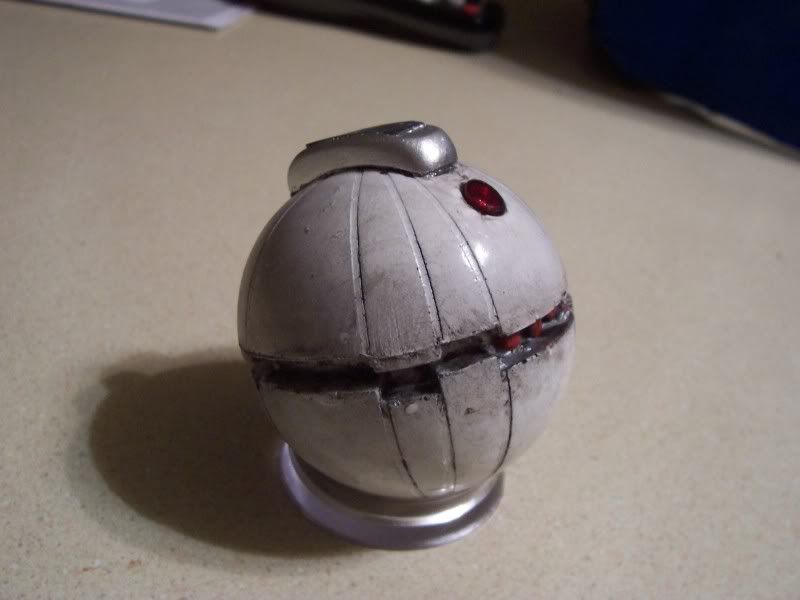
Quick Hyperfirm Thermal Detonator Build! 100% FINISHED

tubachris85x

Master Member
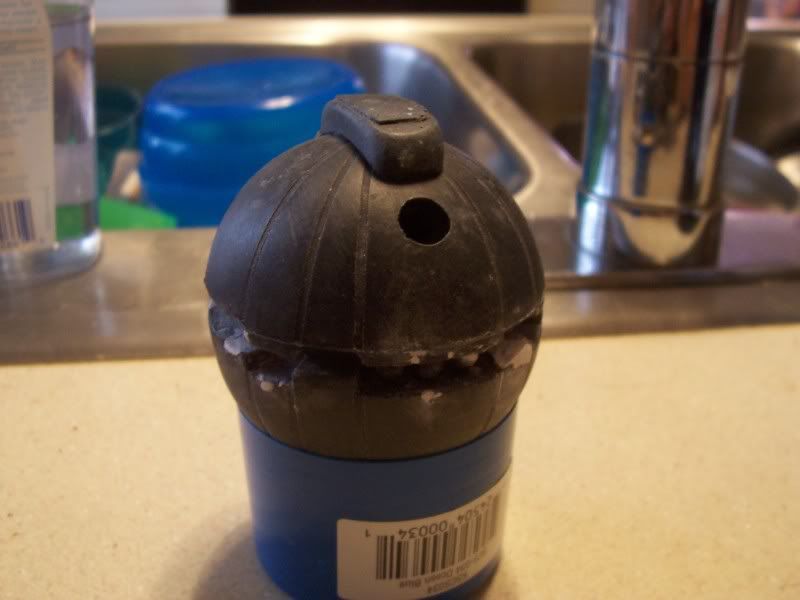
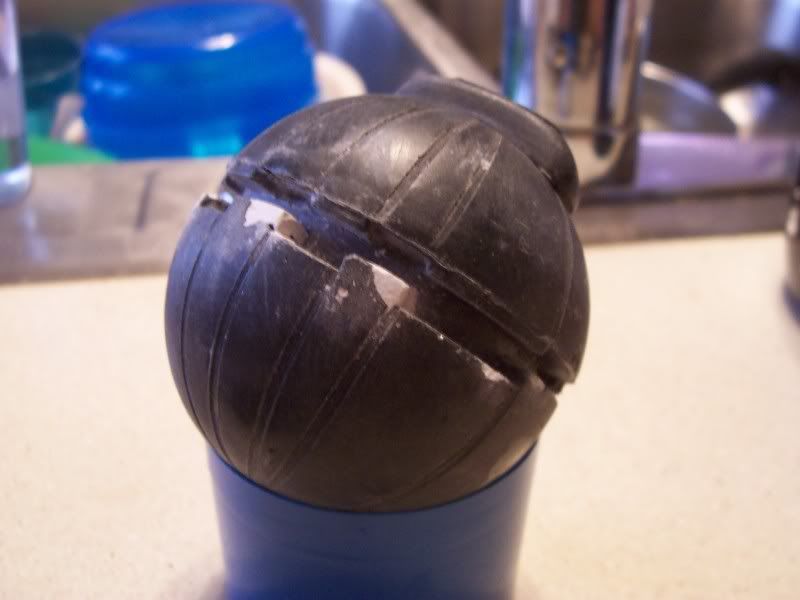
Although owning a hyperfirm made E-11, I aquired a "hyperfirm" cast thermal detonator that has some serious air holes. Bondo is out of the question based on personal experience, so would epoxy putty work? Or the combo of baking soda and superglue?
 
Re: Fillers for Hyperfirm material?

if your talking about external areas on corners that didnt fill due to improper brushing of the rubber into the mold, gap filler super glue or as you mentioned, super glue with baking soda will work. Just file the area smooth. You may need to do another smooth coat of super glue alone with a finer grit file but it works well.

If its under the surface, most anything will work as a filler, even apples and pears if your not too concerned with longevity.

Cool, thanks! I'm gonna give it a try!
 
Re: Quick Hyperfirm Thermal Detonator Build!

So the epoxy putty actually worked pretty well, all things considered. The amount/size of the air holes, plus their locations made it a little difficult to "perfect," but I'm pretty satisfied. I'm leaving some areas as is for weathering purpouses. I'm gonna be using this with my snowtrooper for troops and such, so I'm not exactly gonna make this a "display" piece.

002-87.jpg


003-76.jpg


004-61.jpg


I was givent the suggestion to paint it like an artic cammo/snow weathered look..any suggestions on how to go about this? I was thinking about giving it a silver base coat, then topically add some splotches of white paint.

-TC
 
Re: Quick Hyperfirm Thermal Detonator Build!

I love the appearance of the Hyperfirm. It definitely carries over the "lived-in" look that Lucas was always going for. :thumbsup
 
Re: Quick Hyperfirm Thermal Detonator Build!

When you do paint it, give it a good rub down with a rag and alcohol, let dry, then just dust it very lightly with spray paint. The less paint the longer the finish will last under heavy use. I would do a light wash to bring out the detailed lines, then just wipe off the smoother surface of the wash. The lower areas will retain the color. Let it dry then dust it with matte finish. You could at this point do another wash of a lighter color. If you do that and add a thicker coat of matte finish, you will get some weather beaten pit mark looking areas.

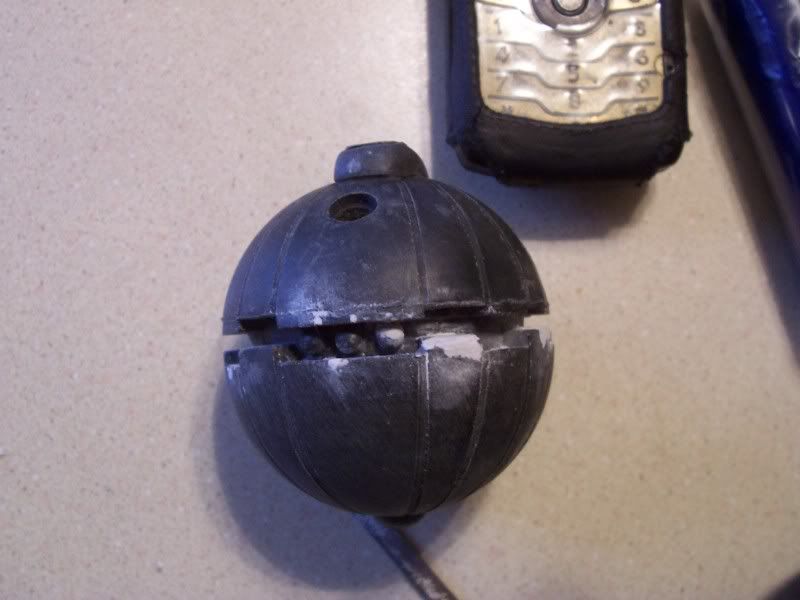
Thanks for the tips, I'll make sure to do that!
 
Re: Quick Hyperfirm Thermal Detonator Build!

Sweet! Since when does Sci-Fire offer Thermal Detonators? I gotta get me one! Or several!
 
Re: Quick Hyperfirm Thermal Detonator Build!

Sweet! Since when does Sci-Fire offer Thermal Detonators? I gotta get me one! Or several!

I actually got this from Robstyle. I don't know/think they offer these. I was quite flabbergasted when I saw it. Having it in hyperfirm makes it the perfect grenade prop, cause I can chuck it at someone and not worry about damaging it :lol
 
Re: Quick Hyperfirm Thermal Detonator Build!

These were back around 2005/2006 and not sure where they ended up on the project chain.
 
Re: Quick Hyperfirm Thermal Detonator Build!

Alright, so I *decided* on a paint scheme. I'm not gonna do a full blown artic camo style, but what I'm gonna go with, is the two hemispheres in all white, center indented section in silver, paint the LEDs in red (possibly the center in Yellow). For the arming switch, go with the outside rim in silver and the center-top in black. I'm considering trying to get the more accurate "grip" to add to it as well later on. After all thats done, I'm gonna do an accrylic wash of black and brown to highlight the lines and weather it up.

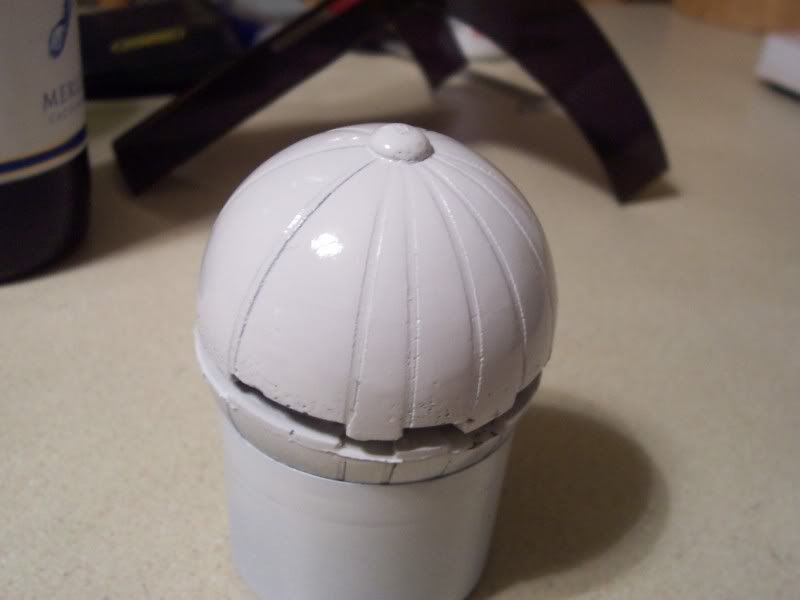
So here's one side lol I'm using the appliance epoxy paint since it's really durable, and I've yet to have it crack on me since I used it on my RFT helmets, which are somewhat flexible styrene. The only downside is that it takes about a week to "fully" cure/dry.

004-62.jpg


It really brought out some smaller air holes I couldn't see before!

-TC
 
Re: Quick Hyperfirm Thermal Detonator Build!

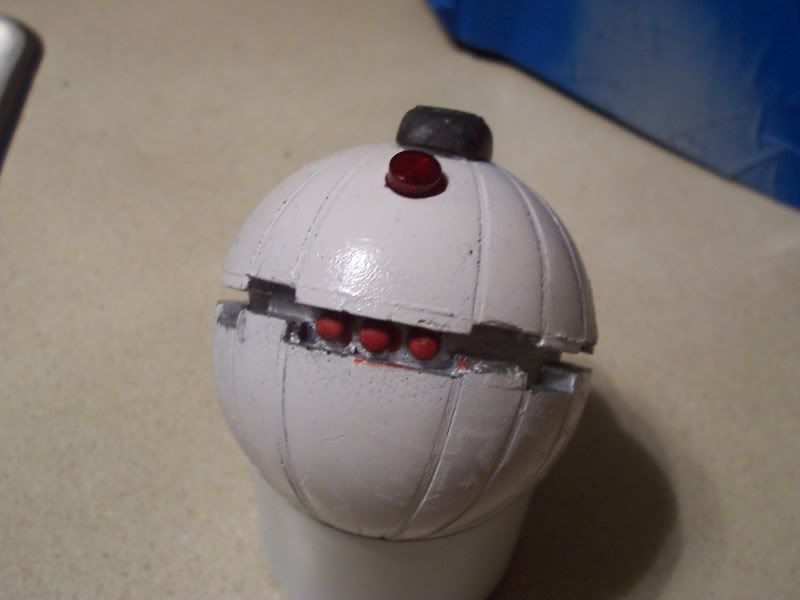
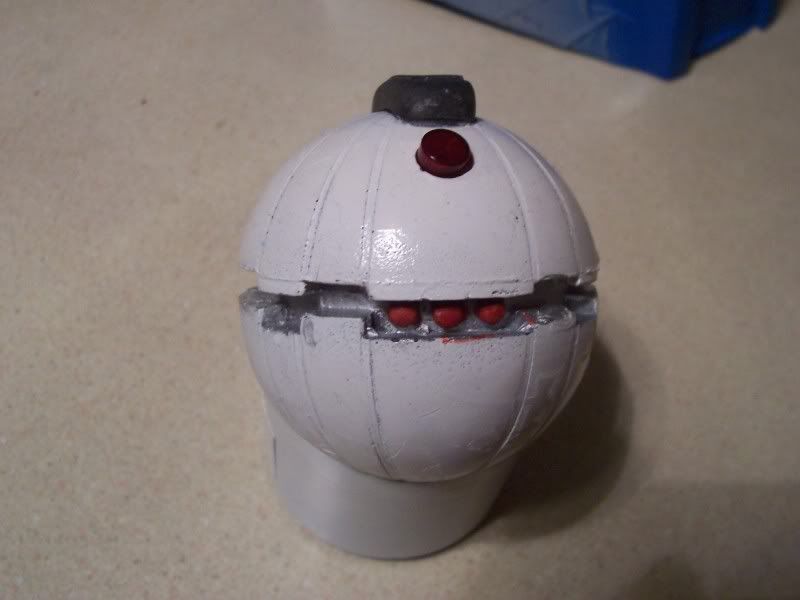
Alright, well it's almost done. Have a little bit of clean up to do and then need to paint the arming switch, and weather. The paint looks a little disstressed/sloppy. I did that intentionally

Have a little bit of excess red I need to cover up

006-50.jpg


007-45.jpg


-TC
 
Re: Quick Hyperfirm Thermal Detonator Build!

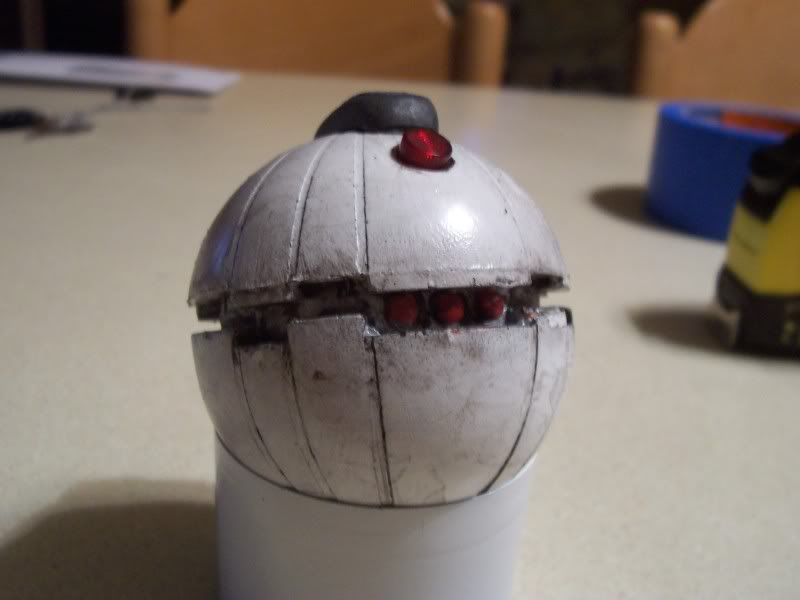
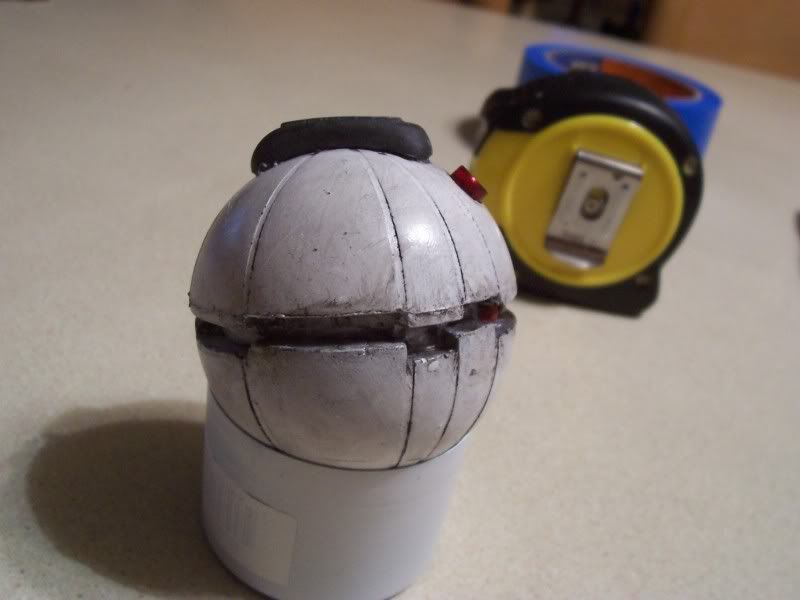
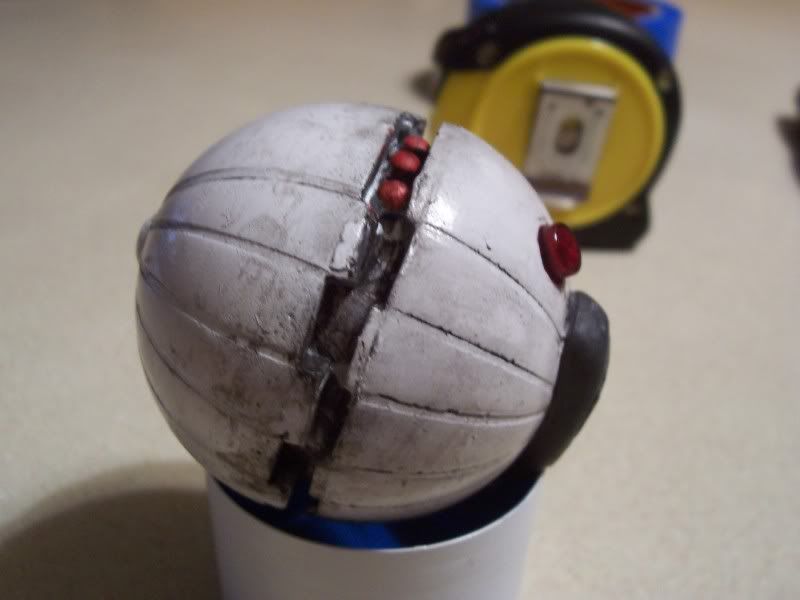
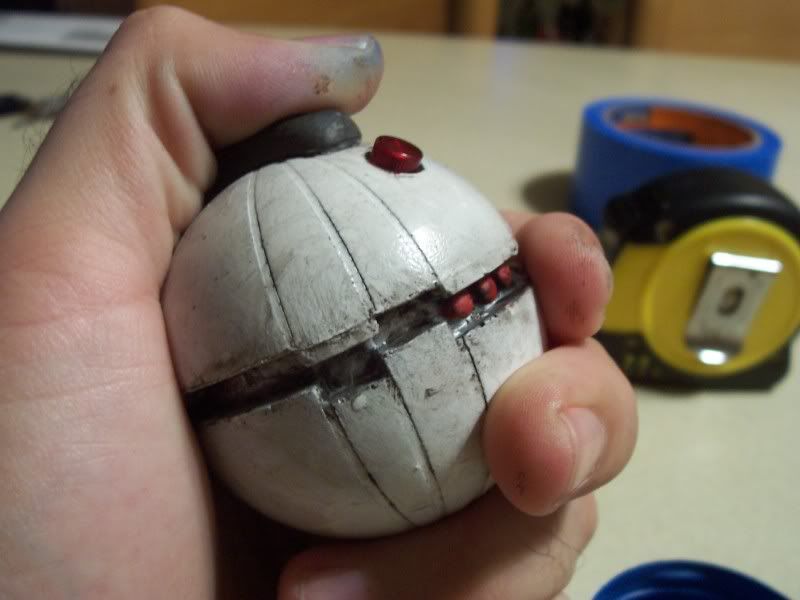
Well got around to weathering it. I'd say it's finished, but I might go back someday and paint the activator switch with some silver spray, but I like the contrast right now. Made it a little too dirty, but it's fitting with my snowtrooper, I think at least..what ya'll think? Should I paint the activator switch? Cause personally, I'm indifferent about it..

001-118.jpg


002-89.jpg


003-79.jpg


Sorry for the dirty thumb in this pic :unsure

004-64.jpg


-TC
 
Re: Quick Hyperfirm Thermal Detonator Build! Finished??

Thanks!

After looking at some reference, I'm thinkin that I should sink the red light cover a little further down, as it protrudes out, where it should sit flush with the surface.

And I'm gonna paint the switch :lol
 
Re: Quick Hyperfirm Thermal Detonator Build! Finished??

Thanks!

After looking at some reference, I'm thinkin that I should sink the red light cover a little further down, as it protrudes out, where it should sit flush with the surface.

And I'm gonna paint the switch :lol
The switch covers the light, so bingo.
Nah, it's all done :cool
 
Re: Quick Hyperfirm Thermal Detonator Build! Finished??

Looks very cool. The whole concept of matching gear to their environment is very intyeresting. Lets see if anyone does a snowtrooper blaster properly camo'd for Hoth (or other cold environs).
 
Re: Quick Hyperfirm Thermal Detonator Build! Finished??

Looks very cool. The whole concept of matching gear to their environment is very intyeresting. Lets see if anyone does a snowtrooper blaster properly camo'd for Hoth (or other cold environs).

I figured that it'd be more realistic/logical...however, the star wars OT having the empire throw shiny white TK and TB's in the middle of a forest was not very logical :lol I think the snowtroopers are the only real practical armor by real life standards in all of the OT..More so, I believe the snowy's are that way because every other armor is white to begin with!

Anyways, now I can officially say this is done! While getting ready to shoot myself in the foot to wake up from the horror that is dealing with an expensive auto repair, my buddy had some silver paint that I was able to use. Had this on hand, and got to work. I'm actually very happy I did, cause it just "adds" to the look overall. I also took a drill and recessed the LED cover deeper so that it sits just about flush with the TD's surface.

002-91.jpg


003-80.jpg


001-119.jpg


-TC
 
That turned out nice.

I agree that that the gear should match the environment.
At one point I was considering either wrapping or painting up a E-11 to go with my suit.
I did make a white holster to go with it just haven't done anything with the gun since the suit rarely gets used.

D6
 
Back
Top