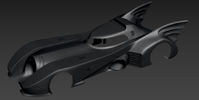
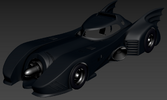
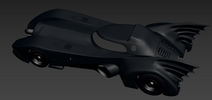
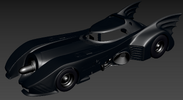
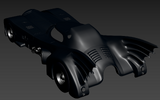
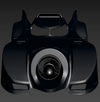
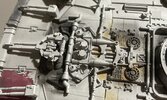
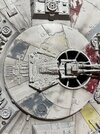
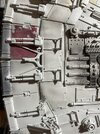
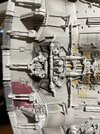
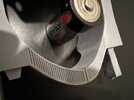
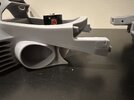
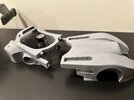
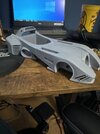
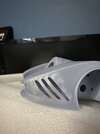
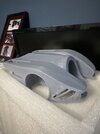
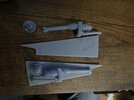
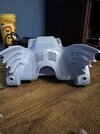
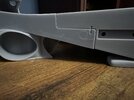
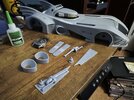
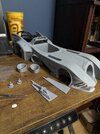
So I am nearly done with the print phase. I still have to make the rear bumper and thruster as well as at least a rudi interior to hold up the canopy. I have a canopy in the pic, but I printed the wrong one. I have to reprint the gun covers as the angle wasn’t good for the louvers. I have the wheels, tires, front turbine and gas caps modeled. You can see I have started some body work as well as fixes for vents and trunk. I could have reprinted but I enjoy the fixing And always intended to make models for building so…..I have ordered some photoetch mesh for both behind open vents and around the lower side details. I modeled those portions and you can see holes in the pipes for placing them, but it was simply too smal since they are just metal full of holes. With the part separations once I get to painting it should go fast.