Nerf Aliens Pulse Rifle Build

No problem guys I like to be very thorough and I have studied the pics here for 2 weeks to make sure (measure twice cut once) I will start on the styrene today wish me luck

And luckily as I am an army enthusiast (army veteran) and a motorcycle mechanic I already have the OD Green and flat black

Sent from the Garage!
 
Last edited:
Markerkitm41a
check out what i found


I usually don't say anything negative..but..that looks like it needs a lot of help (Fix ups) for $150.00 IMO. Whole gun looks...bent... Kit is probably 2 fiberglass panels that go on the sides of the paintball gun. (Airsoft is what $300.00? and looks 10X better)

Good idea and neat find though!
 
I usually don't say anything negative..but..that looks like it needs a lot of help (Fix ups) for $150.00 IMO. Whole gun looks...bent... Kit is probably 2 fiberglass panels that go on the sides of the paintball gun. (Airsoft is what $300.00? and looks 10X better)

Good idea and neat find though!
I see what you mean by "bent" - almost "floppy" would be better.

Going by the description it's .090 HIP (High Impact Polystyrene), and it looks like yes, it's just a static enclosure to put your marker inside - no moving parts at all, so no nice pumpy-pumpy for the grenade launcher.

Probably worth about $1.50, not $150.
 
Re: Re: Nerf Aliens Pulse Rifle Build

Any updates? I'm still waiting for my CA glue to arrive... :(

I messed up the print outs I got the wrong scale and I ran out of ink. I will reprint them and start again once I get it printed ill put it up

Sent from the Garage!
 
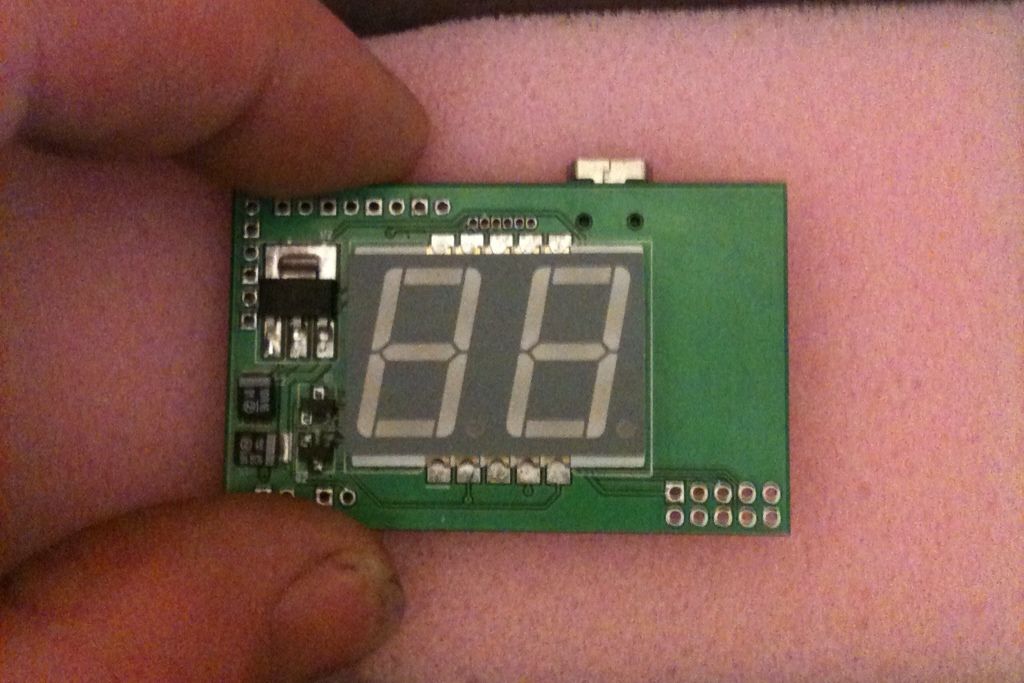
Well, I managed to total my integrated charge circuits. First one went after trying to fix the two LEDs that didn't work. Turned out to be a broken connection on one of the LEDs. Trouble was, it was well tucked away and not easy to reach, and the charge port was already glued in place. My solution was to carefully try and separate the port from the shell again so I could get better access to the broken connection (note to self, don't try and make/fixe stuff when too tired ya dummy). Got it off, but wrecked the circuit in the process :cry, not to worry I thought, I have Majenko's purpose made :)

Got the dremel out, made room for the slightly bigger PCB, installed it.......aaaand the LEDs didn't work, plus the fan was somehow getting power from the batteries :confused

Gutted, especially as it was fine prior to installing it, however, Majenko once again came to my rescue, and a new MkII charge board, and MkII display FX board are making their way to me (I managed to snag a MkII FX module without its amp as I have a separate mini amp I planned on using with it anyway so don't need the one it would have on board :D).


Before they arrive, it's sanding, sanding, cutting, sanding and by then, installing the new boards.

Once the main section is prepped and ready, I can finally move on to the bodywork :thumbsup
 
Got my CA and rest of plastics will be here on Wed. I am going to get my PC version of Aliens: Colonial Marines tonight at midnight.

Ready to rock! I get to see all the little tid bits of the gun in game hi resolution and try to model after them. (Video game Version)
 
Re: Re: Nerf Aliens Pulse Rifle Build

Got my CA and rest of plastics will be here on Wed. I am going to get my PC version of Aliens: Colonial Marines tonight at midnight.

Ready to rock! I get to see all the little tid bits of the gun in game hi resolution and try to model after them. (Video game Version)

I just ordered mine for xbox from a member here (Germany)

Sent from the Garage!
 
Re: Re: Nerf Aliens Pulse Rifle Build

OMG!!! Beware! The only good version is the PC version!!!! Xbox and PS3 versions are terribad!

Not saying to be mean at all! Heed my warning! PLEASE!

I don't pay pc games my computer isn't good enough and I only have an Xbox and just bought my first PS3

Sent from the Garage!
 
So back on subject . . . I am waiting for a new sheet of styrene then I am getting back to building mine

Sent from the Garage!
 
I'm back on the electronics, got this in the mail today :D

389664C1-DEF2-451A-B6E9-A7F33C6BCDF7-177-00000023D0993A73.jpg


Just got to wait for the charge circuit to to arrive, so while I wait I'm going to wire it up and make a quick vid review to post on YouTube , plus lots of cutting, fitting and sanding afterward :thumbsup
 
Ok, getting ready to start the build. I'm going to try to take pictures of the whole thing. Start to finish. Since this is my first time prop modeling; it should be quite the learning experience, so please, if you have any building suggestions as the project moves along let me know. My past experience is R/C Foam Jets, I've NEVER worked with Styrene plastics, but have a good idea of how they will effect the building process now that I've got my hands physically on them.

Project Plan:

  1. All materials and tools listed.
  2. I will start Nerf gun cutting and trimming from the shoulder stock and move forward.
  3. The Styrene parts will be manufactured in sections and then test fit.
  4. Any building techniques or notable sections will be noted.
  5. Difficulties in the build will be noted as will resolutions to those issues..whether they are "rigged" or not.
  6. Finally the painting process.
  7. Final result pictures from all angles.
Let's Get Started


Materials and Tools (Besides those listed in OP):
  1. Dremel
  2. Dremel EZ402 Quick Change adapter
  3. Dremel EZ409 Thin Cutting discs
  4. Dremel 9901 Tungsten Carbide Cutter
  5. Great Planes Pro CA (Medium) GPMR6009 (Very quick tacking of Styrene panels)
  6. Great Planes Accelerator (Otherwise known as "Kicker") GPMR6035 (Makes tacking go even faster for large sections)
  7. Rust-Oleum Flat Black
  8. Rust-Oleum (Painters Touch) Satin Hunt Club Green
  9. Rust-Oleum (Painters Touch) Satin Oregano
  10. Valspar Plastic Primer
  11. Norton 400 Grit SandWet #48060
  12. Norton 600 Grit SandWet #48058
  13. Metal Ruler
  14. Dry Erase Marker
  15. Printed Plans at full size by FedEx Kinko's large plot printers (Around $8 to print all in black and white.)
  16. Evergreen .010 Styrene 9010 (for touchups and logo cover ups)
Pictures of prep posted below:


Question: The wood tube sitting on the gun body in the picture.. Is this the cut off point for the slider? The black lines are dry erase to get an idea without leaving a permanent line. ;)
 
Last edited:
That EZ change is awesome I have one too and I like your planning good luck and most of all have fun with it

Sent from the Garage!
 
Back
Top