Nerf Aliens Pulse Rifle Build

do any of you nerfpulse genius' have any guide as to where to cut and reattach the magazine to make it the right size? I've looked over all the pics and can't for the life of me figure it out!
 
After I made the well for the lower receiver and the base plate, inserted the nerf magazine and marked where the bottom should be.
I just pulled the spring out of the magazine and cut the bottom of magaine with a little excess.
Sanded to fit, hot glued the base plate to the magazine, and reinserted the spring.
No lineup issues and no visible seam.
 
okay cool, I thought it might be the case, a kind of duck it and see :D
Okay so next step is confirmed..order the styrene and get cutting!! :D thanks!!!
 
Now THAT is what I call IMPRESSIVE! I love the nerf recon, it has SOOOOO much building potential! You really raised the bar as far as nerf builds go in my eyes. You should be sure to send pics to a few websites and see if you can get your masterpiece featured on the interwebs!
 
Wanted to let everyone know that Walmart has the N-strike for $10 right now online (you can also choose in store pickup).
 
Last edited:
THANK YOU .. THANK YOU for posting PROGRESS PICS of the creation process !!!

You have no idea how educationally helpful it is to SEE how skilled prop/craft masters such as yourself create the amazing pieces you do.

:cheers
 
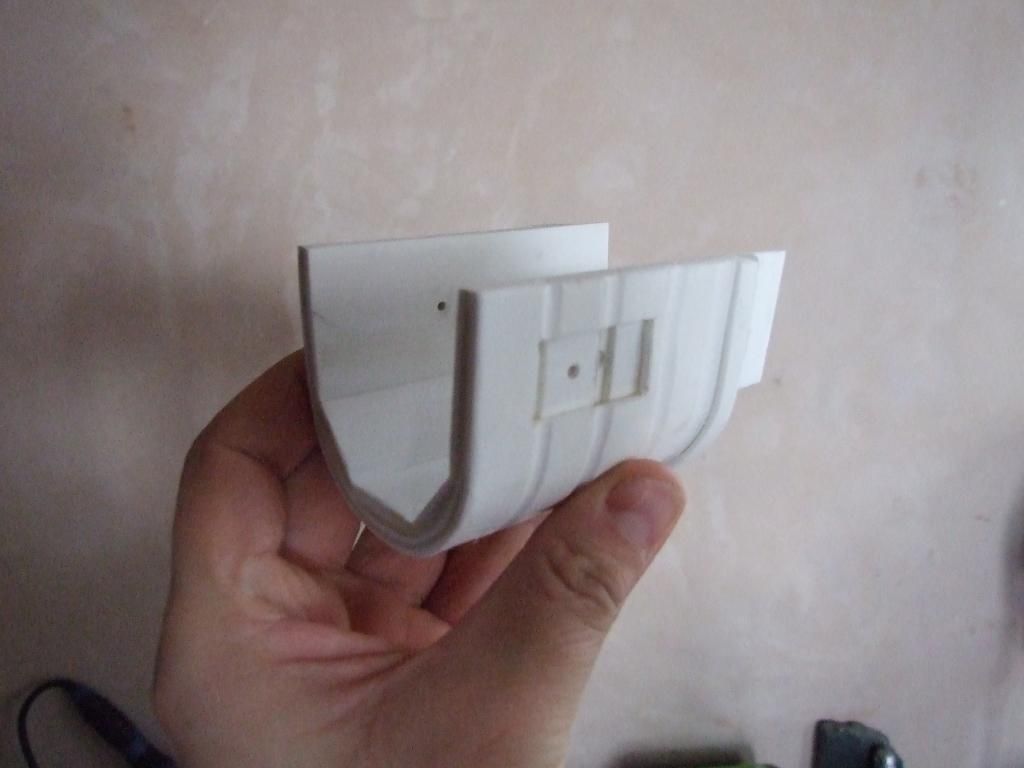
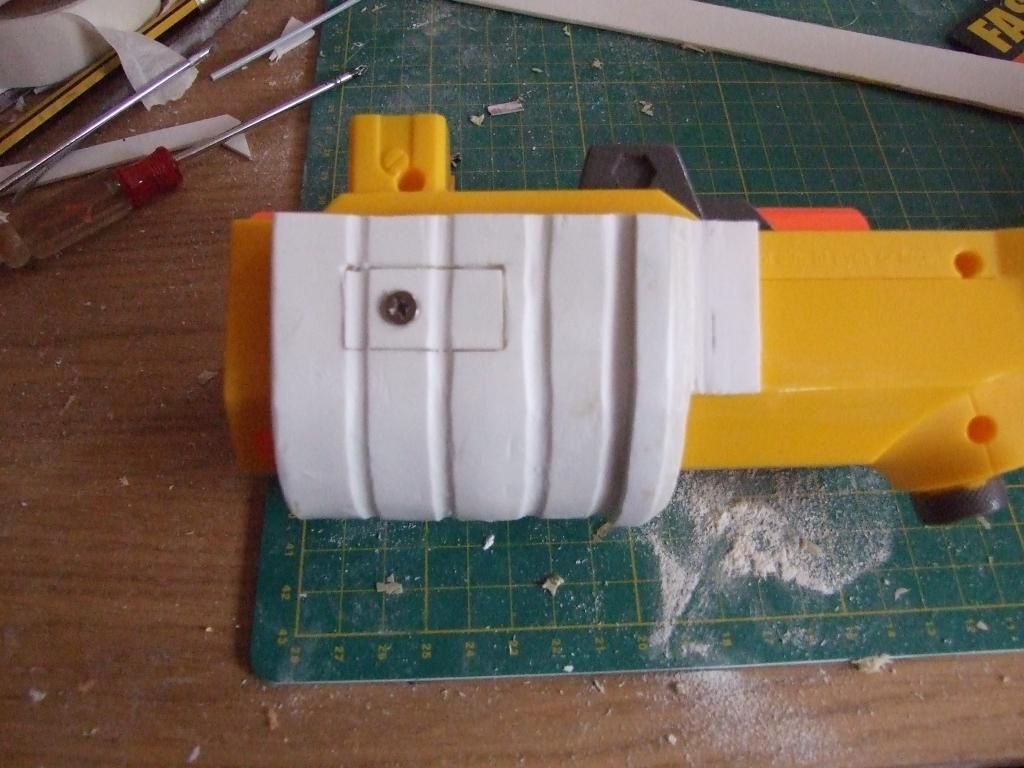
scratch built pump handle for grenade launcher. not brilliant but tad better than nerf original.

DSCF24056.jpg


DSCF24061.jpg


DSCF24071.jpg


small hatch part is to get the cocking pin in/out, no guide bar pins/screws atm fitted.
 
Ordered my styrene :D (1.5mm) and it should be with me in the next day or so, just got to work out how I'm going to print the templates now.

For those with working LED displays, are the 0.56" ones ok, or are they too big?
 
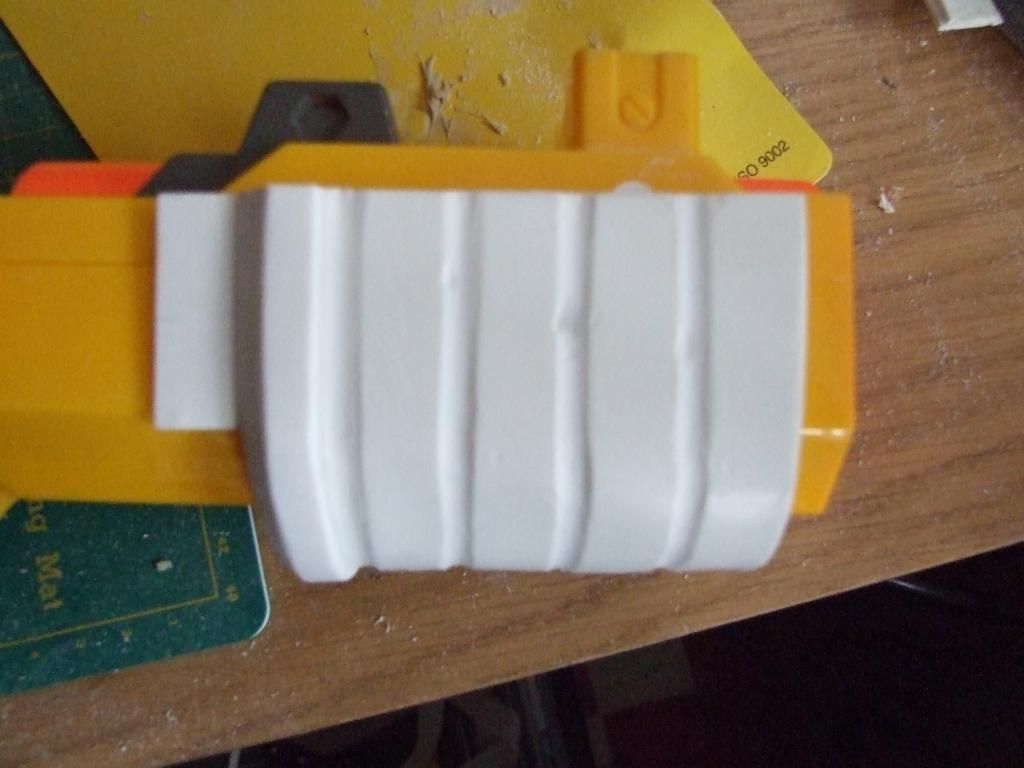
The only thing giving me headaches are the indents on the shroud. I saw some examples how to make them and my prototype had accidentally holes punched through which i had to back with styrene.

Anyone got a good advice on how to make them?

Second build is in progress.
 
Still working on electronics for mine. Just waiting to finish up the working counter then put together. Once I'm done, I'll put up some pics and video of all working electronics :)
 
His guys

Just wanted to give a heads up to those of us not very electronically minded that want working PR counters on a budget, and suitable for a beginner to wire up.

I found this little beauty for about £7 that would be perfect. This thing is also totally stand alone, just wire up a battery, on/off switch and a couple of buttons and your good to go :thumbsup

C5C82ED0-7F45-4D8F-8565-F2C694579A43-464-0000004329DE5D43.jpg


The board measures approximately 24.13mm by 33.28mm. The display is KCDC03-106 0.3" display (datasheet: http://www.farnell.com/datasheets/1446052.pdf). It is positioned approximately 0.5mm from the nearest short edge and 5.5mm from the nearest long edge (away from the header pins). The header pins are 0.1" spaced.


And now the technical bit for the savvy of us....


The device has 9 digital inputs. 8 of them are also digital outputs, and a couple are analogue inputs. So, it could support up to 9 directly connected buttons, or a matrix of 20 (4x5) buttons, for example.

The core of the device is the PIC16F1507 microcontroller (datasheet http://ww1.microchip.com/downloads/en/DeviceDoc/41586A.pdf ) which, while not as powerful as the Arduino, can do many of the same things. Programming it, however, is harder than an Arduino. All the example code created so far is in assembly, which is very very different to working in the C code for the Arduino.

For the code writers among us, a PICkit3 programmer is required, as there is no bootloader of similar facility for programming it through other means.

----------

The best part of the deal is, the seller will Pre program the display if he has enough info on how it should behave, so I've decided to get one, and I'm working with him so a decent PR counter code template exists that can be tinkered to personal tast he can work with. I'll then release the sellers details so anyone else that wants to have one for their PR can get one (just saves him getting multiple requests for making the same coding before its finished).


So, talking of coding/display behaviour, I was thinking of using a reed switch/magnet setup, or micro switch, for the magazine so if it's removed (regardless of the number(s) displayed at the time), it will drop to 00. Put the magazine back in, and it displays the last numbers shown before the magazine was removed. I thought it would be a nice touch, like a quick visual check and reinsert you see troops do sometimes. I was going to leave the reset to be activated by the magazine button only when the counter runs down to 00 from the trigger button, thus simulating a reload.

Anyone know the counter/fire rate (i.e delay time between numbers displayed as they count down)?
 
If you guys would like a pre-wired ammo counter that works, I can hook you up.

BAAC-Blasterparts-Aliens-Ammo-Counter.MOV - YouTube

They work with a photo-sensor that emits an LED flash as soon as something passes through. The counter itself can be programmed with 3 "ammo" presets which then count down. Adding an additional switch will null the counter as soon as no clip is inserted.

The counter retails for $60 plus shipping. Let me know if you're interested.
 
Not done anything really on mine for a while now. Have gone back to the original pump handle off the Nerf as I didn't like how the ones I made were looking but have modified them from standard.
As for the indents my 1st attempt I heated a large domed head bolt and used that, but you may be better adding styrene behind it 1st ( i did ) and drilling it out to size before trying to indent it.
 
Sounds interesting.

Working on one down here in Aus that a few of us got. Set up to count down with the trigger and once hits zero, closes another channel so display flashes 3 times and to trigger audio (if set-up). Then a nother trigger to reload. The triggers are set-up to attach where ever you want. I want to have a seperate small button for my reload as my nerf will still be functional.
 
Alright, so I have stumbled upon my latest time-sucker project! :lol

The link to the templates seems to be dead, anyone have them handy?
 
Hey Kevin,

Templates are still there. Looks like you tried to grab them during the few days my hosting company completely crapped out on me :/ Got a new host now, so they should be there for good :)
 
Sounds interesting.

Working on one down here in Aus that a few of us got. Set up to count down with the trigger and once hits zero, closes another channel so display flashes 3 times and to trigger audio (if set-up). Then a nother trigger to reload. The triggers are set-up to attach where ever you want. I want to have a seperate small button for my reload as my nerf will still be functional.


Hi jaycee9

I'm looking into adding audio to mine. A mate at work is going to make a PCB for easy sound uploading to the play/rec chip for me too.

I don't suppose you have any decent Mp3/waves of the sounds do you? I've downloaded a few, but they aren't that good, and some are blatantly messed with in someone's audio production software making them sound awful.


And for those of us experimenting with coding, I read somewhere that the PR's R.O.F is 900RPM/15 rounds per second. Sounds a bit quick, can anyone confirm that? I don't perticularly want to spend ages writing code I barely understand if the info is wrong.
 
Back
Top